8x8x8 LED Cube

My last HackerBox, #0030: Lightforms, came with an 8x8x8 LED cube kit. I started building it in May, when I assembled the PCB and made a jig for assembling the grids.

I got busy over the summer and the thought of soldering 512 LEDs didn’t excite me. After catching up on all of my other kits, it was finally time to dive back in.

I thought I took some video of assembling the board, but I must have deleted it. So I didn’t bother with any video while assembling the grids either. The repetition would have been quite boring. I thought I’d do a gallery with captions for a change.

While assembling the 8×8 grids I settled on a pretty good system, so I recorded myself doing a couple of rows to show my method.

This is definitely my longest electronics kit in terms of hours spent and it had so much repetition. Pretty cool result. Here is someone’s demo showing what can be done with the cube.

I’ll need to upgrade the firmware so I can program the board with my own animations.

Workshop Dust Collection 2.0: Modding a Harbor Freight 2 HP Dust Collector

I’m going to warn you, this post sucks!

In 2017 I made my own cyclone dust separator with a Ridgid 16 gallon vac. It worked pretty well, but left me wanting something better. Some of the things I wanted in a new system are:

  • More power
  • Larger container
  • Stationary unit
  • Better filtration

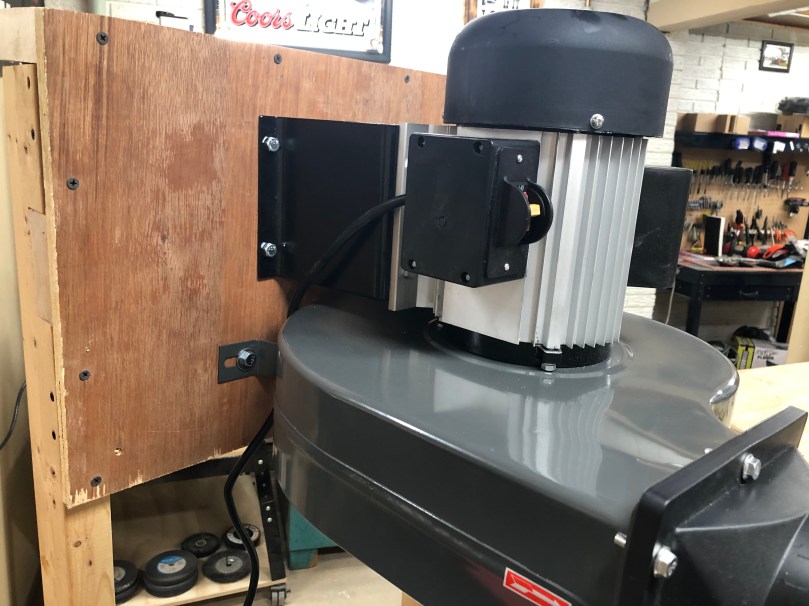
What I needed/wanted was something around two horsepower and the clear winner in that category is the one from Harbor Freight. Nothing else even comes close to their price, especially after using a 20% or 25% coupon. In order to make it work really well it needs a lot of mods though.

I looked at some of the complete solutions available and they cost at least a grand. I spent about $540 and could have saved around $100 by going with a cheaper hose and getting creative with connectors. Here’s what I bought:

Sucked my wallet dry!

This is a common project in the woodworking community, so Google can show you to a lot of variations. This 2010 post on lumberjocks.com is almost exactly what I was going for, including the trash can Thien cyclone separator baffle.

Before I get into it, here is the what the Harbor Freight dust collector looks like when it’s assembled and not modified.

hf-dust-collector

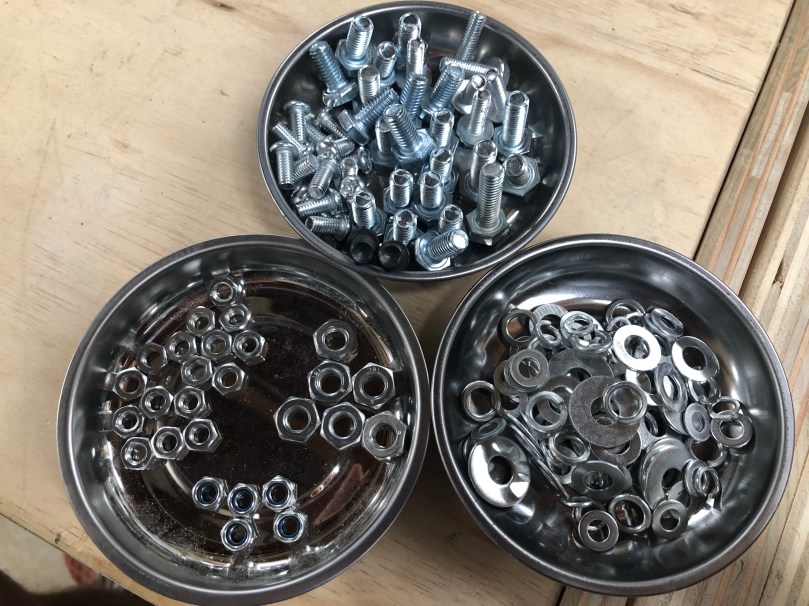
I took a few photos during my build. First task was some knolling.

I installed the cyclone kit on the trash can cover and made a Thien baffle.

A very ugly cart was made using scrap wood. The only 2x4s I had were extremely twisted.

I wasn’t sure how the stand was going to support the weight of the motor. Does fine though. I can make it lean if I push on it, but it’s not going to fall over. Most of the time it’ll be sitting in a corner also supported by the trash can under it.

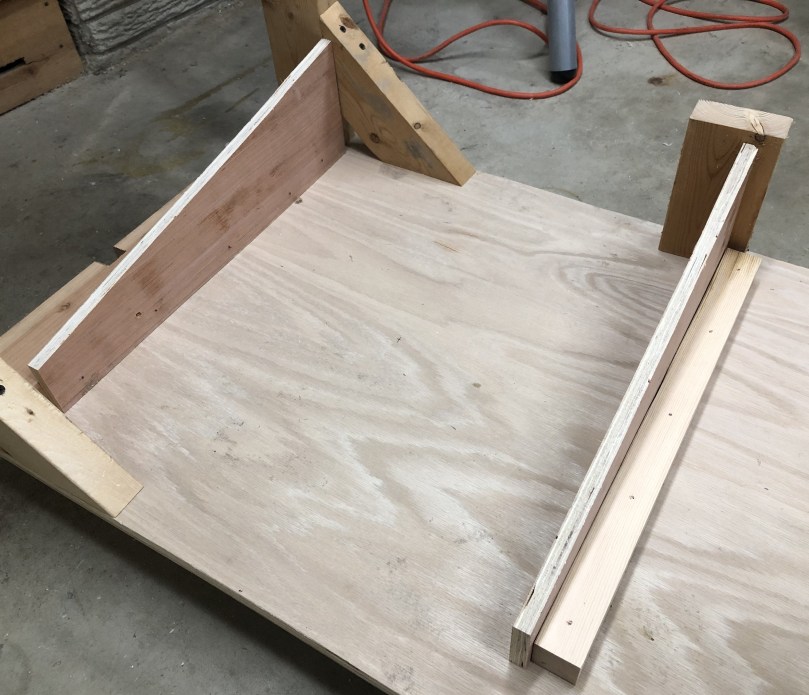
These risers combine with a makeshift wedge, propping up the trash can to mate with the motor.

img_2088.jpg

Here’s the “wedge” platform. I made a design change after the stand had already been built, otherwise it could have been much shorter.

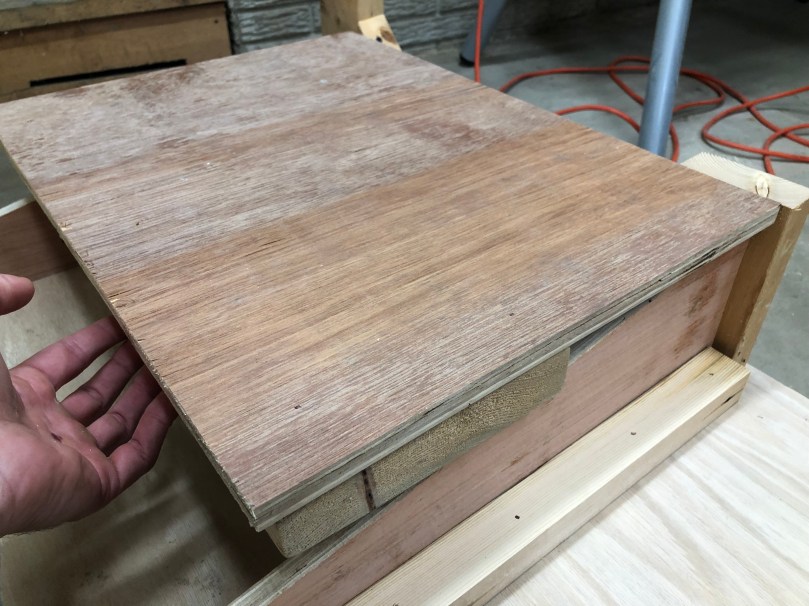
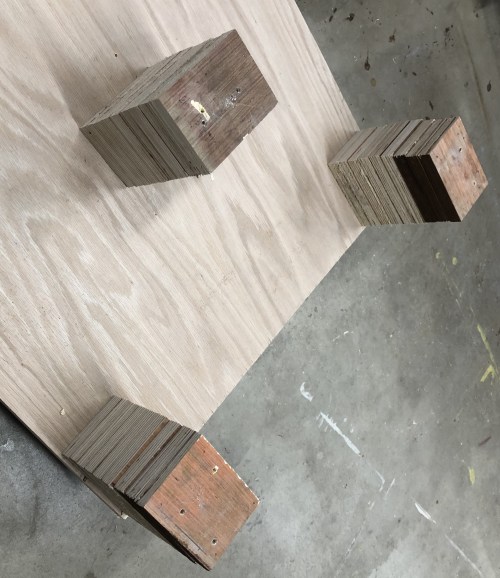
With the trash can and motor jacked up, these layered blocks raise up the bag holder and filter.

img_2090

Two coats of black spray paint.

img_2091

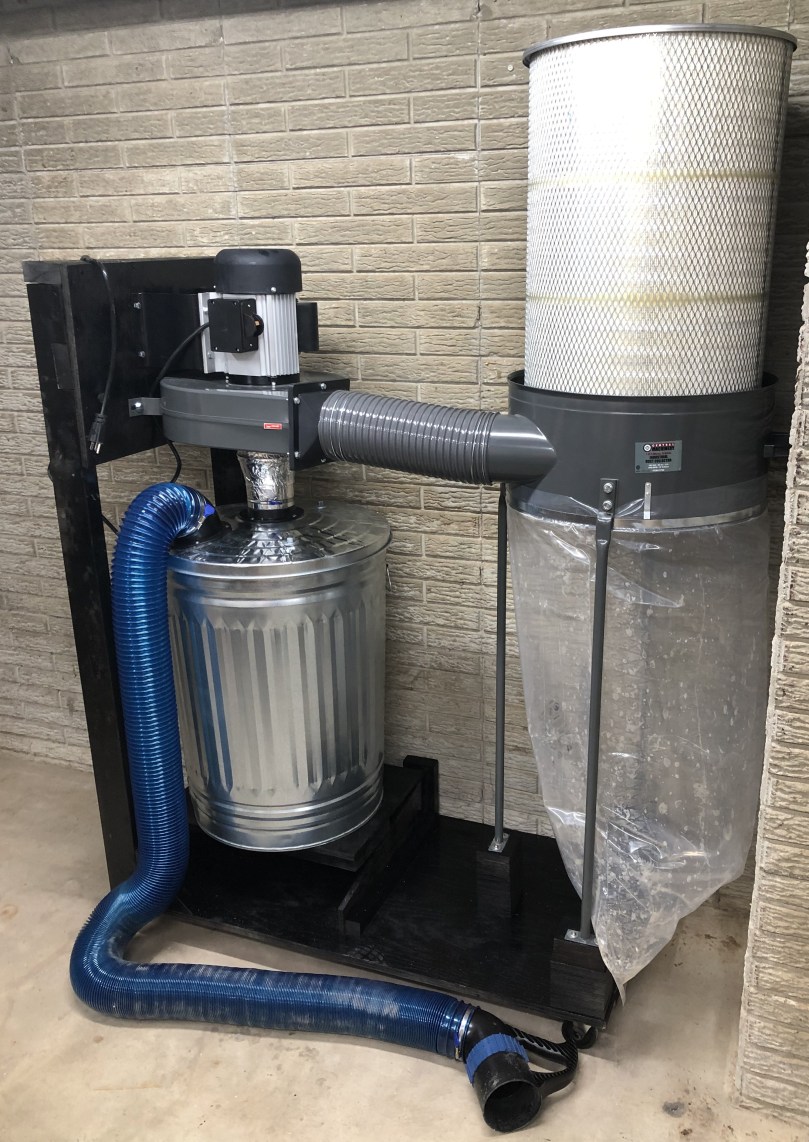
Turned out great, but it takes up a lot of space!

img_2094.jpg

The above picture was featured in Stumpy Nubs video The WORST things you can do in a dusty woodshop.

How is the performance though? I hooked the hose up to my table saw and it started pulling old sawdust out of the saw body. I could actually see things swirling around in there. Huge improvement!

As usual, this project ended up being more work than I expected. I’m really happy with the end result and how well it works. Another upgrade I could make in the future would be to install a larger Rikon impeller for even more airflow.

I’ll have to create some adapters for tools with dust ports smaller than 4″, though the hose kit did come with some for use with 2.5″ ports. Now that I have a system with enough power I can build something around the miter saw.

2019 Calorie Counting: A Baseline and Determining Macros

If you didn’t read the intro post about my nutrition experiment, go check it out.

So… how long is this experiment going to last? Good question. It could be as short as a week or two if it goes how macro counting usually does for me. Did I mention I hate counting calories? Hopefully it’ll last at least a month or two. By publishing posts, I hope it keeps me accountable and I stick with it.

I jumped on the scale on the 30th, yesterday, and today. The average readings were 199.3 pounds and 15% fat mass. Glad to see I’ve been stable for the last 6 months.

After 3 days of eating I had a decent baseline of my caloric intake, though I pretty much ran out of junk snacks in my house and didn’t eat out at all. On the first day I could feel myself altering habits because I could see the numbers in MyFitnessPal and had already decided what my macros would be to start the experiment. For days two and three I kept notes and logged everything at the end of the day.

My daily averages were:

  • 2,464 calories
  • 140g protein
  • 259g carbs
  • 99g fat
  • 101oz water

I hadn’t been paying attention to the labels before this, so I didn’t realize how high in fat a lot of the Factor 75 meals are. I had already made the switch from 2% milk to fat-free, otherwise my fat numbers would have been even higher. Since milk is 85-95% water, I counted it 100% to make it easy. I know I was already adjusting to drink more water, so this is a lot higher than it normally would be.

Based on reading the Renaissance Diet 2.0, I’m going to shoot for:

  • 2,310 calories
  • 200g protein (800 cal)
  • 220g carbohydrates (880 cal)
  • 70g fat (630 cal)
  • 100oz water

My calorie intake was actually pretty close. I expected to be low on protein, but not that low. I need to replace some carbs and fat with protein and stick with my increased water drinking. The book recommends “1.5 ml of water per calorie eaten,” which would be 116oz. Considering we get 20% of our water intake from the food we eat, I’ll aim for 100 ounces.

I will not be using different macros depending on if it’s a workout day versus a rest day. Makes everything easier. In order to set goals by grams in MyFitnessPal you have to pay for a membership, which I’m not going to do at this point, so it looks a bit different in there.

myfitnesspal-macros.png

If I eat four balanced meals a day they would need to be 50 grams of protein, 55g of carbs, and 17.5g of fat for 578 total calories. Based on the high fat F75 meals, I’ll have to go almost fat-free in two meals per day.

Since the inspiration for this came from CrossFit’s season 2 of Killing the Fat Man, I wanted to see how these numbers compared to the Zone diet recommendations (PDF). I have no idea if I should categorize myself as “Large male” or “Athletic – well muscled male” though. A large male gets 19 blocks per day, which comes out to 133g of protein, 171g of carbs, and 28.5 grams of fat for a total of 1,473 calories. Using the athletic recommendation of 25 blocks would be 175g of protein, 225g of carbs, and 37.5g of fat for 1,938 calories. Both of those plans seem low.

The Zone diet is weird though. You’re only supposed to count the blocks for the most prevalent macro in a food. For example, steaks have a good amount of fat, but it doesn’t get counted because you only use it as a protein source. Maybe this is where they make up for those caloric deficiencies. Another odd thing about the Zone diet is their “blocks.” Is it to try to trick people into thinking they aren’t counting calories? News flash… if you’re keeping track of macros you’re counting calories! Having to convert everything to blocks adds extra math to something that is already confusing for people.

Enough about the Zone. The experiment begins today. Yesterday I had to actually go grocery shopping for something other than milk so I’d have sources of protein and carbs.

Last night I boiled and mashed all five pounds of sweet potatoes (froze half) and I hard-boiled and peeled a dozen eggs. Does that count as meal prepping?

Over the years I’ve tried a lot of supplements. My experience matches up with what the book says… most don’t work and the expensive stuff doesn’t produce enough of a boost in results for the money. Caffeine, protein, creatine, carbs, multivitamins, and Omega 3 are about the only things that have been proven to work. Experiment for yourself because your body might react in a different way.
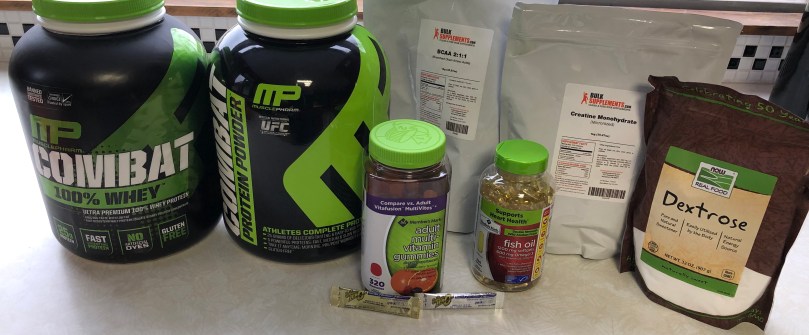
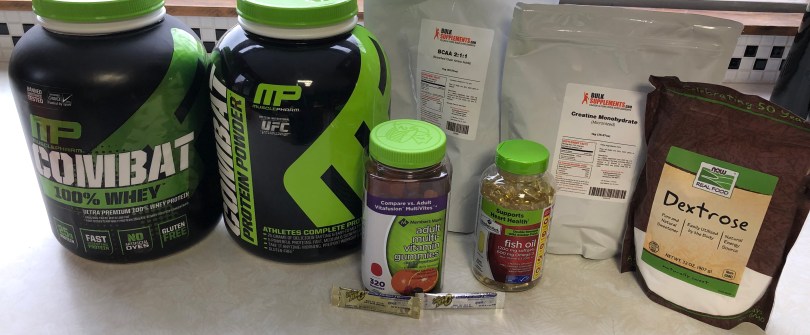
I like MusclePharm protein because some of the flavors are like having dessert, it’s cheap, and you can always find deals somewhere. The 100% Whey is for after a workout. The Hybrid Series is a 5 protein blend, which releases over eight hours, and I use it in the morning or before bed. My intra-workout drink is made with 3 Sqwincher packets of electrolytes (providing flavor), creatine, BCAAs, and dextrose. I’ll take the fish oil and multivitamin with breakfast.

Last night I decided to plan out everything I’d eat today. Takes all decisions out of it and means I don’t have to pack in calories at the end of the day if I’m low on a macro. Feels like it’ll remove some stress from the process.

Wish me luck!

See how week 1 went.

All of these posts will be tagged 2019 calorie counting to make it easy to browse the posts.

Favorite Buys of 2018

I’m back for another year of my favorite purchases.

Jointer

img_0564

I bought this used Craftsman jointer, cleaned it up, replaced the blades, and built dust collection. It pairs so well with a planer and even the table saw. I’ve used it a lot more than I expected.

Factor 75 Meals

img_2037

I’ve been loving the Factor 75 meals for almost 8 months now. The food is good and the ingredients are healthy. Saves me a lot of time and prevents me from making too many bad food choices.

YouTube TV

img_2036

After trying out a few different streaming services, I finally landed on YouTube TV. I really like it and find the recommendations spot on for my watching habits.

Boldport Club

Screen Shot 2018-12-28 at 5.48.03 PM

Even though the subscription model is ending this month, I had to include it because I had so much fun building the projects last year.

SodaStream

img_2038

I’ve gone in streaks of using my SodaStream, but it’s so much better than buying battles of fizzy flavored water all the time. When I do use it, I drink a lot more water.

Drill Bit Gauge

img_2039

This might be the best value for the dollar I spent all year in the shop. I use this thing all the time. The Metal Drill Bit Gauge from Amazon is my favorite of the two and of course I found plastic ones at a bunch of estate sales a week later.

Rust-Oleum Spray Grip Spray Paint Gun

img_2058

If the drill bit gauge isn’t the best money per $, this spray grip is. Makes a world of difference with hand comfort when spraying paint, lacquer, or anything else from a can.

Eero

I didn’t realize how much of a difference extending my network would make with connectivity in the garage and basement. Really happy with the Eero system.

Tesla Model 3

56199589985__2014B3BF-05A4-4CAA-B7C4-B108AC42D859

I saved the best for last. The Model 3 is an amazing ride. Stay tuned for a post later this month, three months after taking delivery. If it wasn’t for this car, the 1968 Chevrolet C10 would have made the list.

2018 Holiday Watches

Each year I tend to watch a lot during the holiday break. This year it started a year and one day after sharing the Ocean’s 8 trailer. I was browsing iTunes movies and rented it as soon as I saw it. Exactly what you’d expect from the Ocean’s movies. Cool that there was some character carryover between the movies too.

On Christmas day I watched a few movies on Hallmark Channel with Mom. All very predictable and heartwarming. They were Christmas Made to Order, It’s Christmas, Eve, and Christmas in Evergreen: Letters to Santa.

When I’m sick, I usually tune in to some type of marathon, because I can fall asleep and not care about missing anything. The Incredible Dr. Pol is a fascinating show about a veterinarian right here in central Michigan. I’ve seen so many calves delivered I’m pretty sure I could do it myself.

I watched CrossFit – Killing the Fat Man – Season 2. Shows the power of the program, especially combined with solid nutrition. Inspired me to try an experiment of my own.

One night I was browsing movies on Netflix and Wind River caught my eye. I liked it and thought it was one of the best Jeremy Renner performances I’ve seen.

Tiger Woods: Return of the Roar on ESPN got me pumped for the upcoming golf season and reminded me how lucky we are to experience this comeback. 2019 could be something very special.

To close out my vacation I watched Mission: Impossible – Fallout last night. I almost went to see it when it was in theaters so it’s been on my watch list for a while. It was enjoyable.

I also watched countless videos on YouTube, but that’s the norm.

You know what I didn’t watch? A single play of college football. It was great.

Making Things in 2018

2017 was the first year I really made a lot of stuff, both with electronics and woodworking. I looked back and linked to every post throughout the year. There ended up being 63 posts, with 11 in December leading the way.

How did 2018 go?

January

February

March

April

May

June

July

August

September

October

November

December

I figured the 2018 total would be lower, but it was significantly higher, with 96 posts. December 2017’s post count of 11 continued for each of the next three months. In May things started to fall off after I went to Spain and focused on some health stuff. Then in June I bought my truck and started working on that. Things slowed through the middle of the year, when I didn’t touch electronics for a while. December was another busy month with a new high of 16 posts.

As I scrolled back through posts to collect these links it was cool to reflect on how long ago some of my projects were and how much my skills (and comfort) have improved in just the last year. I did a lot of woodworking and filled out my workshop.

I made some dents in my project/idea list. Of course new things have been added, so expect a lot of posts this year as well. Maybe I can hit 100 posts.

What’s on your 2019 project list?

DIY Table Saw Cart

Following up on fixing my table saw crosscut sled, I decided it was time to build a new cart for the saw. The mobile base kit I used from Harbor Freight seemed like a good idea and worked ok in the beginning. Over time, the weight of the saw seemed to bend the base. With only two small swivel castors and the other two wheels being stationary, it became a real bitch to move around the shop, especially as I filled out the space with more tools.

I took a lot of inspiration from the Mobile Table Saw Cart by Woodworking for Mere Mortals. This is actually what pushed me to create the jig for the pocket hole jig, since I’d be using it a lot in this build.

The solid wood came from the cabinets I rebuilt, the plywood (except the one 3/4 piece) is from a truckload I got for free, the drawer is the same as the ones I upcycled for the sanding station, and I think I paid $10 for the casters at a garage sale.

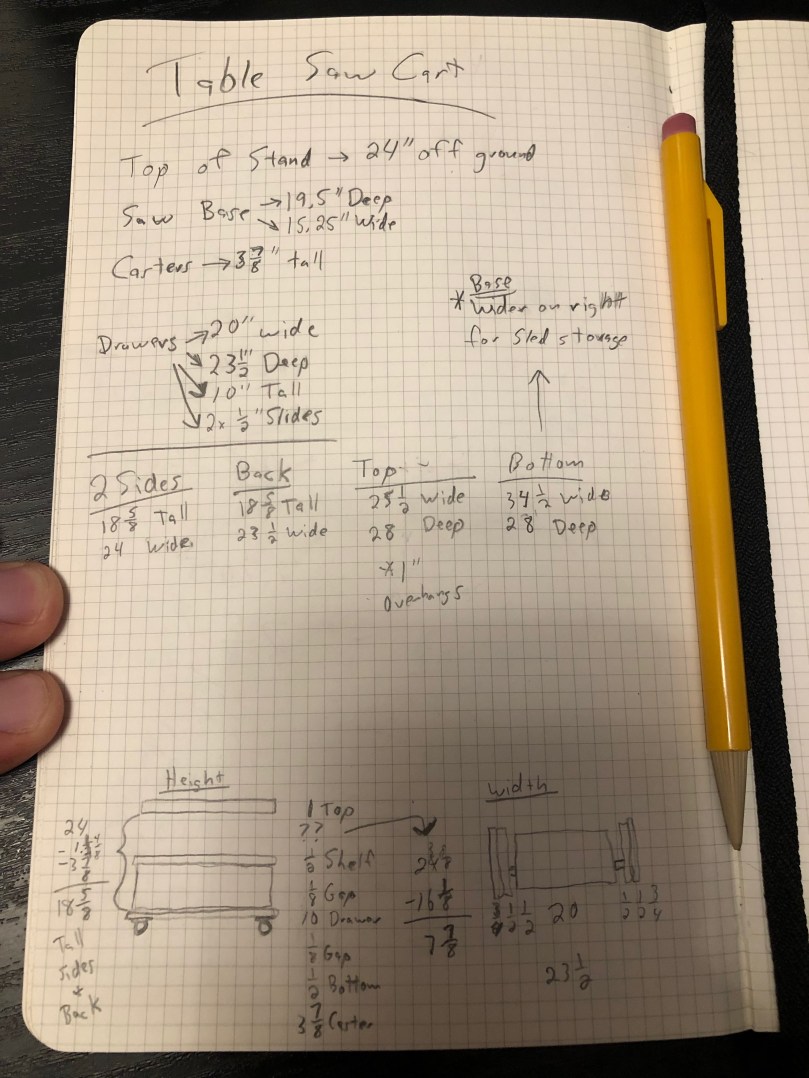
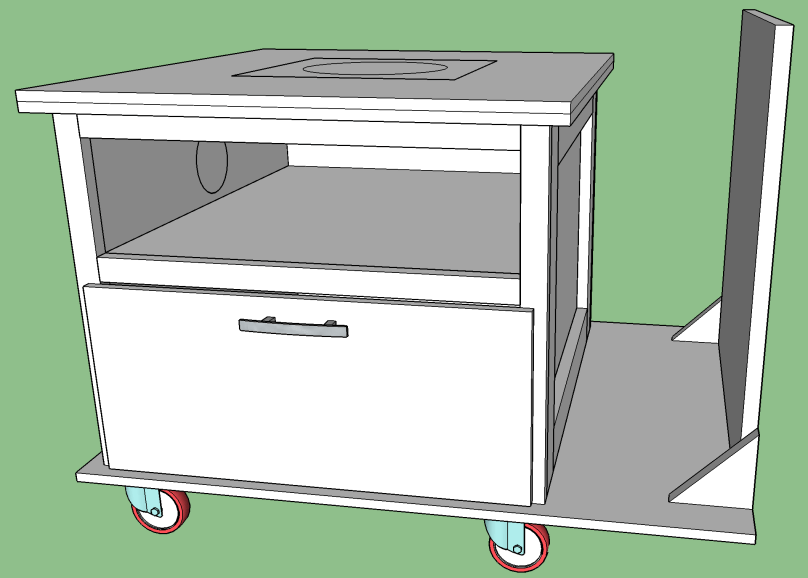
Here are some planning measurements and sketches. Other than trying to keep the same height for my saw, the dimensions were based on the drawer.

table-saw-drawings

I took those and most of the plan from the mobile table saw cart I linked above to make a model in SketchUp. You can grab the plans off GitHub if you want them.

table-saw-cart-model-final.png

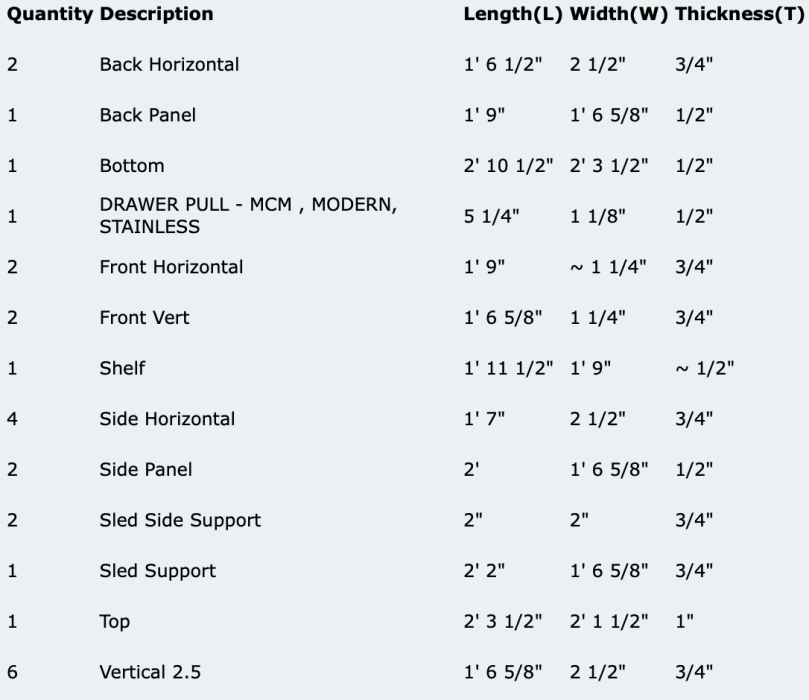
Creating a model really helps me find measurement errors and think about the assembly order. The Cut List extension in SketchUp is a huge time saver too.

table-saw-cut-list-with-sled-supports.png

Note that the cut list above isn’t the final one in case you want to make this. I made some modifications along the way. The Sketchup model should be pretty close to what I made though.

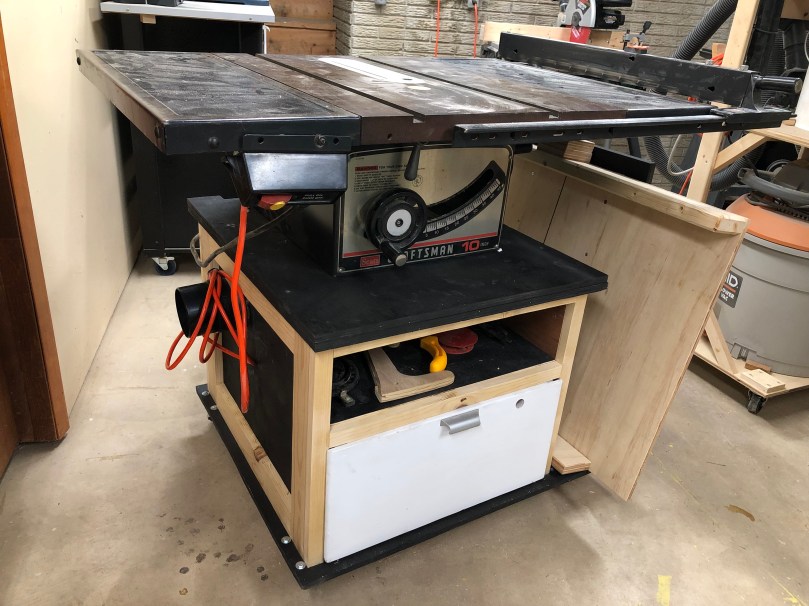
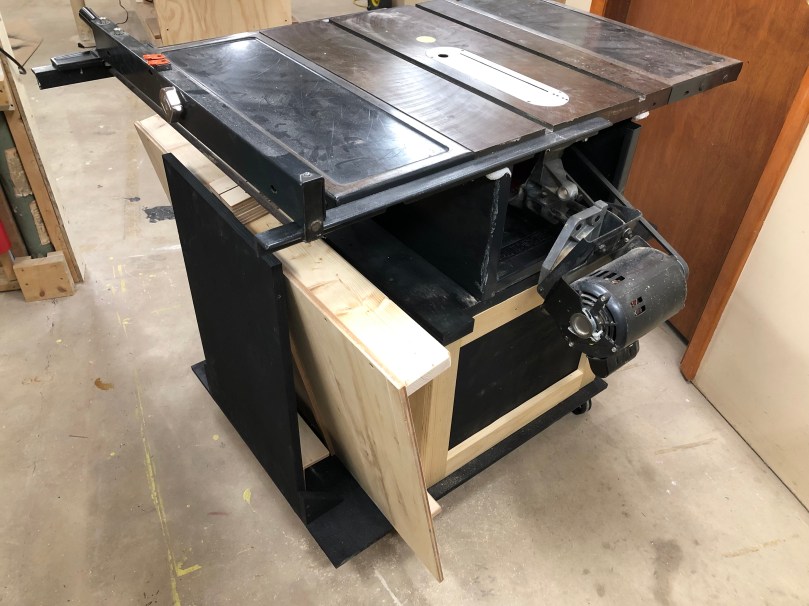
I really liked the assembly process for this build, which made it easy to square everything up. Makes a huge difference being able to move the saw around the shop better.

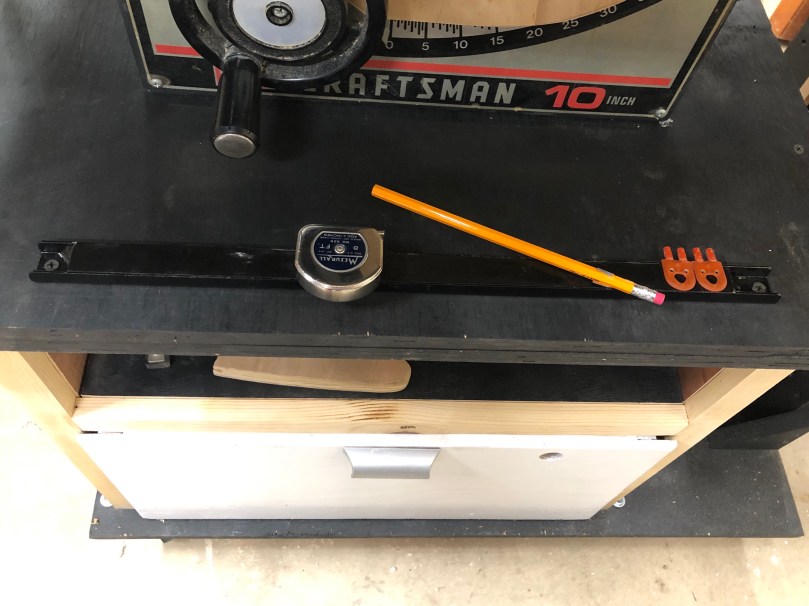
Of course I had to add one of the free Harbor Freight magnetic strips. Much better plate to store the tape measure and splitters than with magnets on the fence.


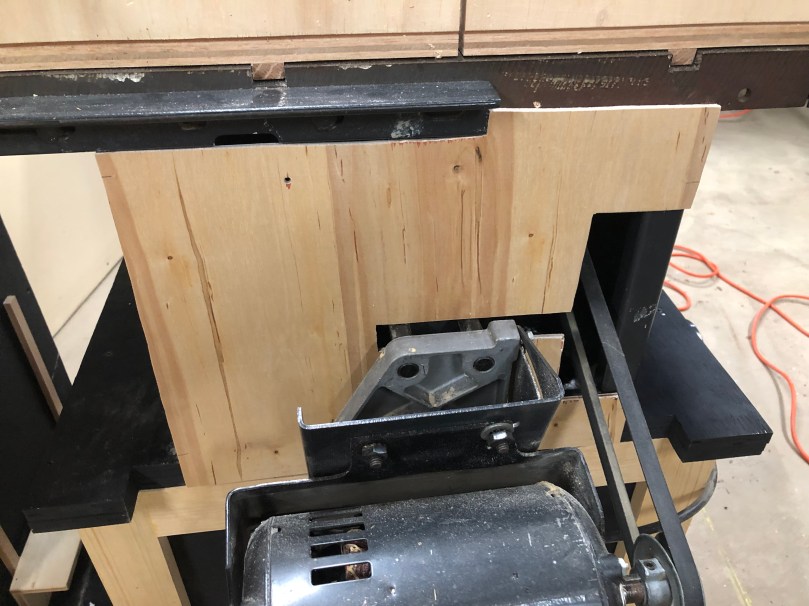
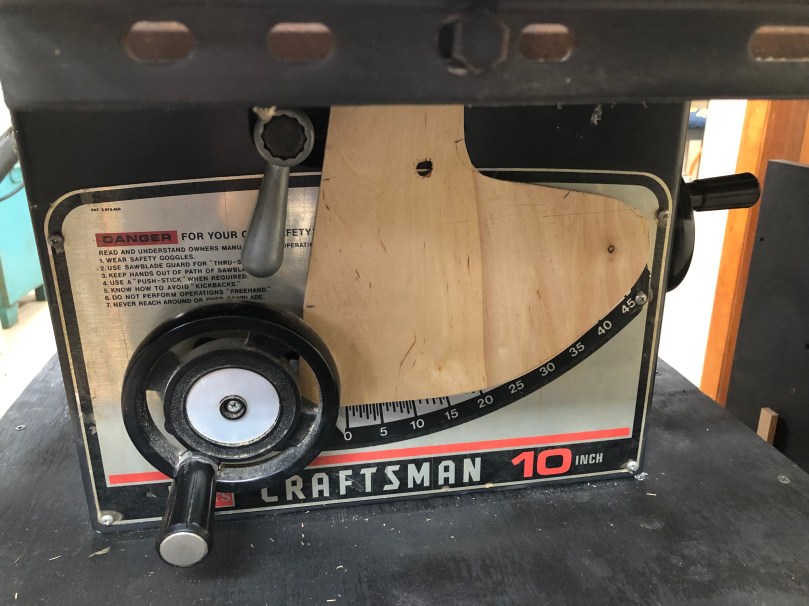
While I was at it, I attempted to seal up a bunch of gaps in the saw’s body with spray foam. What a mess! I also made covers for the front and back that’ll stay in place except when I need to make a bevel cut.

I ended painting them black to blend in. Hopefully these little things make a big difference with dust collection.