A Nutrition Experiment to Start 2019

I like to experiment with my life, health, and fitness. In 2011 I used the 4-Hour Body to lose 17 pounds. Later that year I started CrossFit and tried the Paleo diet. During April-May of 2012 I hit my lowest recorded adult weight at 173.5 pounds after a Paleo challenge at the gym. Since then my diet and weight have gone through many phases. I’ve gained a lot of muscle over the years and hit a high of 217 pounds (@ 17% body fat) in February of 2017. Back in May of this year I started getting meals from Factor 75, which led to losing 16 pounds and correcting some health markers.

Screen Shot 2018-12-29 at 8.21.03 PM.png

Over the years I dabbled a little bit in the quality + quantity of my food. I really hate weighing food and recording macros though, so I never stuck with it for very long. I also really hate New Year’s resolutions, so I thought I would try pairing a couple of hates together for a new experiment. I was sick for several days last week and got the idea and inspiration while watching season 2 of CrossFit’s Killing the Fat Man.

For 3 or 4 days, starting on the 1st, I’ll continue eating as I have been to get a baseline. During a typical week I get 12 meals delivered from Factor 75, which have the macros on the label and will make it easy to record most of my meals. For the rest of my food, I rely on snacks, fast food, and eating out. The F75 meals are usually 500-600 calories, but I snack on a lot of high calorie junk, which probably ends up getting me enough calories by the end of the day. Most days I don’t eat anything until after noon and often not until 2pm. This is a big reason why I want to set that baseline.

I just read through The Renaissance Diet 2.0, which is what I’m going to use as my guide to macros. I had good results when I followed some things from the first book and I really like that the principles are based on science and study results. Depending on what I see from the baseline, I’ll decide what to set for my initial macro goals, because I don’t want to make a lot of huge changes in the first week or two.

I’m also going to look at my water intake, which is something I’ve never been able to successfully monitor for more than a couple of days. Maybe I’ll try timed reminders through the day to make sure I’m hitting certain volumes. If you have any tips I’d love to hear them.

My goal with this experiment is to create healthier eating habits. I made a big shift with 50-80% of what I consume by getting the Factor 75 meals but that has left a lot of room for improvement. This goal isn’t very easy to measure, but the macro tracking with  MyFitnessPal will help with it.

Wish me luck! I’m going to plan for a weekly update post on the process. If you want to join along on your own journey, please do by leaving comments or writing your own blog posts (leave a link so I can follow along).

Continue to read about my baseline and setting macros.

All of these posts will be tagged 2019 calorie counting to make it easy to browse the posts.

Boldport: Capaci-meter (#31)

This is the penultimate project from Boldport Club before they move away from the subscription model. It is called Capaci-meter and is project #31. I’m really sad to see the Club changing because I’ve enjoyed the projects a lot more than any of the other electronics kits and the PCBs are so beautiful. It’ll be interesting to see where it goes.

After having issues with my Hakko FX-888D soldering iron, I finally did some troubleshooting and by using a meat thermometer I determined the tips weren’t getting hot enough. Then I found the device actually has an adjustment mode which lets it compensate. Works great now and is so much better than that cheap iron I’ve been using for other recent projects.

It’s great when the project produces a useful device like this for testing the value of capacitors.

Whirlpool Dryer Belt Repair

The drum on my Whirlpool LER3624JQ1 dryer stopped spinning, which is the first issue I’ve had in 16 years!

img_2029.jpg

After turning the dryer off, I could hear the motor spin down, so I suspected there was an issue with the belt. The drum would easily spin by hand, which usually means the belt broke. It was really easy to get inside the unit by following some simple steps I found on repairclinic.com. Sure enough, the belt had snapped.

I picked up a new 92-1/4 inch belt for $8 at Lowes and I was back in business.

img_2032

img_2034

img_2033

I love the feeling of fixing something on my own. Like my mom said, maybe I can get another 16 years out of it.

Nailed It

I wanted to make something fun for a few Christmas gifts, so I made some letter magnets.

This fridge magnet (M for Momrik) was for my sister-in-law, Karen since I drew her name in our family gift exchange.

img_2006.jpg

I also made two Ws (Williams) for my friends’ boys to go along with the frames we built.

I bet you’re wondering how the nail got in these. 😉

AdaBoxes 8 & 10

More catching up on electronics stuff that was piled on my desk. Here I unboxed AdaBoxes 8 and 10. Then I assembled 10, which is a sweet device, and loaded some of the code examples. Skip ahead to 17:23 if you only want to check out the demos.

In the past I mentioned I might cancel my AdaBox subscription, which I did after box #8. On social media and in their YouTube shows Adafruit has been pretty much telling you what’s in the next box, which has been nice. I knew #9, based on their HalloWing board, didn’t interest me. Then when I realized #10 was going to be the NeoTrellis and subscriptions were still open late in the quarter I jumped in. I plan to make a game-time decision each quarter from here on out.

Frames with a Friend

The new fence and proper alignment of my miter saw was just in time. My buddy Casey asked if I could help him create some frames last weekend. He didn’t know what he was getting into doing a project with me. 🙂 Probably took longer than it should have, but we were using pre-finished trim/moulding so I wanted to make sure the result looked nice.

img_1975-2

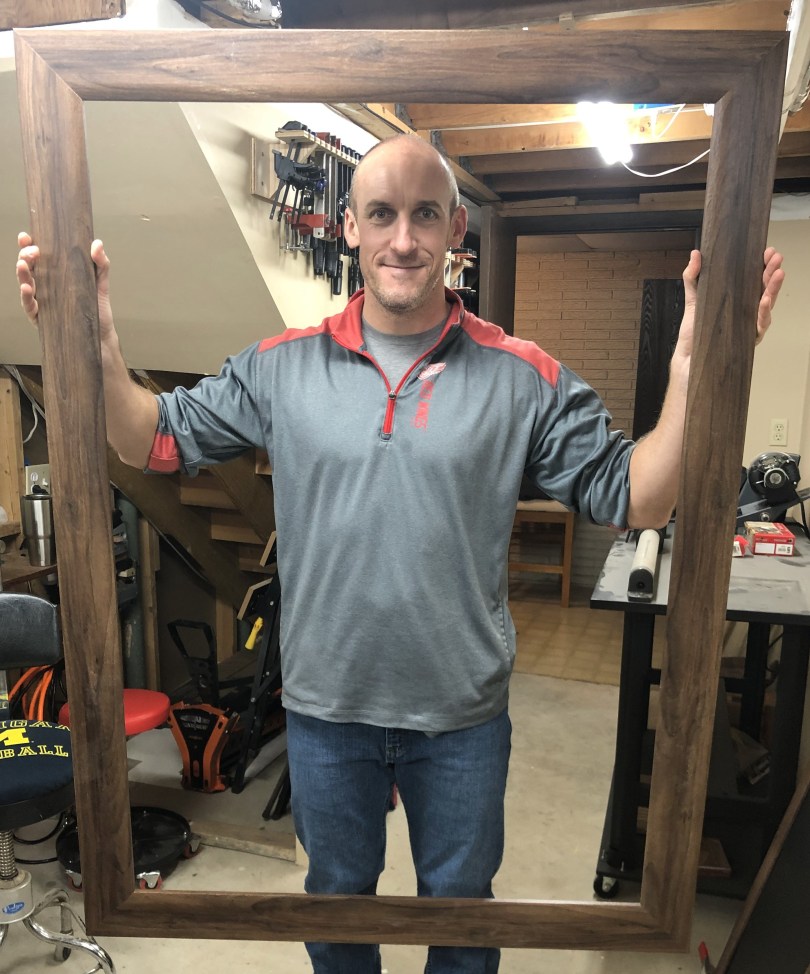
This was the first time I used a strap clamp and it was by far the easiest of the 3 clamping methods we used. The blue tape on the large frame actually worked well too. I was worried when none of my clamping options would fit that frame since it was so large and the trim was over 3 inches wide.

IMG_4202

This really gives a sense for how big this frame is, a little over 3′ x 4′! Below is a shot of it installed in the play room. The wall is painted and has vinyl stickers.

IMG_4214

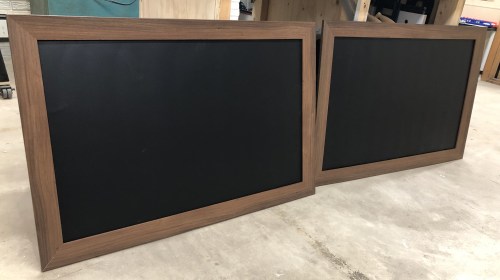
The 2′ x 3′ frames got magnetic chalk boards mounted in them.

img_1985

They went above each boy’s desk.

IMG_4248

The frames turned out better than I expected and it was fun to have someone else in the shop for a project.

Link Dump – 2018/12/22