Whirlpool Dryer Belt Repair

The drum on my Whirlpool LER3624JQ1 dryer stopped spinning, which is the first issue I’ve had in 16 years!

img_2029.jpg

After turning the dryer off, I could hear the motor spin down, so I suspected there was an issue with the belt. The drum would easily spin by hand, which usually means the belt broke. It was really easy to get inside the unit by following some simple steps I found on repairclinic.com. Sure enough, the belt had snapped.

I picked up a new 92-1/4 inch belt for $8 at Lowes and I was back in business.

img_2032

img_2034

img_2033

I love the feeling of fixing something on my own. Like my mom said, maybe I can get another 16 years out of it.

Nailed It

I wanted to make something fun for a few Christmas gifts, so I made some letter magnets.

This fridge magnet (M for Momrik) was for my sister-in-law, Karen since I drew her name in our family gift exchange.

img_2006.jpg

I also made two Ws (Williams) for my friends’ boys to go along with the frames we built.

I bet you’re wondering how the nail got in these. 😉

AdaBoxes 8 & 10

More catching up on electronics stuff that was piled on my desk. Here I unboxed AdaBoxes 8 and 10. Then I assembled 10, which is a sweet device, and loaded some of the code examples. Skip ahead to 17:23 if you only want to check out the demos.

In the past I mentioned I might cancel my AdaBox subscription, which I did after box #8. On social media and in their YouTube shows Adafruit has been pretty much telling you what’s in the next box, which has been nice. I knew #9, based on their HalloWing board, didn’t interest me. Then when I realized #10 was going to be the NeoTrellis and subscriptions were still open late in the quarter I jumped in. I plan to make a game-time decision each quarter from here on out.

Frames with a Friend

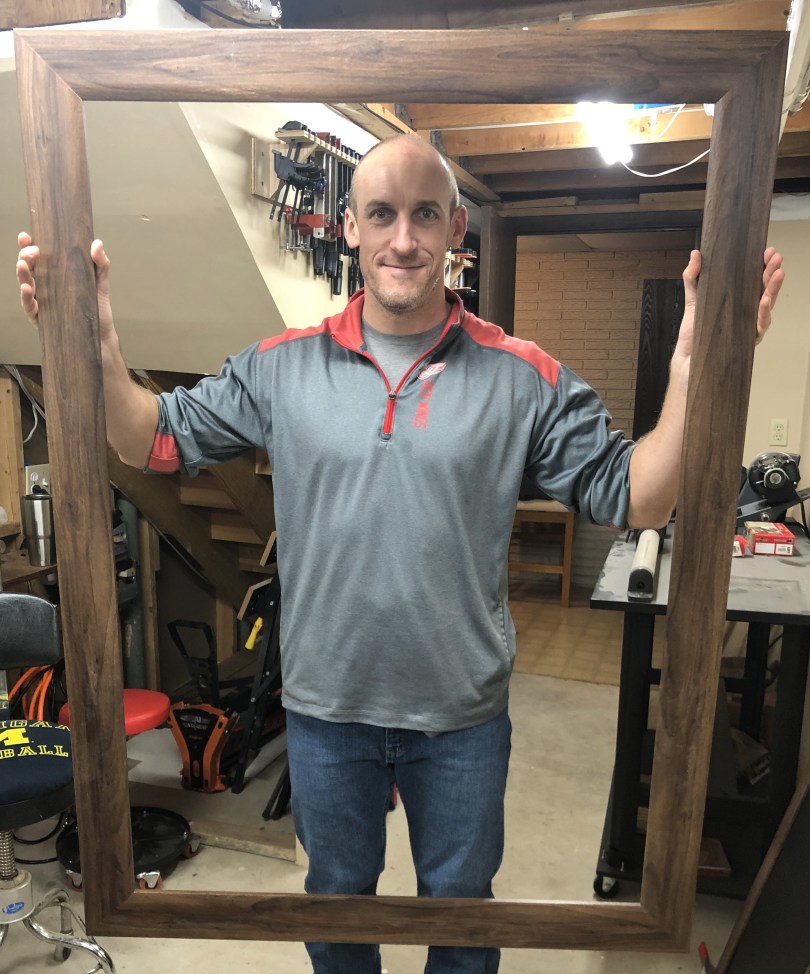
The new fence and proper alignment of my miter saw was just in time. My buddy Casey asked if I could help him create some frames last weekend. He didn’t know what he was getting into doing a project with me. 🙂 Probably took longer than it should have, but we were using pre-finished trim/moulding so I wanted to make sure the result looked nice.

img_1975-2

This was the first time I used a strap clamp and it was by far the easiest of the 3 clamping methods we used. The blue tape on the large frame actually worked well too. I was worried when none of my clamping options would fit that frame since it was so large and the trim was over 3 inches wide.

IMG_4202

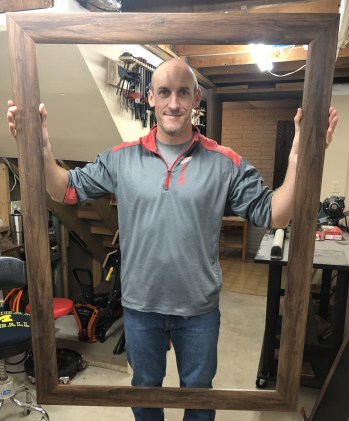
This really gives a sense for how big this frame is, a little over 3′ x 4′! Below is a shot of it installed in the play room. The wall is painted and has vinyl stickers.

IMG_4214

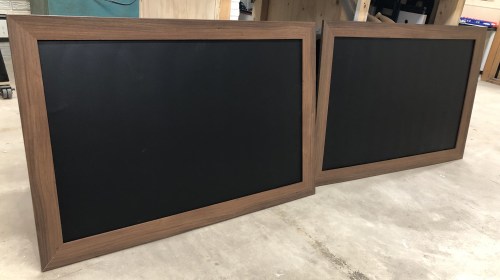
The 2′ x 3′ frames got magnetic chalk boards mounted in them.

img_1985

They went above each boy’s desk.

IMG_4248

The frames turned out better than I expected and it was fun to have someone else in the shop for a project.

Link Dump – 2018/12/22


Making a Better Jig for the General Tools Adjustable Pocket Hole Jig

Last year I bought the General Tools Adjustable Pocket Hole Jig (#854). I paid about $35 at Home Depot.

general-tools-jigs-854-64_1000

I’ve found it a pain in the ass having to screw/unscrew the clamping mechanism. Without any dust collection, it makes a mess too. I figured I could come up with something similar to the pocket hole systems that run $100 or more. So I made a jig for the jig.

I bought a toggle clamp at an estate sale (maybe $3?), which has been sitting on a shelf begging to be used. The other material was scrap wood and a $1 can of white spray paint I wanted to get rid of. The build was sloppy, but I wanted something quick and dirty.

IMG_1957

IMG_1967

The toggle clamp isn’t perfect but it seemed to work fine in my quick tests. I can’t believe how well the dust port works though. At the end of the video you can see a comparison between the original and my improved version.

The video is a really rough cut just like the build.