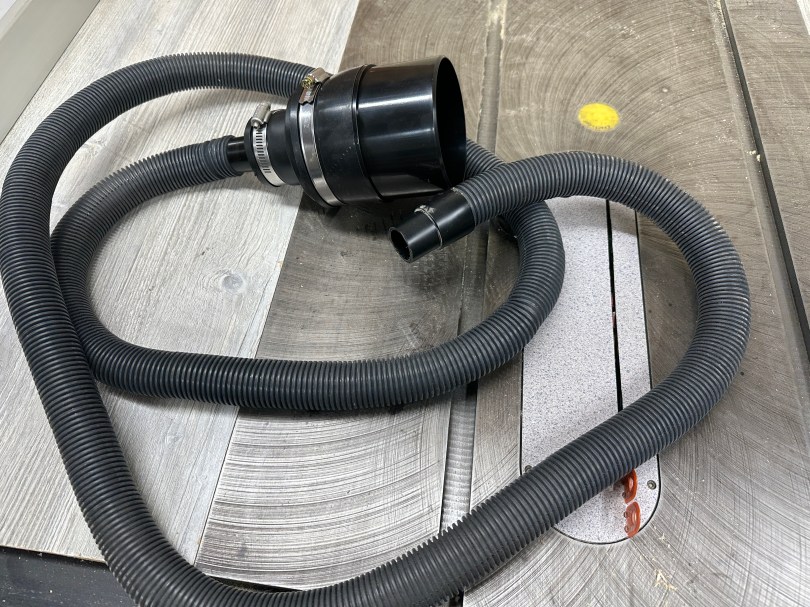
I’ll have to create some adapters for tools with dust ports smaller than 4″, though the hose kit did come with some for use with 2.5″ ports. Now that I have a system with enough power I can build something around the miter saw.
I think it was time to finally knock this off my todo list!
My table saw cart got dust collection built in, I set something up for the jointer, and my planer has an easy connection, but the rest of the major dust creation tools have been neglected far too long. Each machine needed a dedicated solution that was easy to connect to the main line or I wouldn’t bother to use any dust collection at all. I pulled out some hoses I picked up at estate sales years ago and bought couplers and connectors that would fit the main line.
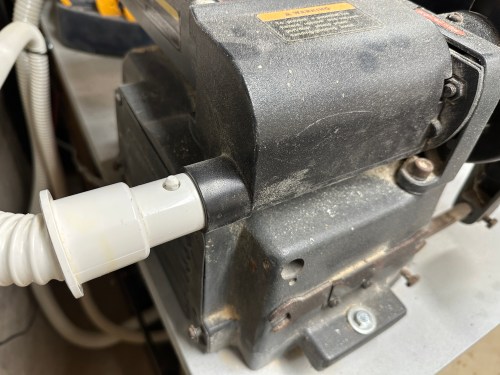
The band saw was a quick solution by using a coupler and a reducer on the port at the back.
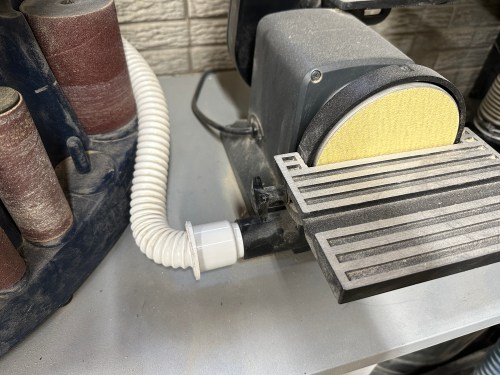
My sanding cart has three machines, four dust collection ports, and five places to sand. Three of those ports are the same size and after cutting away some excess plastic on a hose it was the perfect fit. I zip tied the hose to a bracket on the back of the station and routed the hose out to the bottom front. It’s easy to swap the small end of the hose from port to port. My spindle sander had a larger port, so I used a coupler and another old hose, feeding it under the drawers as well. I can easily connect the main line to either hose.
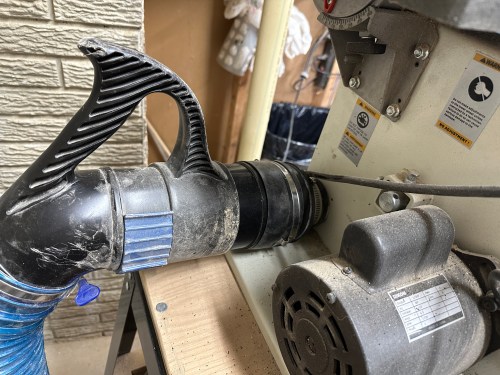
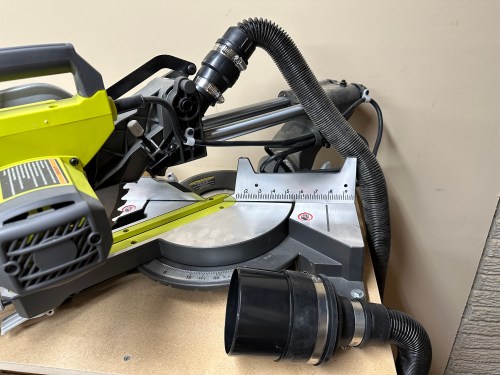
Some fittings on another hose got my new miter saw all set. Time will tell how well dust collection works here because miter saws are notoriously bad at it. I may have to build a shroud of some kind behind the blade.
The final hose got a fitting to work with my random orbital sander, track saw, and circular saw. It’ll remain a portable hose I pull out to use with those tools or for corner clean up around the shop.
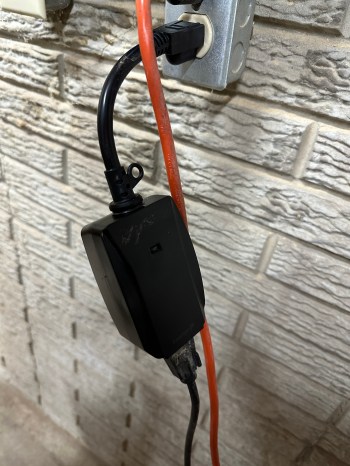
Even though I’m never more than a few steps away from the dust collector, having to go back and forth to turn it on and off was a nuisance. I’d seen several remote control solutions for $50-100, which always seemed like too much, so planned to build my own. Then a recent Amazon search came up with a $13 product so I bought one. It works great!
Feels good to finish this project. I’m looking forward to breathing less dust and not having to clean up as much.
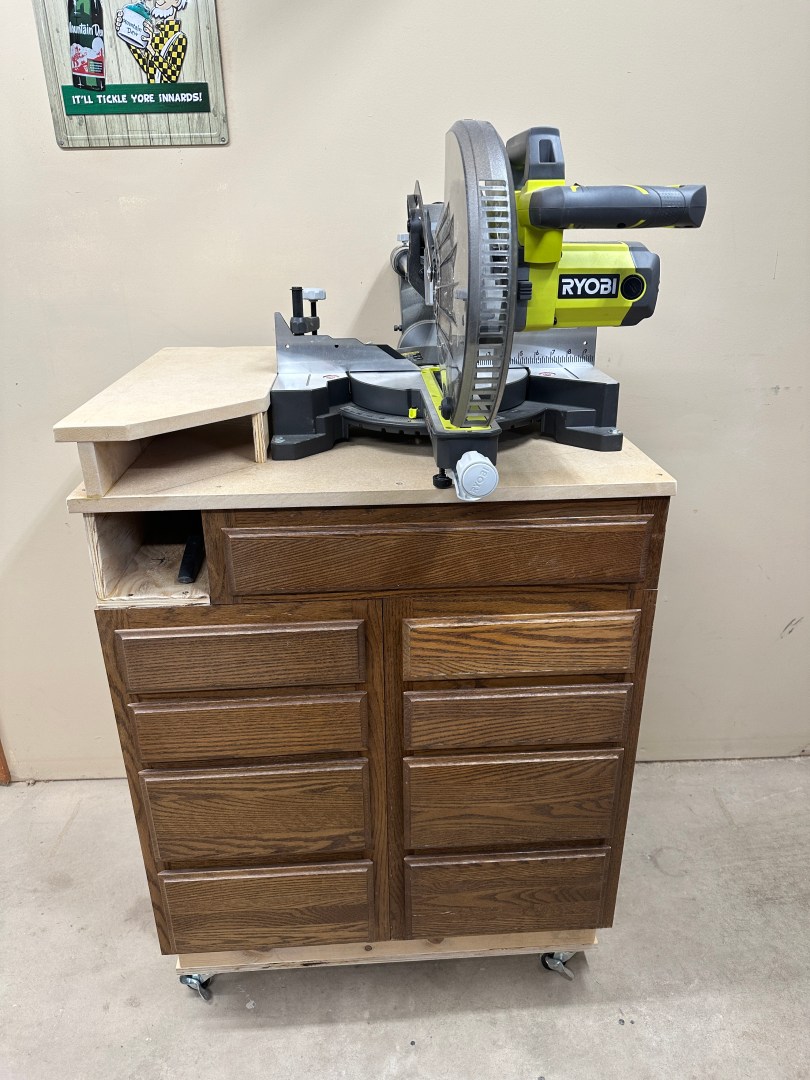
Not having a blade guard always made me nervous and features of newer saws made me jealous. Things like a slider, positive angle stops, and a cut line are really nice to have. This new saw is beautiful and was definitely the right price!
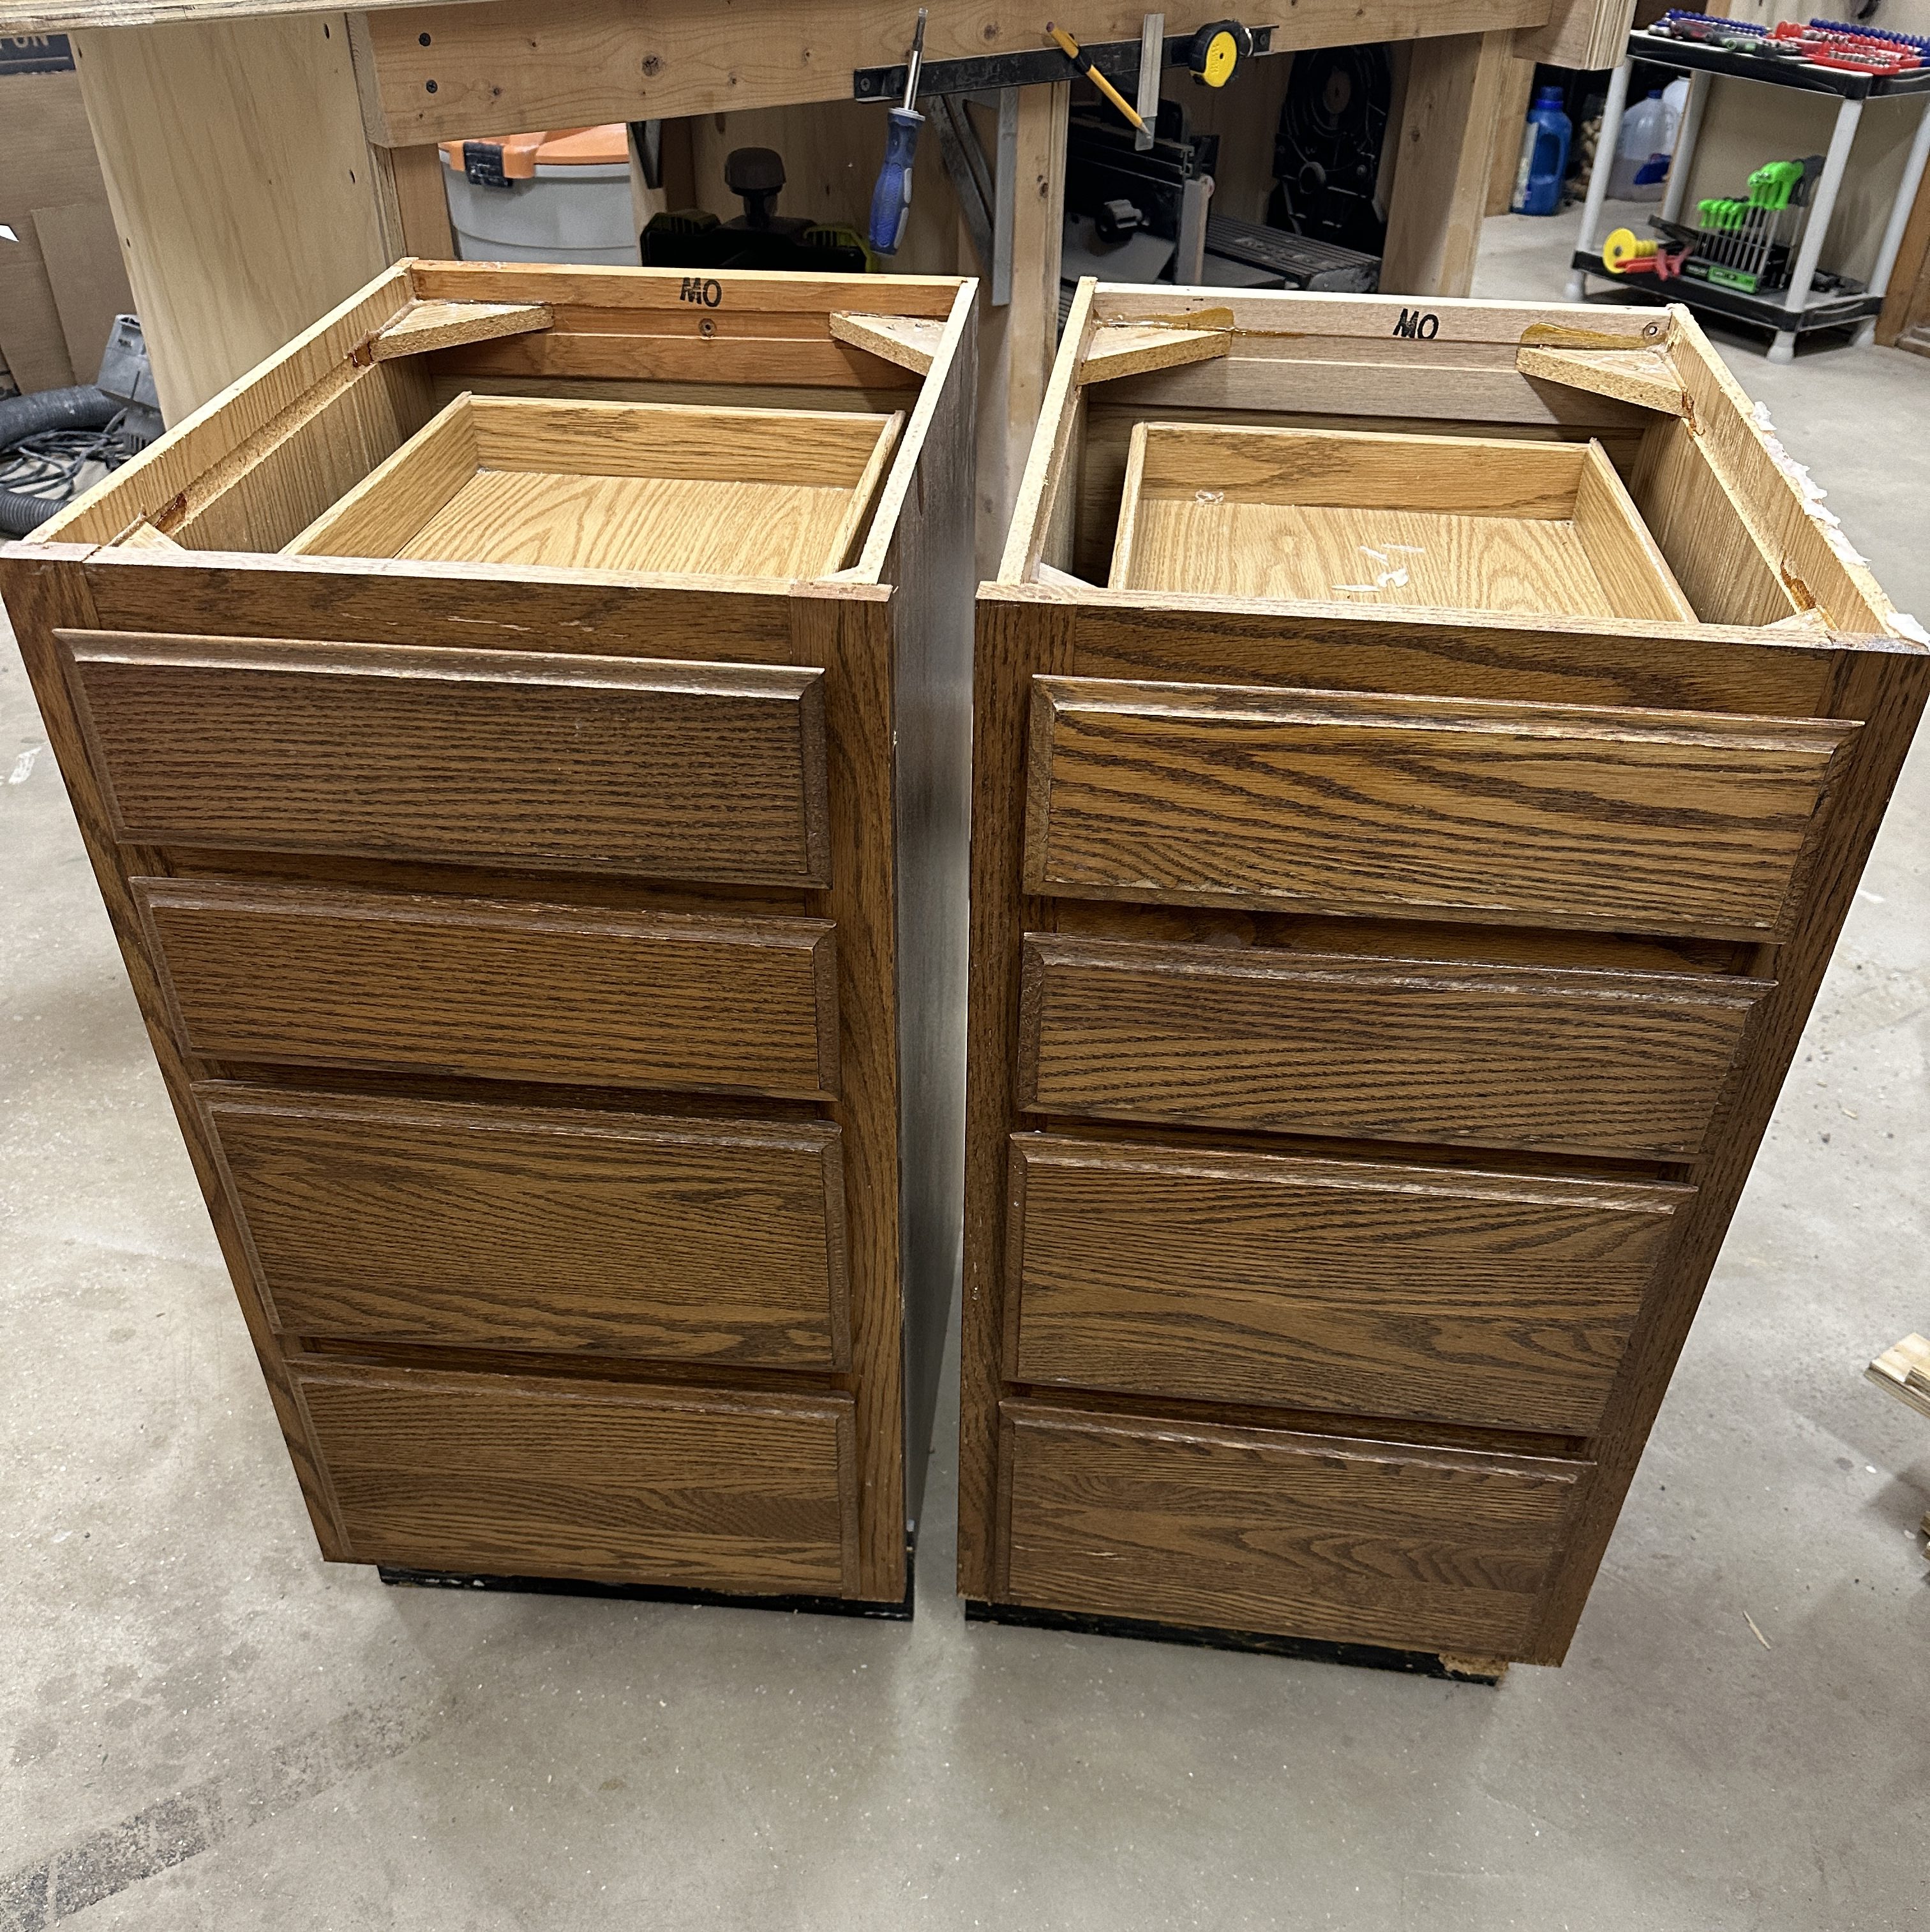
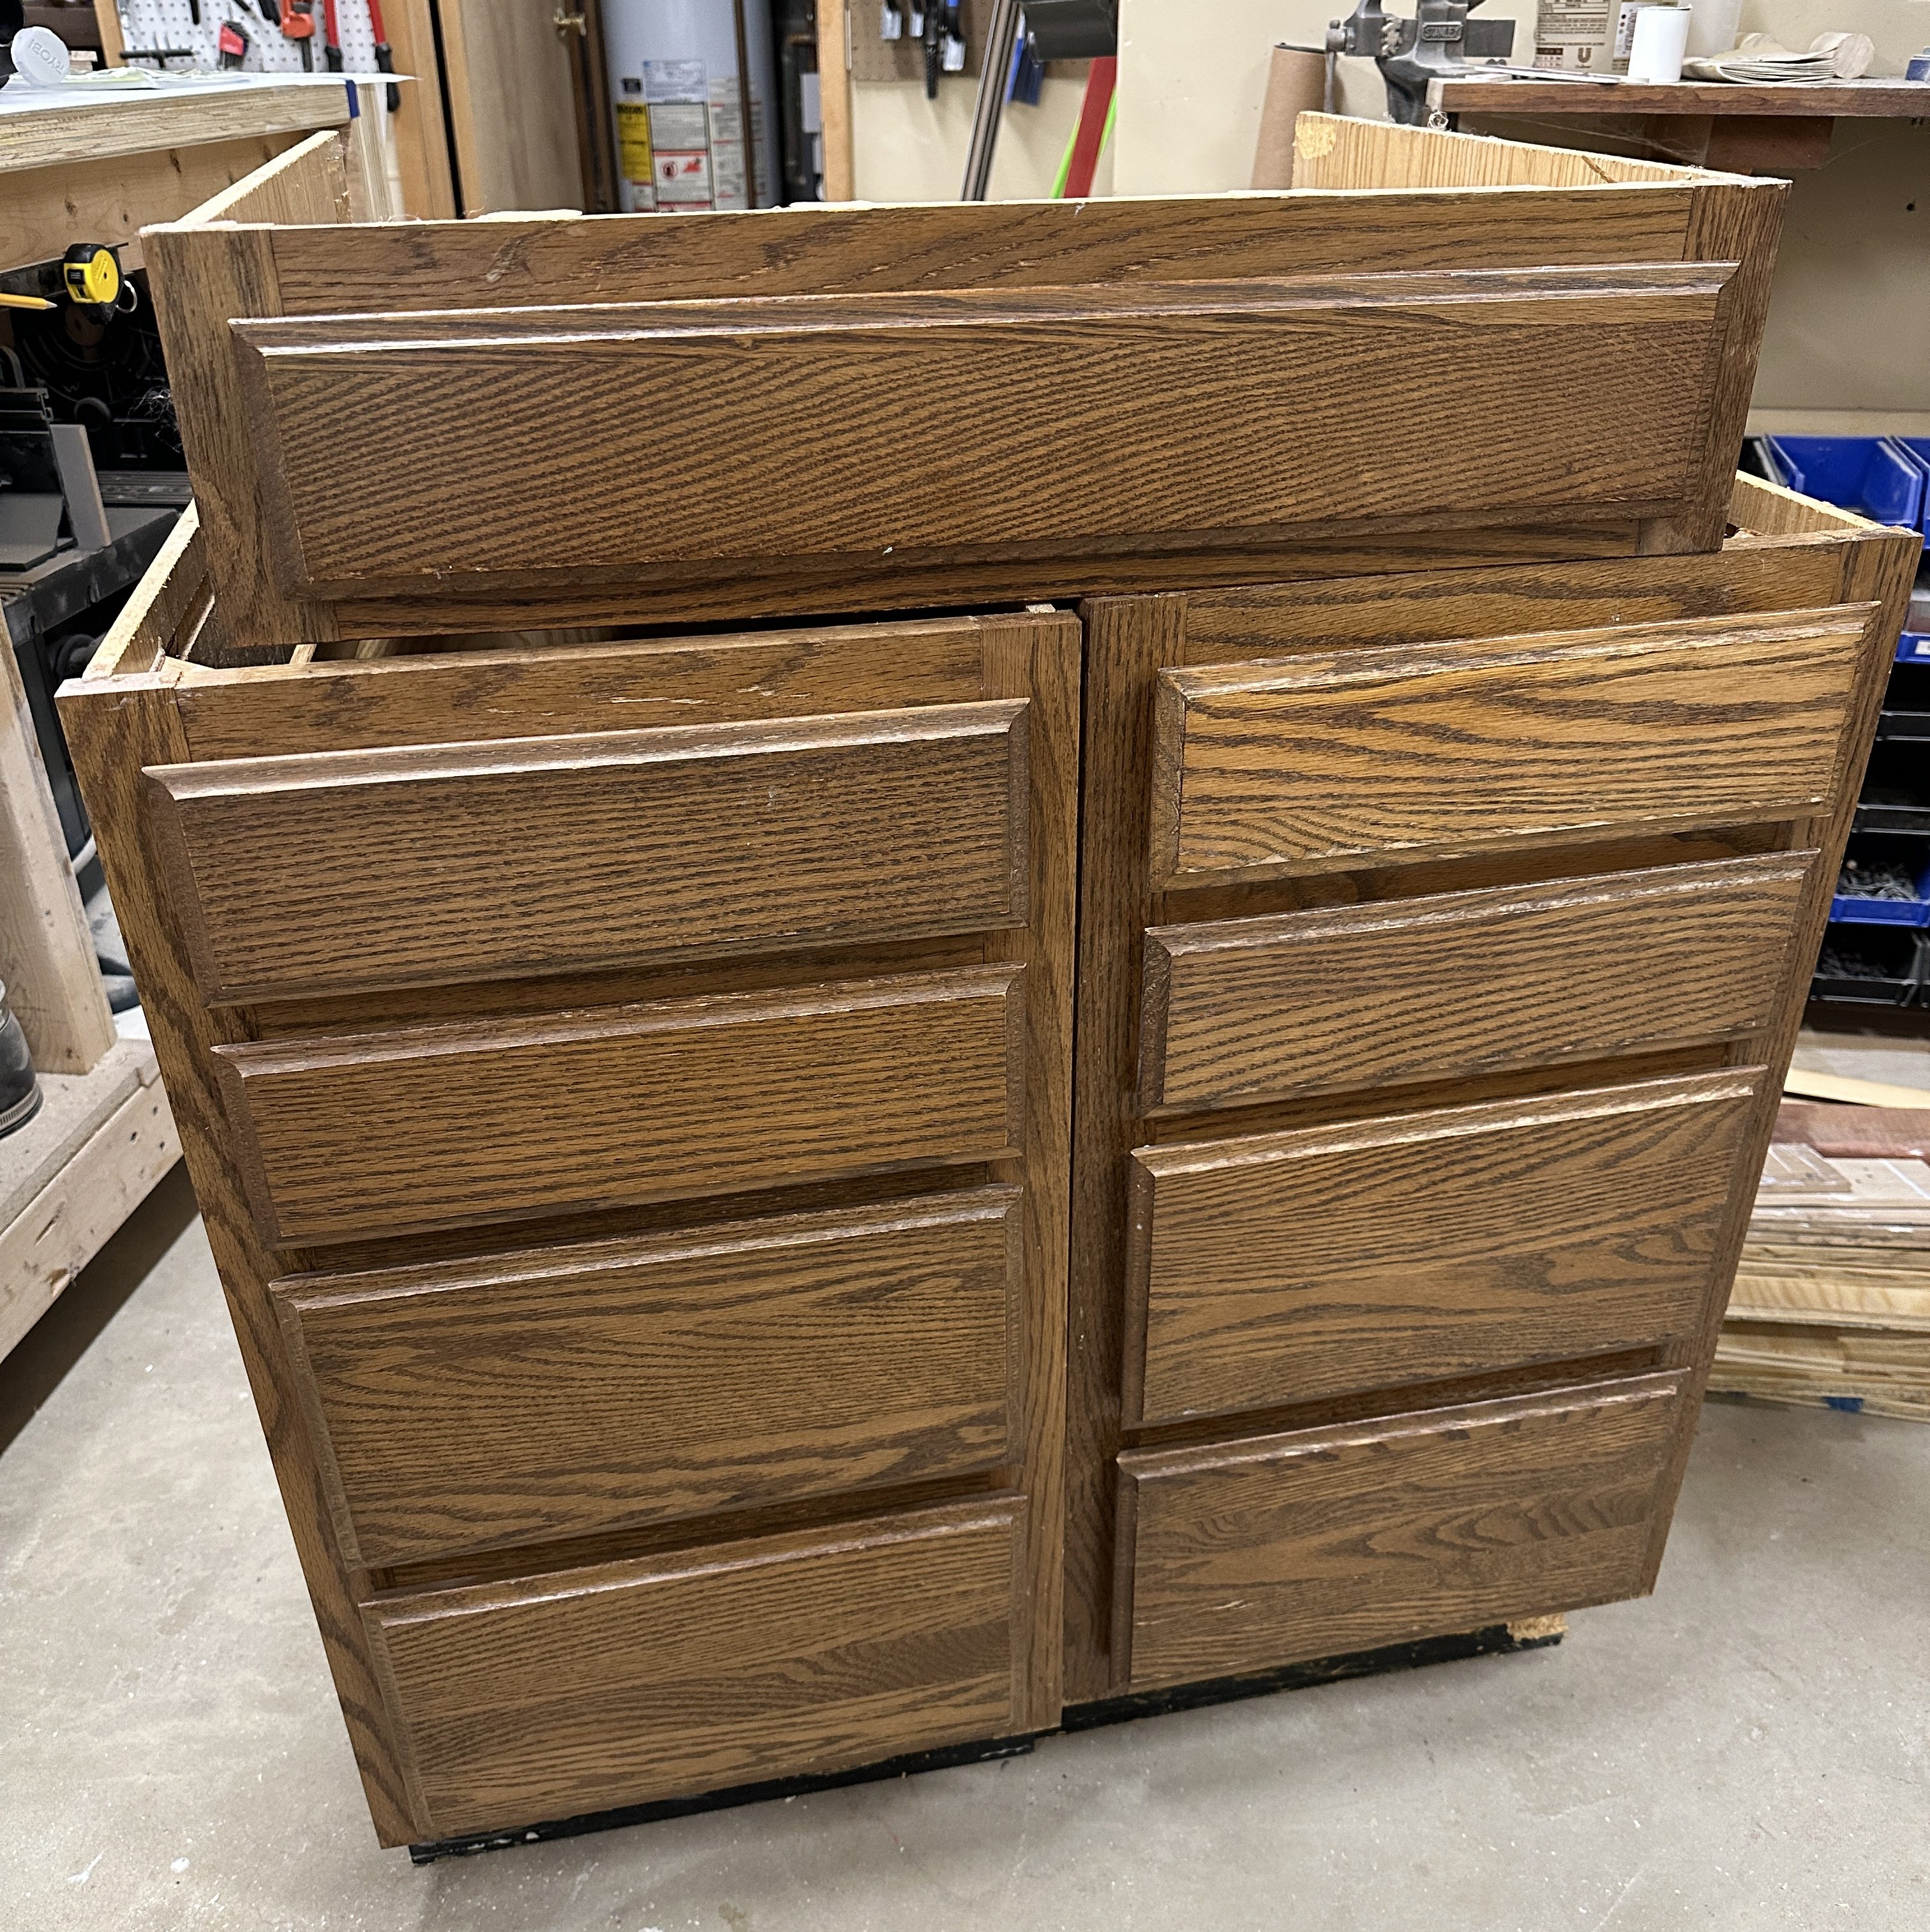
Due to the sliding feature, I needed a lot more depth in my space to use the saw. I also knew I wanted a mobile cart because the stand from the other one always stayed where it was, which was often in the way. I had saved the two side cabinets from the bathroom vanity and still had a wide drawer from the kitchen desk I removed.
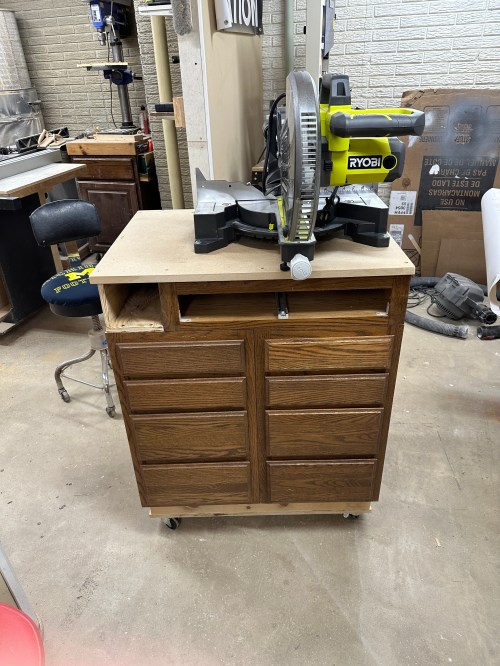
I combined the cabinets and added reinforcements all over to give more stability and connection points because the cabinet walls were so shitty. I made a base, replaced the toe kick, added casters, attached the drawer, and whipped up a little cubby.
The base of an old treadmill has been sitting in my basement, which was a decent piece of MDF. I removed the plastic and chopped it up to make the top of my stand.
The final thing to do was make a riser to the left of the saw for more support while making cuts. The cart turned out great and is so easy to move around.
I took the opportunity to clean the shop and do some rearranging. I moved the drill press out of the dusty area and pulled the band saw in. I also moved the jointer out since it doesn’t get used much and is an awkward size, so it was also in the way. It feels like I have a whole new shop and being able to move the miter saw around is going to be a huge improvement to my workflows.
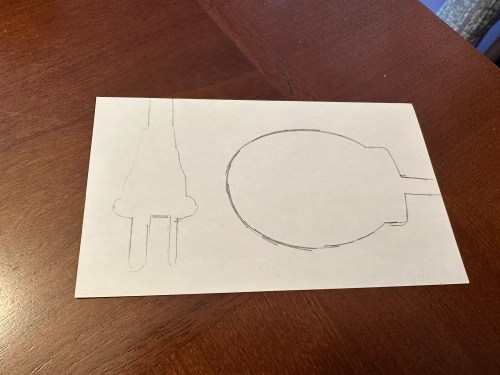
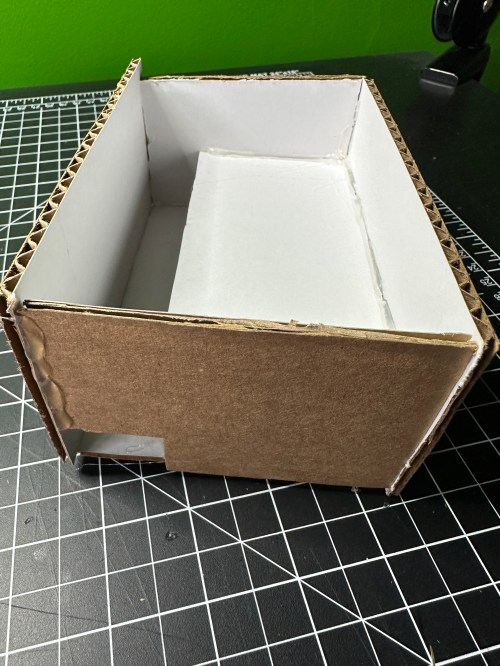
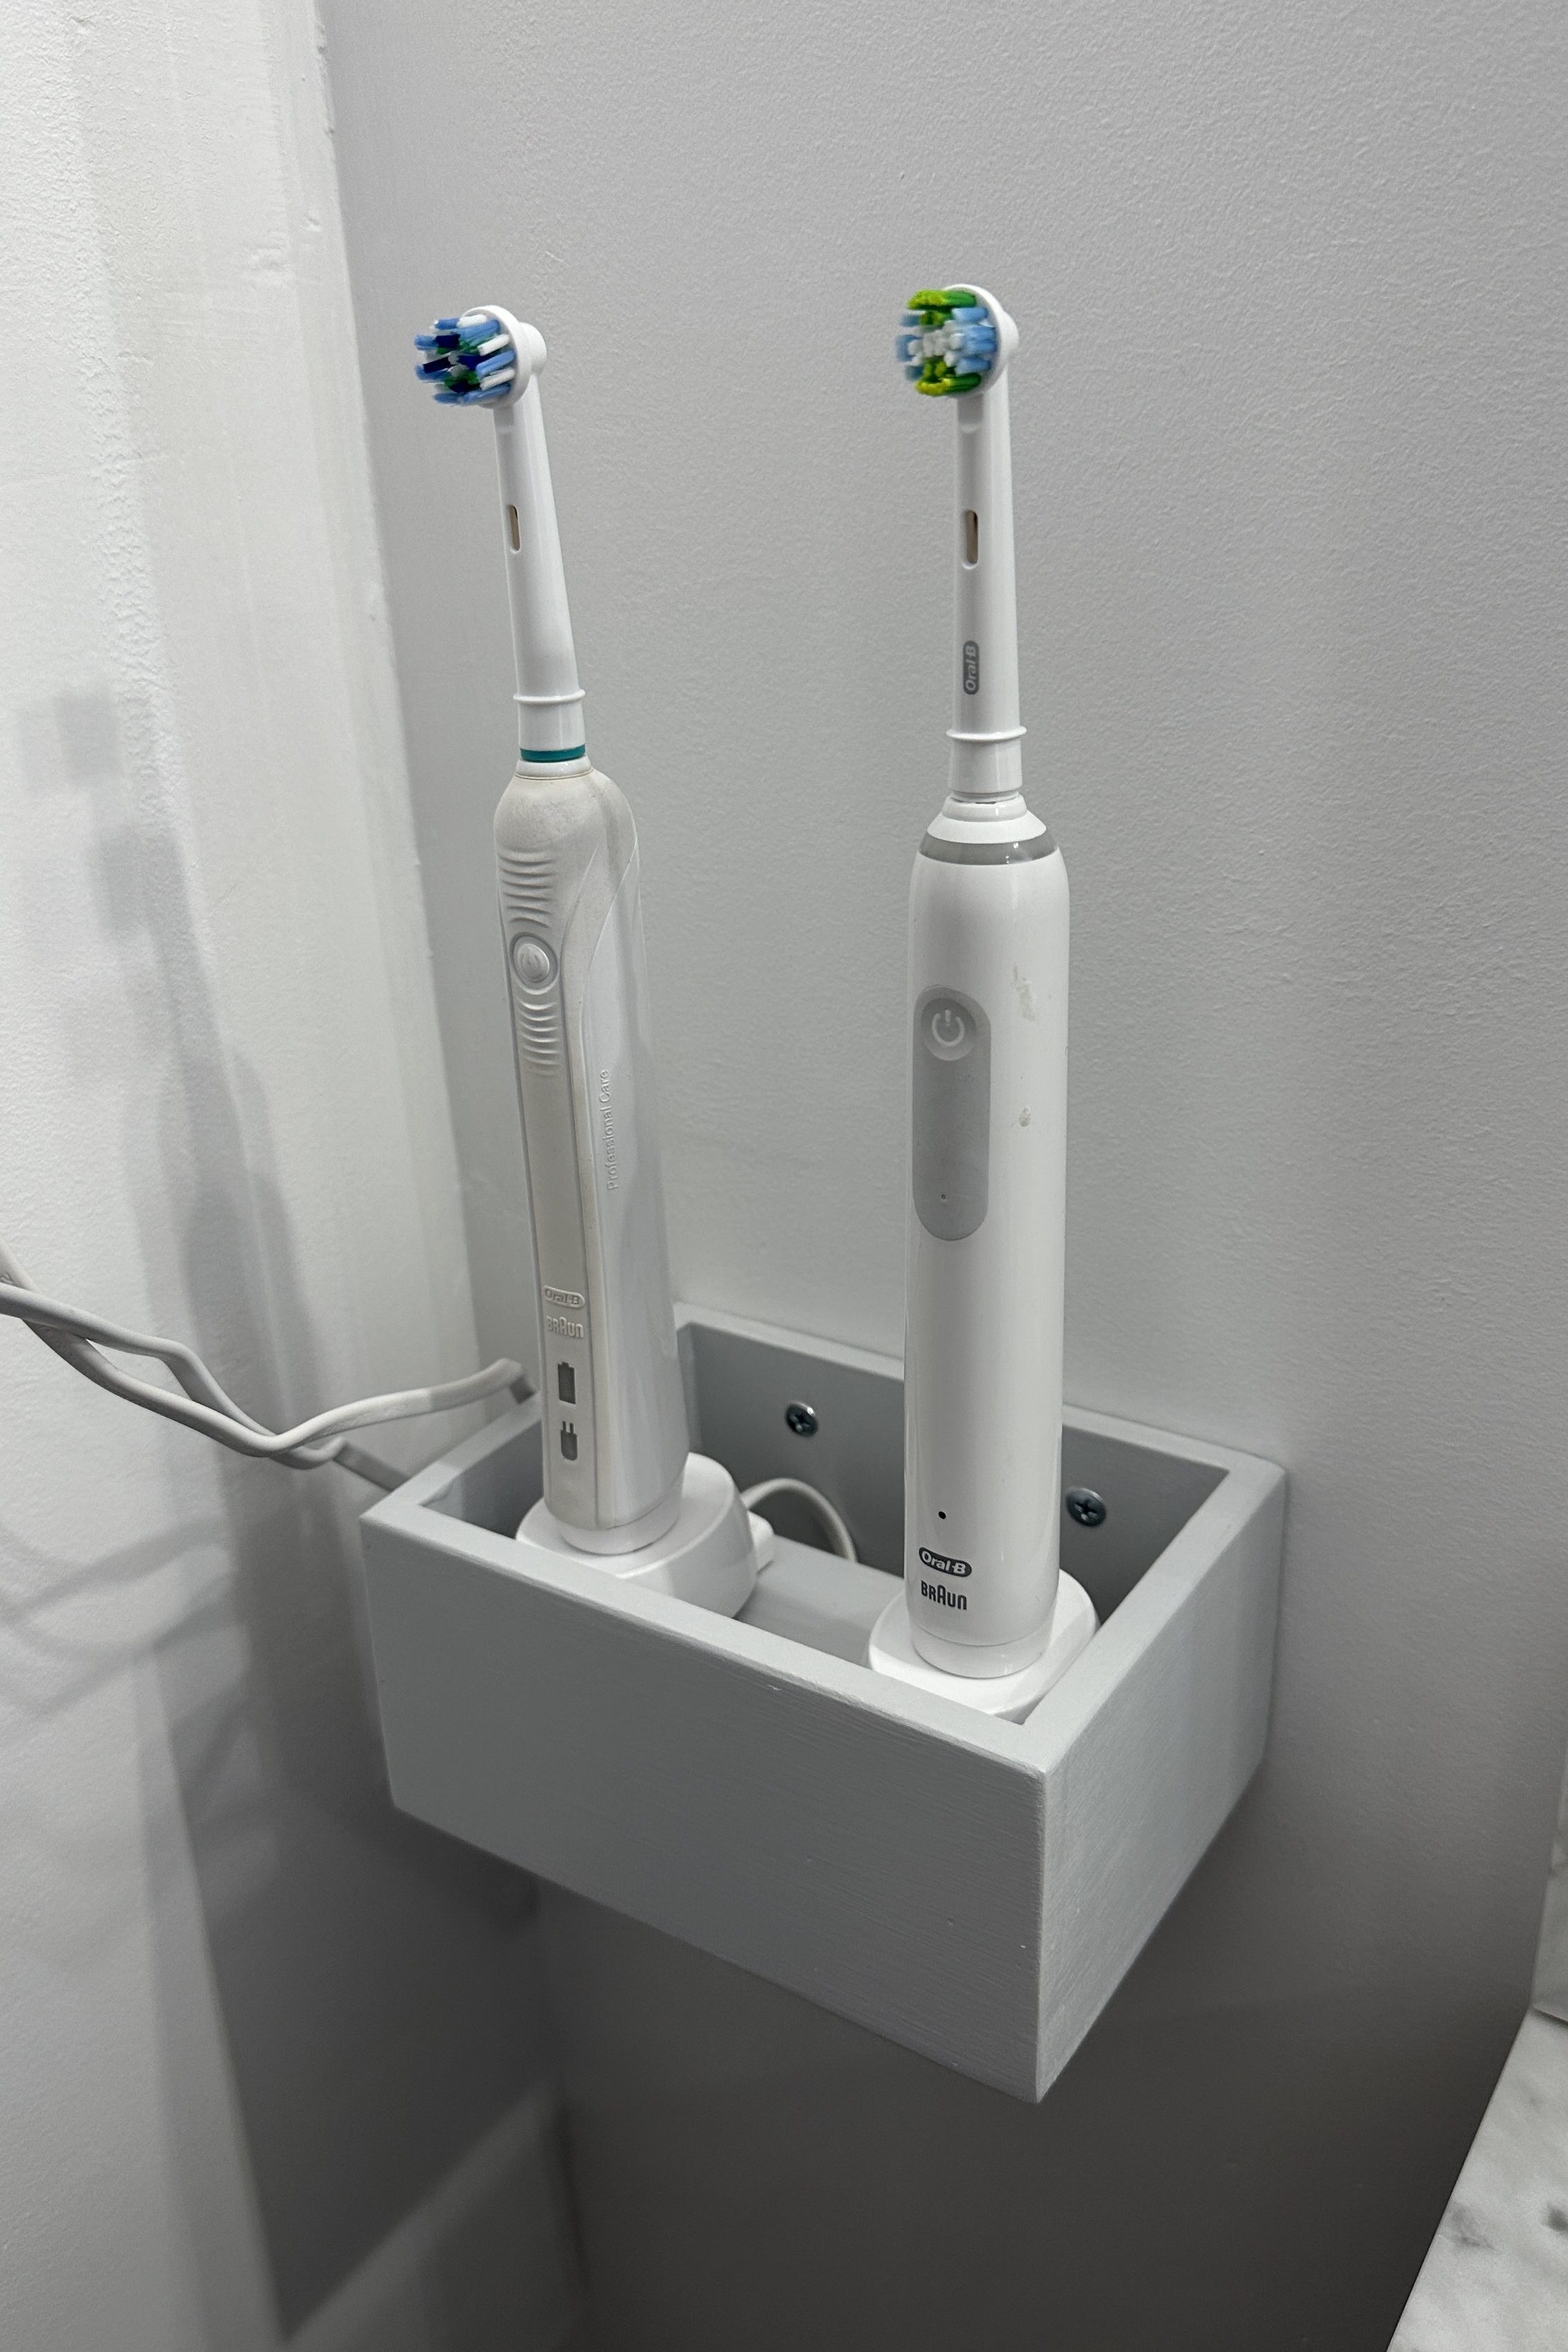
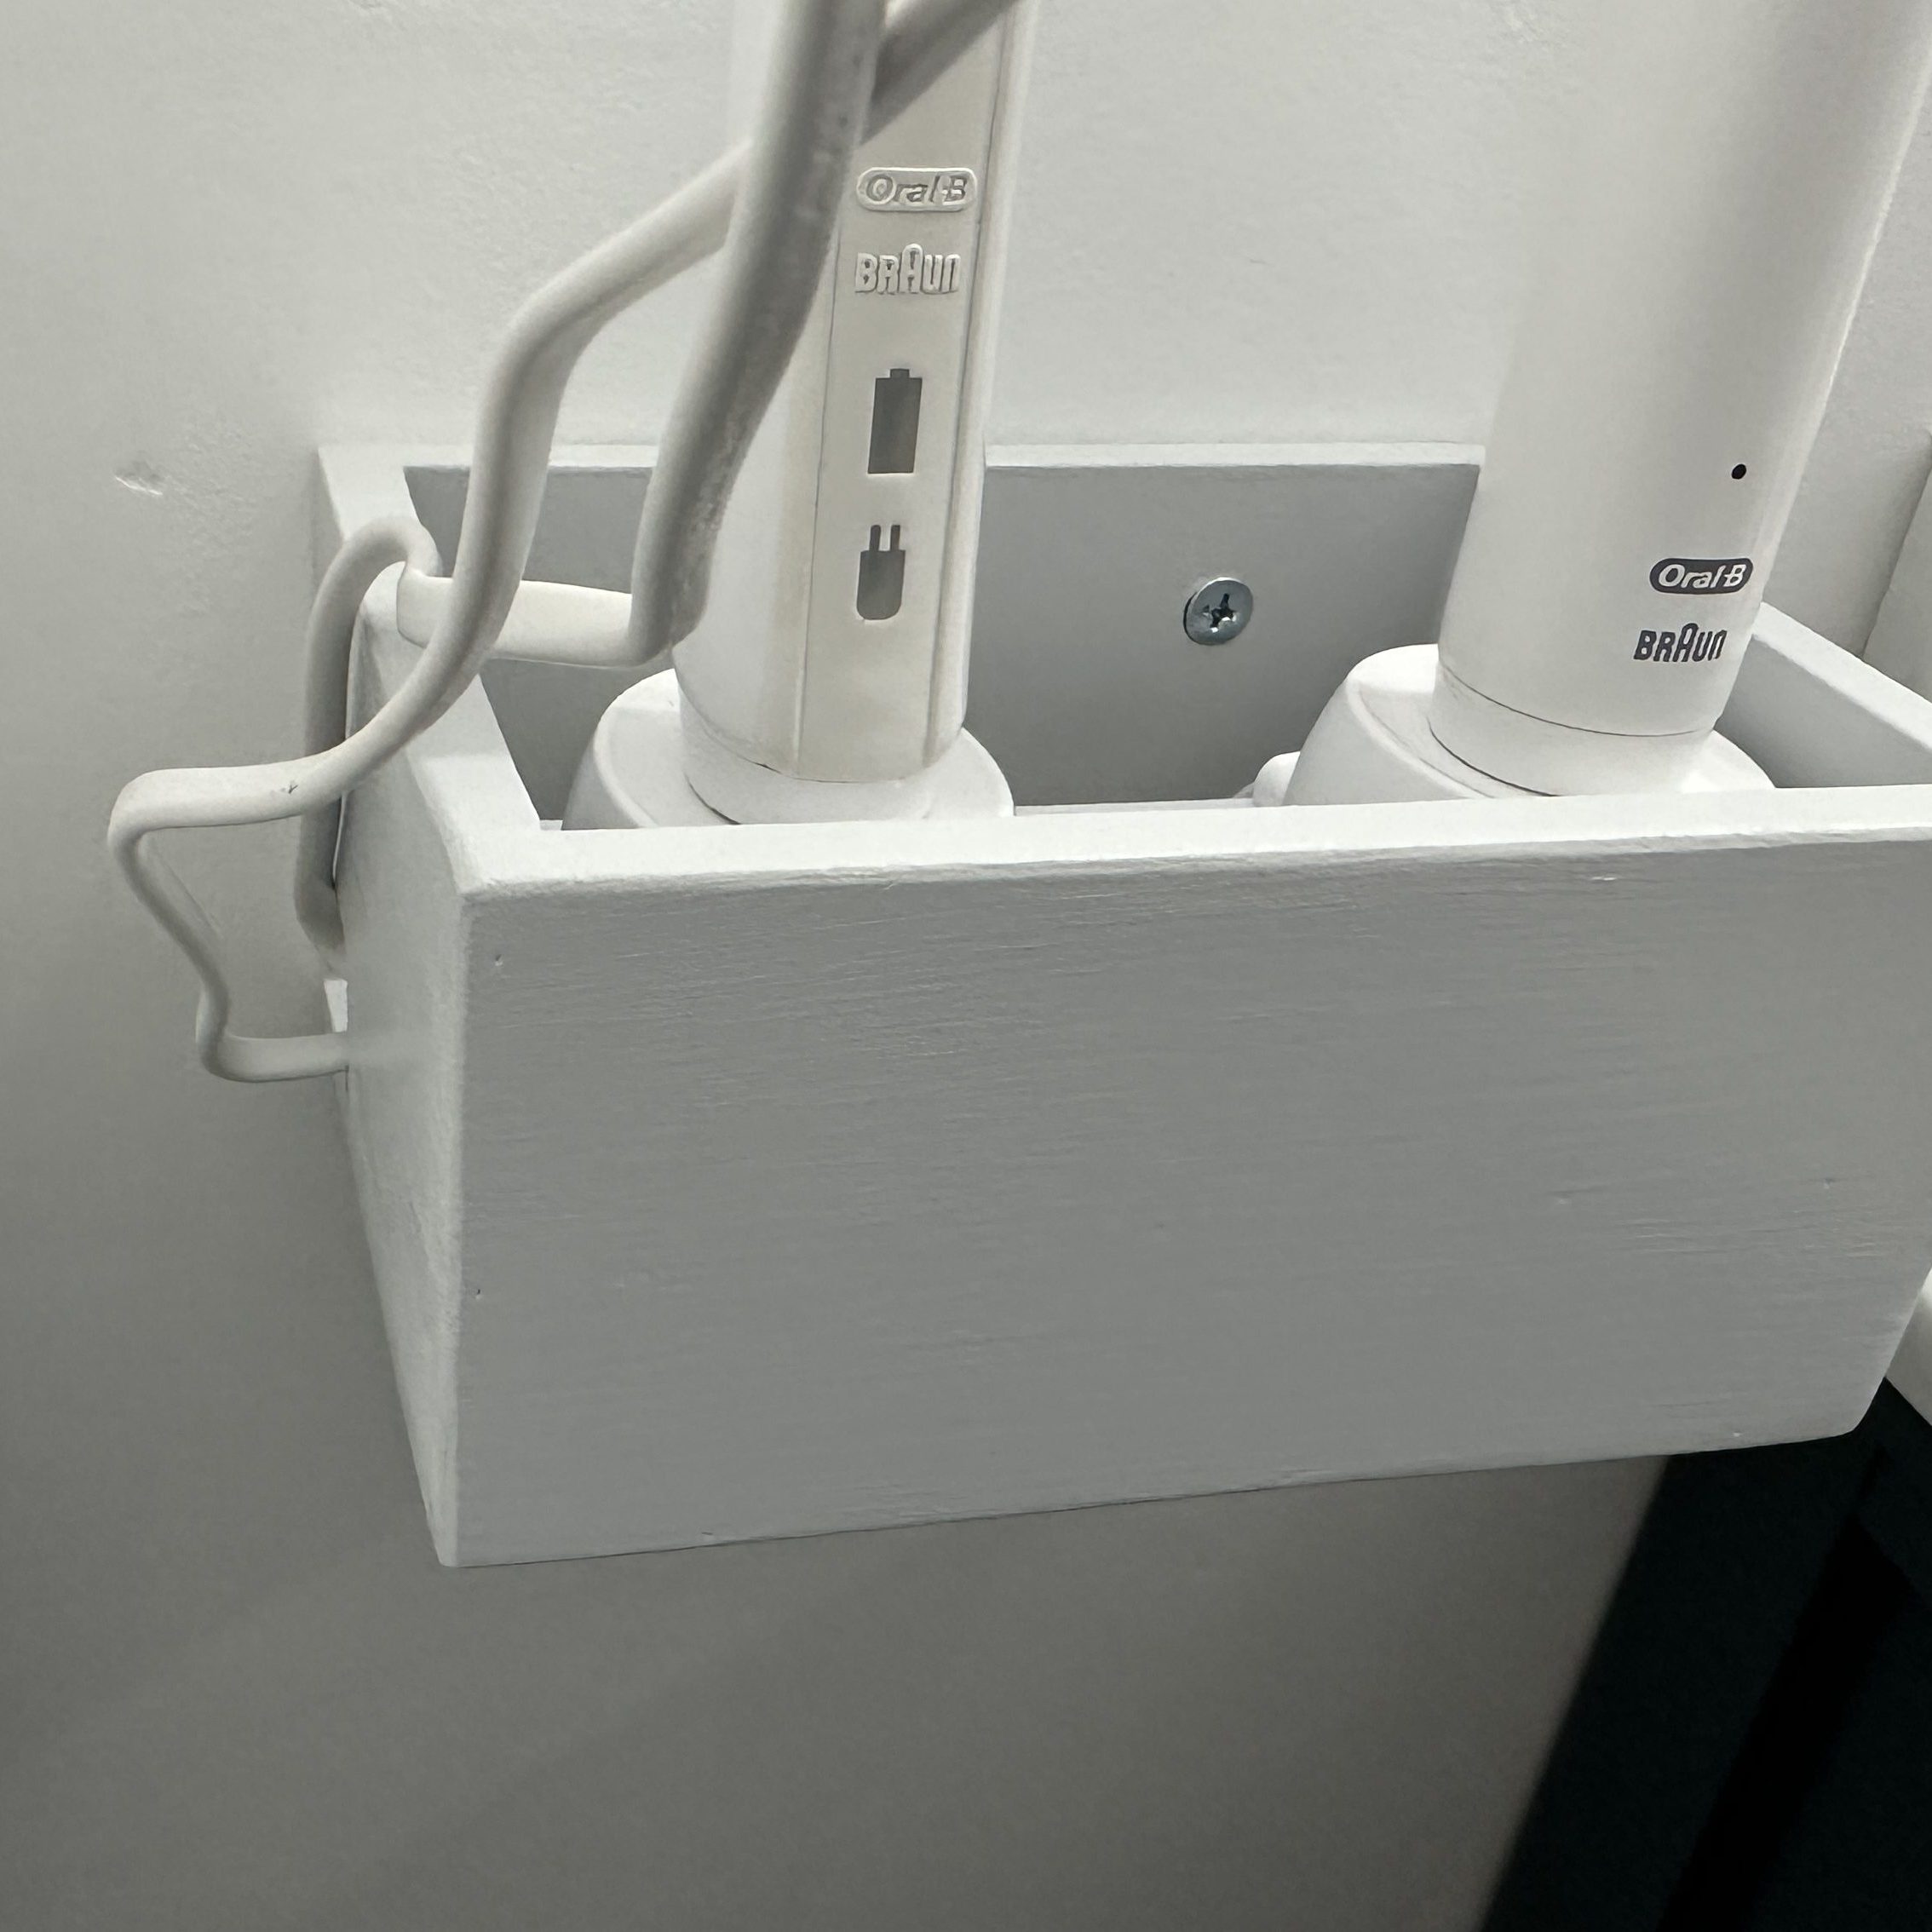
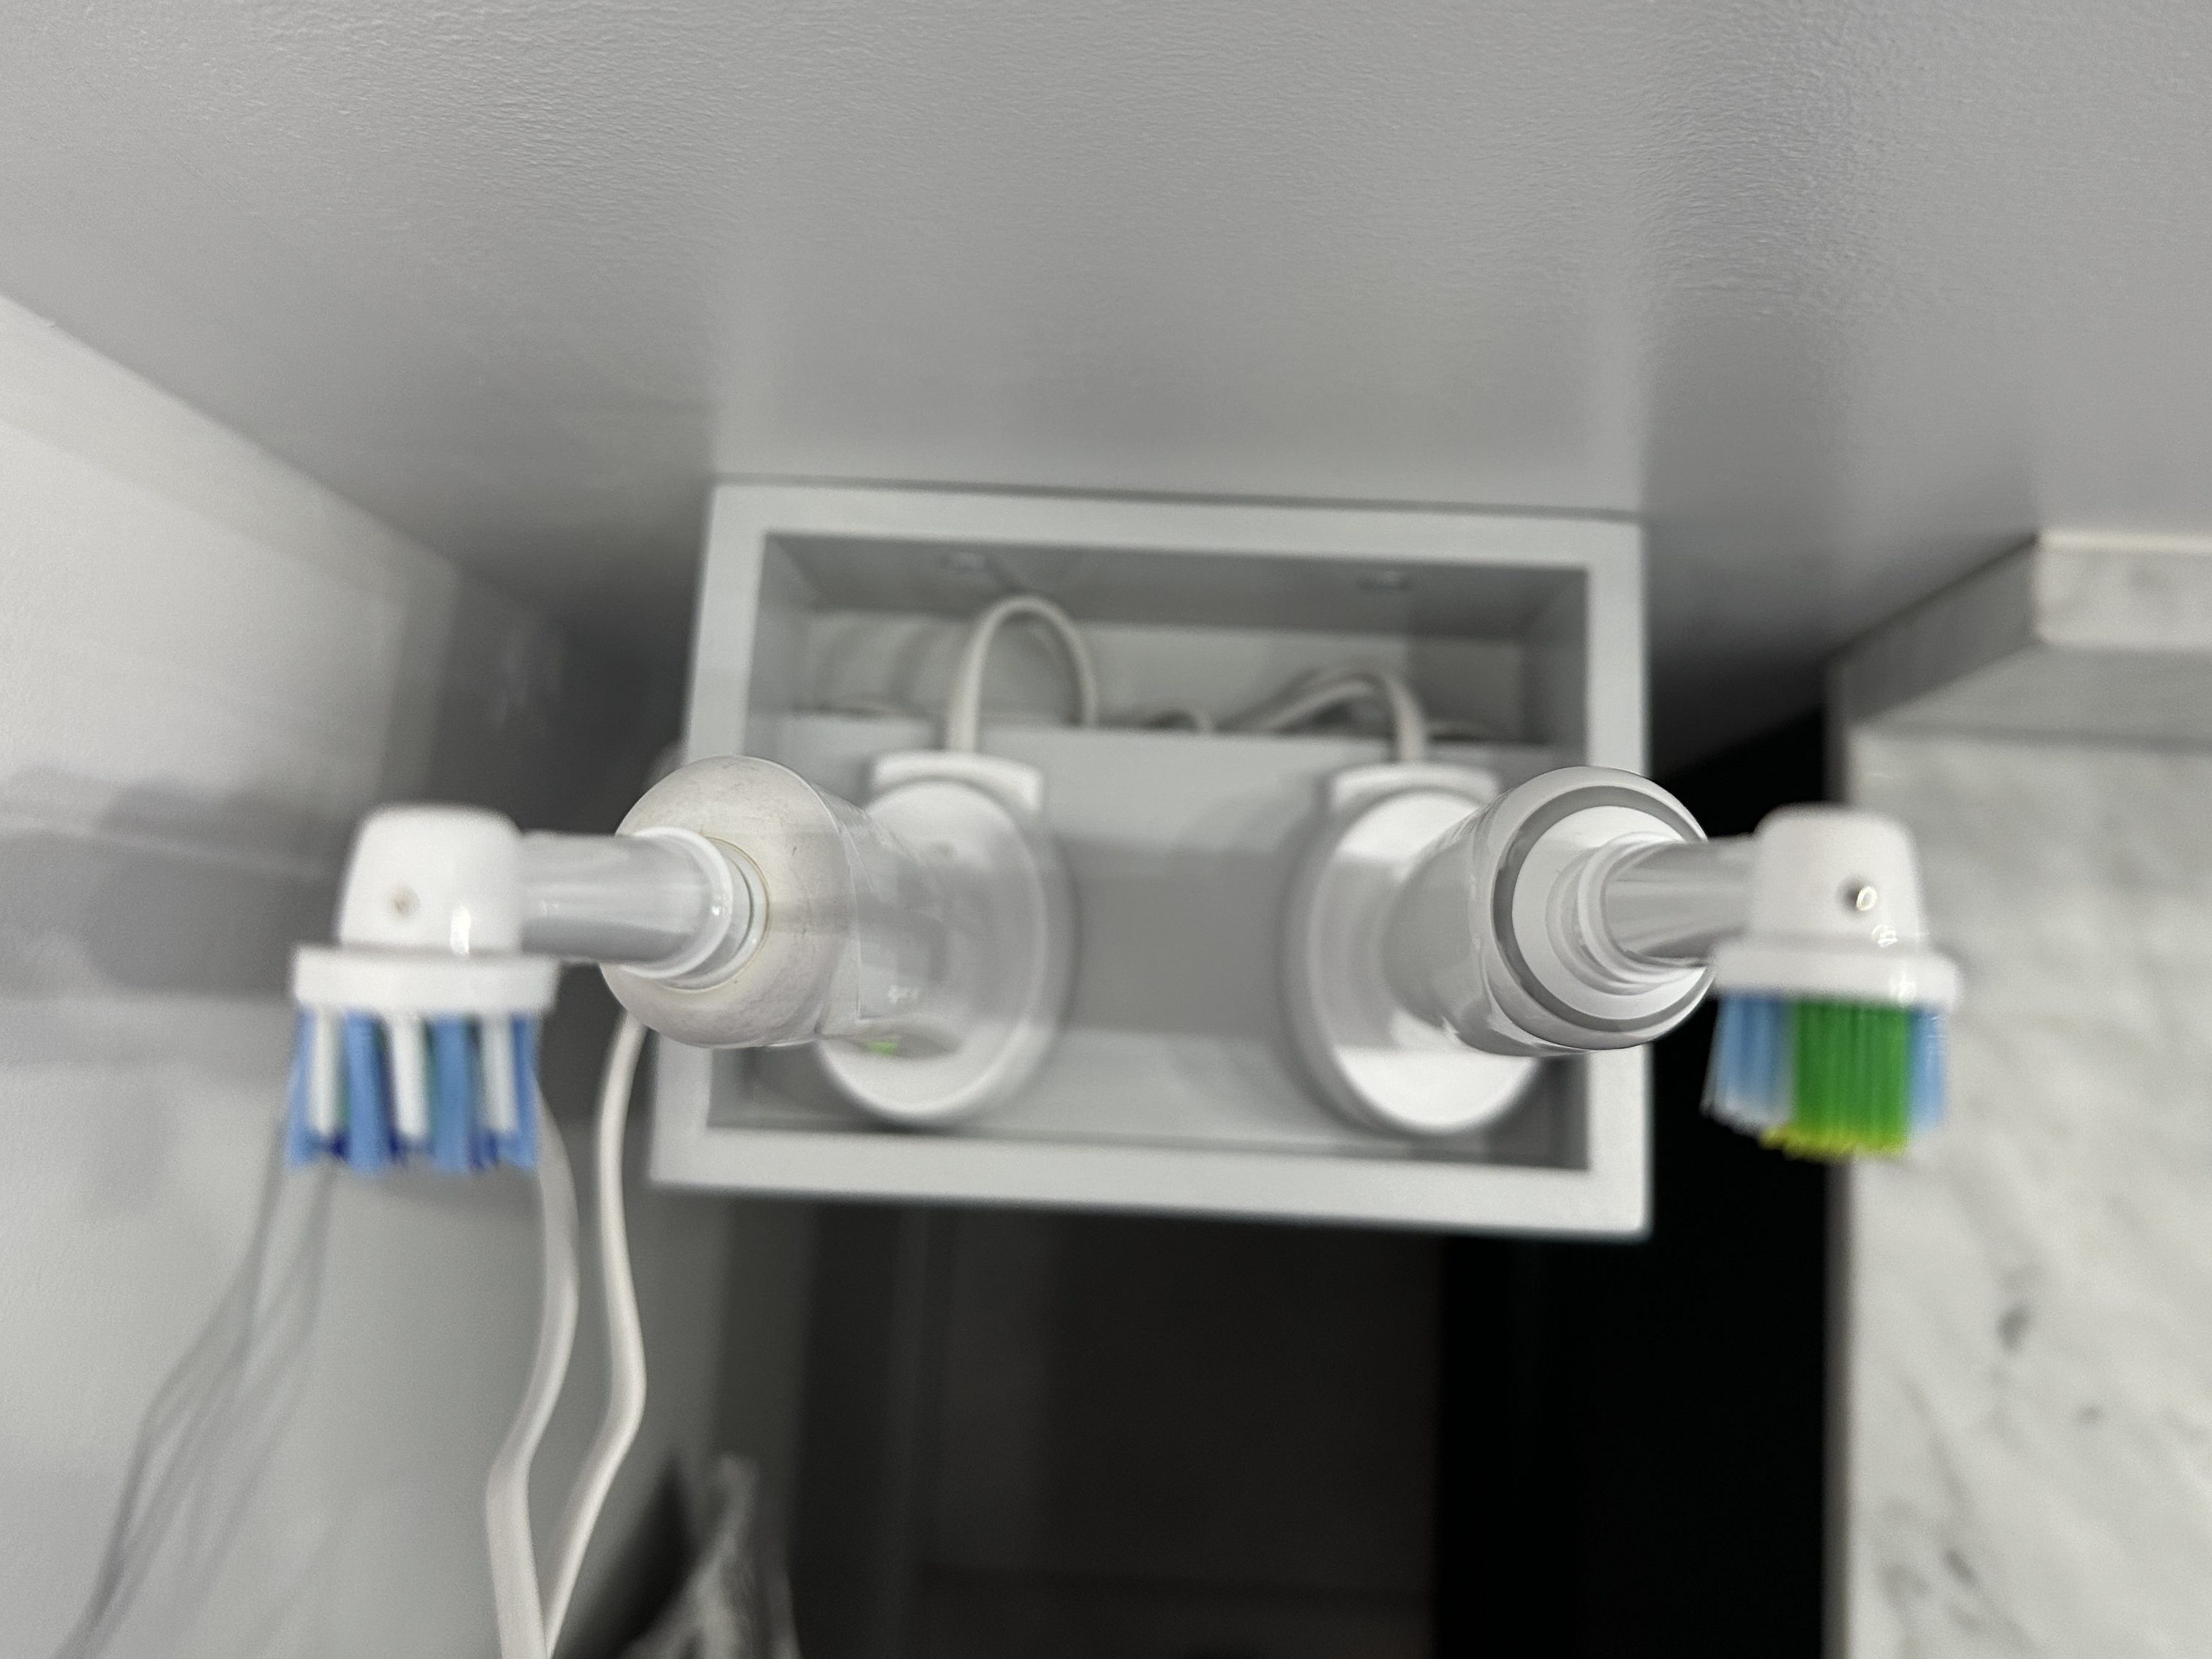
With the counter of our new vanity not extending to the wall where the outlet is, we wanted a dedicated spot for our electric toothbrushes. I outlined the base of one charger and then made a rough model with cardboard and hot glue.
After a successful test fit with the brushes, I moved over to wood and used all scraps since it was getting painted.
It was a simple build, a lot of fun, and definitely a functional one.
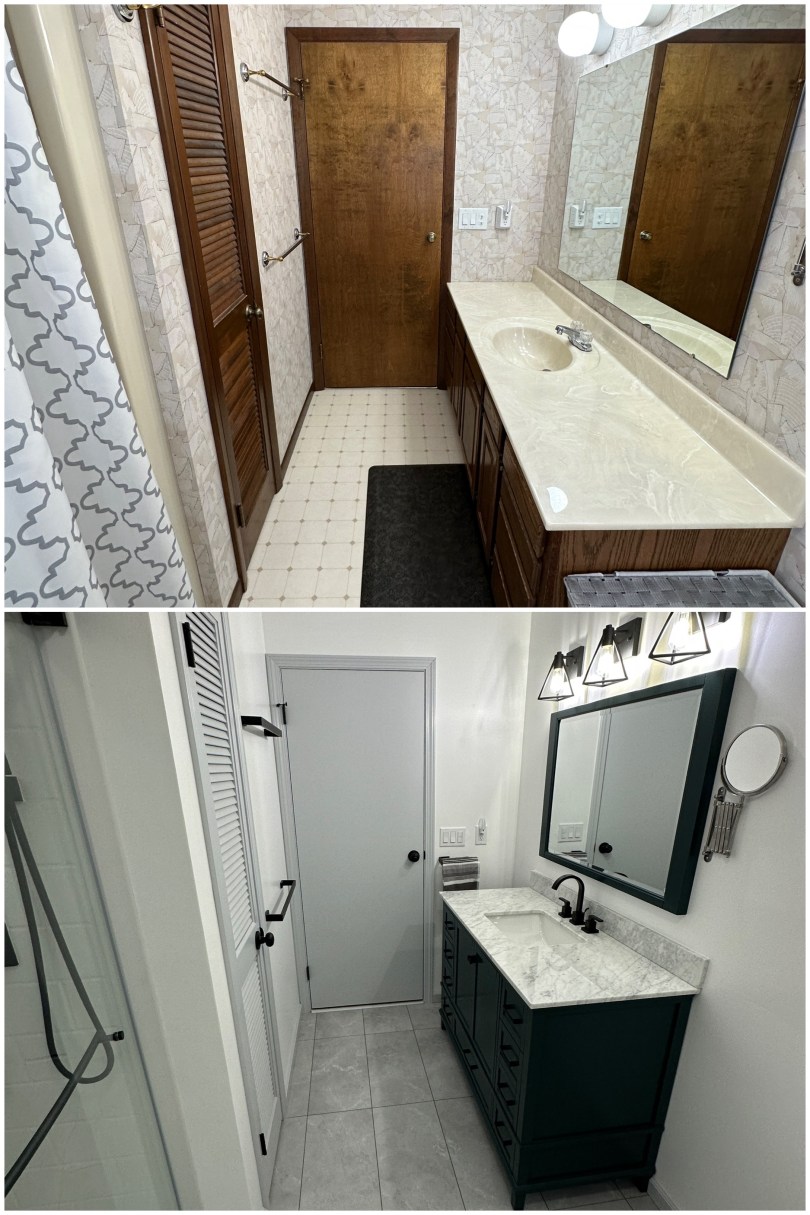
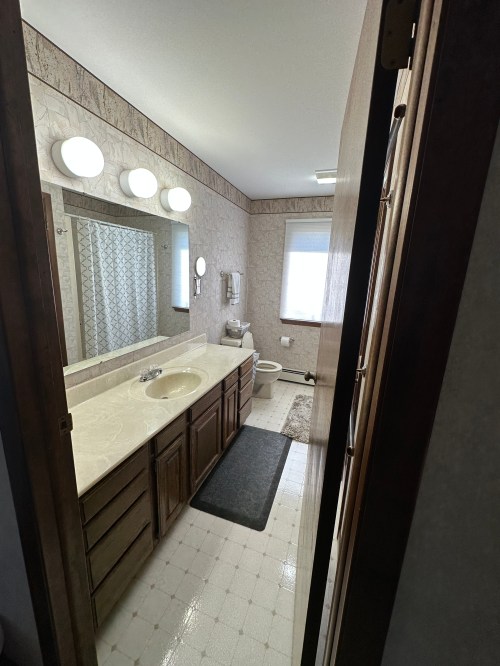
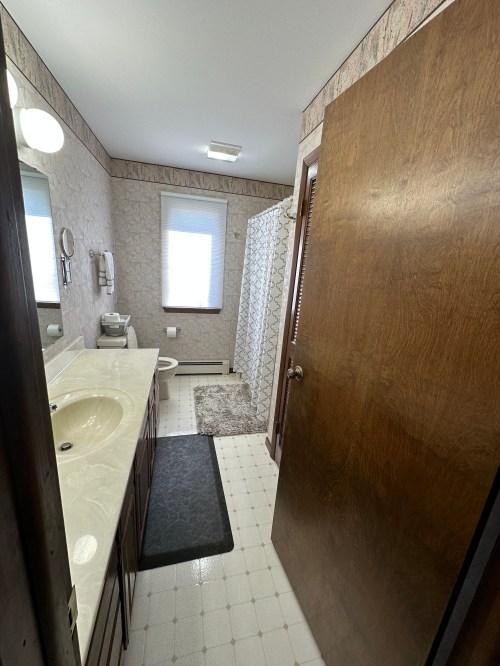
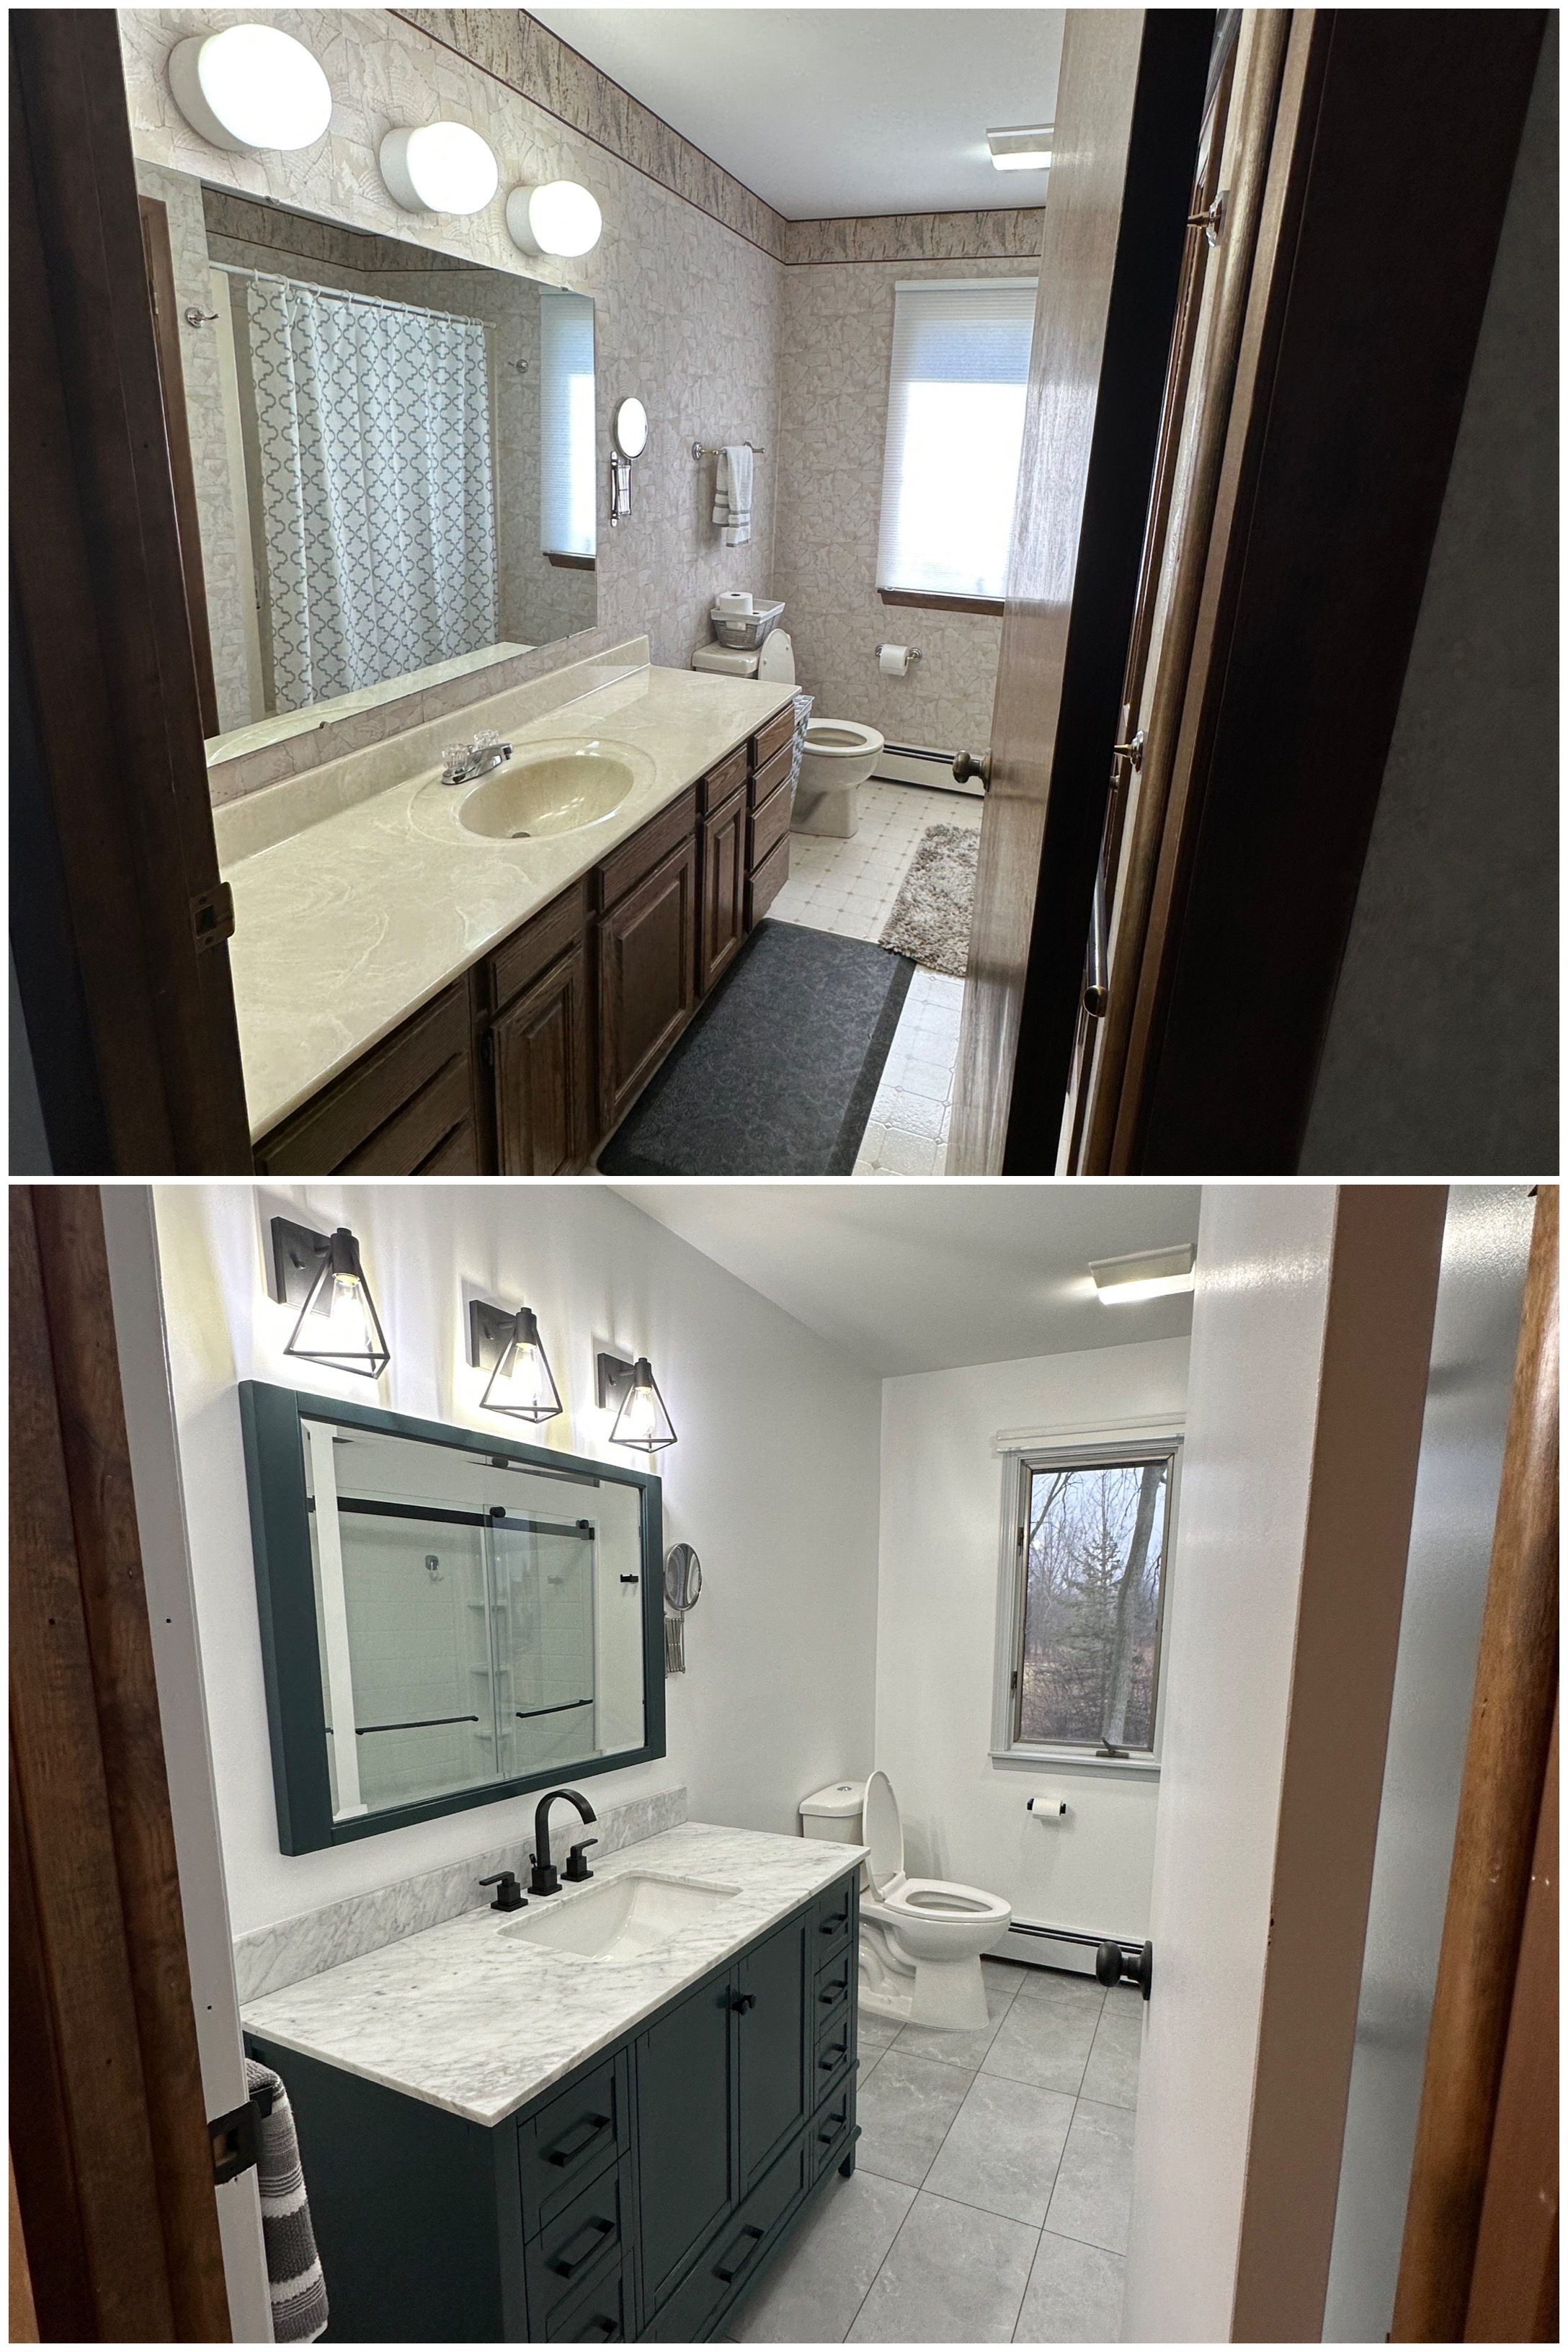
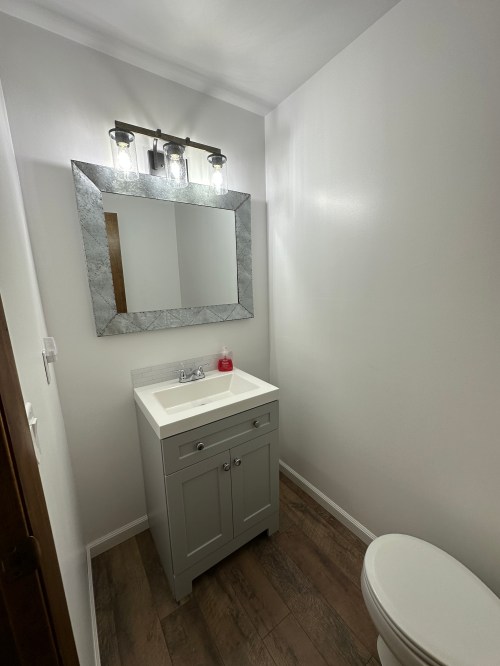
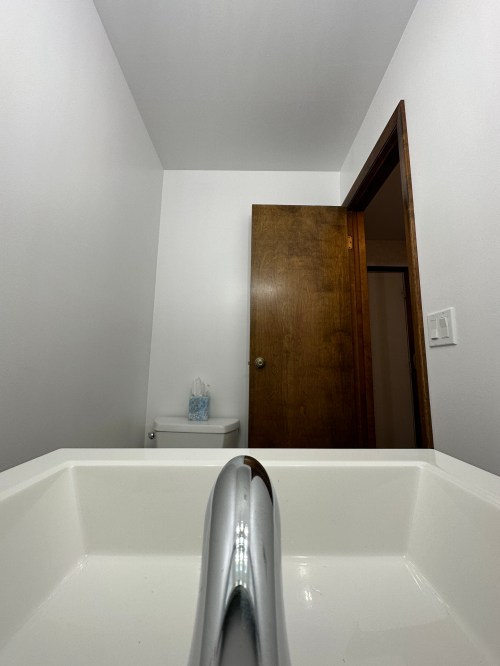
I’ve done a lot of home remodeling over the last three years and the guest bathroom was the final area needing an overhaul. Here are the standard before pictures.
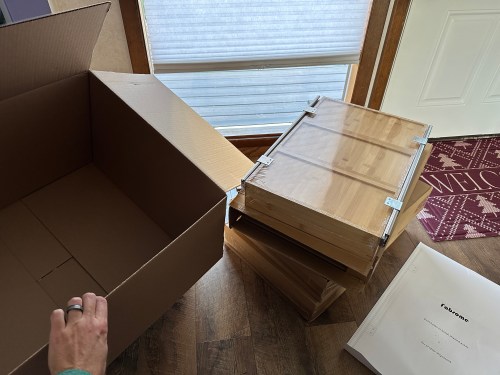
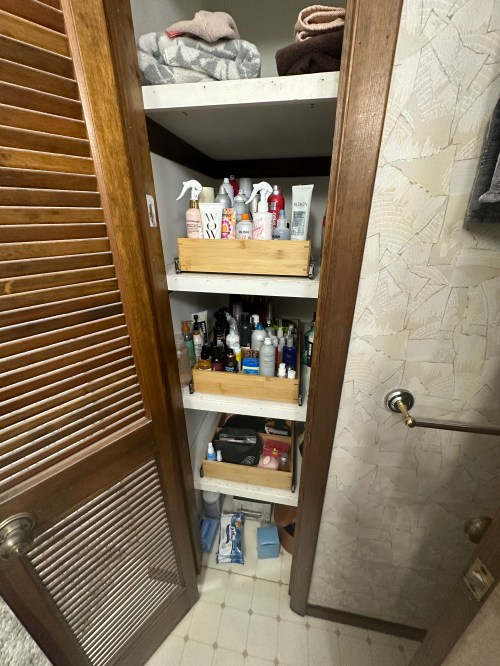
This is Brandi’s main bathroom, so I had wanted to improve the shelving situation in the closet for over a year. A smaller vanity was going in, so storage space would be lost. With three feet of depth in the closet there was a lot of wasted area and room for improvement. I bought three pull out drawers (Amazon). The closet shelves are made from particle board, so instead of using the included screws for attachment I picked up bolts, washers, and nuts.
After an hour install and some organizing it was a huge improvement. We even have room on the top shelf for spare towels now.
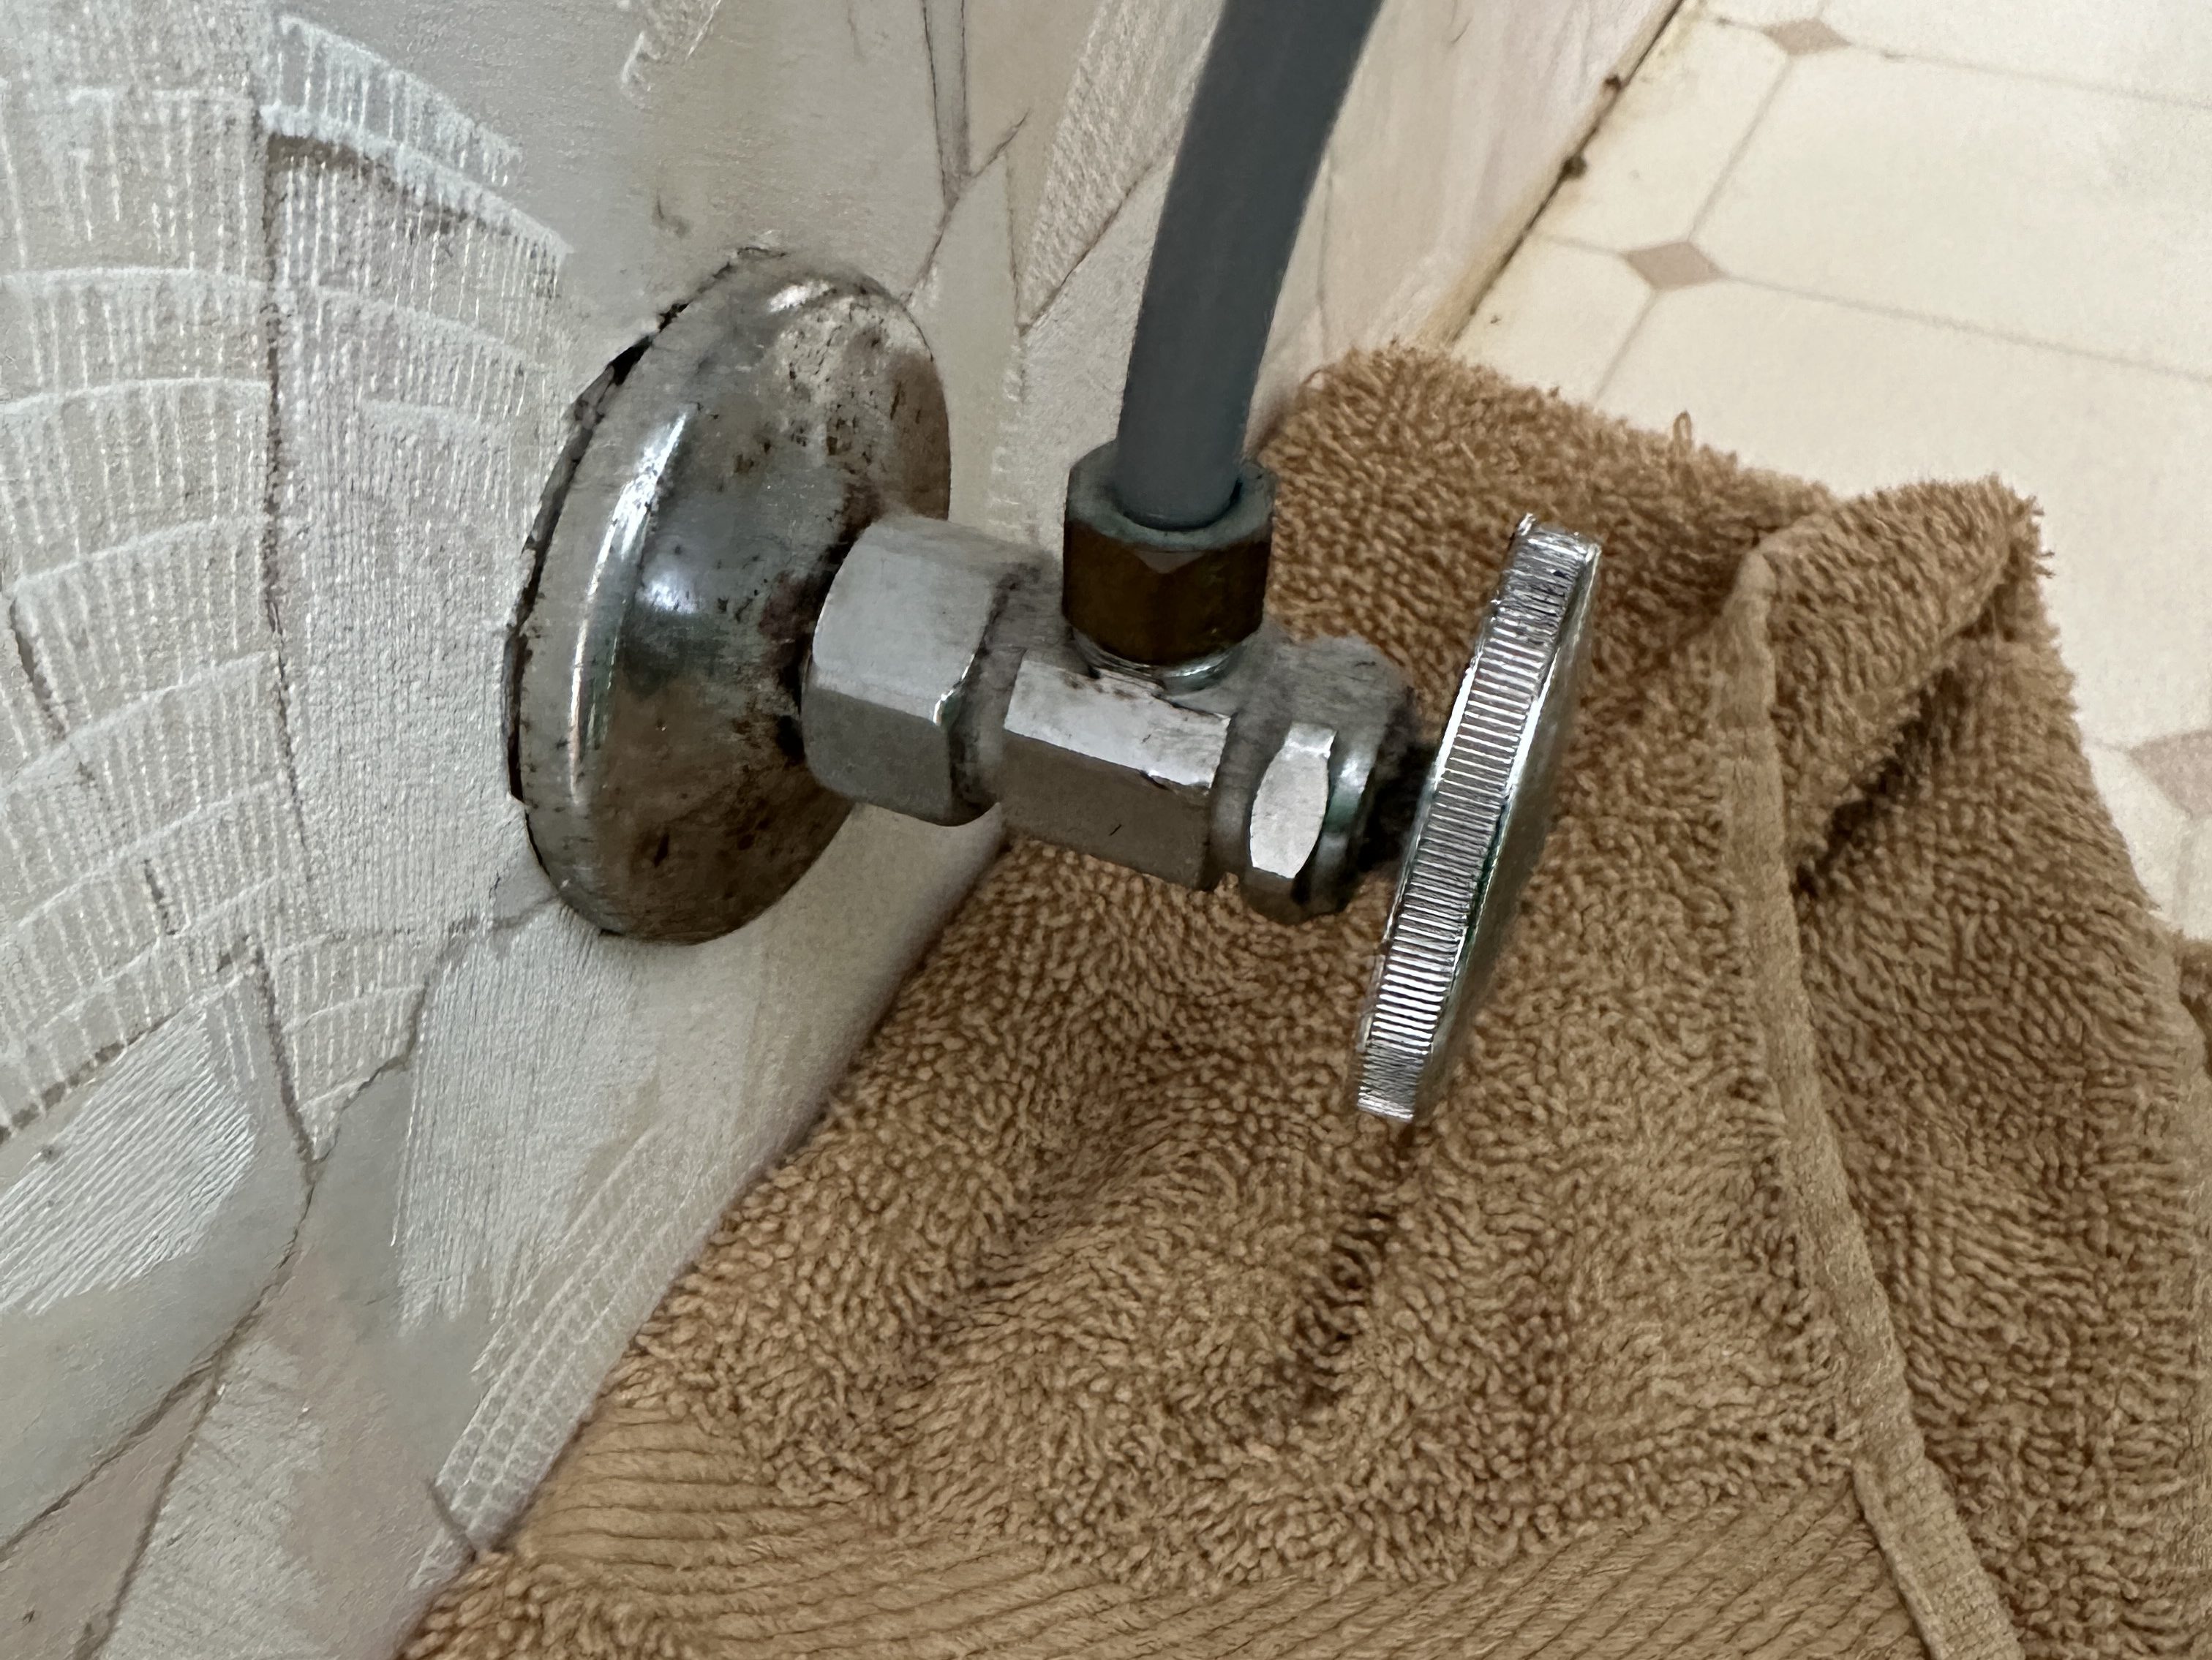
Just like the other bathroom, there weren’t shut-off valves on the sink’s water lines, so I installed some. Next up was taking down trim and everything on the walls so the fun job of removing wallpaper could be done; it was more trouble than it had been anywhere else in the house. Had to pull out the vanity, lights, mirror, and toilet to complete the job. Of course the toilet valve wasn’t completing turning off, so I put a new valve in there as well. Scrubbing and washing the walls was an exhausting step of this project and we were glad when it was done!
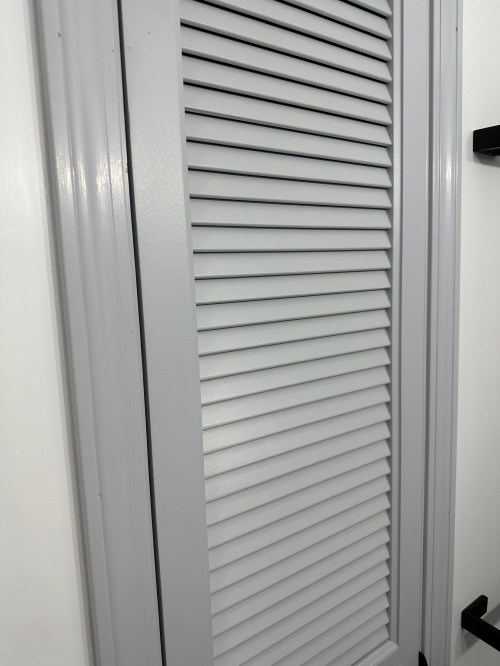
The walls under the wallpaper were in rough shape and needed a lot of patch work. I brushed some primer on the areas where the drywall paper was torn off. It was a good time to freshen up the ceiling before installing anything new in the room, so I gave it a quick coat of paint. We did primer and paint on the register and trim around the window and two doors. Since the closet door was slatted I needed to use my paint sprayer. I used plastic sheeting to make a temporary spray booth in the basement.
Dad came down to help for a couple of days. We removed some drywall and chopped up the shower for removal with a reciprocating saw. It went very smooth, thanks to having watched Removing A Fiberglass Bath And Surround and following exactly what he did.
With the water to the house turned off, we cut the lines, made an access hole through the closet, and installed shut-off valves. It felt good to turn water to the house back on with the valves working as they should.
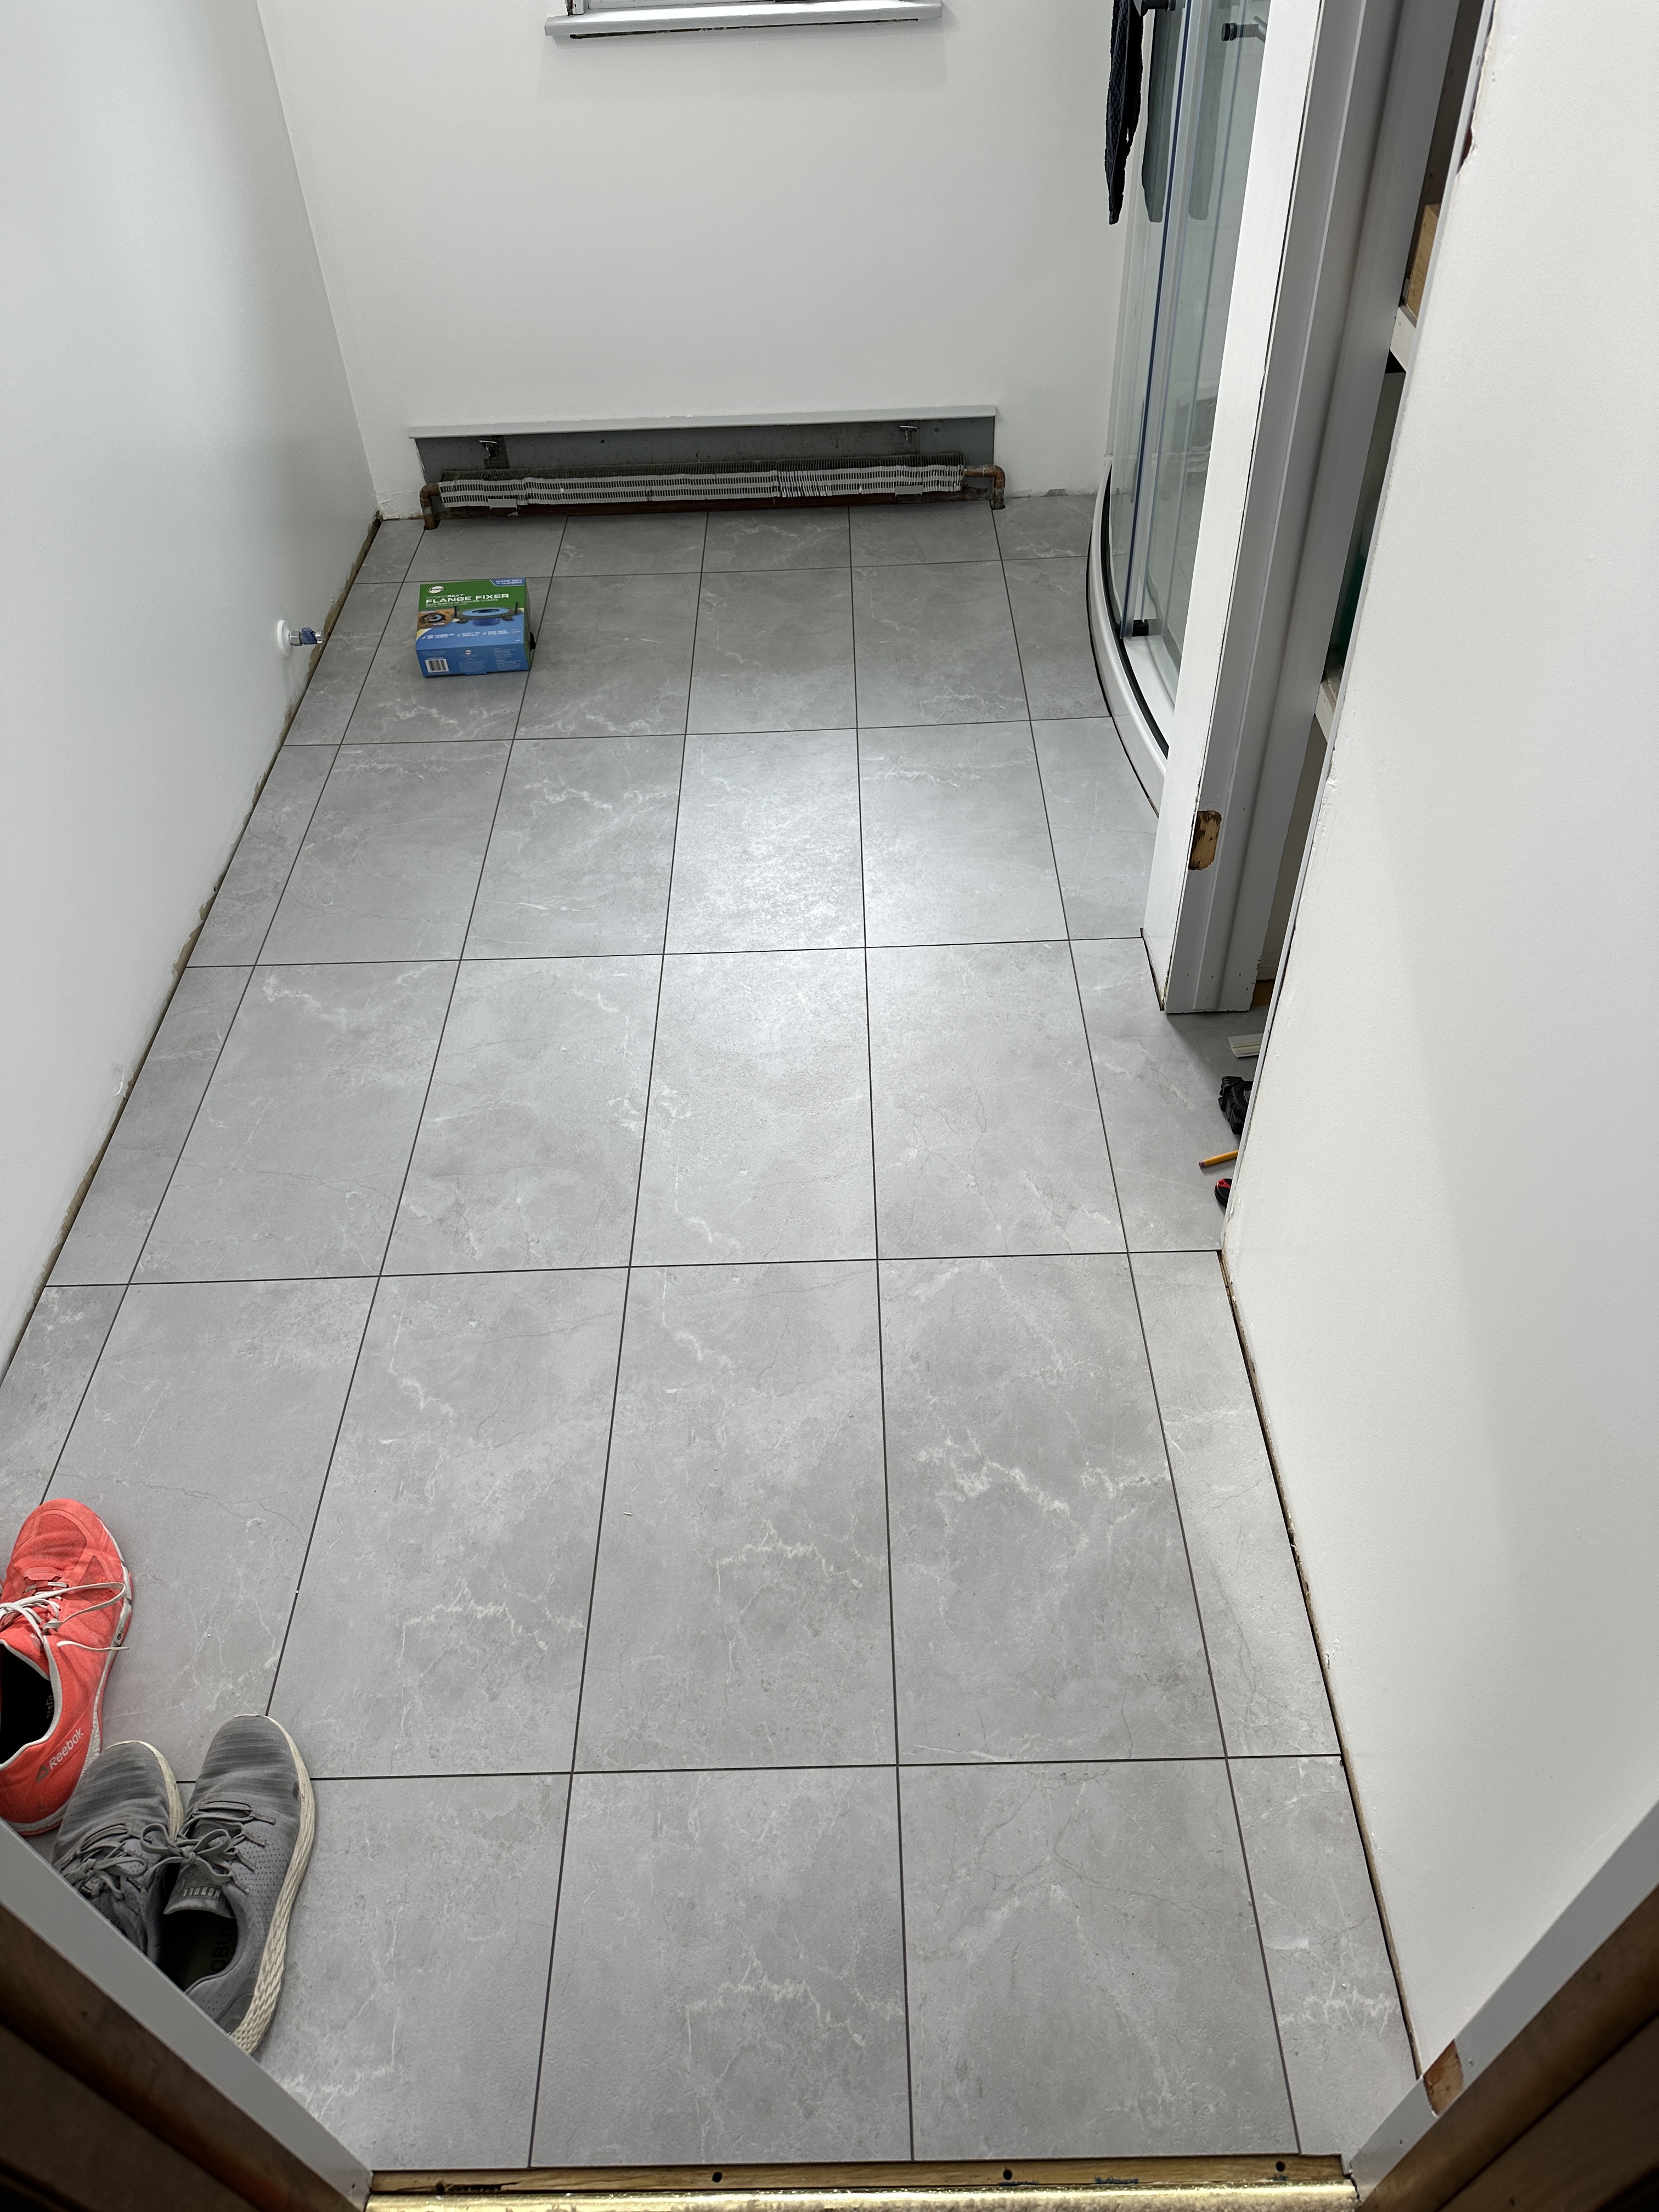
We brought in the shower pan for a test and it fit like a glove! We quickly decided we should pull flooring so the subfloor under the shower was closer to the level under the old vanity. It was a pain in the ass because there was linoleum with a layer of luan (attached with far too many staples) over an even older layer of linoleum. After digging through my rack of plywood I found some that was the correct thickness to bring the shower subfloor up with the rest of the room.
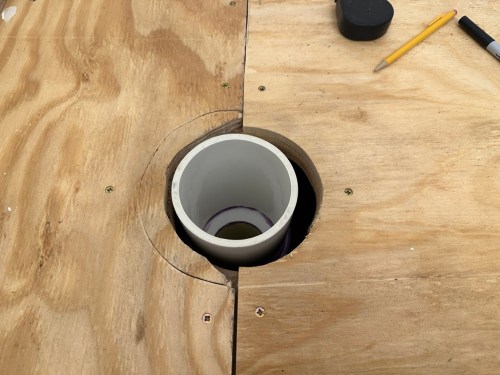
We started working on the drain, which needed to move over a bit from the old one. We bought parts to construct our own P-trap. There was still a lot of trimming PVC pieces, but we ended up with something that worked. Here’s what we had to work with and the cut-out piece of circle is where we had to get to.
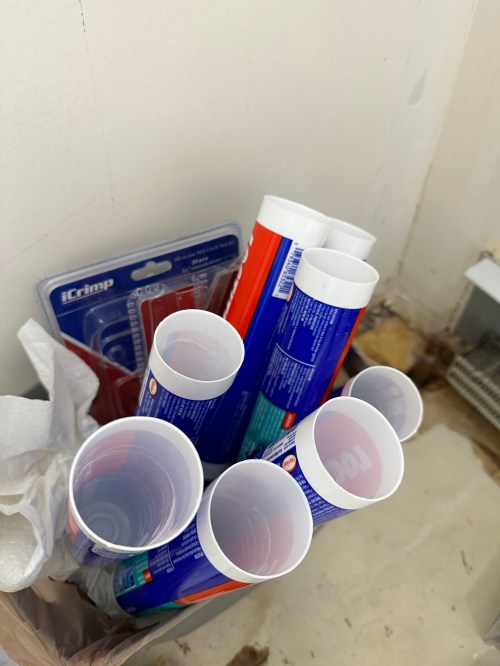
Then it was on to all of the plumbing for the water lines. This was a bit of a challenge, because the shower fixture instructions were weak on details. I picked up a lot of tips for working with PEX from How To Convert Old Copper To New Pex | Tub And Shower Plumbing. After temporarily installing a couple of caps, a pressure test showed a leak-free system.
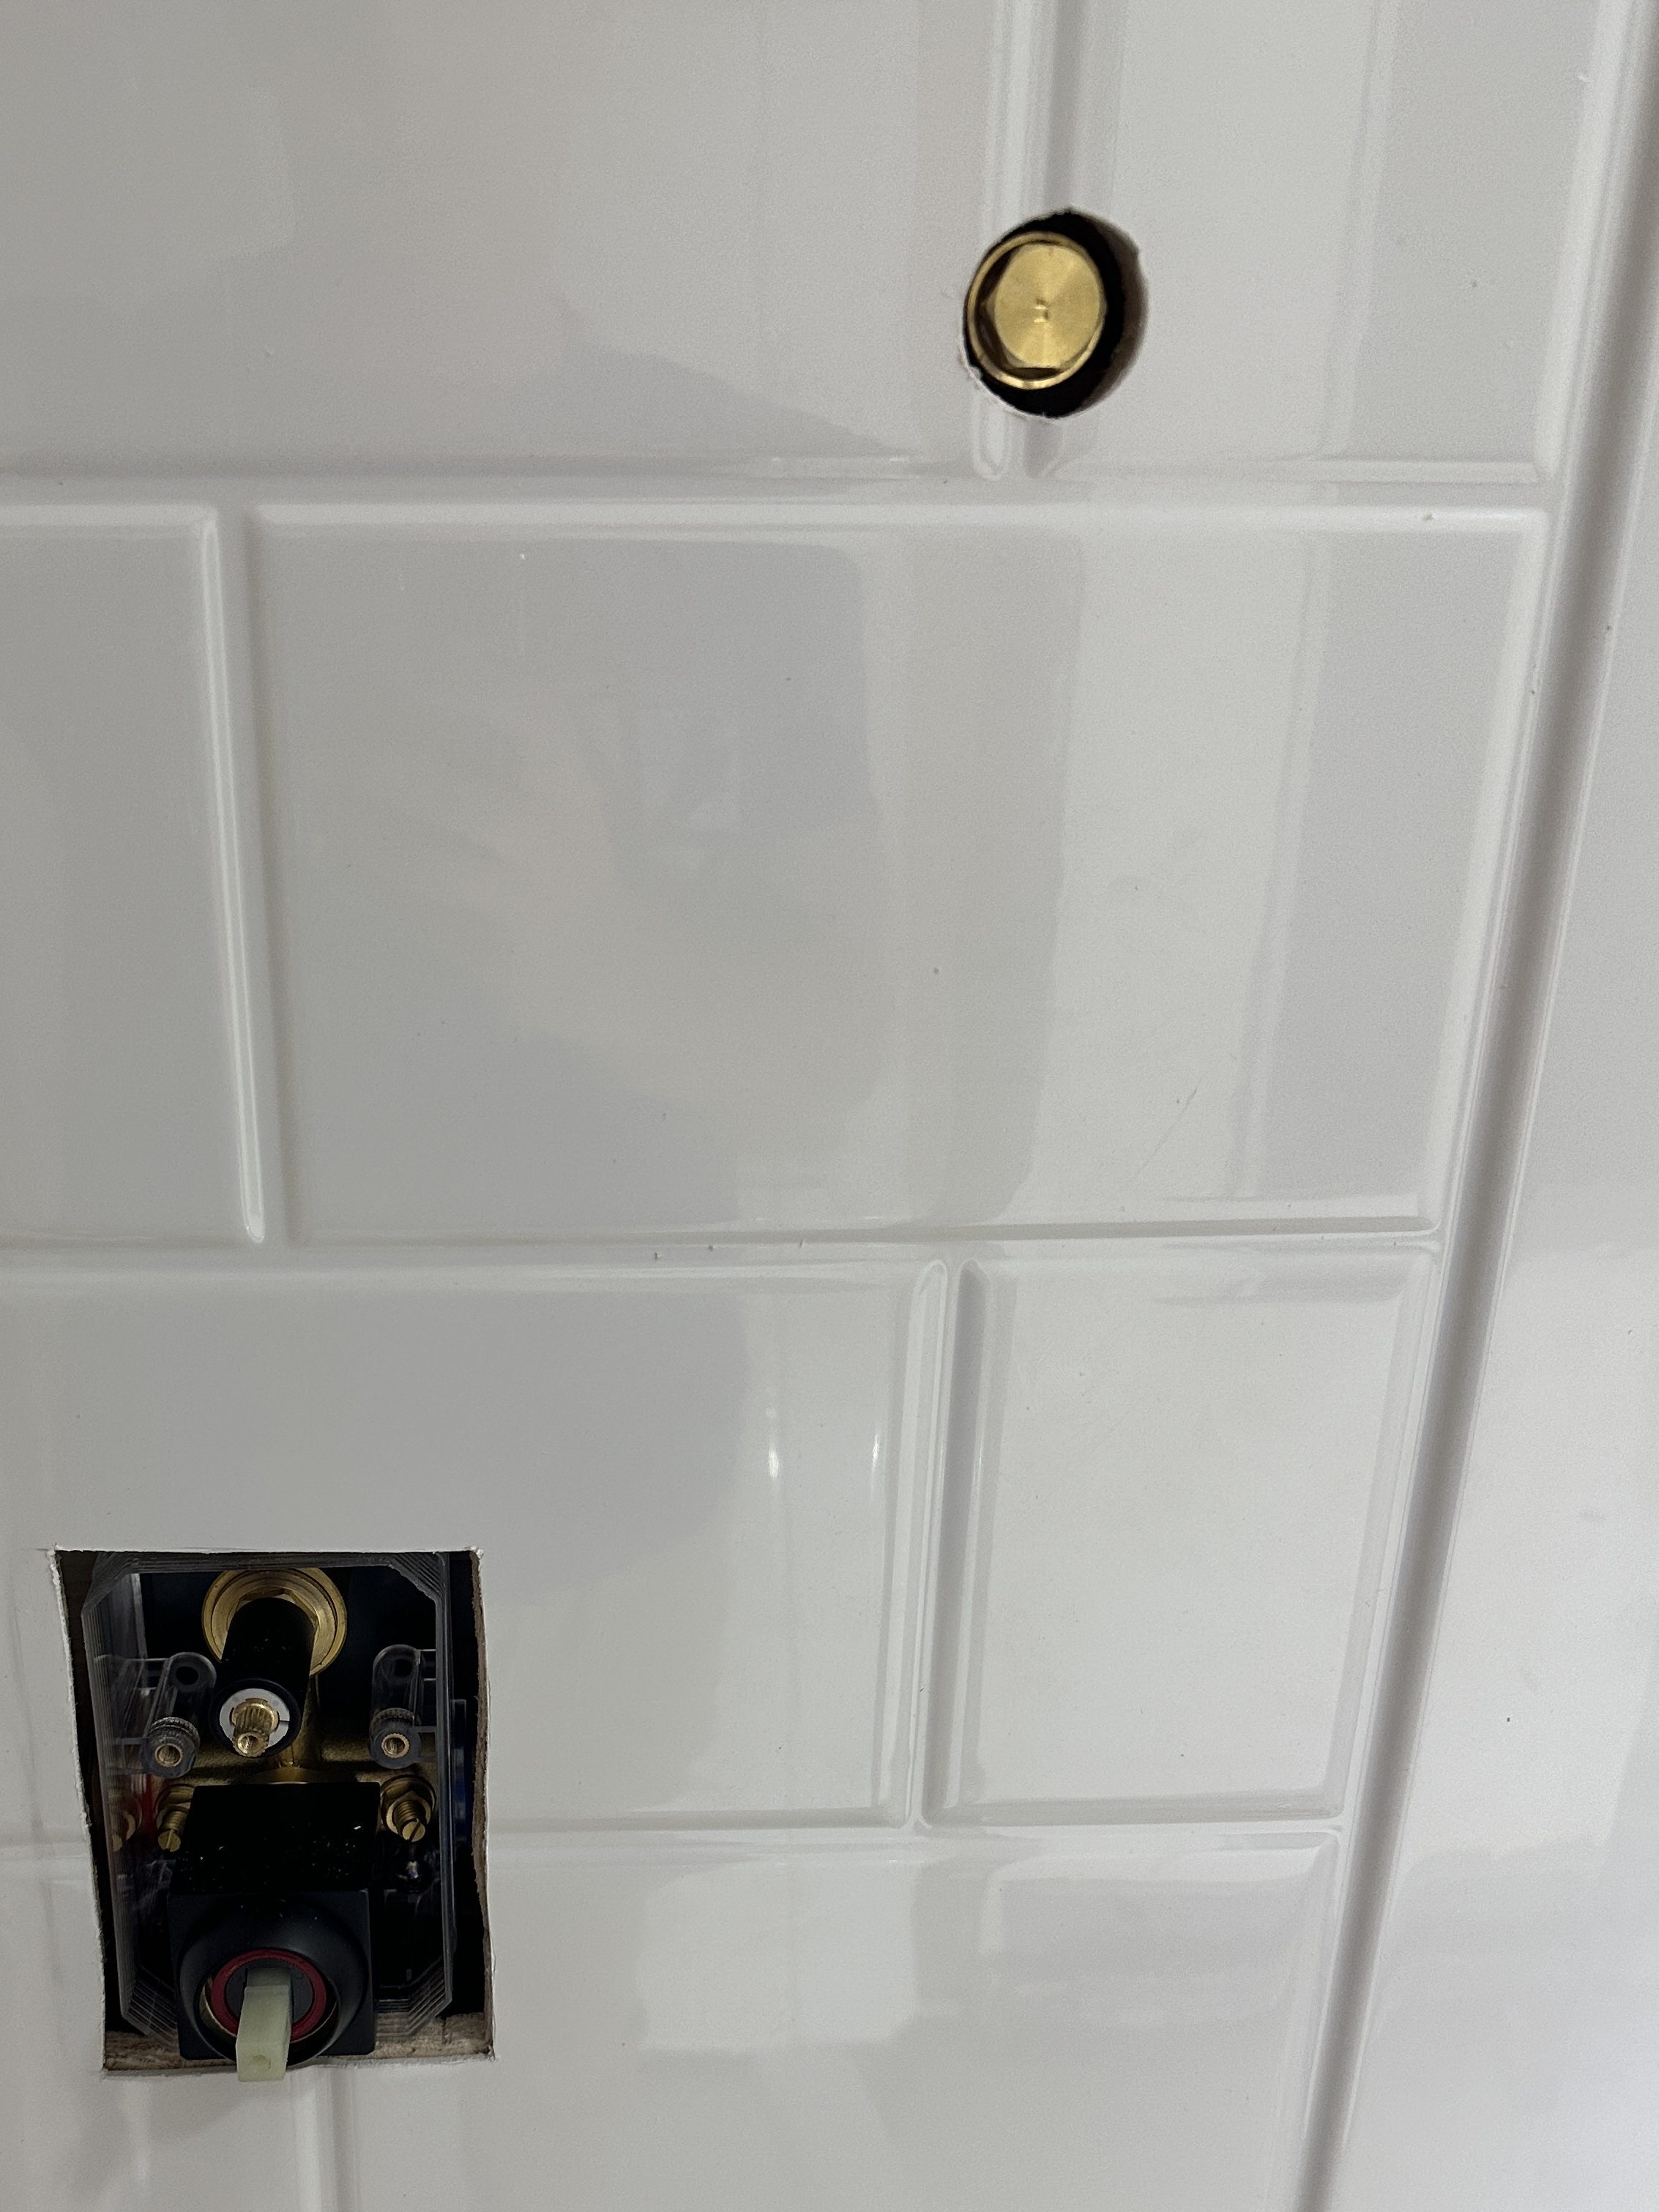
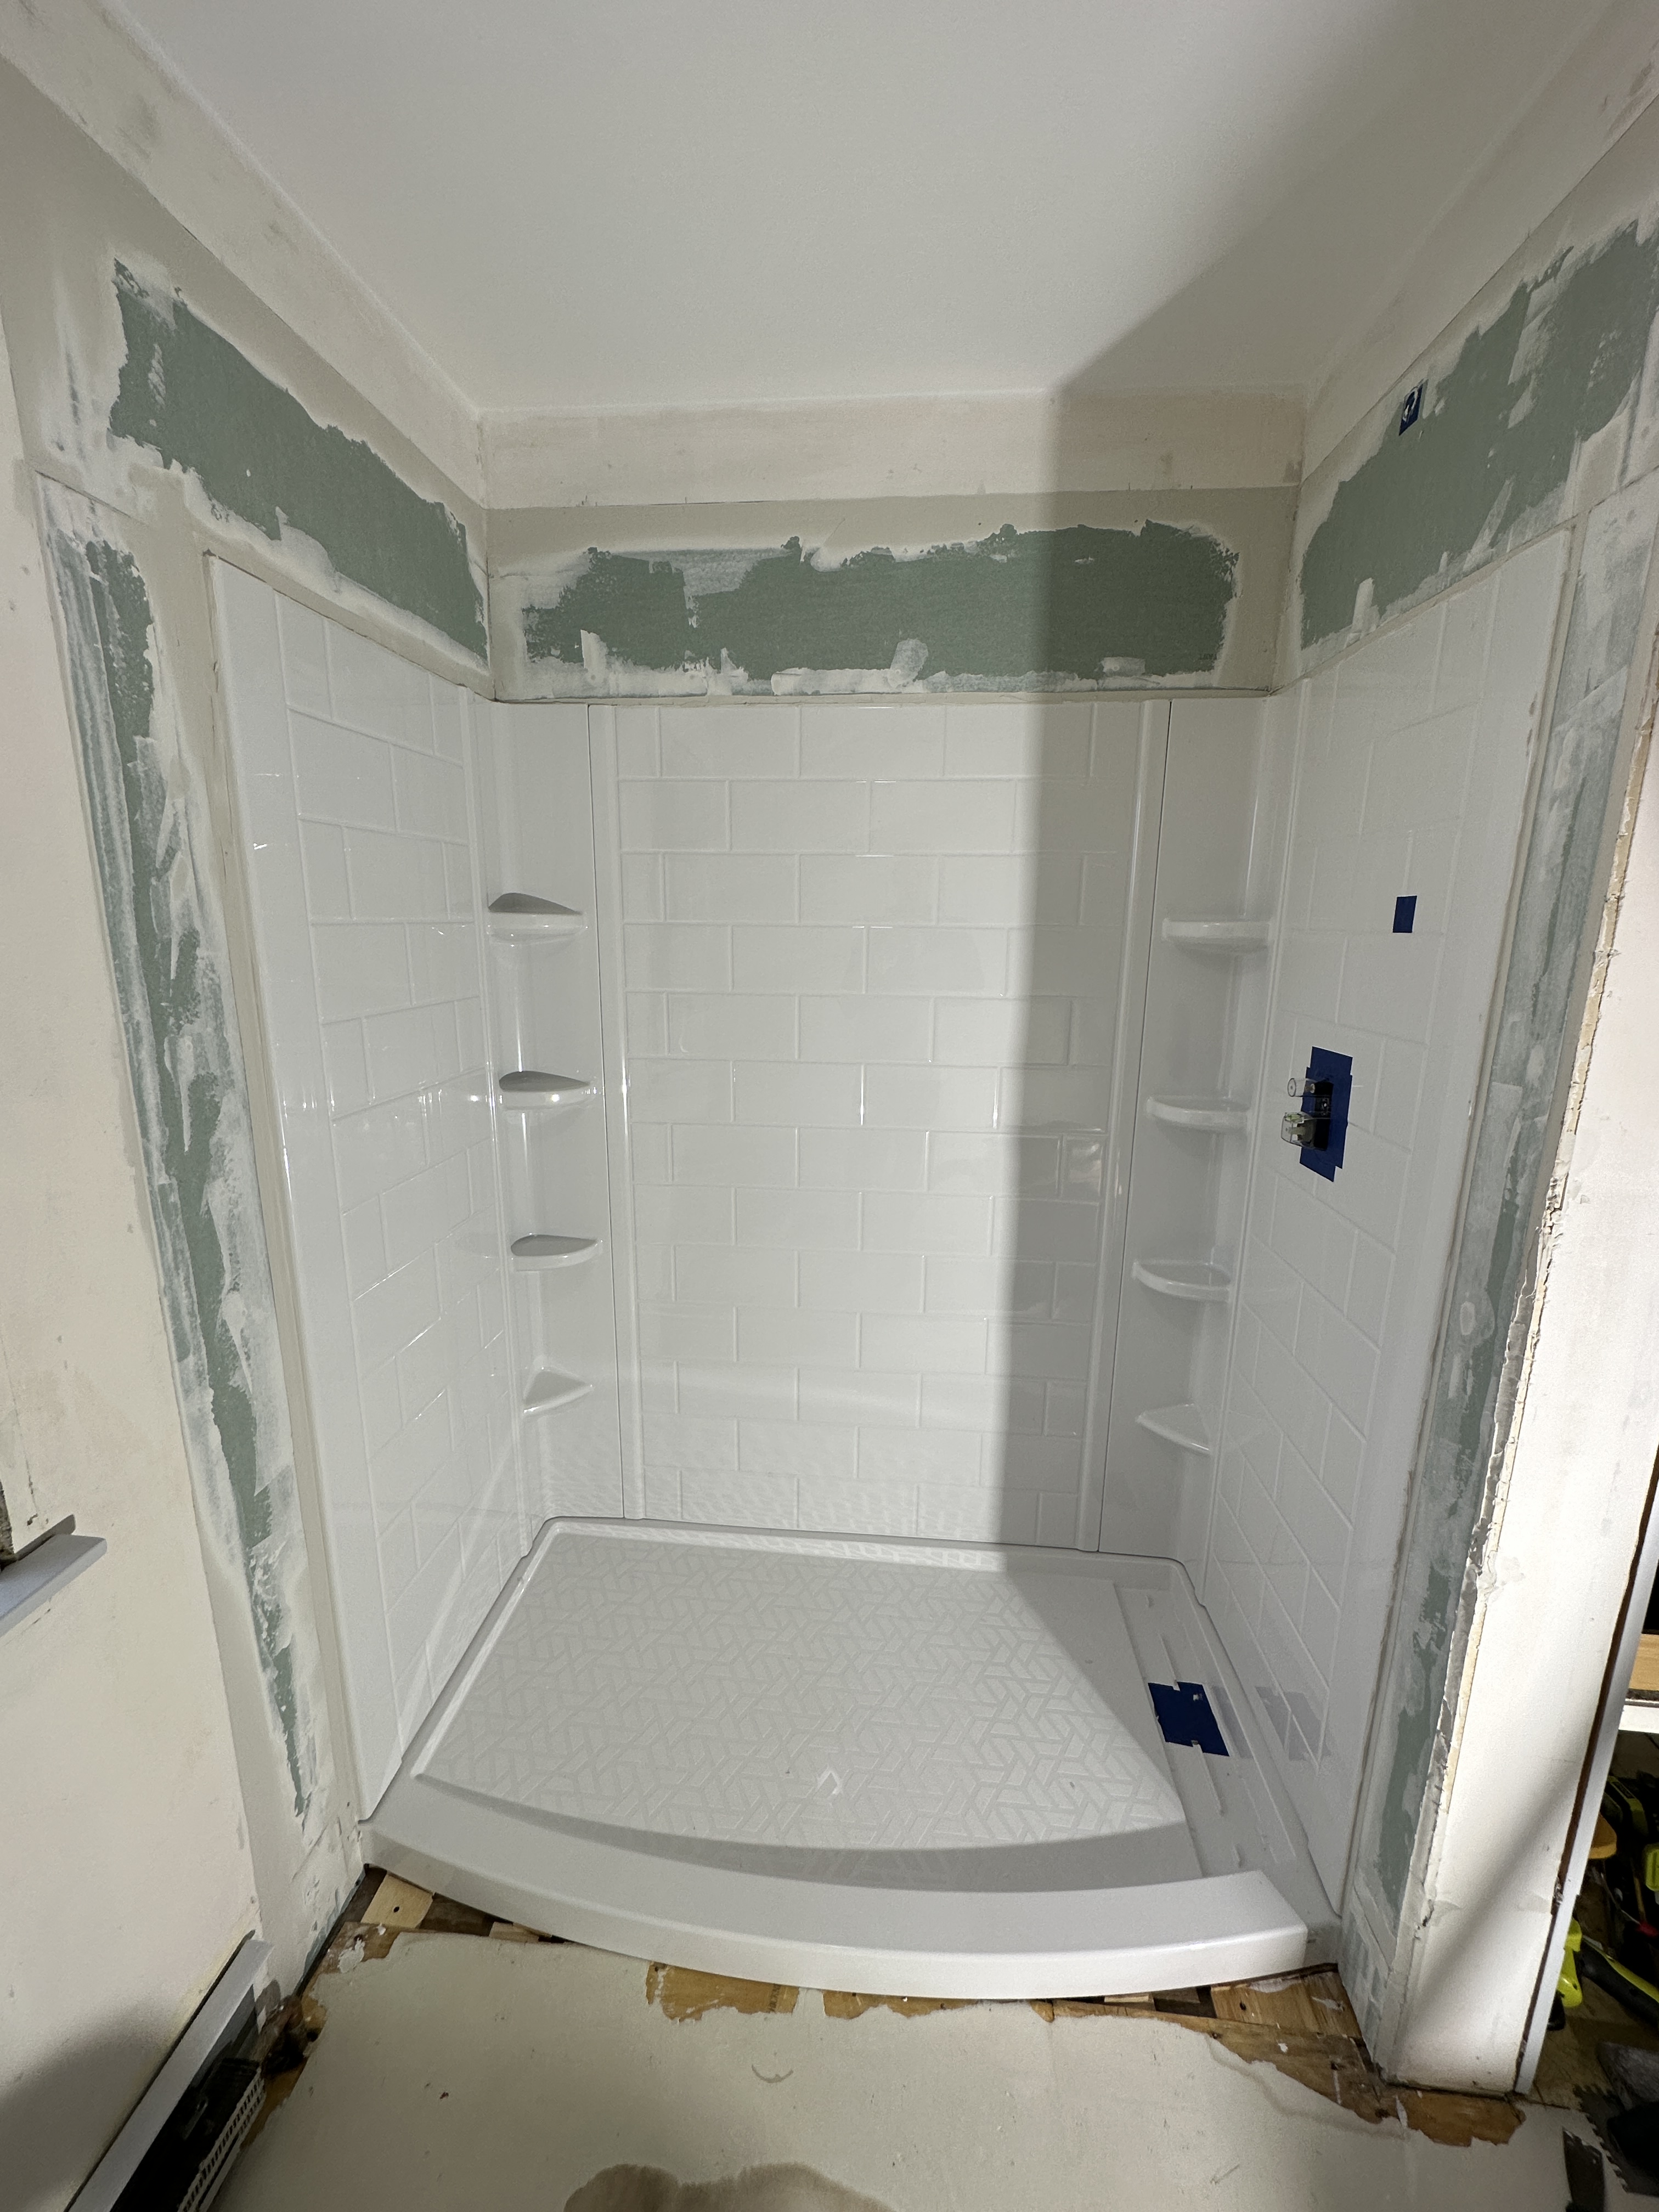
After that it was finalizing the shower pan and getting the walls up. Cutting holes through the shower wall was nerve-racking!
I had to shim out the left wall which wasn’t plumb. Then it was time to dry fit the shower walls and get them attached. I got a nice tight fit on the back. I figured there was no way I would use all eight recommended tubes of the adhesive, but I did. Not sure how I would have completed that step without the Ryobi Caulk & Adhesive Gun, which worked awesome.
I cut pieces of 1/2″ greenboard and screwed them to the walls. We taped plastic over the window, closet, and door.
Then it was time for a lot of drywall work. This was after the first coat of mud.
Over 24 hours later the thickest parts of the mud still weren’t dry. Up to this point, the project had been full of mistakes and having to do a few things multiple times before getting them right. I really thought things might move along after getting that first coat of mudding done. Boy was I wrong!
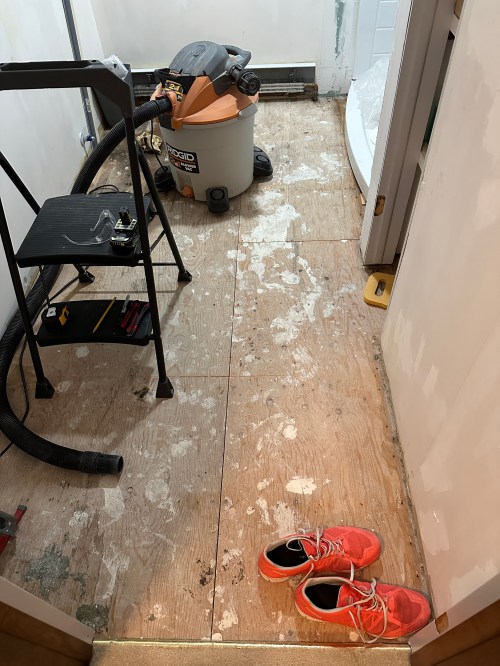
Since I couldn’t do anything with the drywall yet, I made runs to the home stores for all of the trim and a new subfloor. The lowest layer of linoleum had that paper backing on it, which you can see in pictures above. I wanted it gone in order to have a more level surface for the new plank flooring. I actually spent about 30 minutes trying to remove some of the paper before I decided to do a new layer of subfloor over the top. That plan changed before I even picked up the new plywood though because a third layer would have given me different problems to deal with around the doors, toilet, and register. It took me forever to remove that layer of subfloor, and probably would have been a lot less work to get the paper off. Here are pictures when I got down to the single subfloor layer, my measurements, and with the new plywood (before being screwed down).
Taping the seams and the second and third applications of drywall mud were much harder than it looked on YouTube. I picked up a steel mud pan, which made things much easier and I was finally getting the hang of it with my fourth (because I’m a newb) and final coat. Then it was primer and two coats of paint, which went smooth. I brought the new subfloor back in and screwed it down.
At some point I took a piece of scrap plywood and made a door for the shut-off valve access. I used white gaffer’s tape over the edges of the wall so the cut drywall wouldn’t keep crumbling and making a mess. It got primer and paint when the brush was out for other things.
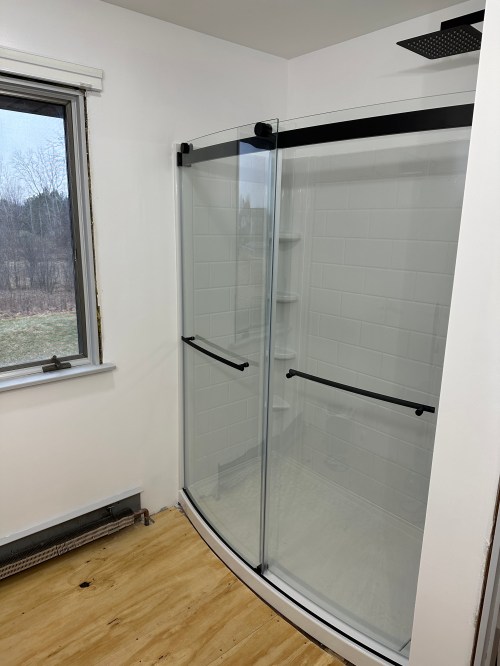
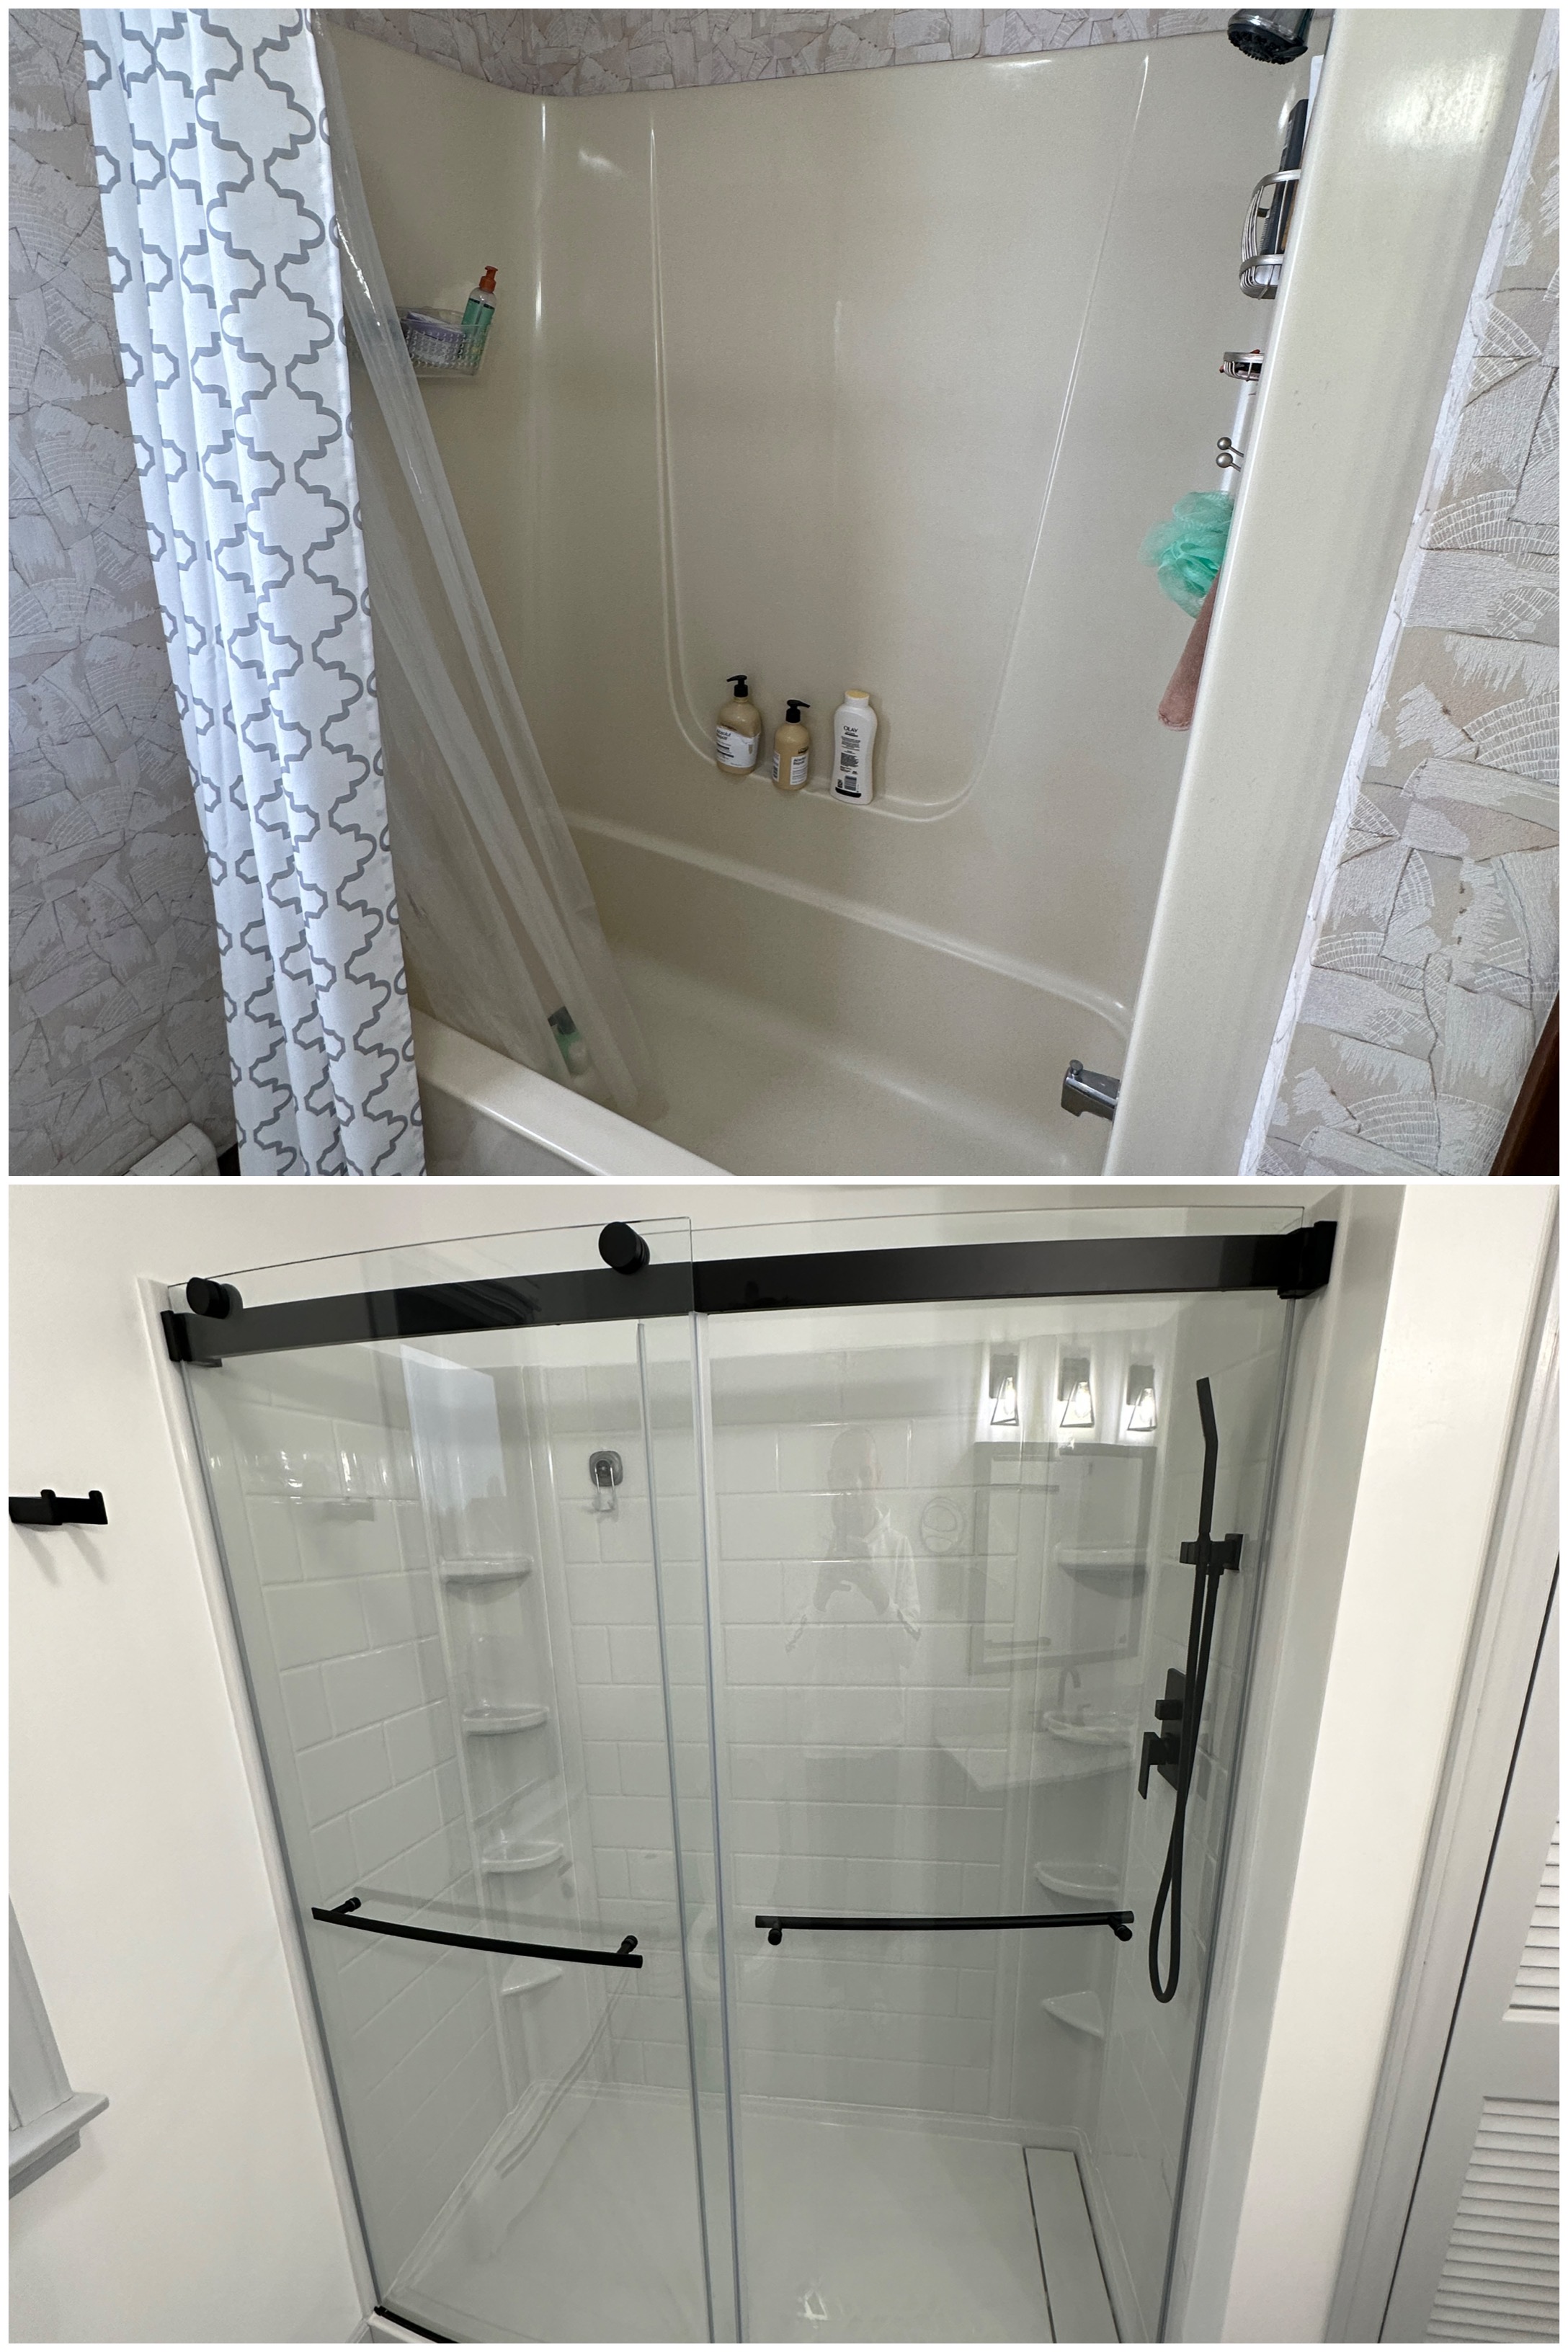
After painting the room it was time to install the shower doors and fixtures. I caulked everything as well.
Unfortunately the doors have a major flaw and the top rail sags a lot from the weight of the glass. This means it’s impossible to properly align the doors. I got it the best I could so they roll smooth and hopefully don’t leak. I called American Standard and found out they’ve redesigned the mounting brackets because of this problem. They’re sending me a set as soon as they get them in stock. 🤞
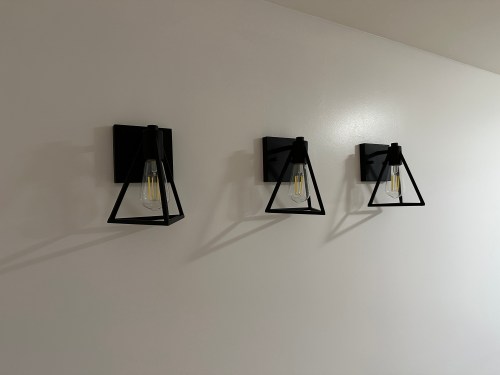
Lighting was a quick job. I also replaced an old outlet with a GFCI.
I went with a waterproof vinyl plank flooring that looks like tiles. I’ve done quite a few floors now, so this was easy.
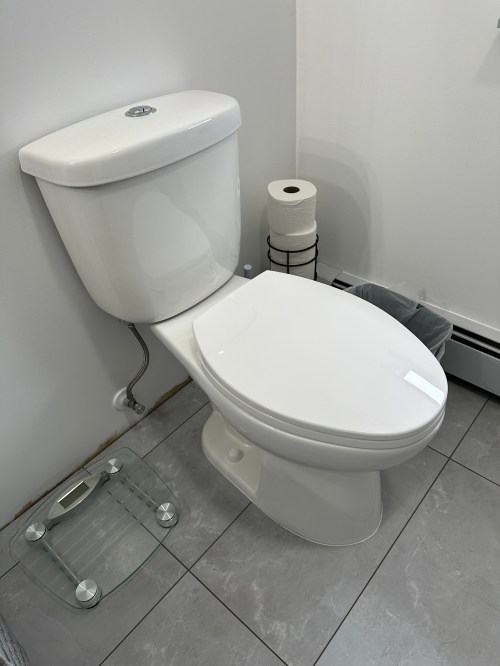
Vanity and toilet went in. Mirror was hung. Doors went up.
I put up accessories and did all of the trim work, which needed three coats of paint, even after primer.
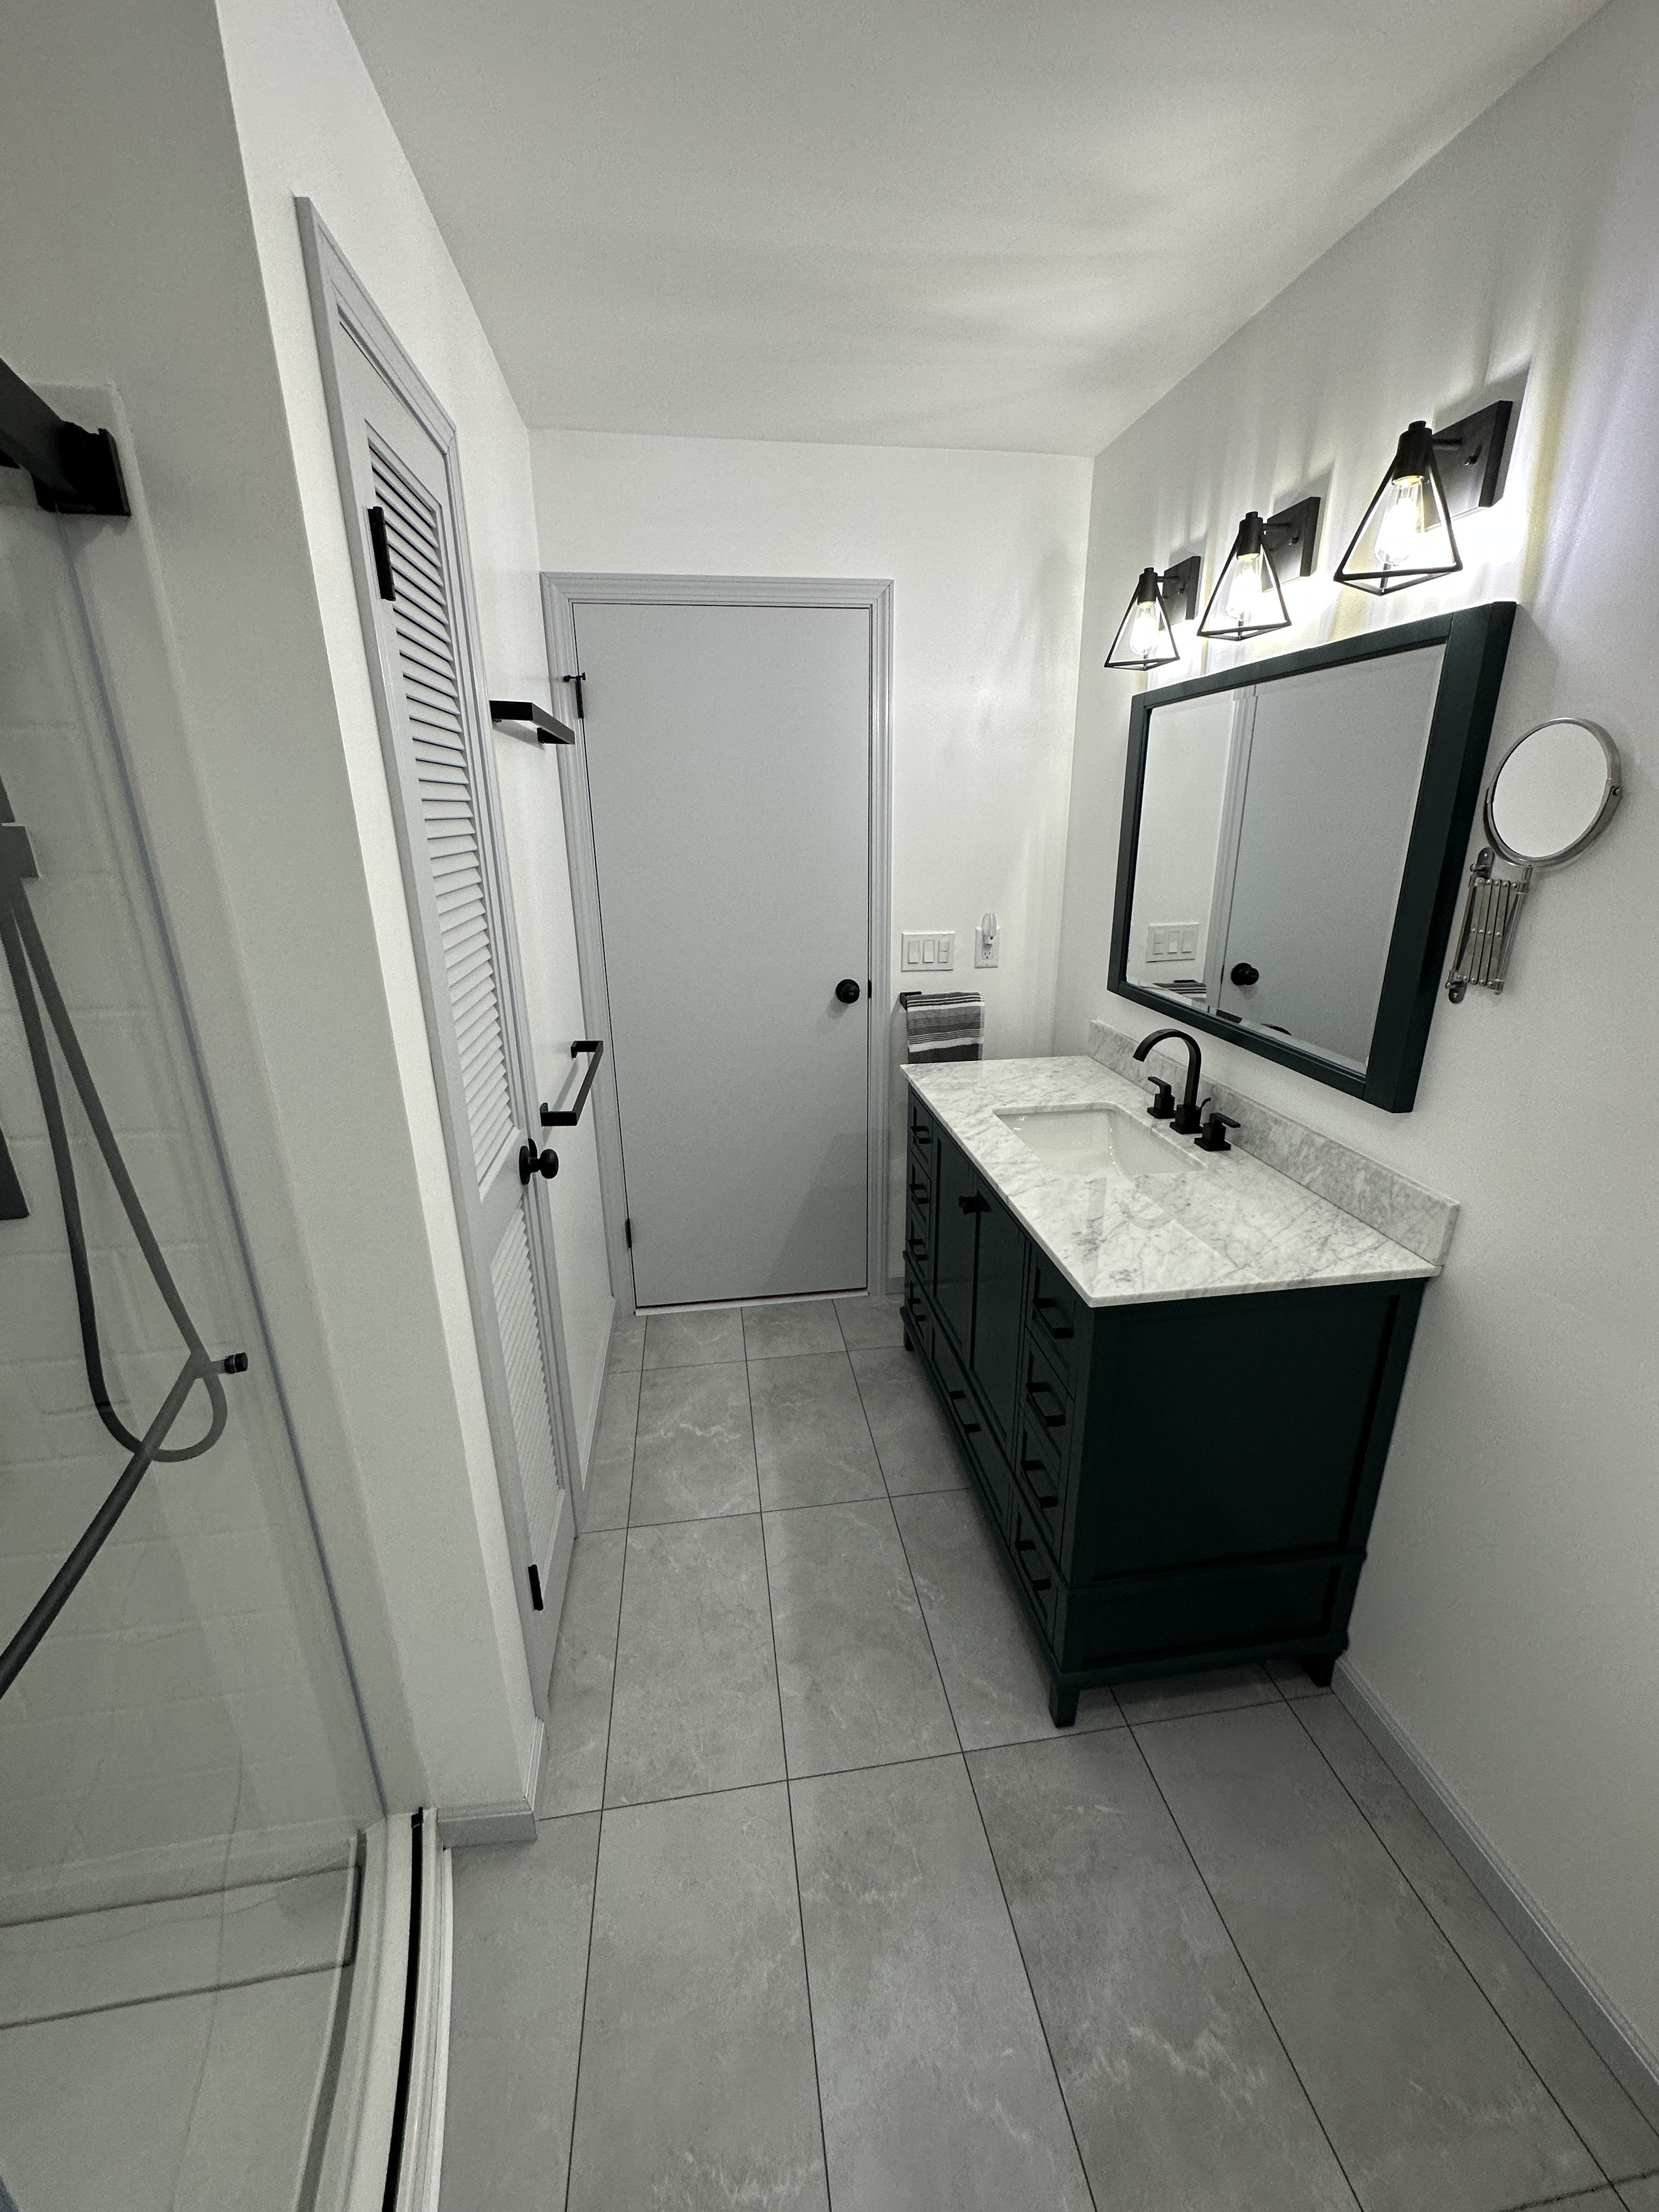
Here’s the final result.
Quite a transformation in just over three weeks! Check out the before and after comparisons.
This bathroom is so nice now! I was hoping Brandi got used to my bathroom after using it for a few weeks and would want to stay there. No such luck.
There have been a lot of home remodeling projects over the last few years and I’m finally done. They were all needed, but I’m glad they’re over. Time for some fun little projects I’ve had on the back-burner for too long.
It was a continuation of 2021 in terms of making, with a lot of home projects. After the kitchen I was pretty burnt out and took a break during the summer.
I’m currently working on a full bathroom remodel and then that’s the end of large home renovation projects because just about every room in the house has been done in the last few years. Hopefully in 2023 I can get to some neat projects I have planned and catch up on some electroncis stuff.
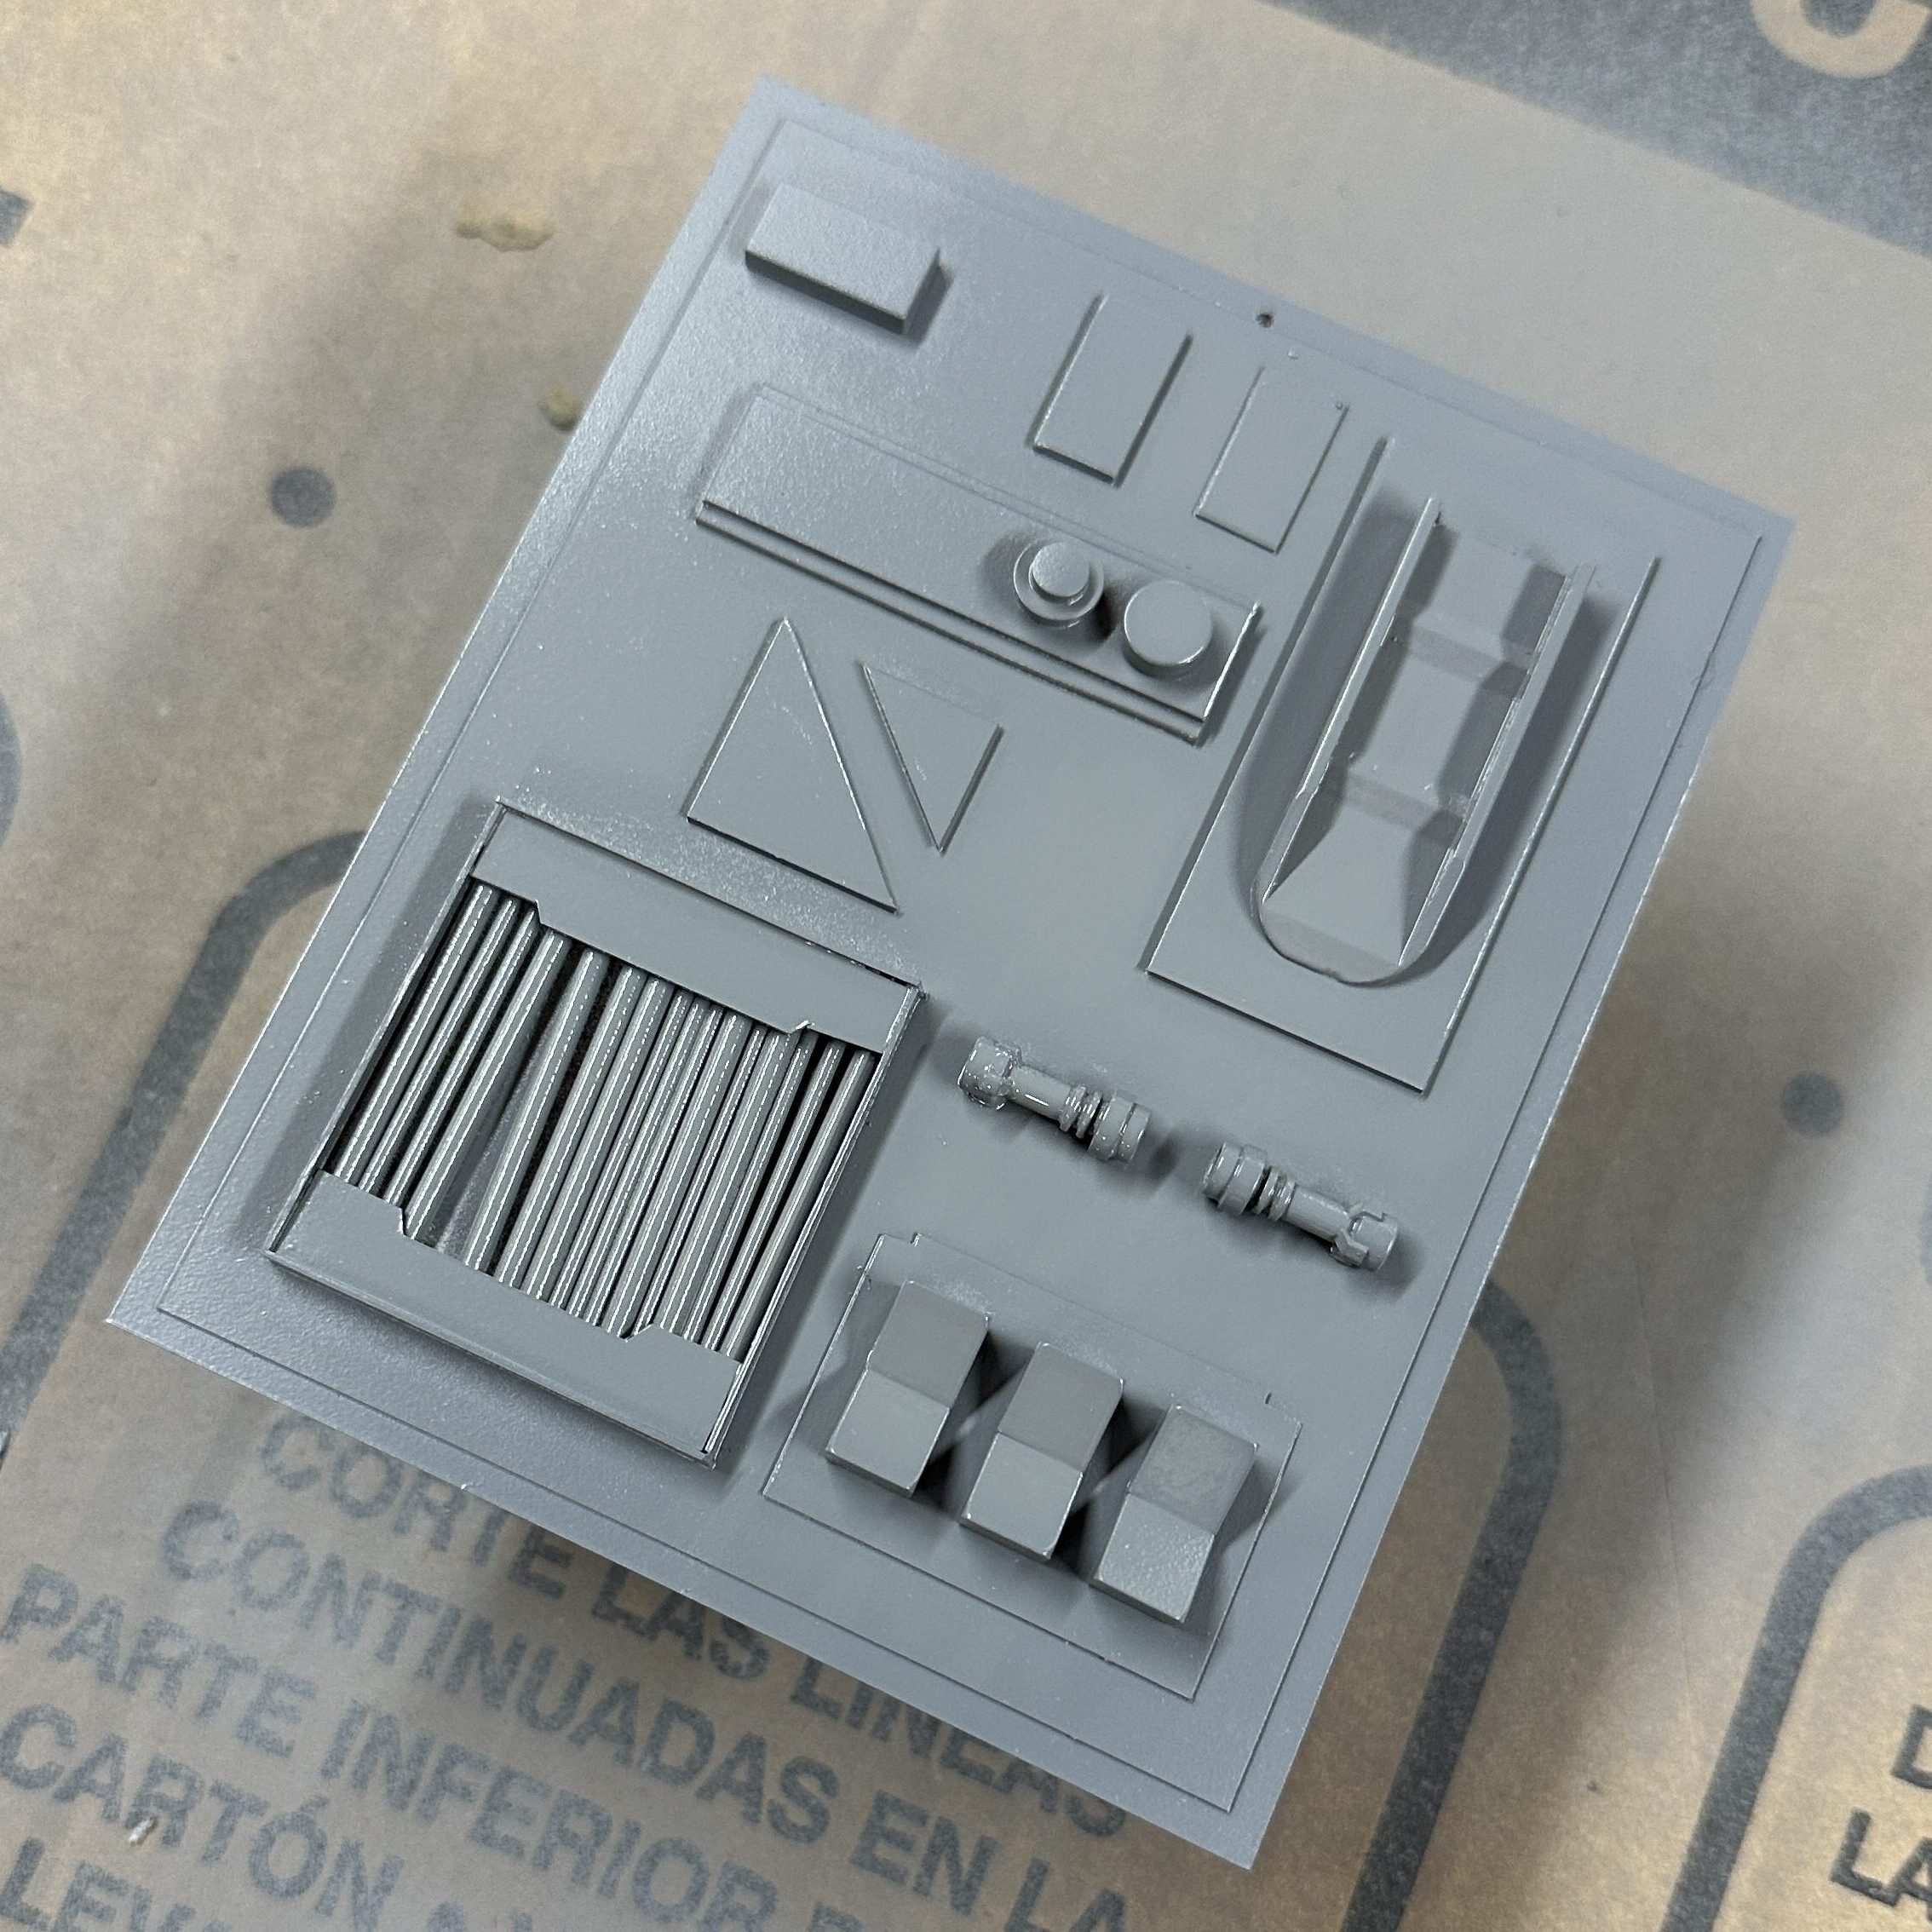
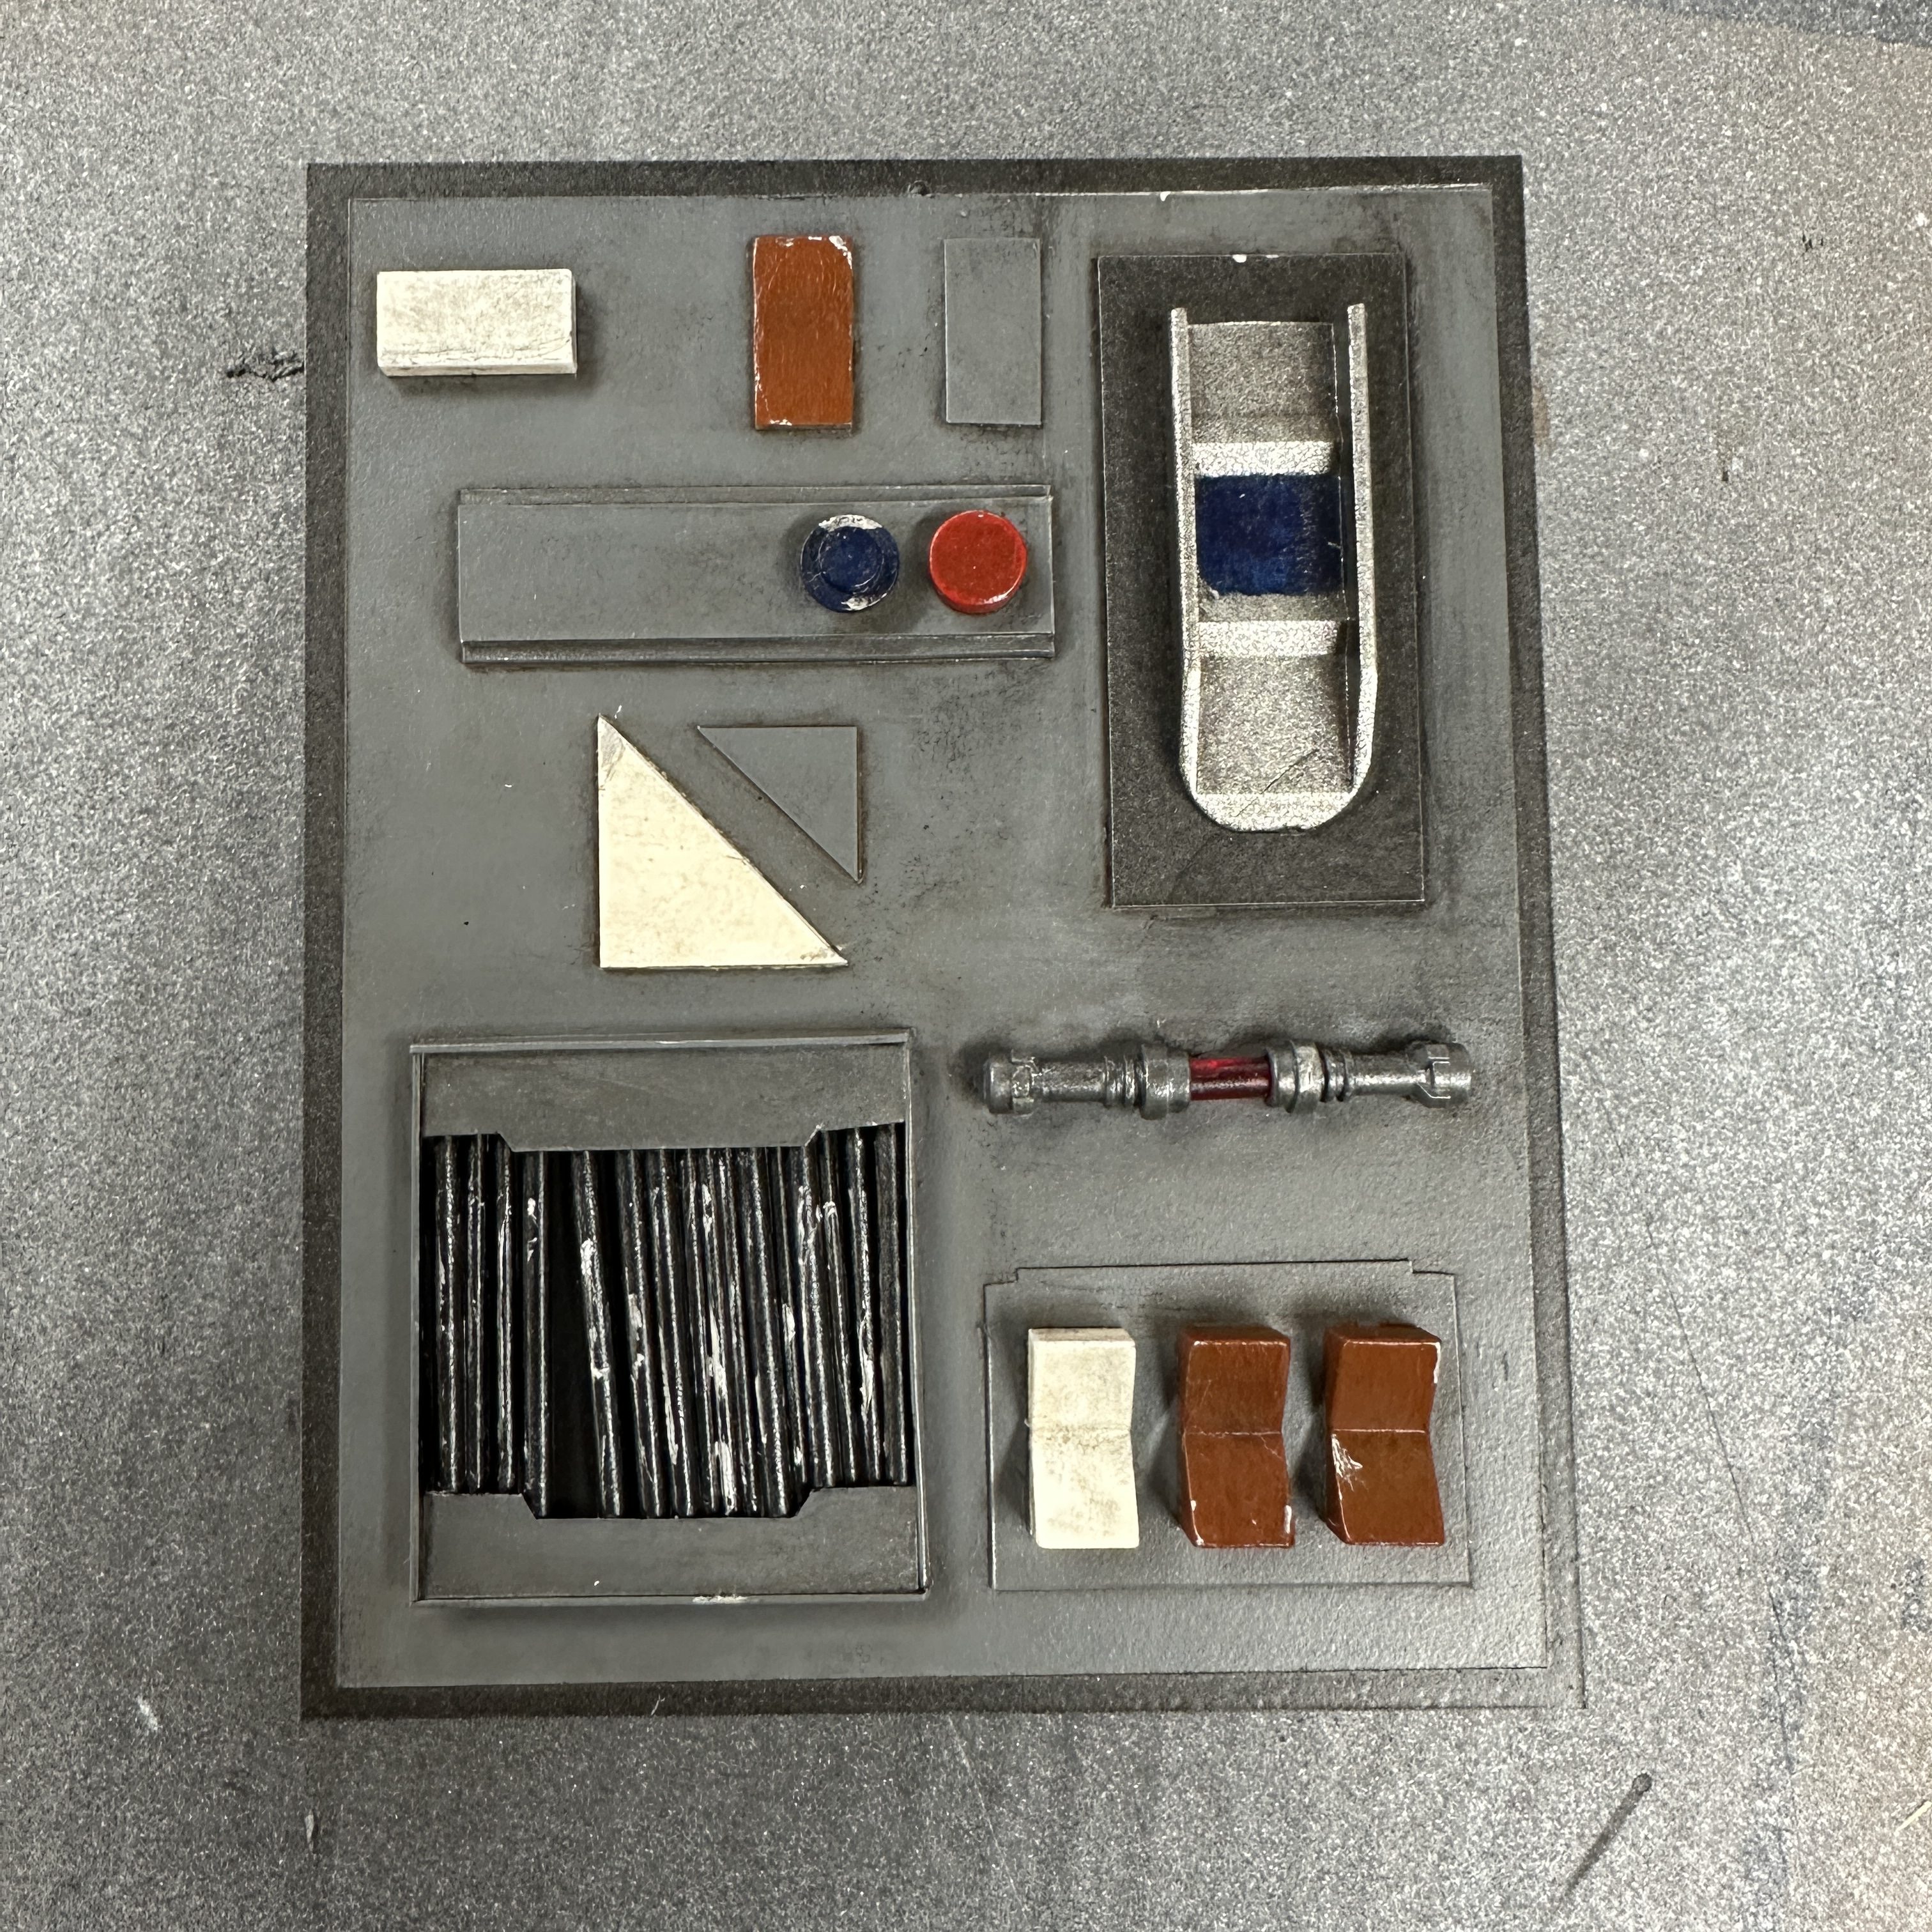
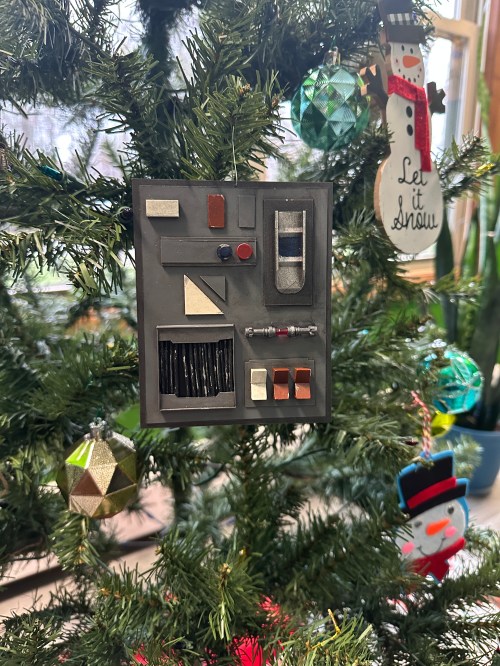
Our second Christmas means our second ornament (see 2021). It was a year full of Star Wars, from watching everything in order to building a lot of LEGO sets (The Child). So for this year’s ornament we made a model of a panel that you might find next to a spaceship door.
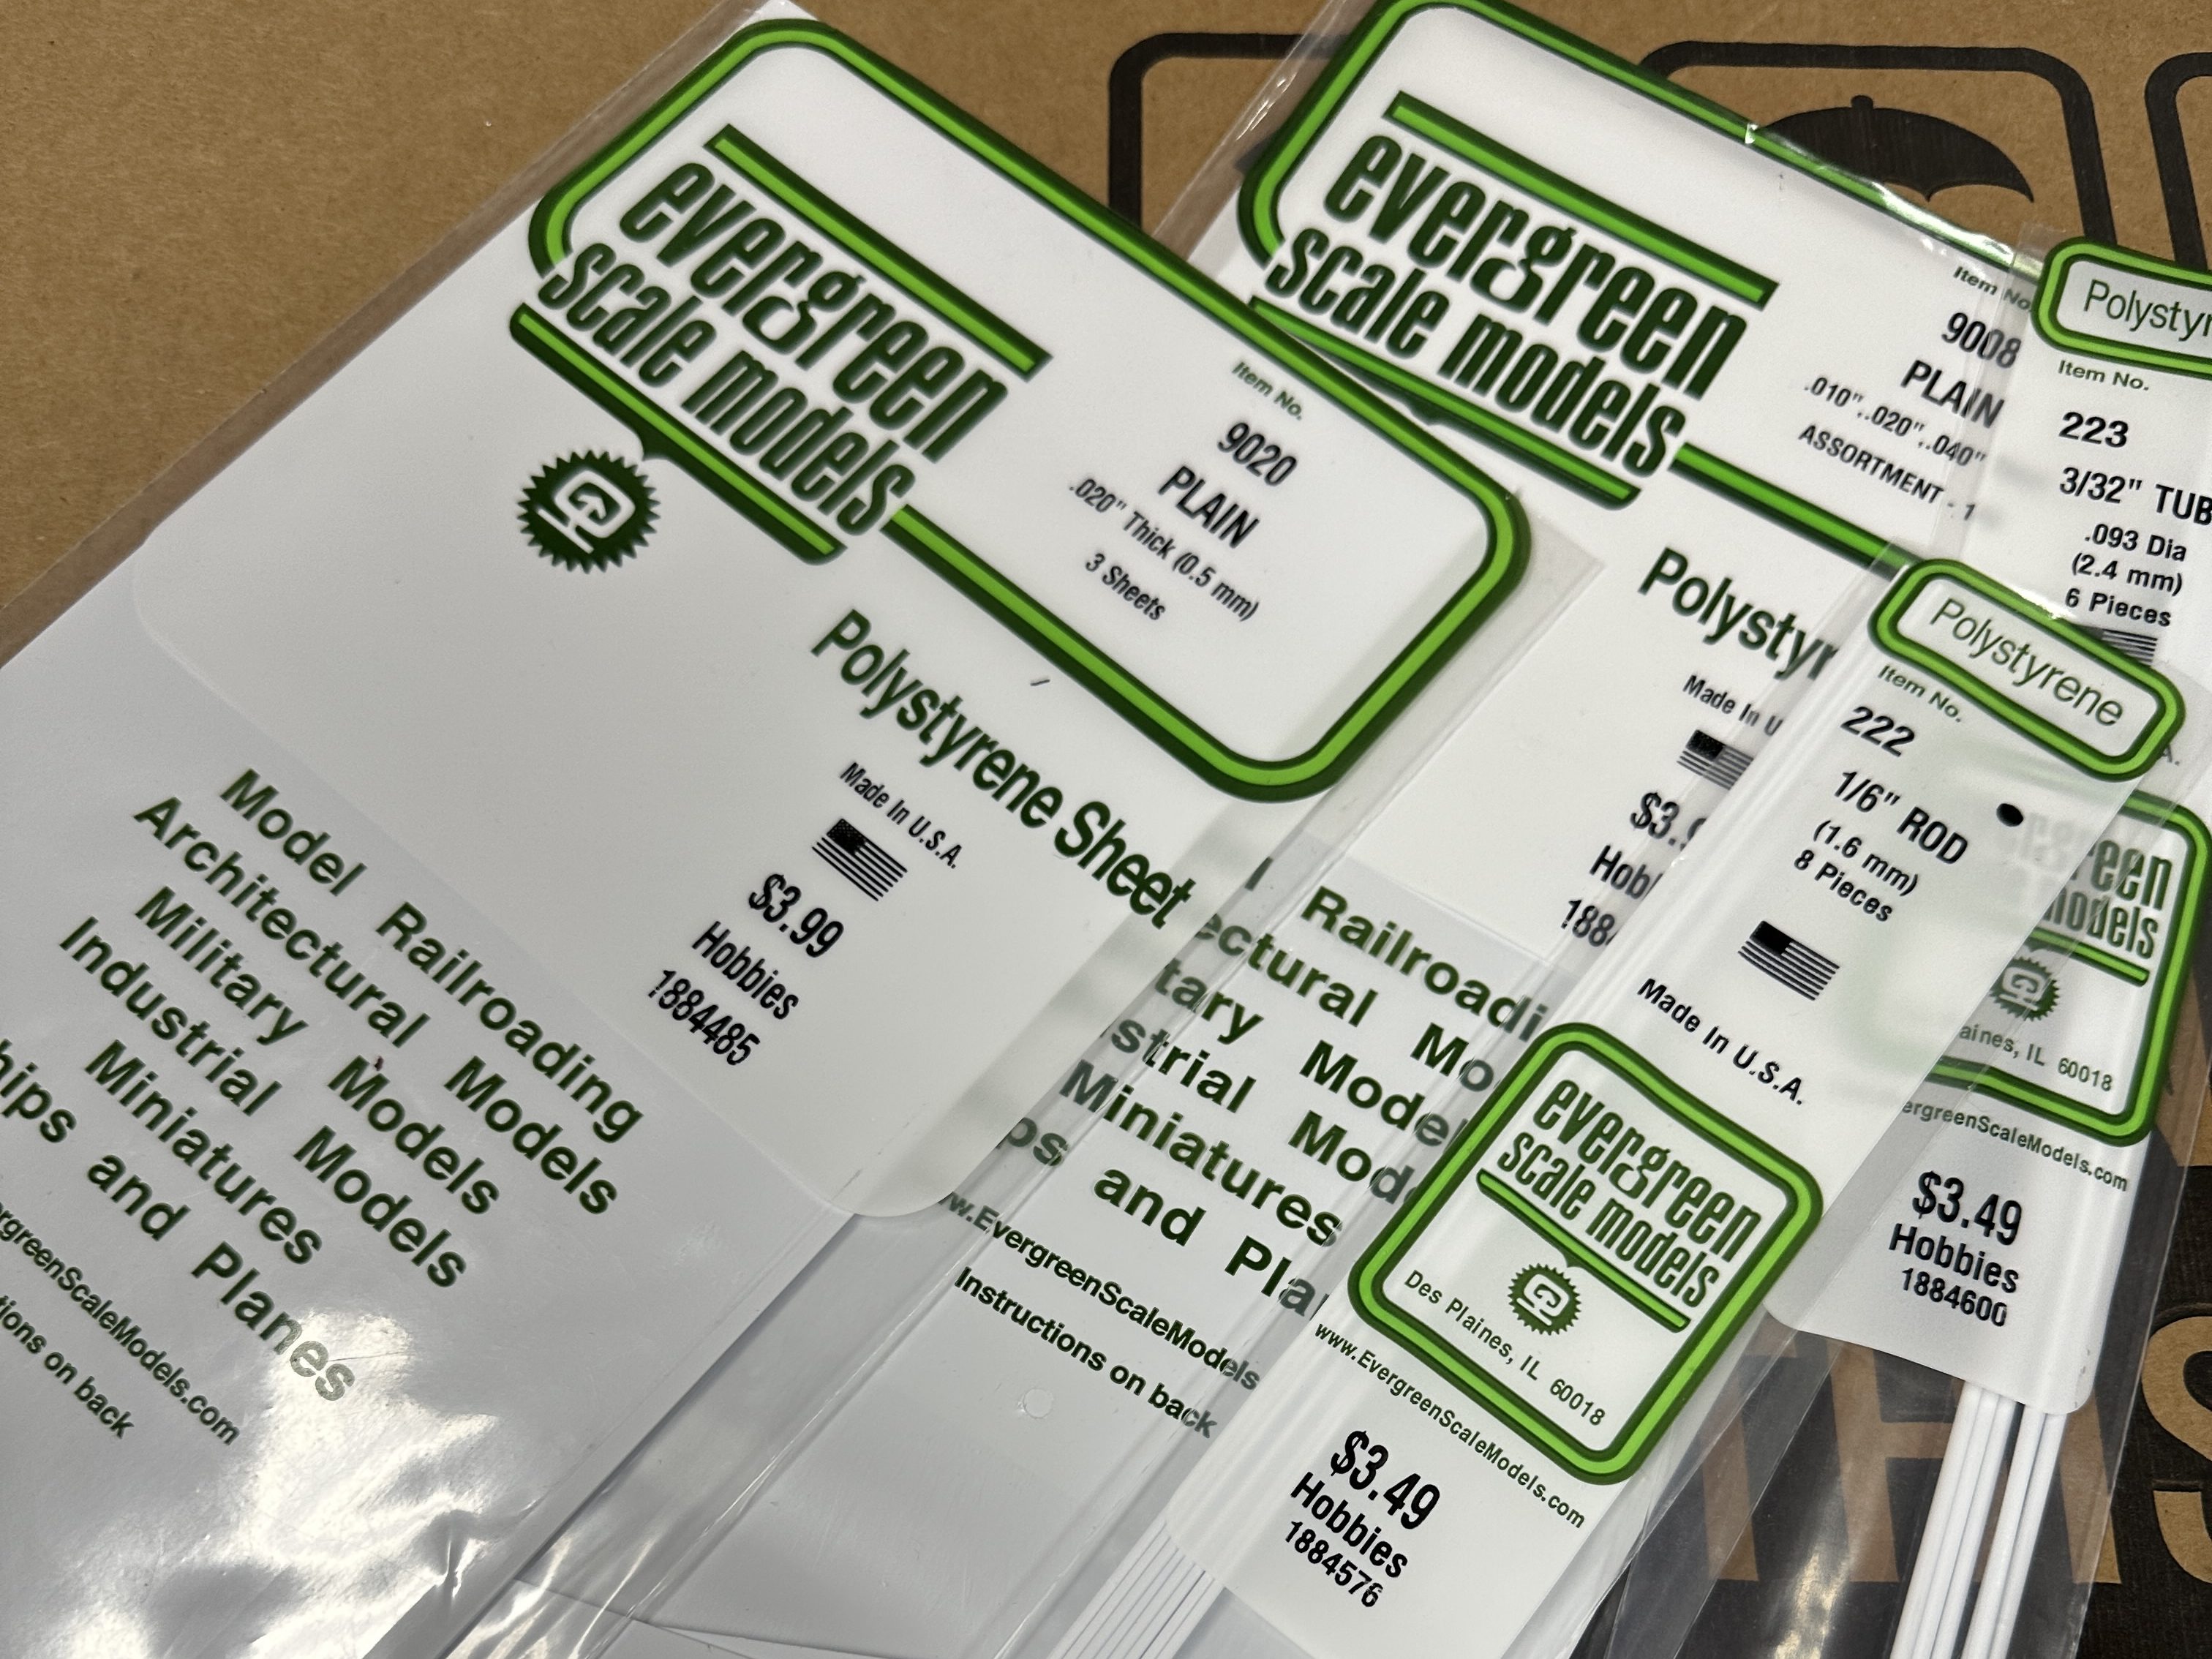
The main building materials were polystyrene and plastic cement from Hobby Lobby and I already had an assortment of paints (spray cans and acrylics). As we were getting started, I pulled out a bin of random plastic parts we might be able to incorporate, but they were all too big. Brandi asked if we had any extra LEGO pieces. We sure did, so we used some of those.
I forgot to get a picture during the initial assembly, but here’s the piece after a coat of gray primer.
Then it was all about adding colors. The delicate type of painter’s tape was used when masking off areas was needed. Little bits of color here and there made each area stand out.
A few coats of spray lacquer locked in the painting done so far. It looked too crisp and new at that point though. Weathering with acrylic paints was the final step and made it look like a real thing that had been used and abused.
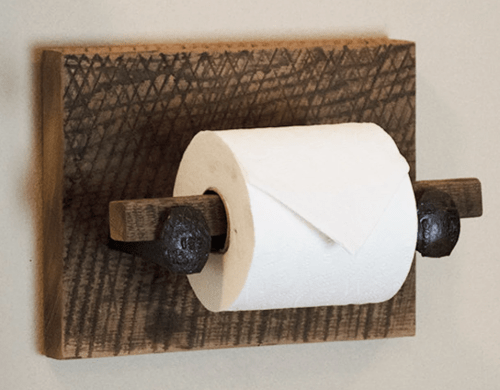
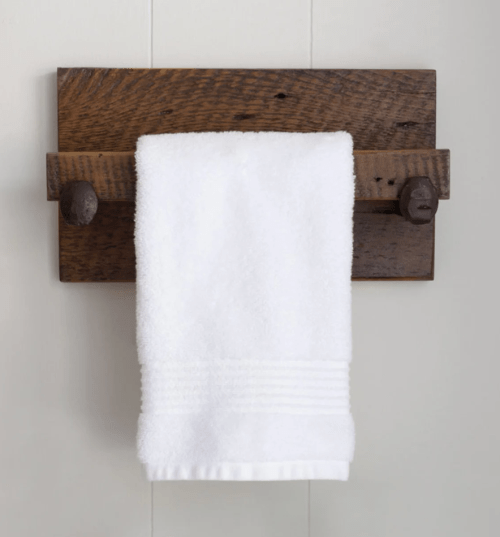
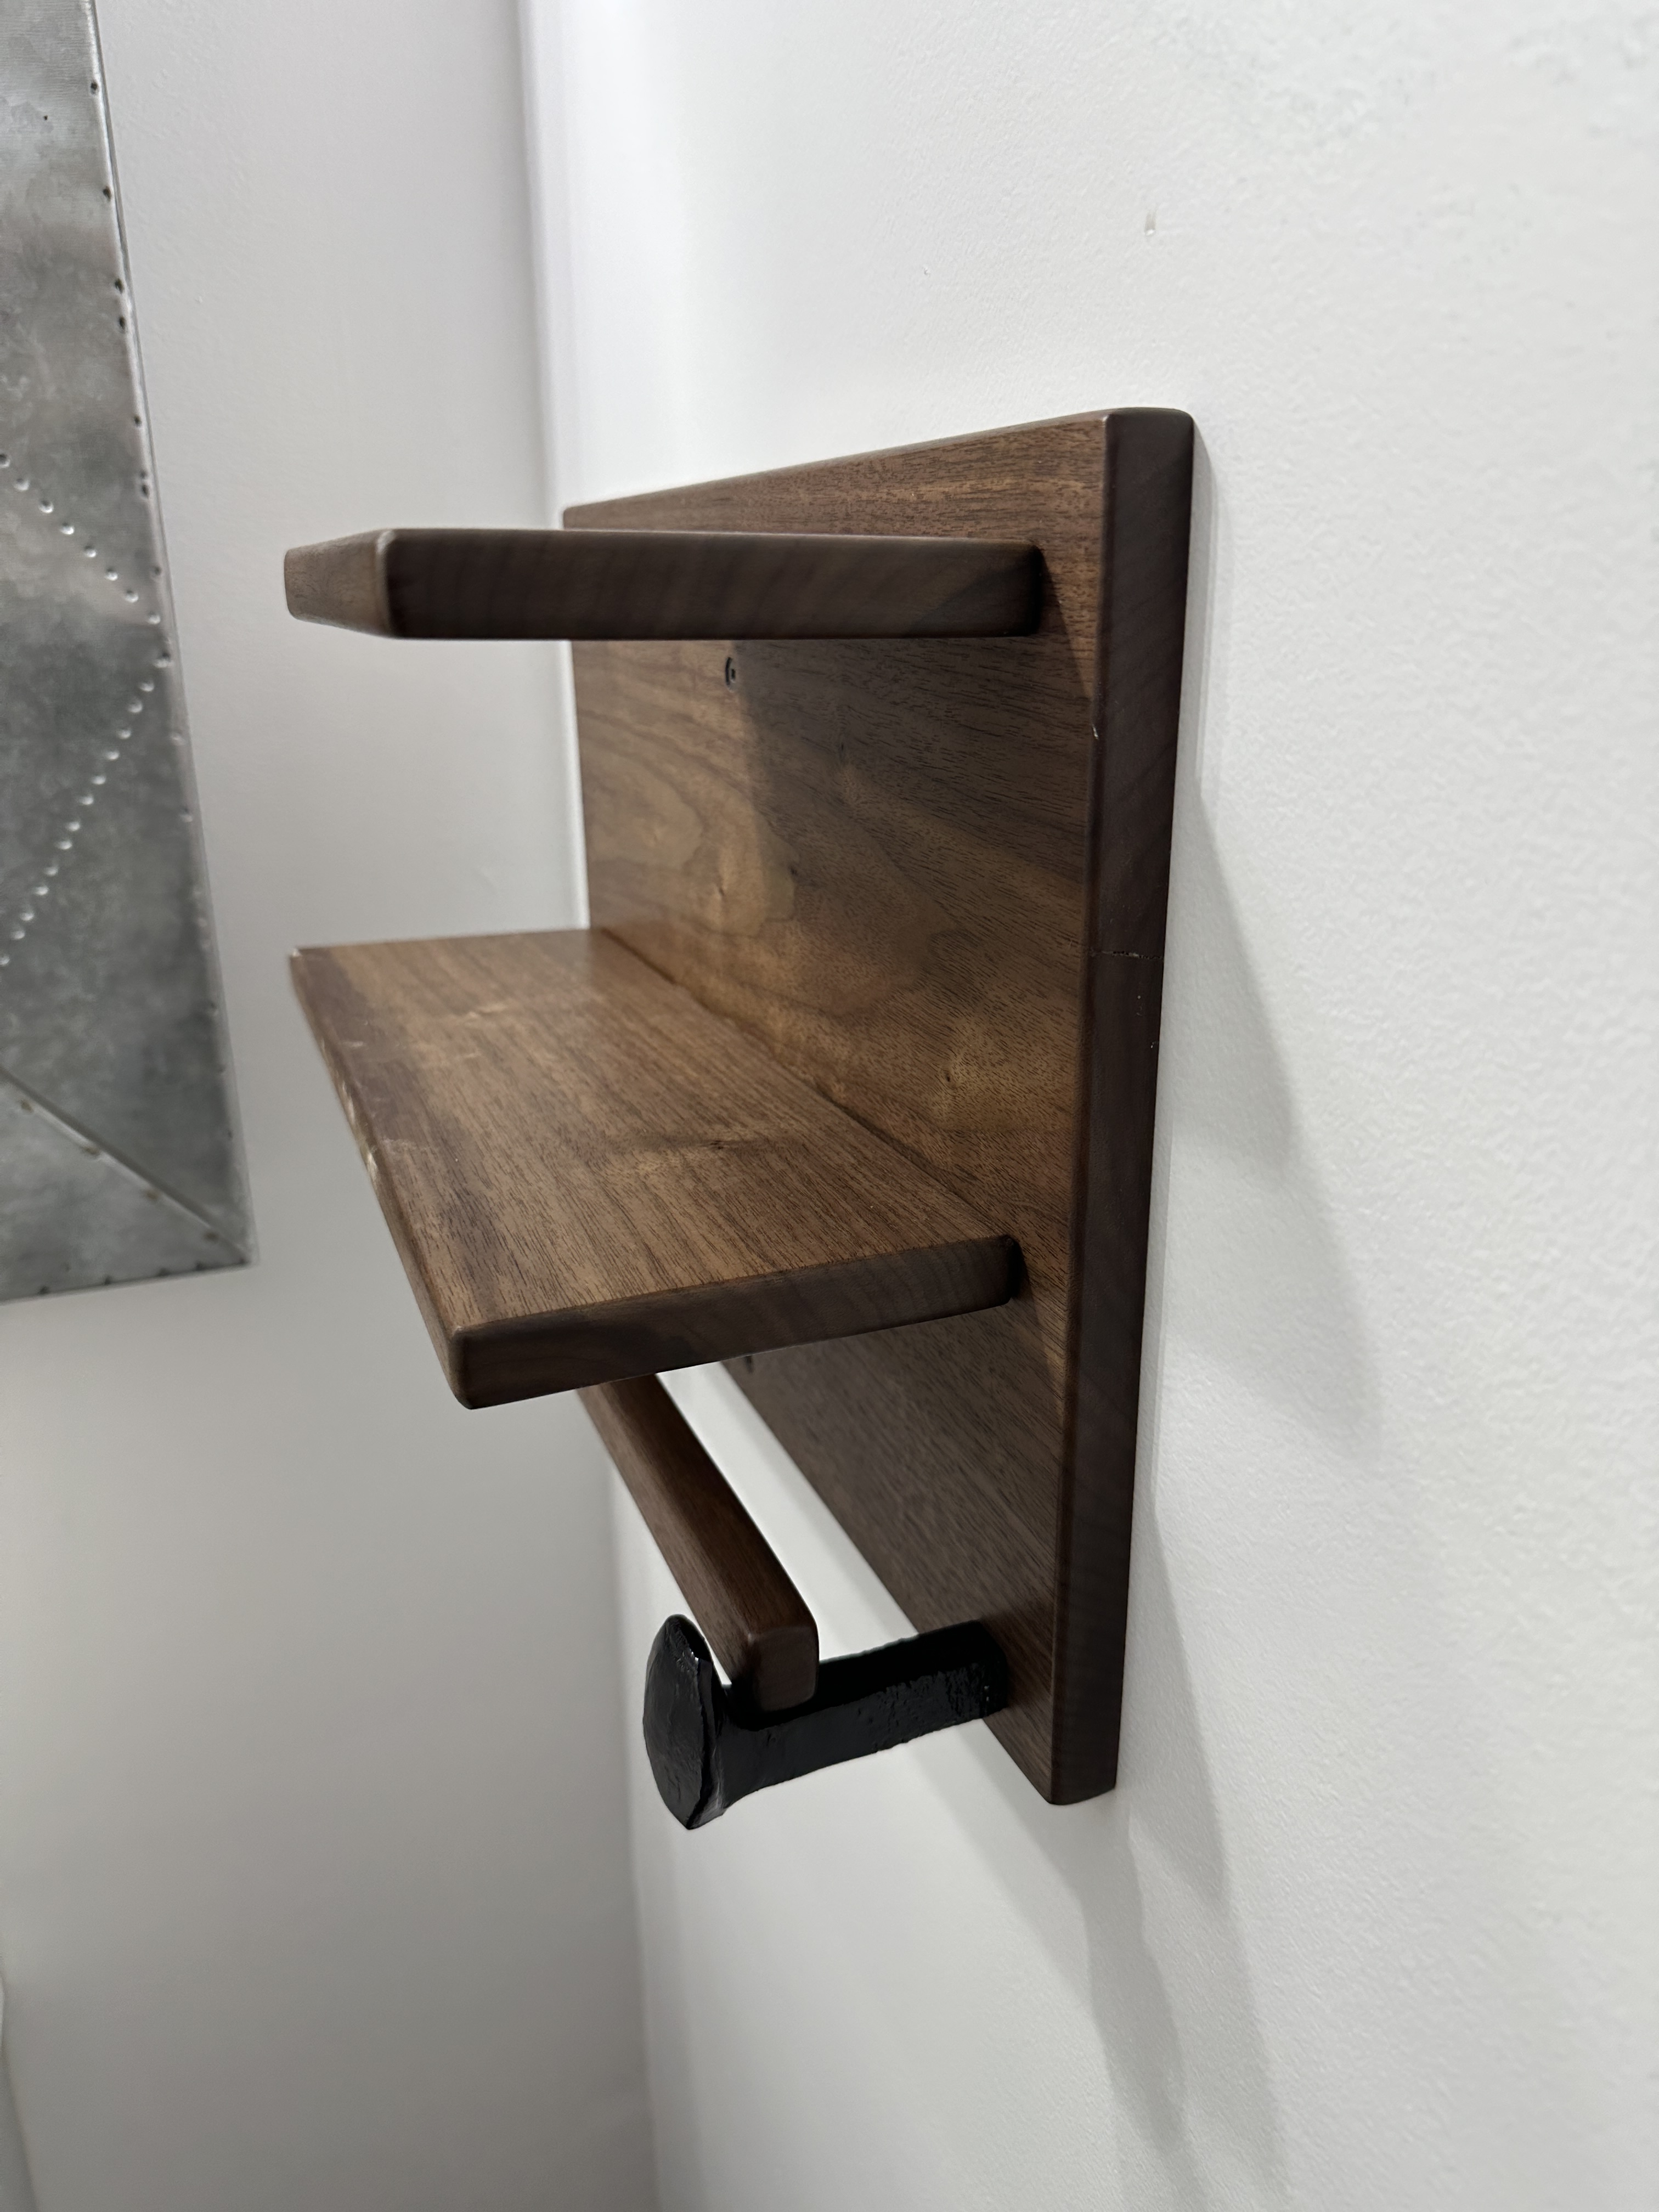
Last month we remodeled the small bathroom on our main floor and we’ve been living without some important things in the room, toilet paper and towel holders. The roll of TP has been sitting on the floor and a towel has been draped over the edge of the sink. Time to change that.
When I remodeled the living room, I bought some railroad spikes with the plan to incorporate them in to some designs. I didn’t use one. As we talked about ideas for the bathroom we thought it might be neat to use some of the spikes. Brandi found these examples on Pinterest for inspiration.
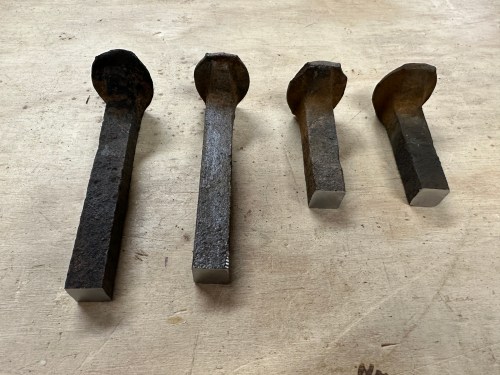
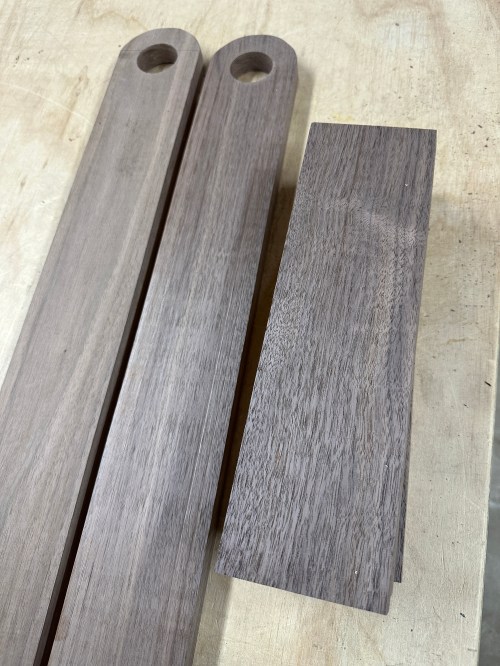
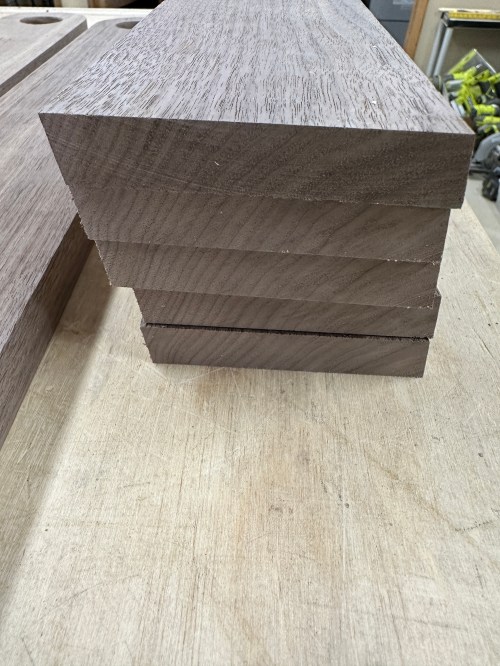
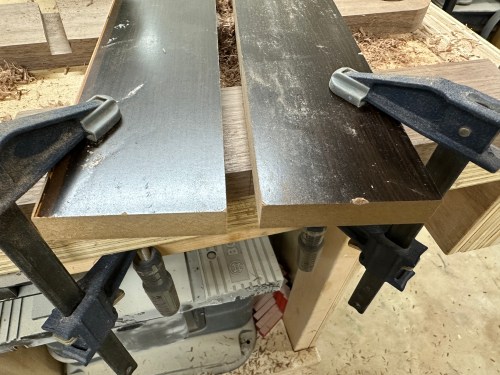
Of course I would make my own versions, especially since these cost $98 and $104 respectively! When I milled up the black walnut for the ladder, I did a second board to make these holders. To see the grain I had rubbed some water on the pieces.
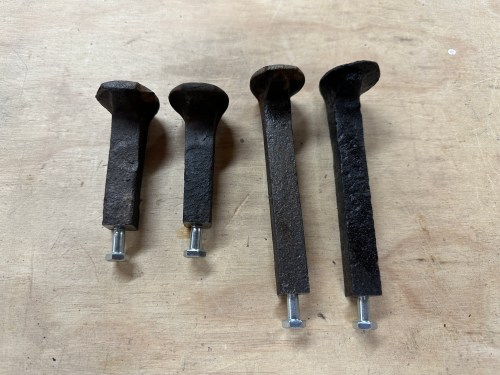
The big challenge was attaching the spikes to the wood. Since I like to learn new skills I wanted to see if I could bolt them together. I cut the spikes to length and sanded the ends square-ish. Then it was over to the drill press to put a 13/64 hole in each end. Things weren’t perfectly straight, but the spikes are far from straight anyway, so it was fine. I finally got to use the tap wrench I received for Christmas a few years ago, which was just big enough to fit a 1/4-20 tap. It worked and I was so excited!
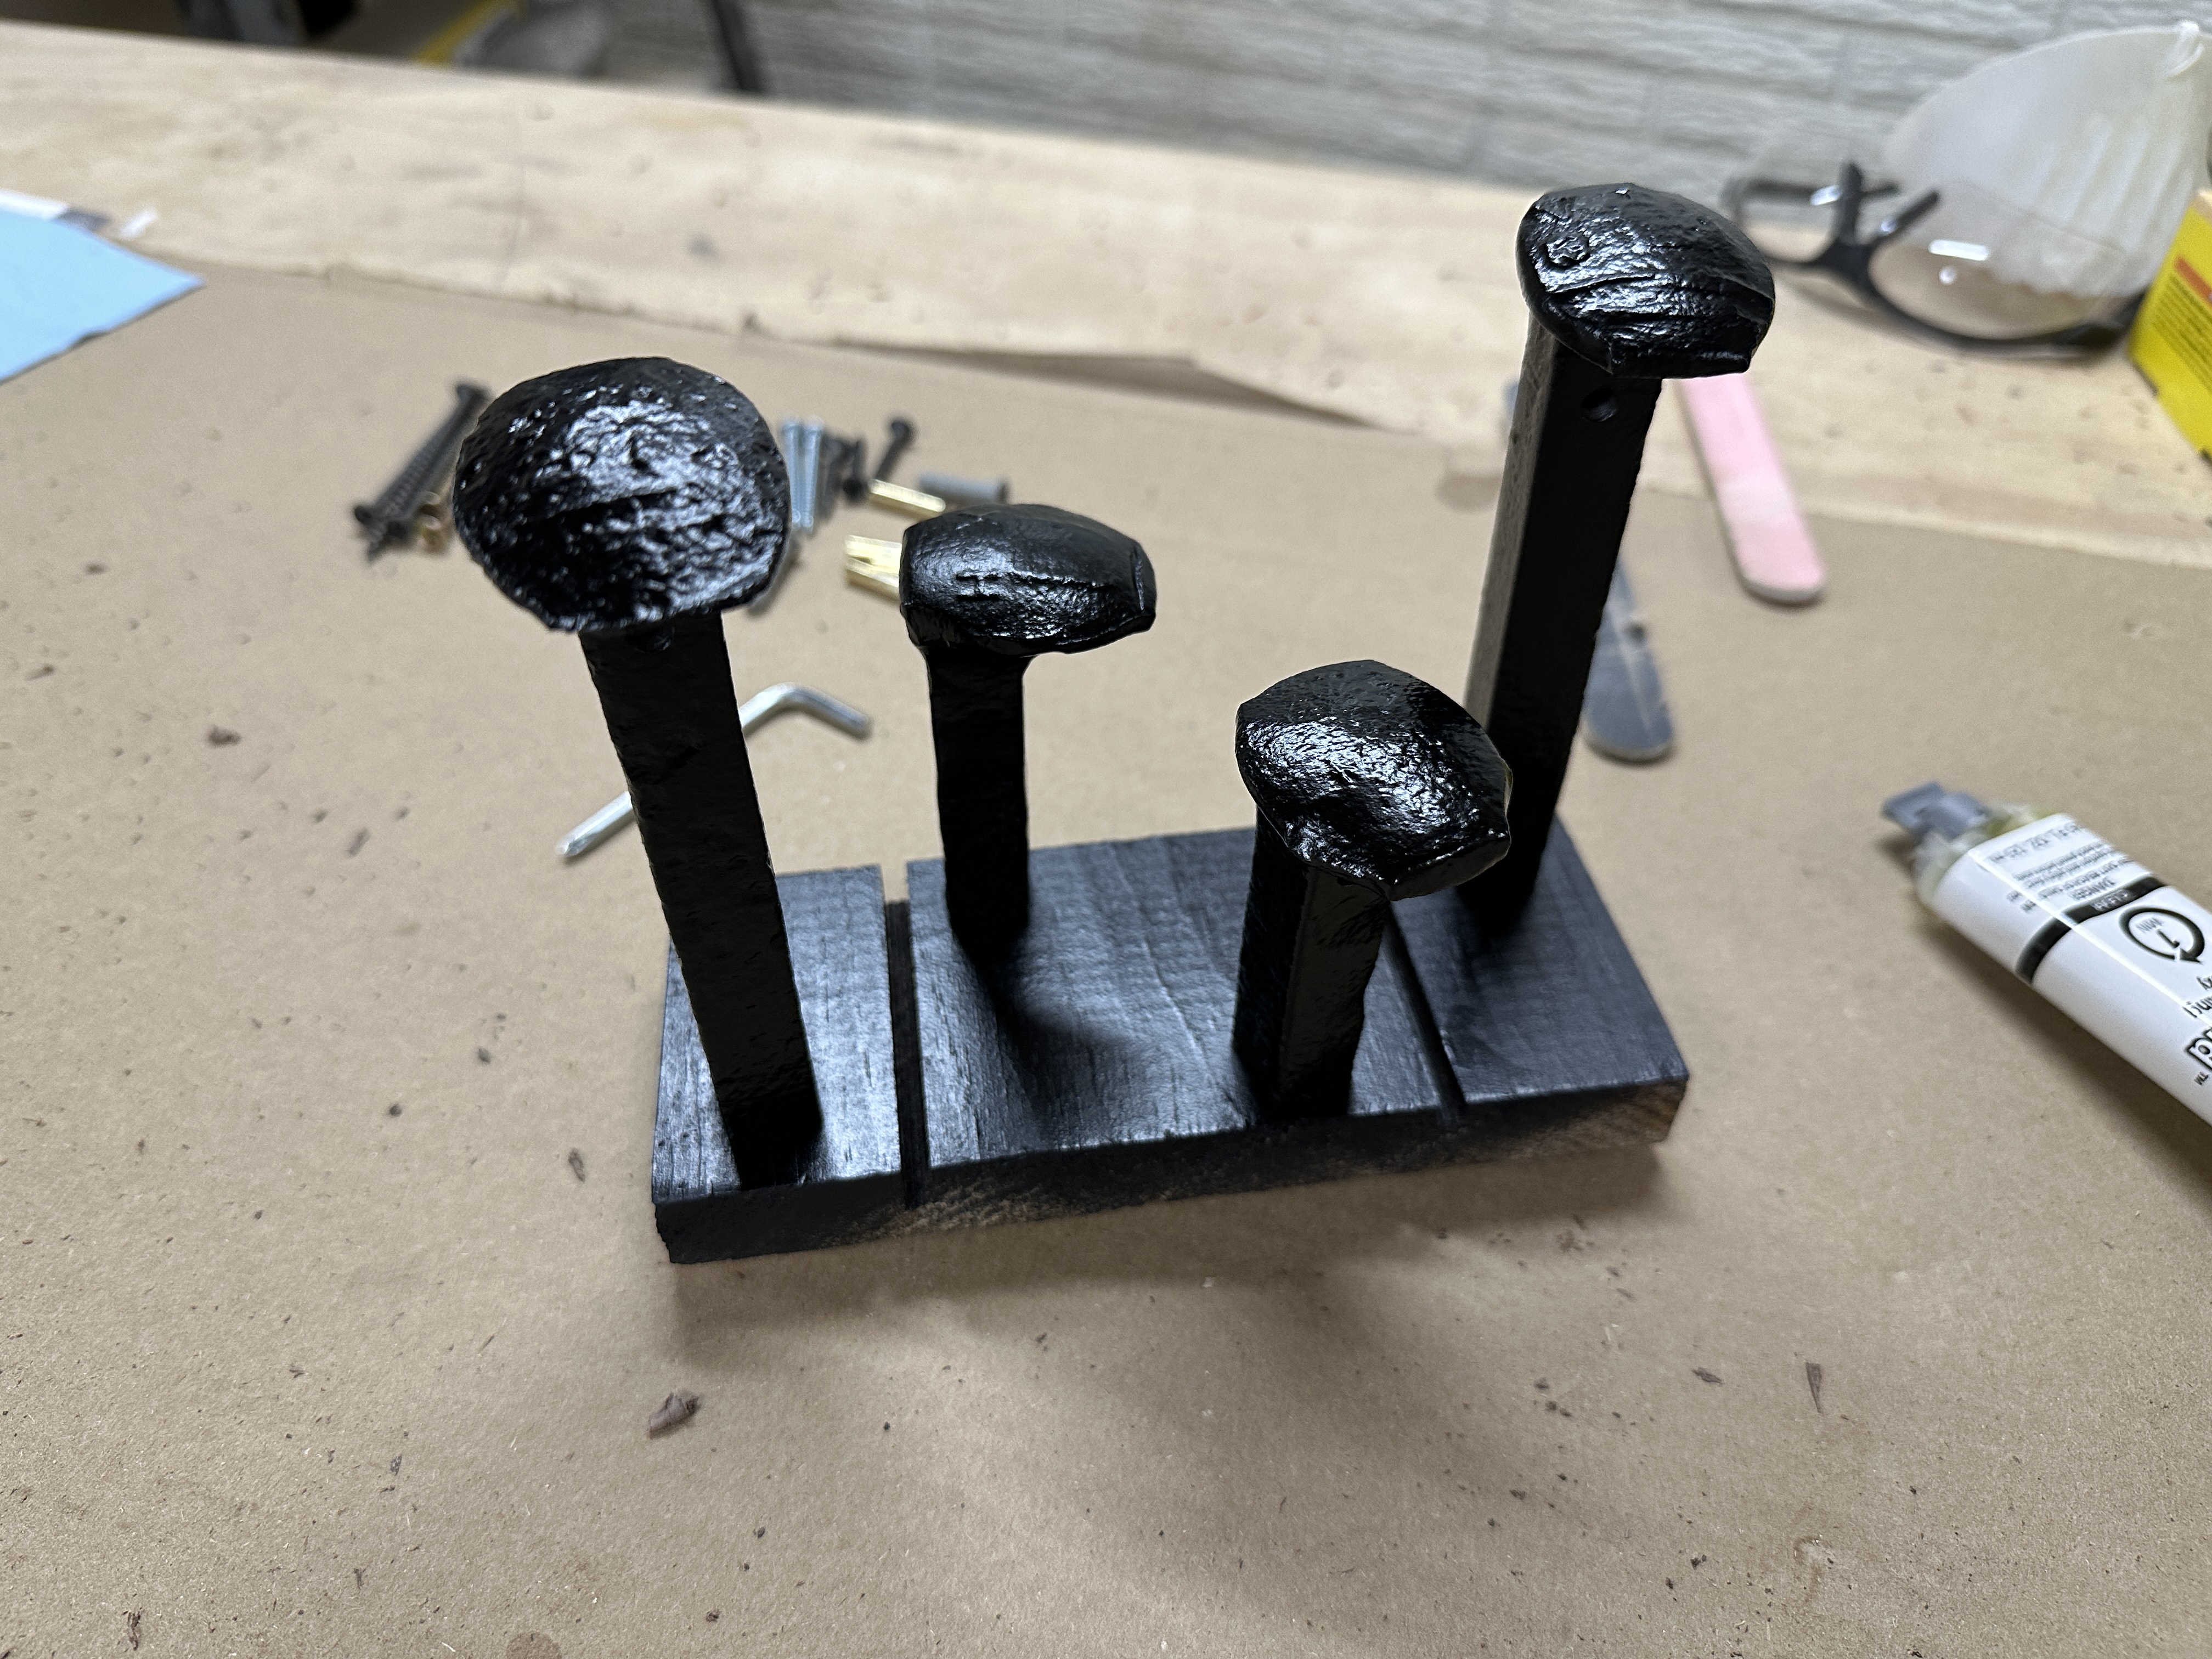
I used different bolts with washers in the final assembly but didn’t get a picture. After cleaning them up the spikes with a wire wheel on a bench grinder, I drilled some holes in a scrap piece of wood, mounted them, and spray painted them black.
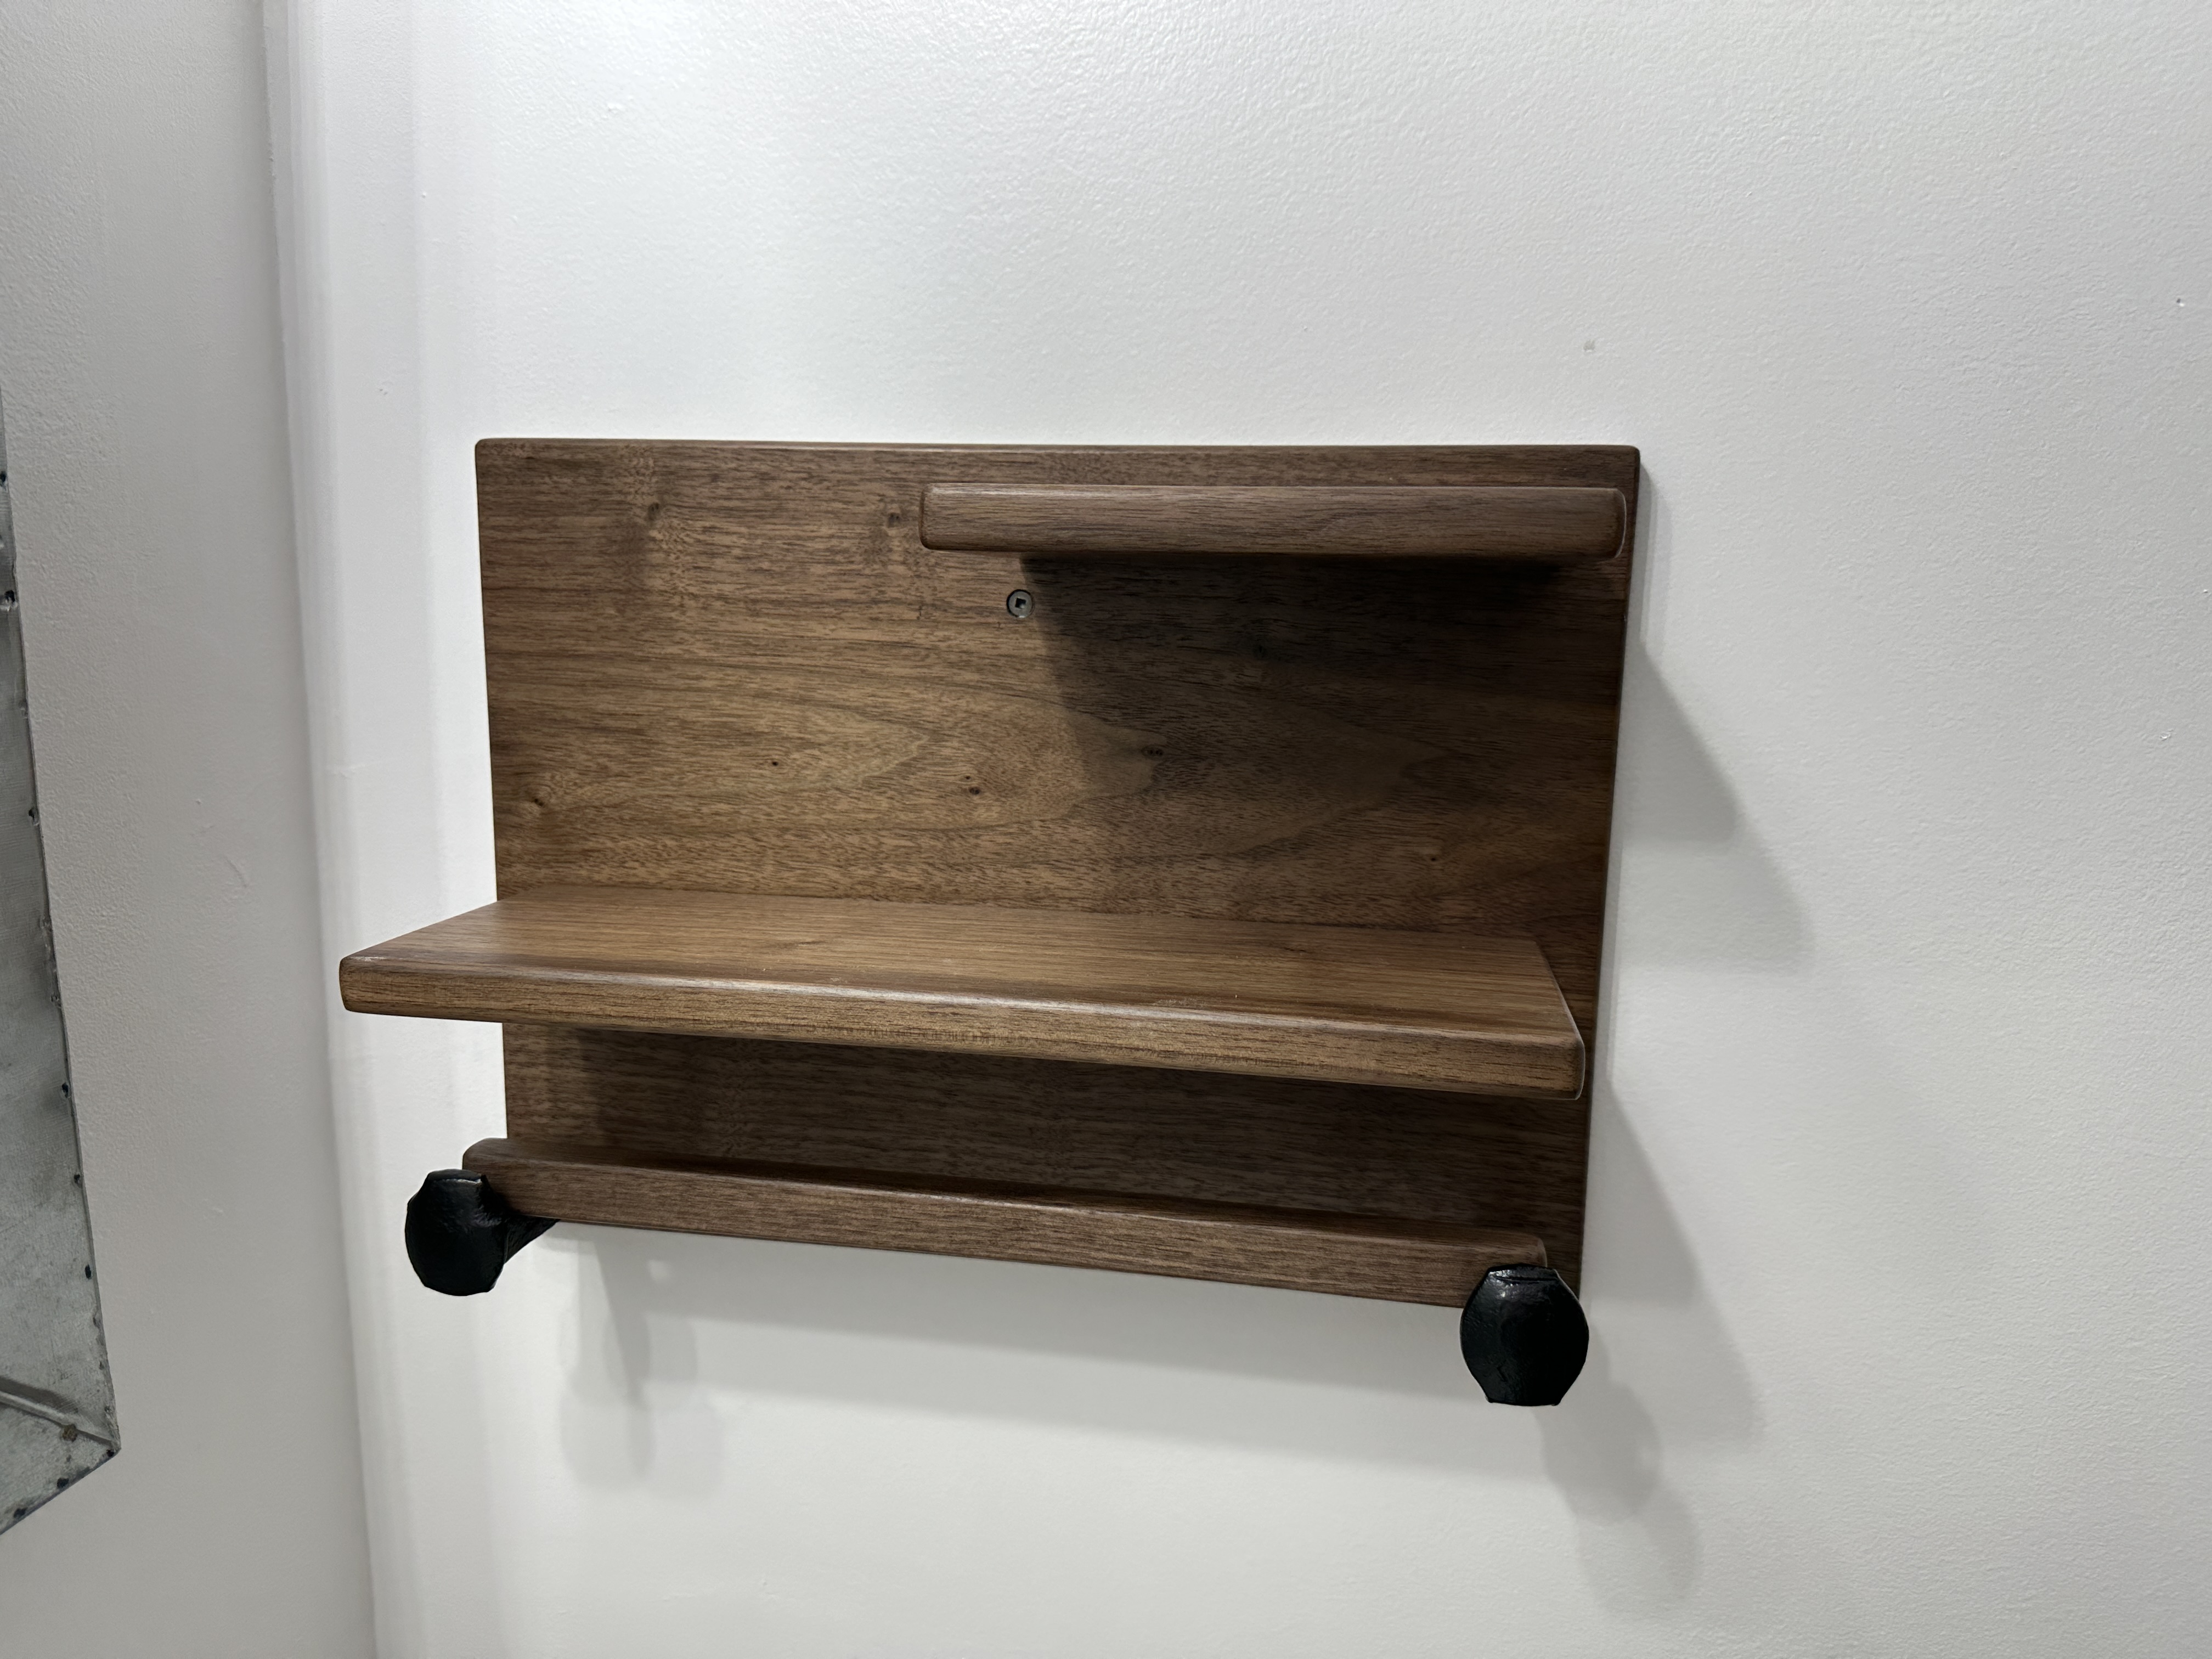
I drilled a hole near the heads where I used epoxy to put in a pin which would keep the rail in place. I didn’t get a picture of this, but I do have one at the end of the post to show how the TP holder works. Meanwhile, I had cut all of my pieces of walnut, drilled holes for mounting and assembly, rounded the edges on my router table, and sanded through the grits.
To keep the finishing stage simple I sprayed on 4 coats of lacquer from a rattle can and applied a coat of Linseed Oil & Beeswax Polish.
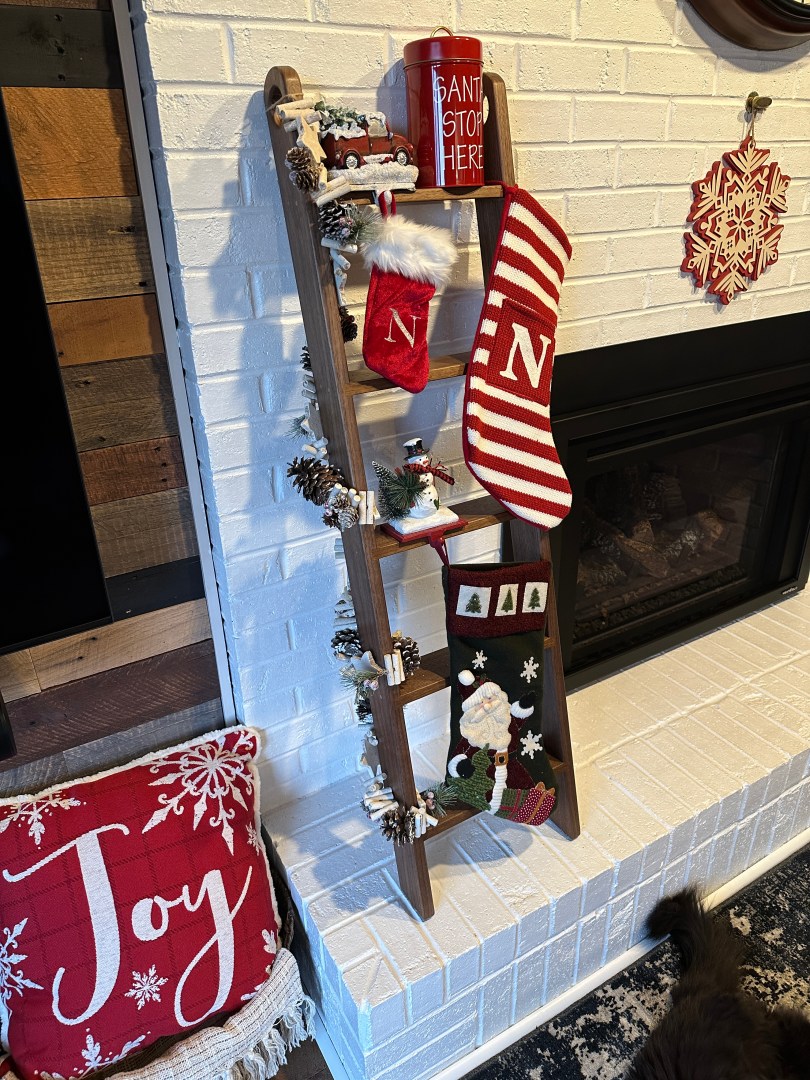
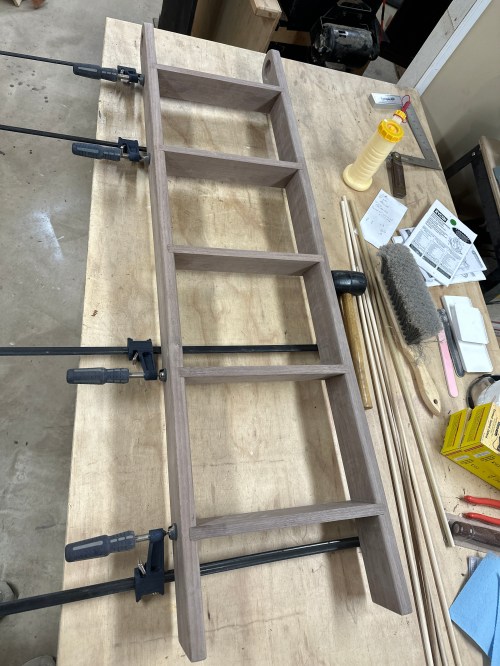
Several years ago I thought about making a ladder to hang blankets on next to the fireplace. Then last month Brandi asked if I would make a ladder she could also hang our Christmas stockings on. I’ve had some black walnut on my lumber rack for a couple of years and this seemed like a perfect project to use some. I hadn’t done much woodworking this year, so it was also a great project to over-engineer the design and try some new things. Here are some pictures taking during the build.
The feet of the ladder are cut at a 10° angle, which provided the opportunity to experiment. In order for the rungs to have the option of also being shelves, they needed to be attached to the sides at this same angle as well as have the long edges cut at a bevel. For strength and ease of assembly I decided to cut dados in the sides of the ladder at that 10°. This was all new to me and the method I used produced amazing results.
First I used an angle gauge to mark lines on each side for the top of each rung. Then I clamped a straight board down, put the rung up against it, and clamped another board snugly against the rung. From there I was able to pull the rung out and use a router with a pattern bit to hog out the dado. All 10 ended up so perfect that I had to use a rubber mallet to disassemble it after my dry-fit.
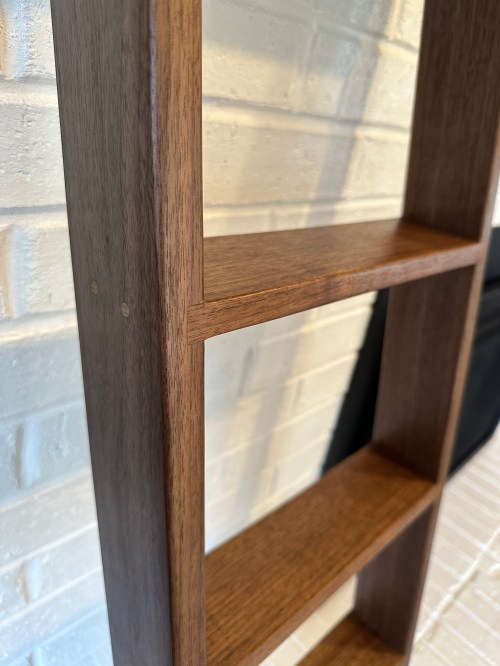
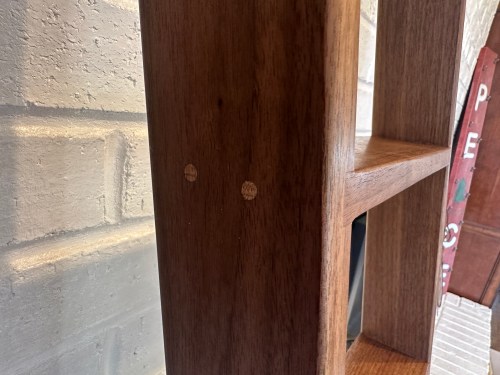
After a ton of sanding and the glue up, the ladder was plenty strong enough, since it would never be used as an actual ladder. I knew I didn’t want to add screws to the joints and even though I didn’t need to, I decided to add dowels for the practice and the look of the contrasting oak. I made a little jig to line up and drill out holes in to the edge of each rung. Everything got finished with three coats of Minwax Wipe-on Poly and a coat of Linseed Oil & Beeswax Polish.
This turned out to be one of the nicest pieces I’ve ever made.
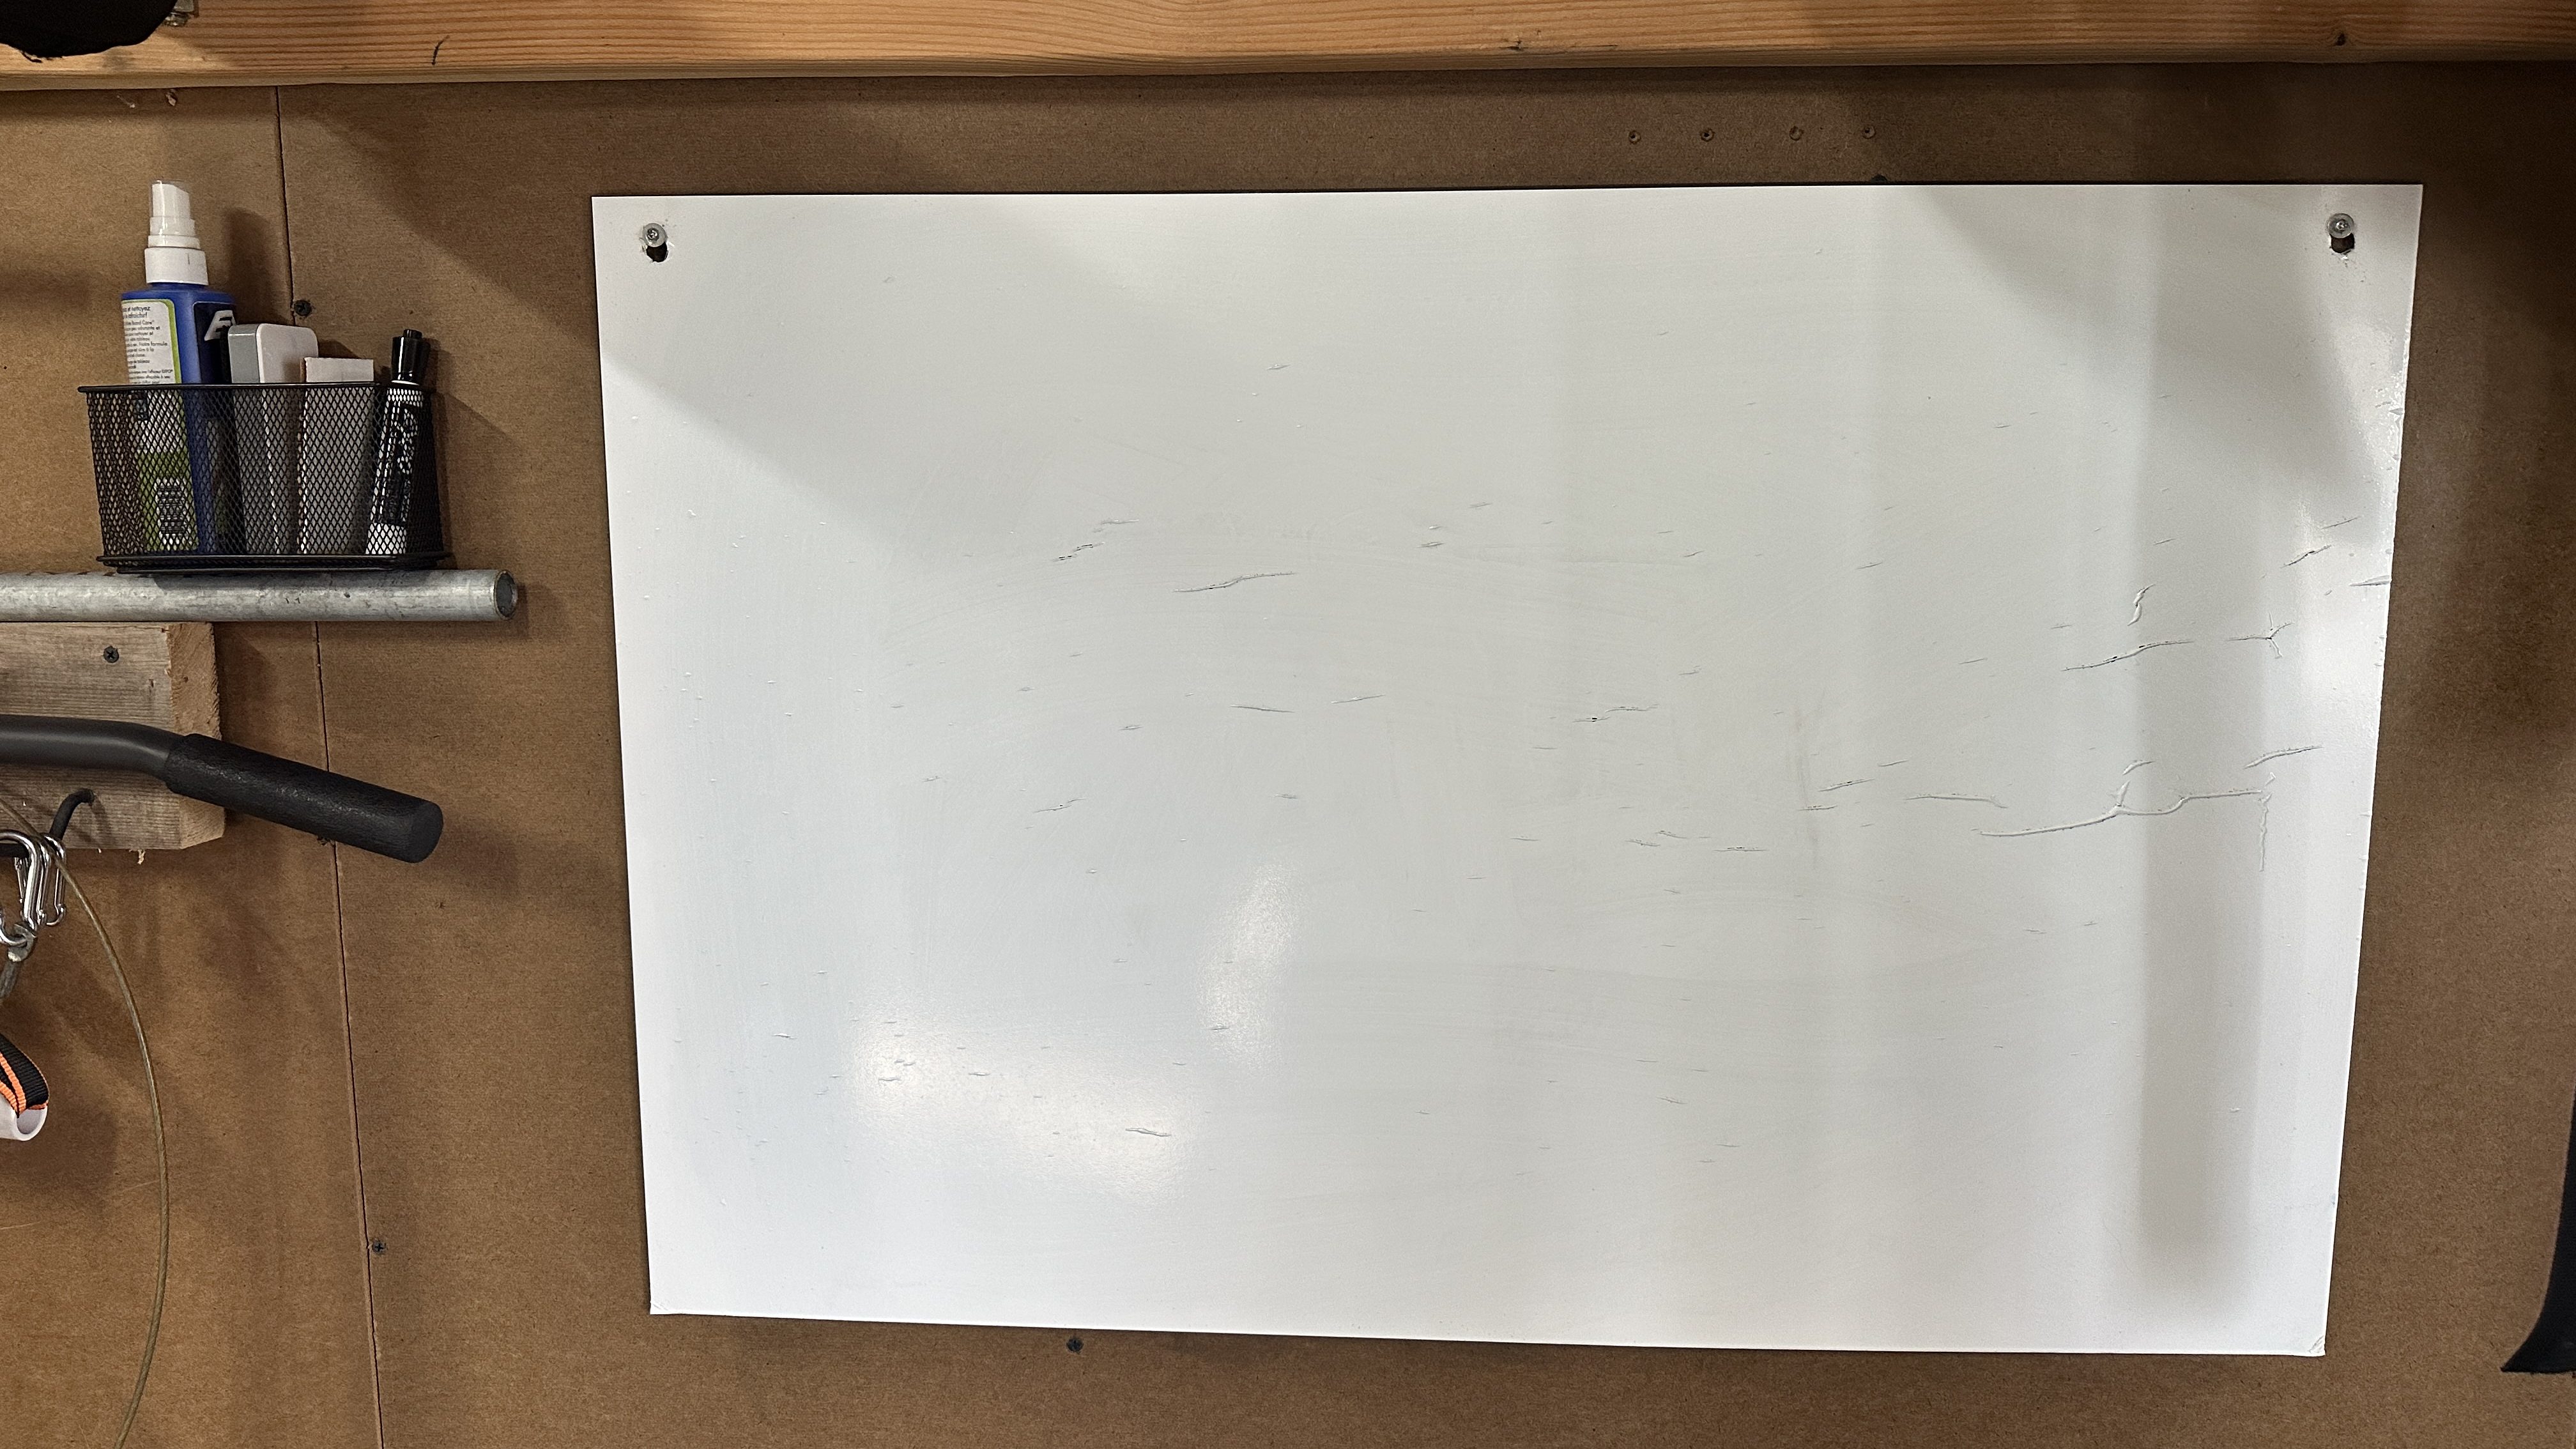
During the pandemic I bought a sheet of dry-erase material that I stuck on a piece of hardboard.
As you can see in the picture there were a lot of wrinkles because the sheet wasn’t very good. It worked alright for over two years, but it was time to make an upgrade for the garage gym. A few weeks ago we picked up a 2×4′ Dry Erase Handi-Panel (Menards) for less than $10. I didn’t want to put any holes in it, so today I finally made some simple brackets.
The three bottom brackets have rabbets for the panel to sit in. These were screwed in to the studs. The smaller top pieces were simply pin nailed to the 2×6″ already on the wall.
Markers work much better on this new board too. Very quick project, but will be a big improvement for fitness time.
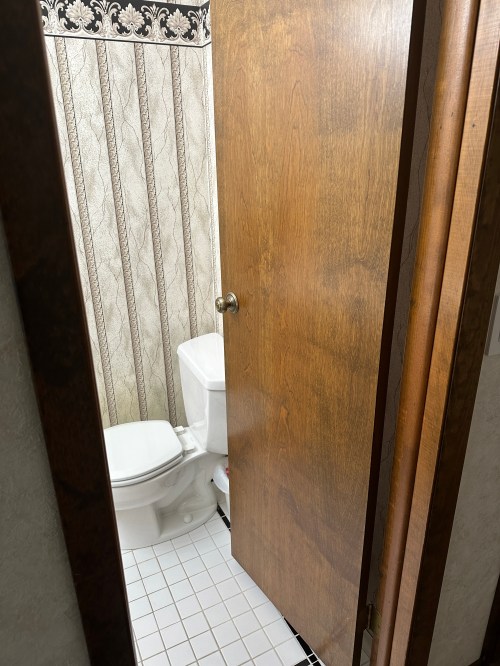
After the kitchen project I needed a break. With fall arriving it was time to dive back in to something and the small bathroom was next on our list. It’s the last room on the main floor to get a facelift. Look at that lovely style!
Over the course of a weekend we:
Took the door off its hinges
Pulled all of the trim
Removed the towel and toilet paper holders
Moved out the toilet
Tossed the vanity in the trash
Installed shut-off valves on the sink’s water lines
Took down the mirror
Pulled up the tile floor, mortar, and a layer of subfloor
Removed wallpaper
Tossed the light fixture in the trash
The flooring and wallpaper made for a very long and exhausting Sunday.
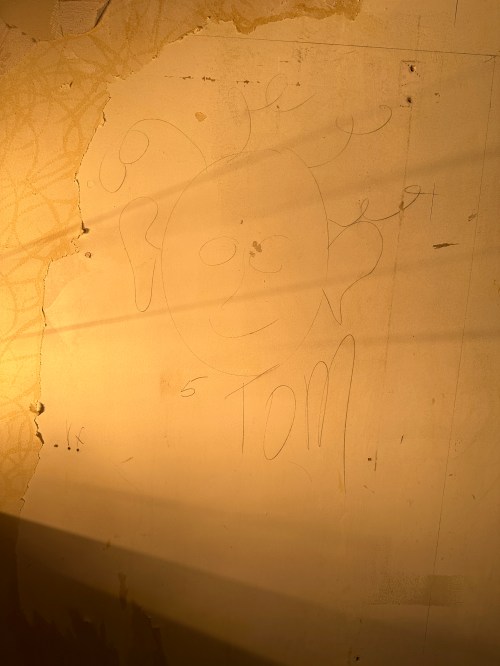
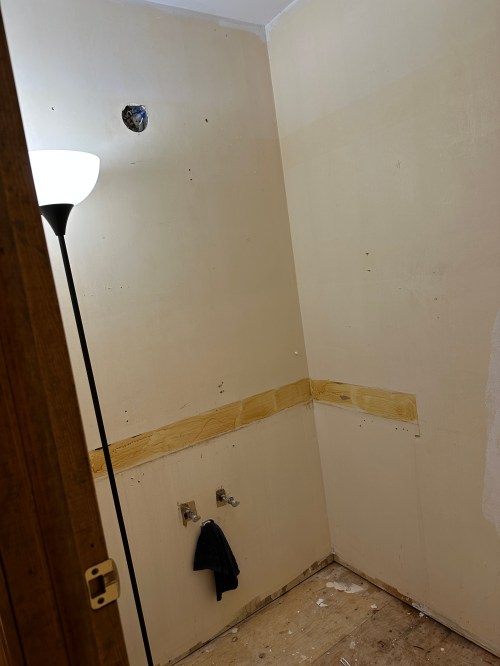
It was nice to have a blank slate. We scrubbed the walls to try and remove any remaining wallpaper glue, which took about an hour and a half. Then I worked on repairing drywall. The old toilet paper holder was inset, so I had a pretty large fix there. In the above picture you can see all the glue left on the wall from the backslash. Sanding glue never really works, so I took a blade to cut around the area. Then I used a putty knife to take off some of the drywall paper. After that I sanded a bit, applied primer, and then several rounds of drywall with sanding in between. I learned this technique in the kitchen when some pretty large areas of drywall paper peeled off. Works great!
We primed the walls. While painting Brandi had a good idea to do the ceiling, which made it much easier not having to cut-in. We painted two coats. I cut 3/4″ plywood for the subfloor.
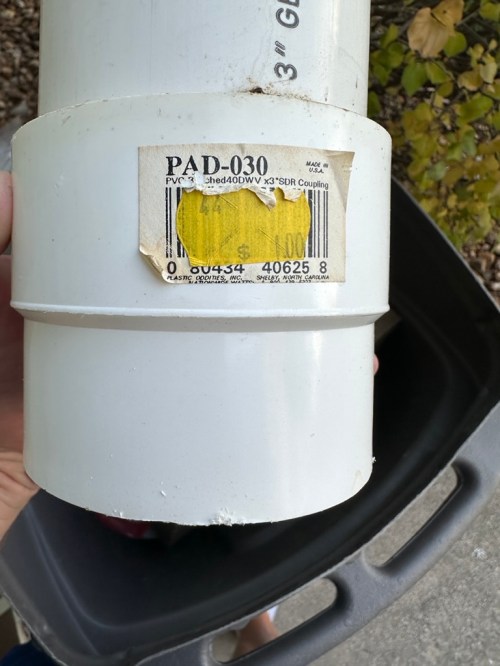
The toilet flange was sticking up above the old floor and while removing the tile and mortar I must have jostled an old leak in the drain pipe, which I figured would happen. I tested by pouring some water down it was definitely dripping. Good time to fix both issues while the floor was gone. After buying some PVC parts I got home and realized the lower piping was 3″ thin wall (Schedule 30) PVC. Of course that’s a different outside diameter than standard 3″ Schedule 40 PVC and needs a special coupler. Nobody carries that part anymore so it’s a special order. They do carry a 3″ Schedule 30 to 4″ Schedule 40 coupler though, so I got one, a length of 4″ pipe, and a 4″ toilet flange. Check out the old $1.00 price tag on the coupler I cut out!
Things went pretty smooth from there. I wired in the new light (Menards) and ordered brighter LED bulbs (Amazon). I installed the same Sam’s Club flooring I had used in the living room, kitchen, and hallways. Then I was able to attach the toilet flange over the top of the floor as it should be. We installed the vanity and sink (Home Depot), hooked up the new faucet, and reinstalled the toilet. After only 8 days we were happy to have a functional bathroom again. It was two exhausting weekends though!
Over the next several days I picked away at the remaining items:
New switches and outlet
Peel & stick backsplash tiles (Menards) with caulk around the edges
Refreshed the stain on the door trim and nailed it up
New prefinished floor trim
Hung the mirror
So much cleaner and no longer cramped. I’m going to make towel and TP holders with shelves in a couple of weeks.