
It’s been a few weeks since my last update on the kitchen and it’s because I’ve been putting in a lot of hours.
One of the first things we talked about before starting the remodel was colors. We wanted to go for an old farmhouse look. This photo we found on Google was a look we liked.

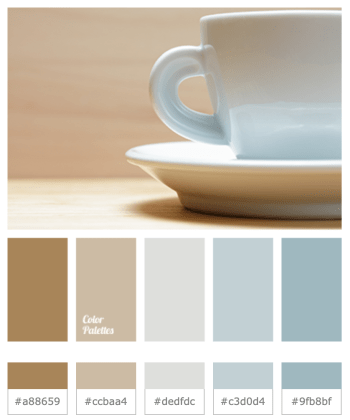
We browsed some color palettes and really liked this one.
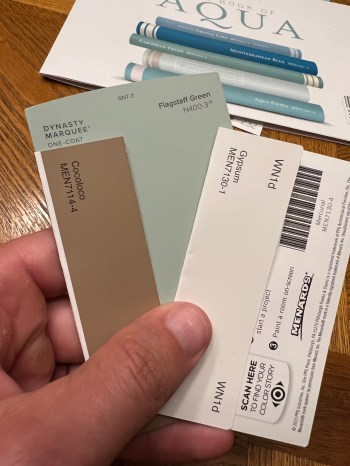
After some trips to the hardware stores we had a pile of paint samples.

We decided to go with more of a green and collected even more samples. Here’s where we ended up, from left to right the colors would be used for trim, walls, and cabinets.
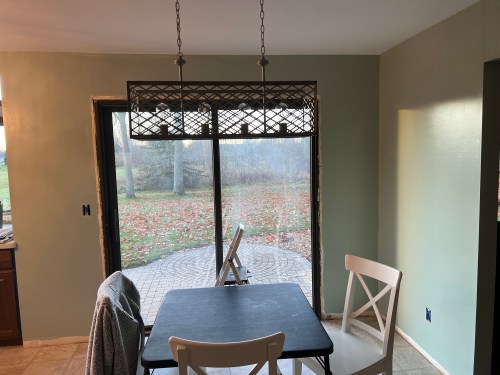
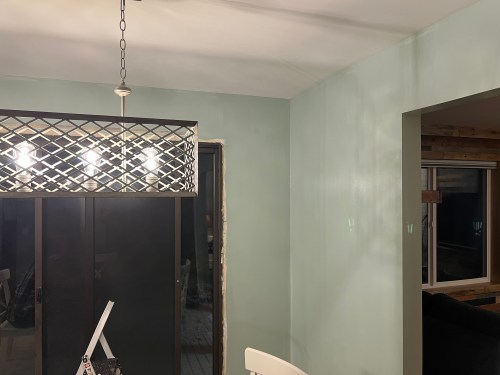
Some of the wall color has been shown in previous posts because we actually painted them before Thanksgiving, when Mom visited for a couple of days to help. We were worried about covering the red-ish walls, but after a coat of Zinsser Bulls Eye 1-2-3 Primer we were confident two coats of paint would do the job and it did. Mom was really impressed with the Dutch Boy® Dura Clean® Kitchen & Bath paint I bought from Menards. The room was much brighter and looked bigger already.

Fast-forward several weeks, after doing the counters and the table, it was time to tackle the cabinets. I made a small piece to fill a gap between the lazy Susan and the range.

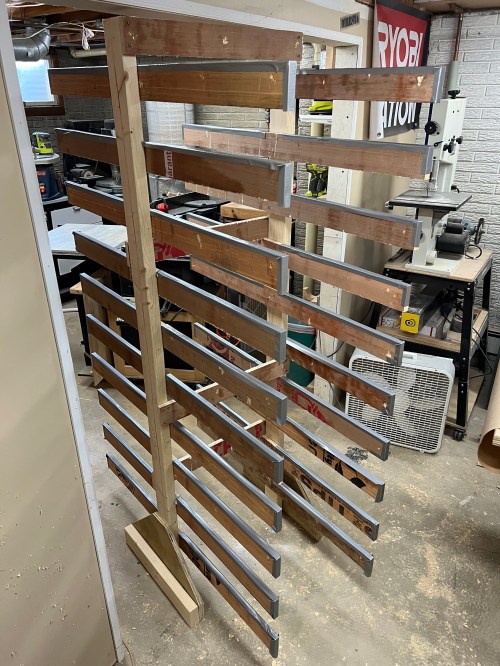
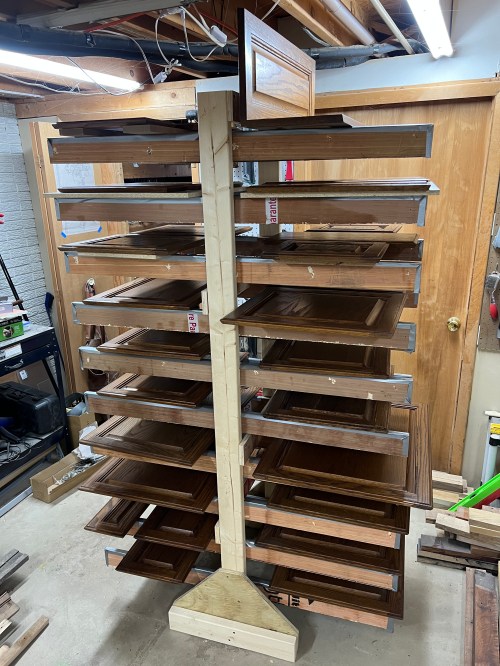
We removed all of the cabinet doors and drawer faces, numbering everything (including each hinge) with a sharpie and blue painter’s tape I numbered everything, so it could go back exactly where it came from. Then with TSP and help from chisels we cleaned everything real good. In order to paint them all I needed a storage solution. So I grabbed a bunch of scraps from my lumber racks and about 90 minutes later I had a simple drying rack. It turned out to be the exact size I needed.
Then I used Klean-Strip Liquid Sander Deglosser on all of the pieces as well as the cabinet frames. Since my cabinets were oak, which has a deep grain, I applied two coats of Aqua Coat White Cabinet Wood Grain Filler. You really want to use white instead of clear for something like this so you can see where you’ve applied it. I didn’t bother with grain filler on the backs or on the frames. The next step was sanding off the excess grain filler, which took me almost nine hours and brought the total time for the grain filling process to almost 20 hours! It did make a big difference, but you can still see quite a bit of the grain after painting. I’m not sure it was worth it.

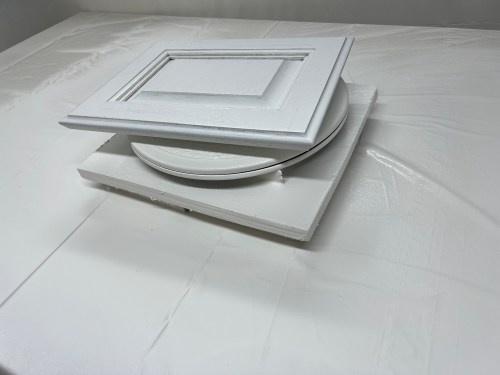
It was finally time for primer and paint! I hung plastic sheeting from the ceiling to make an L and covered my work table. Then I built up a base with some scraps and put a swivel stand on top of that. Overspray got everywhere in the shop, but at least it was basically paint dust because the small particles were dry by the time they landed.

I sprayed primer on both sides of the doors and drawer faces and then 2 coats of paint on the backs and 3 coats on the fronts, using the green tips in my HomeRight Super Finish Max HVLP Paint Sprayer. I did thin out the primer and paint a little bit with some water. I did primer and 3 coats on the cabinet frames by hand with a 1.5″ brush and a 4″ foam roller.
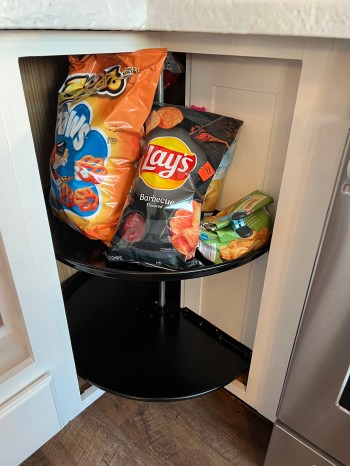
The original plan was to spray paint the cabinet hinges black, but after cleaning them we decided to keep them as they were. It would add a bit to our rustic farmhouse style. Before we put the doors and faces back on, I let them sit on the rack for about four days to give the paint time to cure more. I did spray paint the two shelves in the lazy Susan (aka “snack Susan”) cabinet black. By the way, reinstalling that think was a huge pain in the ass.
Next up was flooring. The first layer to deal with was a floating floor Dad helped me install in May of 2013. I cut out a large section to reuse at the bottom of our basement steps, where Ninja has his litter box, food, and water. Then it was quick work to pull up the rest and haul it away; it was barely an hour of work to get rid of that entire layer. Under that floor was old linoleum that peeled up pretty well. The third layer of floor was luan, which was held down by 10 times more staples than necessary. Then a 4th layer to come up was even older linoleum. I filled up an entire Powerade bottle with staples and about 20 large nails. Those bottom 3 layers of flooring took two days!


Dad called and asked if I wanted some help, so he came down on Saturday morning and we installed the same Select Surfaces Barnwood Spill Defense Laminate Flooring from Sam’s Club I had put in the living room. After helping my brother install some in his house, this was my third time working with the product, so it only took us about 6 hours to do the entire room. We were able to continue it from the living room because I made sure to stop with full width pieces there. He ran up and down the stairs all day making cuts while I measured everything and installed each piece. It was a huge help to have him here.

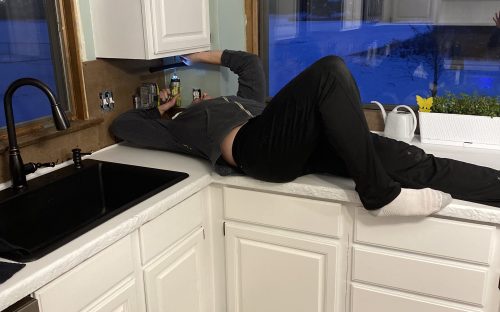
On Sunday Brandi and I reinstalled all of the cabinet pieces after putting on new felt pads. Then I hung a new paper towel holder and installed a couple of LED under cabinet lights where old ones had been.
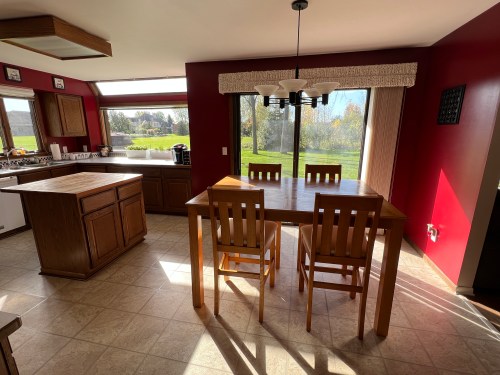
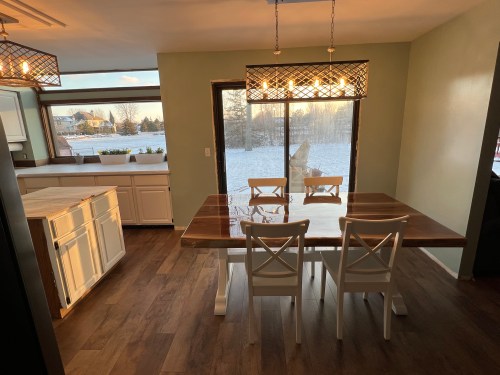
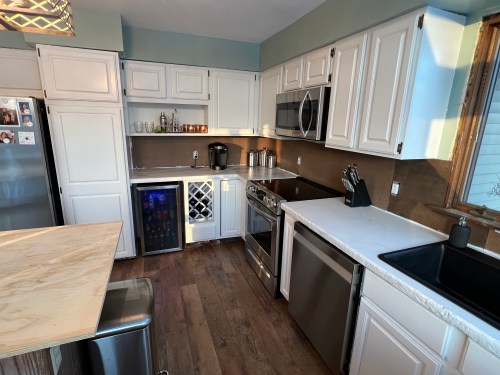
The weekend of work completely transformed the look of the kitchen. Our vision has finally become a reality and I feel extremely proud of everything we’ve done. Check out these before and after looks!


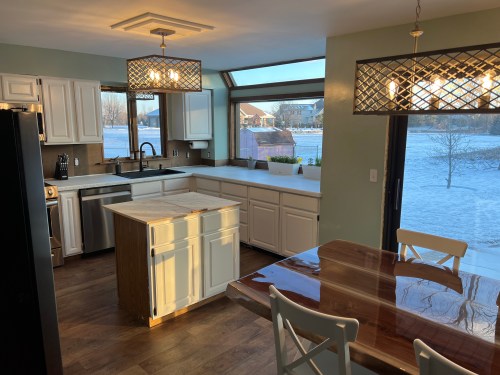


We’ll attach the island counter next weekend after the epoxy has fully cured, since we use it so much. I still need to do a backsplash, paint three sides of the island and the door to the basement, and do all of the trim work. Today is my first day back to work after a three month sabbatical, so progress on the remaining items will be slower.

[…] from 1979. Then I trimmed a couple of sections I had cut out when removing the newest layer of kitchen flooring to fit the […]
LikeLike
WOW!!!! Nick, this looks amazing. Moving the refrigerator really opened up that corner space!
LikeLike
Thanks! It’s so much easier to cook, move around, and make use of the area.
LikeLiked by 1 person
[…] Six weeks ago I said progress would be slow going since I was back to work. I wasn’t wrong, but we’ve been knocking out odds and ends, mostly on weekends. Small changes can make a big difference and always seem to take two to three times as long as you’d expect. […]
LikeLike
[…] the piece over to the drying rack, which I’m so glad I didn’t break down after painting the cabinets. I had only found out about staining pads while researching gel stains that morning and it worked […]
LikeLike
[…] Kitchen Remodel: Paint and Floor […]
LikeLike
[…] LED bulbs (Amazon). I installed the same Sam’s Club flooring I had used in the living room, kitchen, and hallways. Then I was able to attach the toilet flange over the top of the floor as it should […]
LikeLike
[…] Kitchen Remodel: Paint and Floor […]
LikeLike