
Set Sound Output via AppleScript

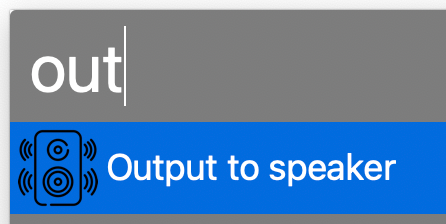
When playing music I usually change my office MacBook’s sound output to a Sonos speaker, which is an AirPlay device. Sometimes the connection freezes and I have to reset output my default device and back to the office speaker. I wanted to automate both of these processes, so I found an AppleScript as a starting point. I modified it and created an Alfred Workflow with a keyword trigger. Here’s my version of the AppleScript. Feel free to modify it for your own use.

	-- This script can be used to set/reset the sound output

	-- Two devices because sometimes the AirPlay device loses connection
	set myDevices to {"LG UltraFine Display Audio", "Office"}

	tell application "System Settings"
		-- sometimes it is already open to Sound, which causes an error
		quit
		delay 0.2
		activate
		delay 0.2

		tell application "System Events"
			tell process "System Settings"
				delay 0.4
				set theWindow to first window
				delay 0.4
			end tell

			keystroke "Sound"
			delay 0.5

			tell application process "System Settings"
				tell its group 2 of scroll area 1 of group 1 of group 3 of splitter group 1 of group 1 of window "Sound"
					tell its radio button 1 of tab group 1
						click
					end tell

					delay 0.3

					tell its scroll area 1
						try
							set theRows to (every row of outline 1)
						on error error_message number error_number
							--display dialog "Error: " & the error_number & ": " & the error_message buttons {"OK"} default button 1
						end try

						repeat with myDevice in myDevices
							set device to myDevice as string

							set found to false

							-- Sometimes the device isn't listed yet, so delay and retry
							repeat 10 times
								repeat with aRow in theRows
									try
										if name of static text 1 of group 1 of UI element 1 of aRow is equal to device then
											set selected of aRow to true
											set found to true

											set volume without output muted
											set volume output volume 10 --100%
										
											exit repeat
										end if
									on error
										--display dialog "Error setting output sound to " & device
									end try
								end repeat

								if found = true then
									exit repeat
								end if
							
								delay 0.5
							end repeat
						end repeat
					end tell
				end tell
			end tell
		end tell

		quit
	end tell

Updated on November 28, 2023 to work with macOS Sonoma 14.1.1.

Updated on March 13, 2024 to retry multiple times if device isn’t listed yet.

Updated on March 21, 2024 to reset volume per device, since the OS remembers the last volume of each device.

Updated on October 8, 2025 to work with MacOS Tahoe 26.0.1.
Making Things in 2022

It was a continuation of 2021 in terms of making, with a lot of home projects. After the kitchen I was pretty burnt out and took a break during the summer.

January

February

March

June

September

October

November

December

I’m currently working on a full bathroom remodel and then that’s the end of large home renovation projects because just about every room in the house has been done in the last few years. Hopefully in 2023 I can get to some neat projects I have planned and catch up on some electroncis stuff.

Homemade Christmas Ornament – 2022

Our second Christmas means our second ornament (see 2021). It was a year full of Star Wars, from watching everything in order to building a lot of LEGO sets (The Child). So for this year’s ornament we made a model of a panel that you might find next to a spaceship door.

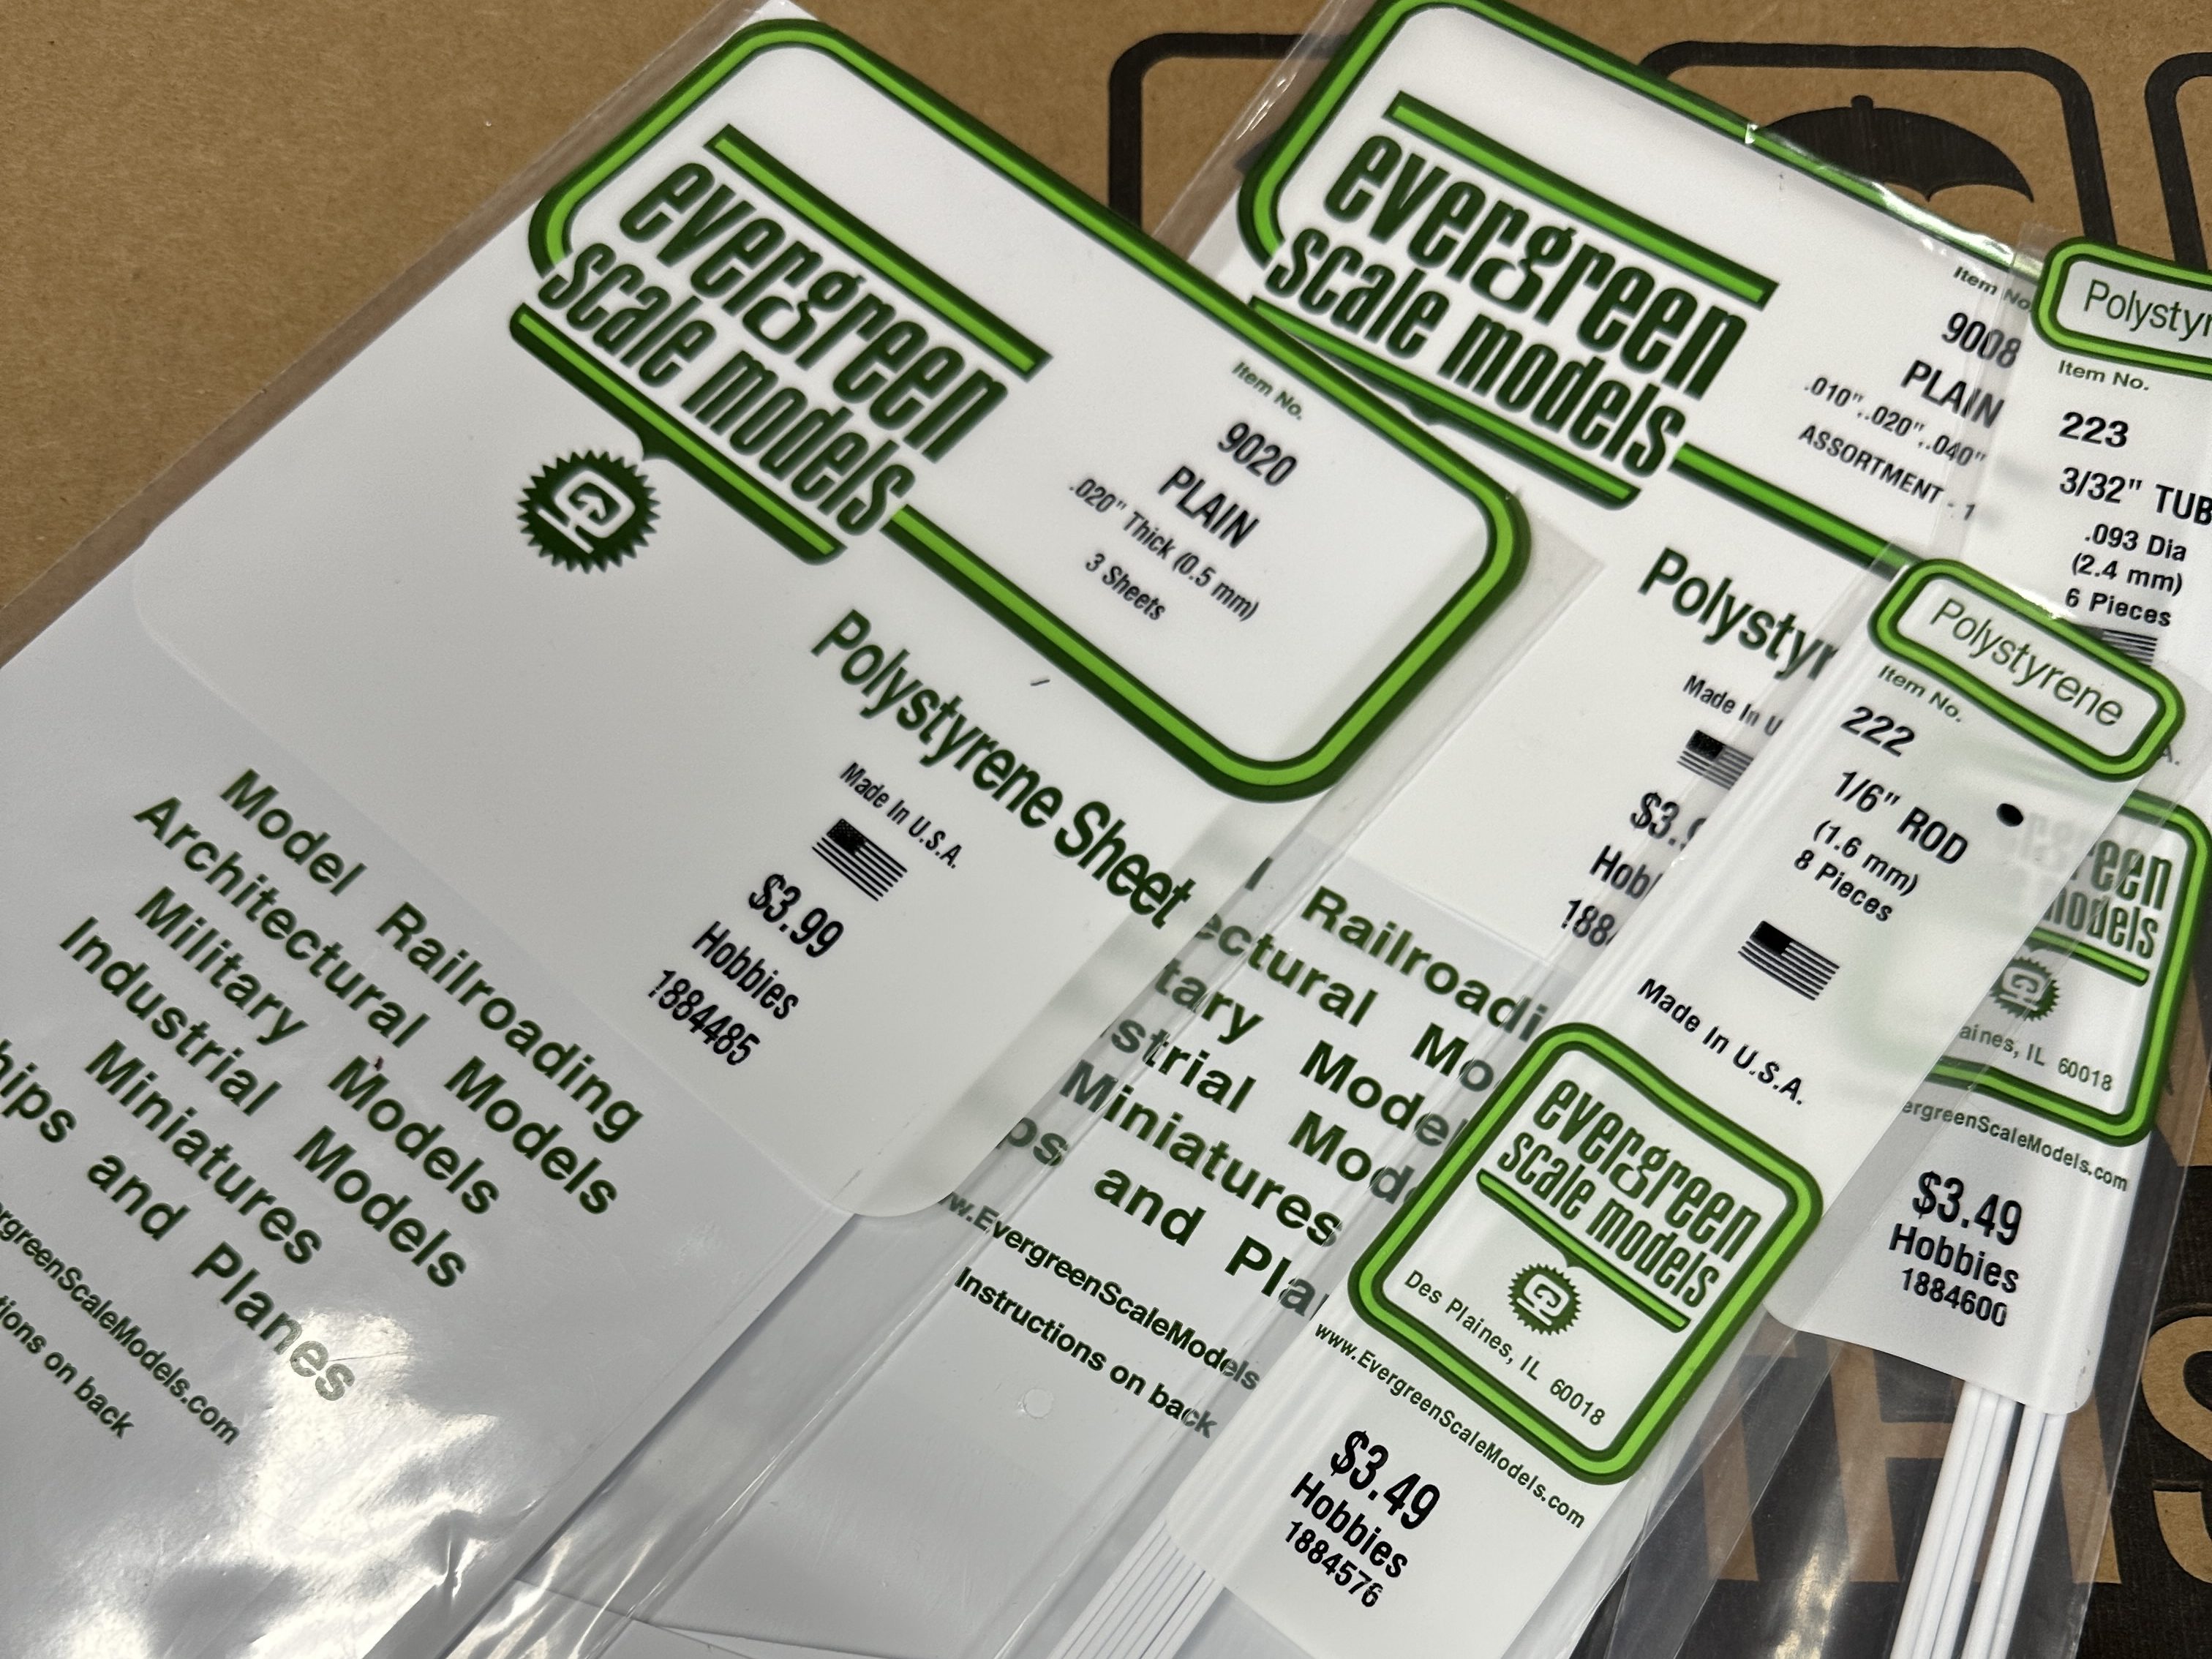
The main building materials were polystyrene and plastic cement from Hobby Lobby and I already had an assortment of paints (spray cans and acrylics). As we were getting started, I pulled out a bin of random plastic parts we might be able to incorporate, but they were all too big. Brandi asked if we had any extra LEGO pieces. We sure did, so we used some of those.

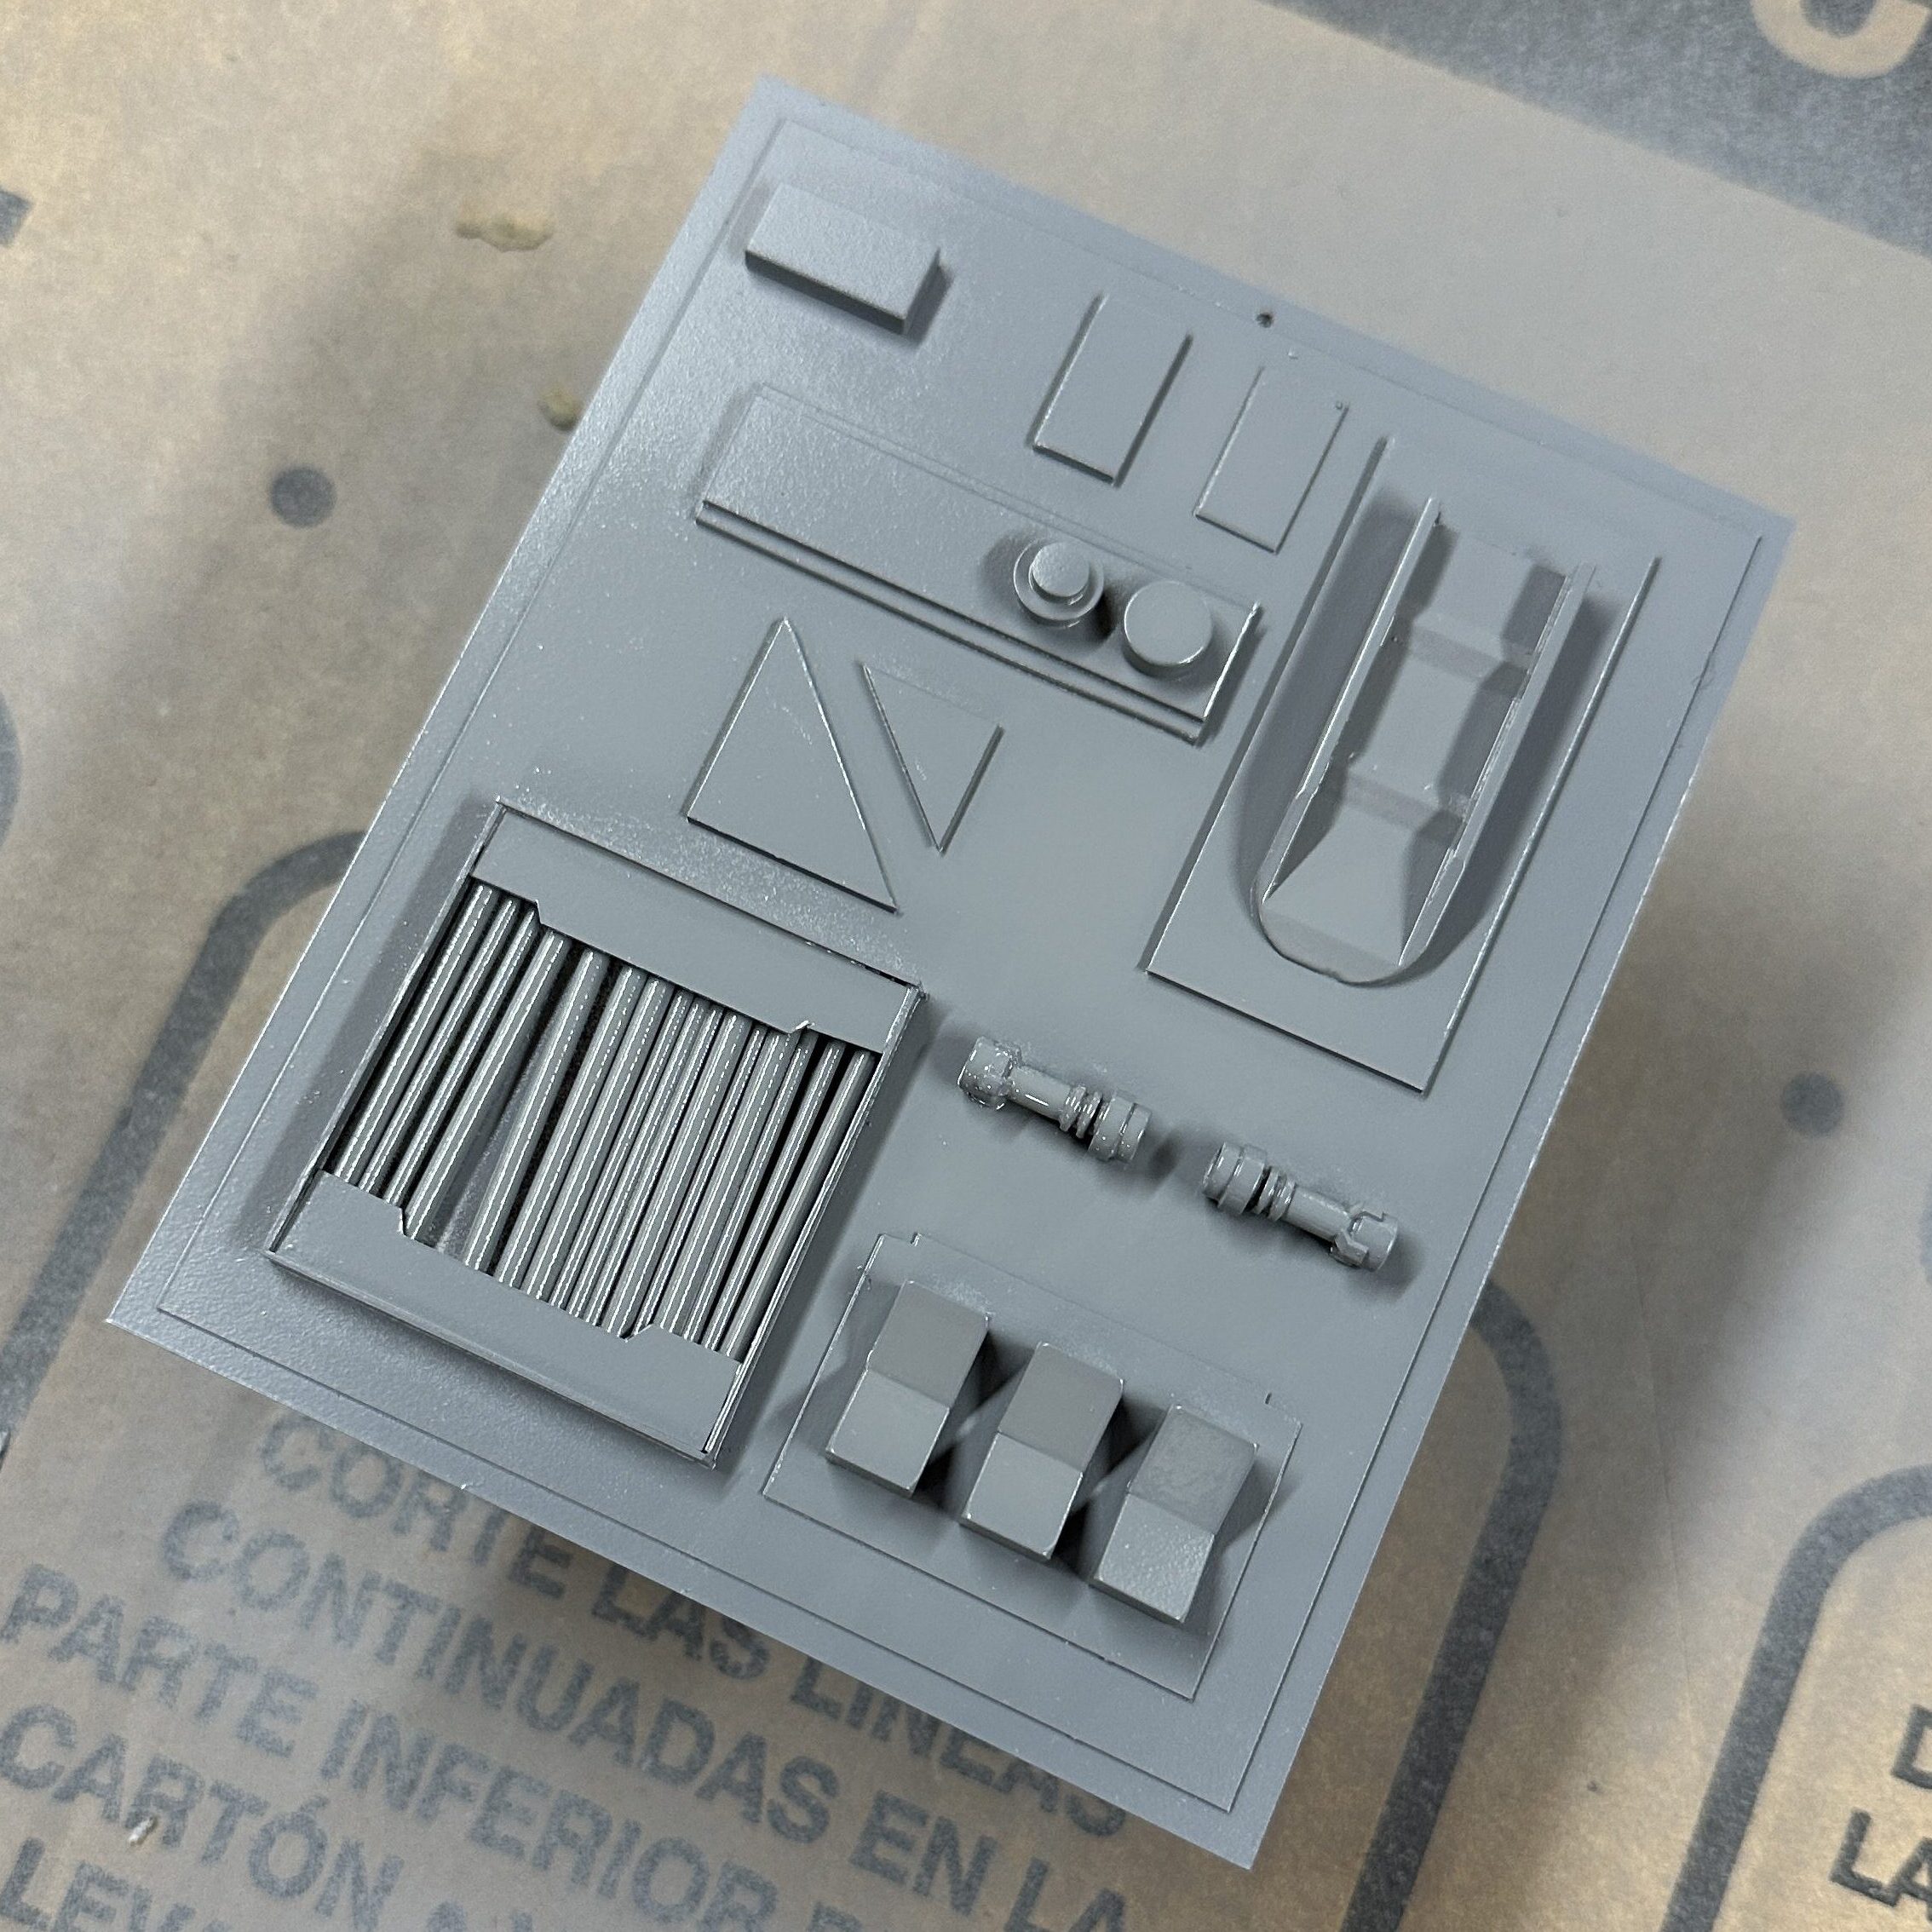
I forgot to get a picture during the initial assembly, but here’s the piece after a coat of gray primer.

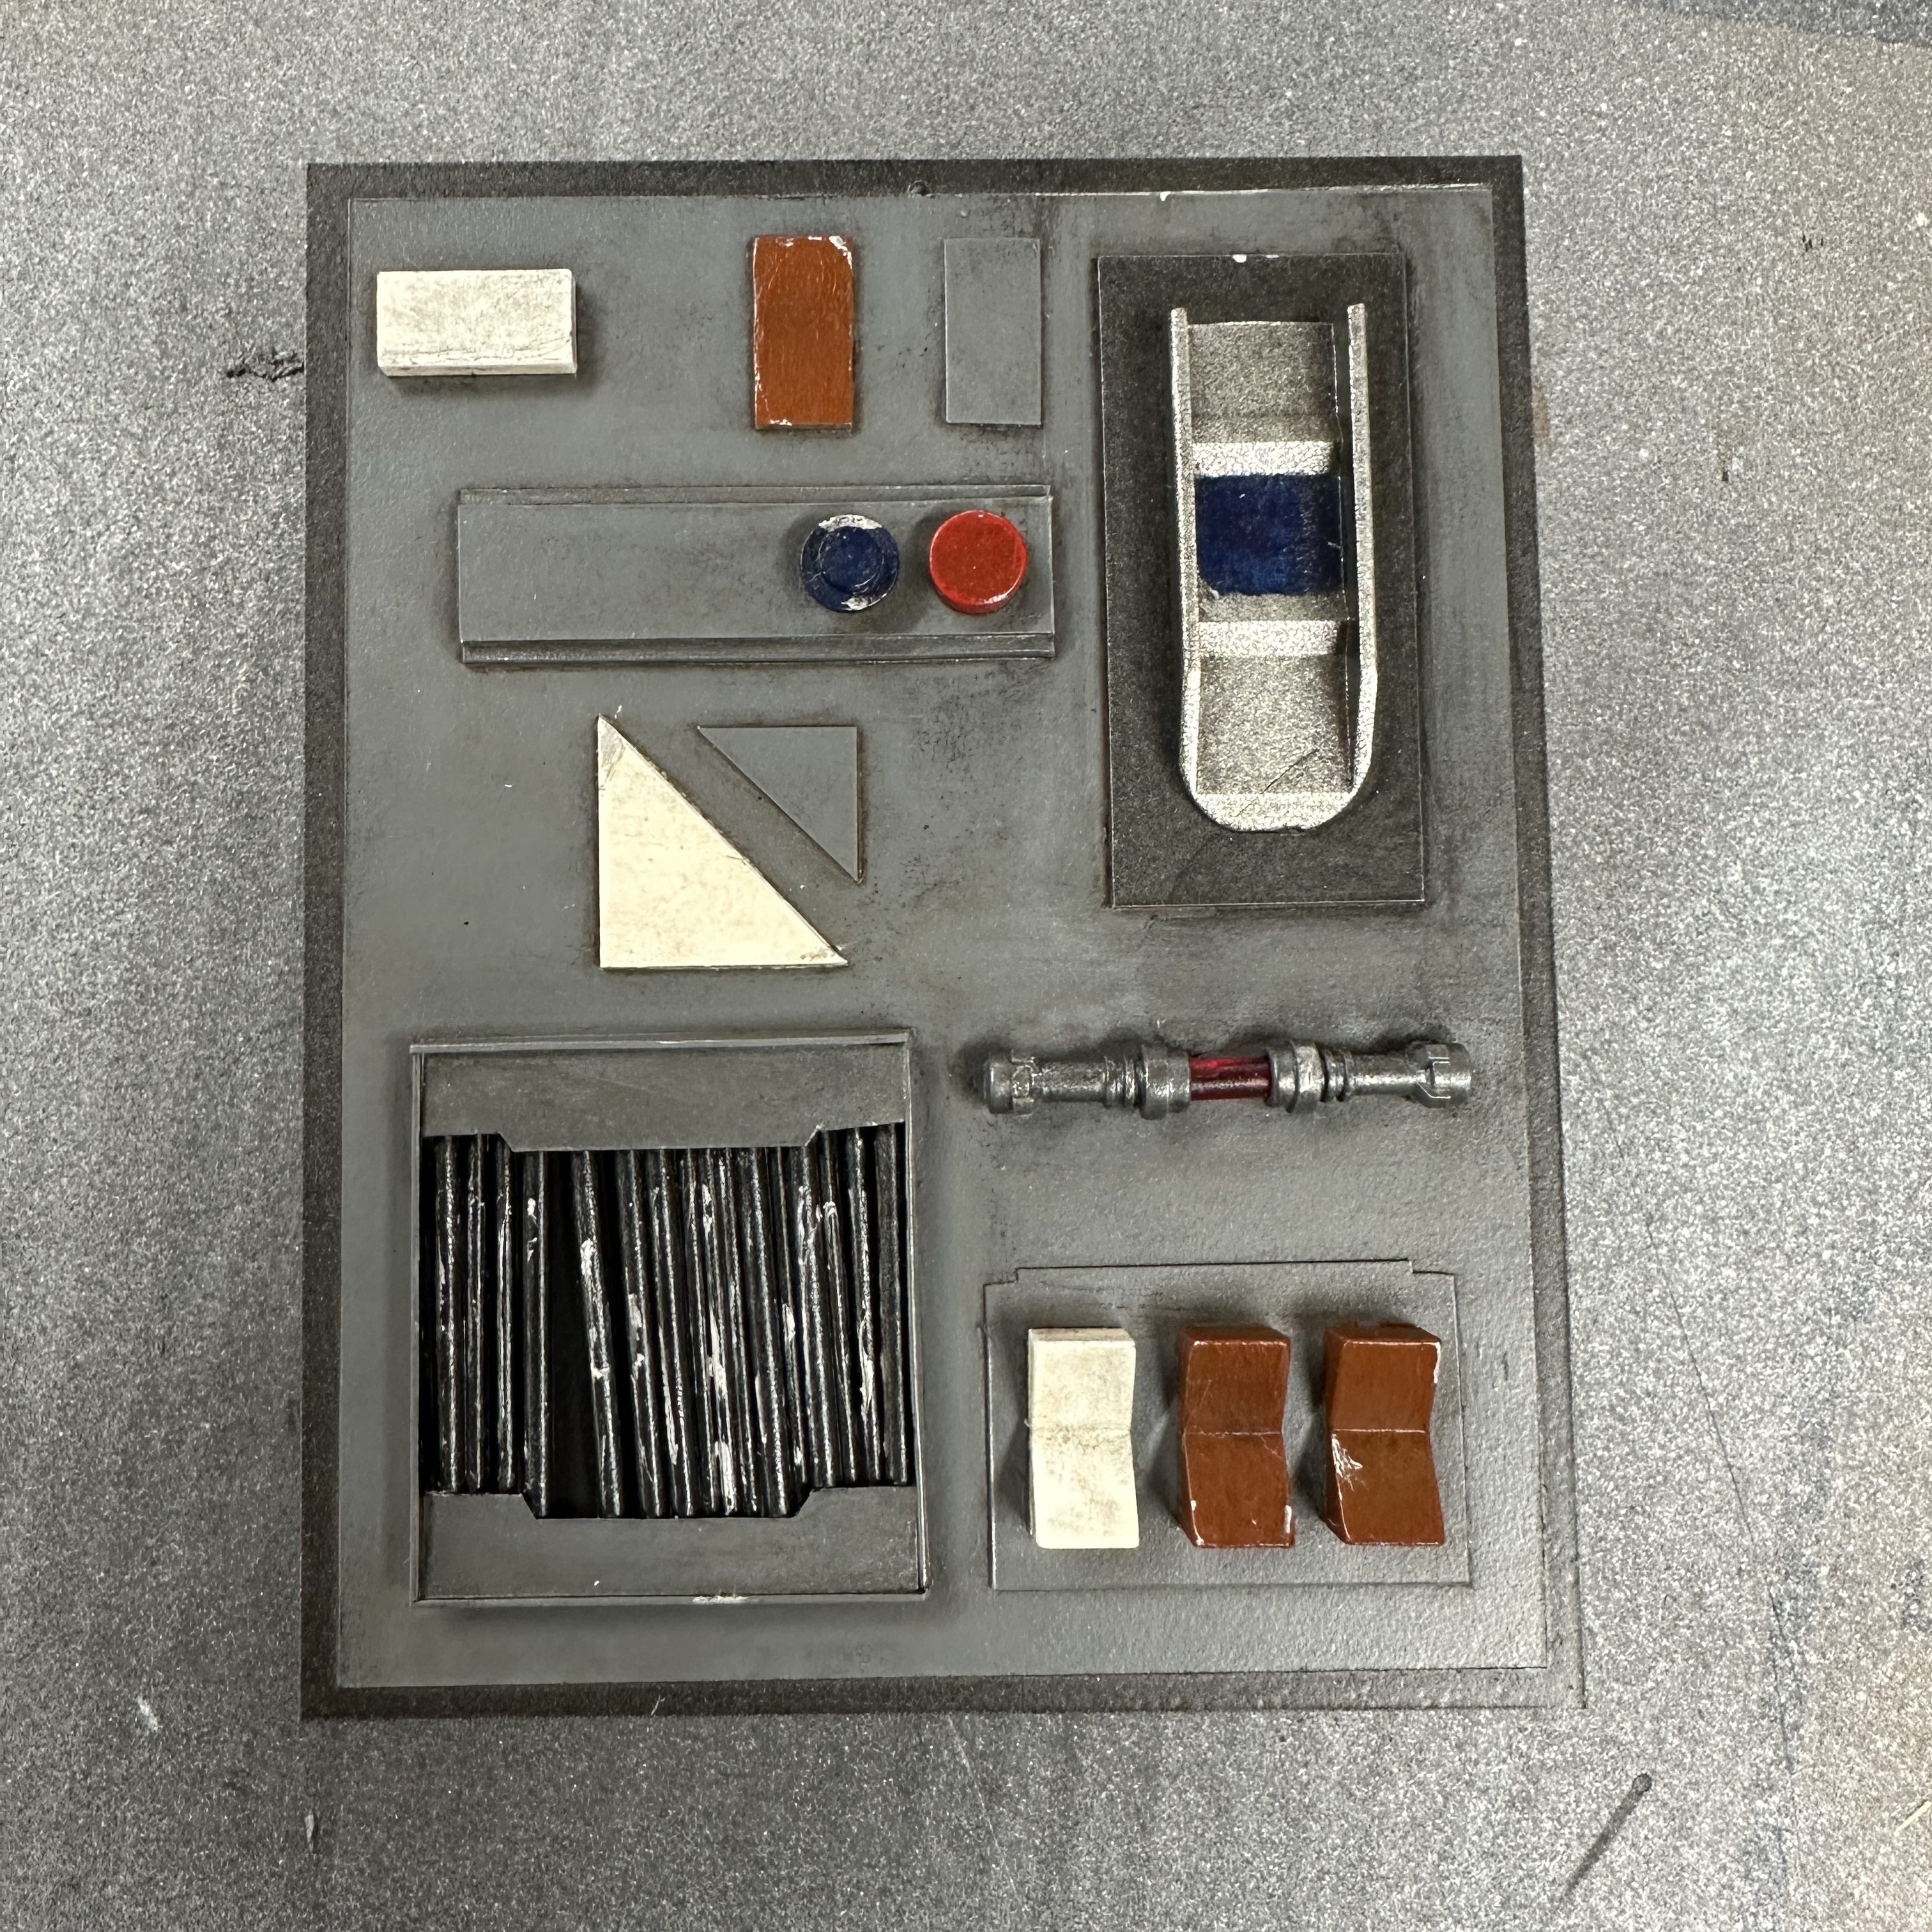
Then it was all about adding colors. The delicate type of painter’s tape was used when masking off areas was needed. Little bits of color here and there made each area stand out.

A few coats of spray lacquer locked in the painting done so far. It looked too crisp and new at that point though. Weathering with acrylic paints was the final step and made it look like a real thing that had been used and abused.

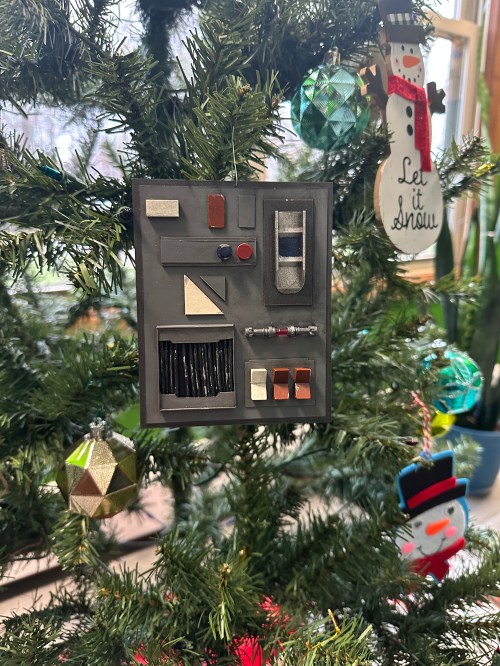
After final coats of spray lacquer we hung it up.

If you’re like to learn how to do panel modeling like this, I highly recommend checking out Adam Savage Demonstrates Miniature Spaceship Paneling or Adam Savage’s One Day Builds: Kit-Bashing and Scratch-Building on YouTube.

A Replacement Black Walnut Table Top

Last year I had a beautiful table top made for the kitchen.

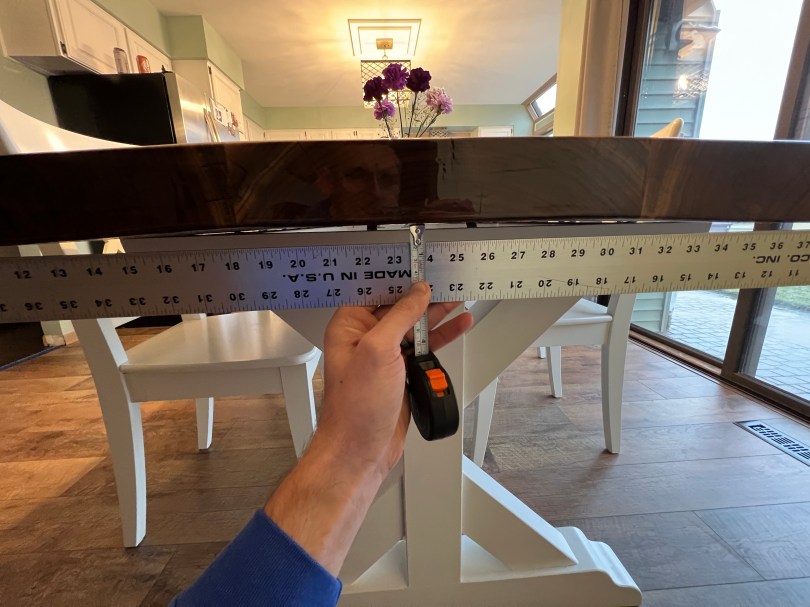
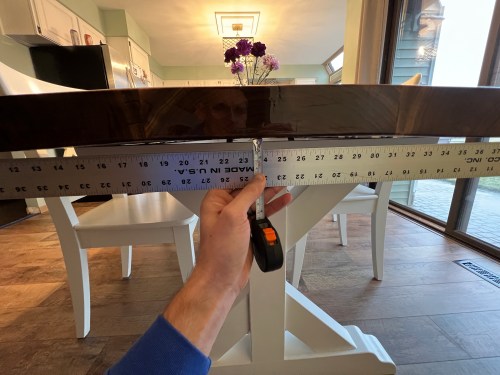
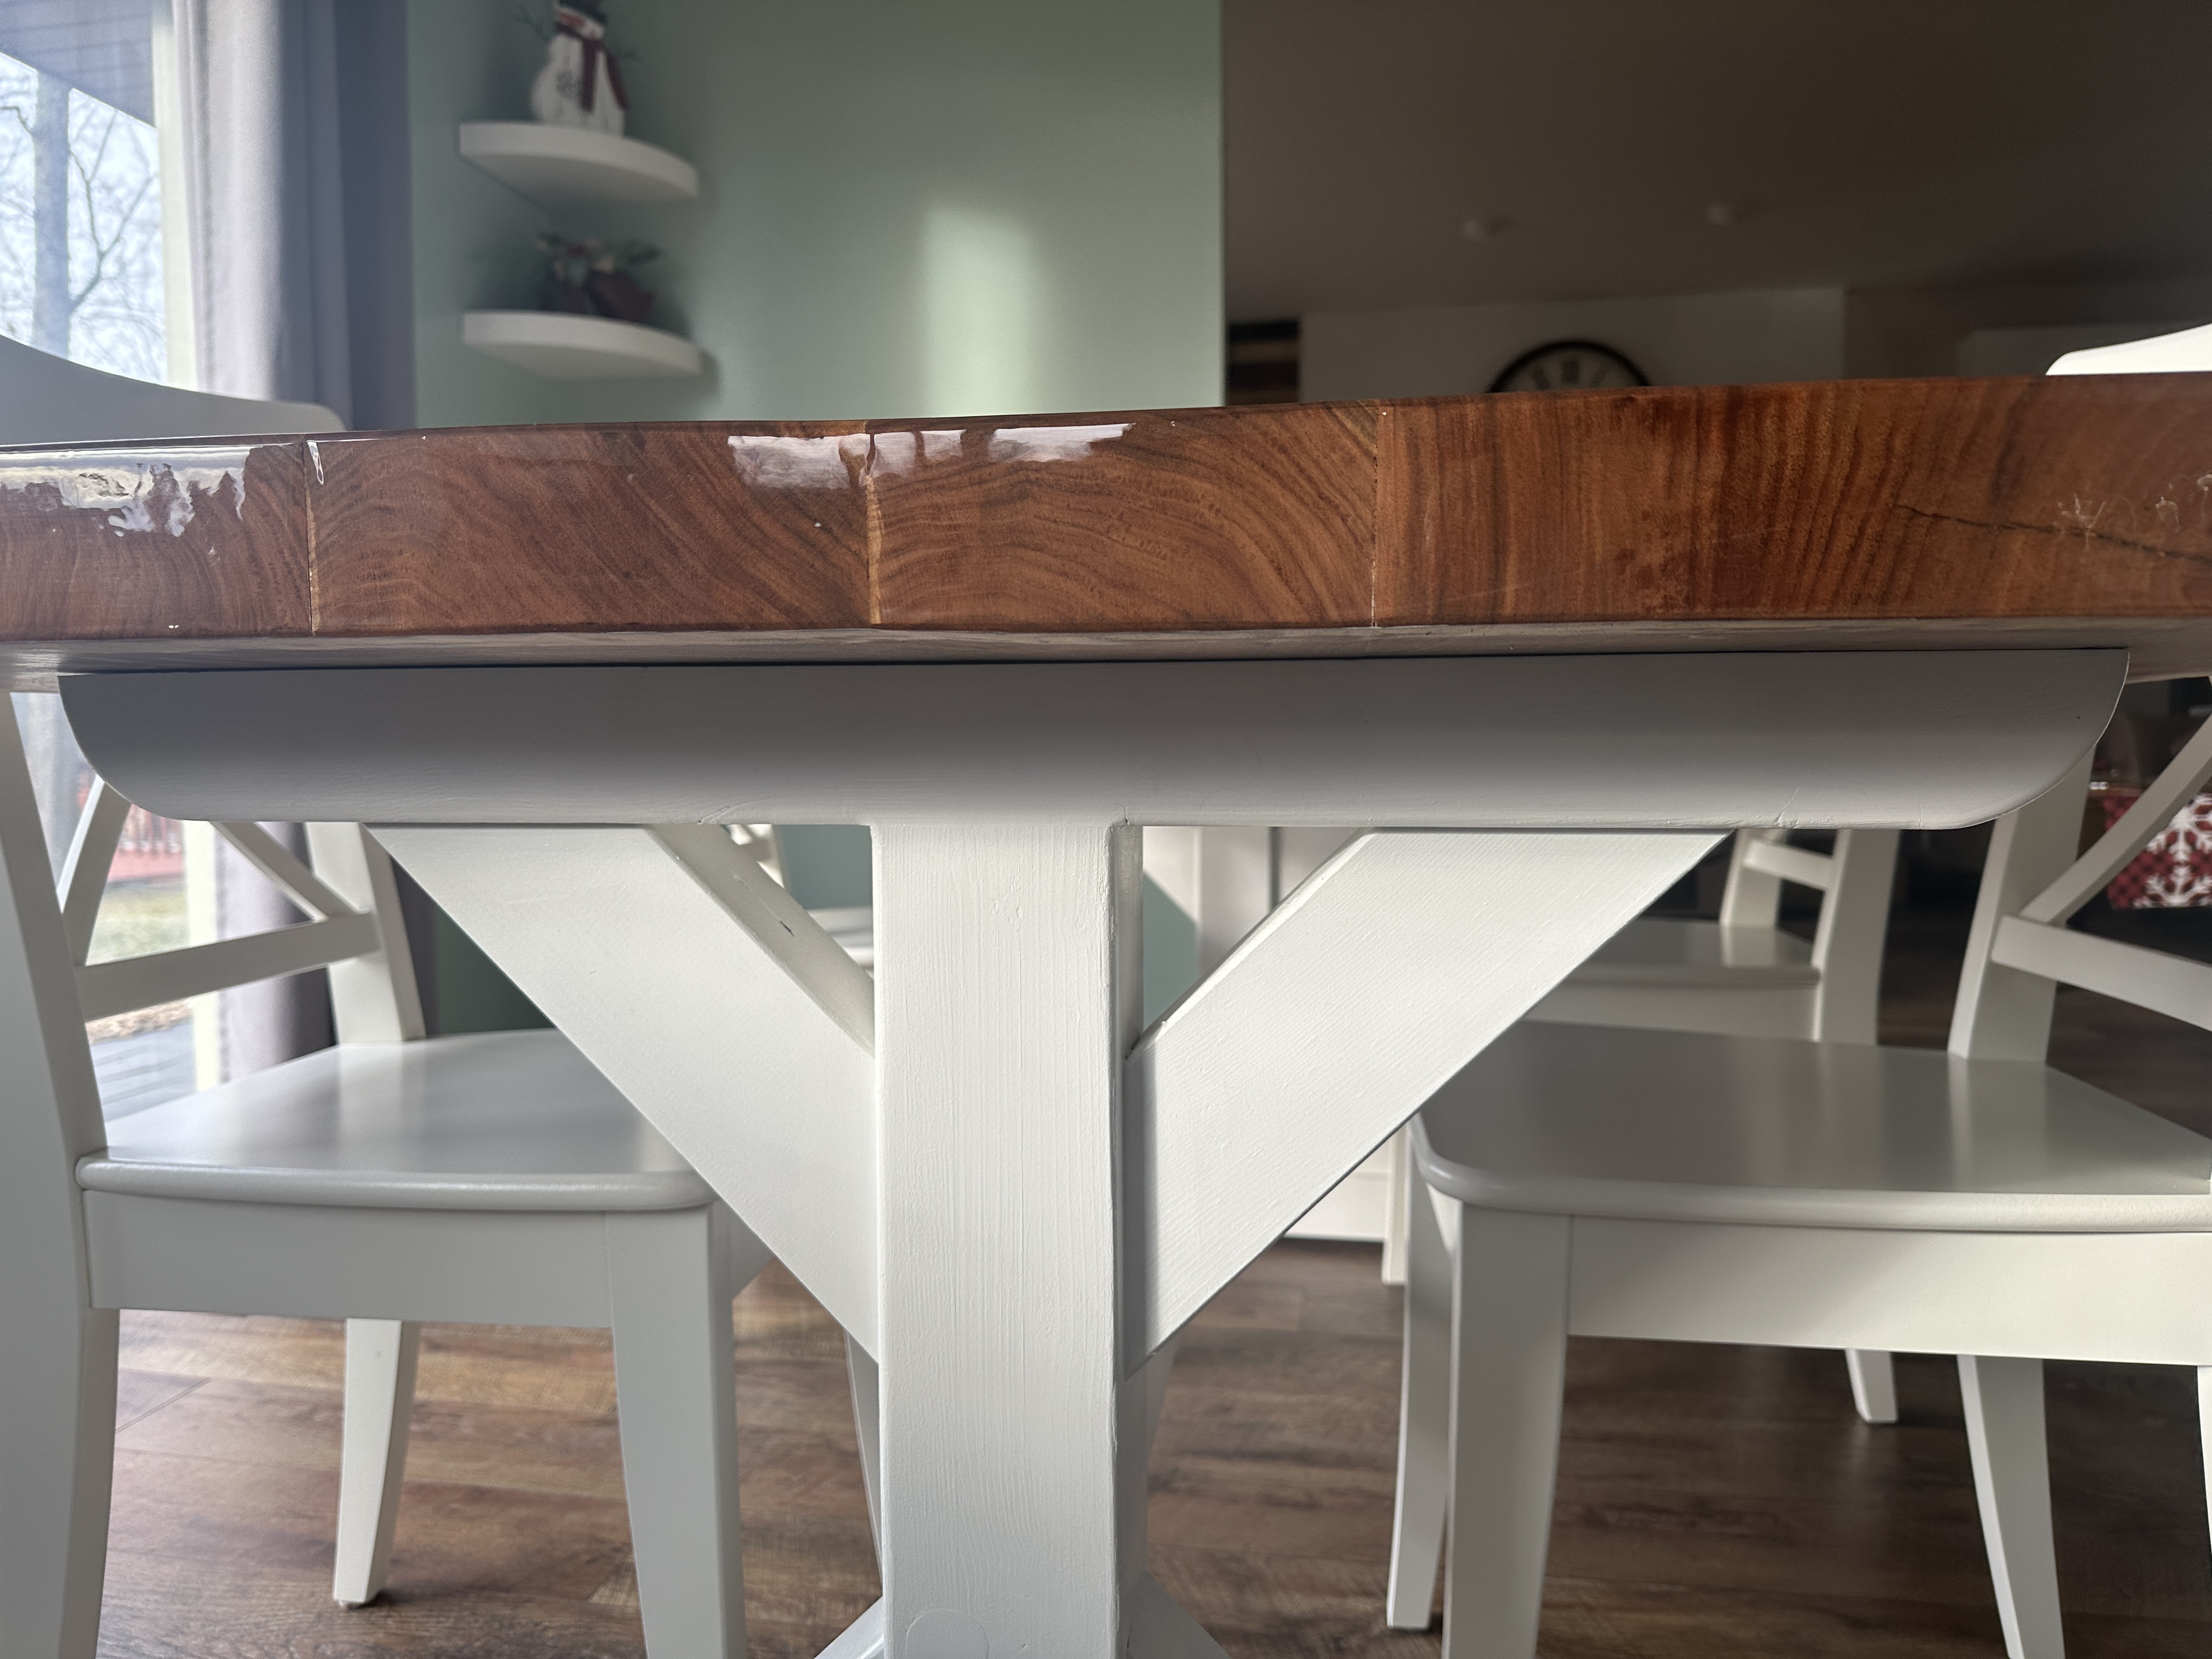
In late February, while we were making dinner, a glass of chocolate milk slid right off the table. What. The. Fuck! The grain of the wood caused the table to become extremely cupped with seasonal changes in humidity. When checking it against a flat edge it’s easy to see how much the wood moved.

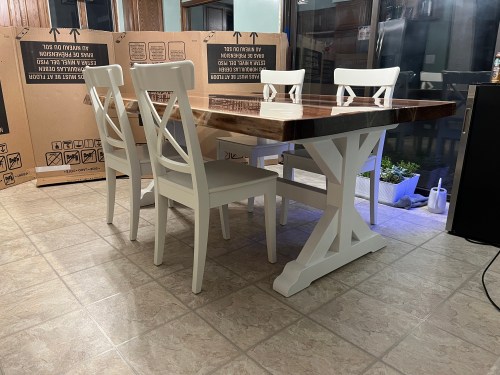
I looked back at the original pictures and you can see the wood was already cupping.

The maker agreed to do a new table top and I’m grateful. It took forever, but it was finally delivered and attached to the base. It’s much flatter than the previous top and still far from perfect. As a maker myself I wouldn’t feel right delivering something with some of the mistakes made here and it was a year between deliveries! I won’t be recommend him to anyone.

2022 Home Screen – iPhone 14 Pro

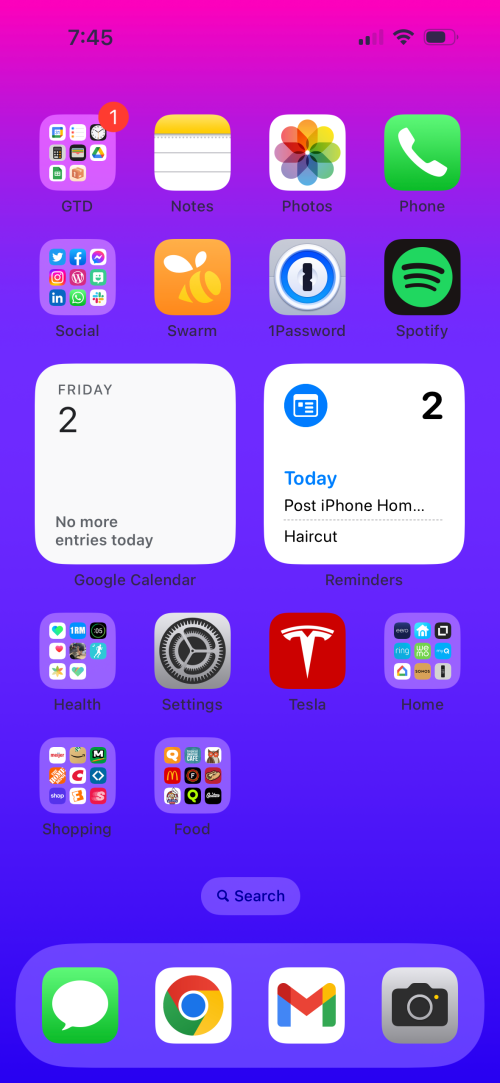
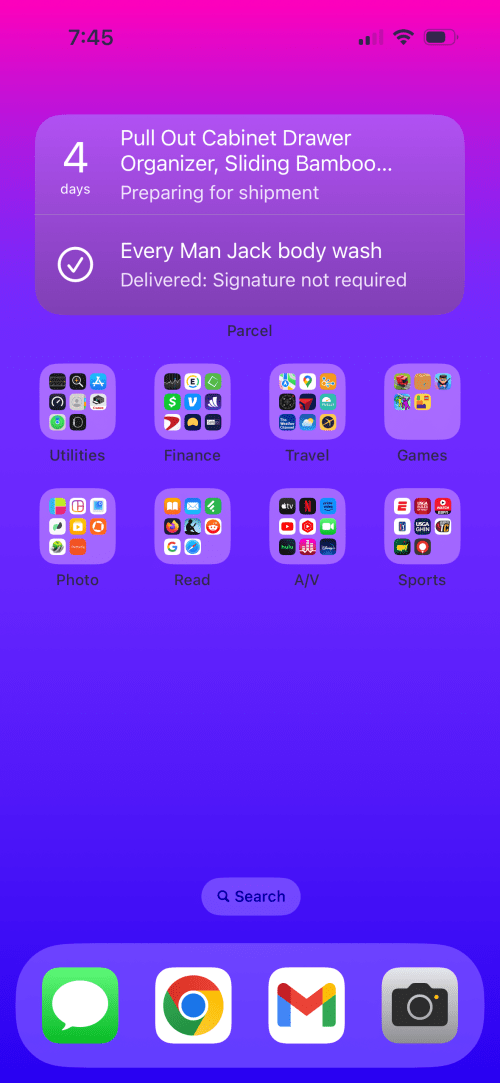
Here’s the yearly share of my iPhone home screen.

Not shown here, but during the golf season, the Golfshot app does move over to the bottom row on screen 1. The noticeable changes this year are:

  • New wallpaper.
  • Switched from Bear to Apple Notes since Brandi and I share several notes to organize and plan. It was easier for me to stick to one app instead of swapping between the two for different use cases.
  • Changed from Deliveries to Parcel for package tracking.
  • Stopped wearing a WHOOP band, so I moved the Settings app there.

Check out previous screenshots from 2021, 2020, 2019, 2018, 2017, 2016, and 2010.

Toilet Paper Holder and Towel Holder with Shelves

Last month we remodeled the small bathroom on our main floor and we’ve been living without some important things in the room, toilet paper and towel holders. The roll of TP has been sitting on the floor and a towel has been draped over the edge of the sink. Time to change that.

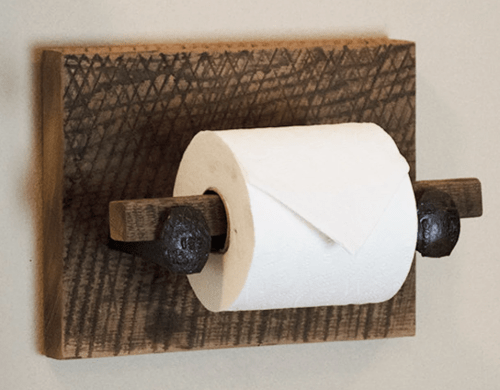
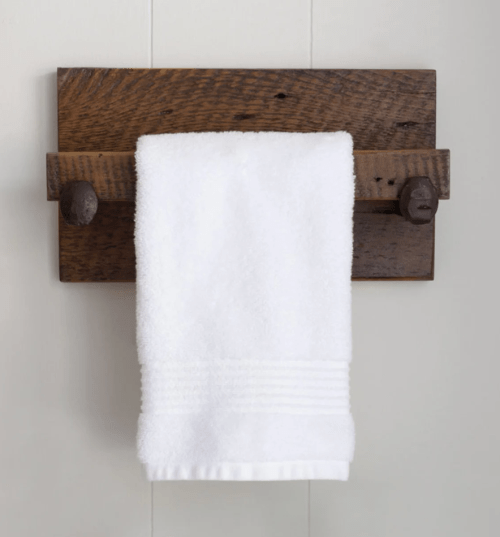
When I remodeled the living room, I bought some railroad spikes with the plan to incorporate them in to some designs. I didn’t use one. As we talked about ideas for the bathroom we thought it might be neat to use some of the spikes. Brandi found these examples on Pinterest for inspiration.

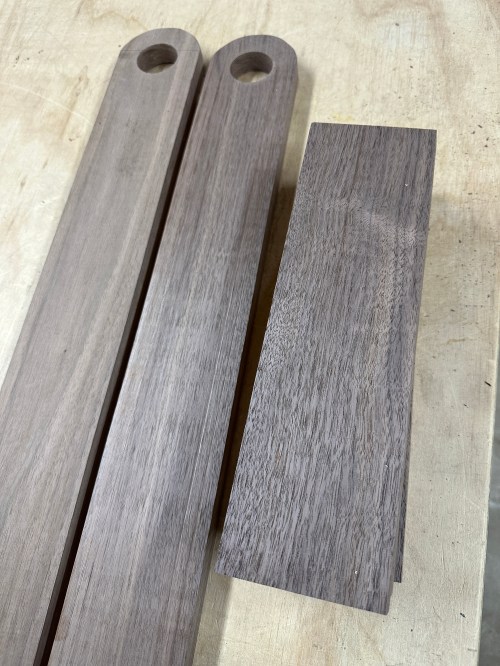
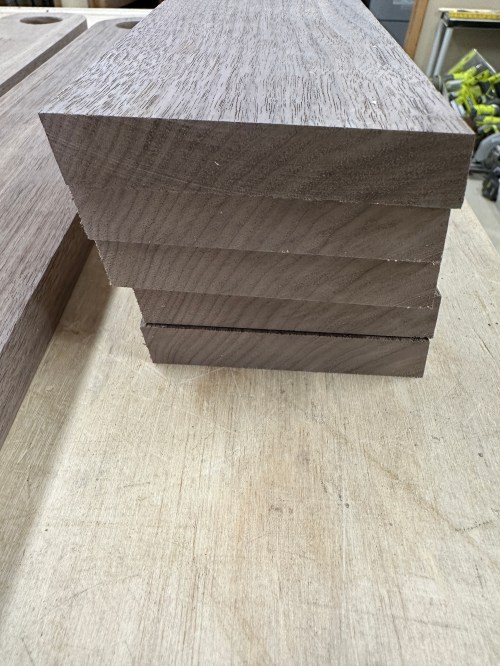
Of course I would make my own versions, especially since these cost $98 and $104 respectively! When I milled up the black walnut for the ladder, I did a second board to make these holders. To see the grain I had rubbed some water on the pieces.

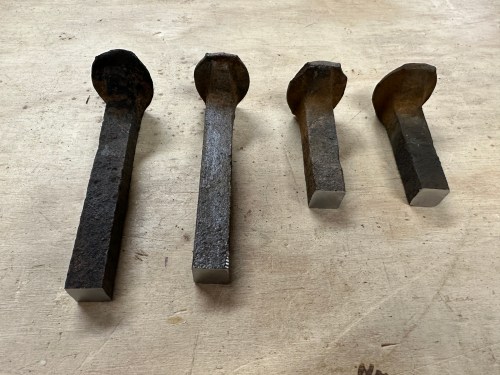
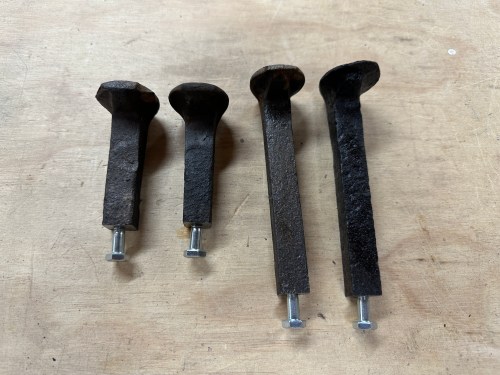
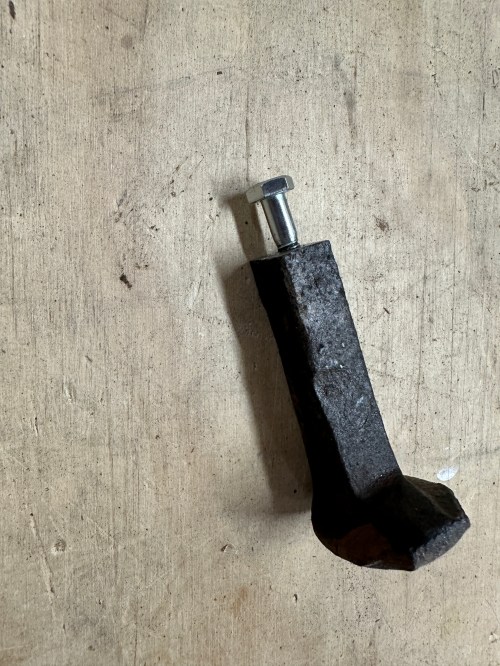
The big challenge was attaching the spikes to the wood. Since I like to learn new skills I wanted to see if I could bolt them together. I cut the spikes to length and sanded the ends square-ish. Then it was over to the drill press to put a 13/64 hole in each end. Things weren’t perfectly straight, but the spikes are far from straight anyway, so it was fine. I finally got to use the tap wrench I received for Christmas a few years ago, which was just big enough to fit a 1/4-20 tap. It worked and I was so excited!

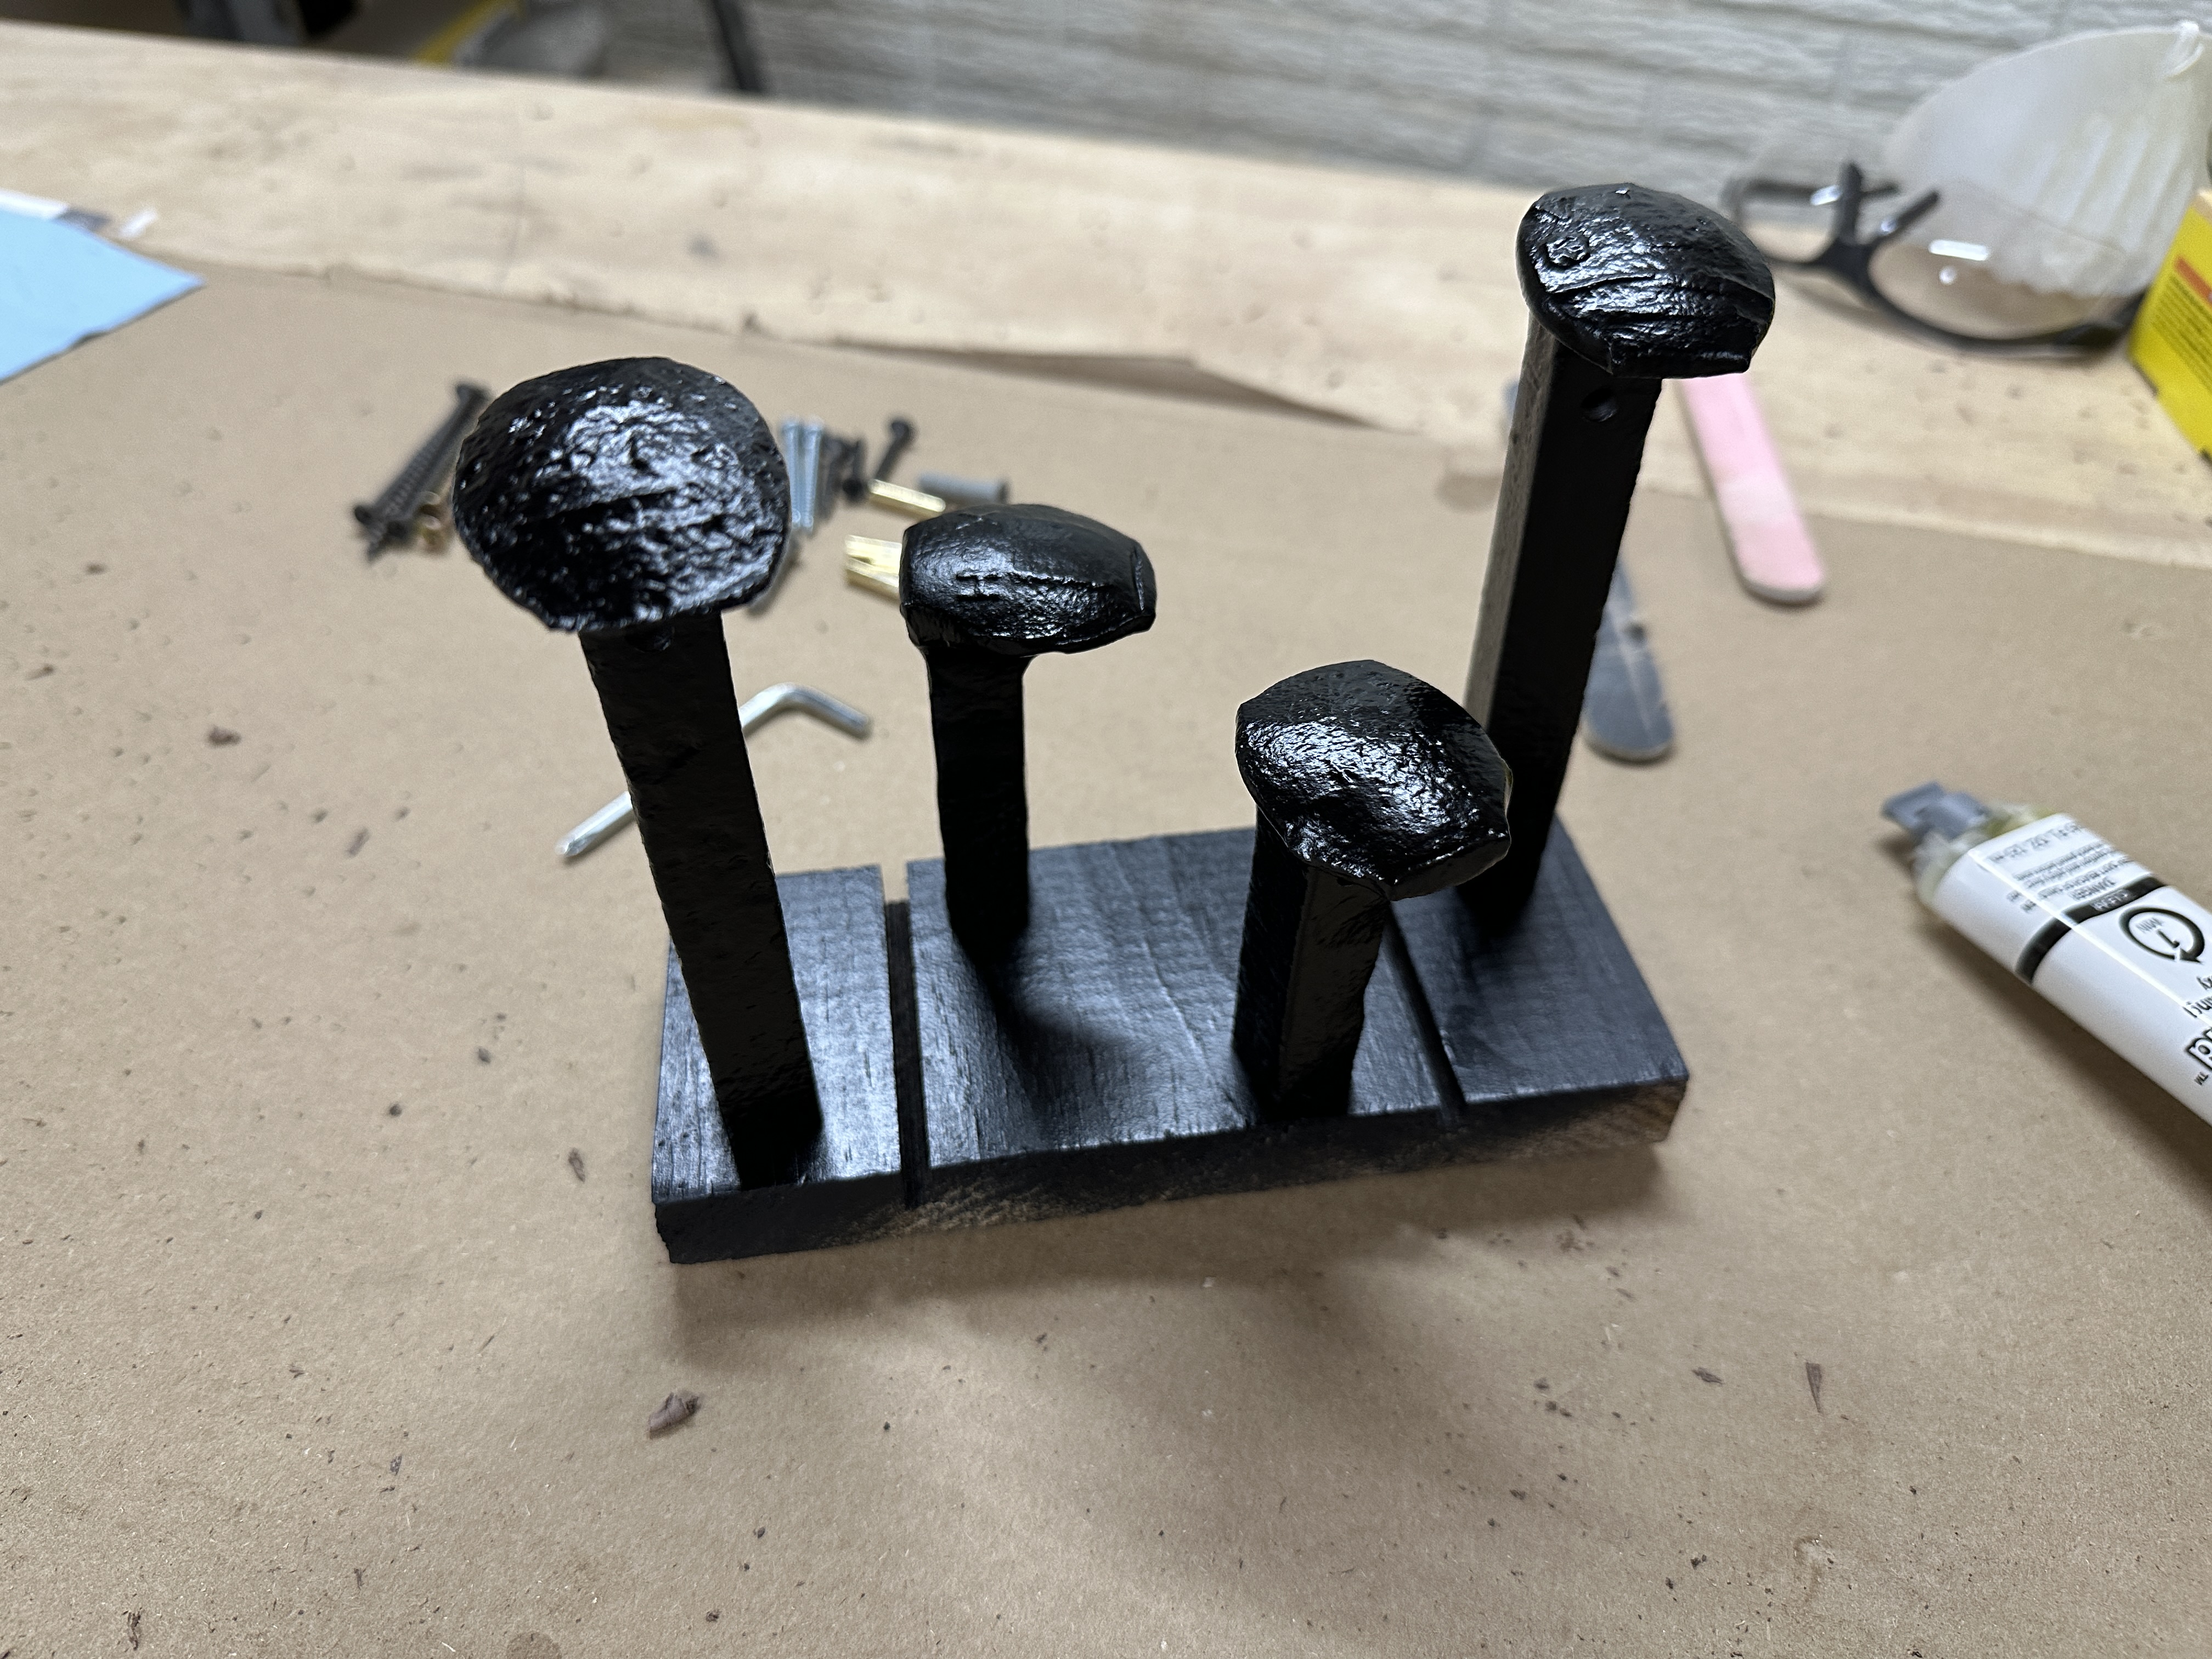
I used different bolts with washers in the final assembly but didn’t get a picture. After cleaning them up the spikes with a wire wheel on a bench grinder, I drilled some holes in a scrap piece of wood, mounted them, and spray painted them black.

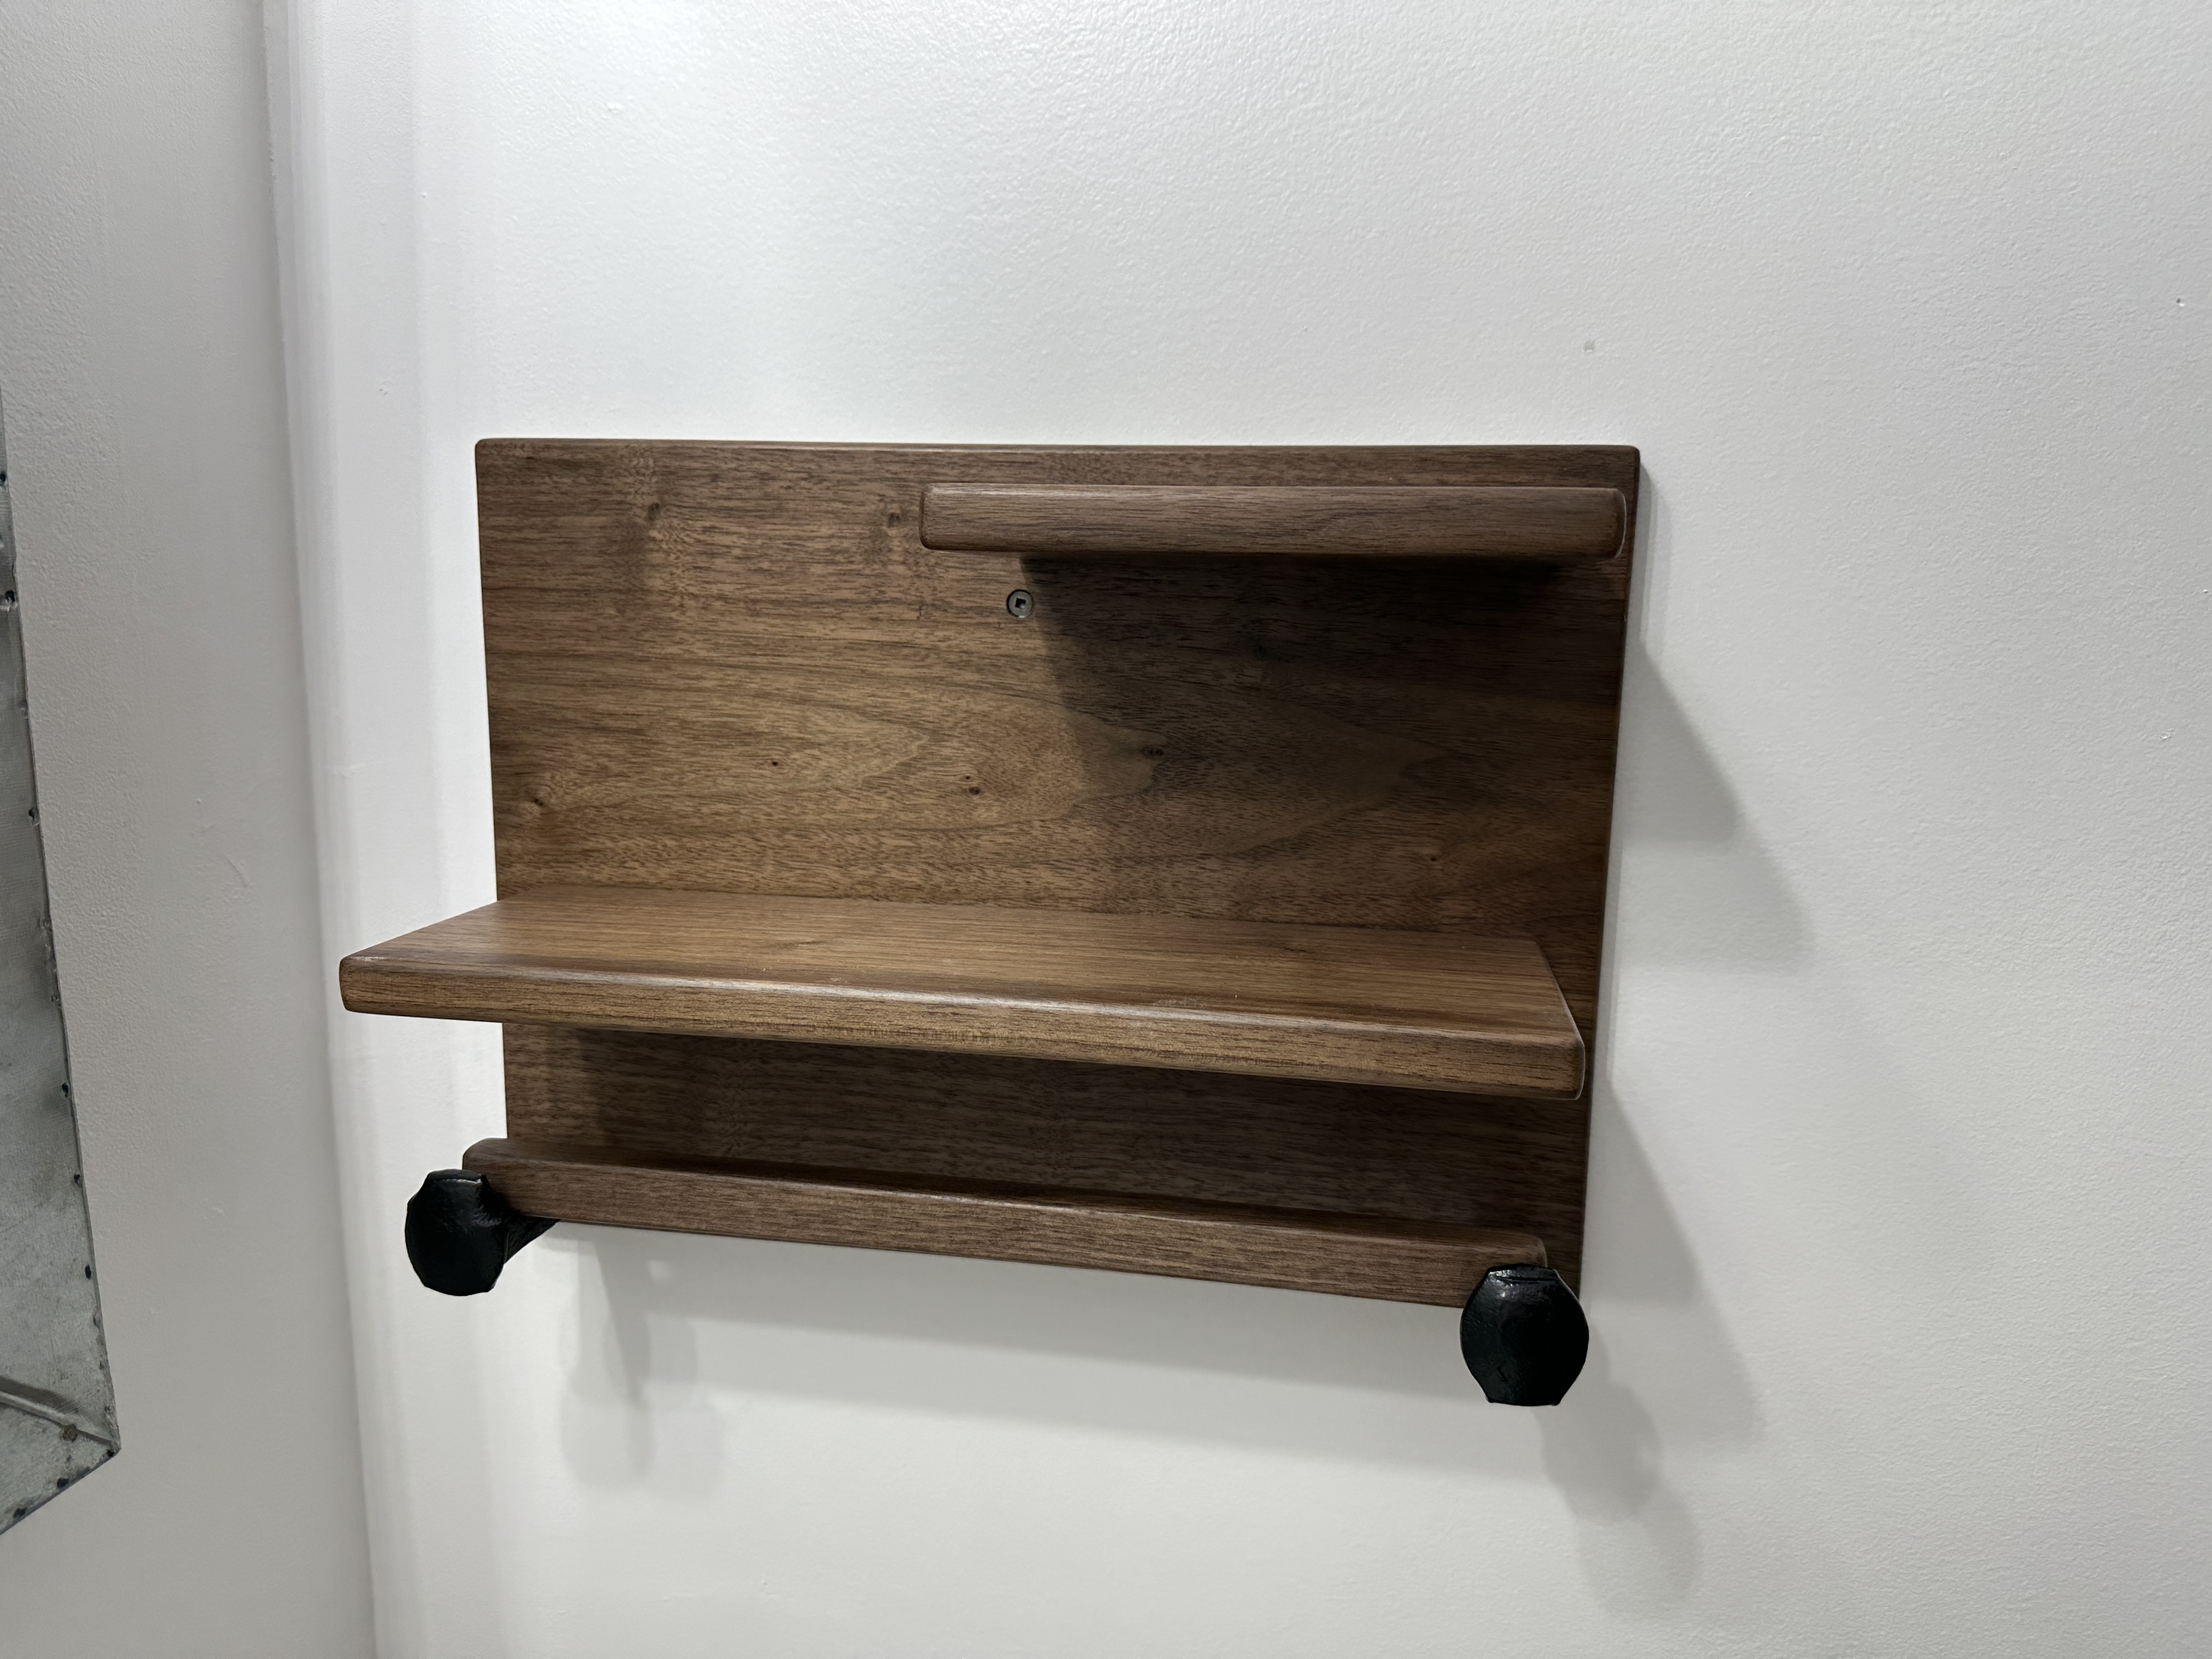
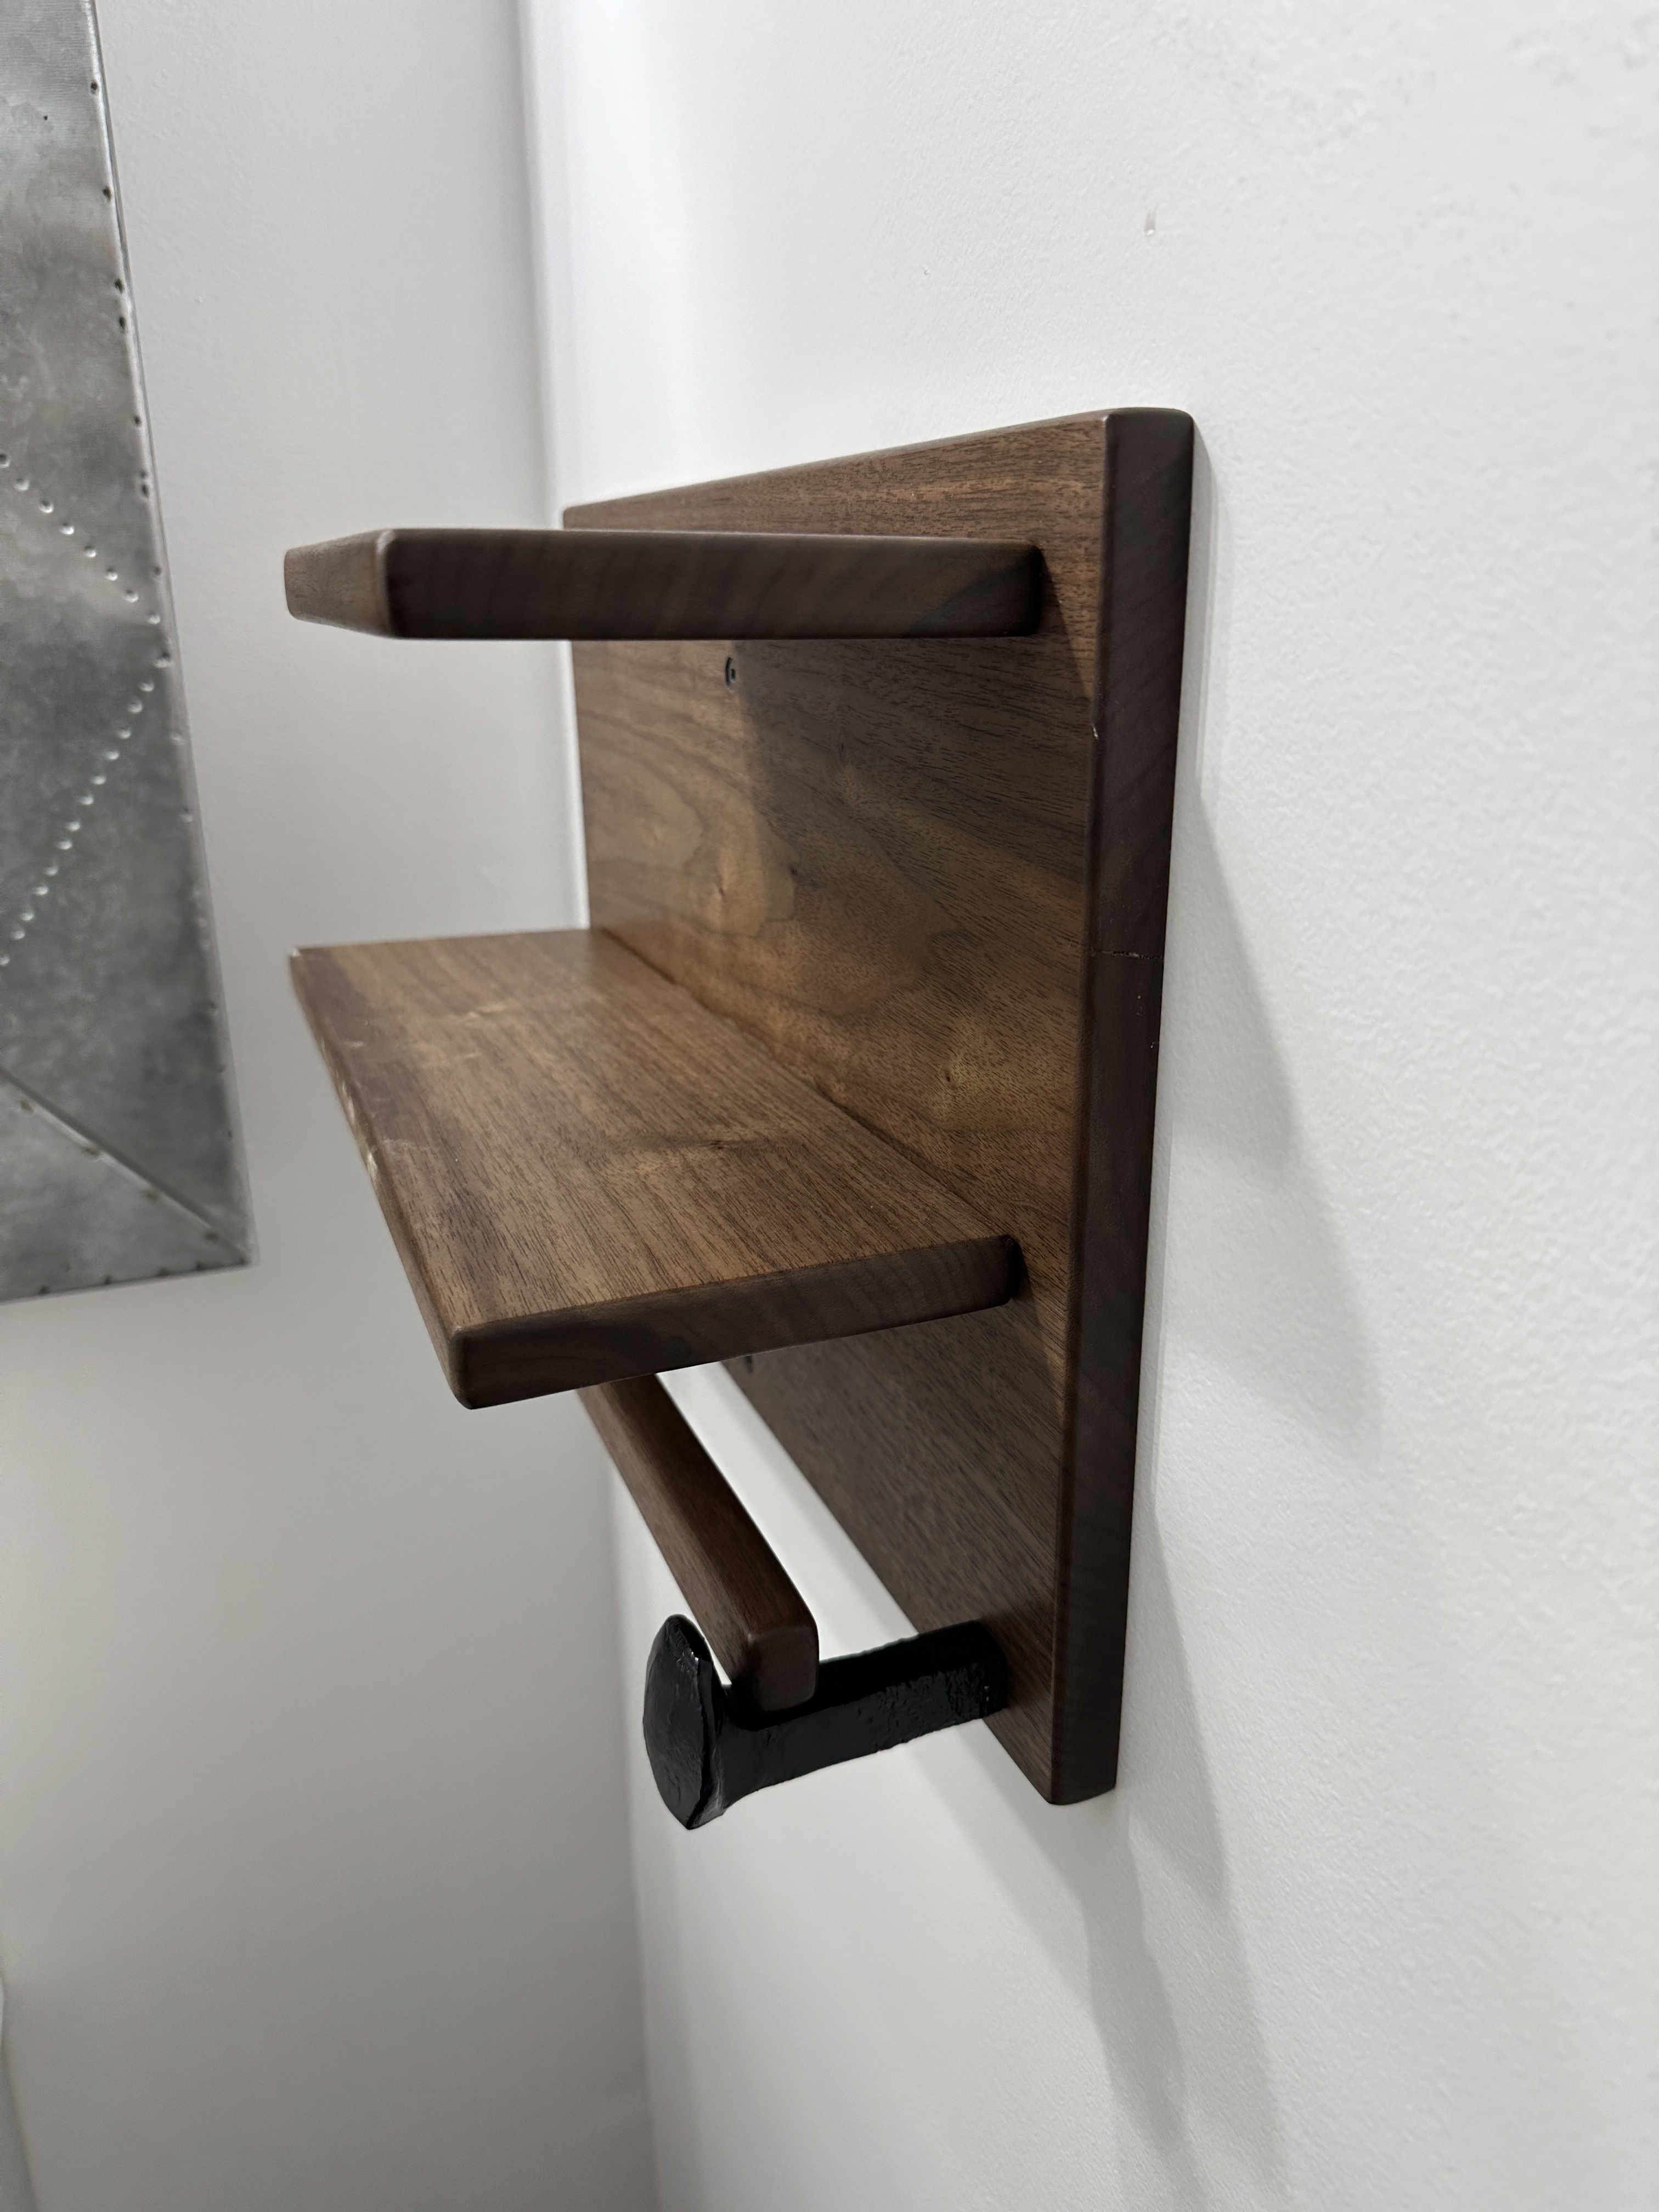
I drilled a hole near the heads where I used epoxy to put in a pin which would keep the rail in place. I didn’t get a picture of this, but I do have one at the end of the post to show how the TP holder works. Meanwhile, I had cut all of my pieces of walnut, drilled holes for mounting and assembly, rounded the edges on my router table, and sanded through the grits.

To keep the finishing stage simple I sprayed on 4 coats of lacquer from a rattle can and applied a coat of Linseed Oil & Beeswax Polish.

The bathroom is finished and fully functional.

If you’re curious about the sign, I bought it on FB Marketplace about 2 years ago. Yes, toilet paper definitely goes over.

Decorative Ladder with Shelves for Rungs

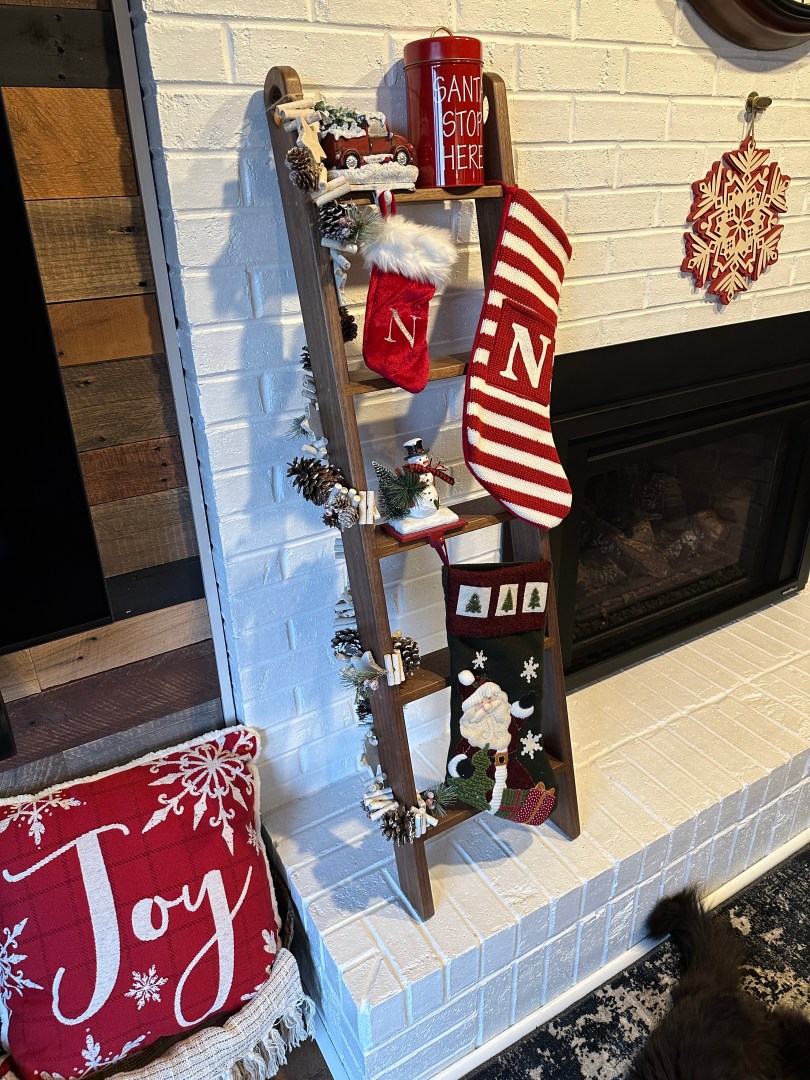
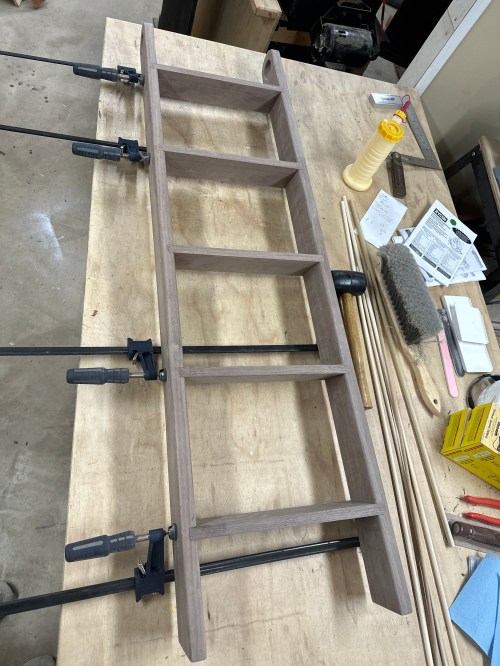
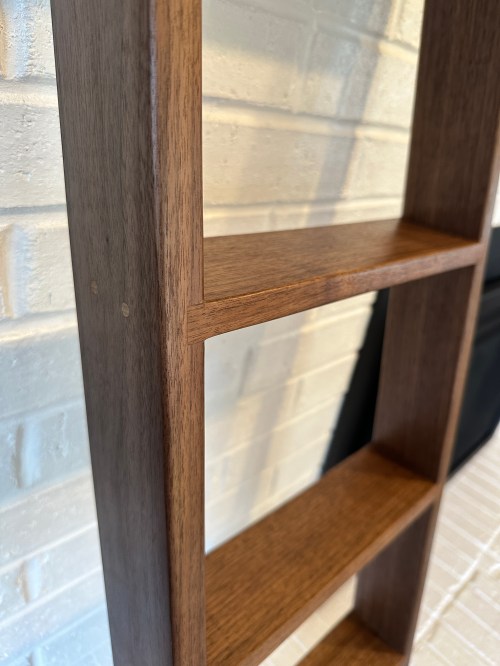
Several years ago I thought about making a ladder to hang blankets on next to the fireplace. Then last month Brandi asked if I would make a ladder she could also hang our Christmas stockings on. I’ve had some black walnut on my lumber rack for a couple of years and this seemed like a perfect project to use some. I hadn’t done much woodworking this year, so it was also a great project to over-engineer the design and try some new things. Here are some pictures taking during the build.

The feet of the ladder are cut at a 10° angle, which provided the opportunity to experiment. In order for the rungs to have the option of also being shelves, they needed to be attached to the sides at this same angle as well as have the long edges cut at a bevel. For strength and ease of assembly I decided to cut dados in the sides of the ladder at that 10°. This was all new to me and the method I used produced amazing results.

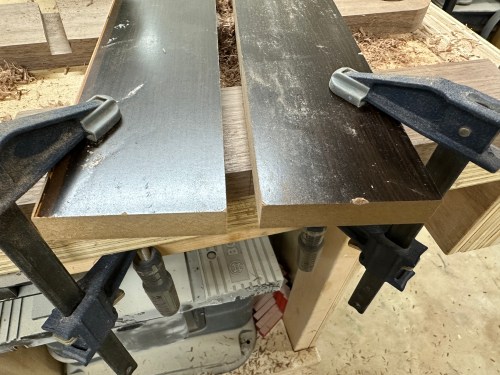
First I used an angle gauge to mark lines on each side for the top of each rung. Then I clamped a straight board down, put the rung up against it, and clamped another board snugly against the rung. From there I was able to pull the rung out and use a router with a pattern bit to hog out the dado. All 10 ended up so perfect that I had to use a rubber mallet to disassemble it after my dry-fit.

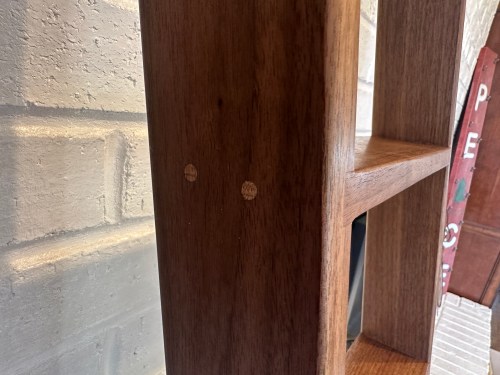
After a ton of sanding and the glue up, the ladder was plenty strong enough, since it would never be used as an actual ladder. I knew I didn’t want to add screws to the joints and even though I didn’t need to, I decided to add dowels for the practice and the look of the contrasting oak. I made a little jig to line up and drill out holes in to the edge of each rung. Everything got finished with three coats of Minwax Wipe-on Poly and a coat of Linseed Oil & Beeswax Polish.

This turned out to be one of the nicest pieces I’ve ever made.