Last week I binged the Disney series Light & Magic. It was phenomenal!
LIGHT & MAGIC is a six-part series that tells the story of Industrial Light & Magic, the special effects company George Lucas founded to make Star Wars. Through personal interviews and never-before-seen footage, director Lawrence Kasdan pulls back the curtain on ILM’s most iconic effects, while delving into the fascinating backstories of the artists and innovators who created them.
Since we had watched all of Star Wars in chronological order earlier this year it was good timing for me. I enjoyed learning how they did a lot of the visual effects for the first movies and seeing how creative the teams had to be in order to do things which had never been done. It was very inspiring and came at a time when I was just getting back in to my basement workshop. Watch for some project posts coming soon!
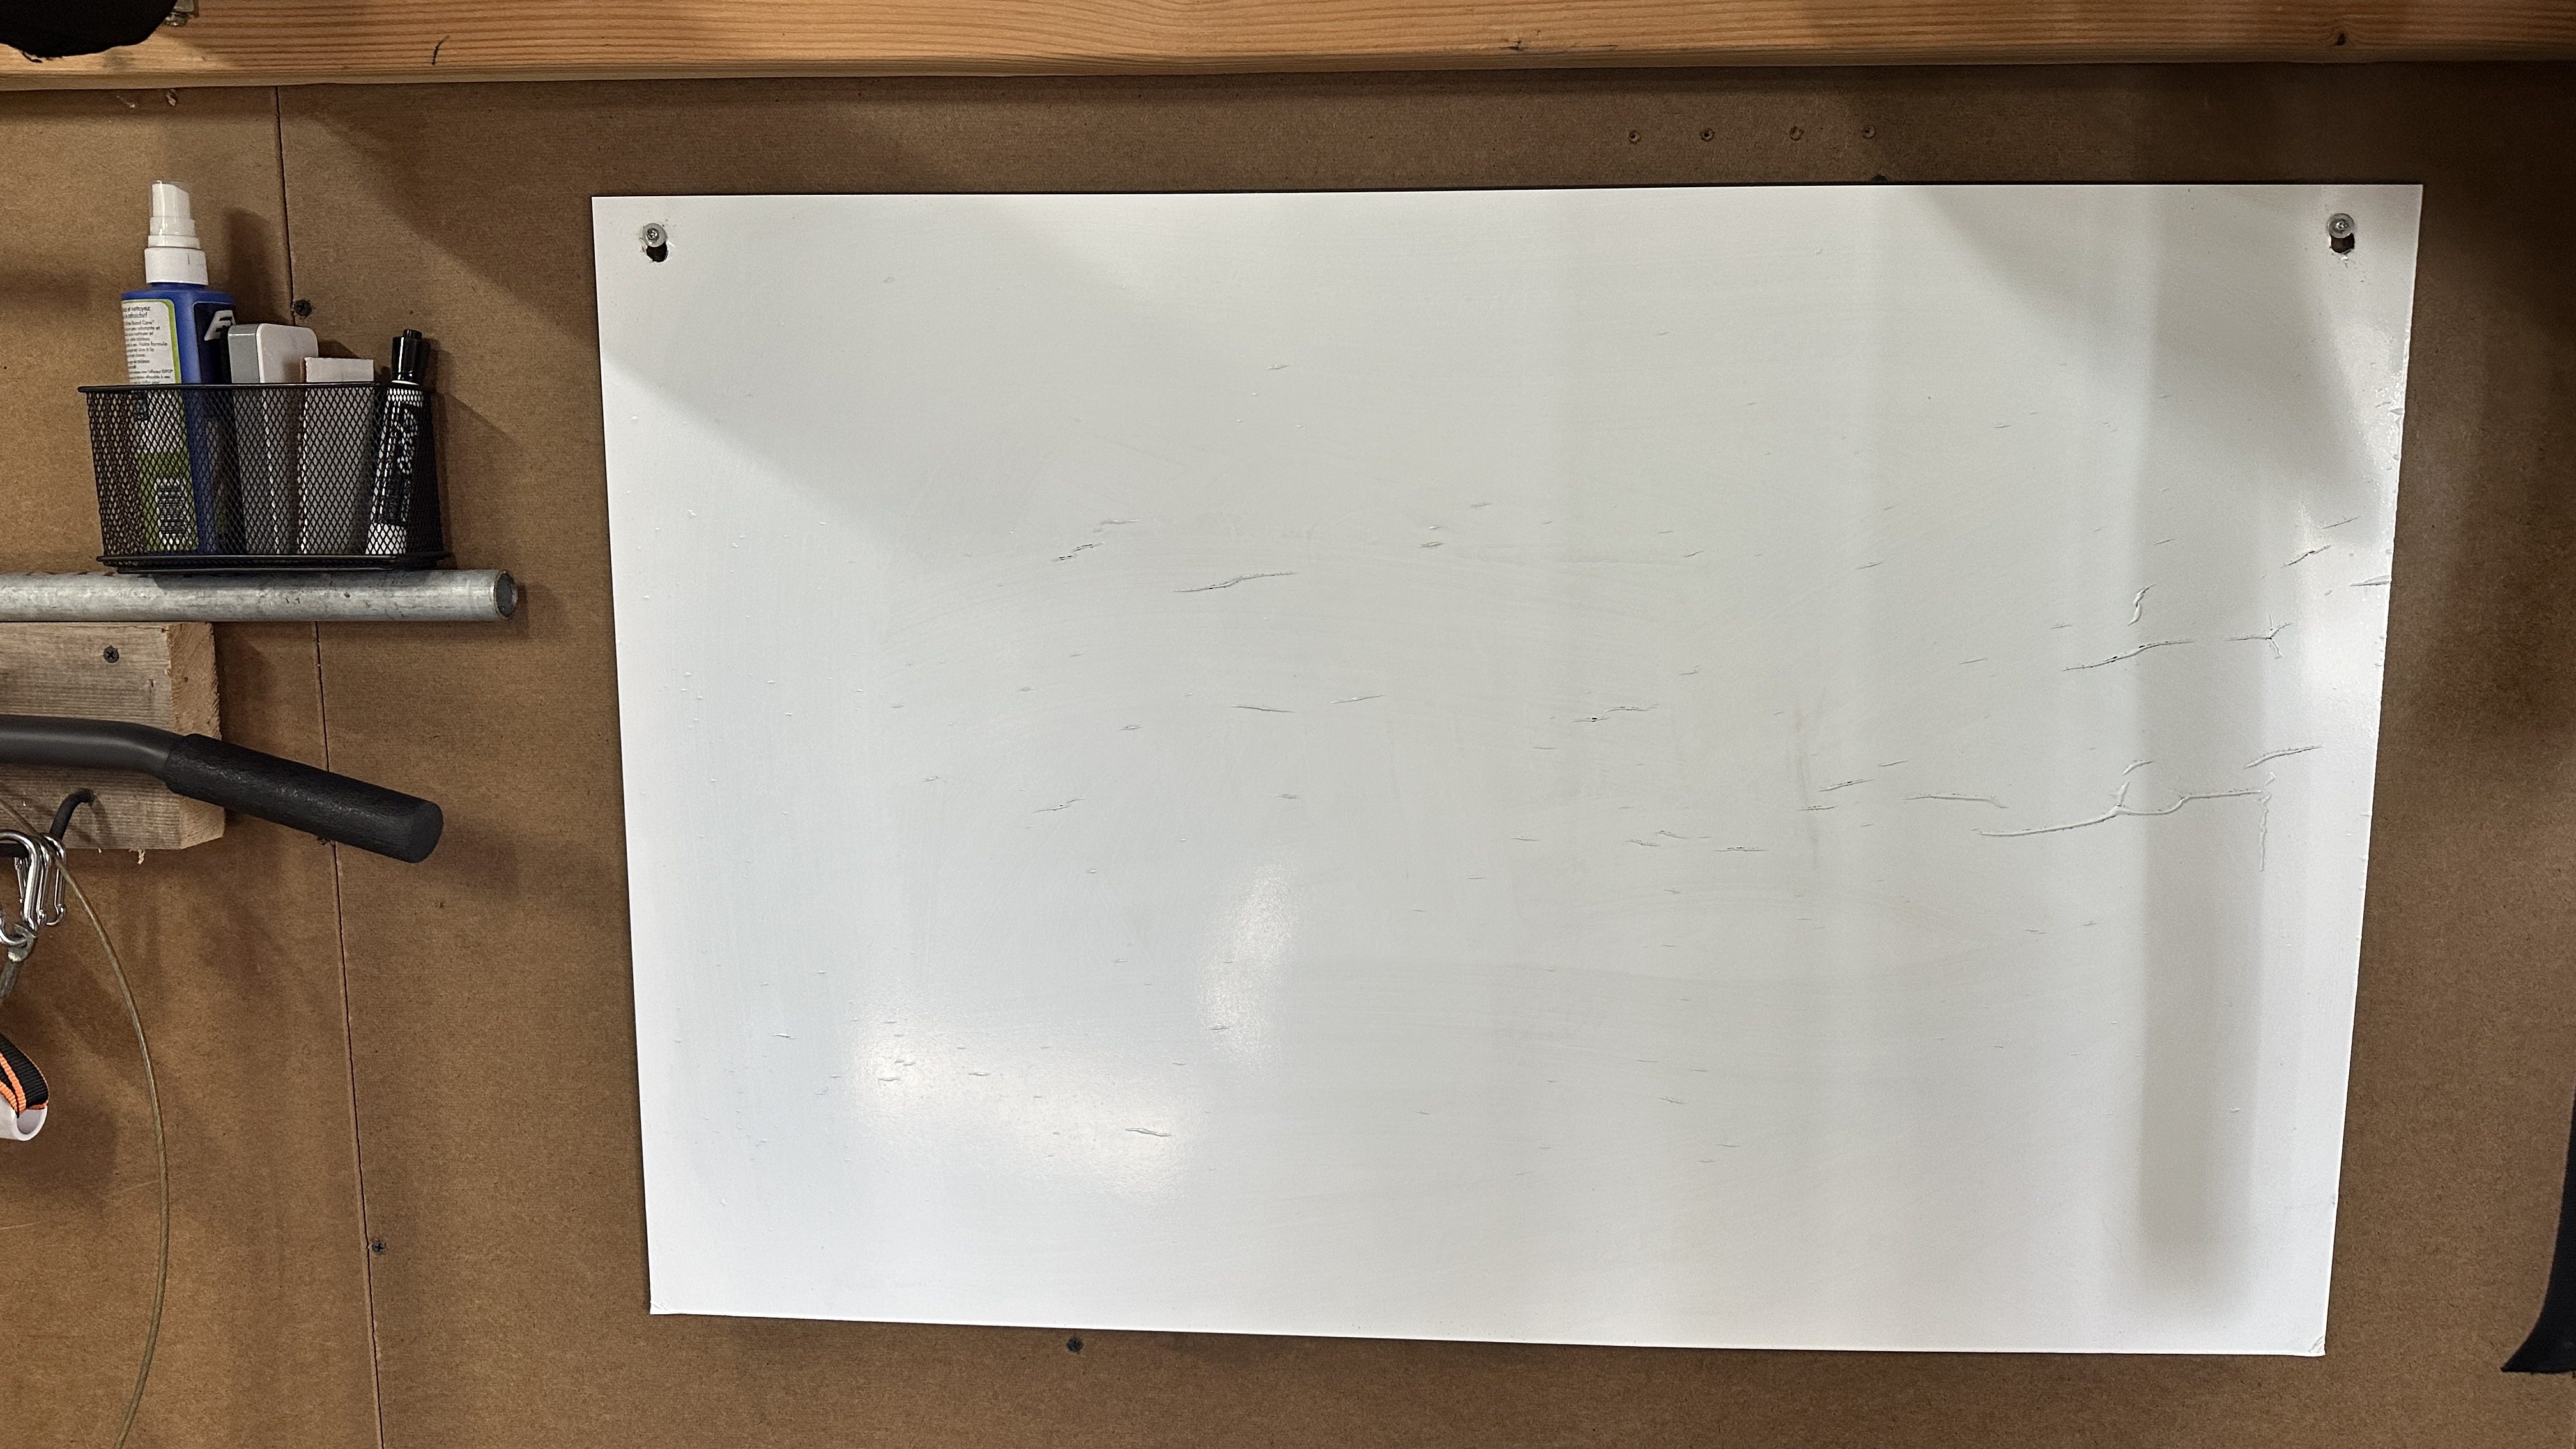
During the pandemic I bought a sheet of dry-erase material that I stuck on a piece of hardboard.
As you can see in the picture there were a lot of wrinkles because the sheet wasn’t very good. It worked alright for over two years, but it was time to make an upgrade for the garage gym. A few weeks ago we picked up a 2×4′ Dry Erase Handi-Panel (Menards) for less than $10. I didn’t want to put any holes in it, so today I finally made some simple brackets.
The three bottom brackets have rabbets for the panel to sit in. These were screwed in to the studs. The smaller top pieces were simply pin nailed to the 2×6″ already on the wall.
Markers work much better on this new board too. Very quick project, but will be a big improvement for fitness time.
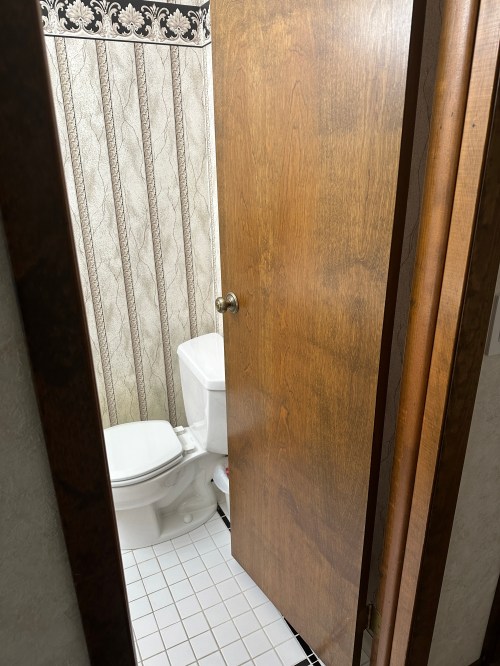
After the kitchen project I needed a break. With fall arriving it was time to dive back in to something and the small bathroom was next on our list. It’s the last room on the main floor to get a facelift. Look at that lovely style!
Over the course of a weekend we:
Took the door off its hinges
Pulled all of the trim
Removed the towel and toilet paper holders
Moved out the toilet
Tossed the vanity in the trash
Installed shut-off valves on the sink’s water lines
Took down the mirror
Pulled up the tile floor, mortar, and a layer of subfloor
Removed wallpaper
Tossed the light fixture in the trash
The flooring and wallpaper made for a very long and exhausting Sunday.
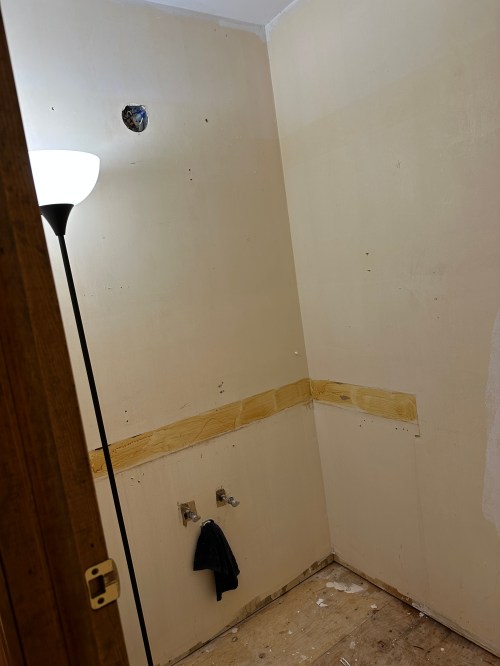
It was nice to have a blank slate. We scrubbed the walls to try and remove any remaining wallpaper glue, which took about an hour and a half. Then I worked on repairing drywall. The old toilet paper holder was inset, so I had a pretty large fix there. In the above picture you can see all the glue left on the wall from the backslash. Sanding glue never really works, so I took a blade to cut around the area. Then I used a putty knife to take off some of the drywall paper. After that I sanded a bit, applied primer, and then several rounds of drywall with sanding in between. I learned this technique in the kitchen when some pretty large areas of drywall paper peeled off. Works great!
We primed the walls. While painting Brandi had a good idea to do the ceiling, which made it much easier not having to cut-in. We painted two coats. I cut 3/4″ plywood for the subfloor.
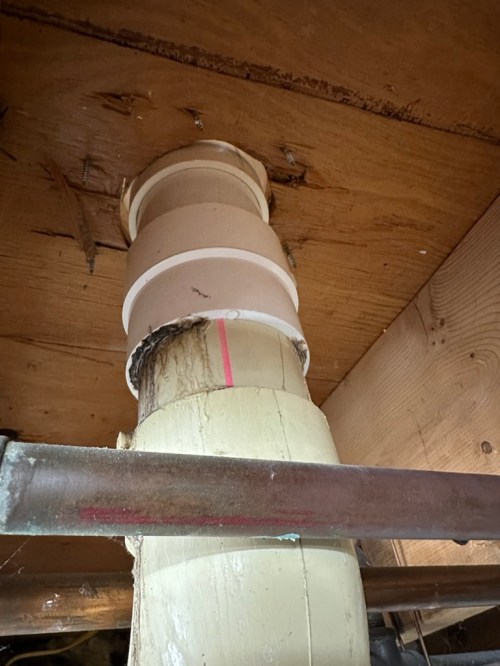
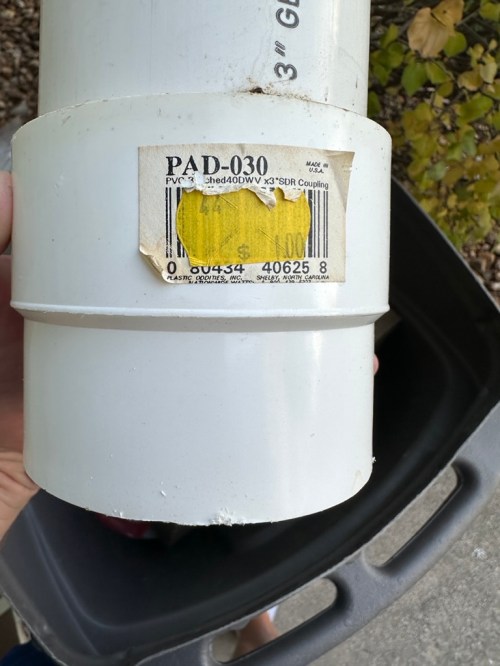
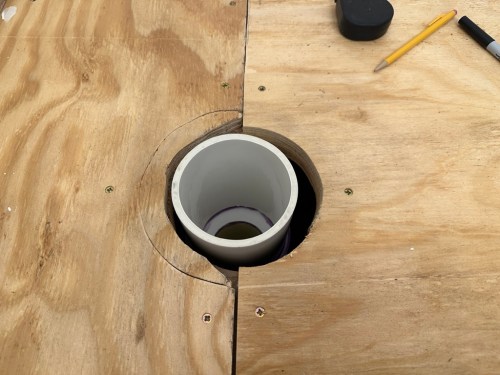
The toilet flange was sticking up above the old floor and while removing the tile and mortar I must have jostled an old leak in the drain pipe, which I figured would happen. I tested by pouring some water down it was definitely dripping. Good time to fix both issues while the floor was gone. After buying some PVC parts I got home and realized the lower piping was 3″ thin wall (Schedule 30) PVC. Of course that’s a different outside diameter than standard 3″ Schedule 40 PVC and needs a special coupler. Nobody carries that part anymore so it’s a special order. They do carry a 3″ Schedule 30 to 4″ Schedule 40 coupler though, so I got one, a length of 4″ pipe, and a 4″ toilet flange. Check out the old $1.00 price tag on the coupler I cut out!
Things went pretty smooth from there. I wired in the new light (Menards) and ordered brighter LED bulbs (Amazon). I installed the same Sam’s Club flooring I had used in the living room, kitchen, and hallways. Then I was able to attach the toilet flange over the top of the floor as it should be. We installed the vanity and sink (Home Depot), hooked up the new faucet, and reinstalled the toilet. After only 8 days we were happy to have a functional bathroom again. It was two exhausting weekends though!
Over the next several days I picked away at the remaining items:
New switches and outlet
Peel & stick backsplash tiles (Menards) with caulk around the edges
Refreshed the stain on the door trim and nailed it up
New prefinished floor trim
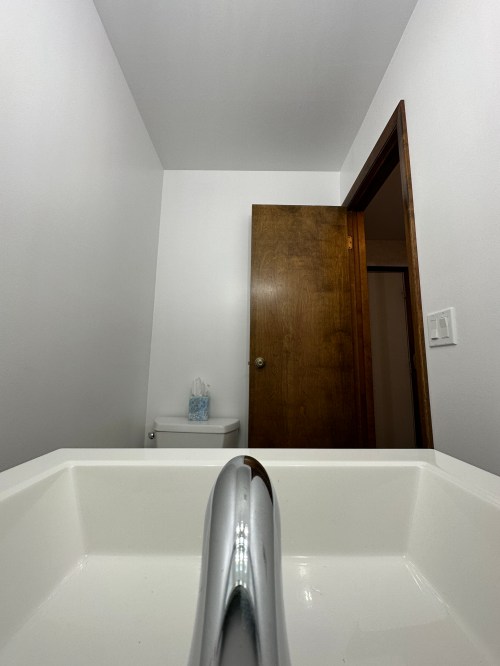
Hung the mirror
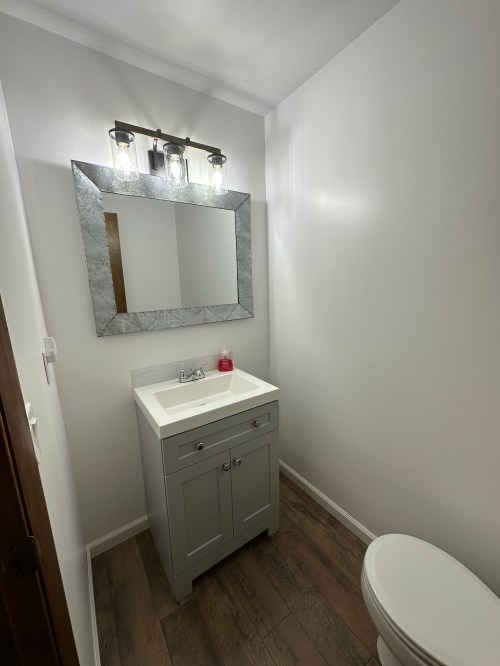
So much cleaner and no longer cramped. I’m going to make towel and TP holders with shelves in a couple of weeks.
A few weeks ago I noticed a wet spot on the ceiling below my bathroom toilet. It turned out that I was able to lift the toilet right off the floor because the bolts didn’t have any washers! The wax ring was almost nonexistent as well, which must have been causing a slow drip. It could have been much worse. So I figured I might as well tear up original linoleum and the cheap stick on tiles I put down five years ago. Here’s how those layers looked.
With the trim removed and old flooring pulled out, I noticed the subfloor was pretty rotted from old leaks of some kind. Also check out the old wallpaper I found under the trim!
I removed a layer of subfloor and replaced it with new plywood. Recently when cleaning out a closet I found nearly a full box of flooring Dad and I installed in the kitchen back in 2013. The whole master bathroom and closet need a major remodel so I figured I might as well use this to buy time. After a bit of maths I thought I had exactly enough for this little area. I couldn’t afford to make any cutting or measuring mistakes and it worked out. I cleaned and refreshed stain on the trim and gave the register fresh coats of primer and white paint.
I also bought a LED light strip that can be toggled between activation manually by a button or automatically by motion. It’s the perfect solution for trips in the middle of the night.
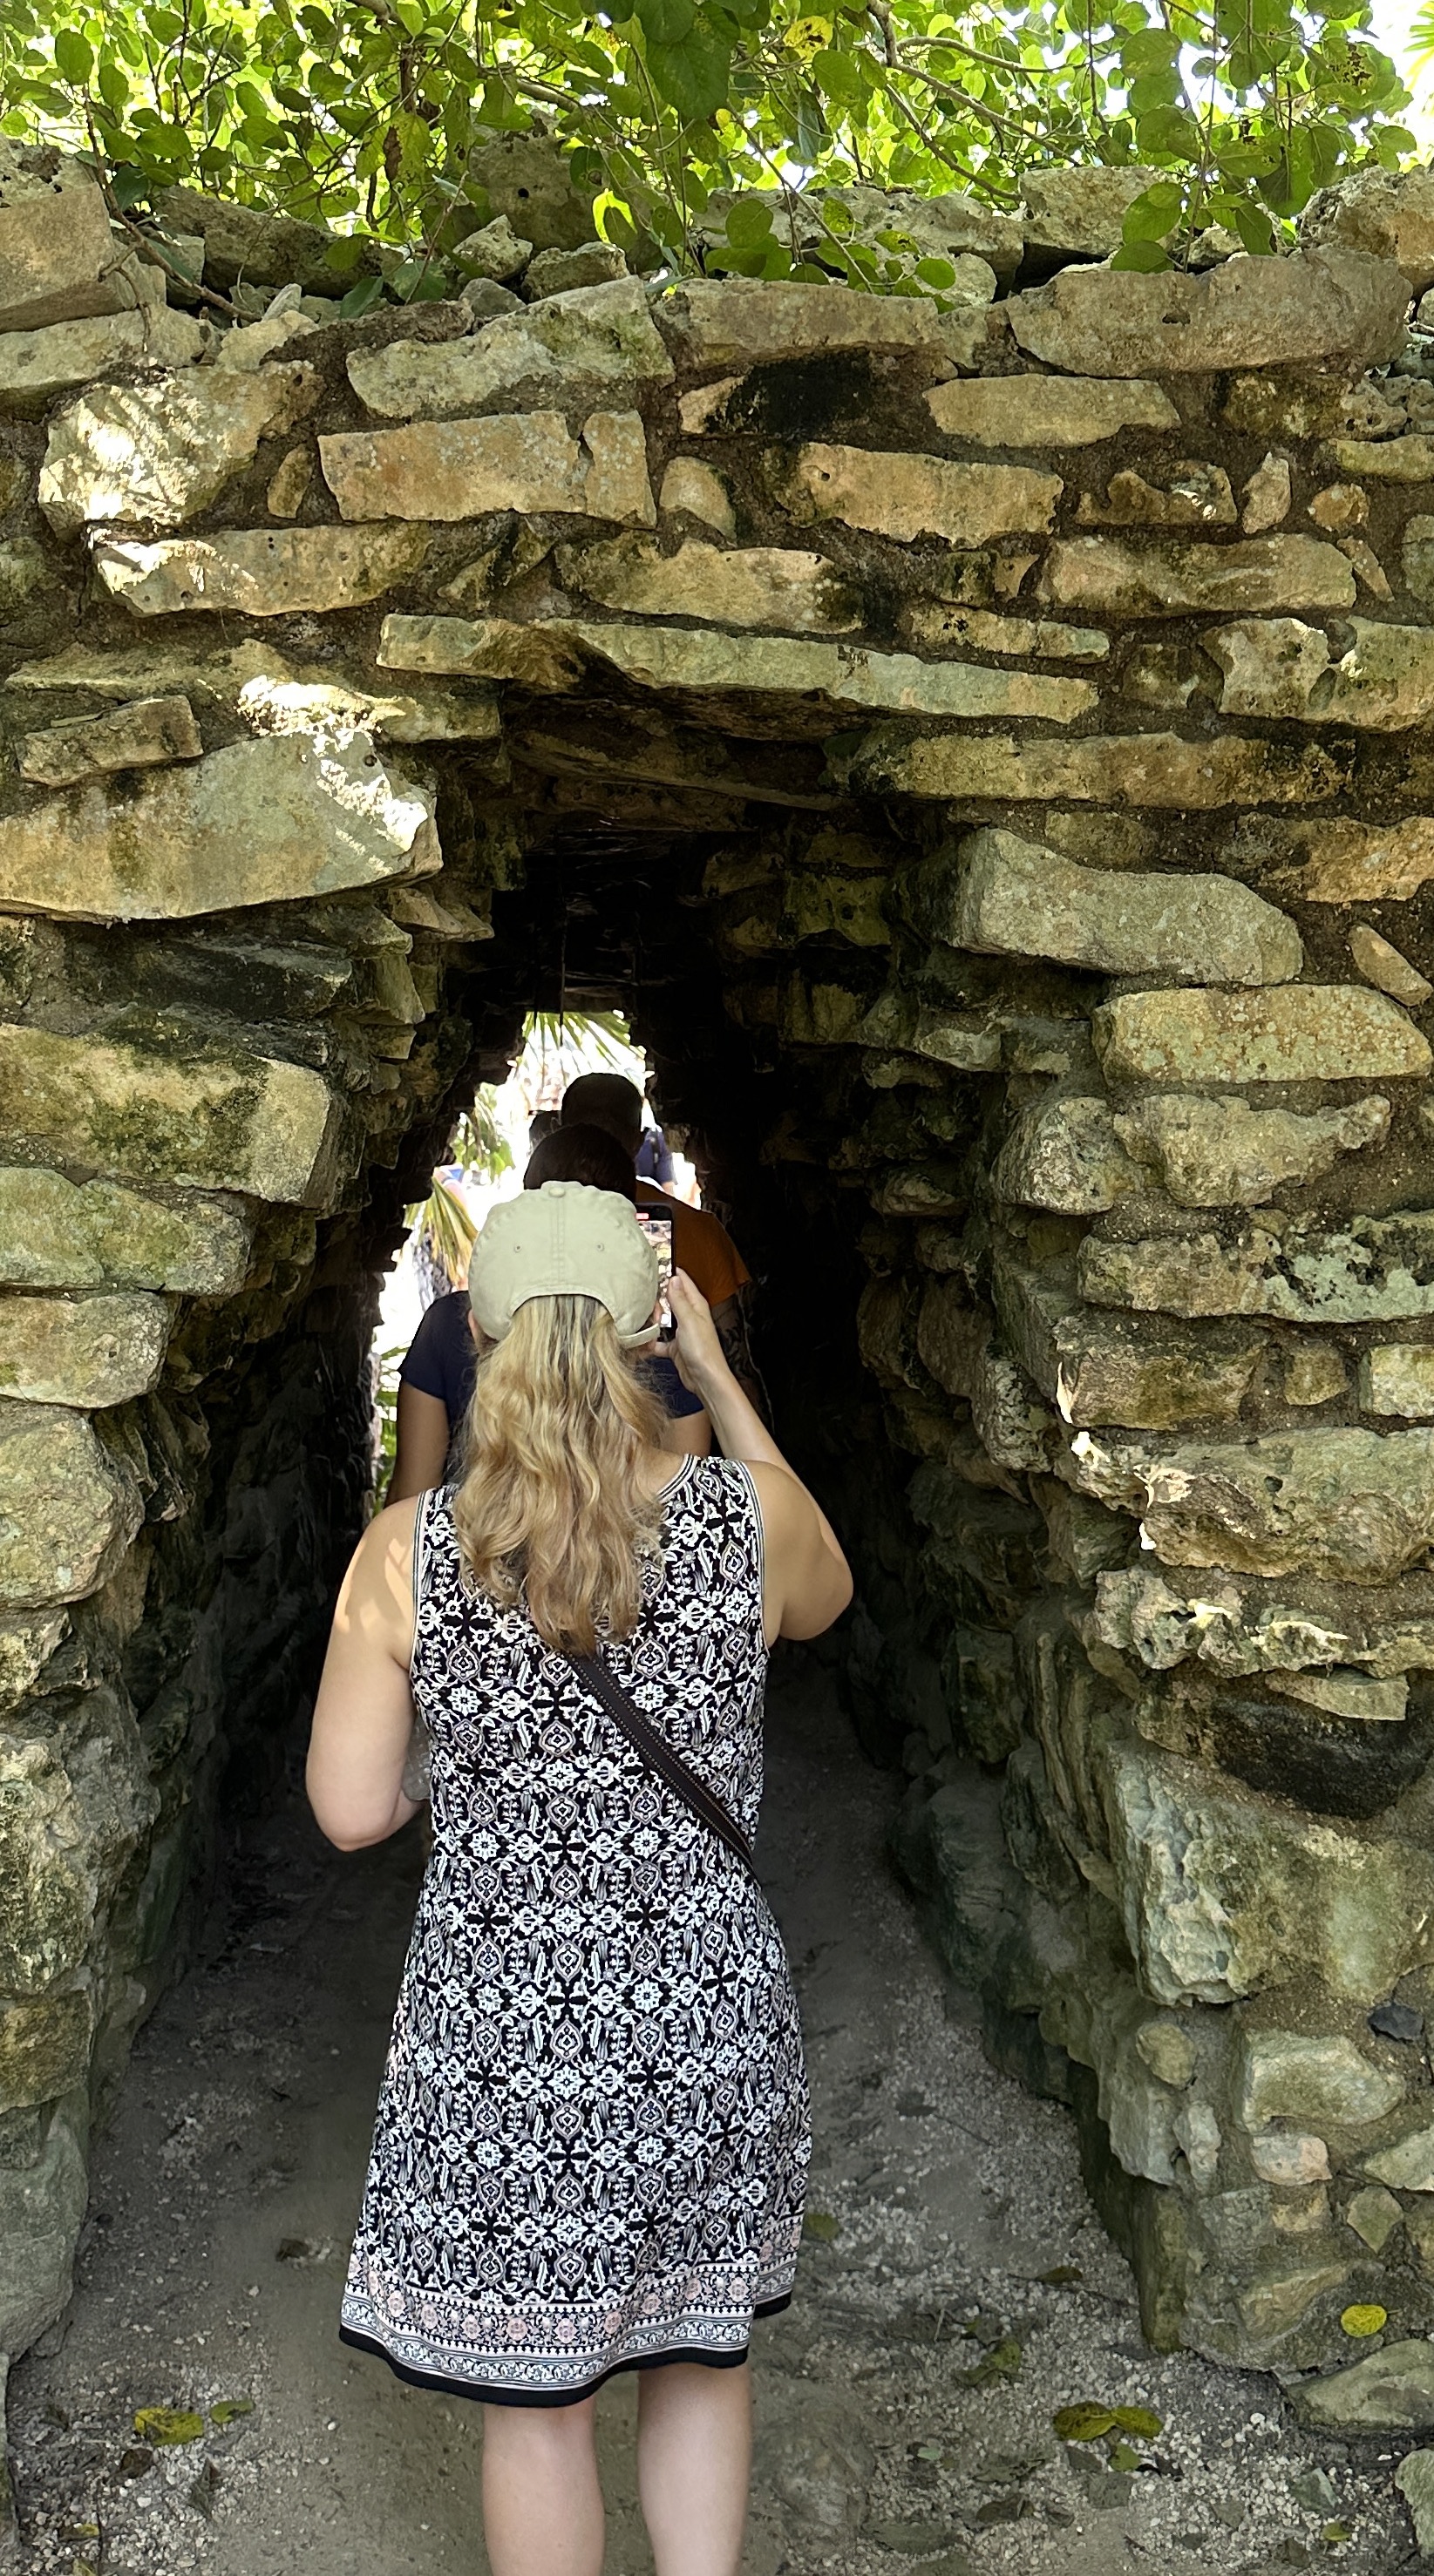
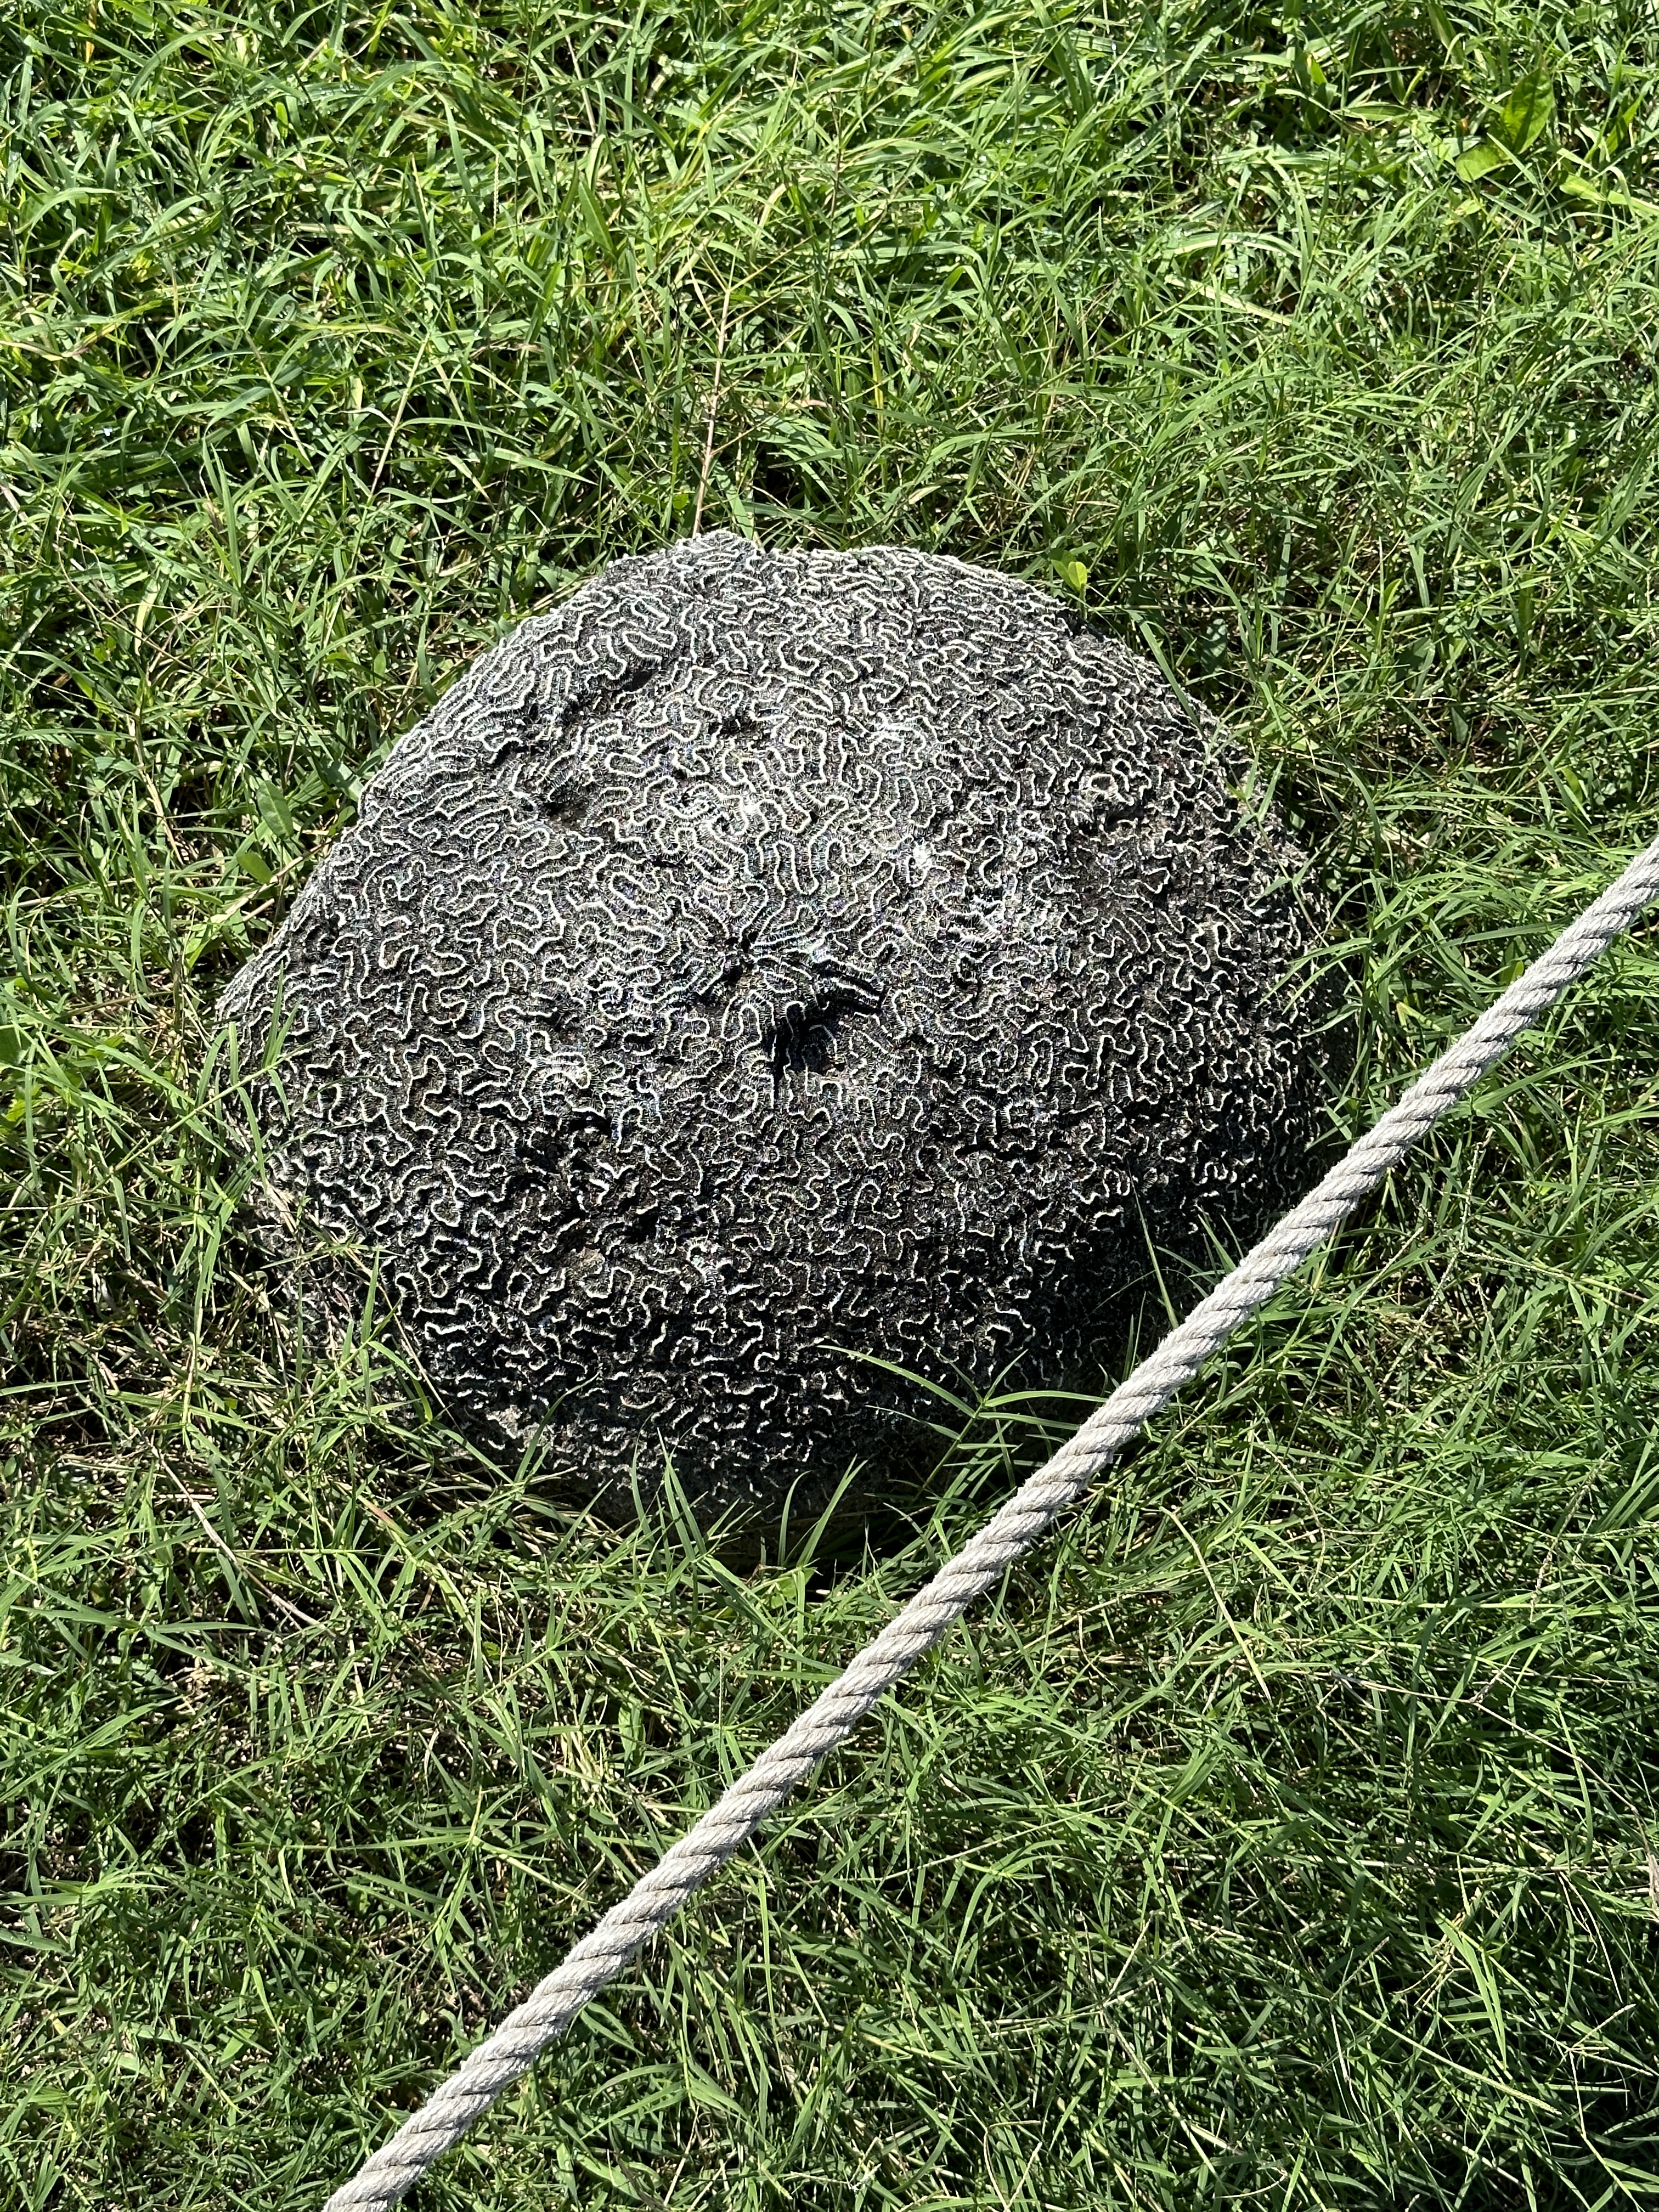
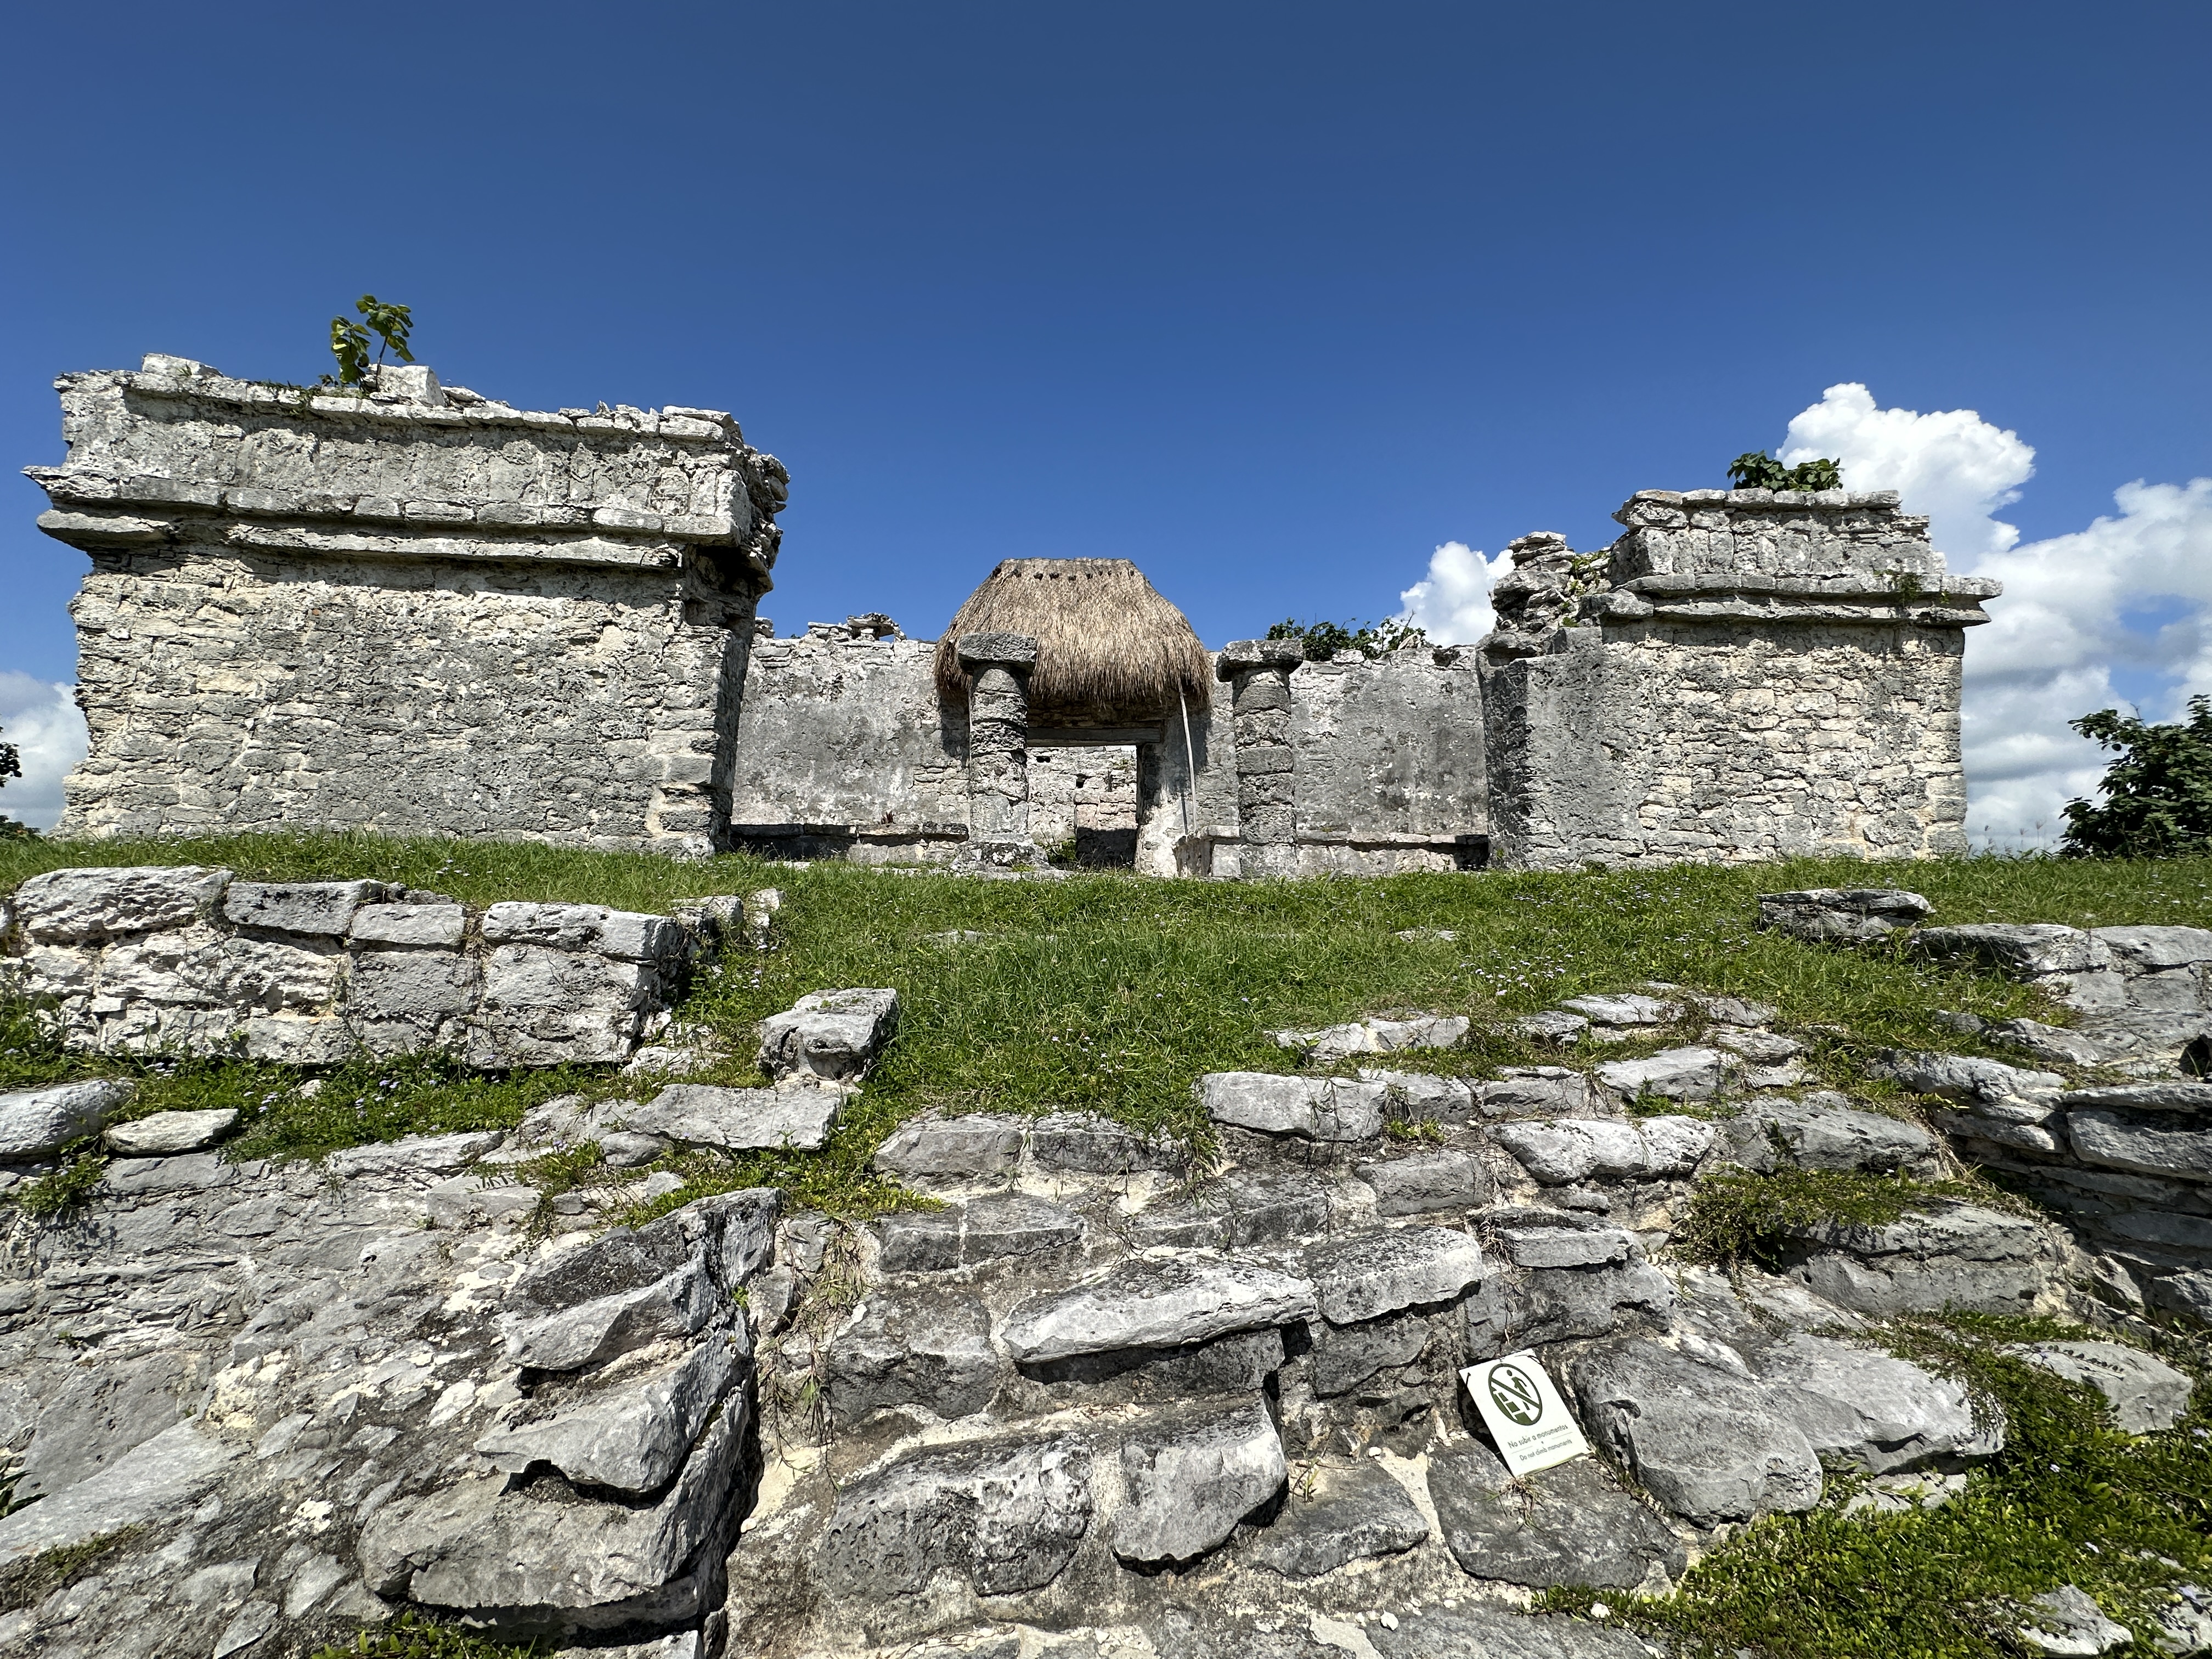
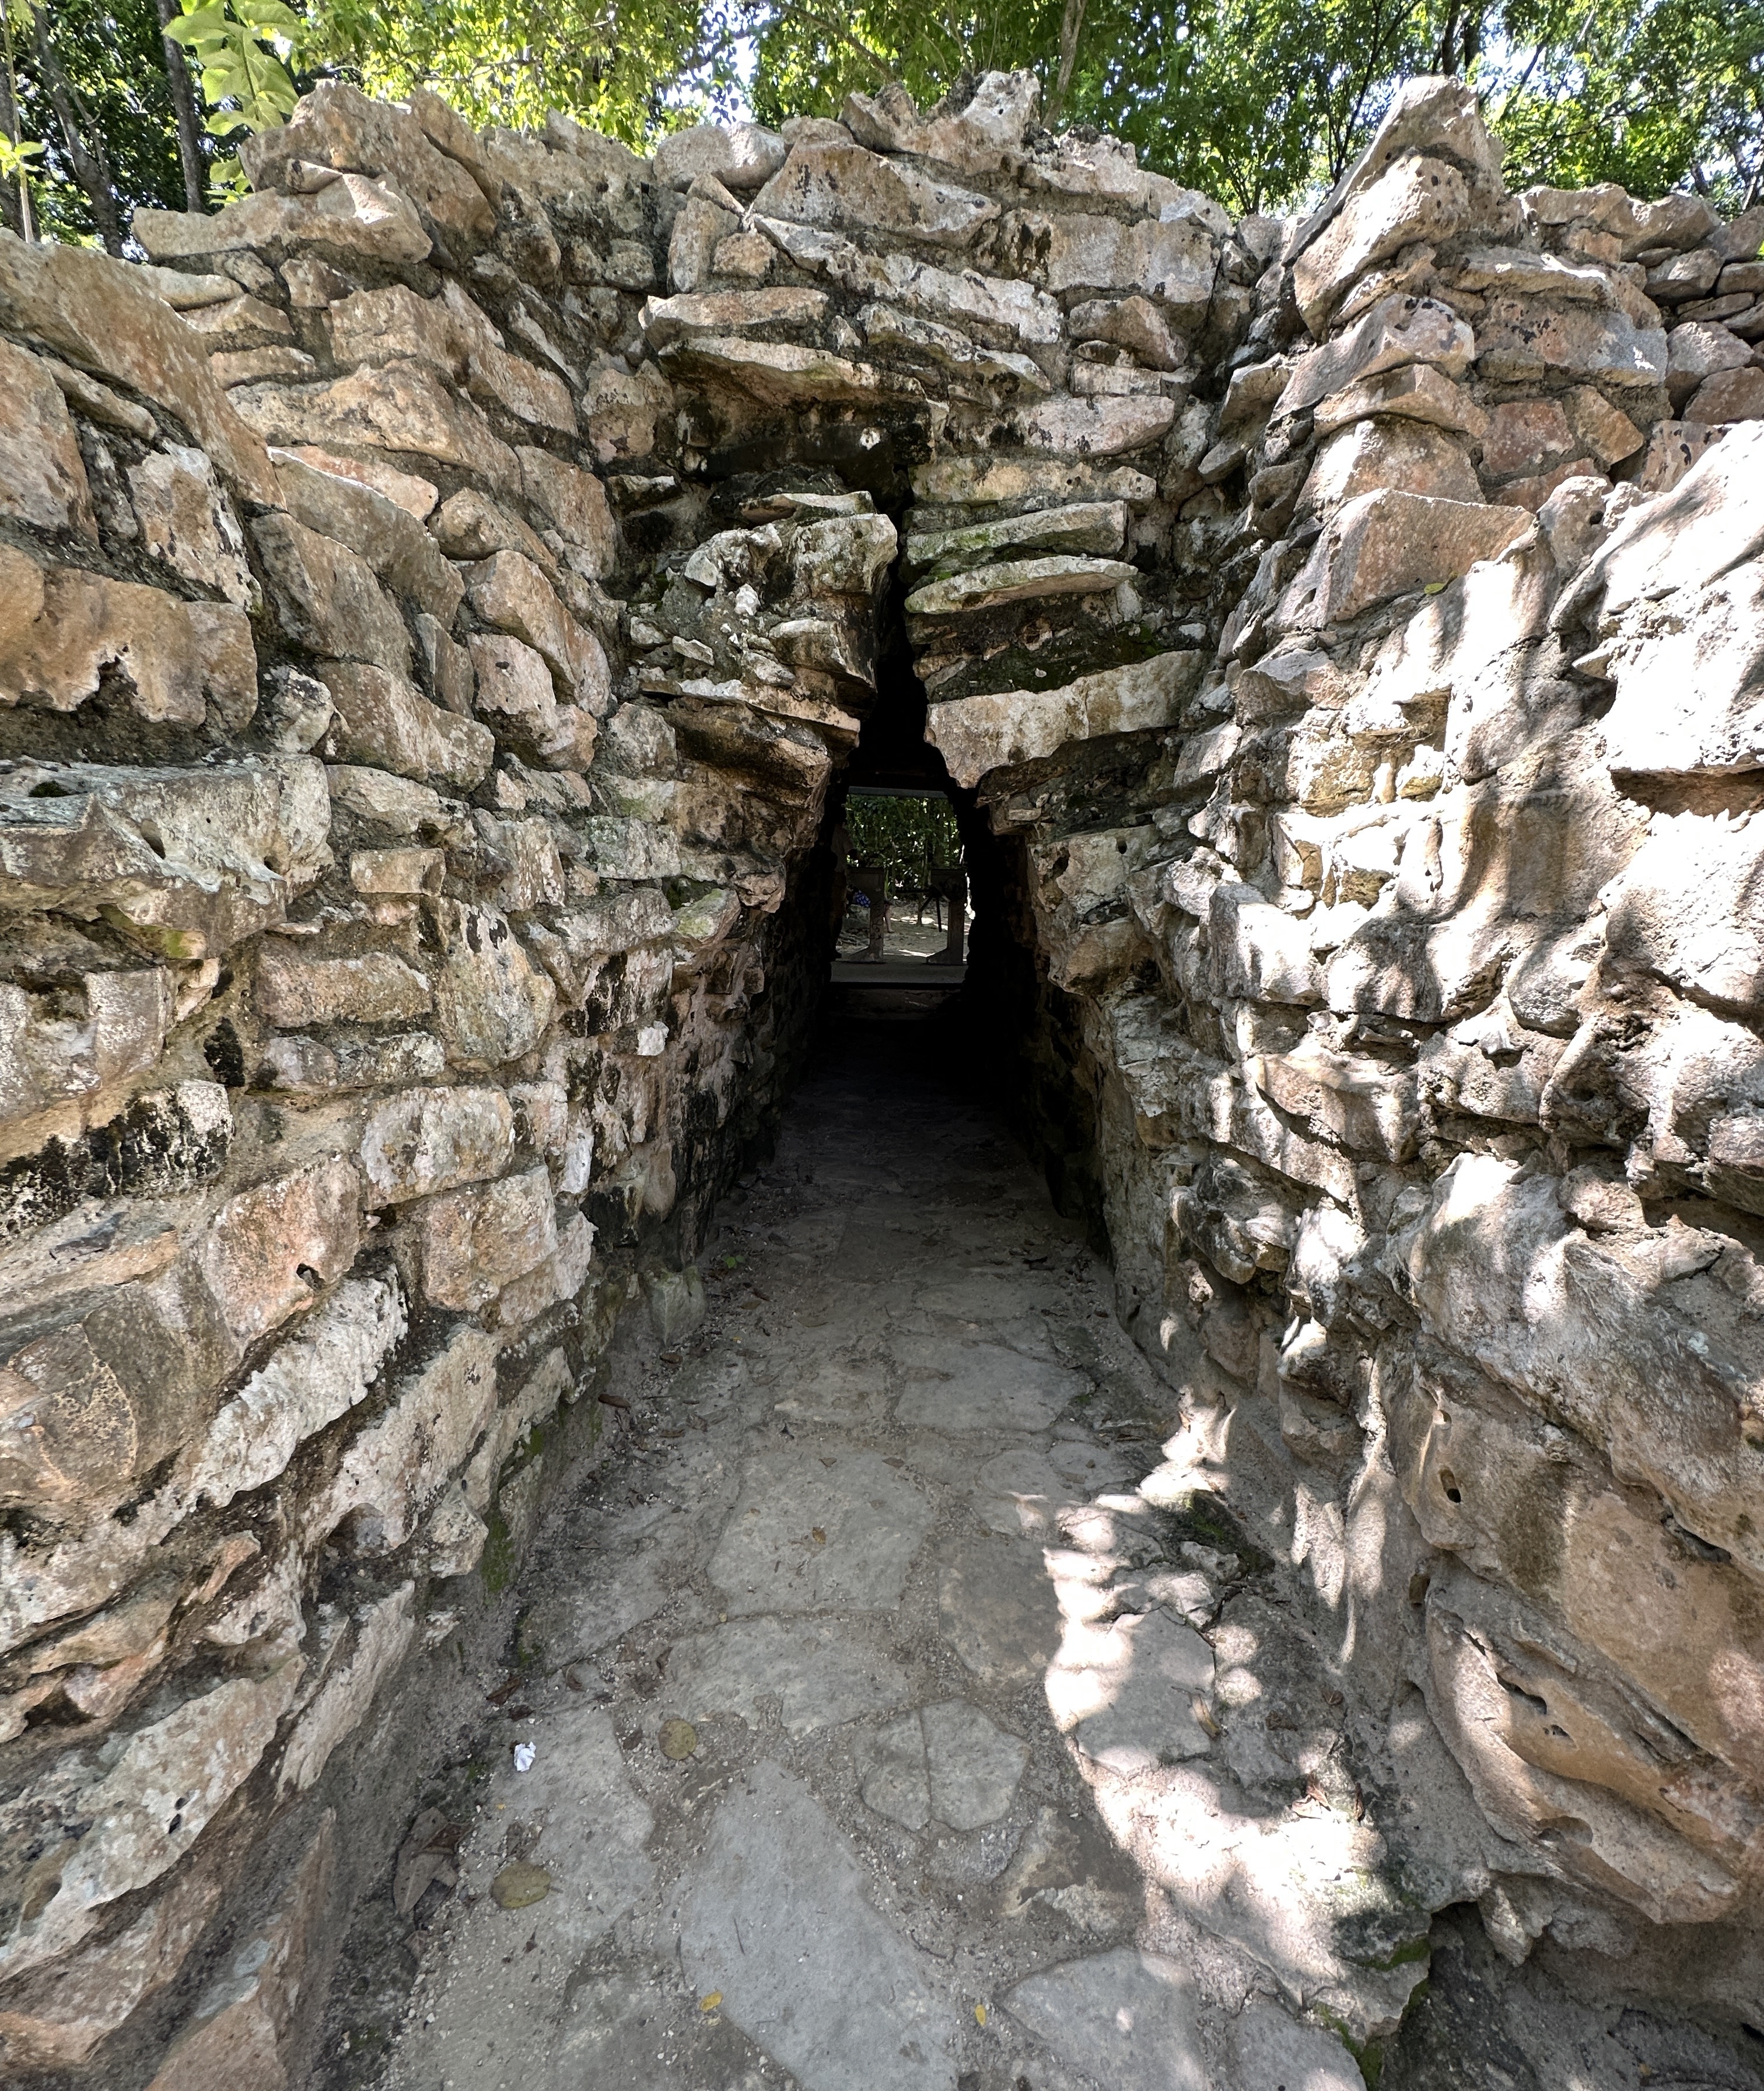
Last month, during an Automattic trip to Cancún, I took a guided tour of Tulum.
Tulum is the site of a pre-Columbian Mayan walled city which served as a major port for Coba, in the Mexican state of Quintana Roo. The ruins are situated on 12-meter-tall (39 ft) cliffs along the east coast of the Yucatán Peninsula on the Caribbean Sea. Tulum was one of the last cities built and inhabited by the Maya; it was at its height between the 13th and 15th centuries and managed to survive about 70 years after the Spanish began occupying Mexico. By the end of the 16th century, the site was abandoned. One of the best-preserved coastal Maya sites, Tulum is today a popular site for tourists.
I usually grab Monsters cereal in the fall and Sam’s Club had this new variety pack. I’d never heard of Frute Brute and apparently this is the first year it’s been released in a long time. It’s yummy!
The range we put in last year tripped the breaker whenever we ran the quick boil burner and oven together. I checked the manual and the unit runs best off a 50 amp breaker, so I finally got around to replacing the 40 amp one along with 6 gauge wire to replace the 8 gauge.