I’ve needed a workbench in my new shop since day 1. I finally got tired of working on the floor and built one. I created a little video to show the various ways I’ll use the table.
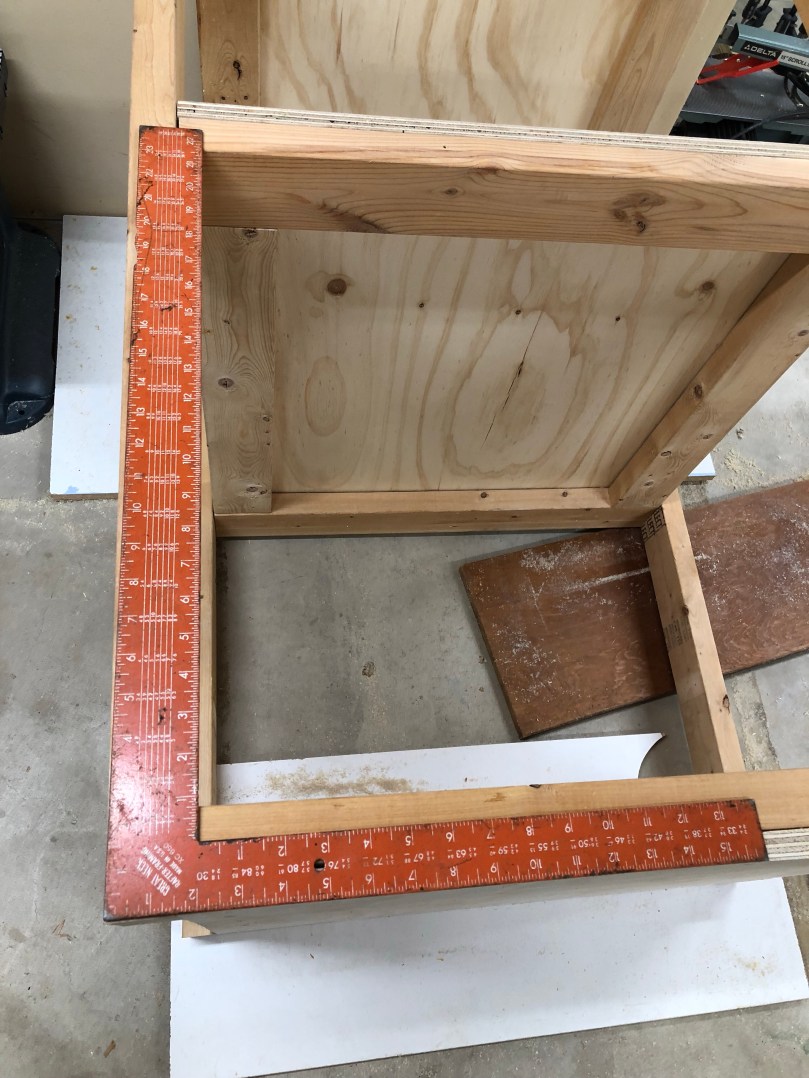
Let me walk you through the build. First I measured a bunch of stuff, especially the tools I wanted to be able to store under the table.

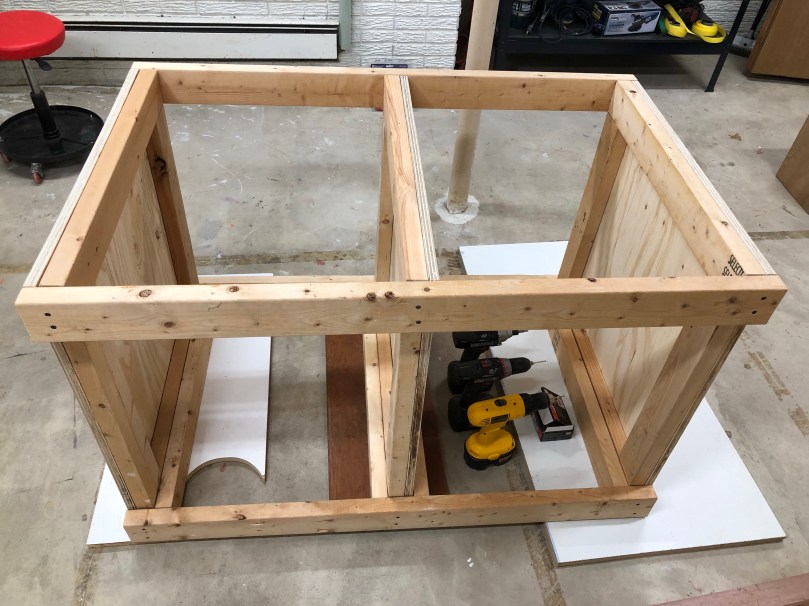
Then I did a quick framing mock-up to visualize the size.

The size felt pretty good so I spent some time in SketchUp. The model is free at my new Misc Plans repo on GitHub. Not everything in the model and the screenshot below are exact to the finished workbench, but they’re a good starting point if you want to build something similar.

At Home Depot I had them cut a sheet of 3/4″ plywood into 3 equal pieces. At home I trimmed them to size for the walls. Then I started cutting 2x4s (all from the walls I took down) for the rest of the framing. I set up an extended fence and a stop block on my miter saw.

That really made quick work so I didn’t have to measure each piece.

Then I countersunk and drilled holes, glued, and screwed the pieces of 2×4 to create a frame on each wall.
After assembling the 3 walls I started to line everything up and attached the rails. I was thrilled when the power went out as I was finishing up. Some battery lights allowed me to finish the remaining screws.

I couldn’t believe how level it turned out, considering my basement floor is not very flat.
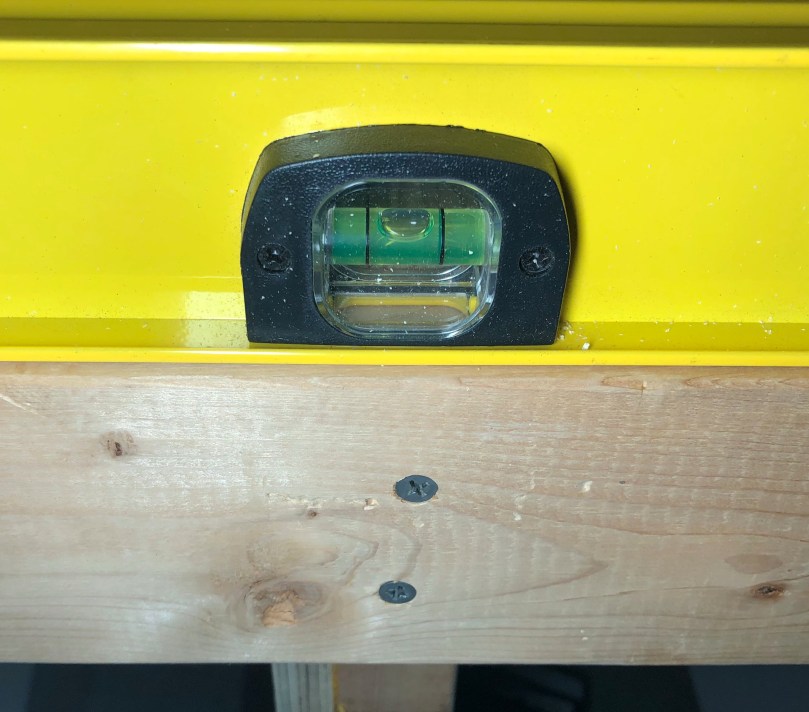
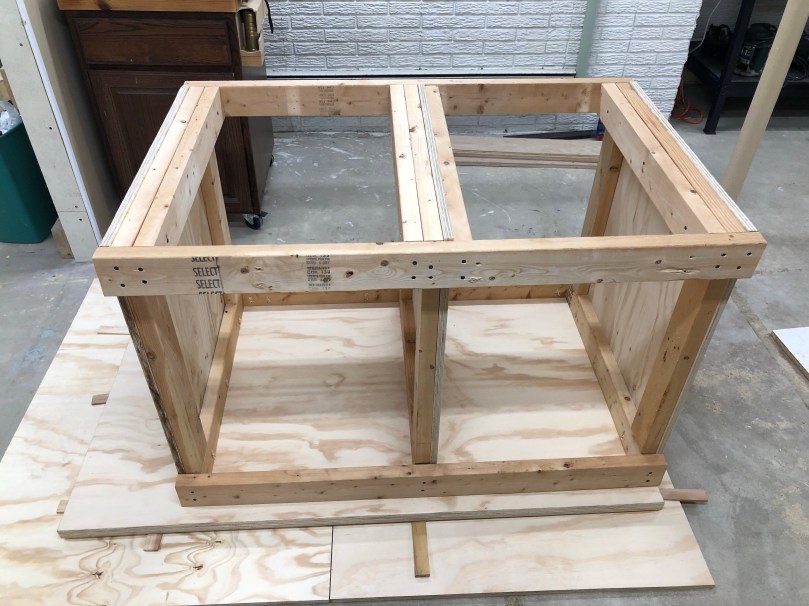
Here’s the frame after the power came back on.
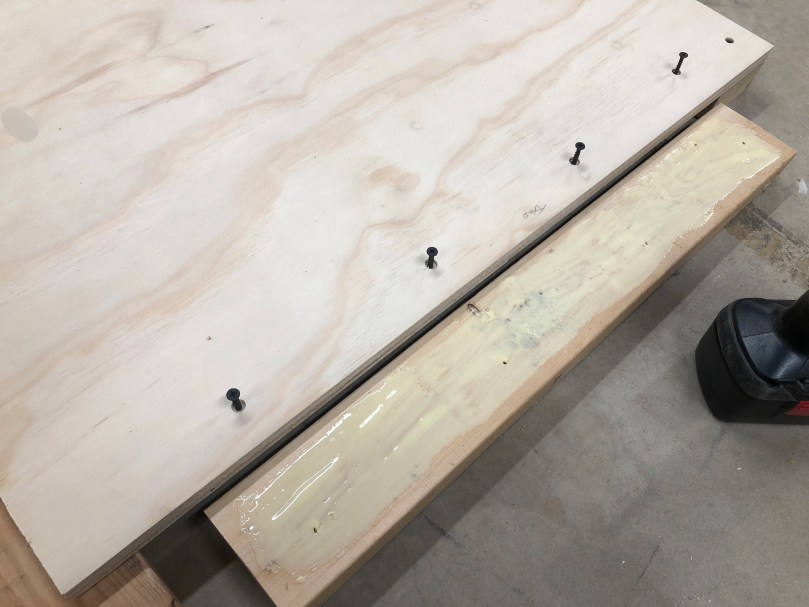
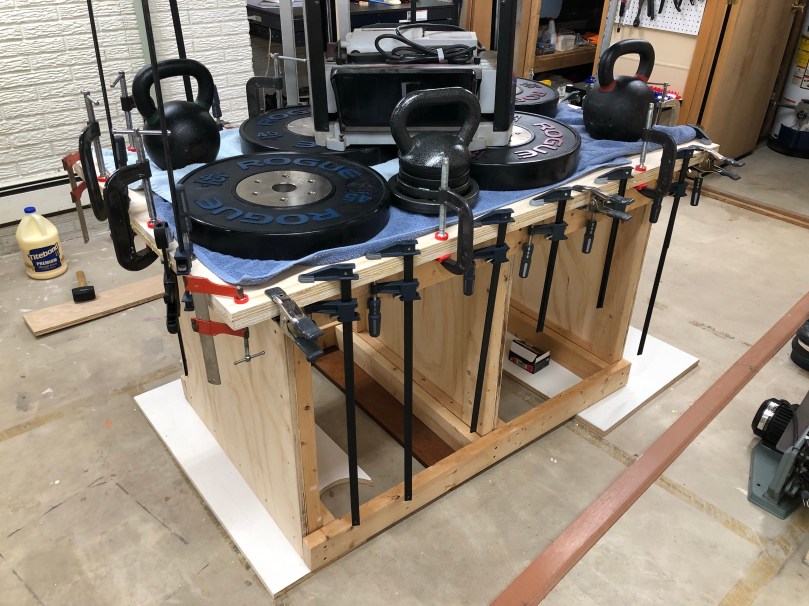
I made another trip to Home Depot. I had them cut 2 sheets of plywood to my exact size of 3×5 feet. Then I used a lot of glue (2-3 times what is pictured below) to laminate the two sheets together. I wanted a solid surface for the top of the workbench.

I hauled a bunch of weights down from the garage and clamped all around the edges. I think I counted 35 clamps being used! There weren’t many left on my clamp racks.
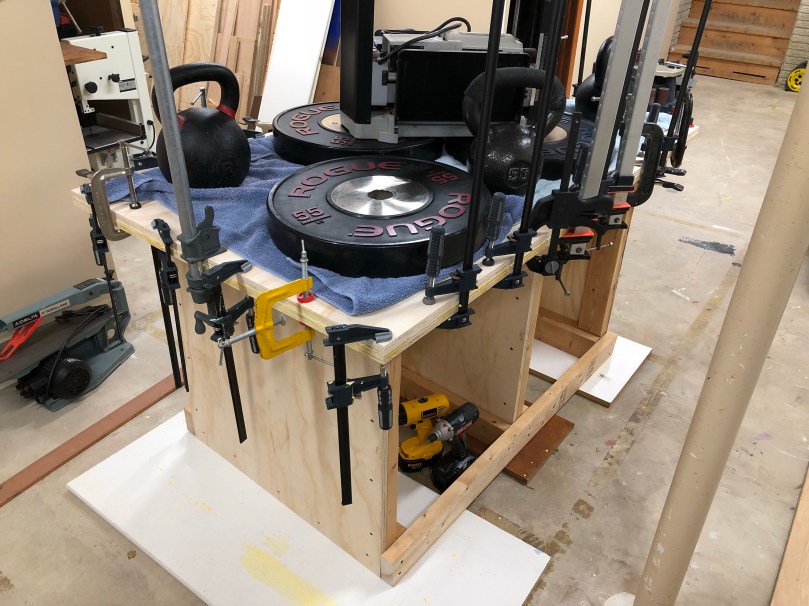
With so much glue, I gave it almost a full day to dry. Then I used my router with a flush trim bit along the edges to even up the 2 pieces, followed by a round over bit to get rid of the sharp edges
It was time to attach the top to the frame. I measured out the placement on one end and when I went to check the other side it was way off. I hadn’t been testing squareness enough or not in the right places when I assembled the frame. This is where experience and learning the order of operations is important. I measured the diagonals and there was about an inch difference between the two. Shit!
I pushed and pulled on corners and racked my brain trying to think of a good way to square it up. I decided to take the frame apart and go with a different approach. I’m glad I didn’t glue those rails to the walls!

I gave the entire table top a coat of paste finishing wax before moving on. Then I laid out some scrap plywood on the floor, set the top down, and used shims to get it as level as I could. I placed the wall on the end and used pocket holes to screw it in. From there I measured out where the two rails should go and I pocket holed them to the top as well. Then in went the other two walls. I made sure to test squareness of the walls to the top. I didn’t need to test horizontal square because I knew the top was a good rectangle. This was a much smoother way to assemble the frame.
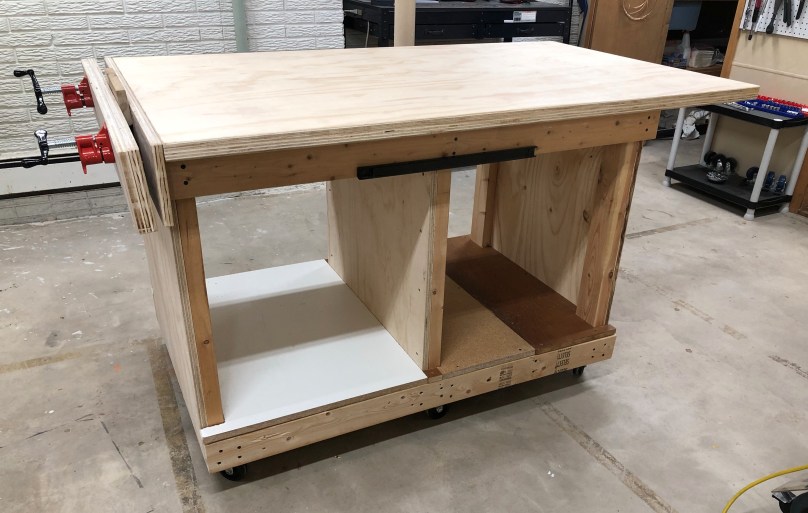
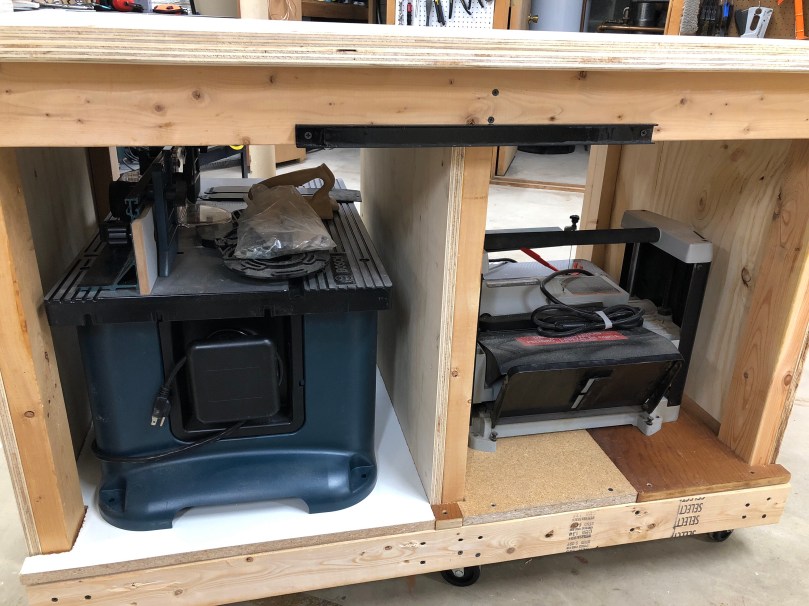
Before flipping it over, I attached 6 castors (3 locking along one side) to the frame. I cut a bunch of scraps to make shelves and attached a metal tool holder on each side.

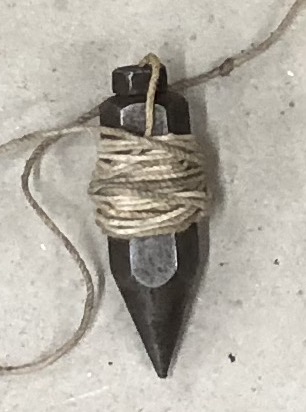
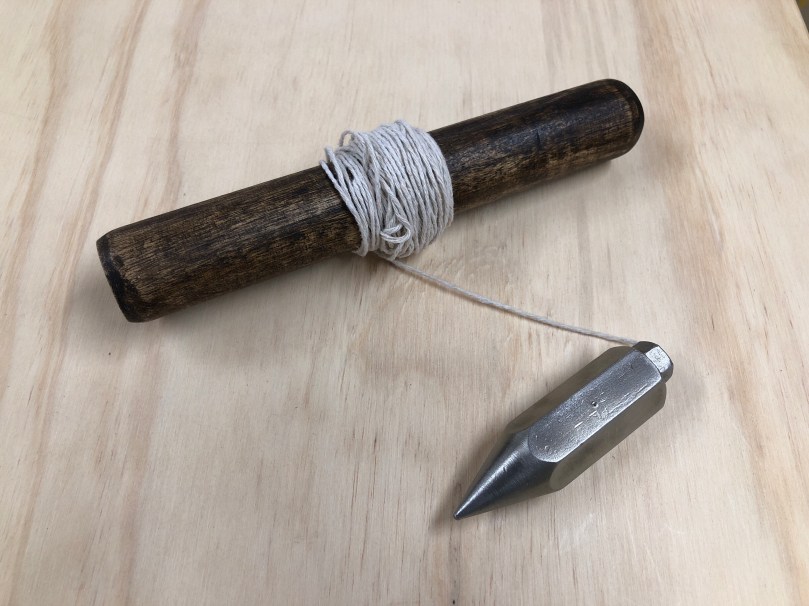
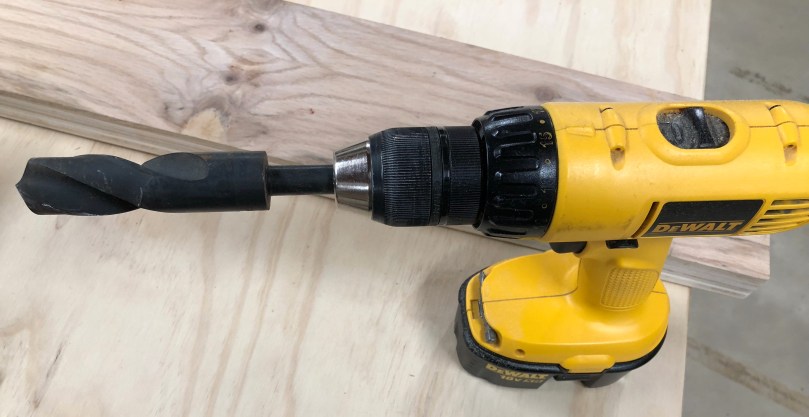
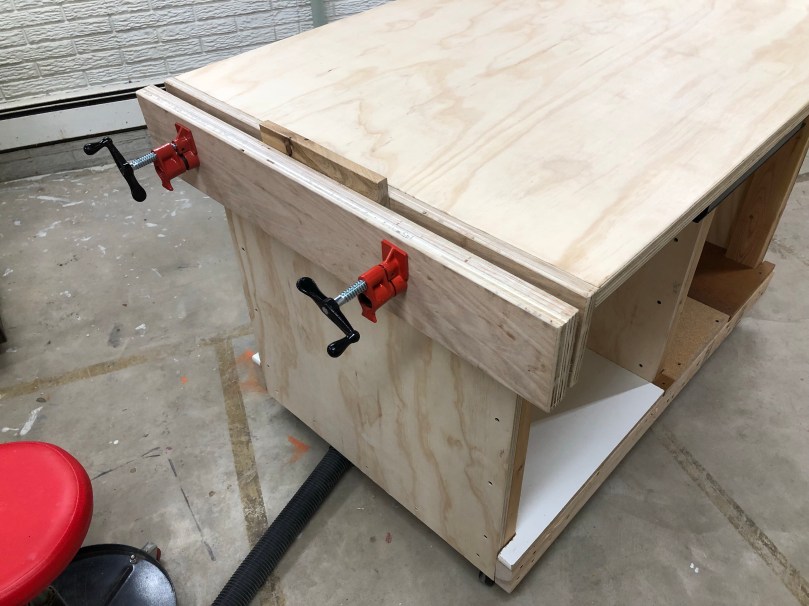
I had already cut and laminated the pieces for the vise somewhere earlier in this whole process. I also used flush trim and round over bits to route the edges of the vise jaws. In the drill press I used a Forstner bit to make the holes in the vise jaws for the pipes. Then I screwed the single vise jaw to the table and used its holes as guides to continue the holes through the side wall of the table. Unfortunately the Forstner bit wasn’t long enough to go all the way through. I found this massive drill bit in a box of bits my Dad had given me with the drill press. It wasn’t quite wide enough so I still had to file the edges of both holes.
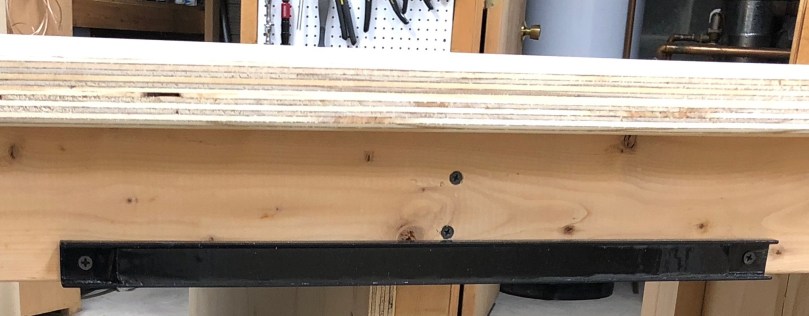
Here is a close-up of one piece of the pipe clamp under the table. I used the drill press to put some holes in the clamp and then locked it in place with some screws.

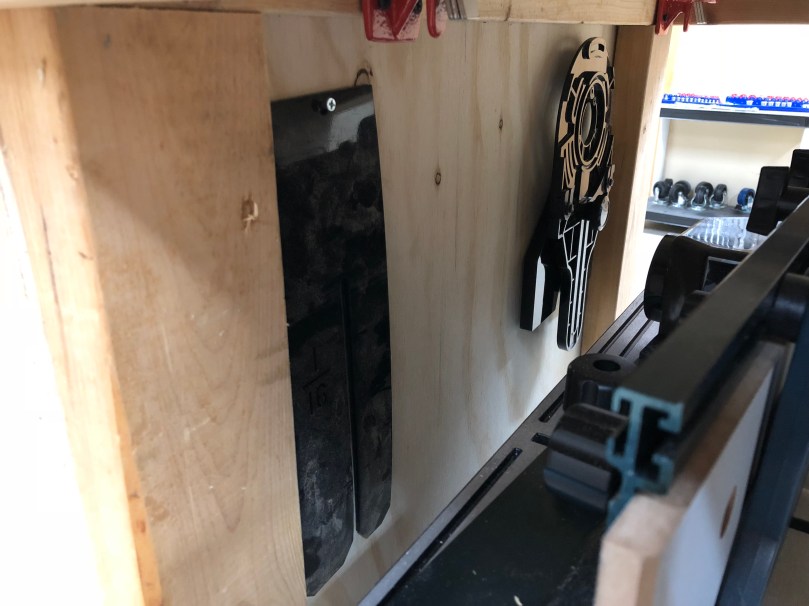
Hung up a couple of router accessories on the wall.
Voila!
Isn’t she pretty? I don’t know how I lived without this thing. I’ve already used it so much. If you’re putting together a shop I recommend starting with a proper workbench before anything else.
I bought this 36″ paper roll and holder so I could cover the table when doing a glue up or a quick paint or stain job.

It would stick out too much on the sides though. I also didn’t like the mounting method and how much space it would take up under my 12″ overhang. So I found a place on the floor under my tool bench (that you see in the picture) to put it.