
I was given a replacement AC adapter for an Acer laptop, which isn’t compatible with the Dell Optiplex micro PC I wanted to use it with. The output is close enough to work, so I looked for an adapter to convert from the 5.5×1.7mm connector used by the Acer to 4.5x3mm used by the Dell. I couldn’t find an adapter anywhere! I did however find a pigtail adapter on Amazon for about $8 I could wire in. Here’s the original connector and the new cable.

I opened up the power brick.

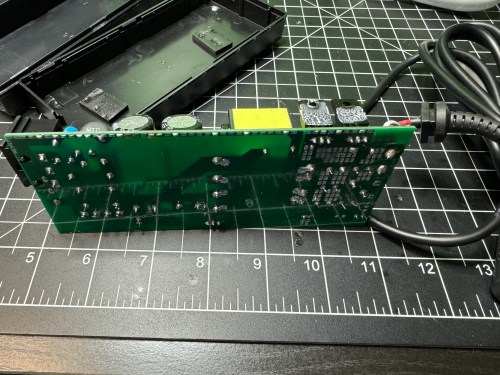
Then I made sure to test the output voltage and the polarity of the wires and connector with a multimeter. I noticed an unused spot for LED1 on the circuit board, so I figured I’d see if connecting a second LED would provide some other status indicator.

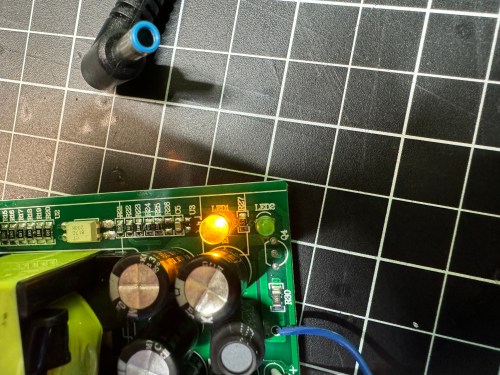
All it seemed to do was take over and disable LED2. So I removed it and left the original green LED. I desoldered the original cable, which only had positive and ground wires. The board had a spot with an S, which I assume means “signal,” so when connecting the pigtail, I soldered the blue wire there.

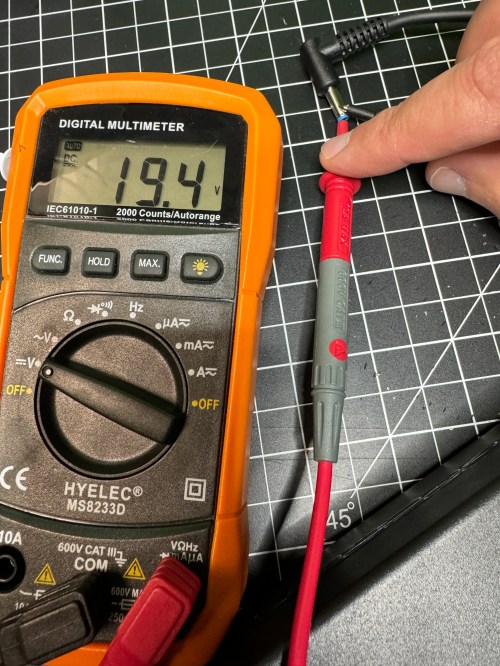
I checked the voltage on the new connector and it was as expected.
I plugged in the Dell and everything seemed to work. I cleaned the old thermal paste off the 3 components that screwed to a big metal heat sink and put on new paste. When I went to close everything I realized the black wire was too short, preventing the cable from reaching the hole in the power brick. I had to solder on a short extension and cover it with shrink tube.

Tucked everything back in the power brick, snapped it together, and it’s good to go.

[…] Swapping an AC Adapter Cable […]
LikeLike