There was a big open space under the right wing of my new SawStop and it was the perfect spot for a cabinet to organize the table saw accessories.

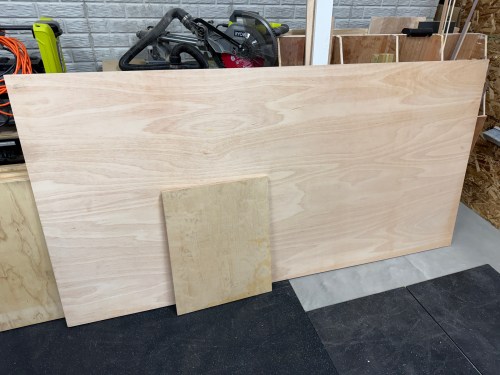
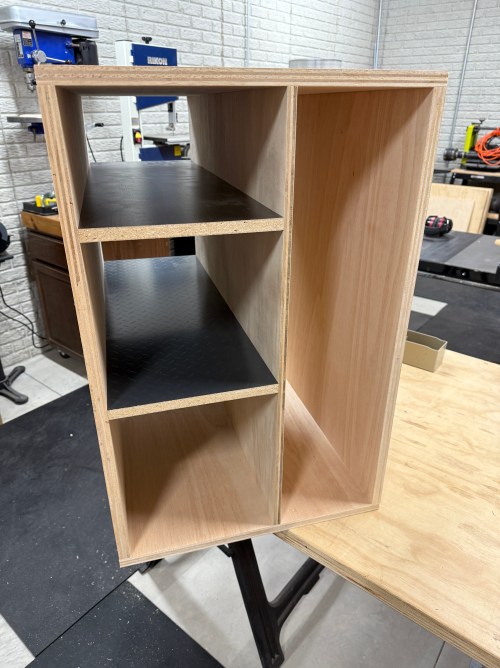
I pulled out a sheet of plywood that got roughed up during the move. Went through a few iterations of how to size the cabinet and where to cut the pieces from.

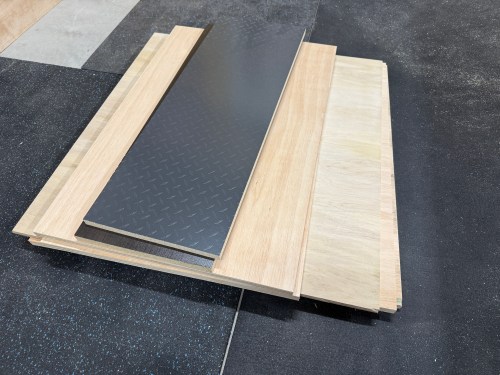
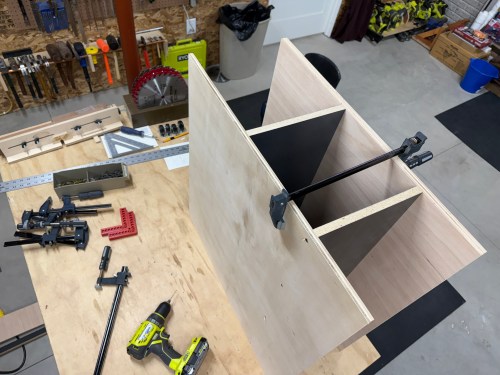
Assembly went pretty quick, only using screws in case I ever want to make adjustments. It’s not going to hold much weight, so no need for glue.
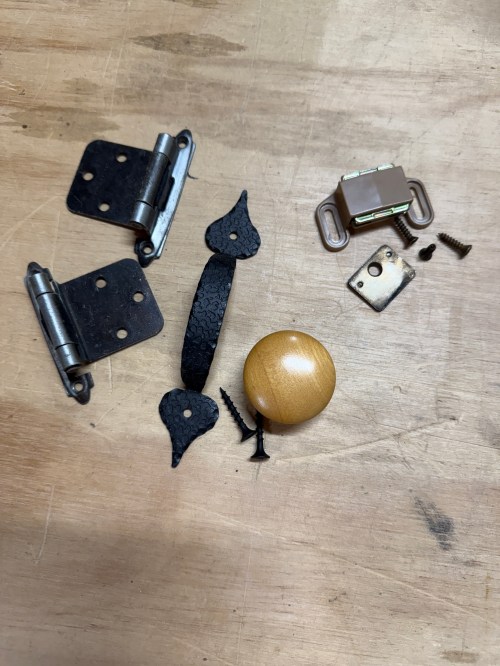
I dug through my hardware to find hinges, handles, and a magnet catch. Since I should rarely move this thing, I attached a set of non-swivel castors, which only added 2″ of height.

When I went to slide it under the saw I had a moment of panic because it didn’t fit! I hadn’t accounted for the triangle-shaped brackets attaching the legs to the saw wing. I ended up removing the castors from the SawStop’s mobile base and the cabinet slid in. If I ever need to move the saw, it only takes a few minutes to put the wheels back on.

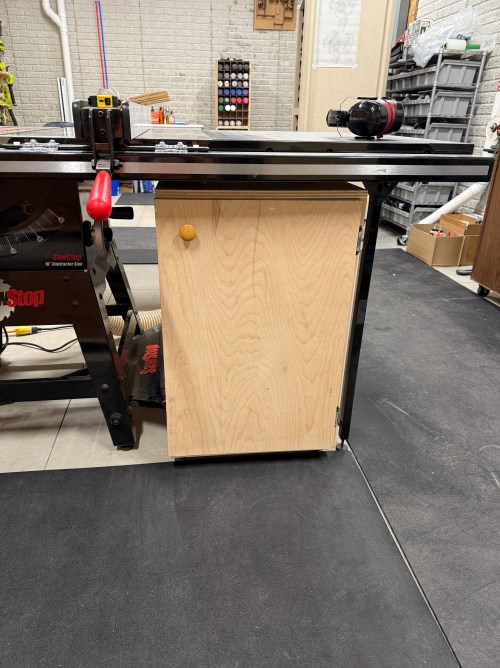


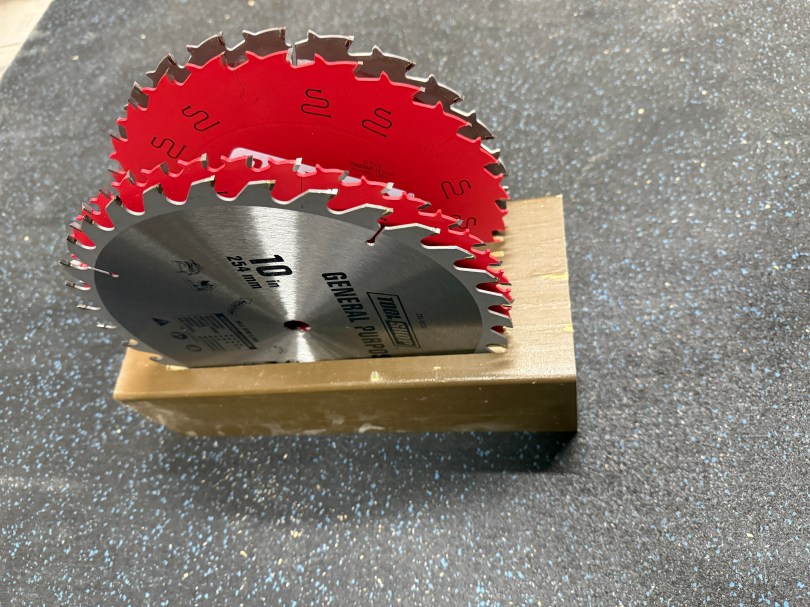
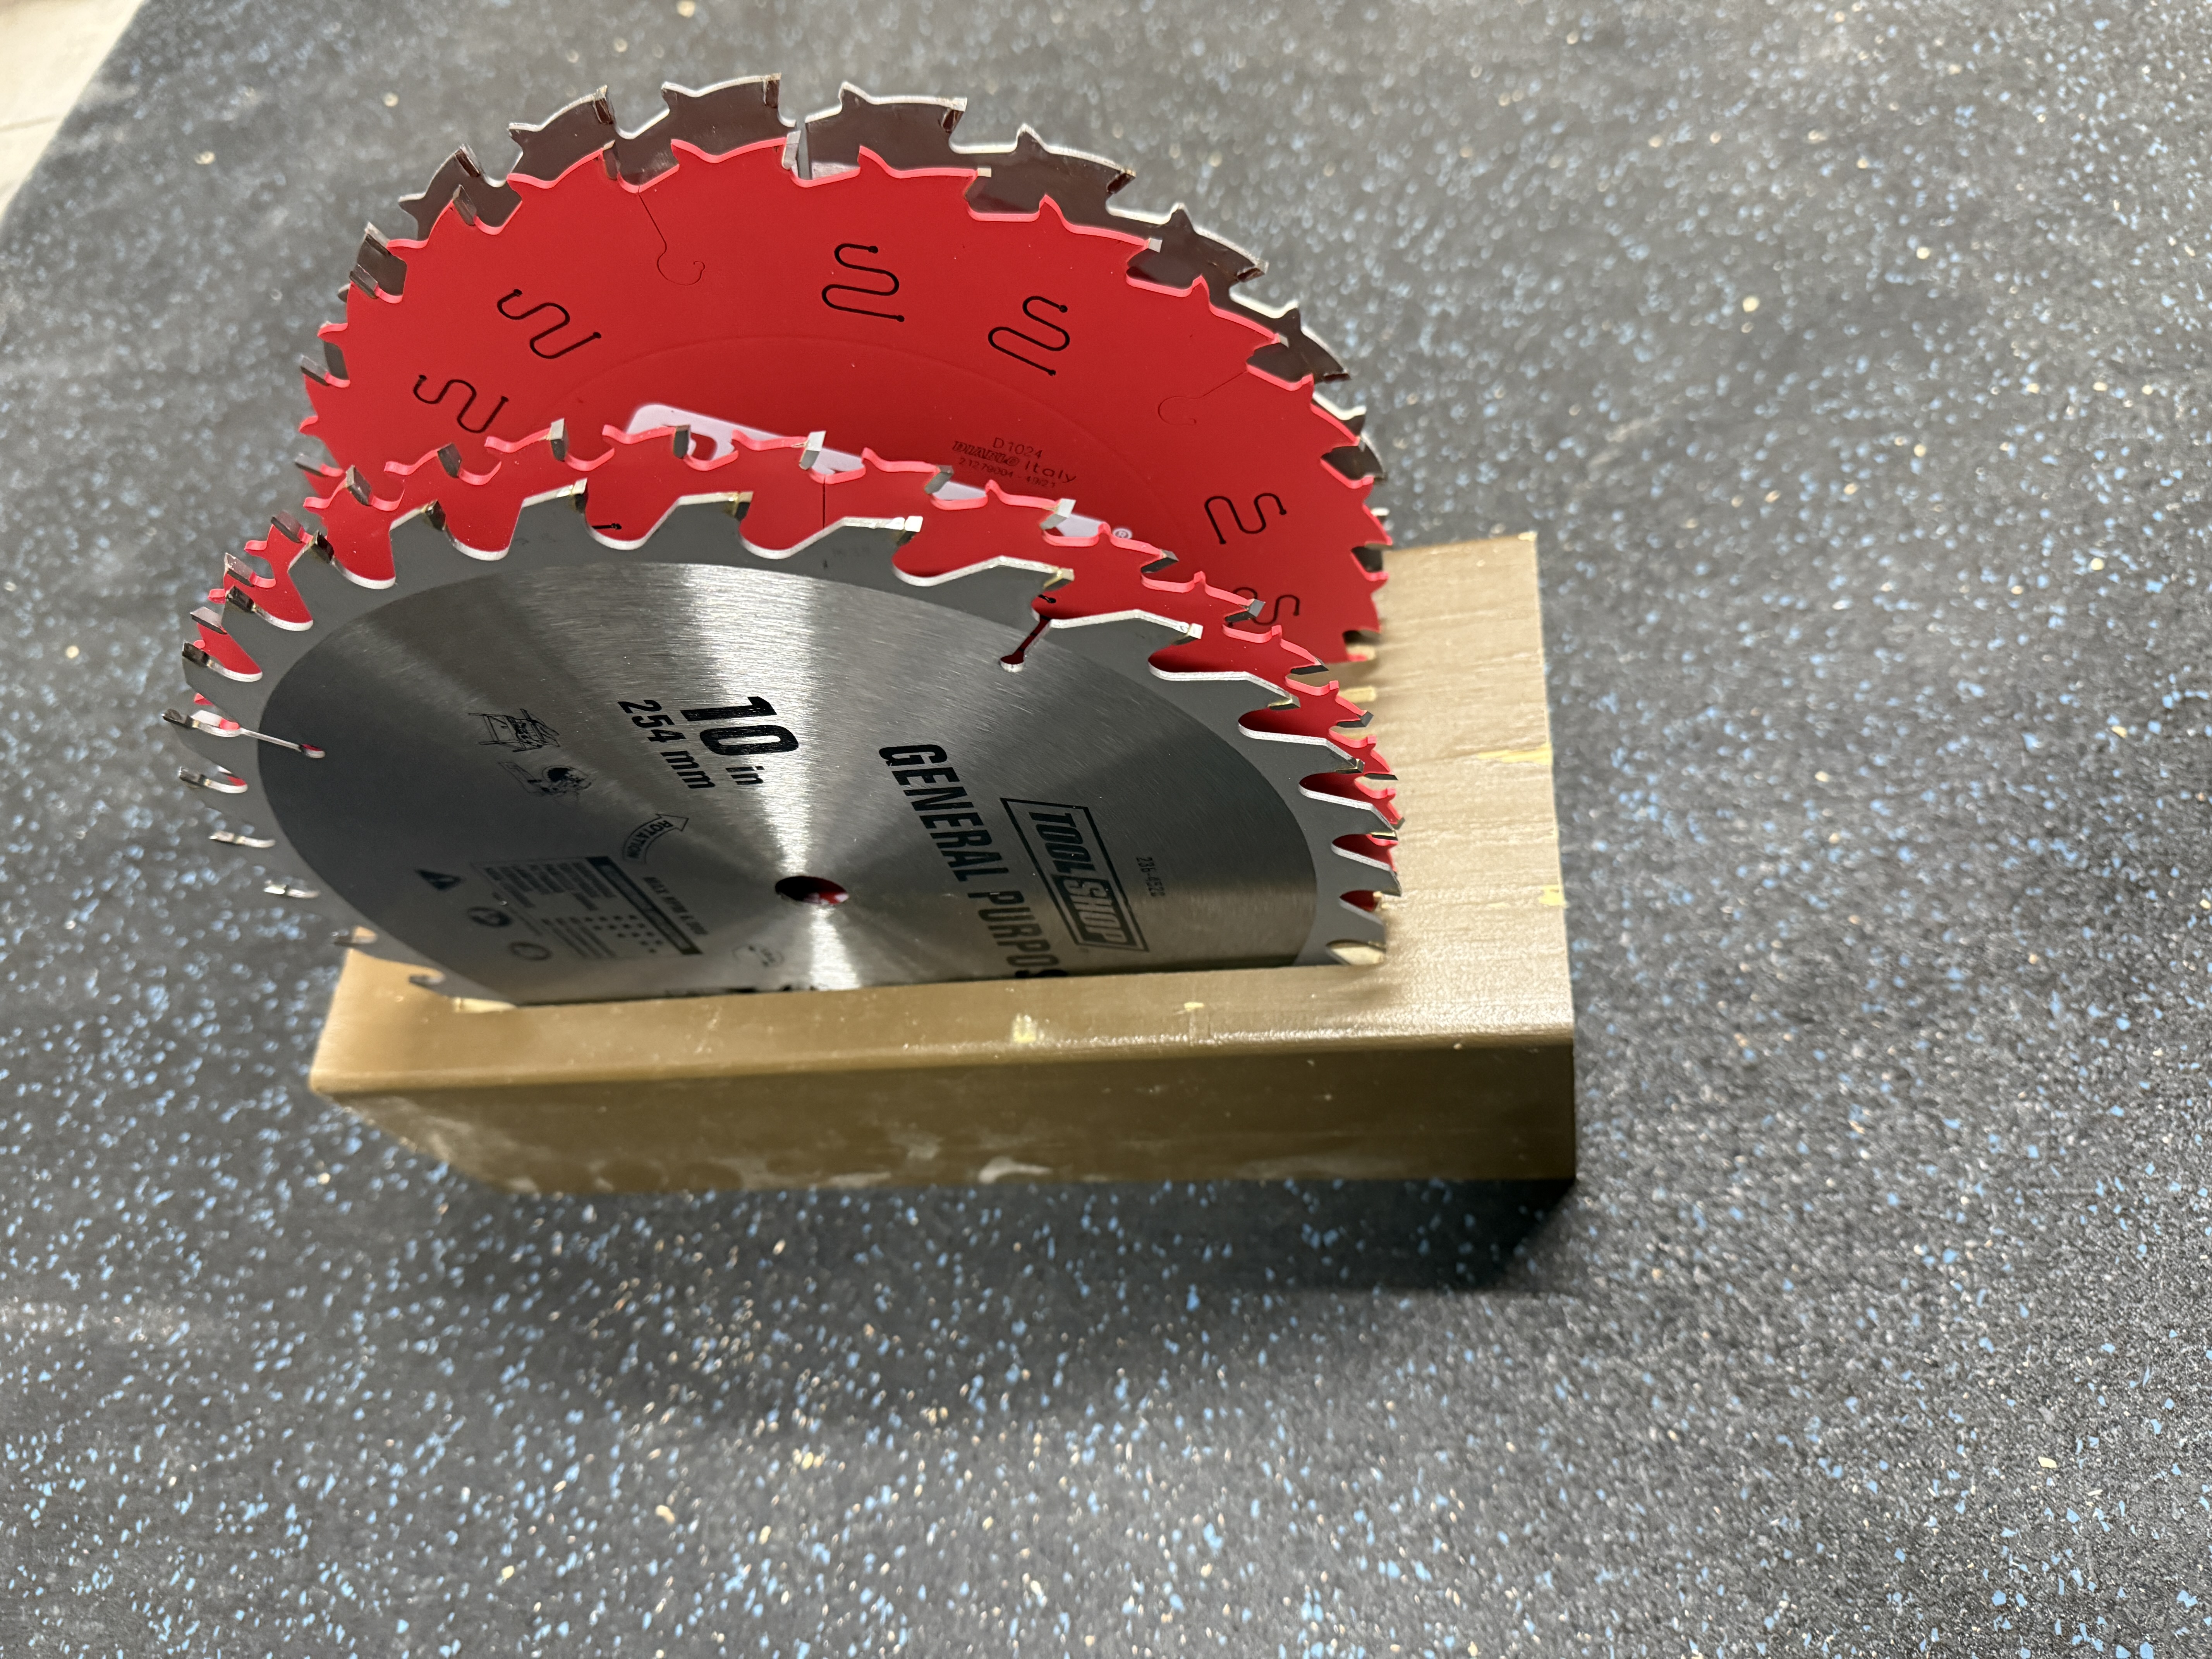
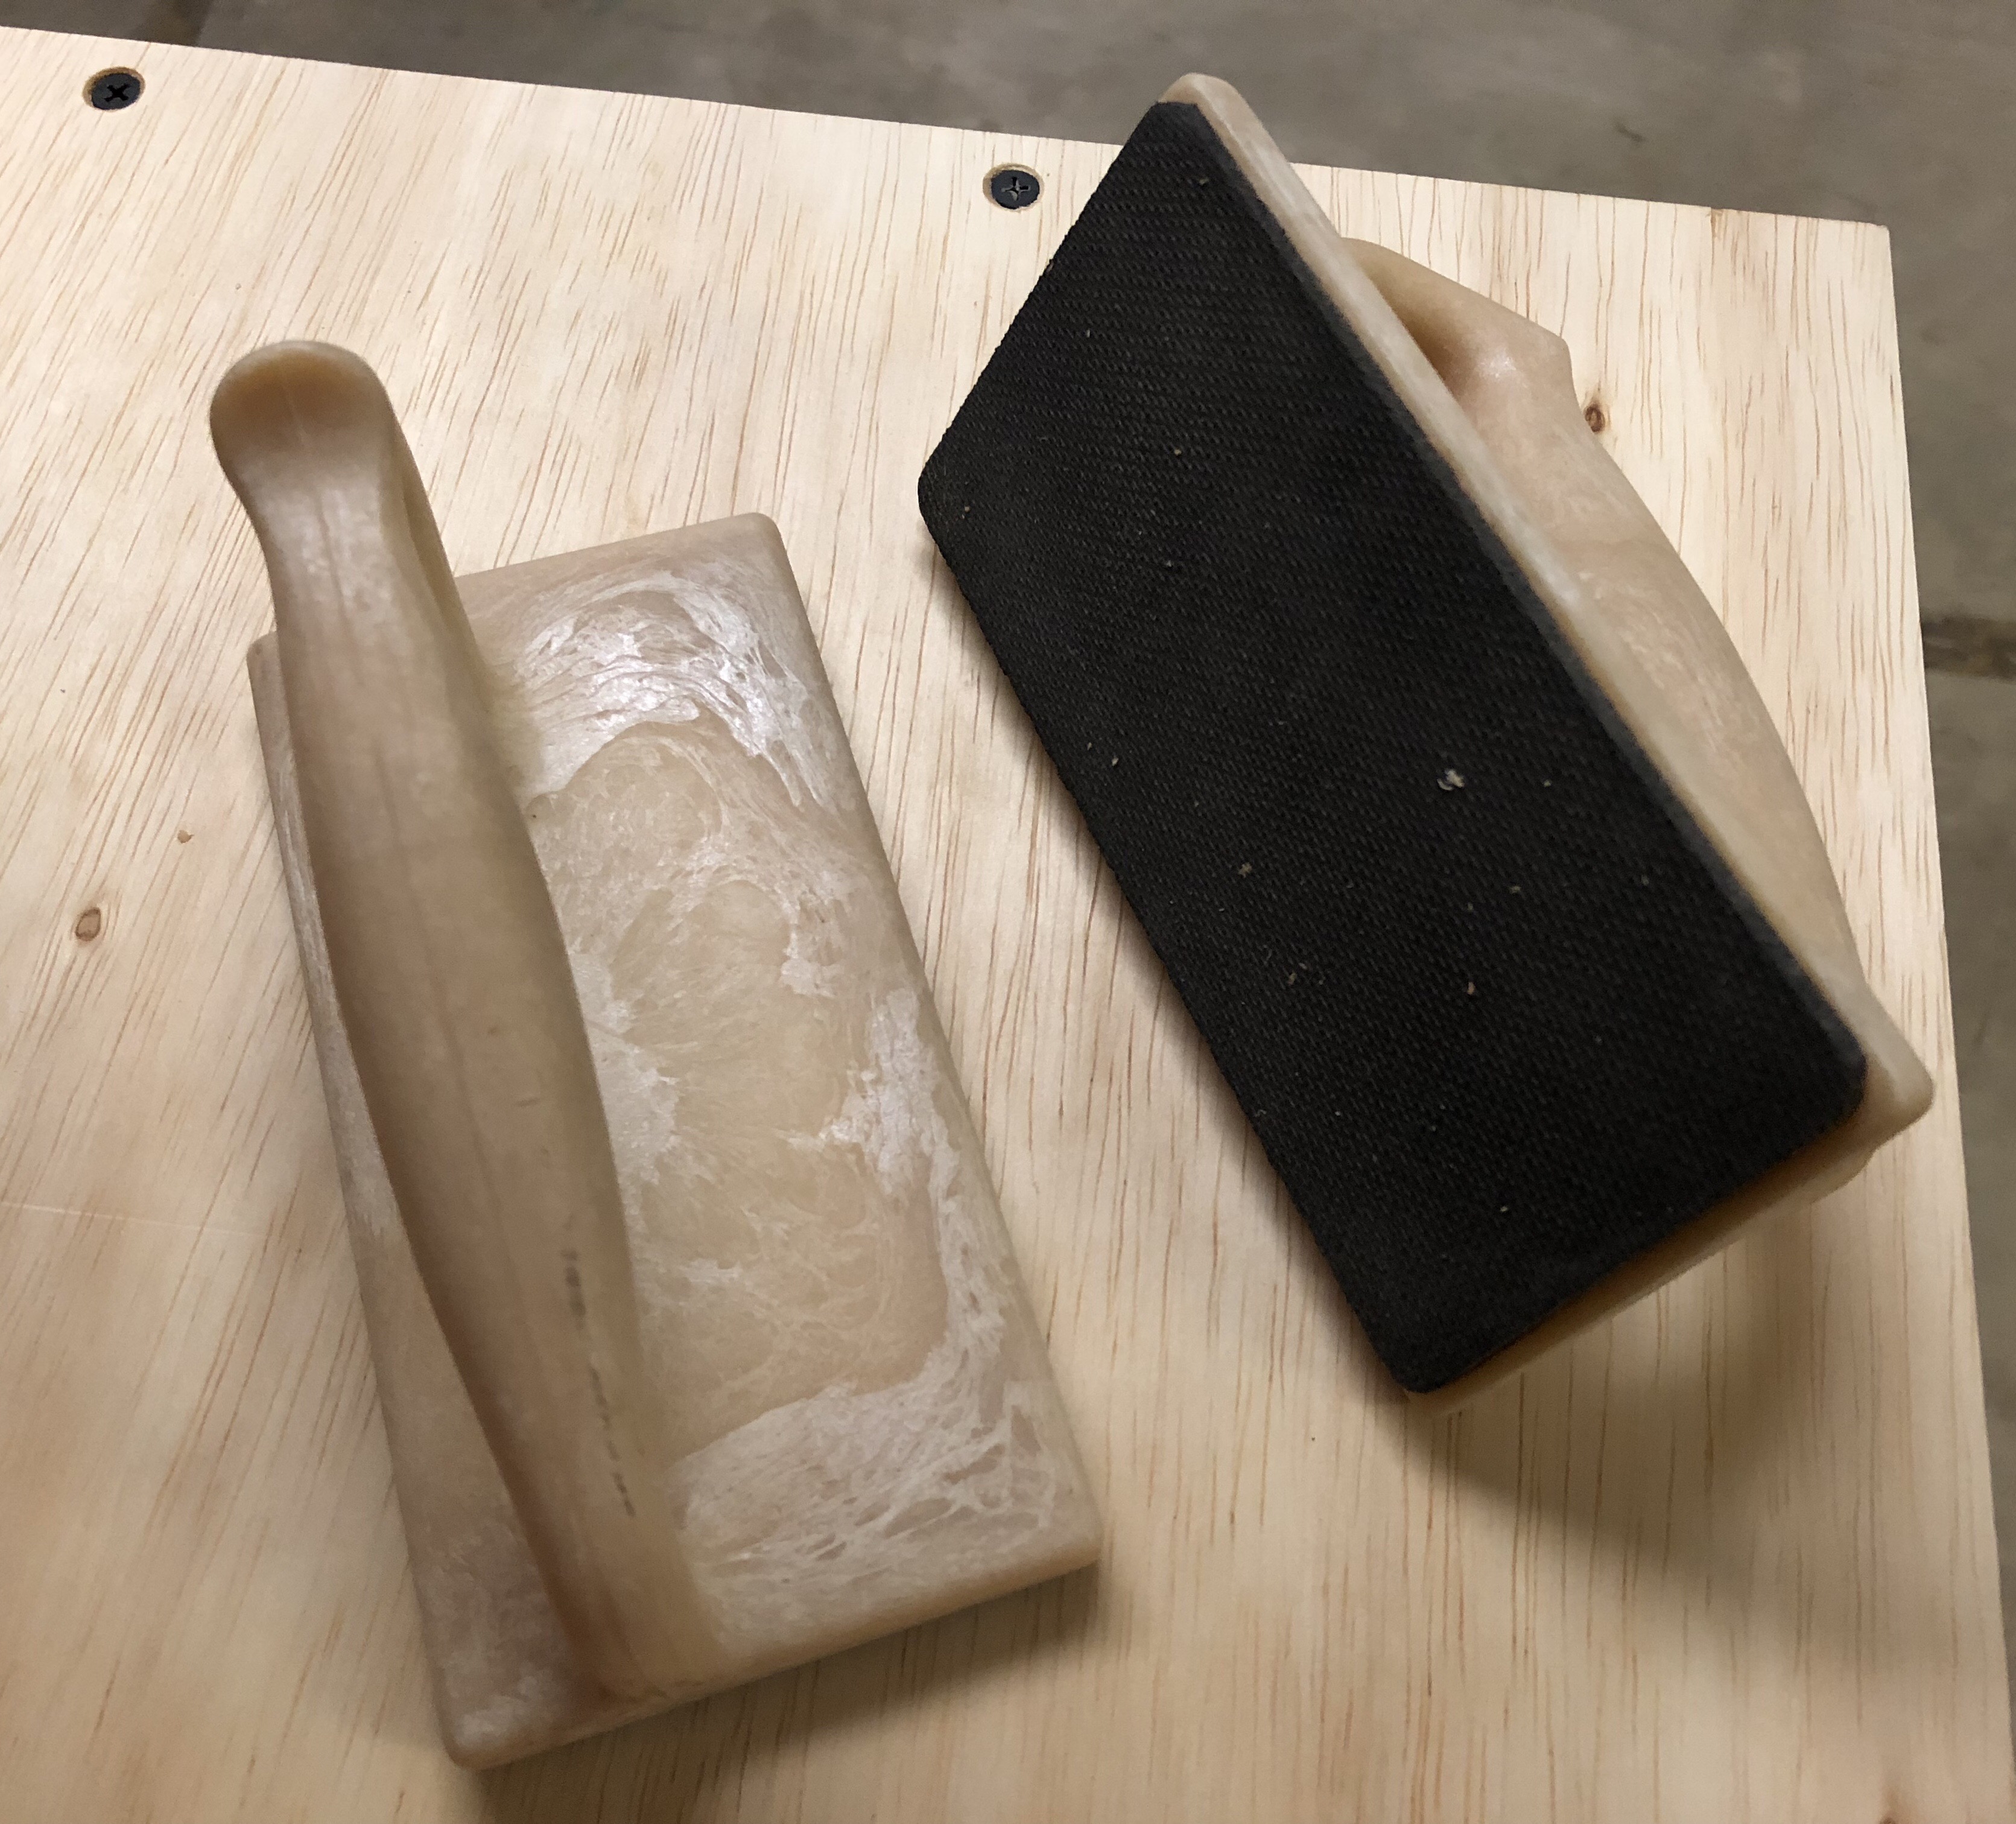
In the lower right, you can see the saw blade holder I recently made. I added old handles to make it easier to grab.
This cabinet was quick to make and makes great use of what would be dead space. Time to start building an outfeed table!