I’ve done a lot more to my used Craftsman table saw (model 113.298032) since the upgrades in part 1 of this series.
To go along with building my dust separator, I needed a way to connect it to the table saw. I used a dust hood ($8), 4″ hose ($20, with plenty extra for future uses), hose clamps (2x $1.29), 4 in.- 2 1/4 in. adapter ($1.78), and some scrap wood.

While I was grabbing parts from Menard’s I grabbed a push stick (yellow-orange in picture below) for $2. Eventually I’ll make one or two other versions on my own to use with different cuts or sizes of wood. Since I had to add the insert on a side for the dust hose, I add some places to hook stuff. I’ll probably add something similar to the other side of the stand and maybe put in a bottom for more storage space.
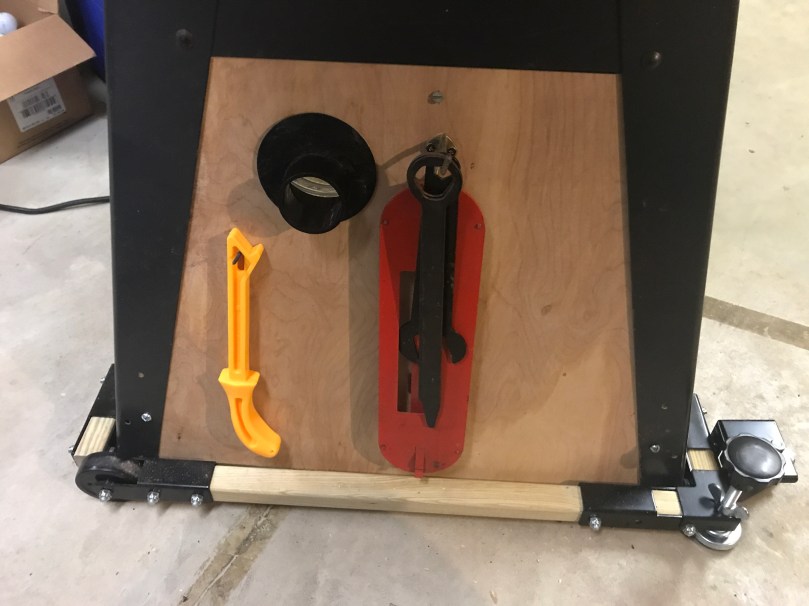
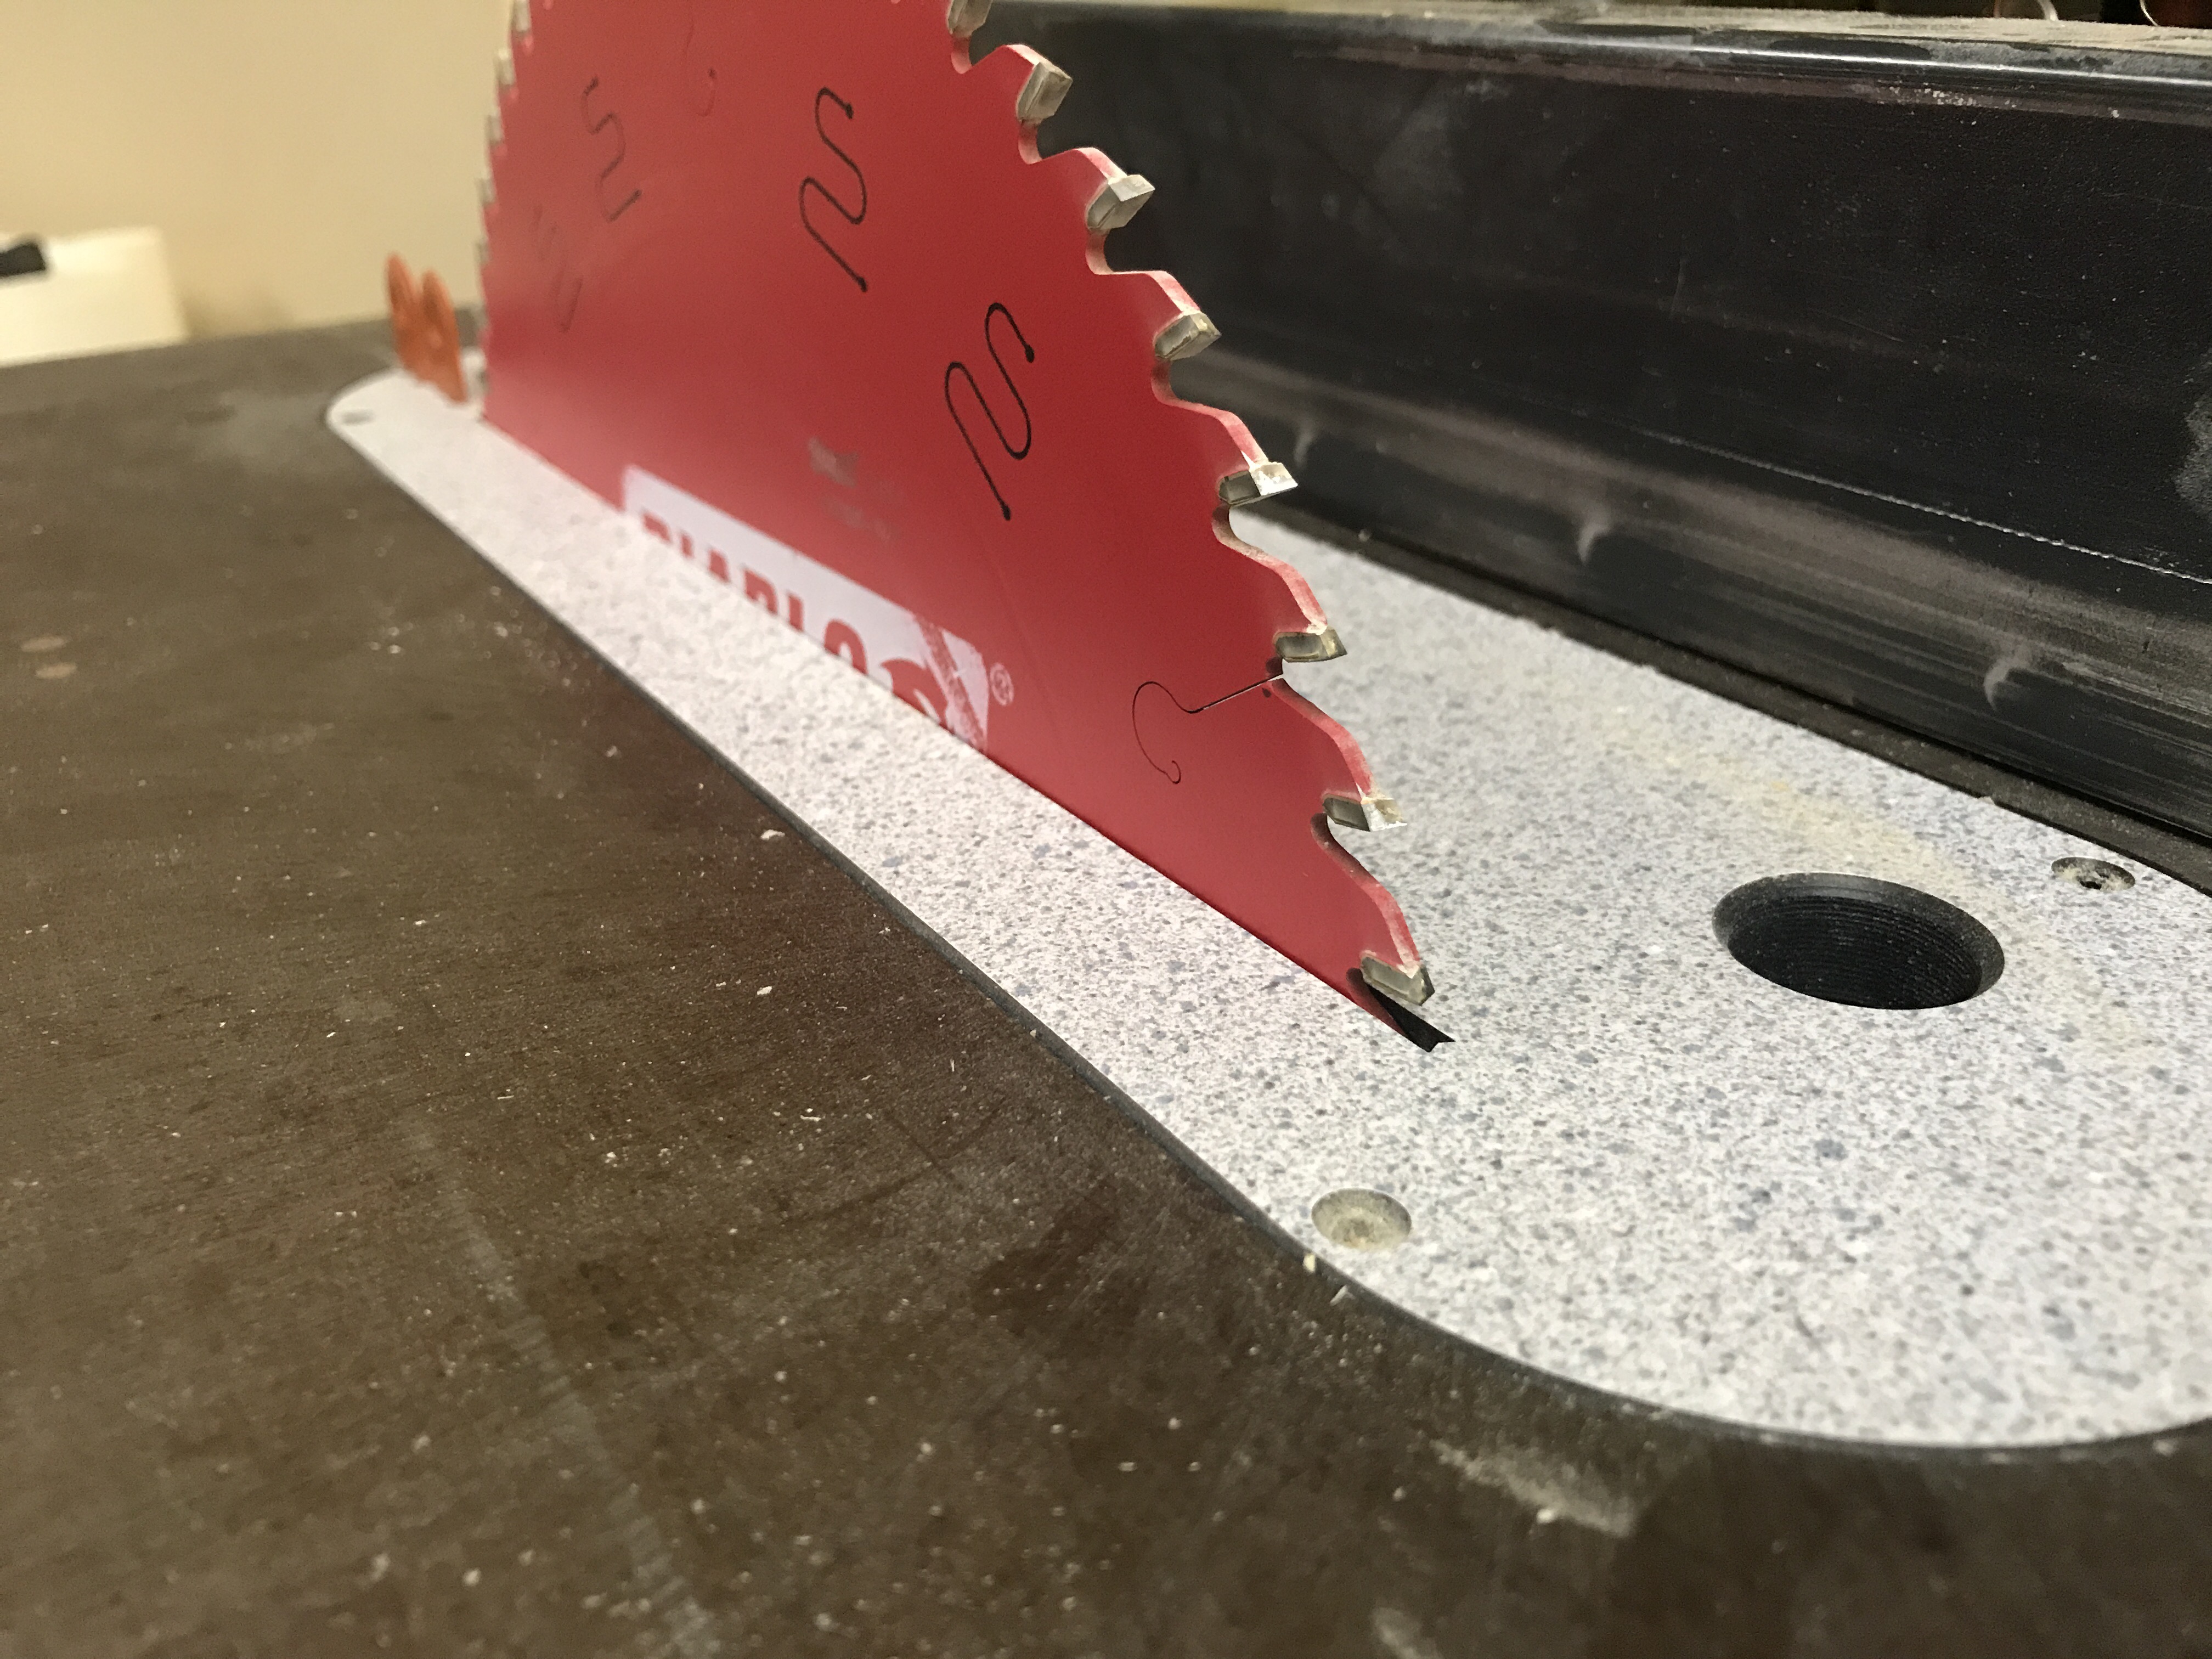
I grabbed a nice Diablo 60 tooth blade ($34) from Amazon, a zero clearance insert ($34), and a splitter kit ($35). After installing the blade, I tuned up all of the alignments on the saw following tips from parts 1 and 2 of a YouTube guide. Once everything was aligned properly I was able to install the insert and splitter. The combo will help prevent tearout, not give space for pieces of wood to fall down into the saw, and help prevent kickback since this old saw doesn’t allow a riving knife. You can never be too safe on these machines.
In part 1, I mentioned fence customizations. The plan there was mainly based on reviews I read about this saw before buying it. Many people said the fence was junk. After aligning everything, making sure to move the fence from the T end (not the end by the blade), and using the saw for a bit, I think it’ll work just fine for me.
At an estate sale I found a miter gauge that actually fits my slots. I bought a digital angle gauge ($15), which not only helps to make sure the blade is aligned properly with the table, but will allow accuracy when setting angled cuts.

Check out part 3.

[…] up on part 2 of upgrading the used Craftsman table saw (model […]
LikeLike