DIY Air Quality Monitors for Home Assistant

The upgraded IKEA air quality monitors I did work great, but the LED indication isn’t great for a bedroom and the fan noise was annoying in my office. So I wanted to create a couple of my own devices for those locations. I used:

The SEN50 is a big upgrade over the PM sensors used in the IKEA devices and I used the Si7021 in place of the BME280 I had used because I think they’re a bit better. I soldered 47µF electrolytic capacitors from a big kit I’ve had (similar on Amazon) to the ENS150 modules to improve their power.

Then I attached 5 of the crimped wires to a 6P JST connector, which is what the SEN50 modules require. I’m note sure why buying the actual cable for these SEN50s are so expensive, but I got the entire JST kit for cheaper than a couple of the special cables.
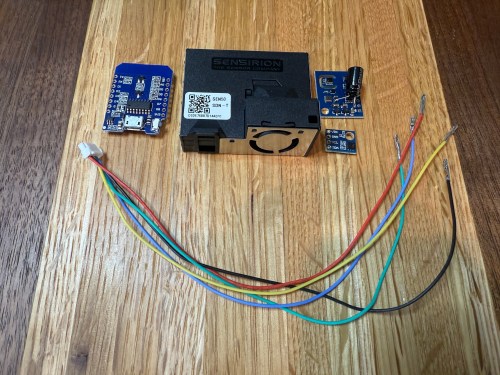
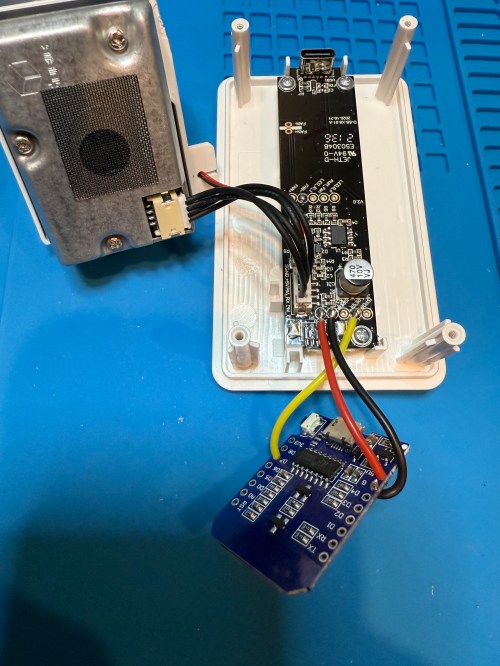
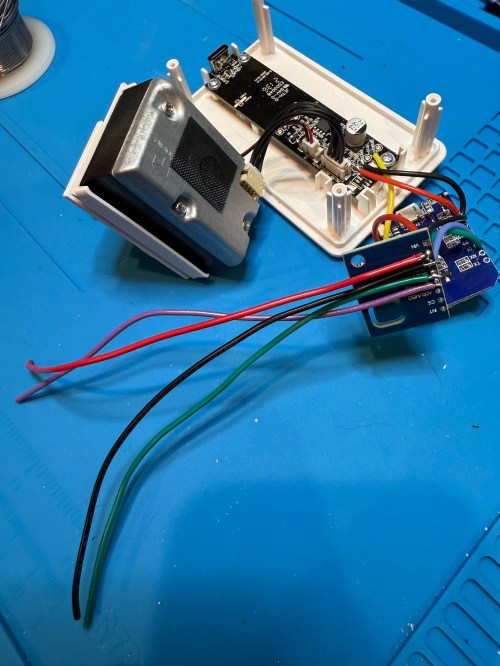
All three sensors communicate with the microcontroller over I²C, so a breadboard test was easy to wire up. The SEN50 does require 5 volts instead of 3.3, so I’m glad I checked.

The ESPHome YAML code is very similar to the code used for the modified IKEA air quality monitors.

substitutions:
  slug: demo
  friendly: Demo

esphome:
  name: ${slug}-wemos-d1
  friendly_name: ${friendly} Wemos D1

esp8266:
  board: d1_mini

logger:
  #level: WARN

api:
  encryption:
    key: 'xxx'

ota:
  - platform: esphome
    password: "xxx"

wifi:
  ssid: !secret wifi_ssid
  password: !secret wifi_password
  manual_ip:
    static_ip: xxx
    gateway: xxx
    subnet: 255.255.255.0

i2c:
  frequency: 50kHz

sensor:
  - platform: sen5x
    pm_1_0:
      name: PM 1µm
      accuracy_decimals: 0
    pm_2_5:
      name: PM 2.5µm
      accuracy_decimals: 0
    pm_4_0:
      name: PM 4µm
      accuracy_decimals: 0
    pm_10_0:
      name: PM 10µm
      accuracy_decimals: 0

  - platform: htu21d
    model: SI7021
    temperature:
      name: Temperature
      id: ${slug}_temp
    humidity:
      name: Humidity
      id: ${slug}_humid

  - platform: aht10
    variant: AHT20
    temperature:
      name: AHT21 Temperature
      id: ${slug}_aht21_temp
    humidity:
      name: AHT21 Humidity
      id: ${slug}_aht21_humid

  - platform: ens160_i2c
    address: 0x53
    eco2:
      name: CO²
    tvoc:
      name: VOC
    aqi:
      id: demo_aqi
      name: AQI
    compensation:
      temperature: ${slug}_aht21_temp
      humidity: ${slug}_aht21_humid

text_sensor:
  - platform: template
    name: AQI Rating
    lambda: |-
      switch ( (int) ( id( ${slug}_aqi ).state ) ) {
        case 1: return {"Excellent"};
        case 2: return {"Good"};
        case 3: return {"Moderate"};
        case 4: return {"Poor"};
        case 5: return {"Unhealthy"};
        default: return {"N/A"};
      }

These resources helped out:

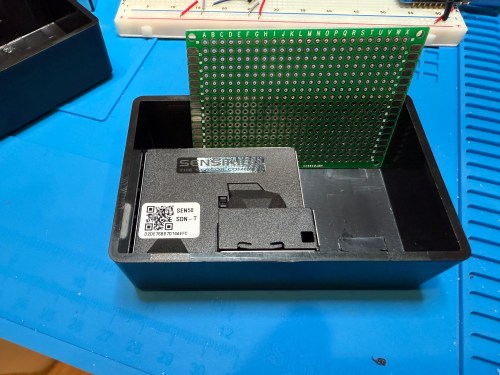
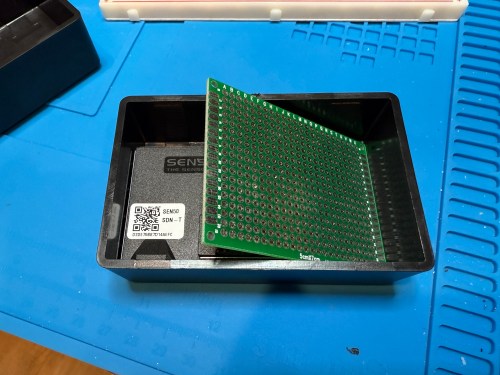
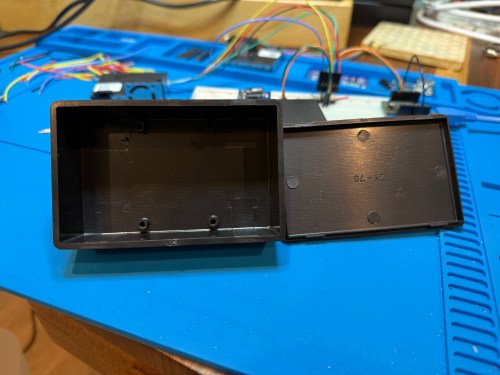
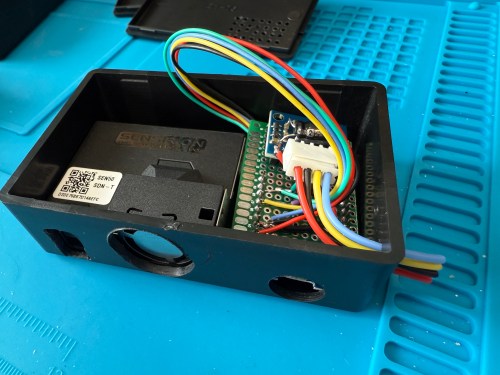
The project boxes had some standoffs on the bottom, which I snipped off and then sanded with a rotary tool. I pulled out my box of proto boards and found a size almost exactly double what I needed, so I cut out a sliver and ended up with a piece for each box. I also cut vent holes for the SEN50 sensors.
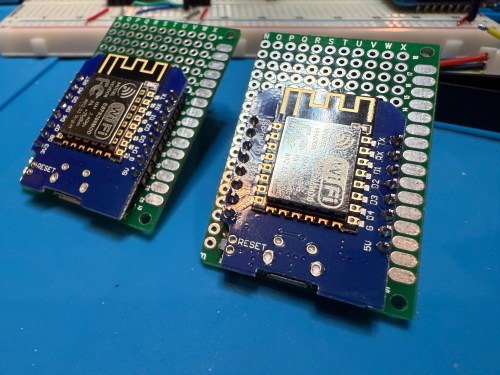
In order to get everything to fit I decided to put the microcontroller on the bottom of the board. After mocking things up I did all of the soldering. I was hoping to be able to mount everything with connectors so it could easily be taken apart, but there wasn’t enough room and I didn’t want bigger boxes.

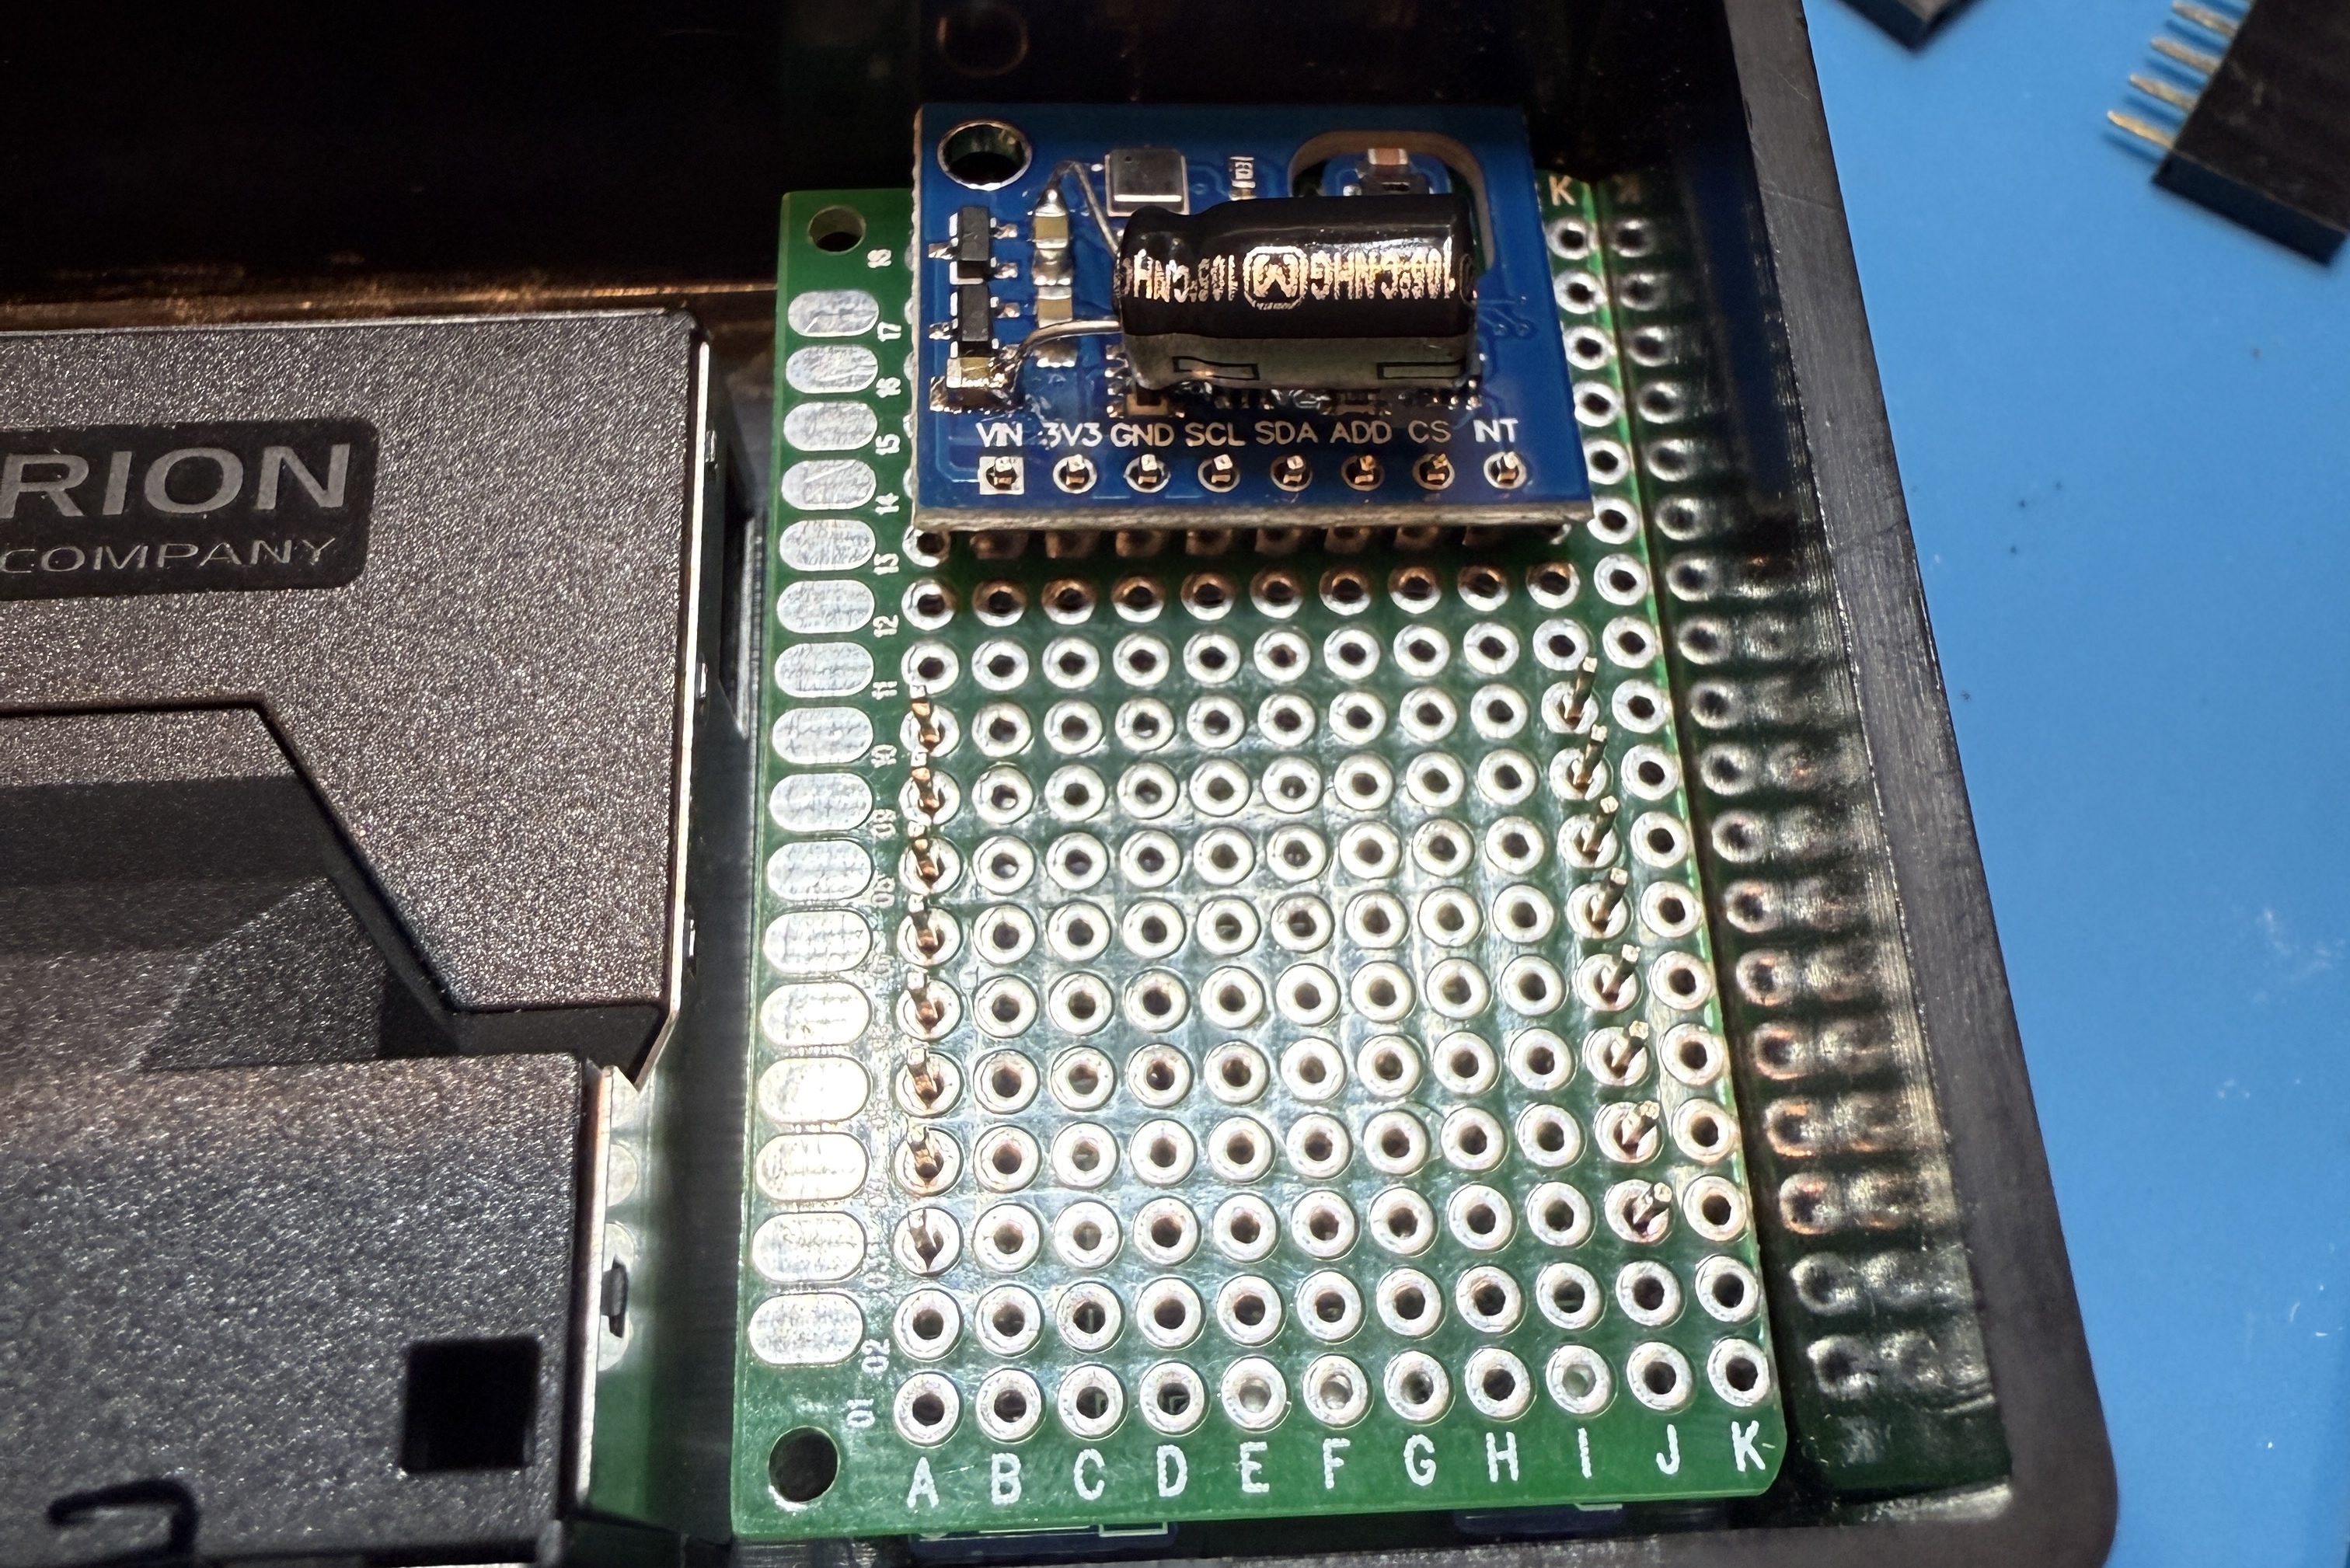
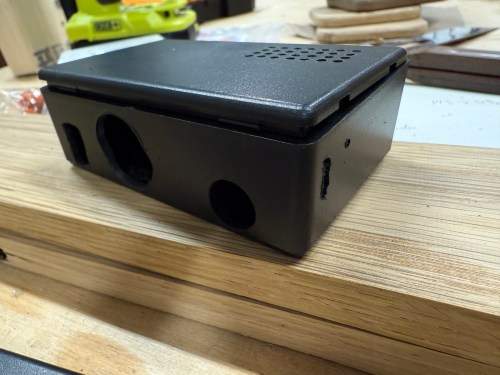
I did some continuity testing along the way and everything worked when I connected power. With the boards ready I cut more access and ventilation holes in the boxes.

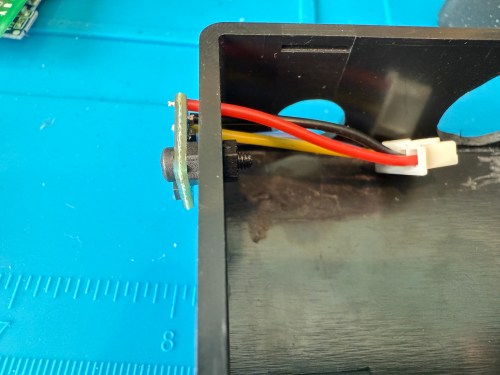
I soldered the Si7021 on to its wires outside of the enclosure so it wouldn’t be exposed to unnecessary heat and used hot gun to secure everything.
I’m really happy with how these turned out. Here’s a view of the office data on my Home Assistant dashboard.

This was definitely a project where I wished I had a 3D printer to design custom boxes. Some day, when I’m caught up on my project list and can give it proper attention. I know if I get one now I’ll spend a ton of time with it and neglect other projects in my pipeline.

Home Assistant Air Quality Monitors from IKEA Vindriktning

IKEA recently discontinued Vindriktning, their older air quality monitor.

Inside the device, they put a cubic PM1006K particle sensor. I bought three for $16.95 each last year, because I’d seen people hack them by adding sensors and a Wi-Fi microcontroller to send all of the data to Home Assistant. For my modding I bought:

The YouTube video linked above is a great guide to follow. I didn’t connect wires to the fan or the light sensor since I had no use for them. I also didn’t stack my sensors because I wanted the BME280 to be outside of the enclosure, where it would be less affected by the heat produced by the ENS160 and D1.

Even with the sensor outside of the case, the BME280 still reads high, because it heats itself up. I actually tested different lengths of wires and placements of the sensor before realizing I was still going to have to adjust the data. An ESPHome filter made the adjustment easy, which I did individually for each unit after comparing to a mobile Ecobee thermostat sensor. This is the code from the unit for my shop.

substitutions:
  slug: shop
  friendly: Shop

esphome:
  name: ${slug}-air-quality
  friendly_name: ${friendly} Air Quality

esp8266:
  board: d1_mini

logger:
  level: WARN

api:
  encryption:
    key: 'xxx'

ota:
  - platform: esphome
    password: 'xxx'

wifi:
  ssid: !secret wifi_ssid
  password: !secret wifi_password
  manual_ip:
    static_ip: xxx
    gateway: xxx
    subnet: 255.255.255.0

i2c:
  frequency: 100kHz

uart:
  - rx_pin: D7
    baud_rate: 9600

sensor:
  - platform: pm1006
    pm_2_5:
      name: PM 2.5µm

  - platform: bme280_i2c
    address: 0x76
    temperature:
      name: Temperature
      id: ${slug}_temp
      filters:
        - offset: -3.38
    humidity:
      name: Humidity
      id: ${slug}_humid
      filters:
        - offset: 7.63
    iir_filter: 16x

  - platform: aht10
    variant: AHT20
    temperature:
      name: AHT21 Temperature
      id: ${slug}_aht21_temp
    humidity:
      name: AHT21 Humidity
      id: ${slug}_aht21_humid

  - platform: ens160_i2c
    address: 0x53
    eco2:
      name: CO²
    tvoc:
      name: VOC
    aqi:
      id: ${slug}_aqi
      name: AQI
    compensation:
      temperature: ${slug}_aht21_temp
      humidity: ${slug}_aht21_humid

text_sensor:
  - platform: template
    name: AQI Rating
    lambda: |-
      switch ( (int) ( id( ${slug}_aqi ).state ) ) {
        case 1: return {"Excellent"};
        case 2: return {"Good"};
        case 3: return {"Moderate"};
        case 4: return {"Poor"};
        case 5: return {"Unhealthy"};
        default: return {"N/A"};
      }

These resources were a huge help when I wired everything up and made changes to the YAML code:

Here is how I’m displaying the data on one of my Home Assistant dashboards.

As I was working on this project I knew I wanted a couple more air quality monitors around the house, which will be finished soon.

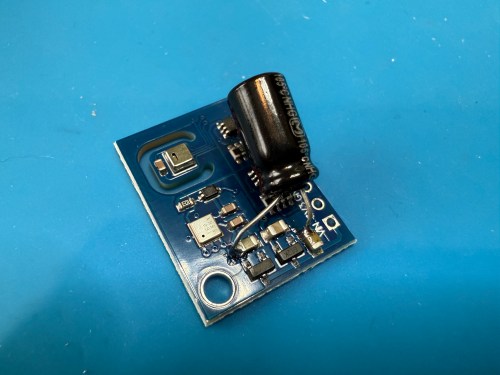
Update: I’ve had to make a small update by adding a 47uF capacitor to each ENS160 board, because they have power issues, causing the reading to stop for periods of time. My boards matched up with the right ones in the picture at that link. Here’s a picture of another ENS160 I modified, since it was a tight squeeze to made the modification on the devices I posted about here with everything already wired up. I also realized I was powering these through the 3V3 pin instead of VIN, so I fixed that.

I’ve also improved the display of the data on my dashboard by using mini-graph-card.

Creating an ESPHome Remote Control Device with Infrared & Radio Frequency

In order to automate the processes of getting the golf sim ready to play and shutting it all down when finished I needed to create a remote control device. I’m using Home Assistant (HA) to run my home smart system (more posts to come), but two things involved with the golf sim aren’t connected to the network:

The projector has an infrared (IR) remote and the light has a radio frequency (RF) remote. I’ve done some things with IR and still had a stash of IR LEDs (for transmitting) and receivers. I’ve never attempted any RF stuff, so I ordered a 5 pack of 433mhz wireless RF transmitter and receiver pairs.

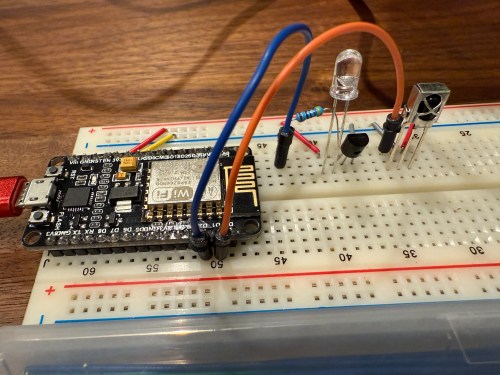
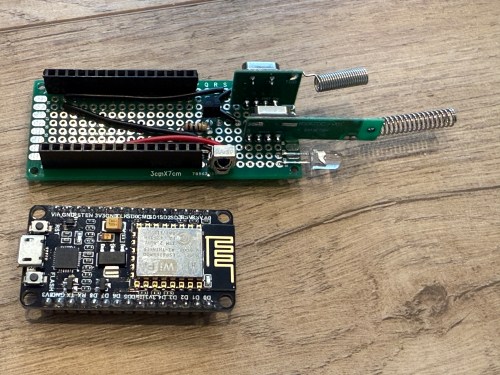
Since I’m using HA, I let ESPHome handle all of the main programming. All I had to do was wire everything properly and get the configuration correct. I made use of an old ESP8266 NodeMCU microcontroller and worked on the IR aspect of the project first.

When I took the picture I was using a 470Ω resistor, which I eventually switched to 100Ω, to increase the strength of the IR signal. The transistor is a PN2222A. Here’s the ESPHome configuration:

esphome:
  name: golf-remote
  friendly_name: Golf Remote

esp8266:
  board: nodemcuv2

logger:

api:
  encryption:
    key: "xxxxxxxxxx"

ota:
  - platform: esphome
    password: "xxxxxxxxxx"

wifi:
  ssid: !secret wifi_ssid
  password: !secret wifi_password
  manual_ip:
    static_ip: x.x.x.x
    gateway: x.x.x.x
    subnet: 255.255.255.0

remote_receiver:
  - id: GOLF_IR_RX
    pin:
      number: D1
      inverted: True
      mode:
        input: True
        pullup: True
    dump: all

remote_transmitter:
  - id: GOLF_IR_TX
    pin: D2
    carrier_duty_percent: 50%

I used the receiver to intercept the codes sent by the projector’s actual remote when pressing the Power, Input, and OK buttons. Then I created some buttons.

button:
  - platform: template
    name: Projector Power
    on_press:
      - remote_transmitter.transmit_nec:
          transmitter_id: GOLF_IR_TX
          address: 0x3000
          command: 0xFD02
  - platform: template
    name: Projector Input
    on_press:
      - remote_transmitter.transmit_nec:
          transmitter_id: GOLF_IR_TX
          address: 0x3000
          command: 0xFB04
  - platform: template
    name: Projector OK
    on_press:
      - remote_transmitter.transmit_nec:
          transmitter_id: GOLF_IR_TX
          address: 0x7788
          command: 0xE619

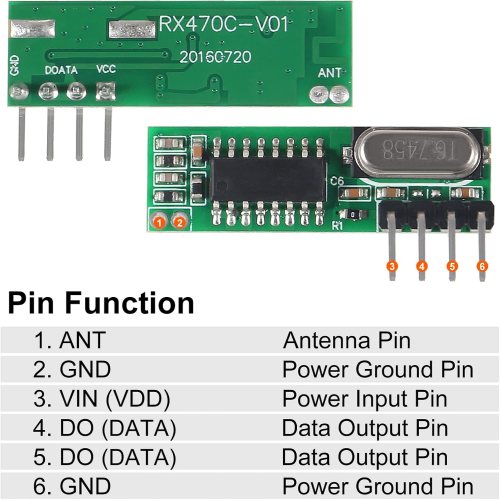
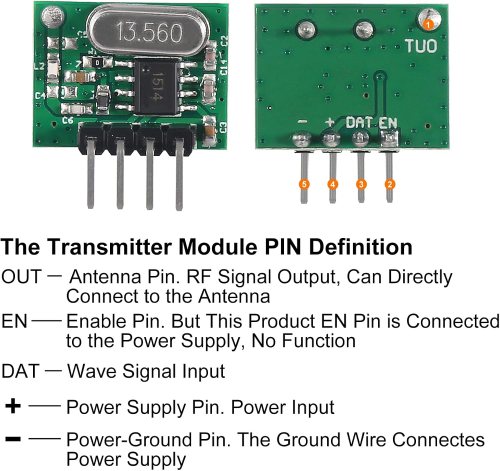
It all went very smooth. Next I connected the circuits for the RF components, which was straightforward. Here are the pinouts from the Amazon product page.

I soldered on the antennas (smaller one to the transmitter) and connected everything on the breadboard.

By using examples from the documentation I was able to intercept RF codes.

When I tried to recreate those codes through the transmitter the results weren’t matching up and the spotlight wasn’t responding. It took some trial and error to configure the various parameters of the receiver. Here’s the end result, with the combined configuration for IR and RF.

esphome:
  name: golf-remote
  friendly_name: Golf Remote

esp8266:
  board: nodemcuv2

logger:

api:
  encryption:
    key: "xxxxxxxxxx"

ota:
  - platform: esphome
    password: "xxxxxxxxxx"

wifi:
  ssid: !secret wifi_ssid
  password: !secret wifi_password
  manual_ip:
    static_ip: x.x.x.x
    gateway: x.x.x.x
    subnet: 255.255.255.0

remote_receiver:
  - id: GOLF_IR_RX
    pin:
      number: D1
      inverted: True
      mode:
        input: True
        pullup: True
    dump: all
  - id: GOLF_RF_RX
    pin:
      number: D6
      mode:
        input: True
        pullup: True
    dump:
      - rc_switch
    tolerance: 50%
    filter: 250us
    idle: 4ms
    buffer_size: 2kb # only for ESP8266

remote_transmitter:
  - id: GOLF_IR_TX
    pin: D2
    carrier_duty_percent: 50%
  - id: GOLF_RF_TX
    pin: D6
    carrier_duty_percent: 100%

After using the remote_receiver instances to get the button press codes I needed, I commented out that section of the code. If I ever need to add more functionality to my remote, I can enable the receivers at that point. Here are the button codes for the spotlight.

  - platform: template
    name: Spotlight On
    on_press:
      - remote_transmitter.transmit_rc_switch_raw:
          transmitter_id: GOLF_RF_TX
          code: '111001000000100100000011'
          protocol: 1
          repeat:
            times: 10
            wait_time: 0s
  - platform: template
    name: Spotlight Off
    on_press:
      - remote_transmitter.transmit_rc_switch_raw:
          transmitter_id: GOLF_RF_TX
          code: '111001000000100100000001'
          protocol: 1
          repeat:
            times: 10
            wait_time: 0s
  - platform: template
    name: Spotlight Green
    on_press:
      - remote_transmitter.transmit_rc_switch_raw:
          transmitter_id: GOLF_RF_TX
          code: '111001000000100100000111'
          protocol: 1
          repeat:
            times: 10
            wait_time: 0s

Then I was able to use both sets of buttons in scripts, which can feed to Alexa for voice commands.

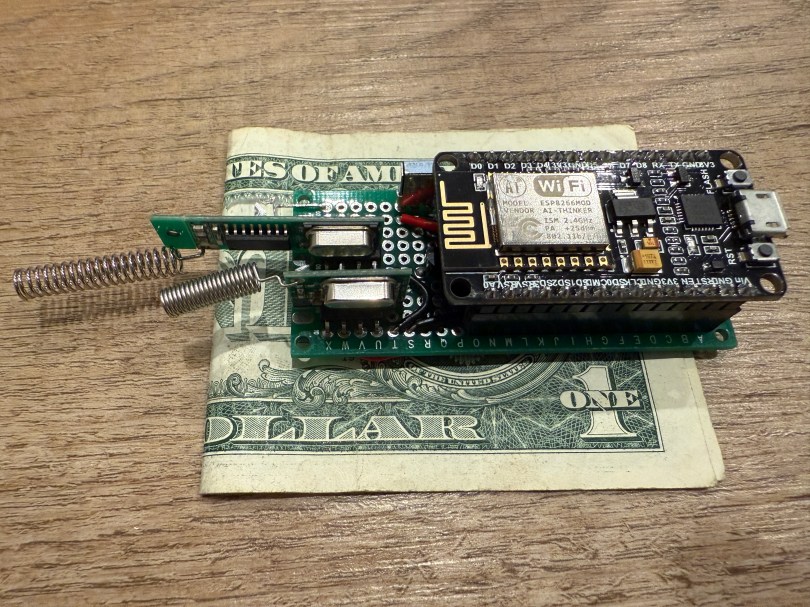
Once everything was tested I wired and soldered a more permanent circuitboard. I included a folded dollar bill for scale.

I was planning to mount it in the ceiling, but the IR was having trouble, because the projector’s receiver faces the ground. Mounting it to the side of the PC cart worked great.

This was a lot of fun!

Update: Less than a week later I’ve already modified it, by adding a DHT22, which reports temperature and humidity. Might as well use that empty D7 pin on the microcontroller.

Network Rack Cart

Part of our plan for the house included Cat6 Ethernet ports all over so I can wire in as many devices as possible and keep Wi-Fi for devices that need it. My original plan for the network rack was to build a cabinet on the wall, but the space between the hot water heater and the wall is pretty tight.

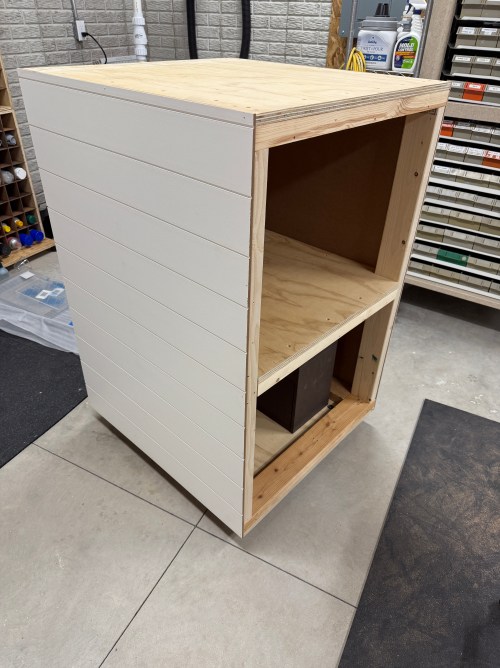
I decided to build a cart instead, especially since there is enough slack on the Ethernet cables that’ll allow me to pull the cart out and turn it to get at the sides of the rack. When we moved I took apart my old work table, which left me with three plywood panels and pieces of 2×4 glued to them. I thought they would make a good top, bottom, and shelf for this cart and I was tired of moving them around the shop.

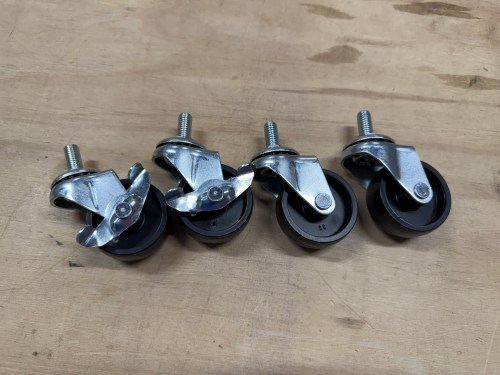
I pulled out castors, washers and nuts.

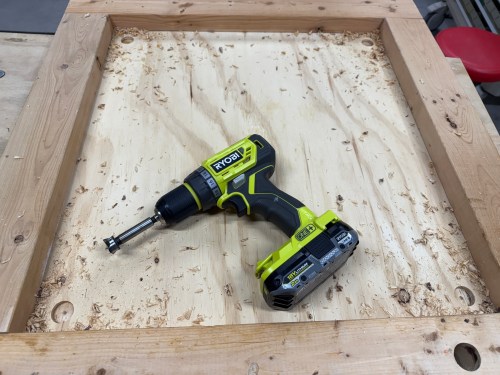
Then drilled recesses and holes in the base so I could attach the castors right away.

I cut notches out of the middle panel and squared up the edges on all of the panels.

I cut 2x4s for the vertical supports, assembled the frame, and put OSB on the back. I learned my lesson with the old work table and didn’t use any glue here since I’m treating this as a shop project and would like to have the option of taking it all apart if/when I want to change the design.

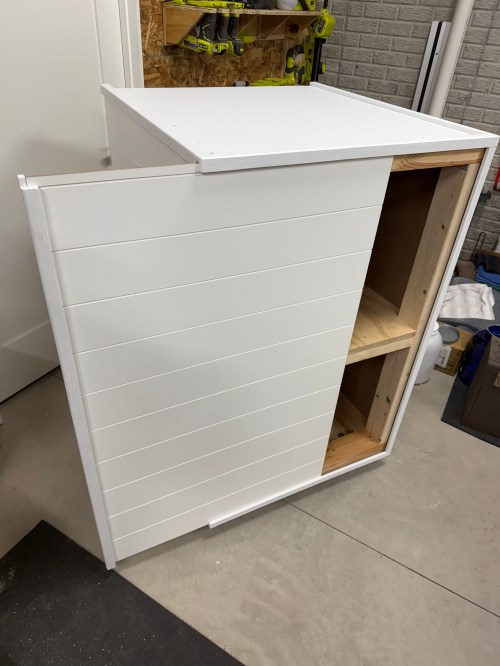
To blend the cart in to the wall, I cut and attached shiplap panels.

I made corner trim from 2x4s and painted it.

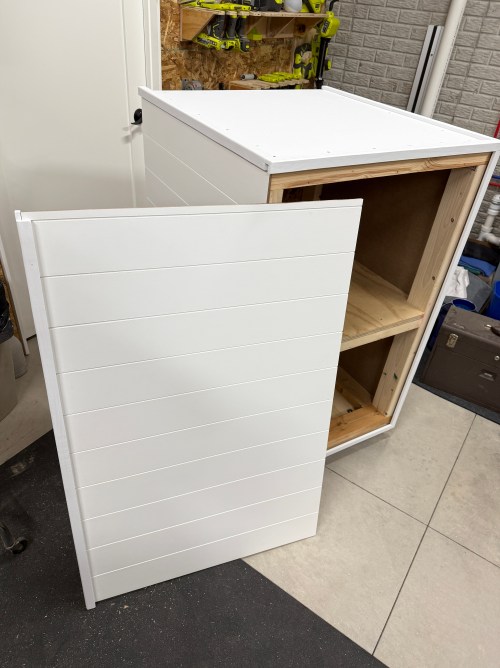
I didn’t want to make doors, so I had the idea to make a hidden siding door. I was going to have it slide up out of the top. Thankfully my wife suggested it slide to the side, which is much better.

I made a hole in the back for the power cable and a hole in the top to line up with the bottom of my network rack.

Then I screwed the rack down, wheeled it in place, and loaded it up.

Now I can start wiring up the Ethernet and configuring all of the network hardware.

Making Things in 2024

It was definitely a different year with so much planning for the house build, packing, moving, and preparing the old house to go on the market.

January

February

April

August

October

November

December

There were two large projects in the new house with the wall for the gym/shop and then the golf sim. Working in the new shop is a joy and will get even better after I build a big assembly/outfeed table.

I’m looking forward to continuing the momentum of November and December in to 2025 and hope to tackle smaller projects through the entire year.

Check out previous recap posts for 2017, 2018, 2019, 2020, 2021, 2022, and 2023.

Building a Basement Golf Simulator: The Other Electronics

This is the third post in this series about putting a golf simulator in our basement. Part one covered the PC build and part two was all about the environment. This one will cover all of the other electronics and some things that didn’t fit in the first two posts.

The launch monitor is the piece of equipment that “watches” you hit the golf ball and determines the spin, speed, direction, and angles. I guess you might call it the brains of the operation.

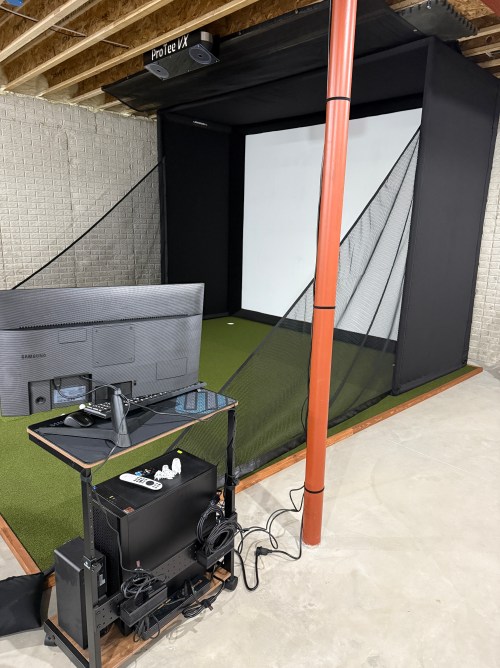
There are a lot of options to choose from; some are cheap and some are extremely pricey. I ended up getting the ProTee United VX with the protector from Indoor Golf Outlet due to the following reasons:

  1. Overhead unit.
  2. Doesn’t require special golf balls.
  3. Doesn’t require stickers on the clubs.
  4. Protee Labs is updated often. (changelog)
  5. It provides a lot of data.
  6. Compatible with GSPro.

Before installing the unit, I had to do some electrical work in the basement. I removed a couple of lights in the area, rewired some lighting circuits, and added three outlets in the ceiling.

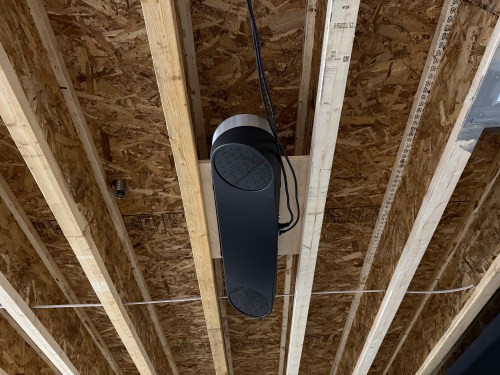
In order to mount the launch monitor to the ceiling I cut a piece of 3/4″ plywood that could fit in between the joists, resting on the bottom of the I-beams. Then I was able to attach the mounting plates directly to the plywood while I was on the ground. I even locked the launch monitor in to the mounting plate and then lifted the entire assembly up to the ceiling. I felt like it was so much easier than trying to align things while working above my head. This also gave me the flexibility to slide it sideways to dial in the placement. I eventually screwed the plywood to the joists.

At this point I didn’t have the turf and the side netting wasn’t installed. I couldn’t resist and had to hit a few shots. Here’s the very first hit, which was a little chip with an 8 iron.

For my projector I went with the BenQ TK710STi from The Indoor Golf Shop, which had good reviews and felt like a good price point to start with. To figure out where to mount it using a VIVO universal mount, I used Projector Central’s throw distance calculator. Learning about the test pattern and creating a custom resolution were very valuable for placement and configuration.

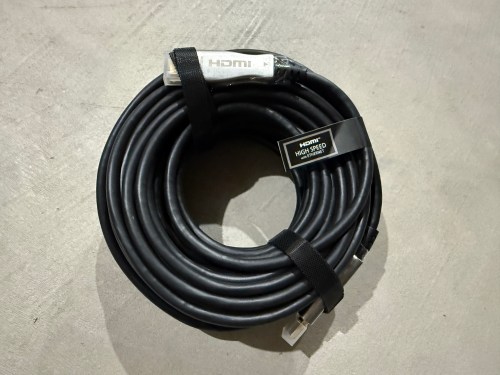
Due to the distance from the PC to the projector being more than 10 feet, a normal cable wouldn’t work. I snagged a fiber optic HMDI cable from Target. I didn’t need 50 feet, but I had a gift card to use there. It took me a bit to realize this type of cable isn’t bidirectional.

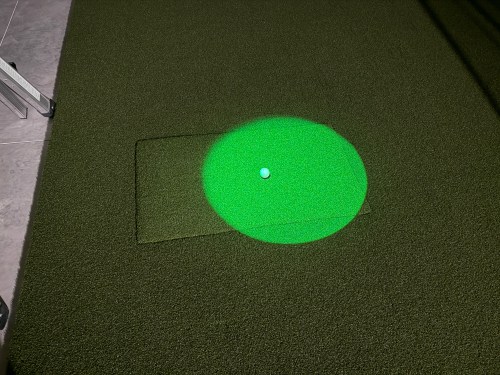
Since most of the basement lights need to be off when using the simulator for a crisper image, I picked up a spotlight to point at the hitting area (the green is quite nice) and a track light (bulbs).

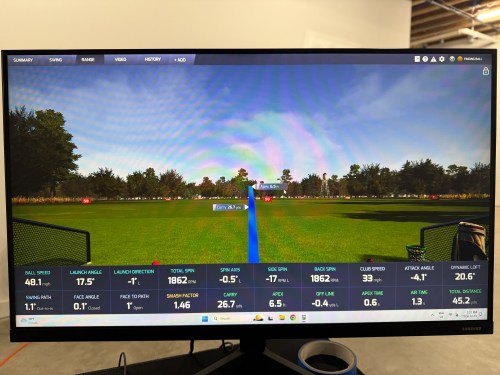
The launch monitor comes with ProTee Labs, which shows ball and club data and allows you to hit on a range. In order to play golf and have other practice options, I got the yearly subscription to GSPro, which is exceptional!

Not necessary for the golf sim, but I bought another Apple TV 4K and a mount. It’s connected to the projector so we can watch movies, football, or anything else. I need to figure out a sound system.

There were several other small purchases, such as an extension cord to run power to the PC, velcro tape to tidy up the wires running down the post, and parts to do the electrical work.

Here’s a video of the golf simulator in action.

I’m excited to see where this can take my golf game. I’ve already started The Strike Plan (from The Practice Manual‘s author) to improve my ball striking and I’m hoping to spend time daily working on my game or having fun with it.

The normal price of the ProTee VX is $6,500 before tax, but I got a bit of a holiday discount. The total cost for everything in this post was a whopping $9,049, bringing the grand total to $14,699. I feel like that’s middle of the road for a home golf sim because you can get really cheap or you can spend more on just a launch monitor! If you have any questions about anything, leave a comment and I’ll be happy to share more.

After I’ve spent more time using the simulator I’ll post some thoughts. There will also be some upcoming side projects.

Walnut & Railroad Spike Coat Rack with Shelf

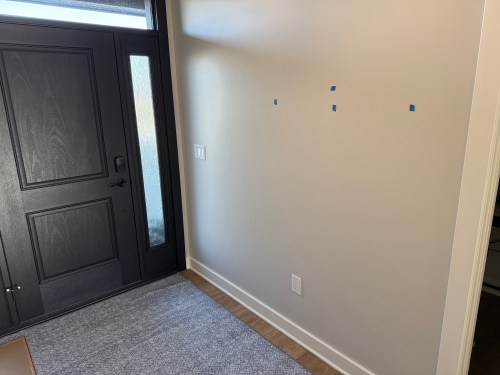
We left our foyer empty in the house design so I could build some things for it.

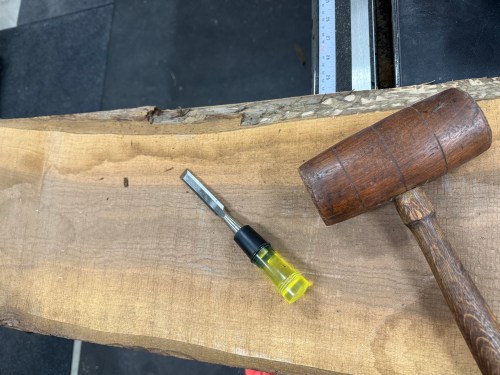
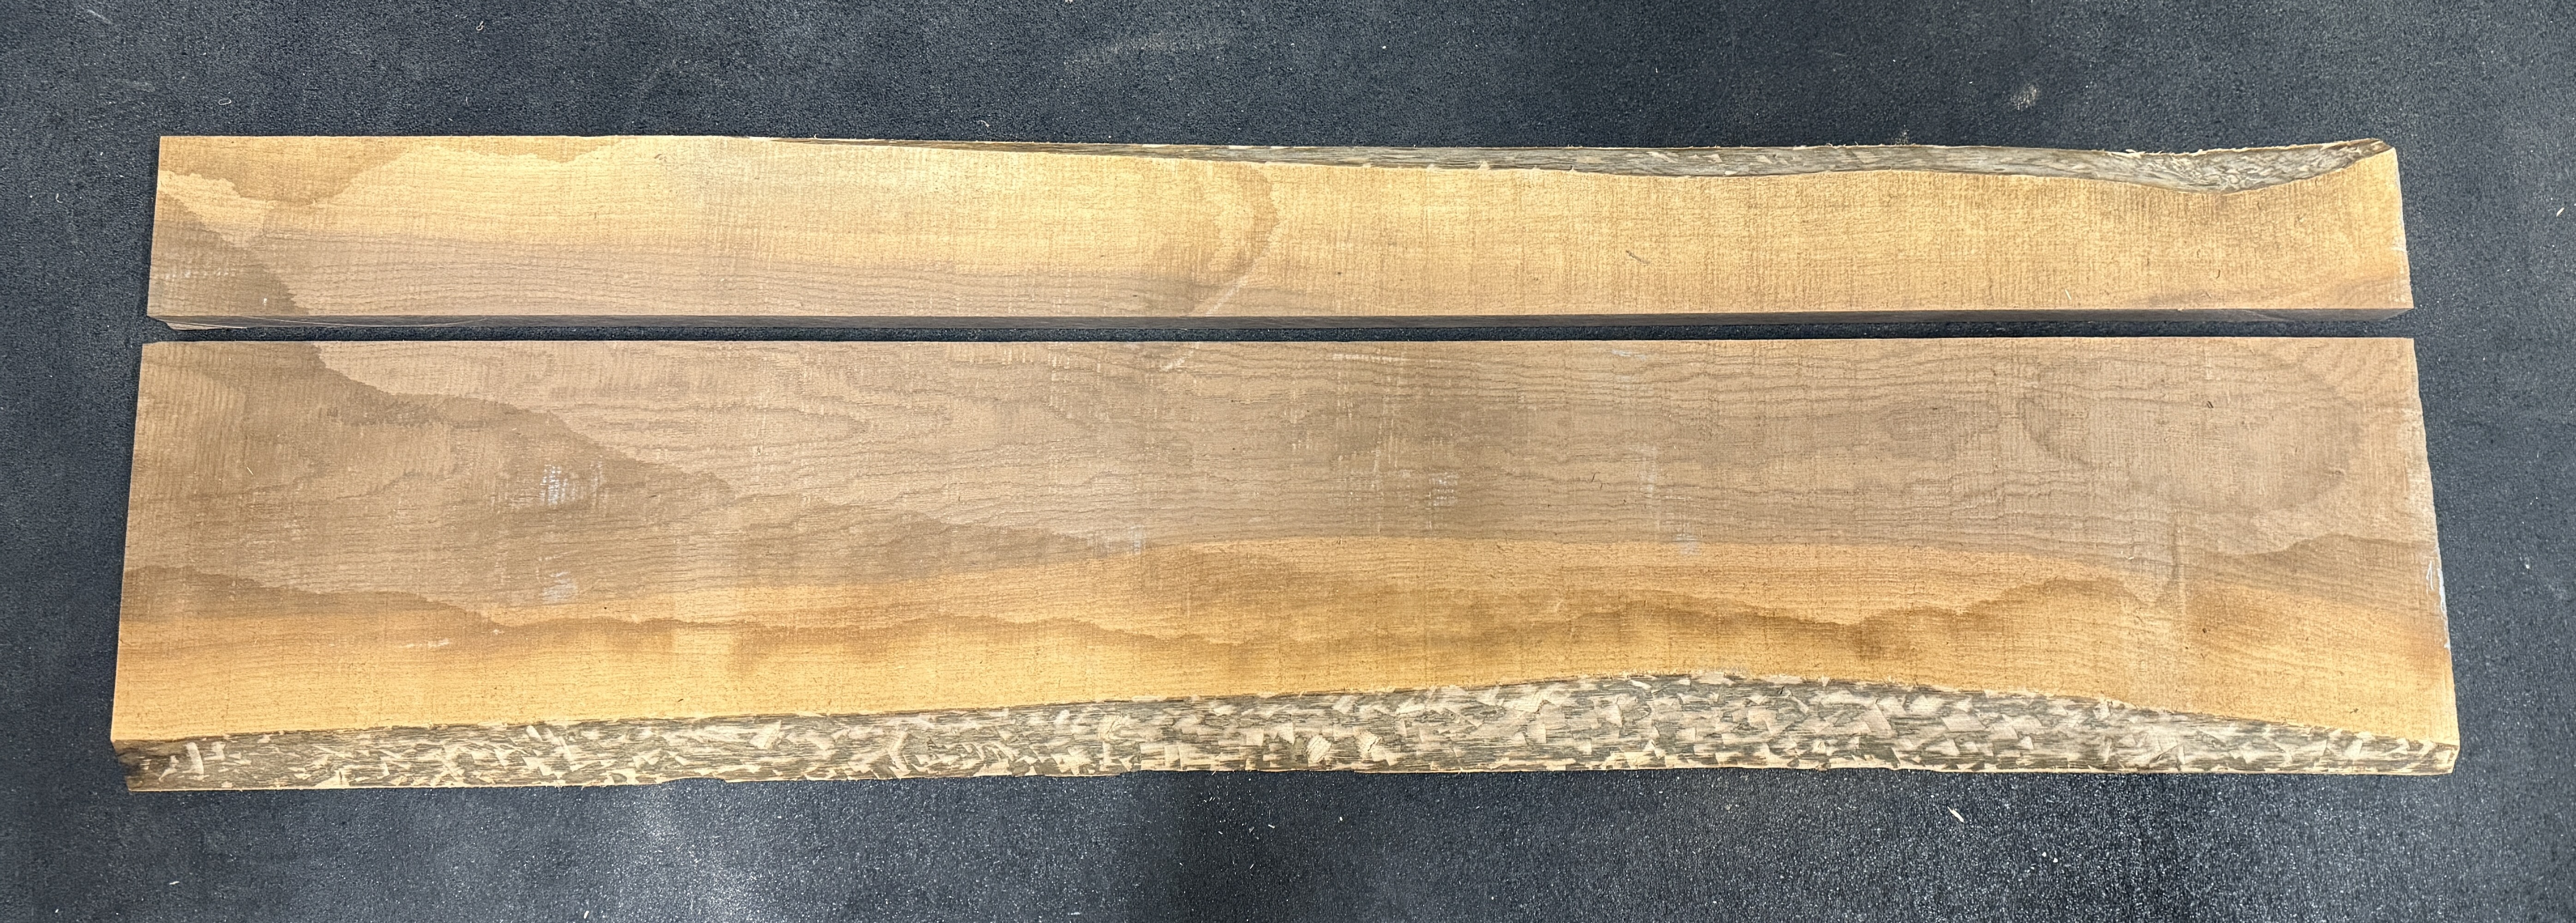
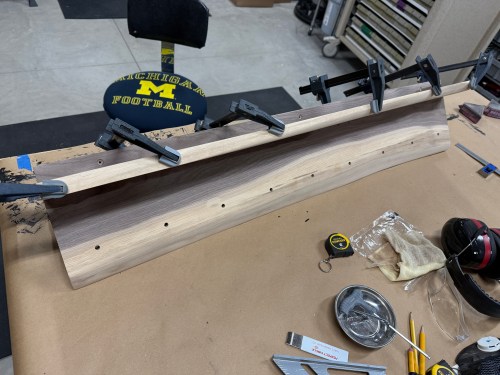
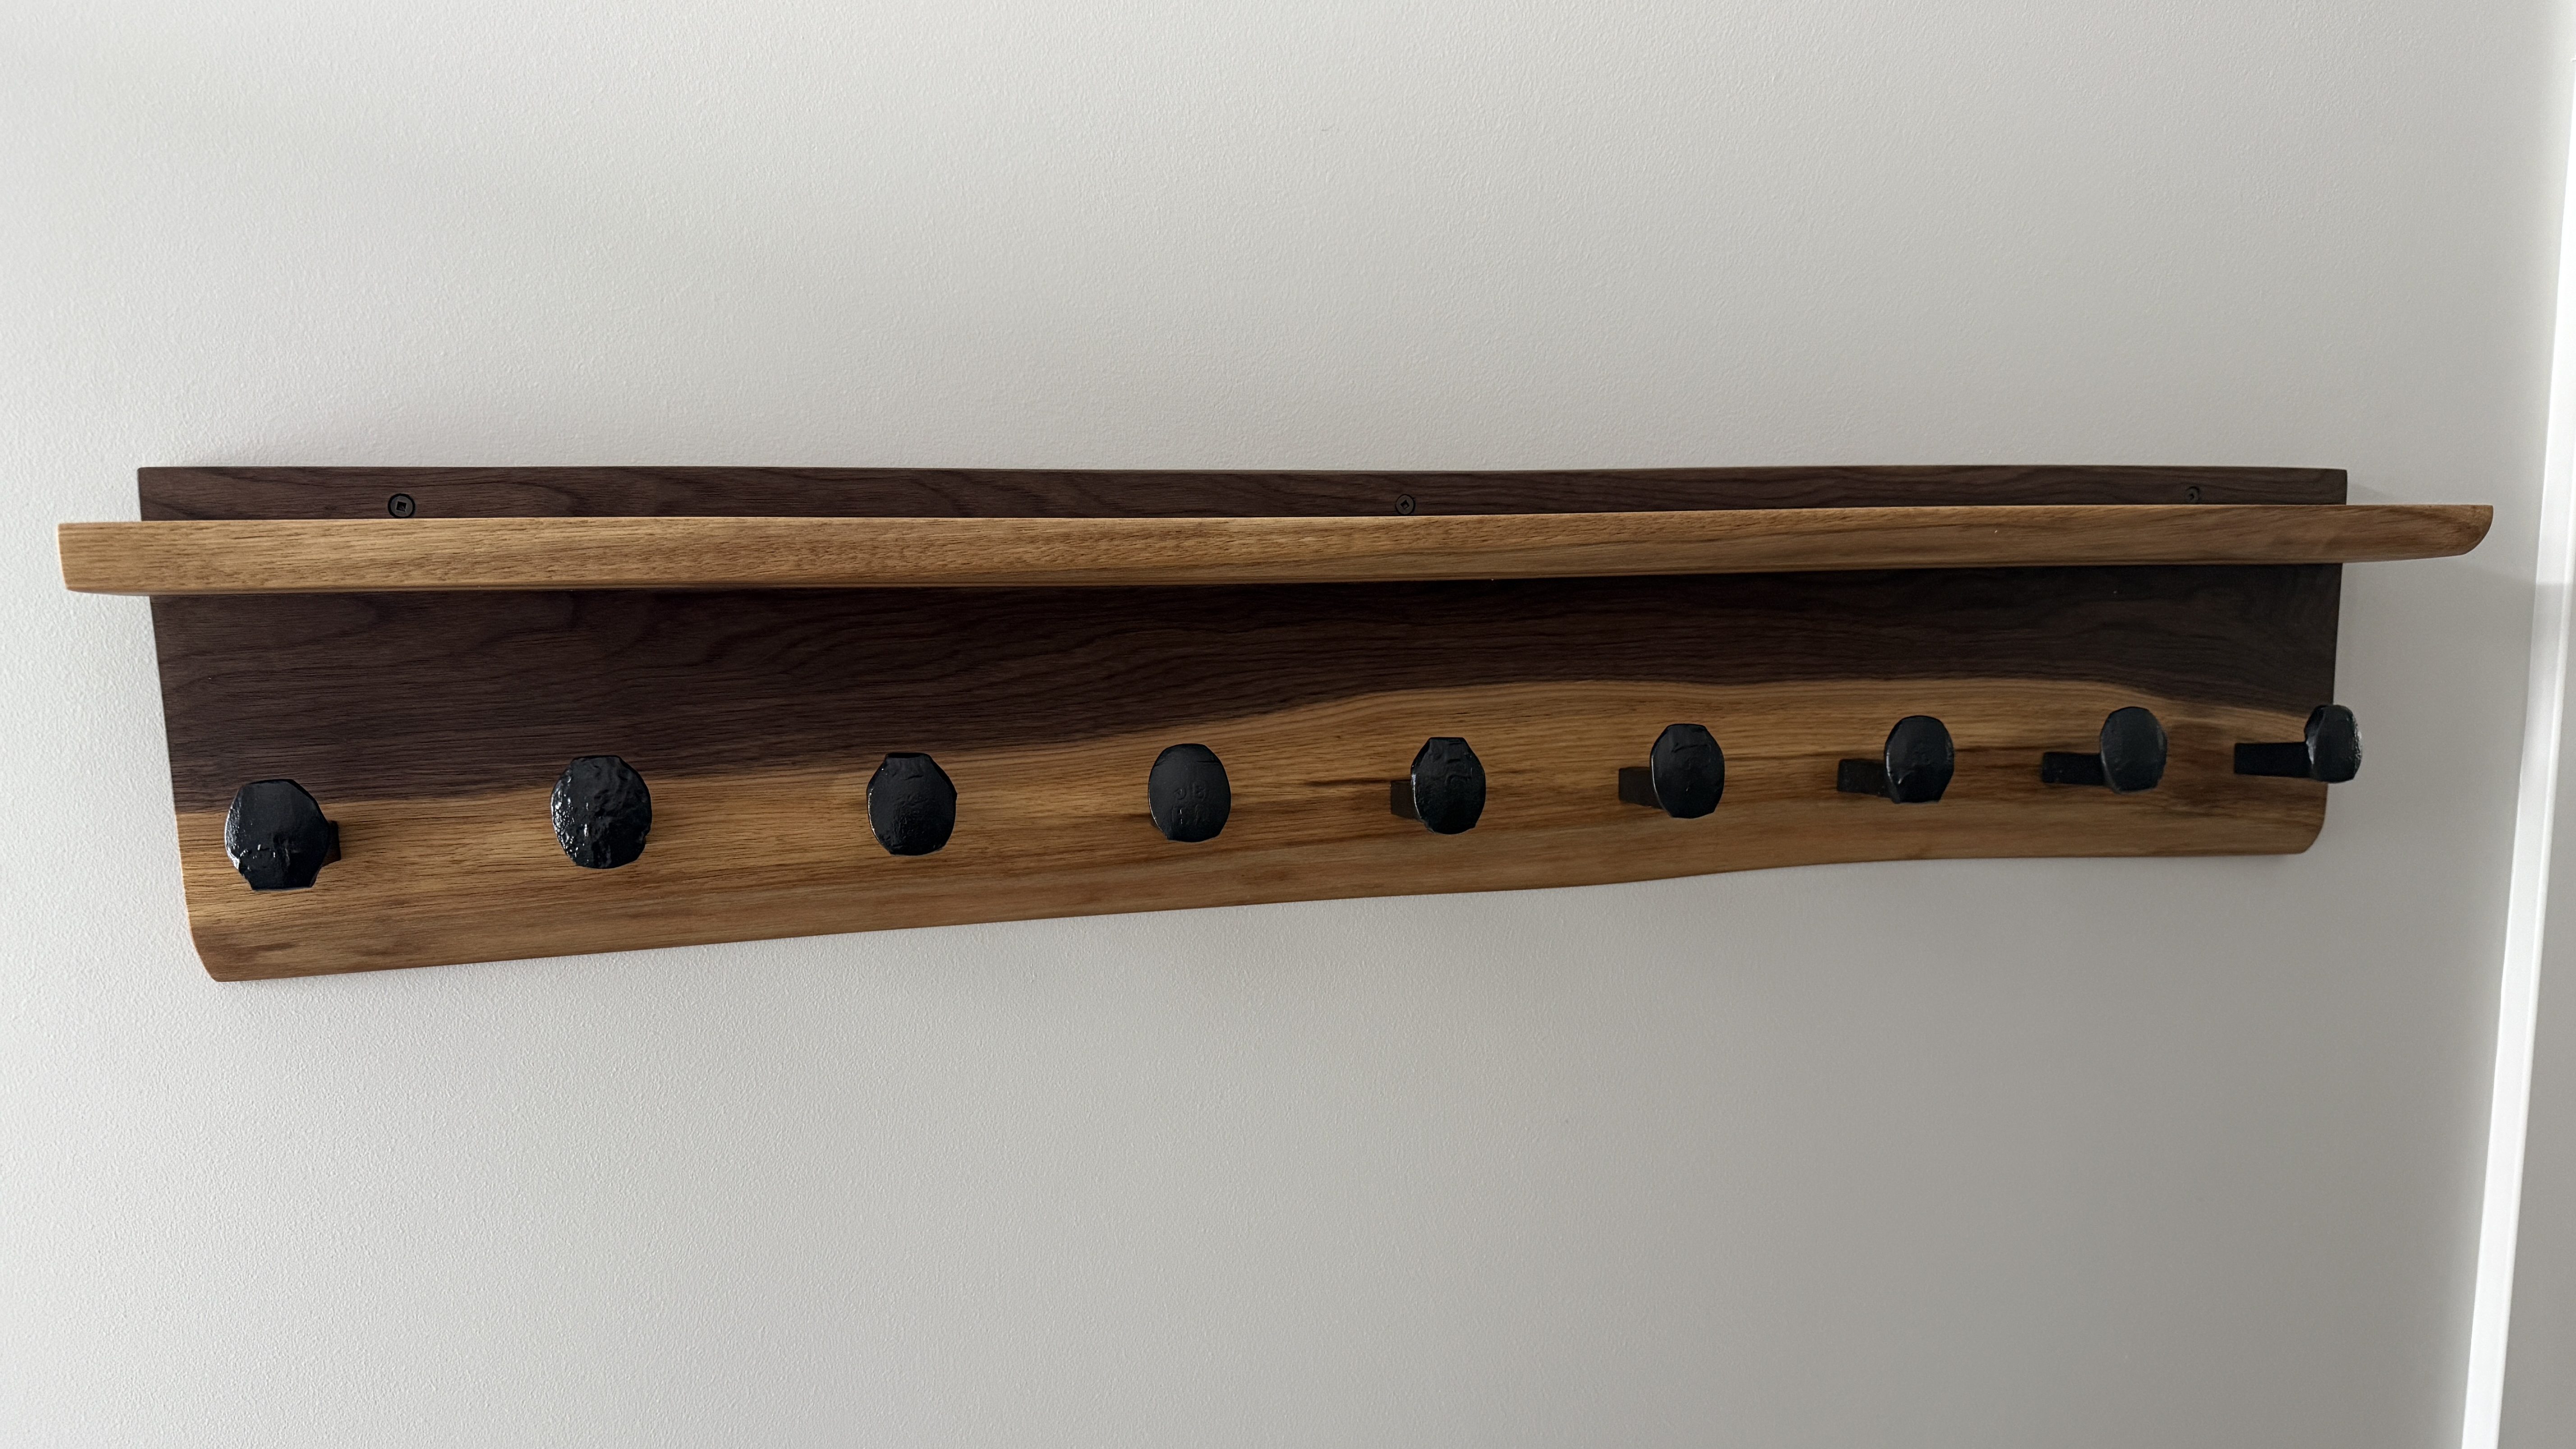
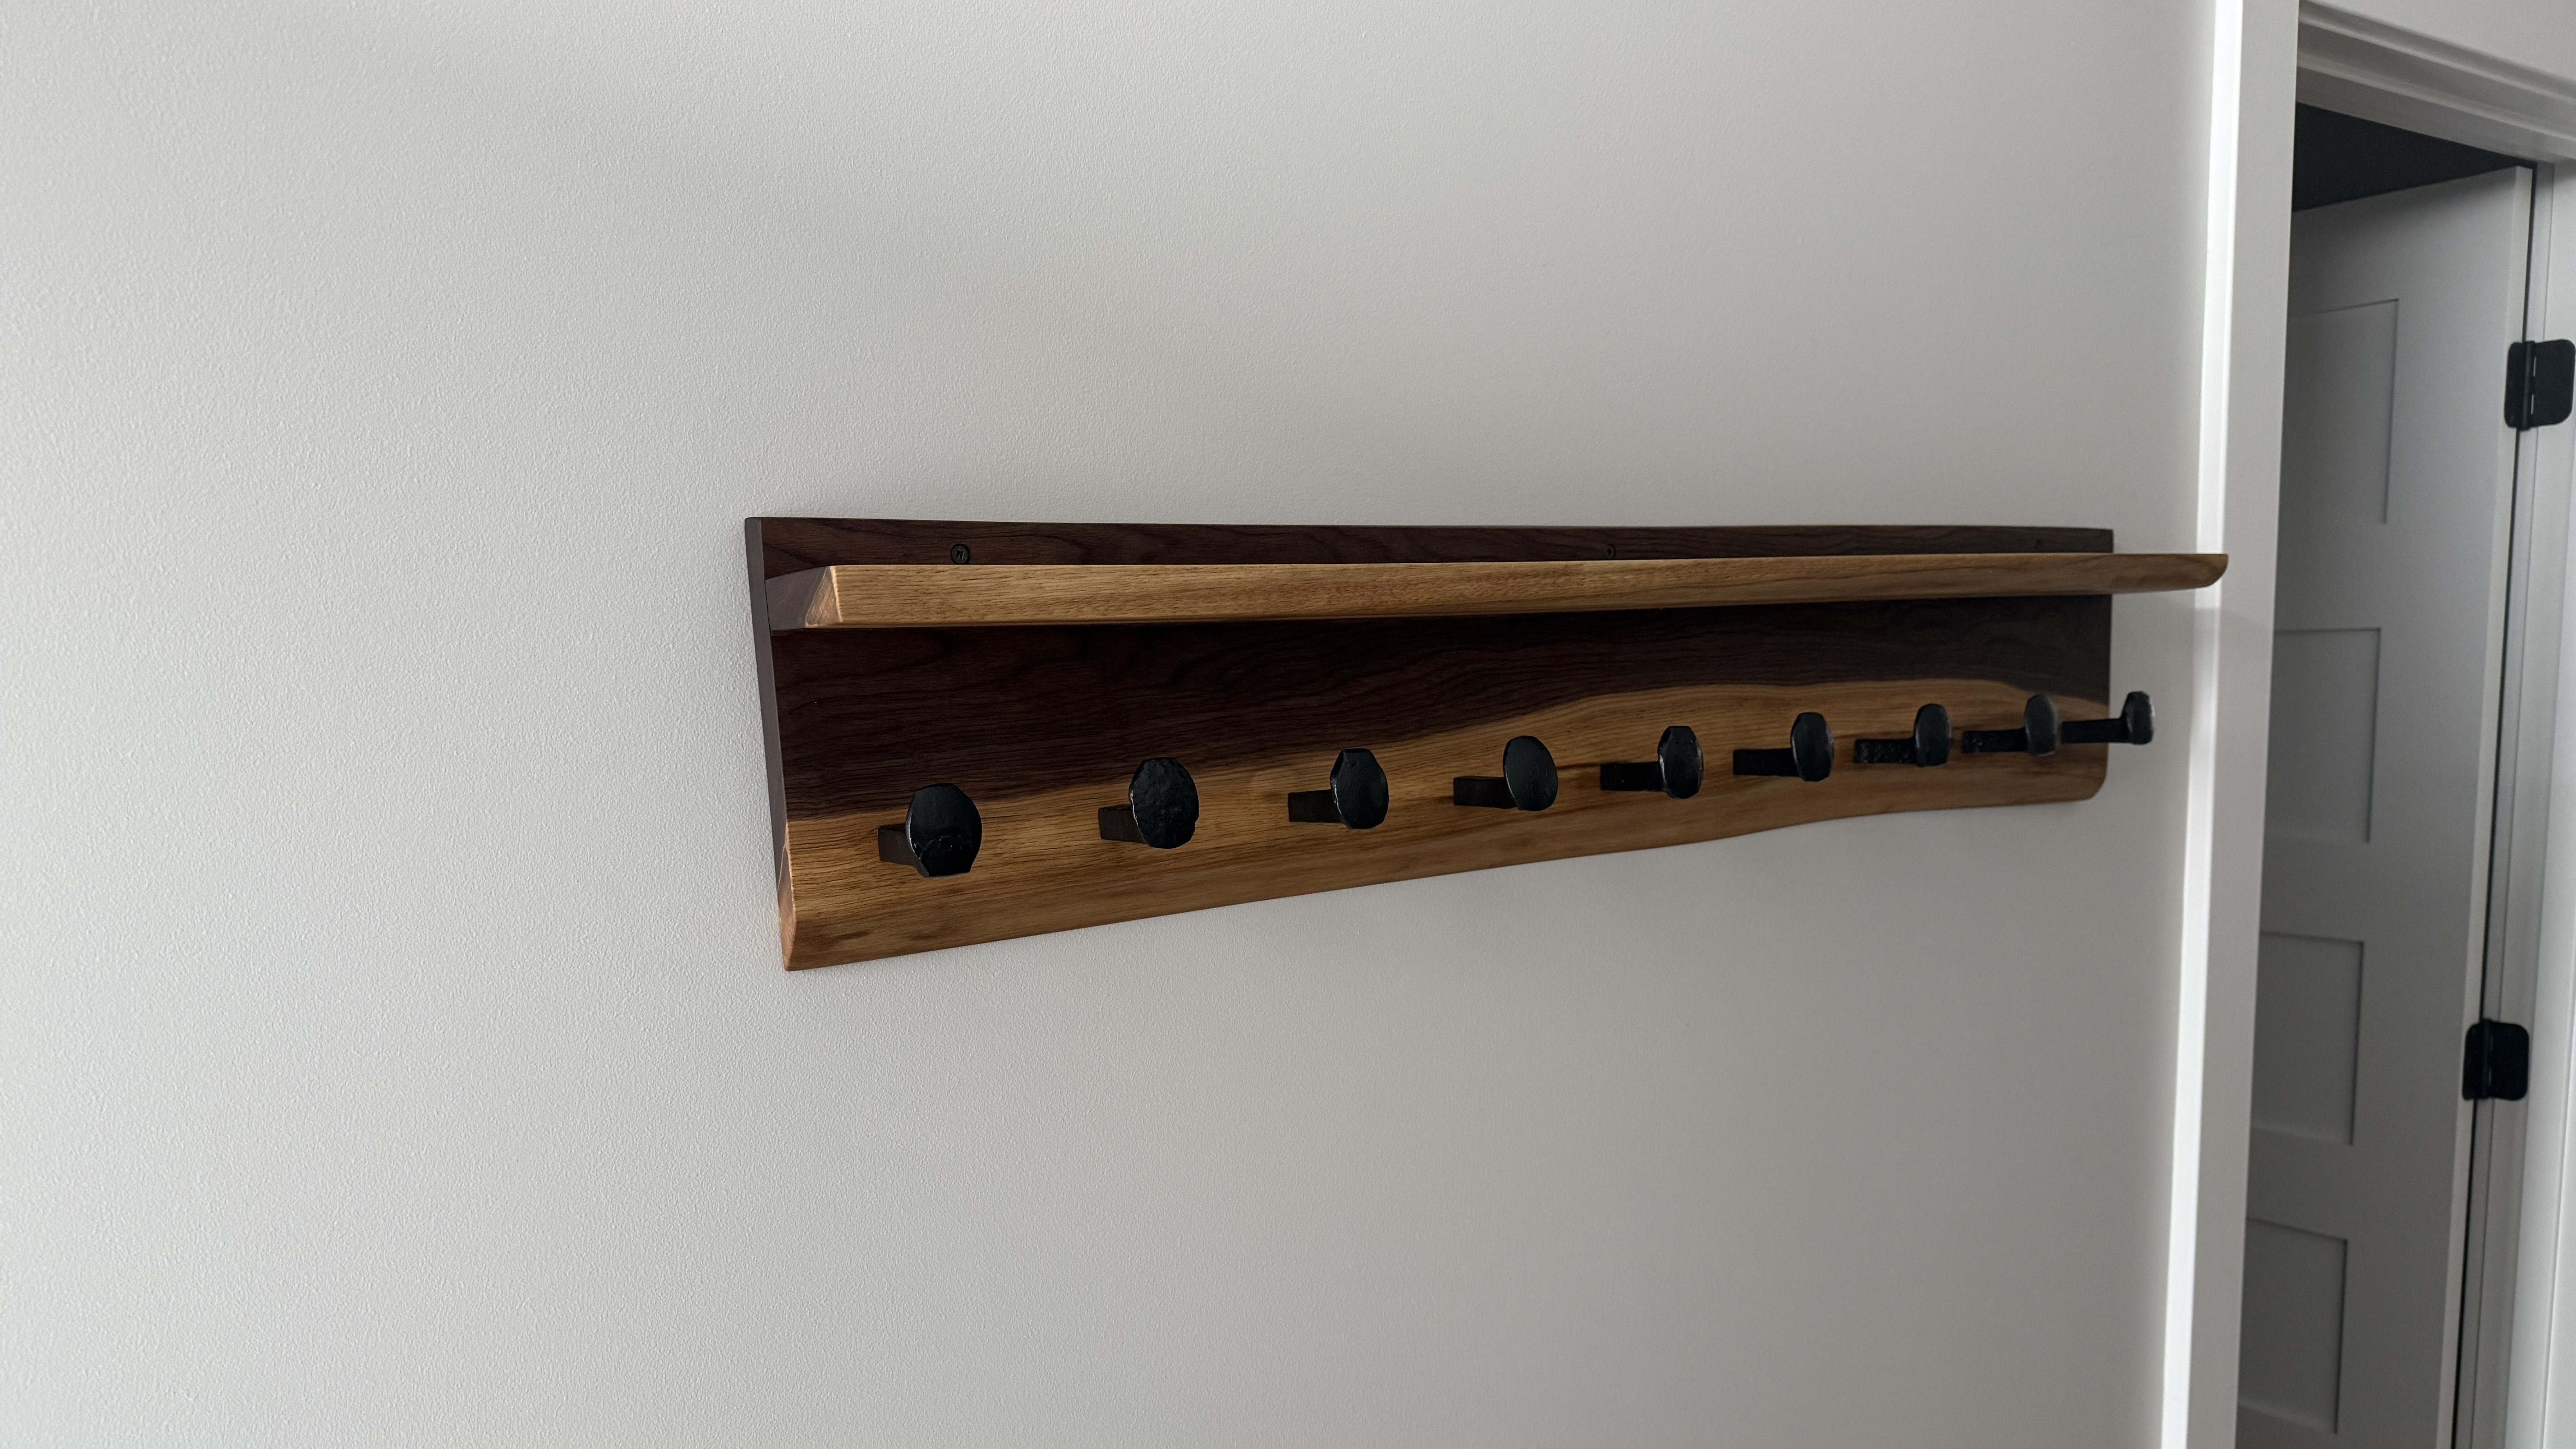
First up was a coat rack. I pulled out a piece of walnut and got the bulk of the bark off the live edge. This piece has a lot of sapwood, which should turn out sweet.

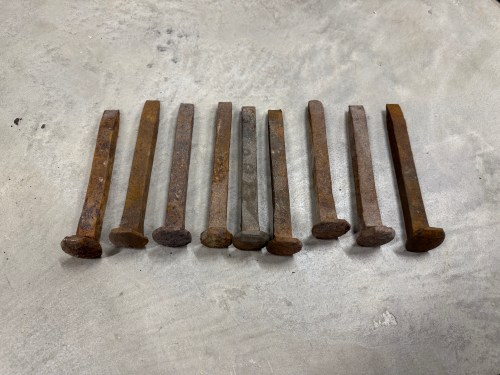
Before getting ahead of myself by sizing the board in any way, I wanted to make the hooks from railroad spikes so I could see how much space they’d need. I bought about 20 of these on Facebook Marketplace a few years ago and still have a bunch.

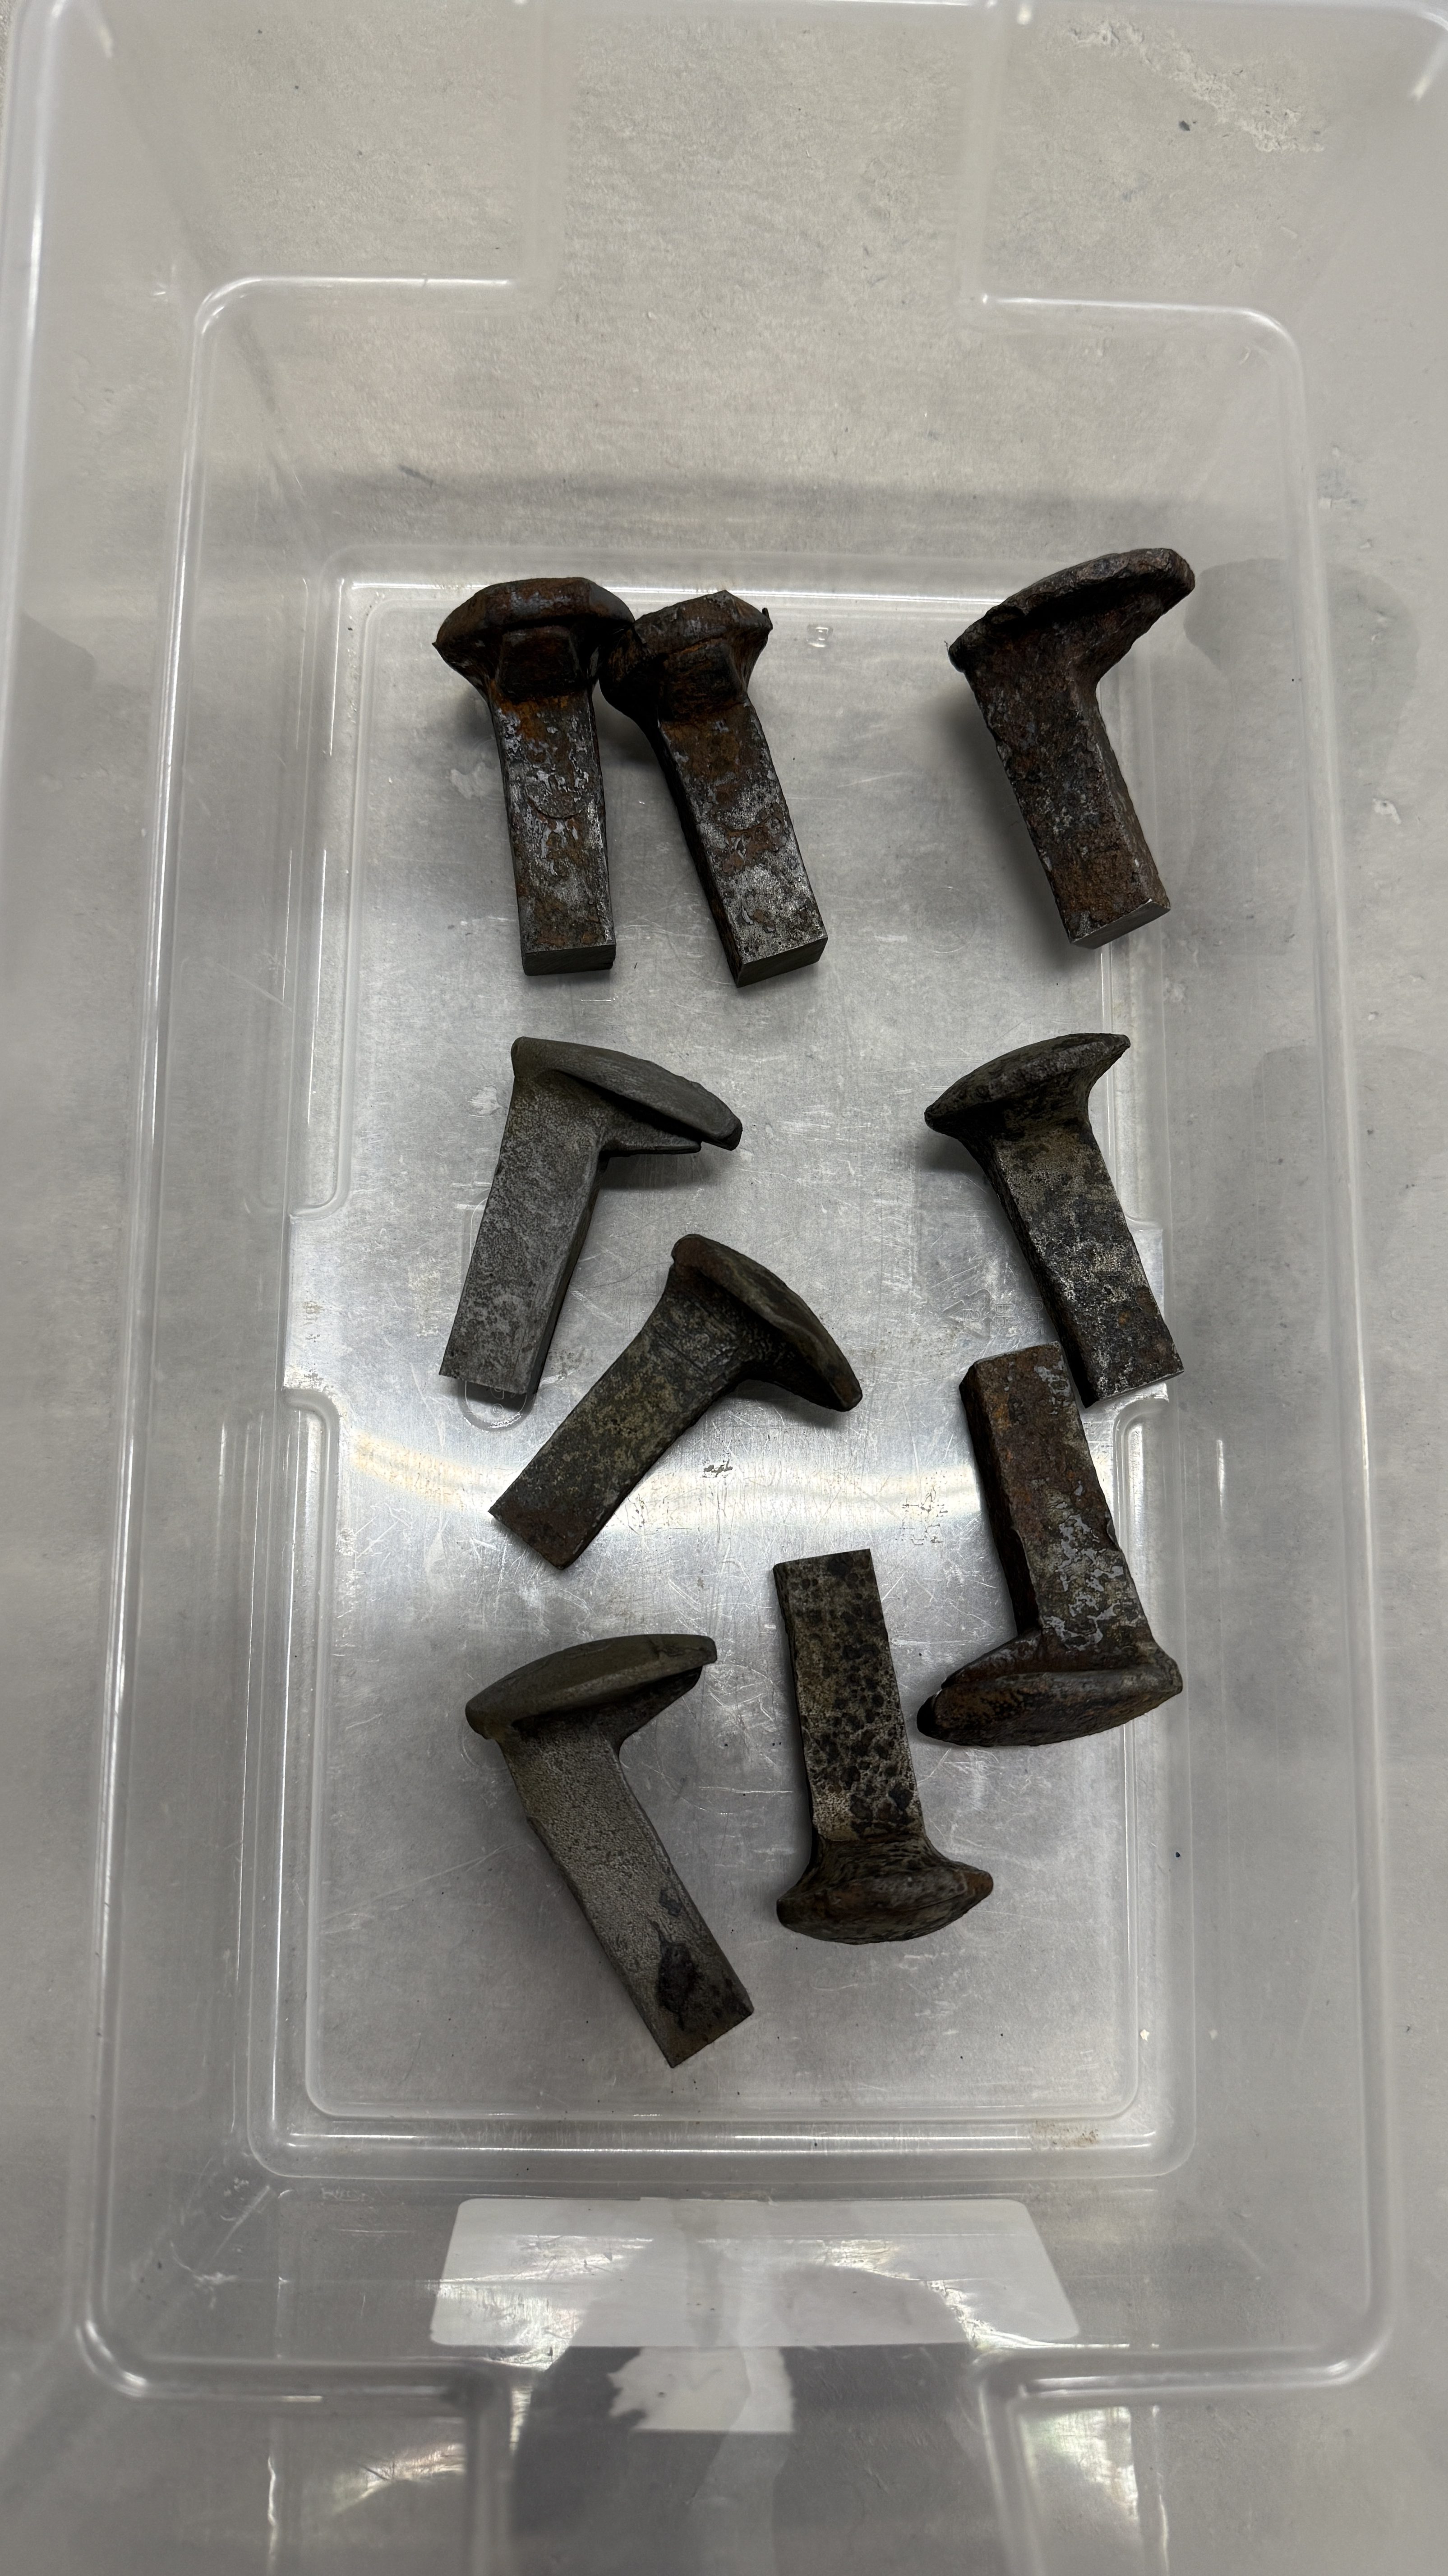
I don’t have much for metal working tools, so I knew I wouldn’t be able to get consistent length by cutting with an angle grinder. In order to give myself a decent chance at success, I screwed a couple pieces of plywood to my drill press vise and drew a reference line. Then I cut all nine spikes.

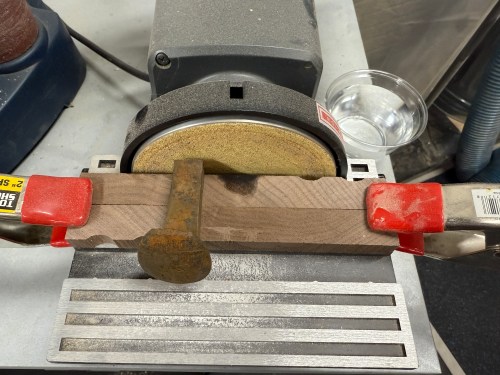
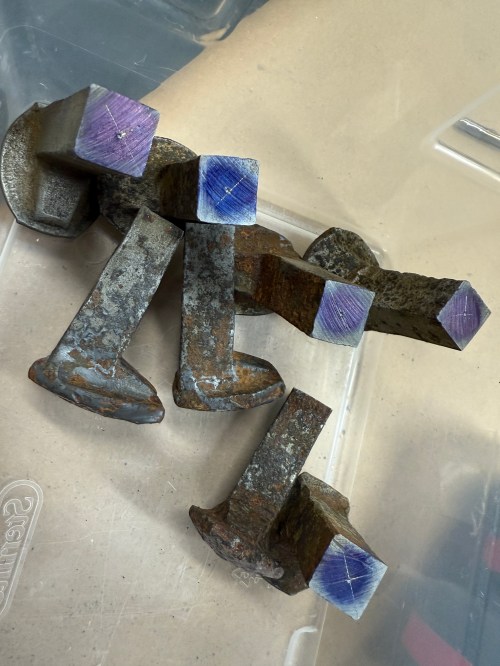
At the disc sander I flattened the ends. For the spikes to lay square to the sanding surface I propped them up on some wood.

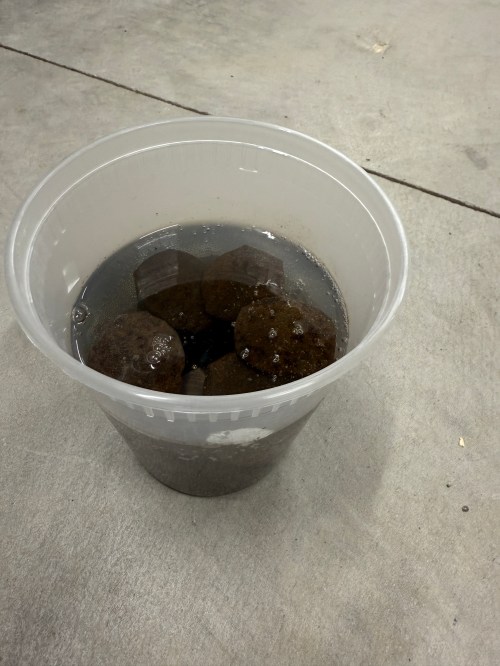
I soaked the pieces in a 50/50 mix of white vinegar and water overnight.

Rinsed and wiped them off.

Marked the centers as best I could. Then I stepped through 3/32, 5/32, and 13/64 drill bits on each part. I broke one 3/32 bit and luckily it was deep enough in the hole where it wouldn’t matter.

Then came my favorite part, adding threads in the holes. I used a 1/4-20 tap.

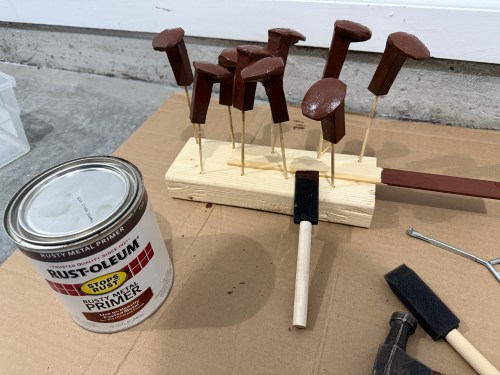
I cleaned up the rest of the rust on a bench grinder wire wheel. Then primer and paint.

Back to the wood. After doing a rough mockup, I cut a length of the larger board and ripped it to create pieces for the shelf and main.

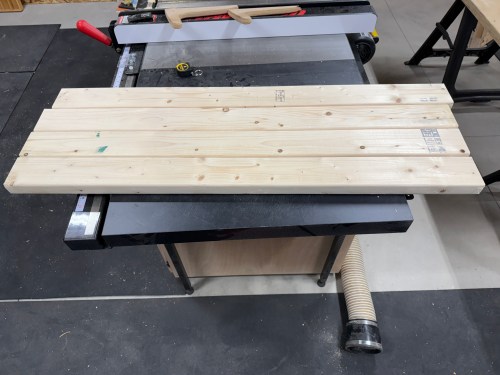
Then they went through the planer.

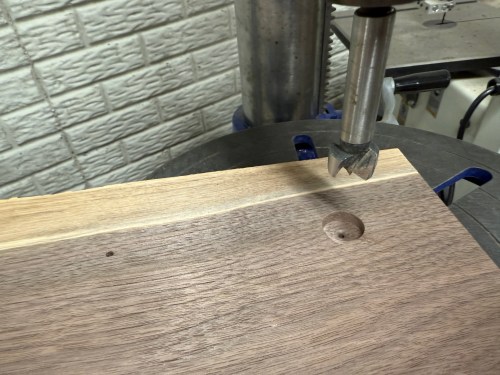
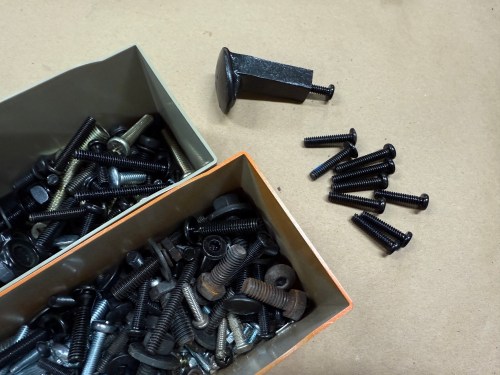
Drilled a bunch of holes, found some bolts in my collection, and did a dry fit.

I recently bought a corded 6″ random orbital sander, protection pads, and 3M Xtract Net discs, which make sanding much easier. After wiping with a tack cloth, I glued and screwed the pieces together.

I applied three coats of the All-Natural Wood Finish from Bumblechutes mixed 1:1 with Citrus Solvent. It was the first time I’d used this on a project and I’ll definitely be using it more. It went on easy with a foam brush and light sanding with 400 grit between coats. Then to finish it off, one coat of their Bee’Nooba Wax, which I’ve used before.
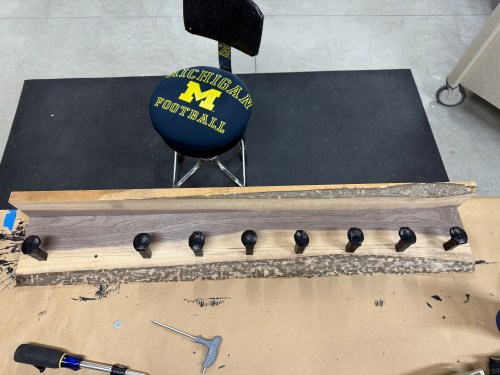
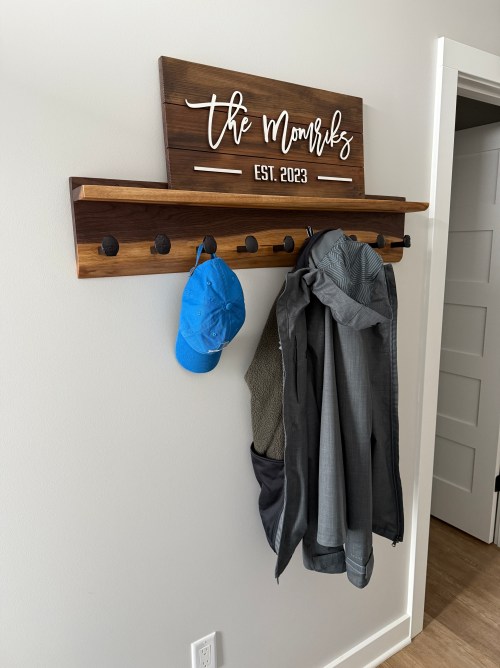
When bolting on the railroad spikes I applied a little thread locker. I mounted it to the wall and put up a sign my sister gave us.

Now I need to figure out what kind of bench to build.

Christmas Painting

Instead of playing wacky games this year, Mom had the idea everyone would do a Christmas-themed painting. Lucky for me, I learned a few tricks earlier this year during a work activity. I decided on a snowy night sky with Santa and his reindeer.

Here are all seven works of art.

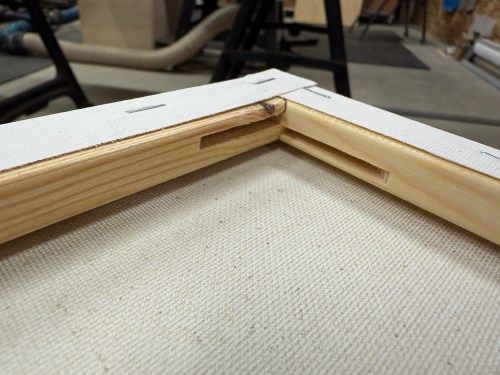
I looked at the back of the canvas and though the frame was interesting; they interlocked the corner joints to make them stronger.

Attempting to Revive Knockoff Ryobi Batteries

I have a couple of 5 Ah batteries and both of them stopped charging. They knockoffs from Amazon, with a brand name of Biswaye on them.

One was completely dead and wouldn’t even register on a usual charger. The other showed a defective status. When I put the multimeter on, it read about 15 volts.

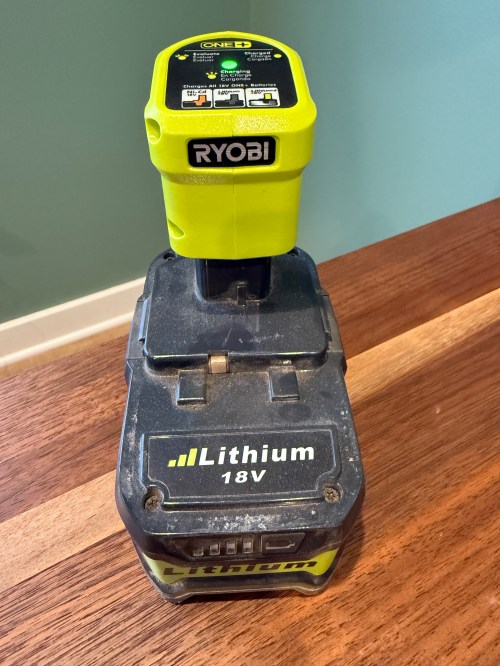
This often means some of the individual cells are bad. Before opening it up, I threw it on a Ryobi P119 slow charger, which can sometimes revive cells that are too low for the more complex battery chargers.

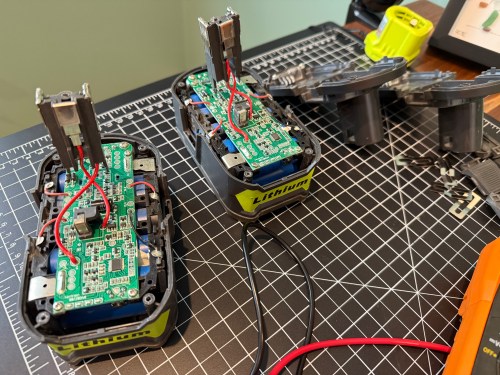
After a couple of hours I tried the battery on a regular charger again, but it still showed as defective. So I tore into both batteries, hoping I might be able to get one working battery out of the two.

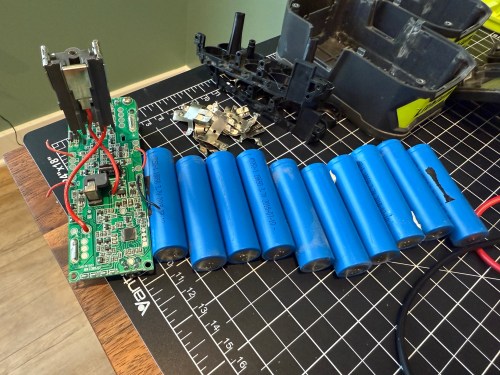
On the dead battery all 10 cells read zero volts on the multimeter. I wouldn’t be swapping any of those in to the other battery. It’s not safe to try pumping anything into cells depleted that much, so I recycled them at Batteries Plus.

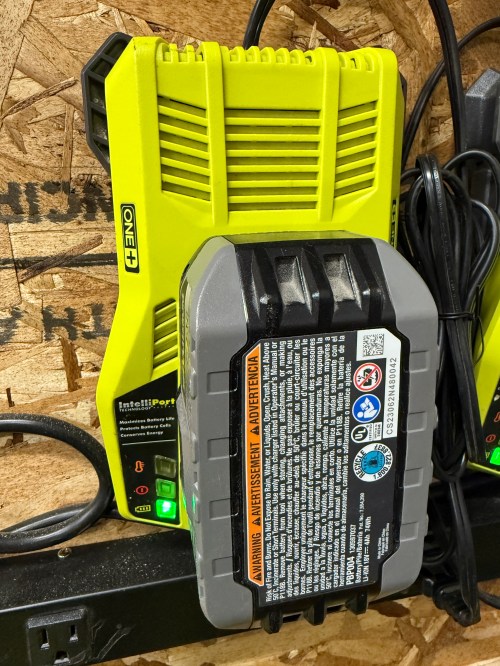
Two of the cells on the defective battery read very low voltages. I don’t have any spare 18650 lithium ion cells and it’s not worth it to buy some since I have enough working Ryobi batteries in my rotation. As a last resort, I put the battery on the little charger to see if it would slowly charge the depleted cells. I had nothing to lose.

I let it go over 6 hours and unfortunately the voltage didn’t jump up on those bad cells, so I still can’t use the battery pack.

Attempts like this don’t always end in success, but it’s a fun opportunity to learn. This battery pack has plenty of good cells, so I’ll save it in case another battery needs replacement cells.

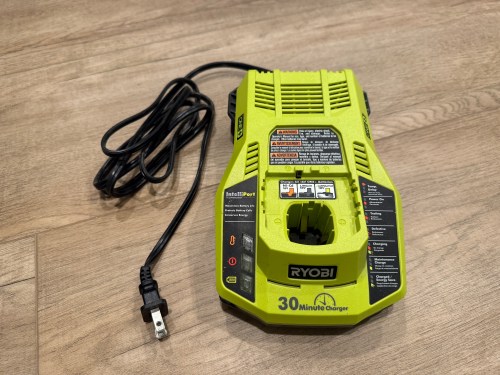
Repairing a Ryobi P117 Intelliport Charger

Last week while cutting some walnut with my Ryobi track saw, it kept stalling on me. Turns out the battery was nearly dead because the charger stopped working and the status LEDs weren’t lighting up at all when plugged in.

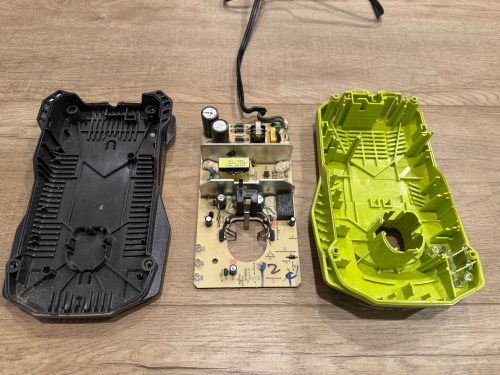
I opened up the charger and didn’t see burn marks or swollen capacitors anywhere.

Then I found a video on YouTube and sure enough, the resistor at R71 was wide open, reading 152 kΩ on the multimeter.

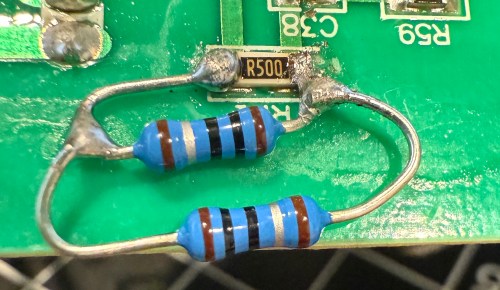
It’s a surface mount resistor labeled R500, which means 0.5 Ω. I don’t have any resistors that size, so I soldered in a couple of 1 Ω resistors in parallel.

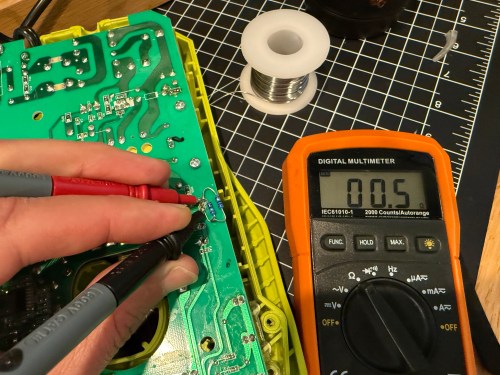
It’s not pretty, but it properly read 0.5 Ω on the multimeter.

I put it back together, plugged it in, and the red LED lit up. Took it down to the shop, put a battery in, and the charger is back in the rotation!