
The game flow graph on ESPN.com is always fun to look at. I don’t know if I’ve ever watched a more dominating half of basketball than Duke just played.
The game flow graph on ESPN.com is always fun to look at. I don’t know if I’ve ever watched a more dominating half of basketball than Duke just played.
The lights in my basement were pretty bad. If you’ve watched any of the videos I’ve done in the workshop you’ve probably noticed. The area pictured below was lit by 2 light bulbs.
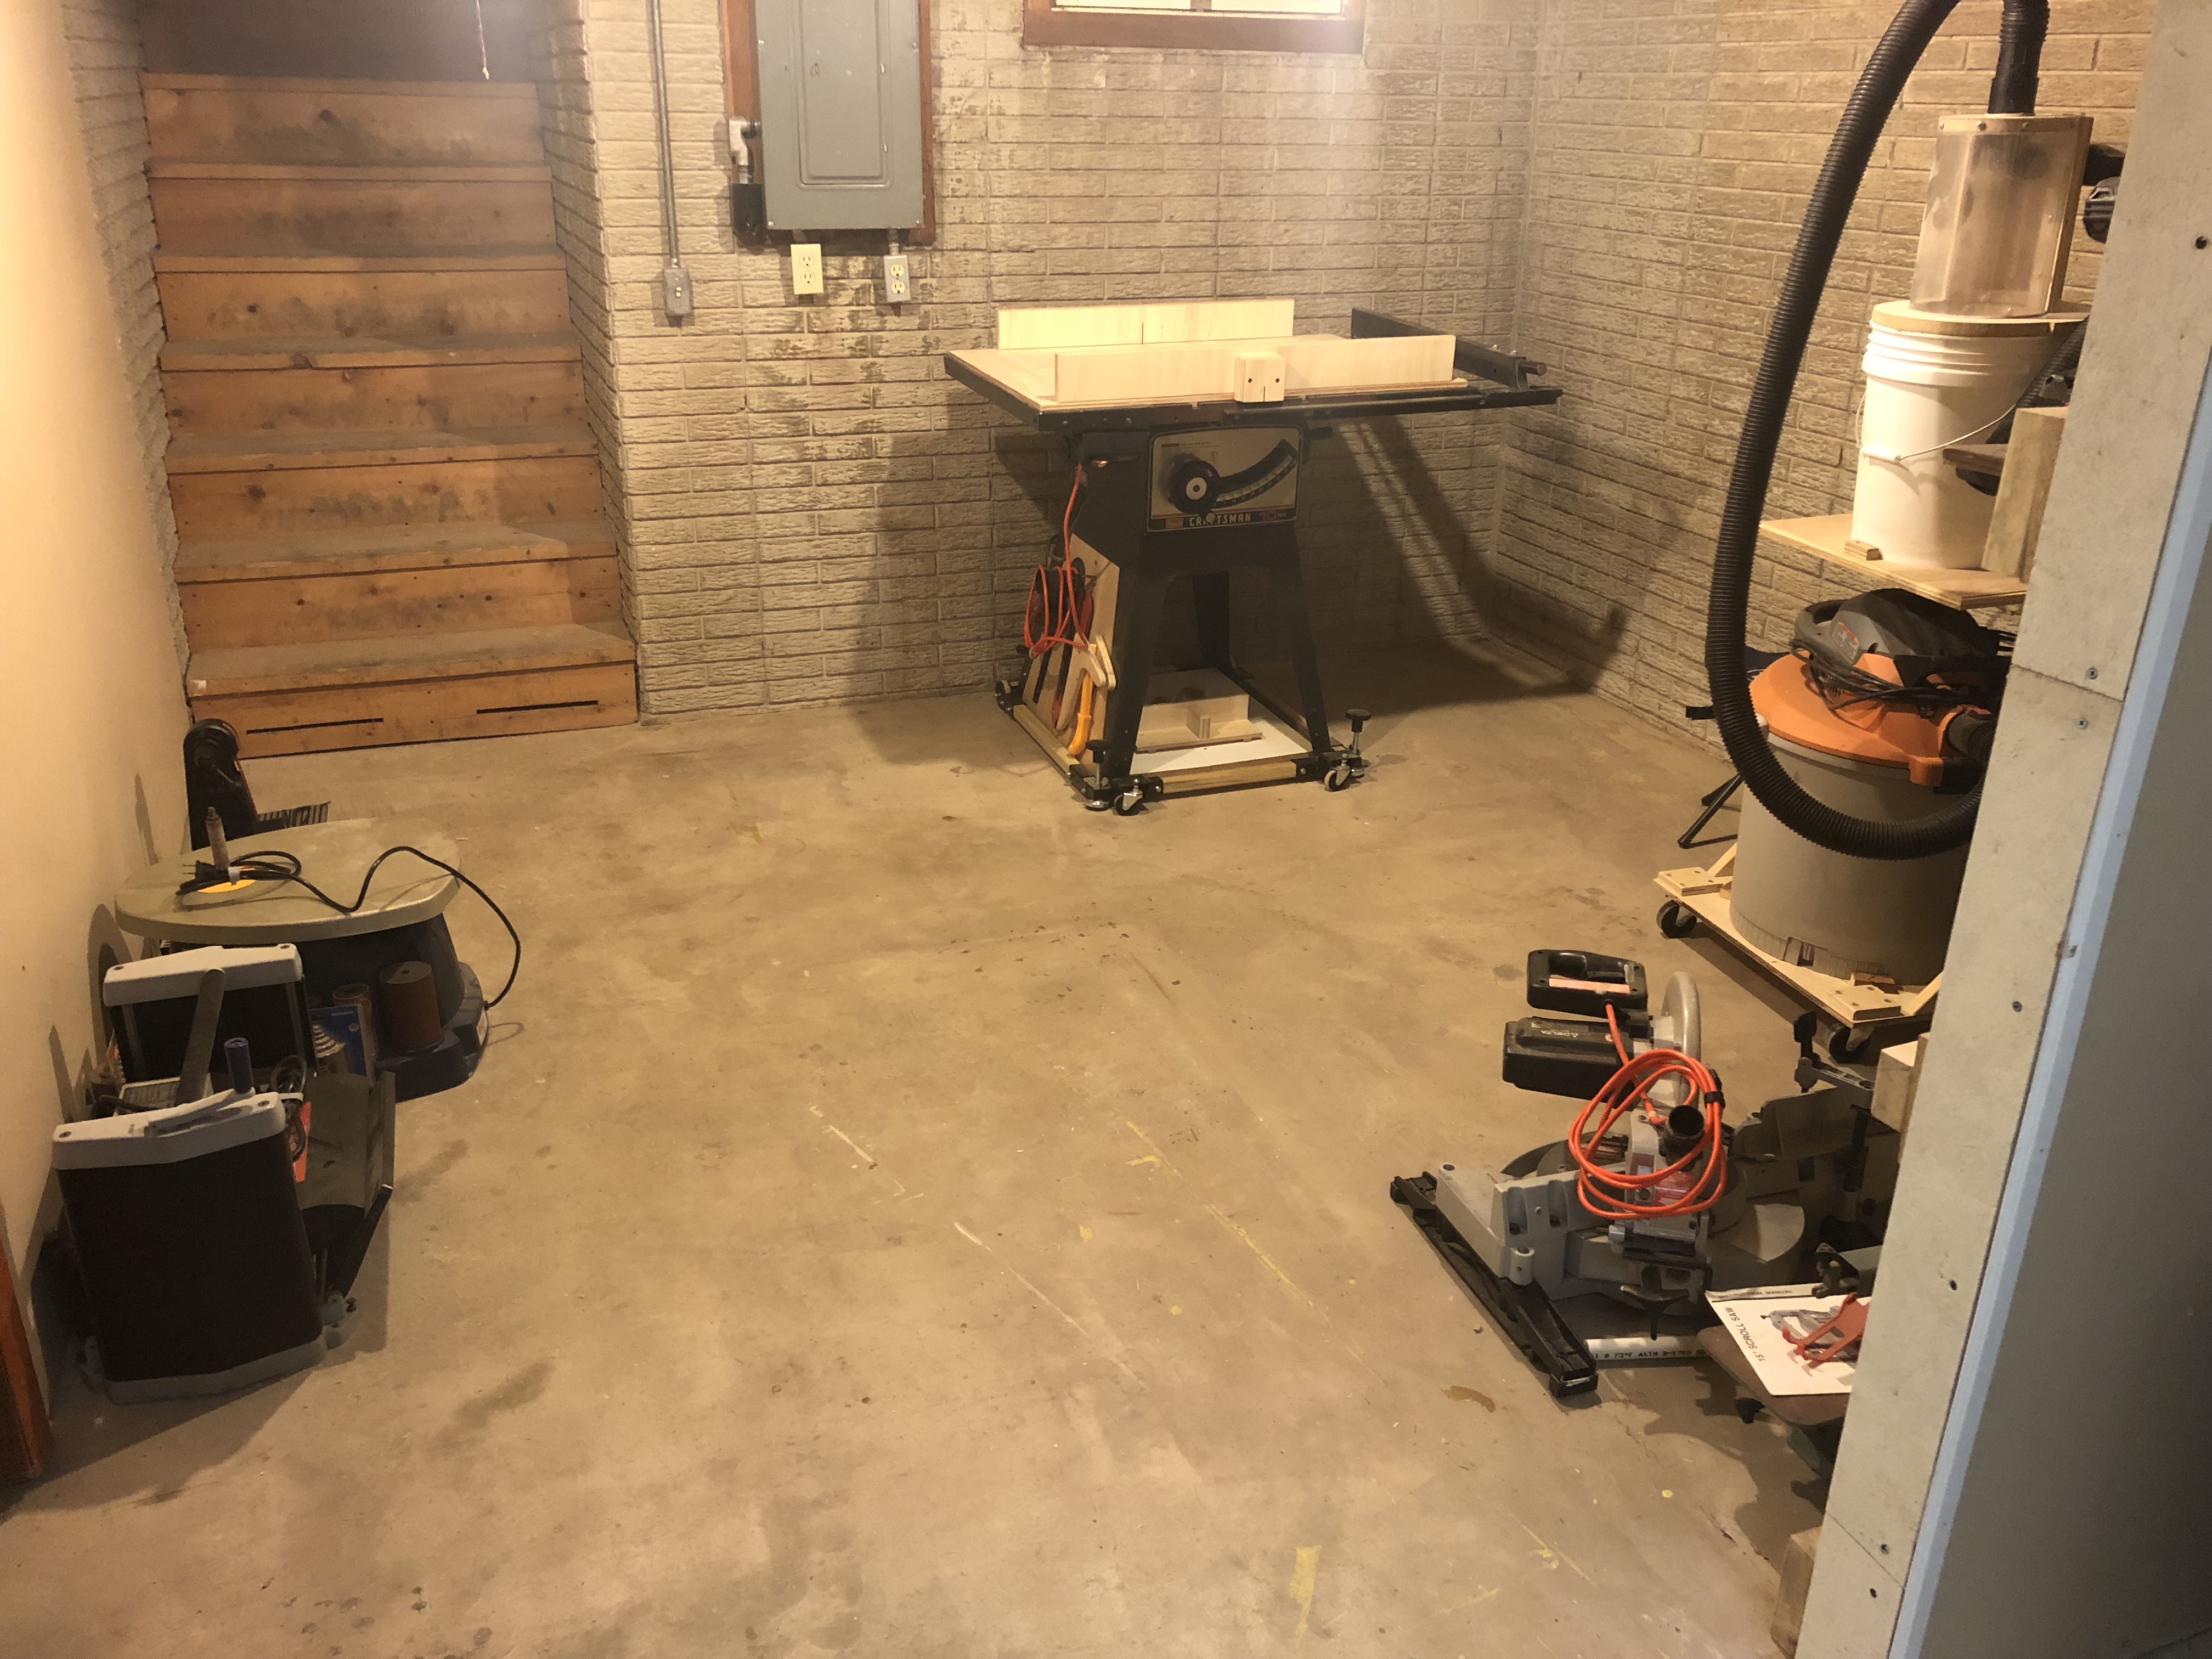
Time to fix this so I ordered two sets of 4 LED lights off Amazon. At $20/light I didn’t expect much in terms of quality, but the reviews were solid. They are made with really cheap materials, but function fine. I put 3 of the new lights in this area. Incredible difference!
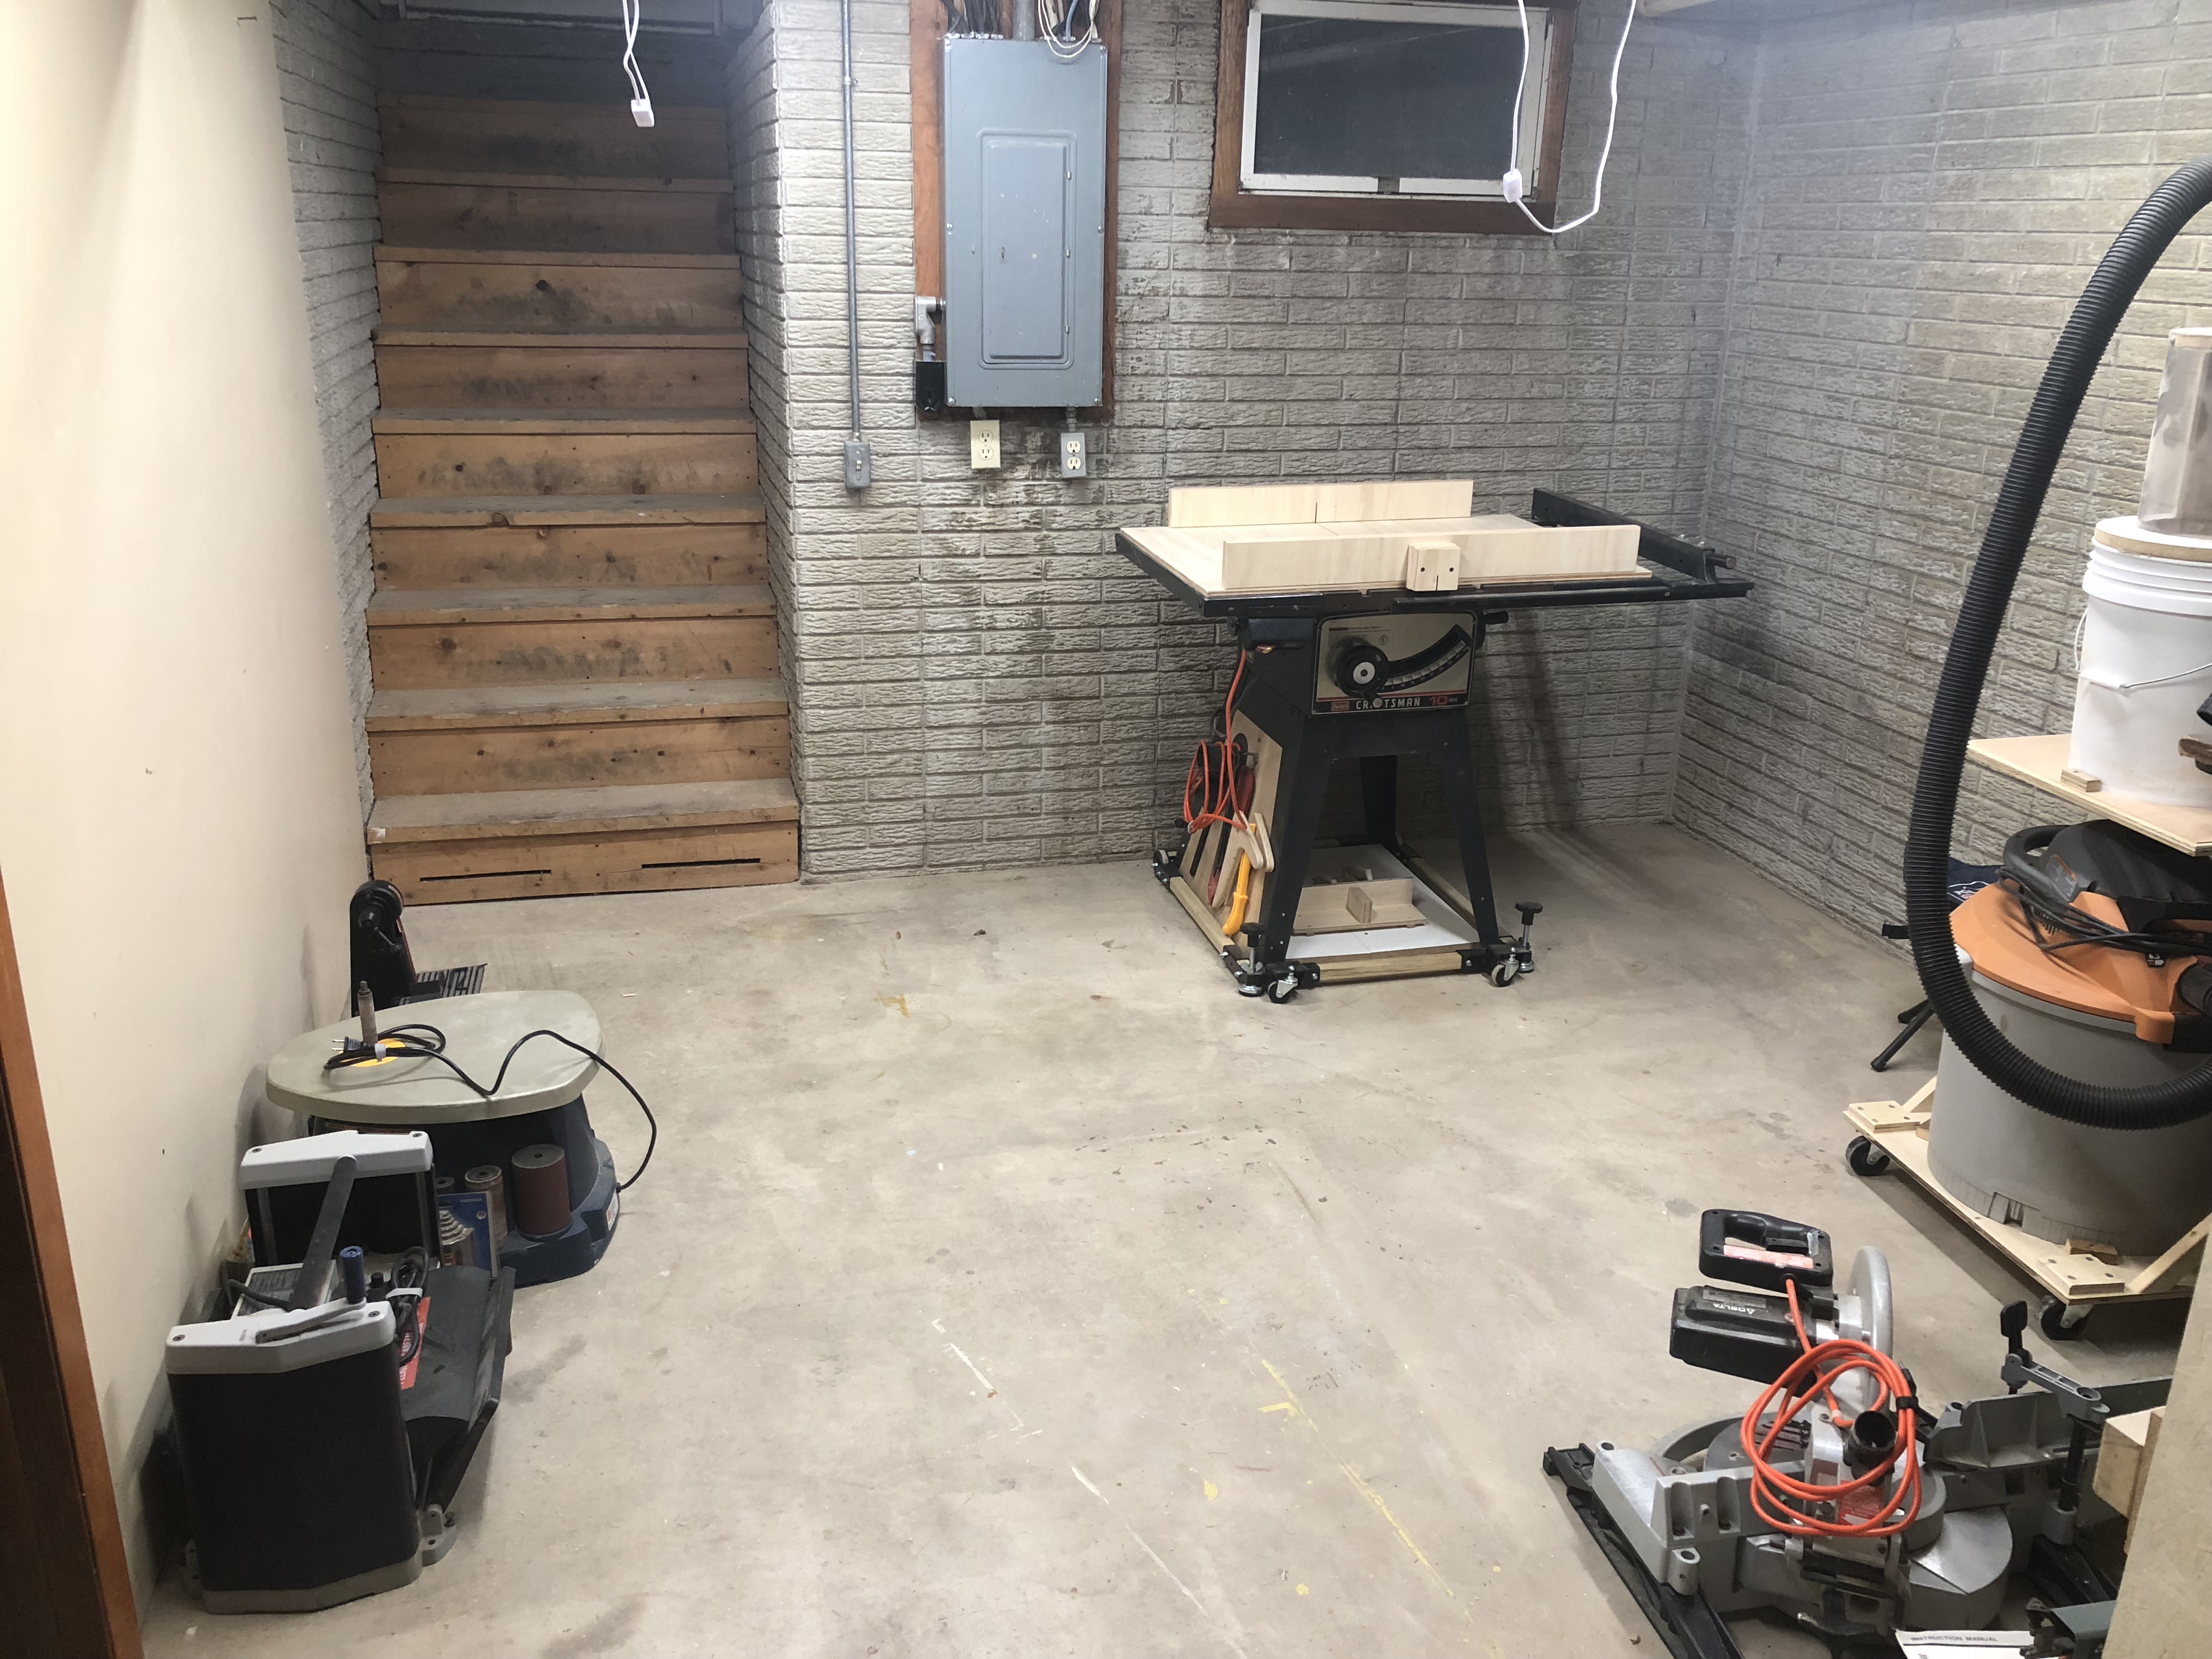
Each light has a plug instead of wiring and the cord has a switch built-in, which is really nice. I won’t be stuck with my lighting placements if I change my mind and it’s easy to turn individual lights on and off as needed.
The other area of the shop was almost as bad, with some dark corners. It was lit with 3 of the typical tube lights you find in drop ceilings. Here are before pictures…


I wanted to remove the drop ceiling while I was at it so I’d get back about 8 inches of vertical space. I made a time-lapse of this part of the project. Over 6 hours of video at 80x speed to get it down to 5 minutes.
I used the other 5 LED lights in this larger area. When I showed pictures to my buddy he said, “Looks like you painted but it’s only lights.” He’s right! I’m really happy with the results.
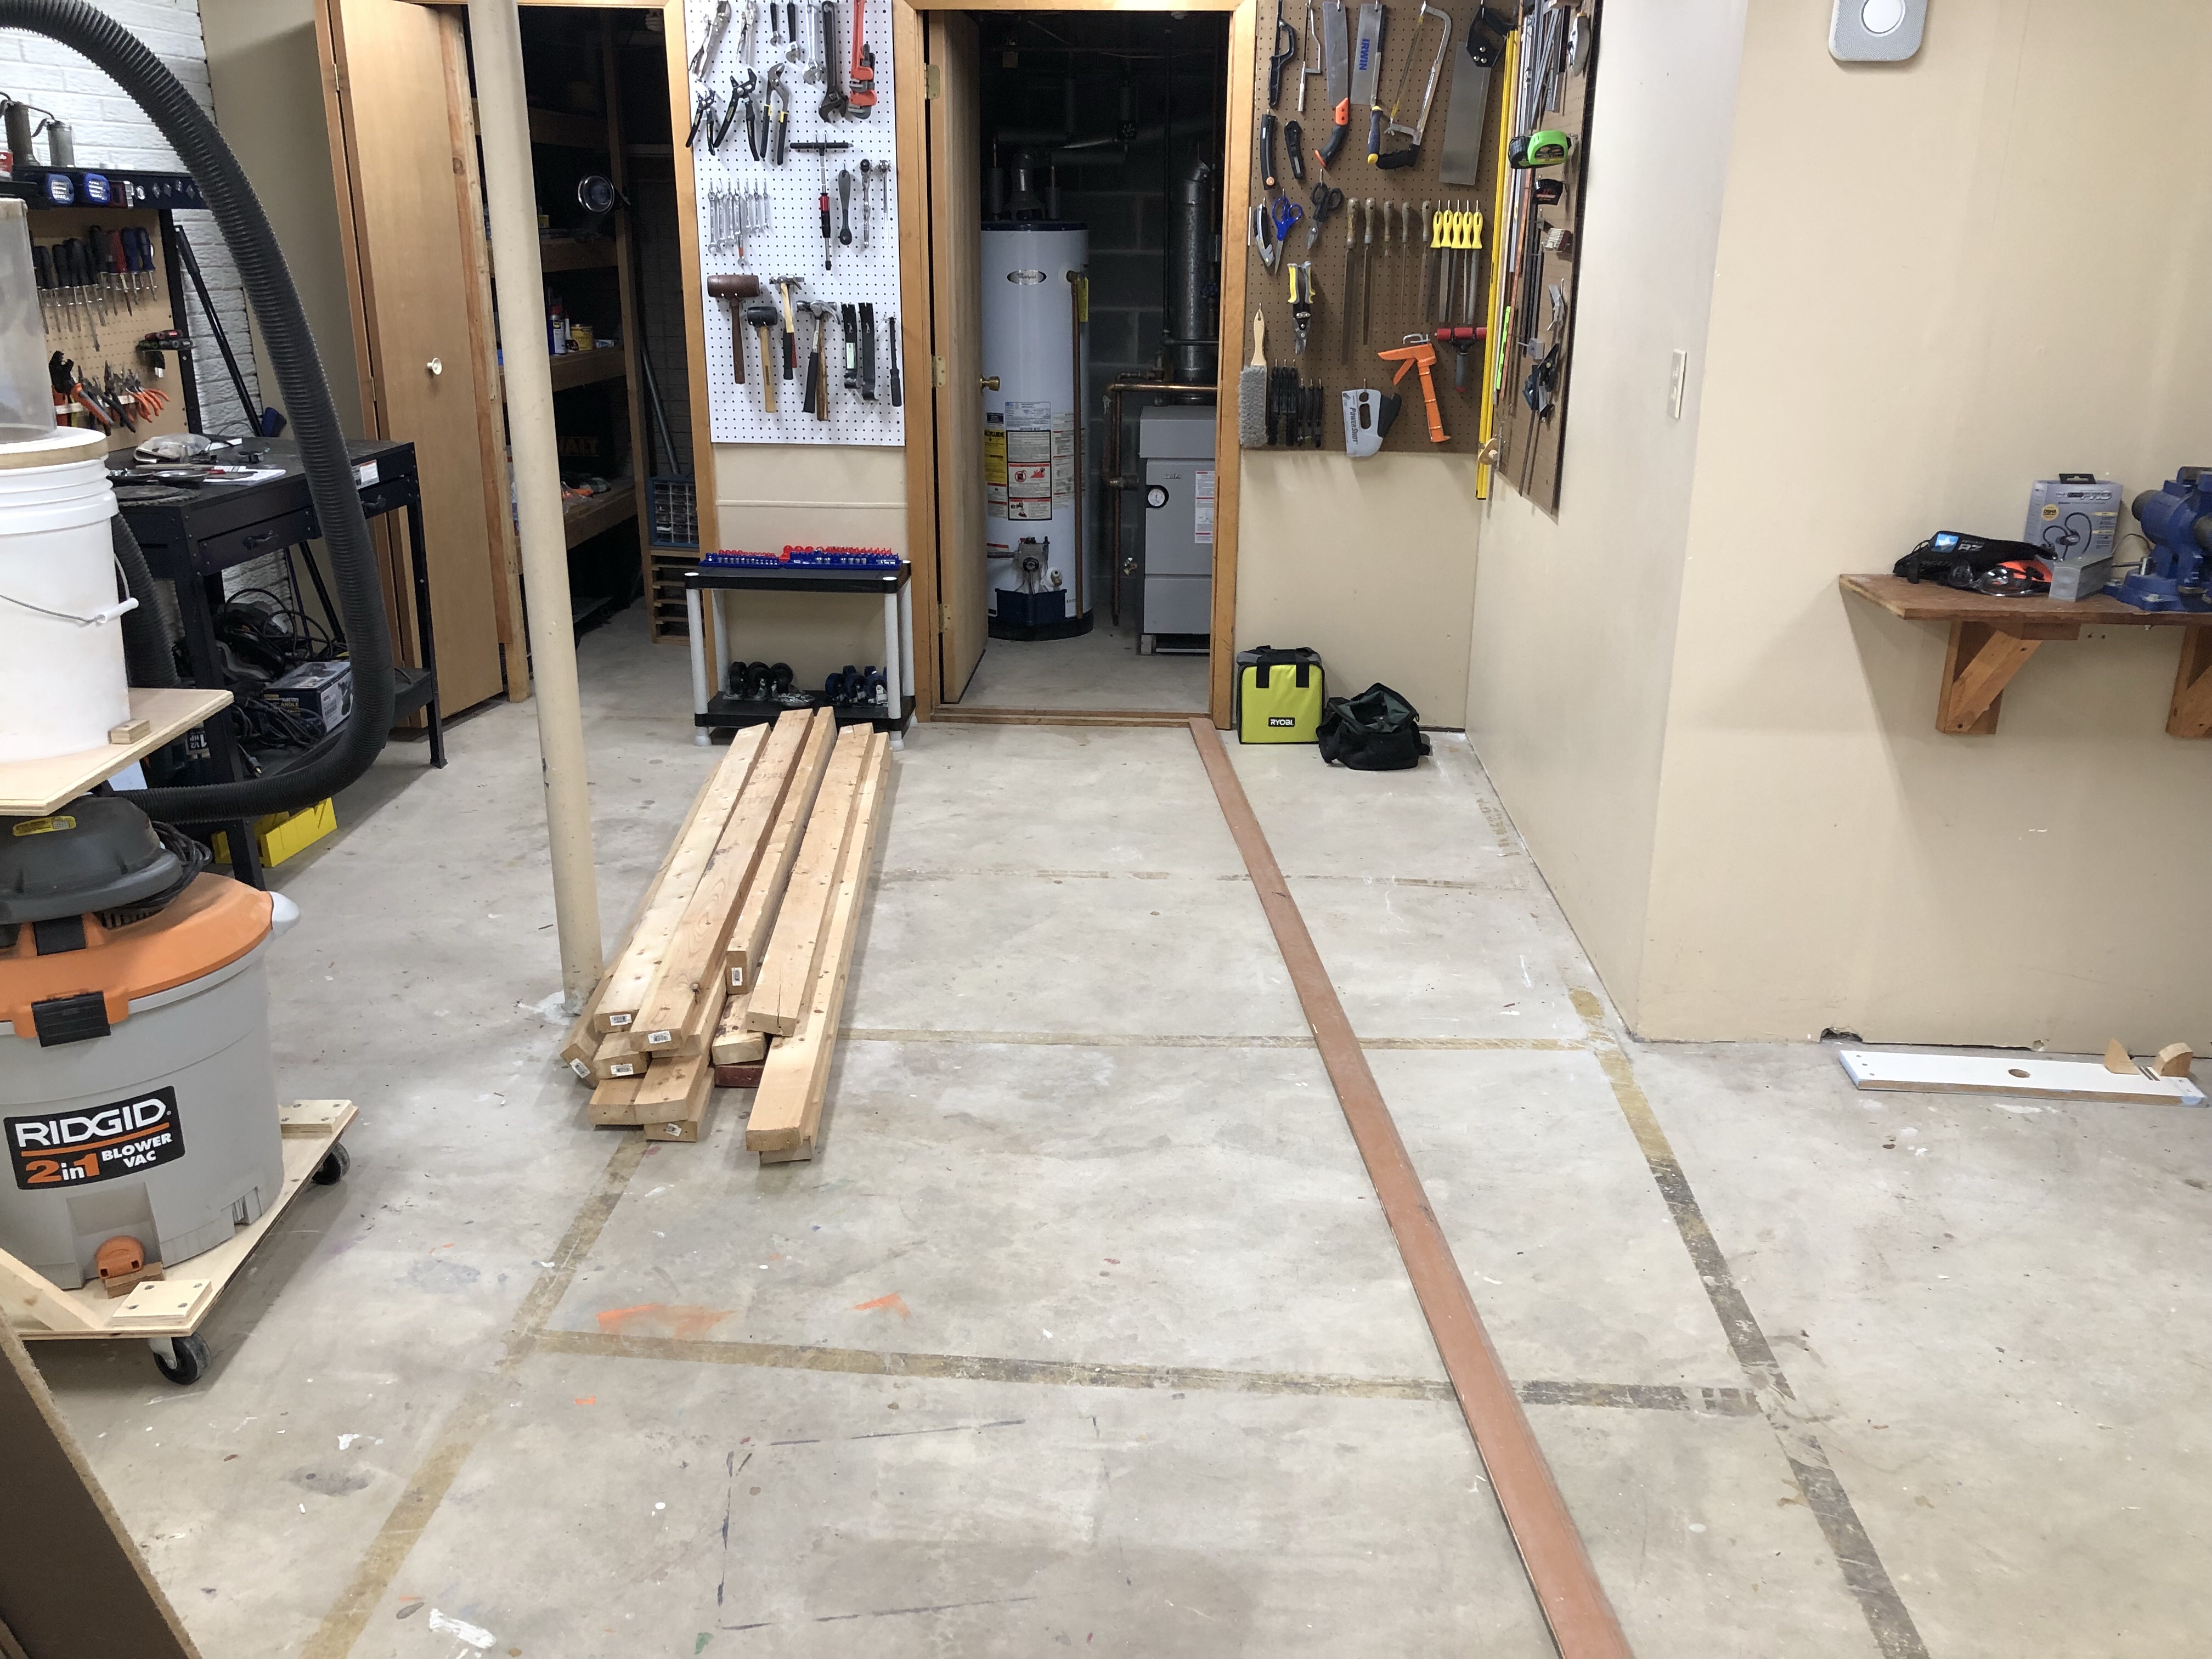

I’ve already ordered another batch of lights for the laundry room and bathroom, though I’ll be keeping the ceiling in those locations.
I still need to work through HackerBoxes #23 and #24, but #25 arrived on the 1st. I’ve been spending so much time putting together my workshop that I haven’t sat at my electronics desk much in the last 2 months.
The camera was a little too close for the view angle I had set. I need to build a better camera arm/rig too.
I tried to price things out, but there are a lot of custom things in this box. Prices are from Amazon Prime unless noted. This list was copied from the Instructable for HackerBox #25.
With a lot of estimates I get a total of $67.17. Since I’ve been pricing these out all but once I’ve come up with a $60-70 value. Consistent.
A year ago, I posted a screenshot of the home screen on my iPhone 7 Plus. Might as well make this a yearly thing. Not much has changed with my app usage though. Here’s the home screen on my iPhone X.
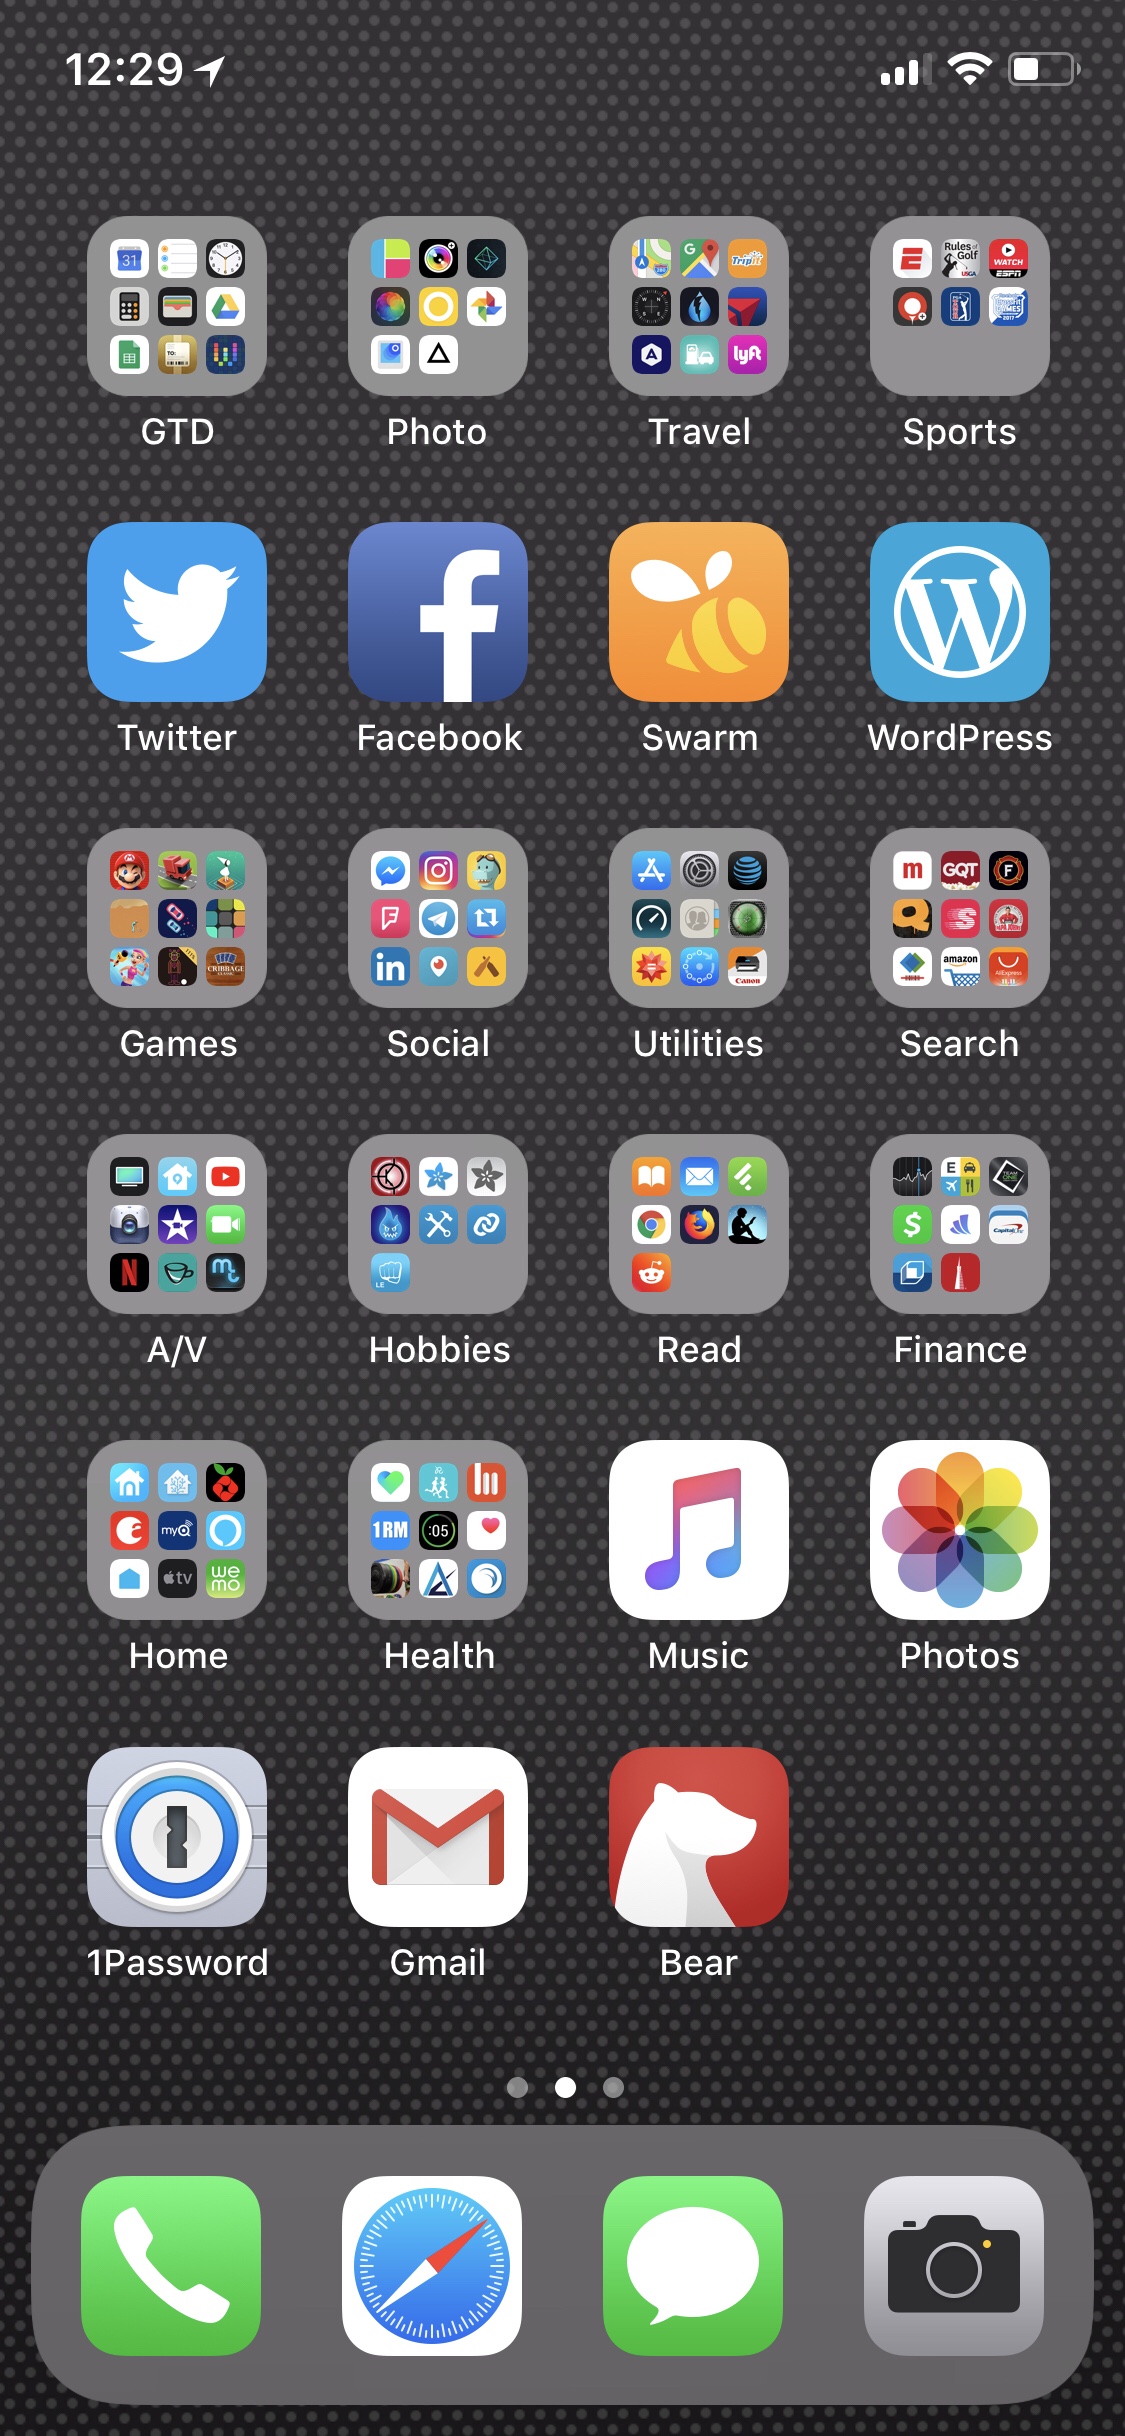
This may be the first time since iOS added app groups that I have a 2nd page.

These are some augmented reality apps I wanted to try. I’ll get around to filing them into a group soon because this second screen is bugging me.
It’s December and that means Star Wars! I’ll be ready for The Last Jedi with this new t-shirt. My brother saw it on Woot and thought I’d love it. Of course I ordered it right away!

I really fell in love with the look of the Eagle oil cans and ended up finding some more at estate sales. My first find was a can almost identical to the No. 66 my Dad gave me. I was going to clean it up for my brother, but I haven’t been able to unstick the trigger to take it apart. I’ve tried all kinds of stuff, so if you know any tricks, let me know.
Then I found two other Eagle cans that don’t have the No. 66 designation on the top, aren’t brass, and use a completely different pump mechanism and trigger. I like the feel of the triggers a lot better but the brass definitely looks cooler.
The large can was rusty and had all kinds of grease caked on. I cleaned it up and gave it a vinegar soak to take care of most of the rust. I didn’t want to get too aggressive with it and left some of the patina for a unique look. The small can had a teal-ish colored paint job and is in really good shape other than a dent. A few applications of Klean-Strip Premium Stripper got rid of the paint and I cleaned out the inside.
The middle oil can looks a lot darker in these photos than it is in person.


I wanted a place on the drill press cart to keep the original can, which is filled with cutting fluid. I whipped up a holder out of some scraps. It’s an ugly little box but does the job.
I seem to be acquiring a love for jalapeño flavored snacks. These pretzels give Cheddar Jalapeño Cheetos a run for the top spot. The kettle chips from Miss Vickie’s are also really good.

After organizing my hand tools, I wanted to continue with the same ideas to organize the clamps I’ve acquired. Everything should have a place to go with first order retrievability being key. Here are all of the clamps laid out (I actually got some more and replaced the pipes in the 2 on the left) before I started building anything.
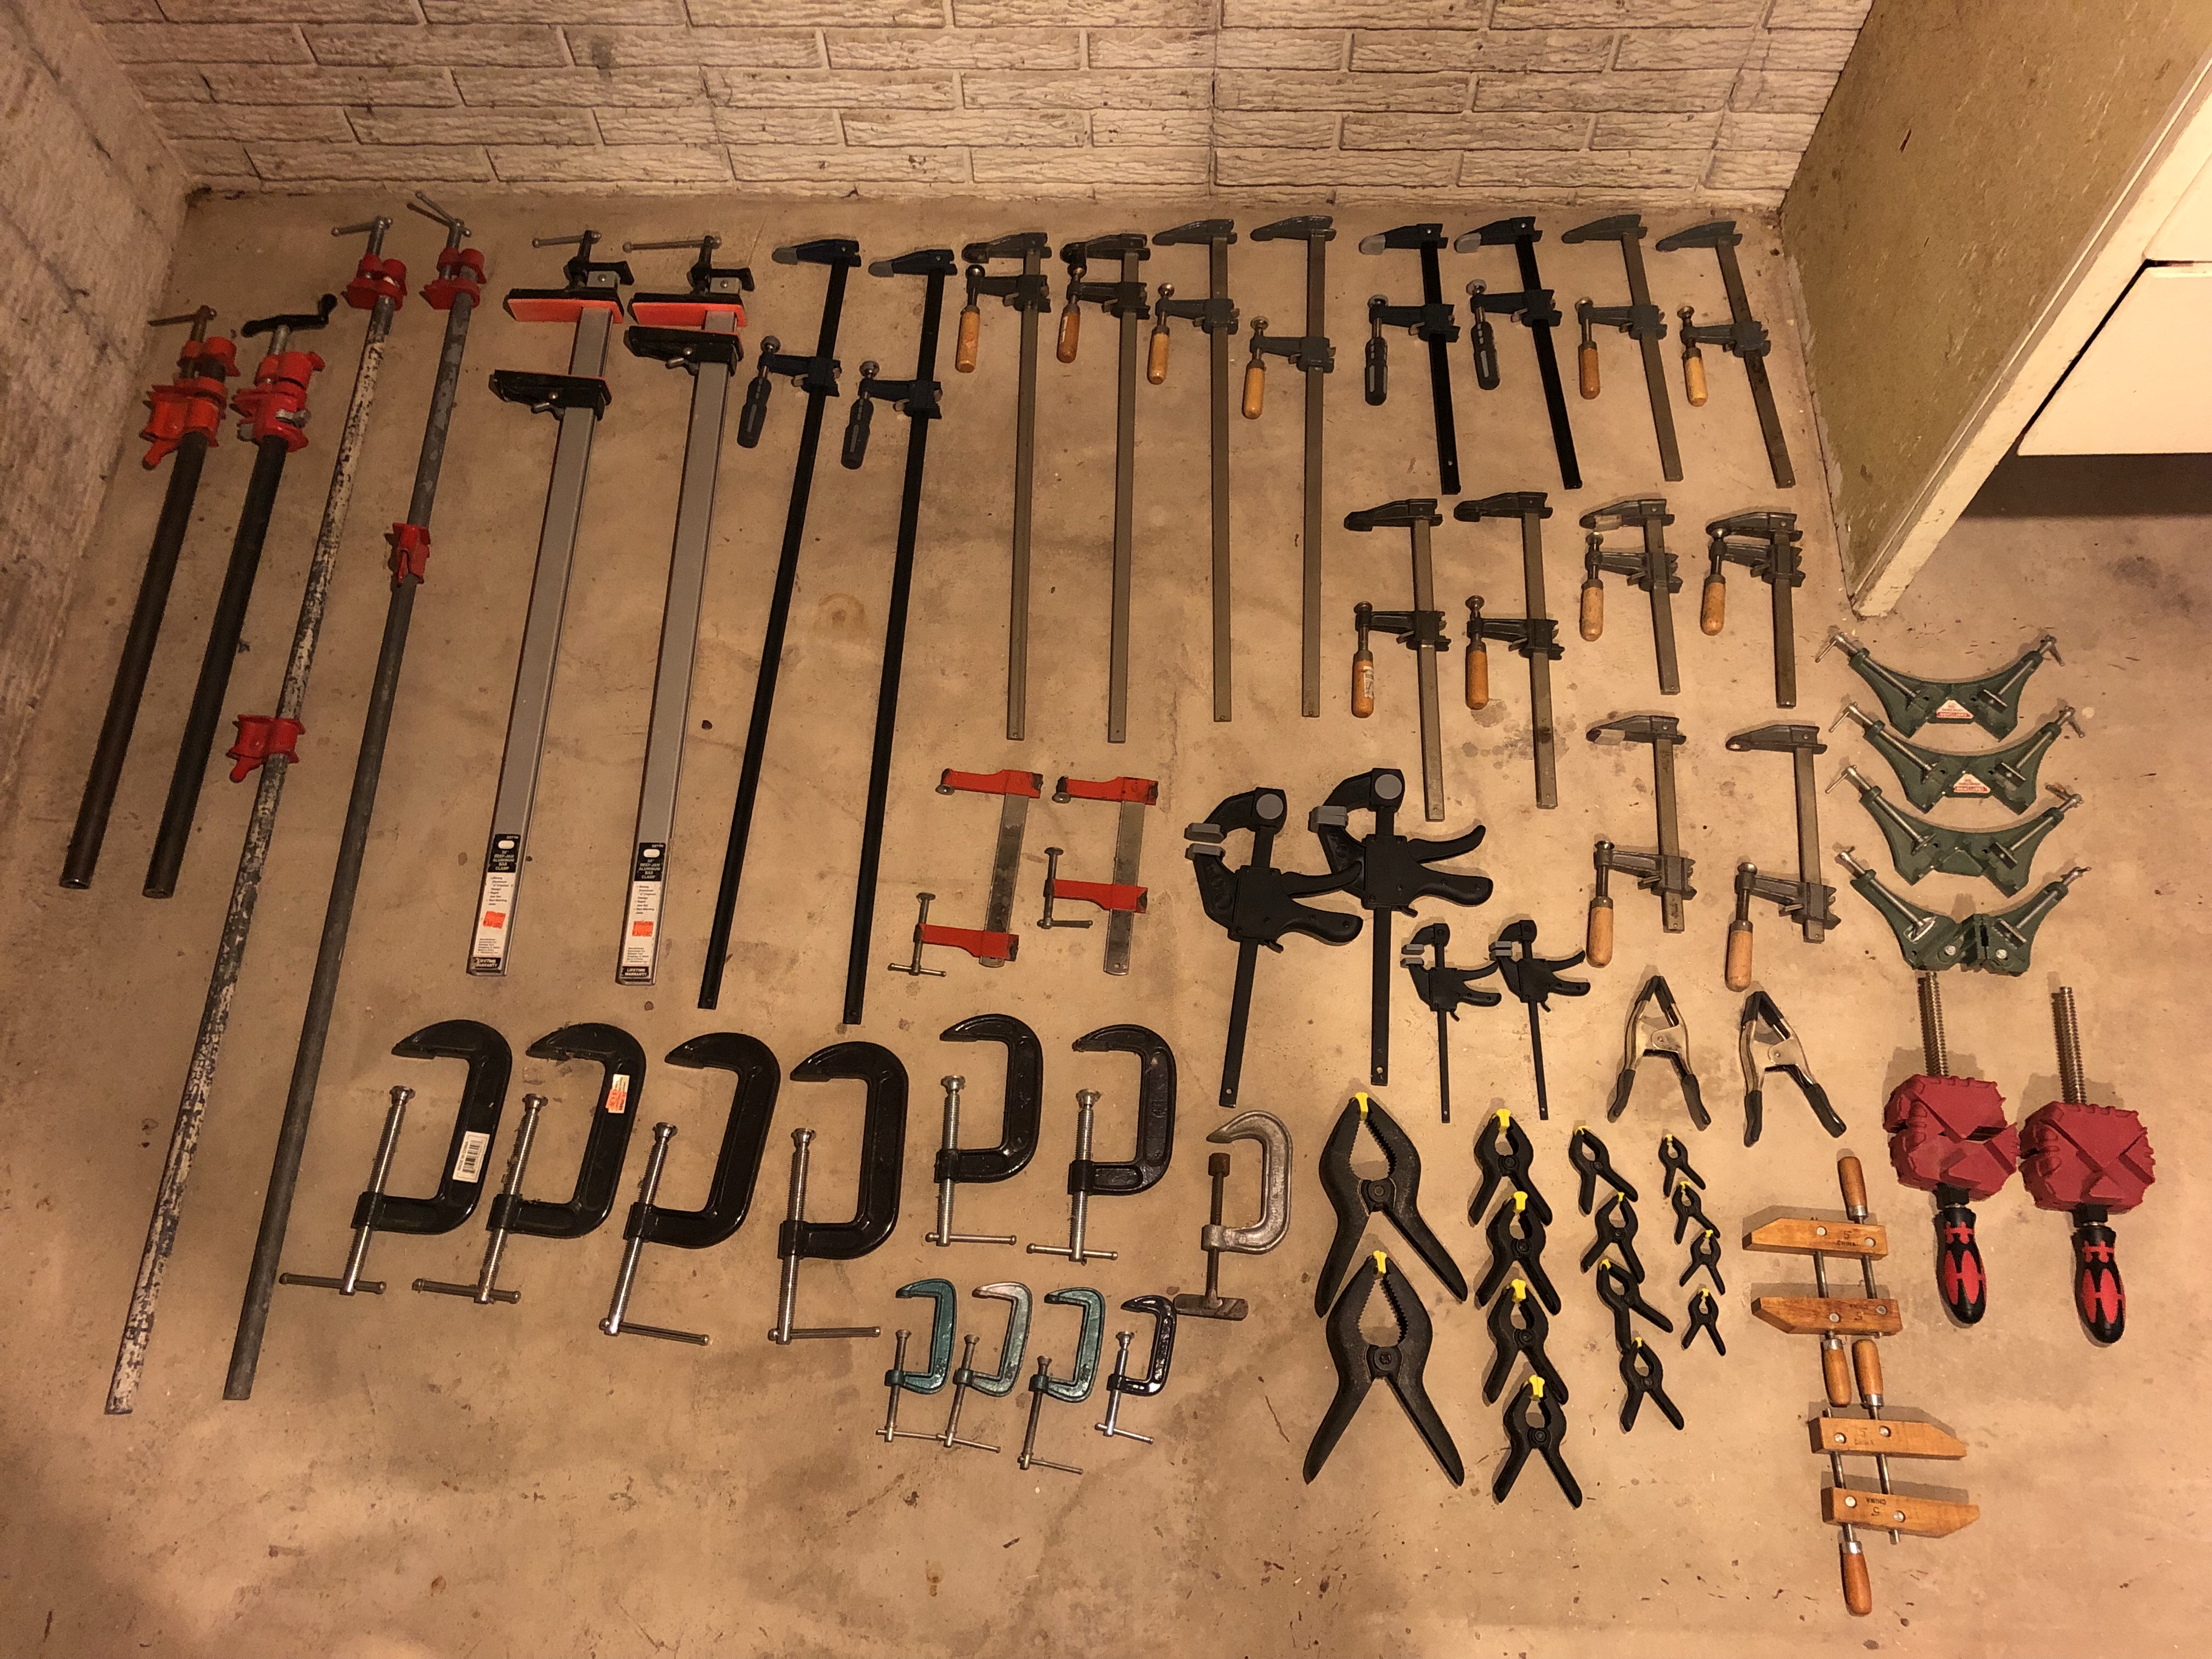
As you can see, I’ve acquired a lot of clamps in a short period of time. Almost all of these were bought at estate sales, which I’ve found is a great way to build out a workshop for the first time. Once I could see everything I started looking at different ideas on Google Images and YouTube. Woodworkers love their clamps and there is no shortage of clamp rack designs out there.
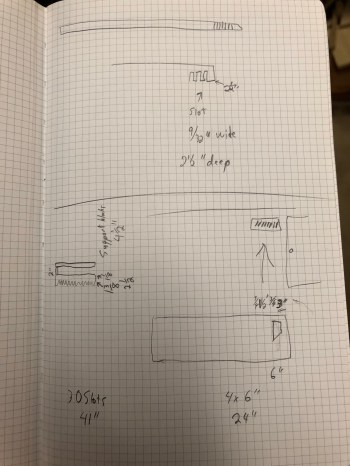
The first rack I wanted to build was for all of the F-style bar clamps. I measured various parts of my clamps and scribbled some sketches.
Then I mocked up a rough prototype on a scrap of 2×4.
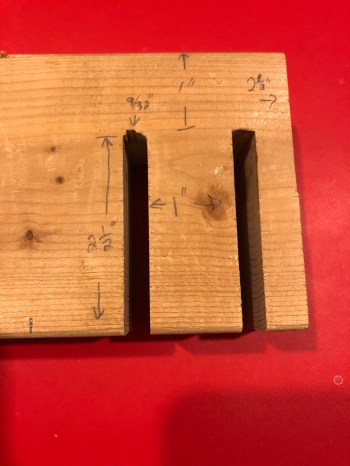
I felt good about the design, so I moved over to some 1/2″ plywood. I cut a piece to 48″ by 2 5/8″. Then I drew a line 1 9/64″ from the long edge and marked every 1 5/16″. Let me explain some of those weird measurements. Maybe you can read from the prototype, but I wanted the slots to be 9/32″ wide since the widest bar on any of the clamps was about 1/4″. Drawing the long line at 1 9/64″ came from a 1″ gap from the edge and half of the 9/32″ hole. I wanted about 1″ between each slot, but it was quicker to mark every 1 5/16″ because I had almost 40 marks to make. This also give me a little fraction of extra space between clamps. It probably makes more sense when you see how I drilled the holes.
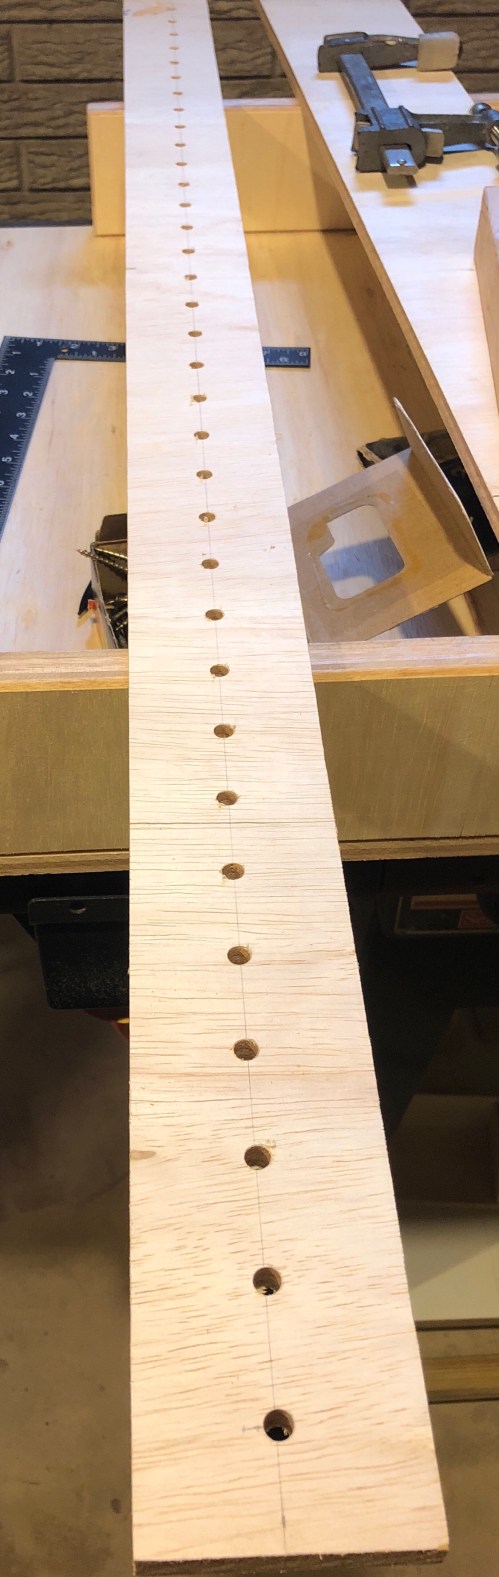
Then I drew lines to the edges of each hole, stood it up on the table saw, and cut out each slot.
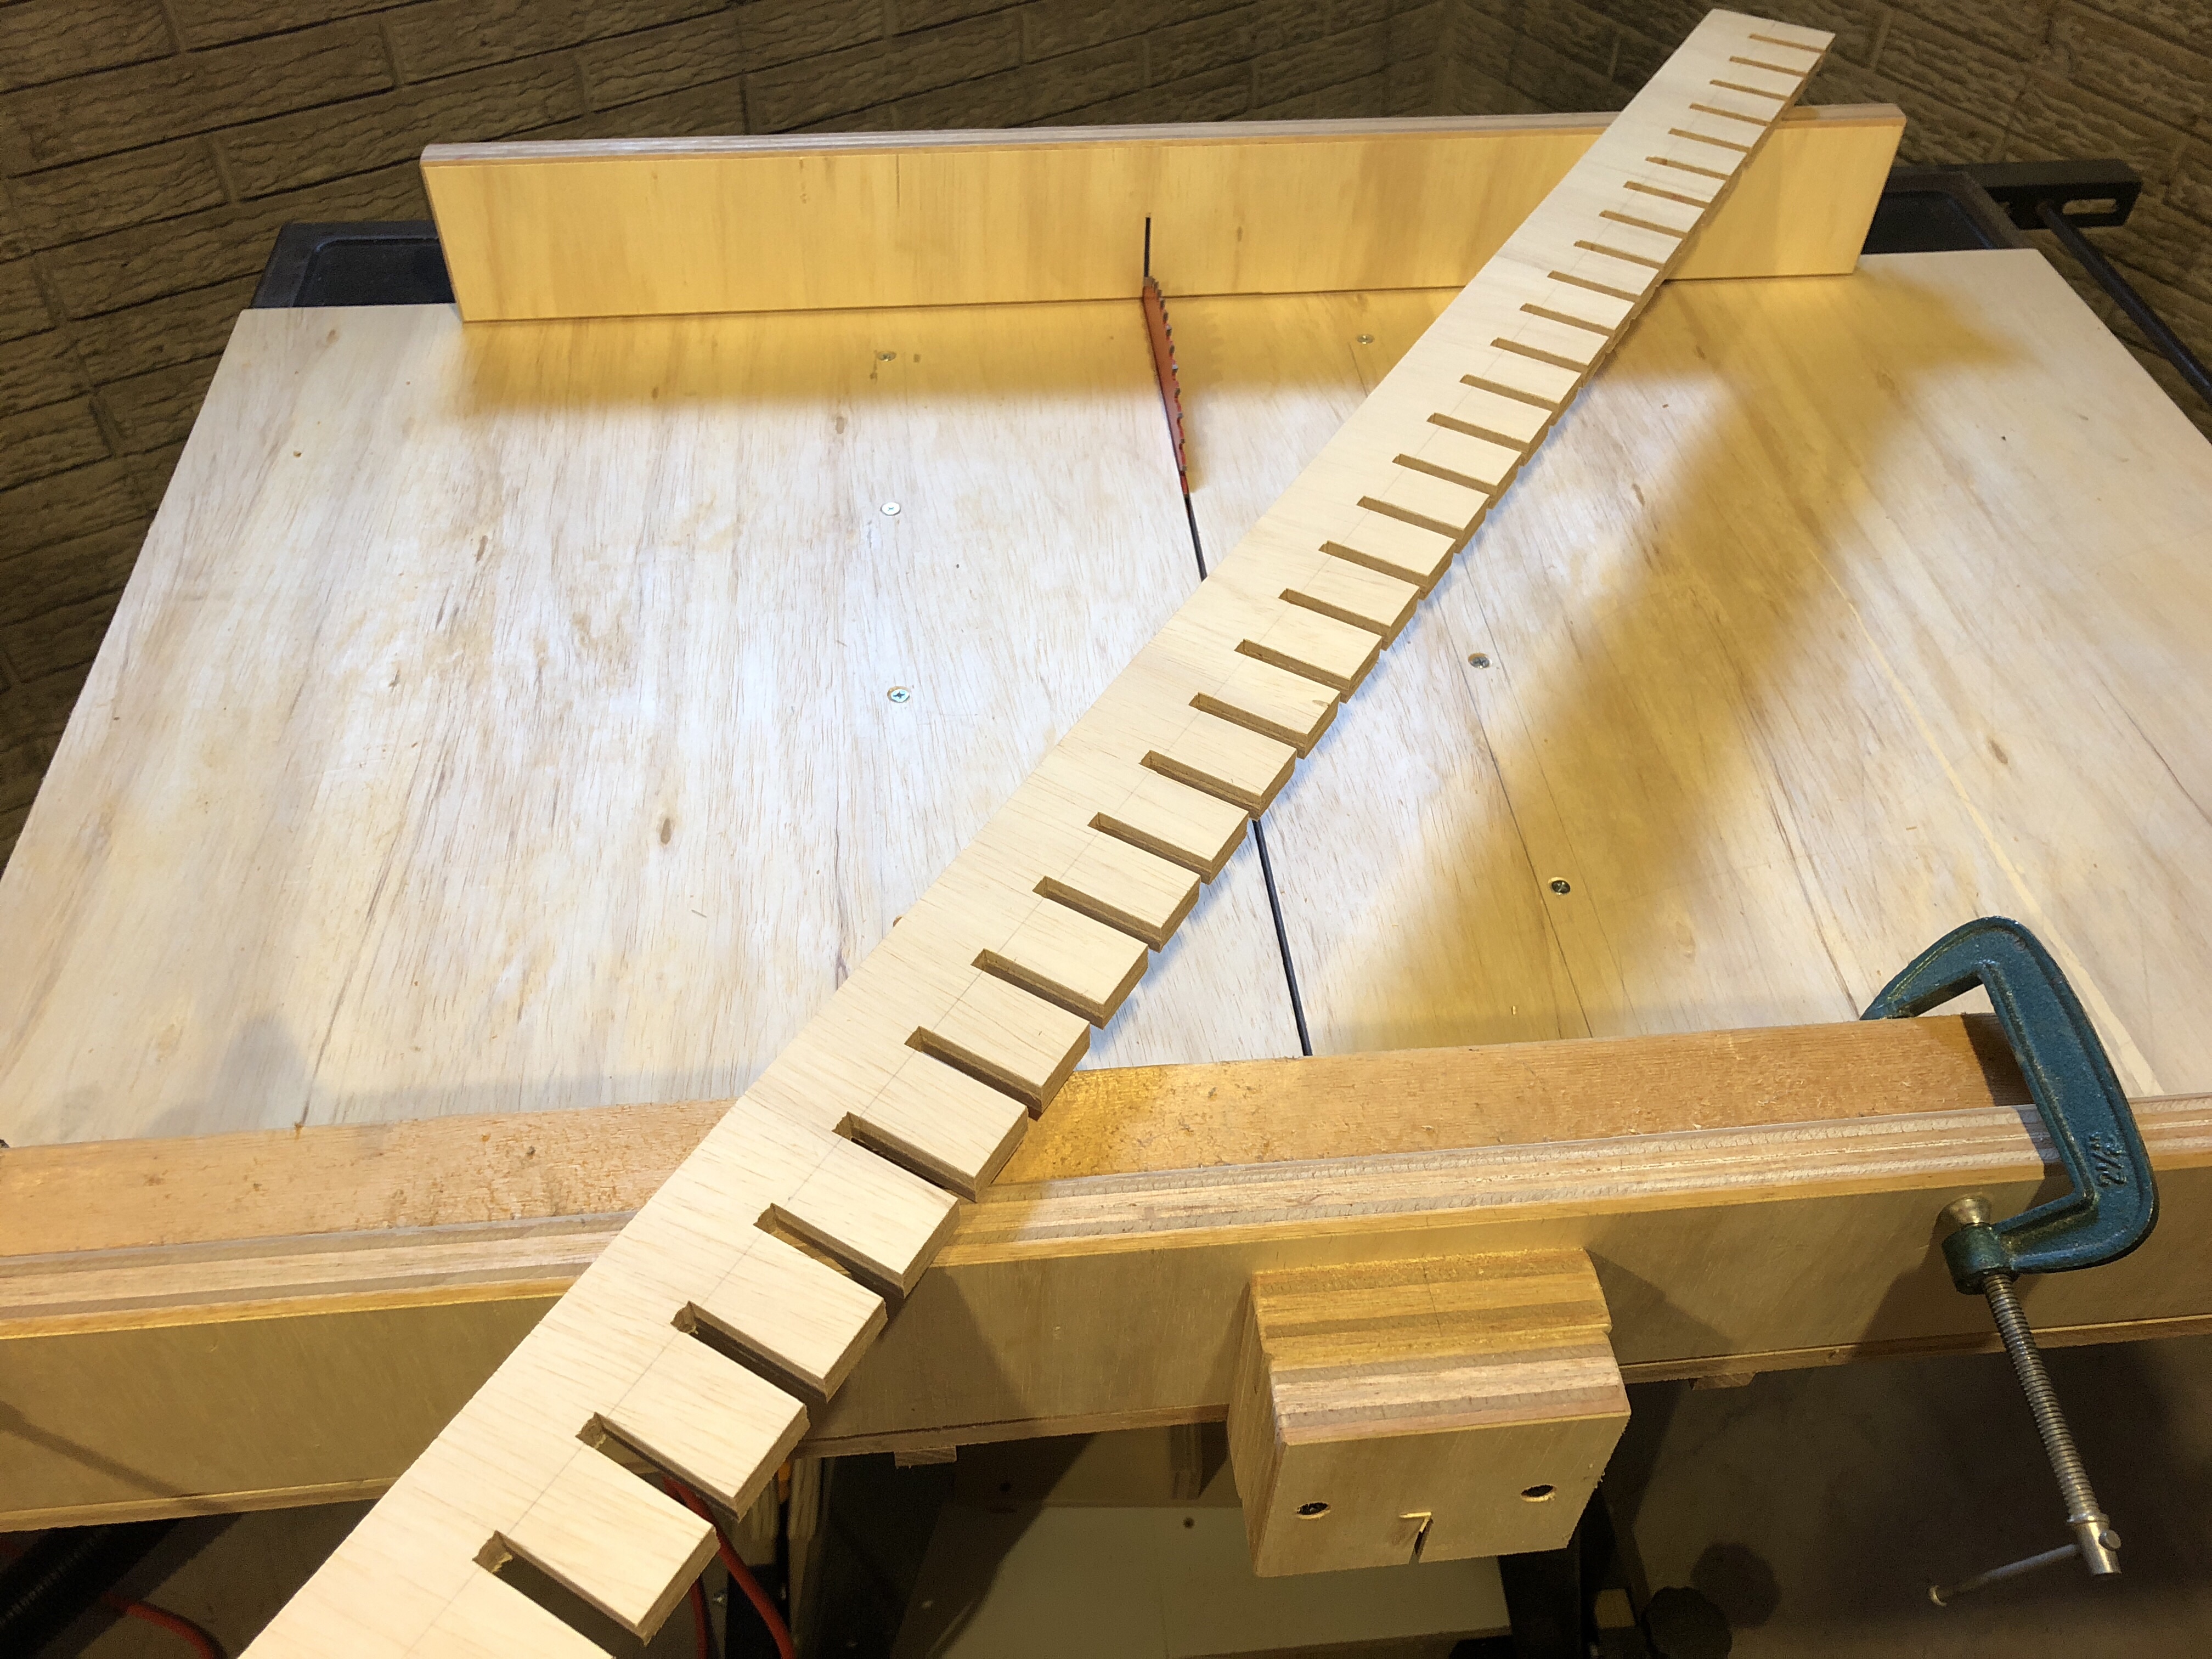
You’ll notice the end of the slots aren’t rounded anymore. This is because I worked it across the blade after cutting to the second side of each hole. I took it to the router table and did a quick rounding of each slot’s opening so it will funnel the clamp in.
Most of this designs for this type of clamp use slots like this. Some people store these clamps with the bar at the back of the rack though and the pads facing out towards you. I decided on the opposite with the bars facing out because it makes it easier to grab a clamp.

I did do something I hadn’t seen by mounting this piece with a 1 5/8″ gap between it and other piece of plywood screwed to the wall. This allows the clamps to hang over the edge instead of having the top pad of each clamp sitting on top of the wood. Each clamp is a lot more secure like this and shouldn’t accidentally pop off. You can see this better in the video at the end.
The second rack I built was for miscellaneous clamps. There isn’t much to explain about this. For the C clamps I cut a bunch of 1″ inch holes and then sliced down the middle on the table saw. By the way, get a set of Forstner bits if you don’t have them; they work infinitely better than spade bits.

The 3rd rack would be for the wider bar clamps and pipe clamps. It was built similar to the first rack, but I wanted the bars/pipes along the wall because they’re heavy and would have more support this way. The holes I drilled for these slots were with a 1 1/4″ Forstner bit and 2.5″ from one hole center to the next. This little sketch shows I wanted the edge of the hole to be an inch from the back and each slot would be 3 inches deep. I left the rounded back side of each slot since it’ll mostly be used for pipe clamps. I once again used the router table on the slot openings and finished it off on the spindle sander since everything was a bit rougher with the thicker 3/4″ plywood and wider slots.

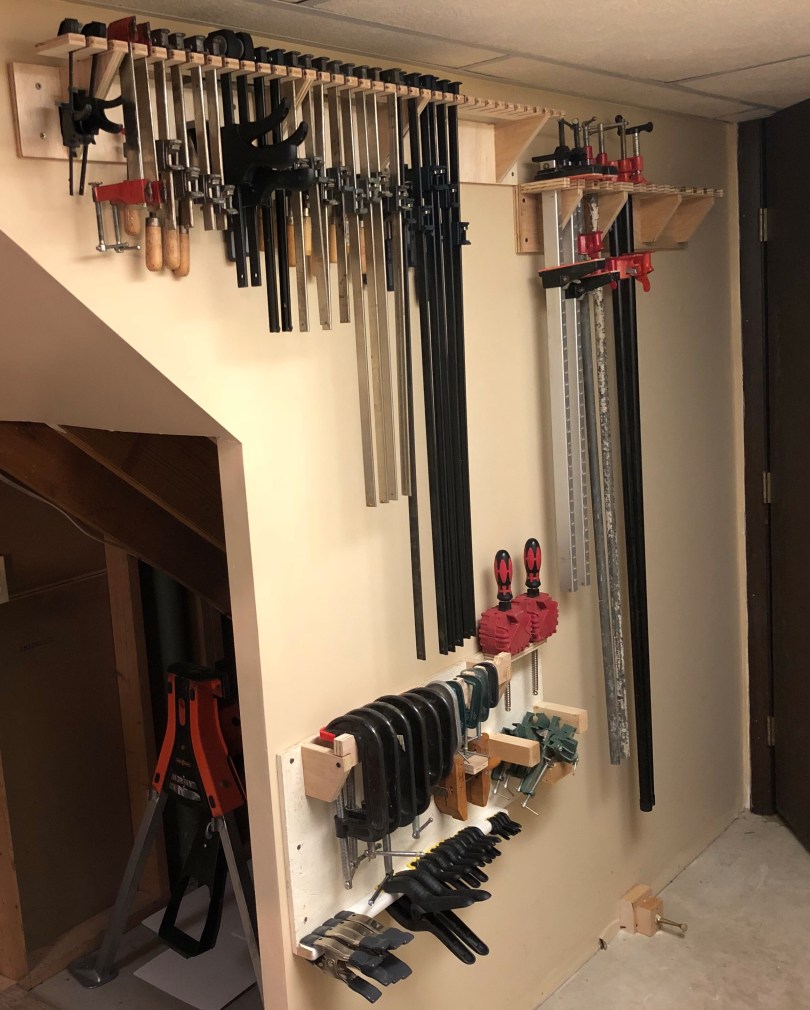
It’s hard to get a good picture since this is basically a hallway area, but here’s the finished project.

Check out the video below for a walk through of how it all ended up.
 I’ve enjoyed several MythBusters marathons over the years and have been watching a lot of Adam Savage’s stuff through his TESTED YouTube channel with my new making hobbies. Adam is one of the most well-known makers in the world. I’ve learned a lot from watching some of his techniques, have been inspired by many of his builds, and have been following some of his ideas while building my workshop.
He tours doing a show called Brain Candy Live! with Michael Stevens, who runs a very popular YouTube channel of his own (Vsauce), with over 12.5 million subscribers. A couple of weeks ago I looked to see if they were coming to Michigan and not even 3 weeks later they were going to be in Midland. Rounded up some friends and we got tickets for yesterday’s show.


It was fun, with plenty of puns and cheesy jokes. The guys did a bunch of neat demos with some wow moments like this smoke ring.

