A new year means it’s time for a recap of my maker projects from last year. We’ve settled in to the new house, which let to quite a few home automation things and setting up my shop.
I’ll likely turn this into something that interfaces with my Home Assistant server to control different devices around my house.
The PyPortal has been sitting on a shelf ever since. Way back in February, it caught my eye, and I picked it up, not remembering what it’s capabilities were. Then I started upgrading IKEA air quality monitors and even made my own. Since I’m at the desk in my office a large portion of the week I thought I would make that 2019 prediction come true.
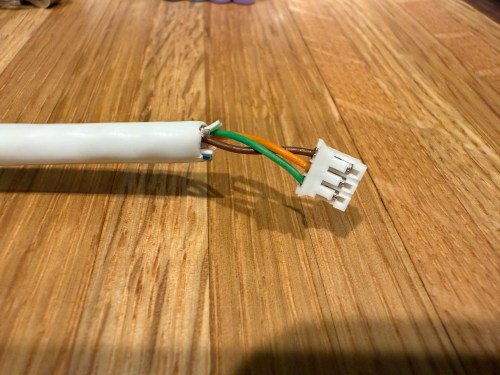
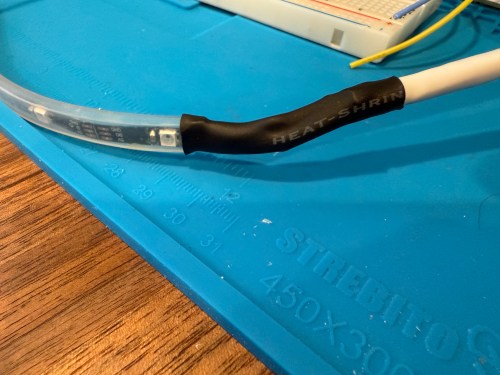
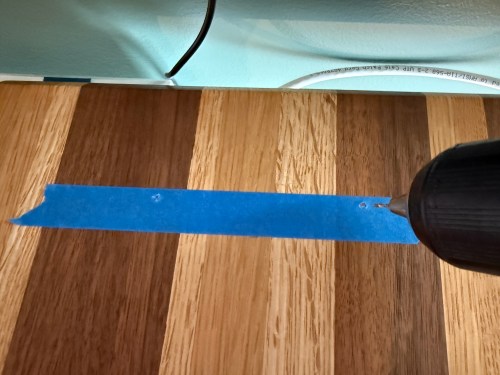
I could show a bunch of data on the screen and the PyPortal has a touchscreen, so I could display buttons for triggering things around the house. The device also has connectors for doing GPIO, so I got the idea of adding an LED strip, which I could use for notifications. I even had a meter long strip of Adafruit Mini Skinny NeoPixels I had bought in 2017 and never touched that would be perfect. I needed to buy a 2.0mm JST PH Connector kit in order to make a wire that would connect to the pack of the PyPortal. I ended up using a piece of Cat6 cable, even though I only needed 3 of the 8 wires inside.
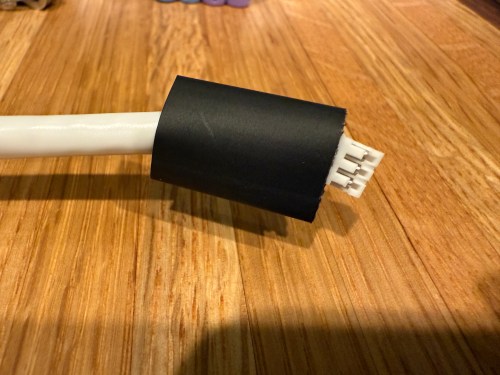
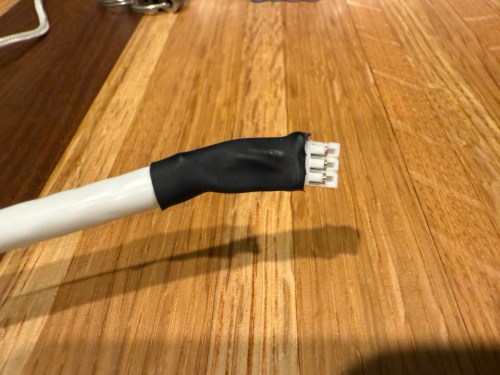
All of this was done back in March. I quickly began having issues with the ethernet cable and the small JST connectors, so I put this post on pause. Figured it was time to finally fix this before the end of the year. While testing, I determined the LED strip got fried up at some point. It was probably some kind of short from the janky wire.
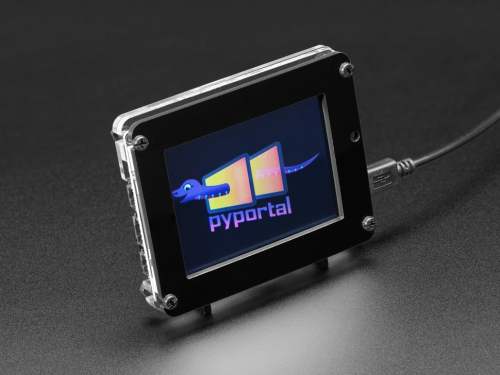
Here’s what my display looks like.
My favorite aspect of the project and code is being able to publish MQTT messages from Home Assistant, which the PyPortal listens for and reacts to. I can send various commands, such as fill:blue, which turns all of the LEDs blue, or whatever color I set. I have commands to chase a color from one side to the other, bounce a color from left to right and back to the left, pulse the entire strip, animate a rainbow, or set the brightness. Since I don’t have another strip of Neopixels, in order to create a demo video, I wired up a 24 LED circle. You’ll have to imagine the effects on the back of my desk, lighting up the wall.
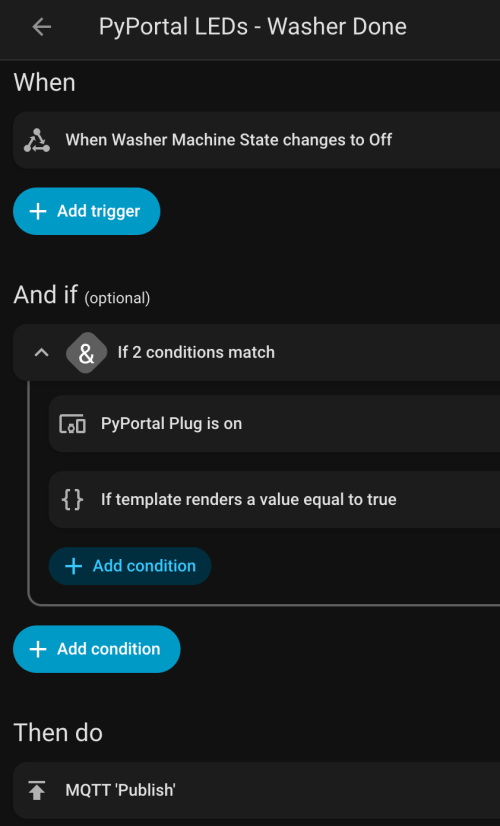
I can manually send these MQTT messages as shown in the demo, but the real power comes from automations. For example, the LEDs automatically pulse blue when the washing machine is done and pink when the dryer is done.
With the different effects and color combinations, the possibilities are endless. What kind of automations would you run?
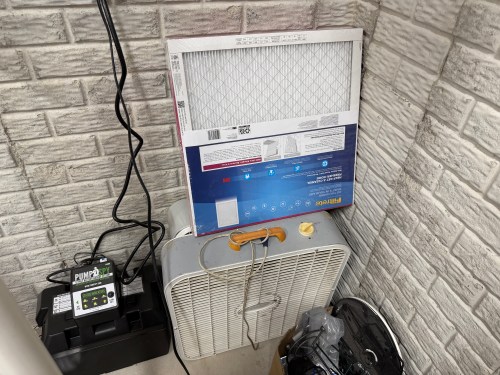
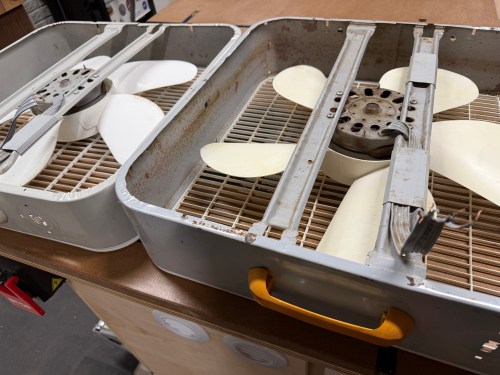
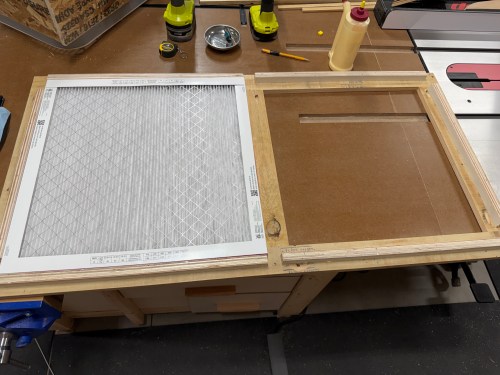
Over the years, I’ve seen many versions of a shop air filter, made from box fans and 20×20 inch furnace filters. A few years ago I picked up some old box fans on Facebook Marketplace and bought a pack of filters from Sam’s Club. They’ve been stacked in the corner.
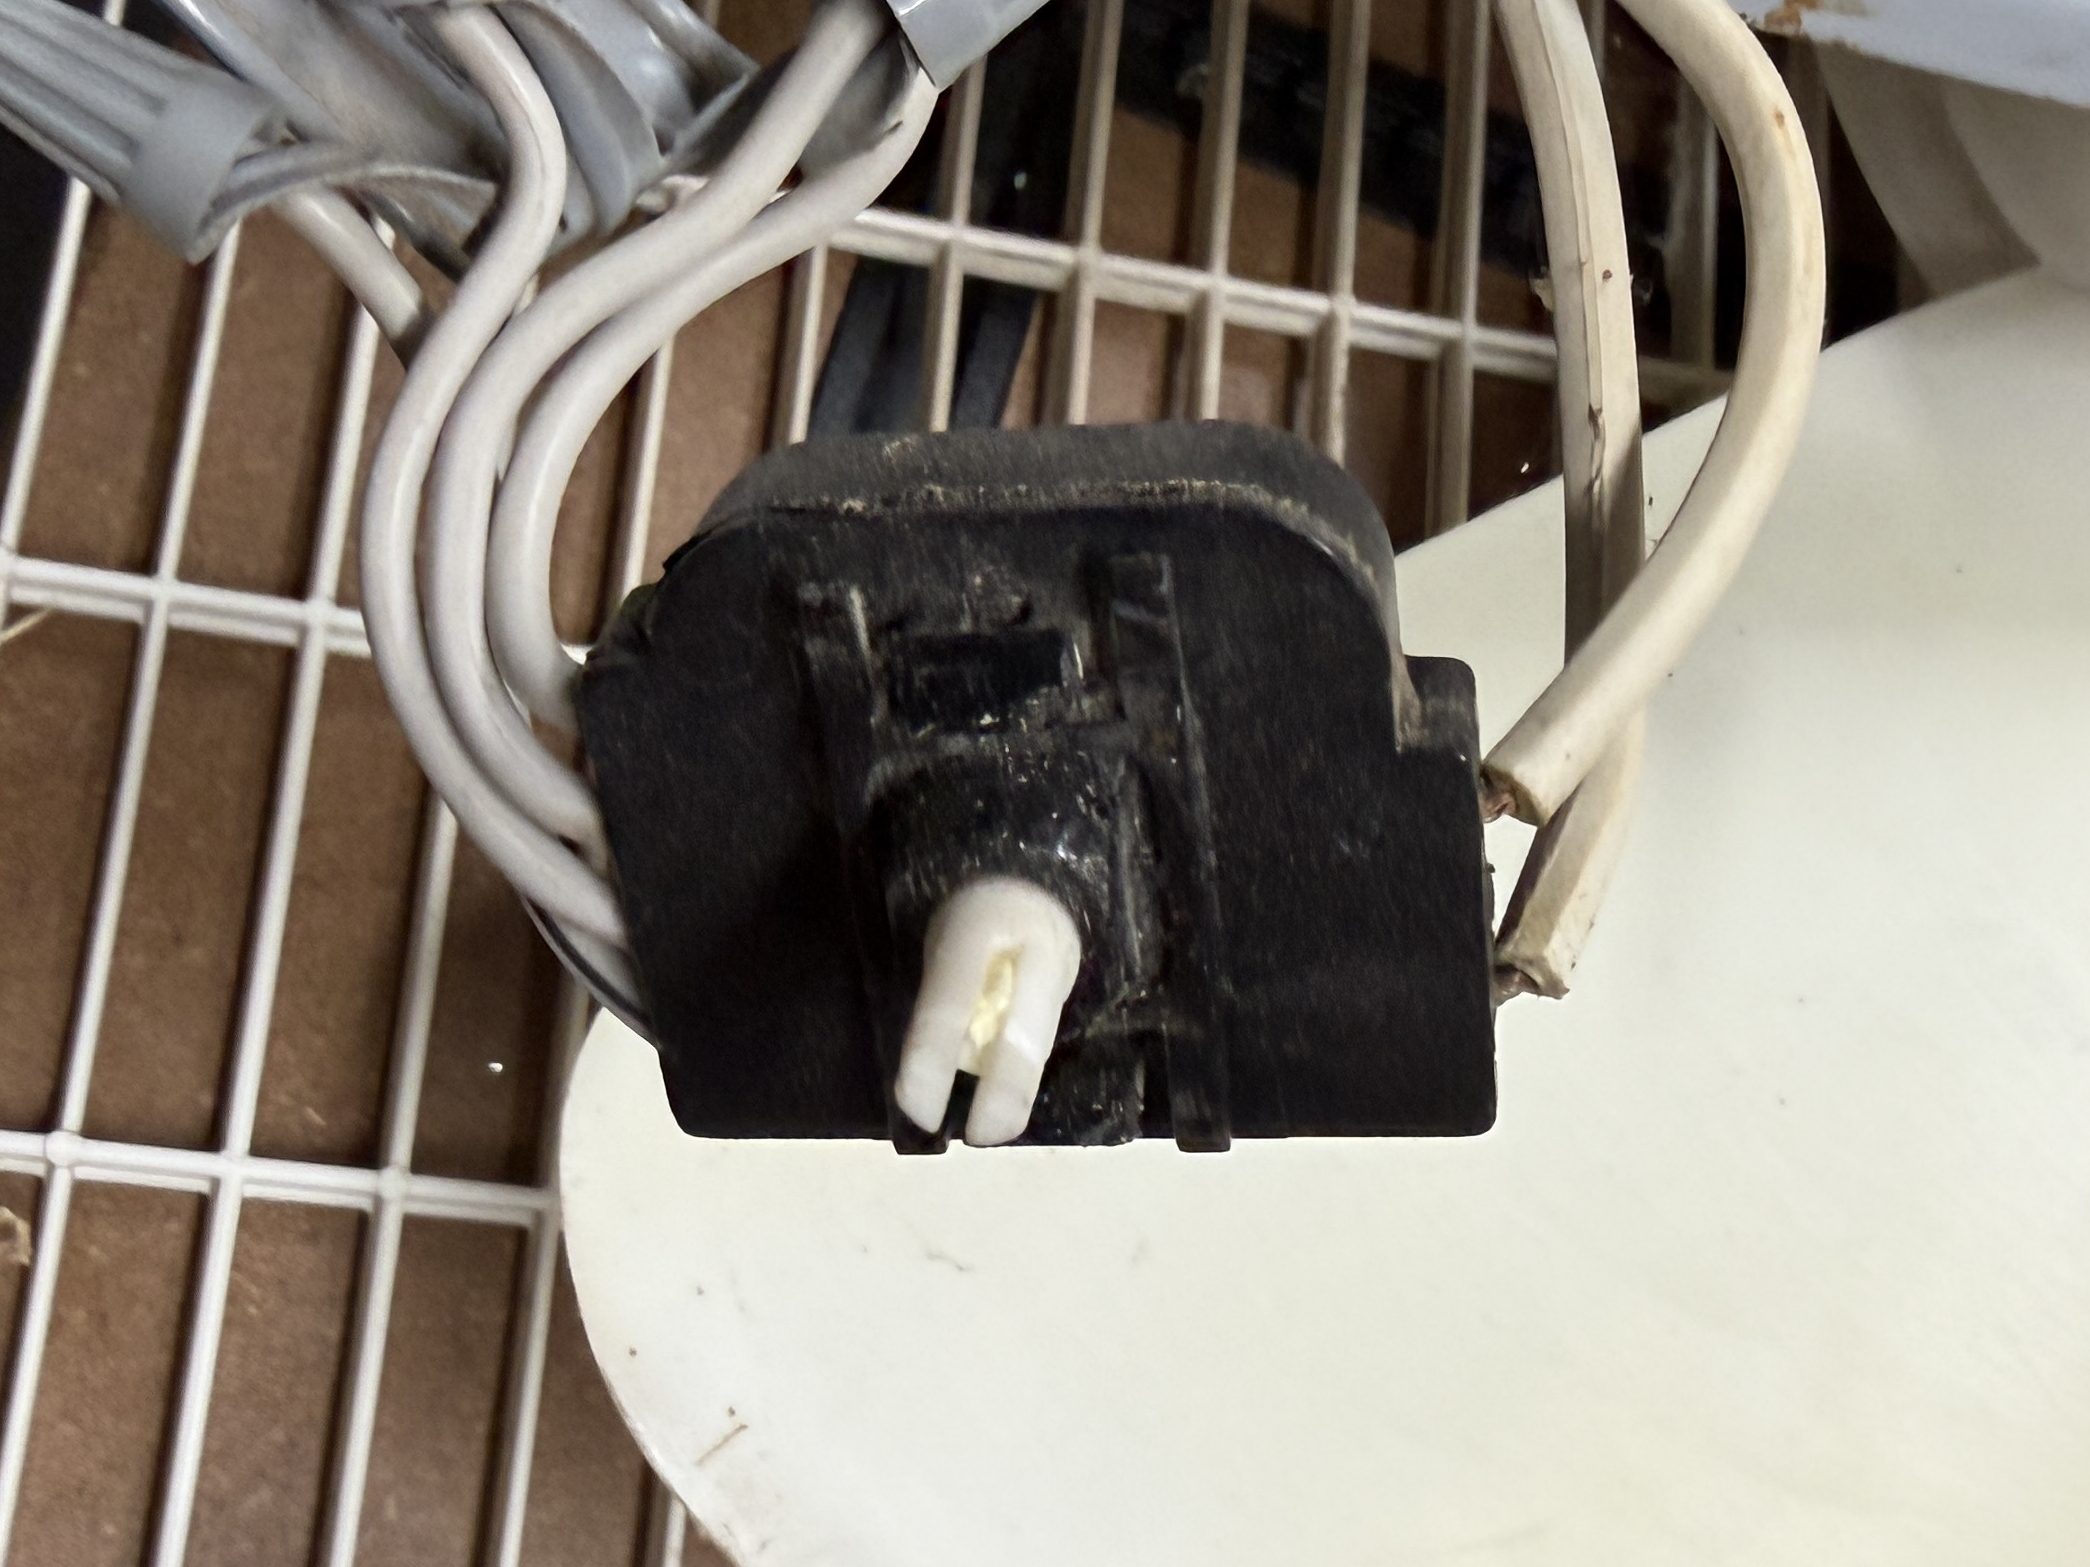
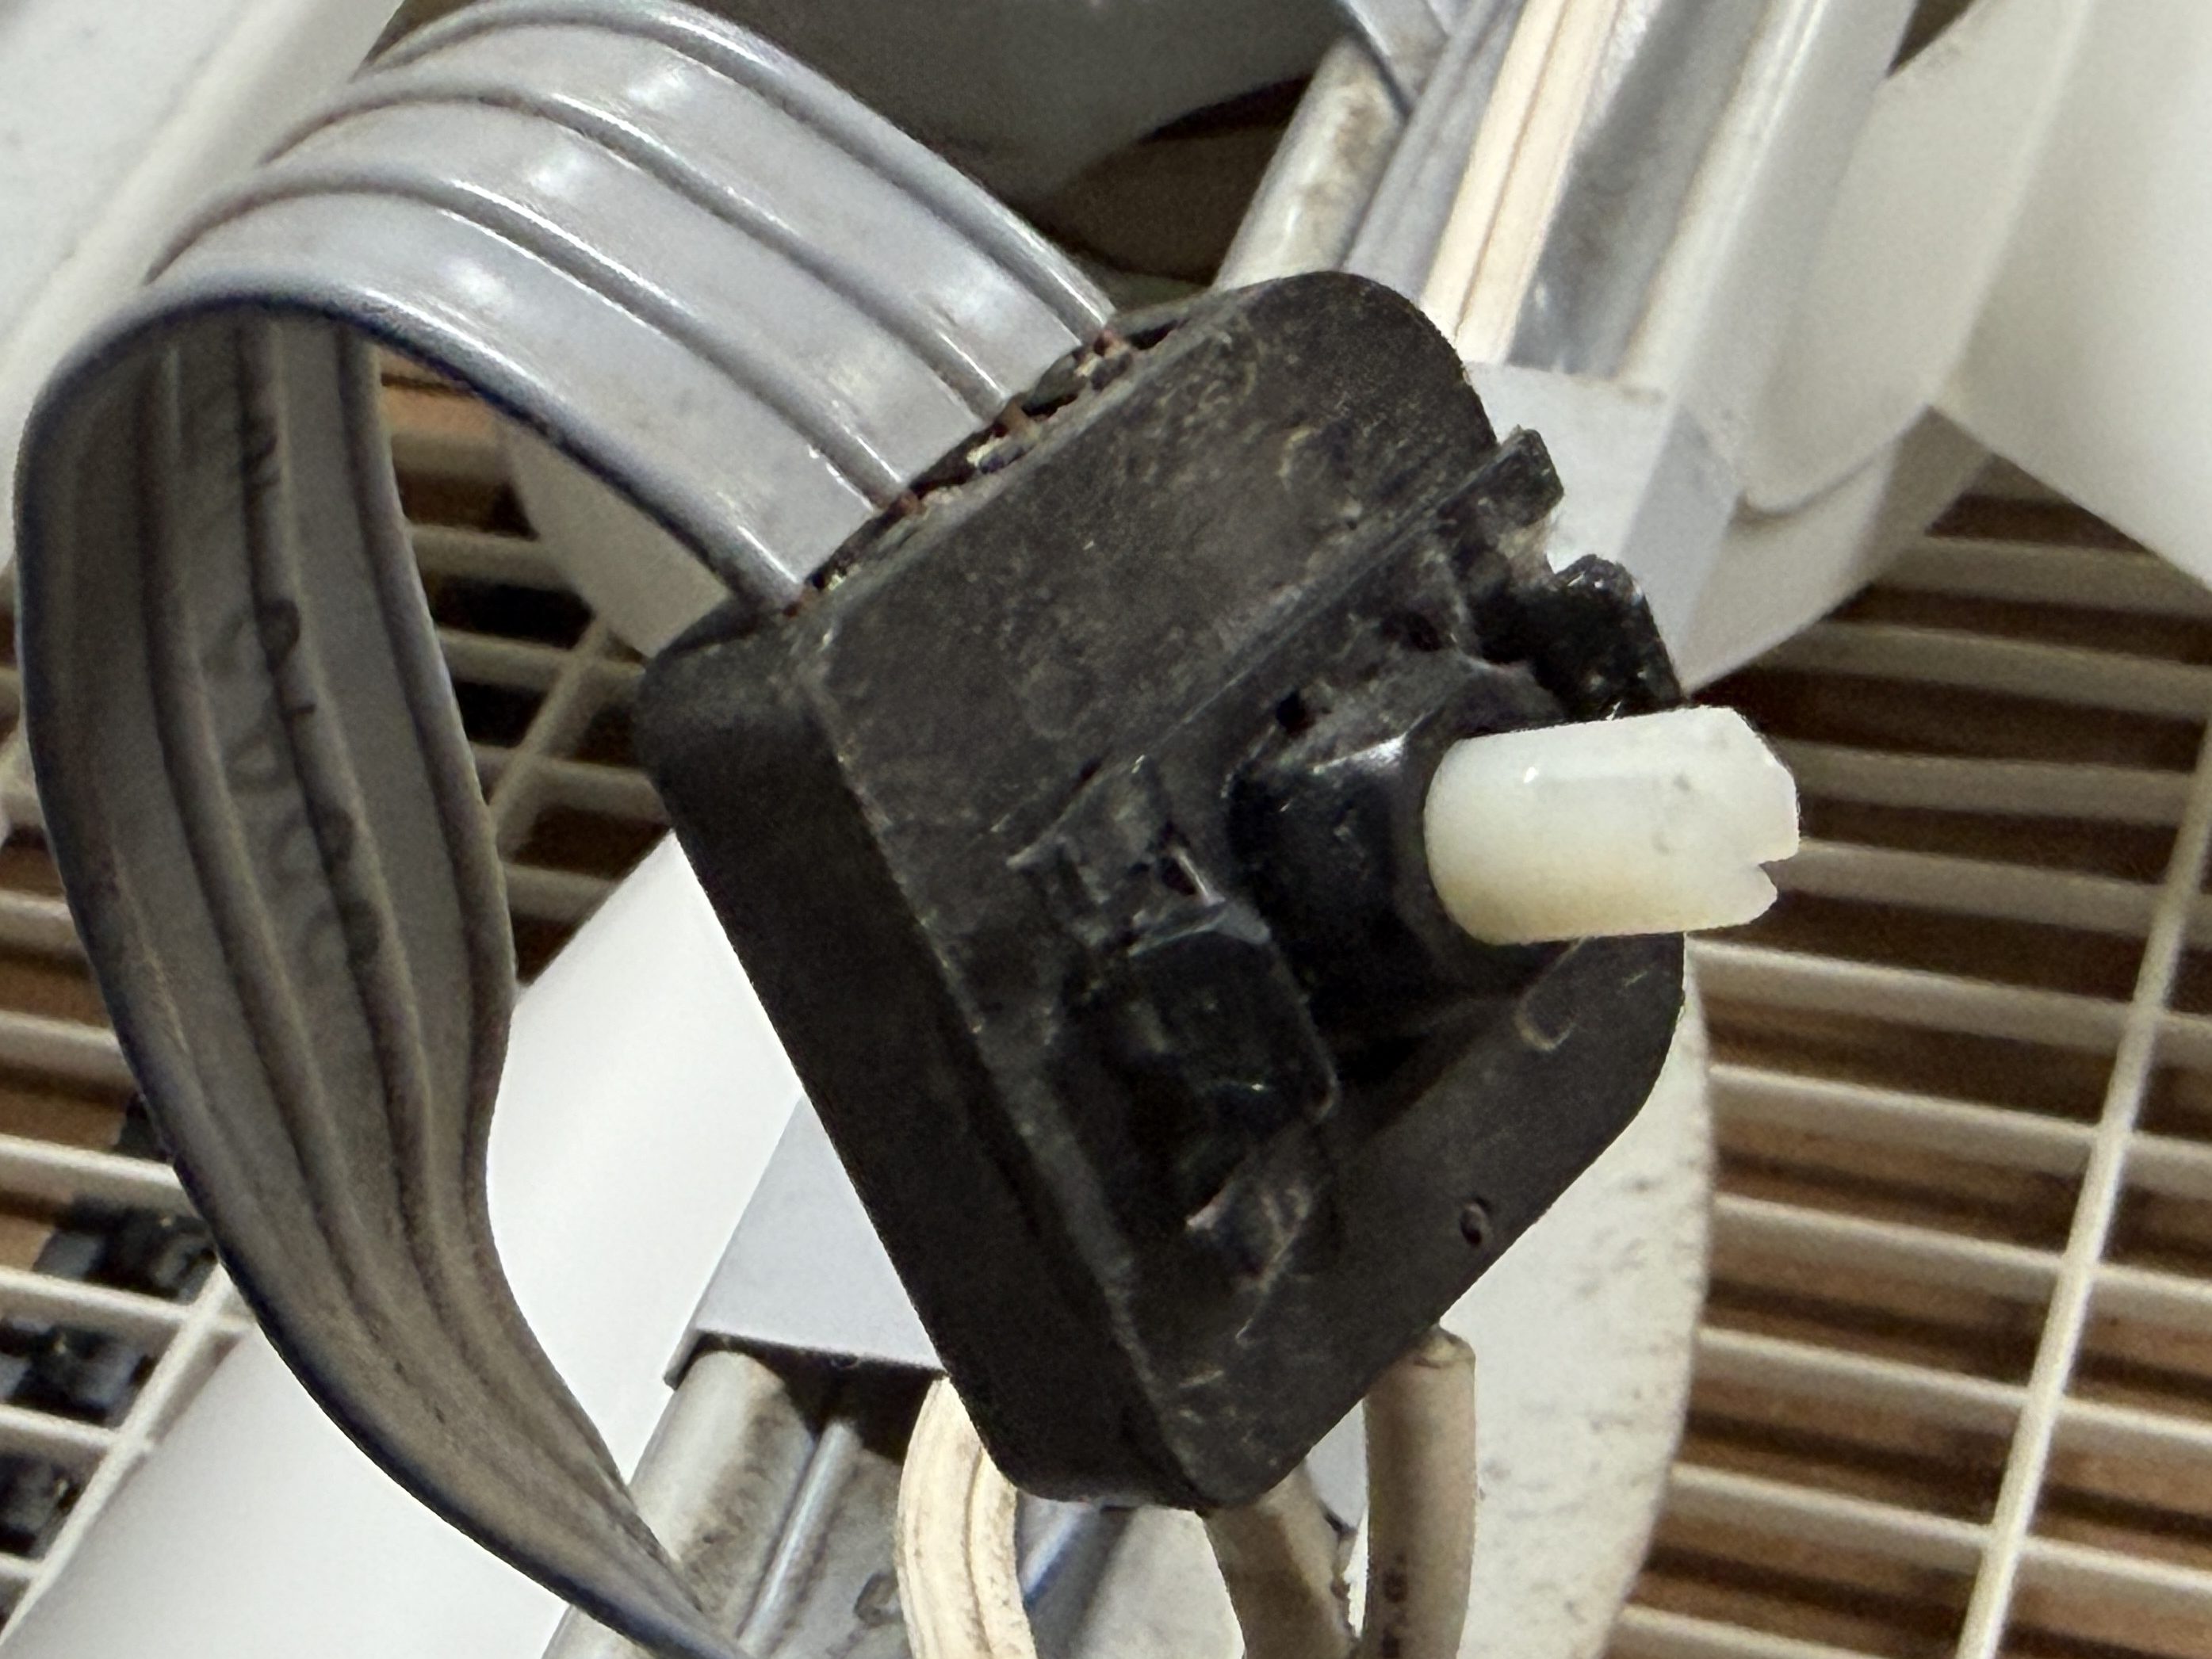
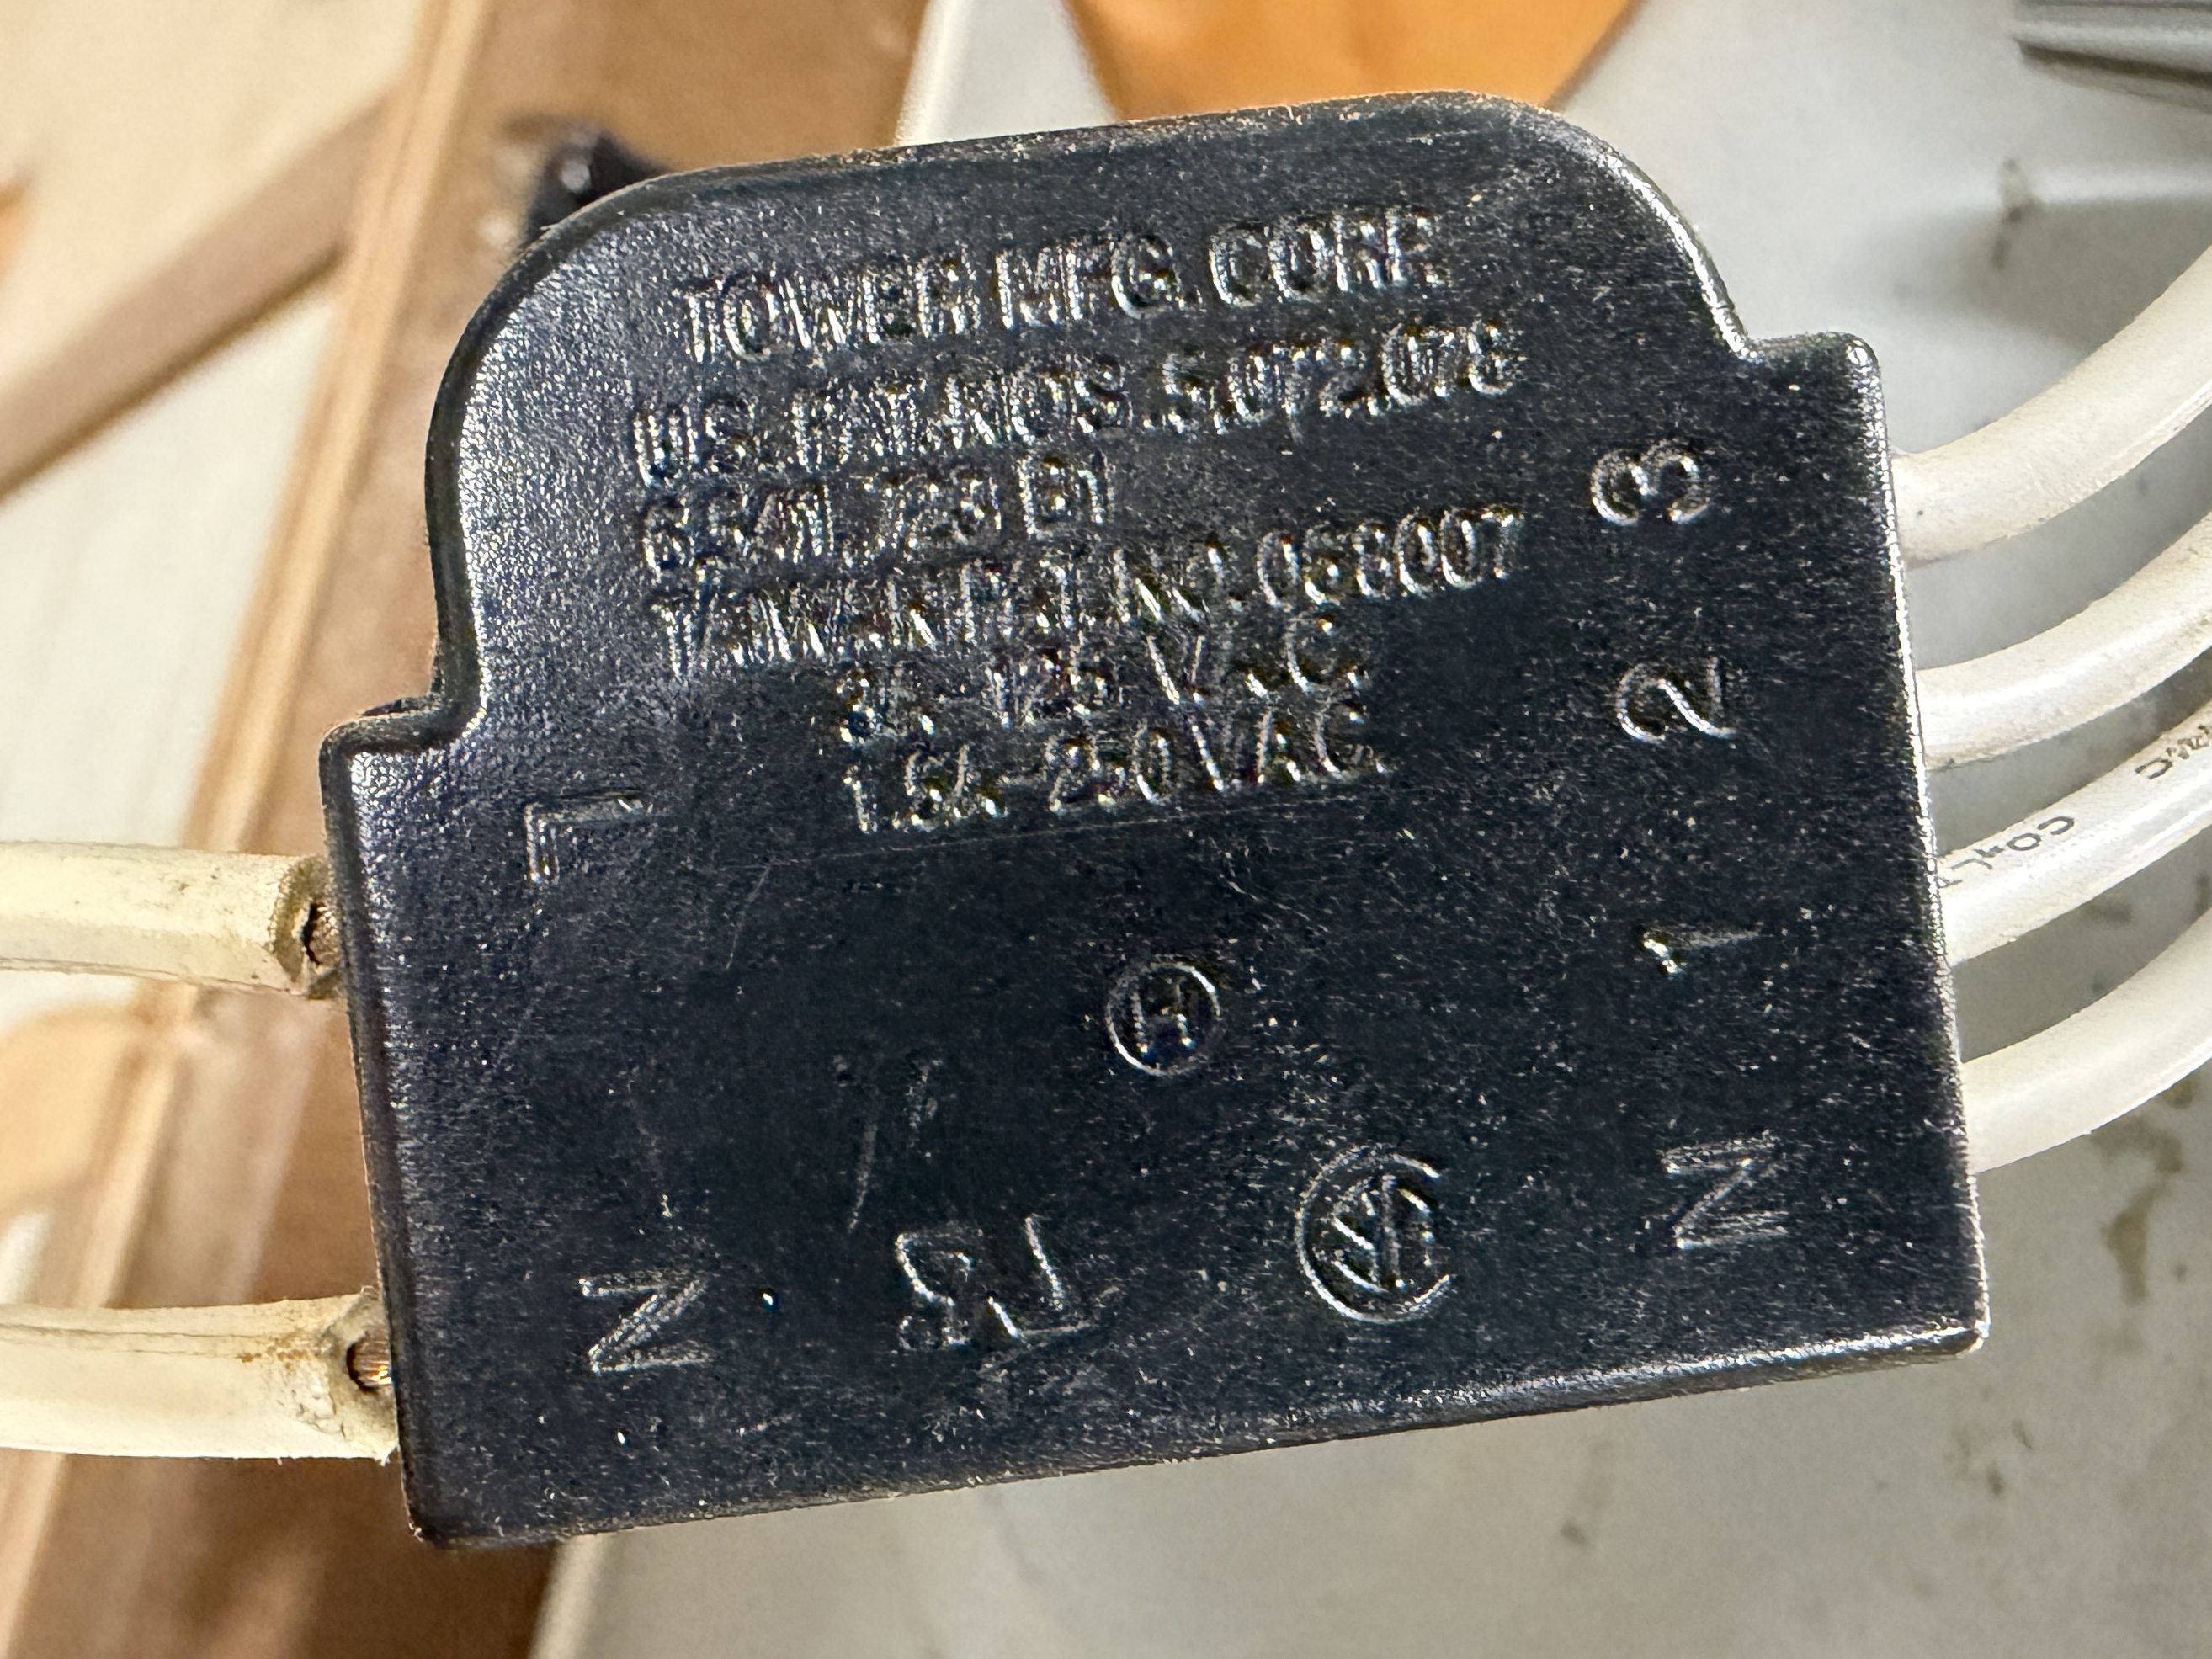
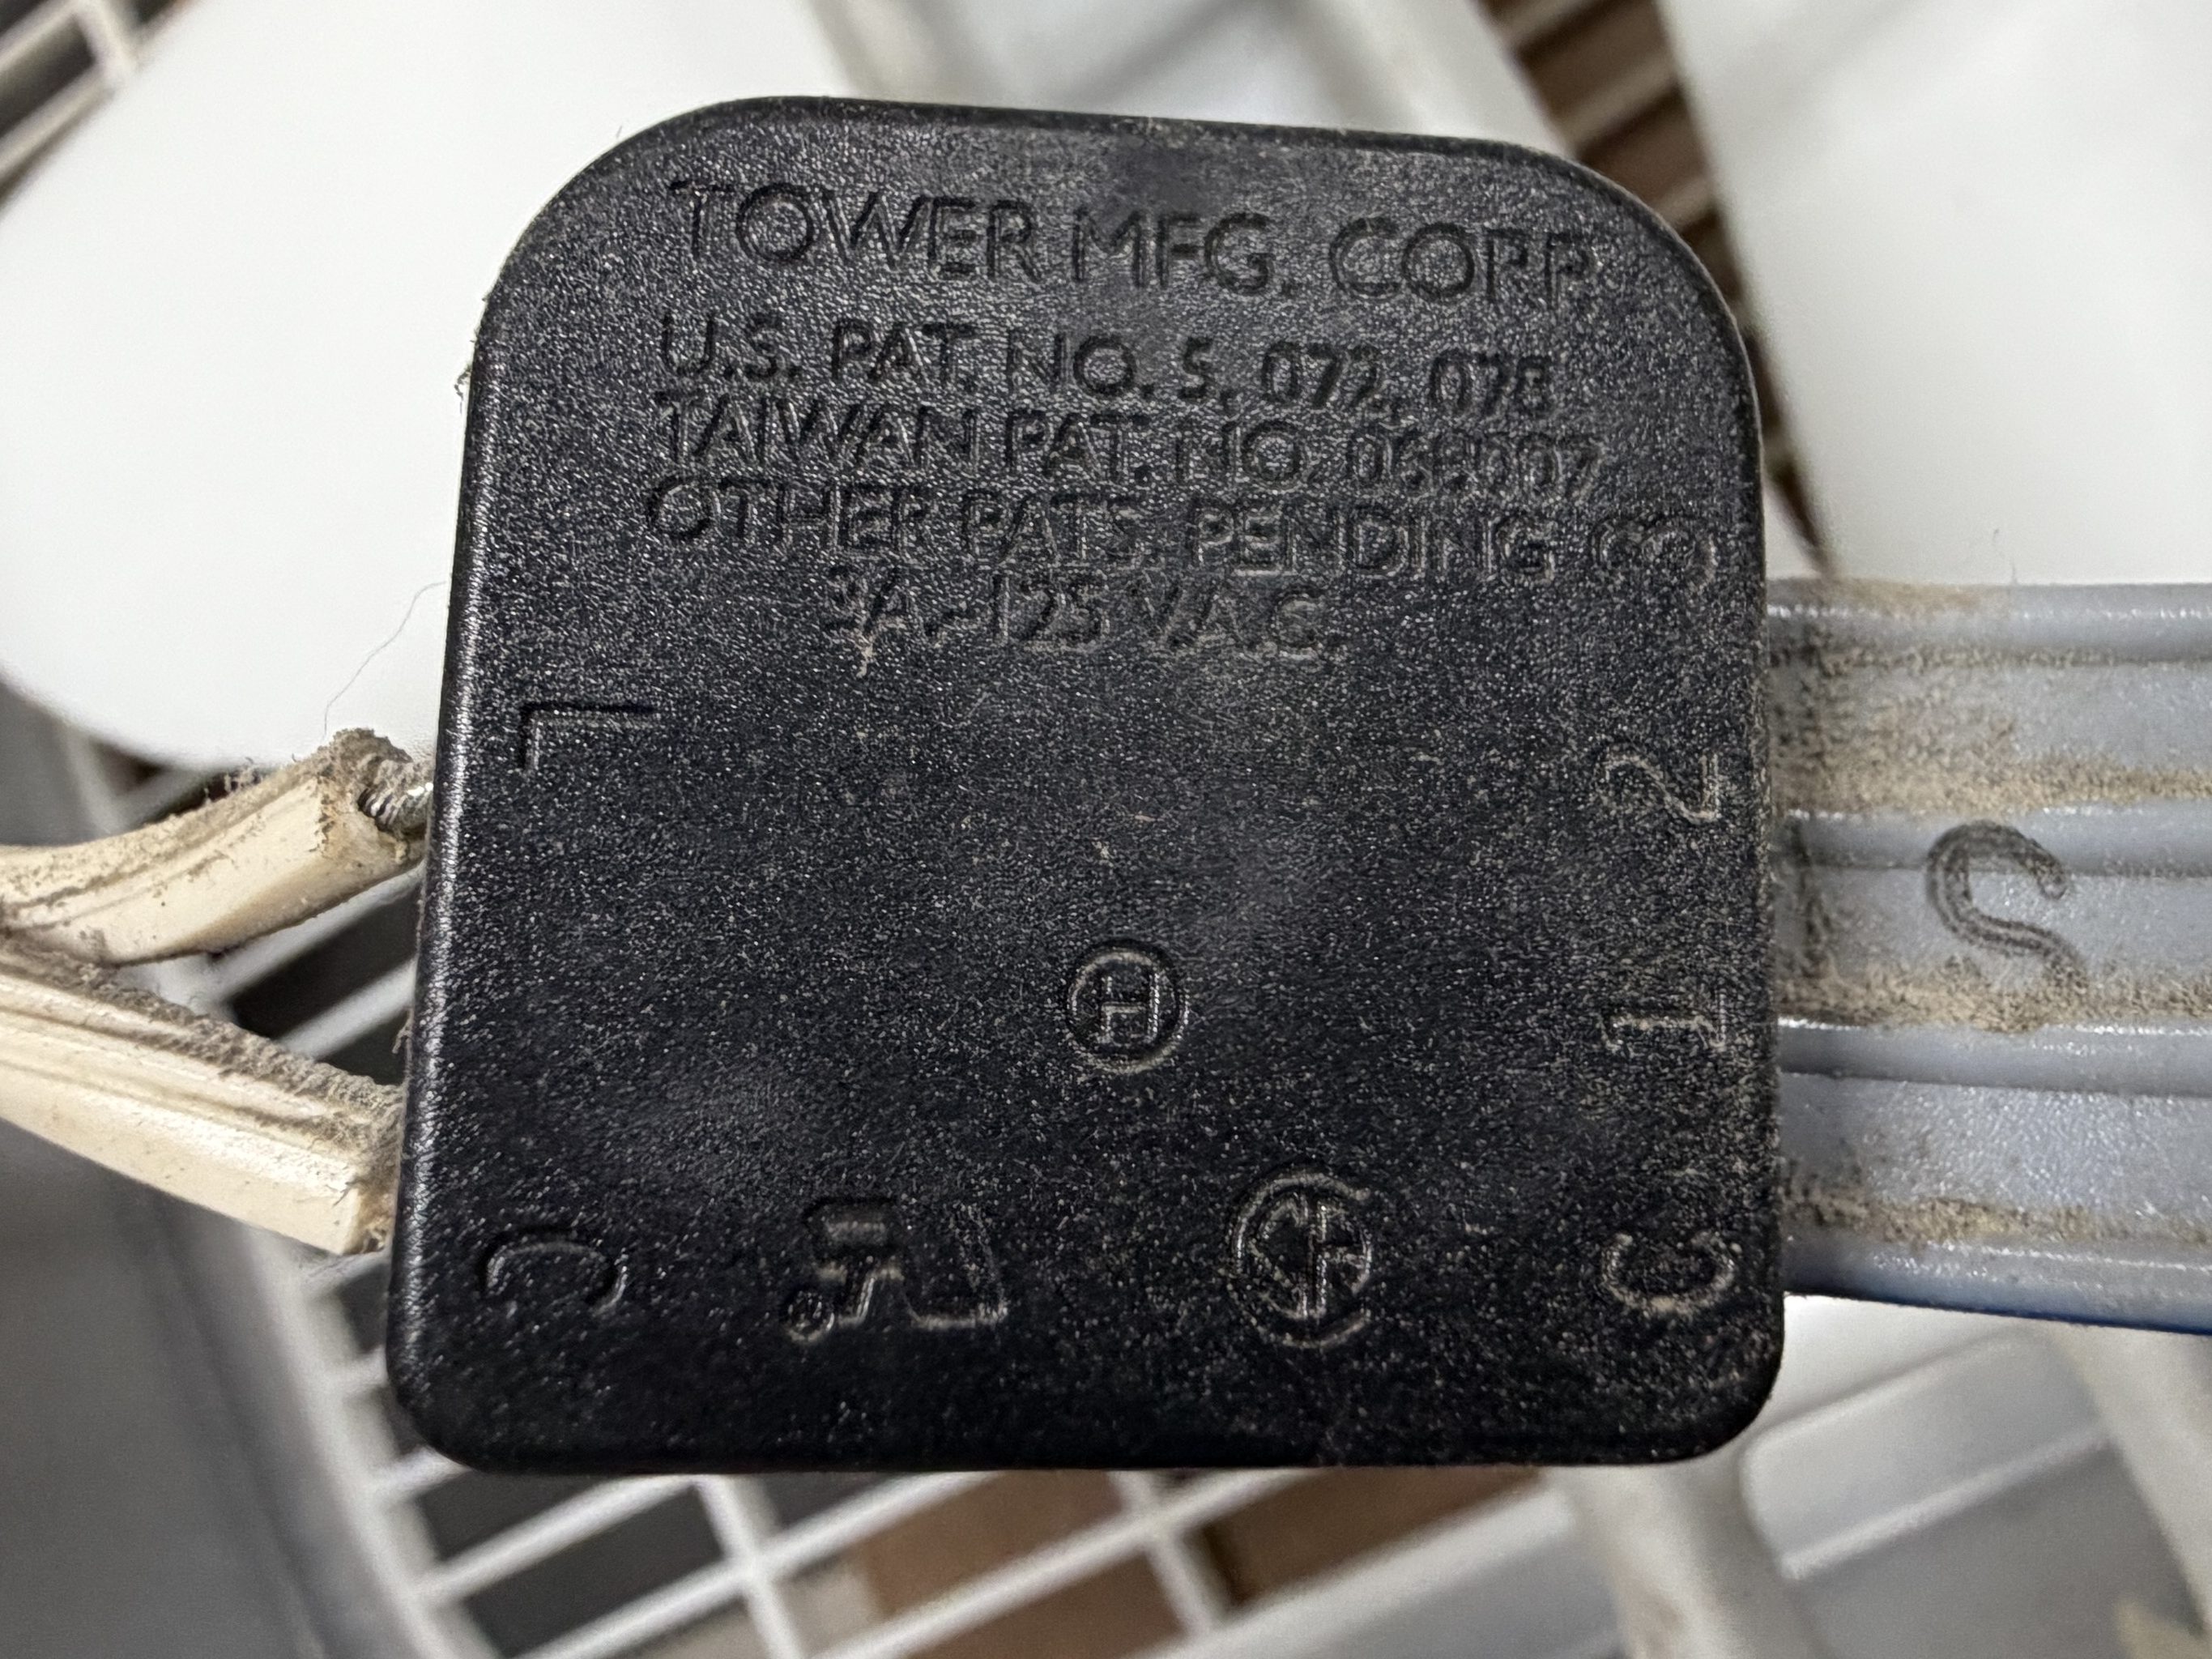
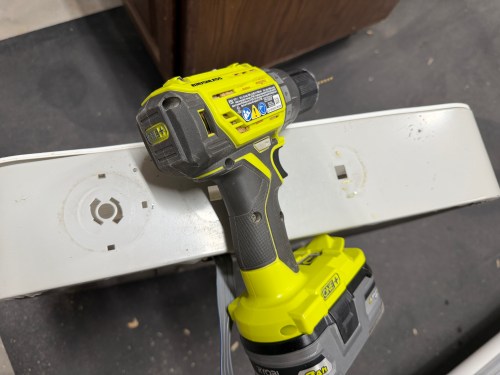
It was finally time to build my air filter. I removed the back covers, feet, handles, and knobs from the fans. I got my first look at the switches inside, which are nearly identical.
I’d easily be able to wire the fans together, so I removed the switches and power cords.
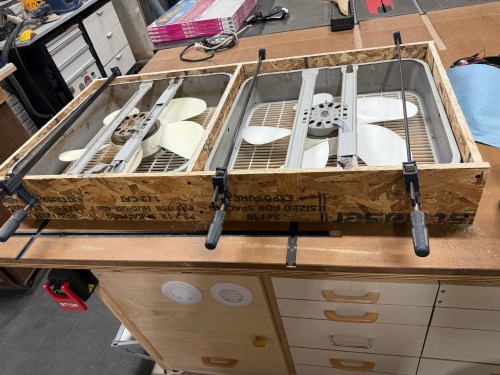
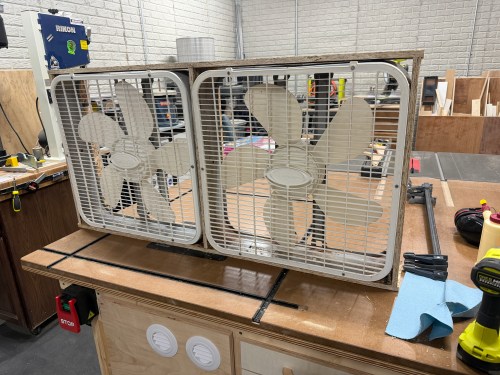
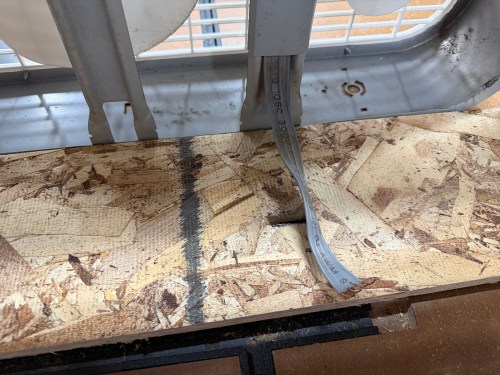
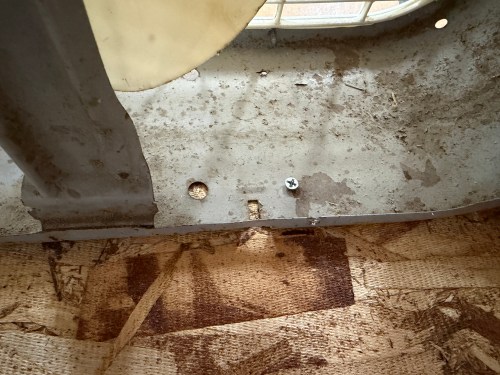
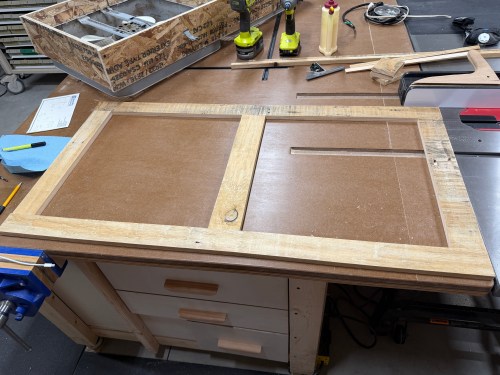
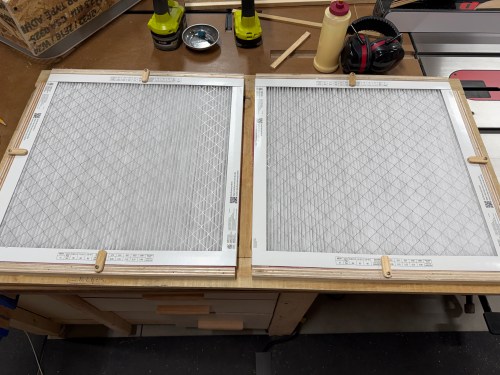
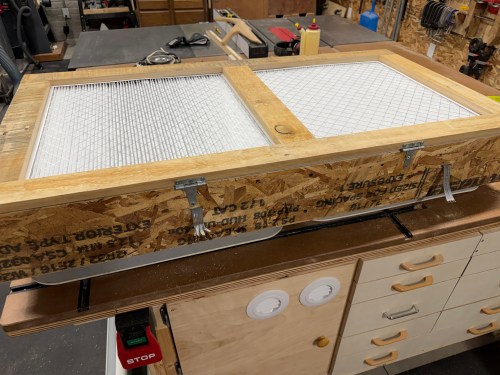
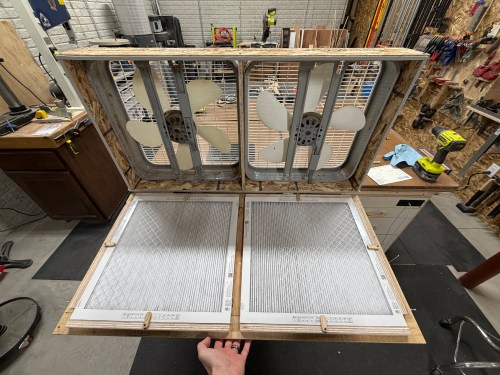
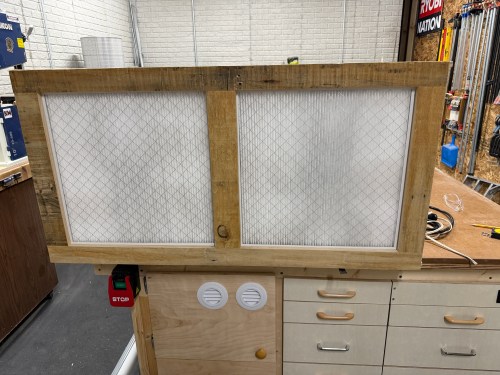
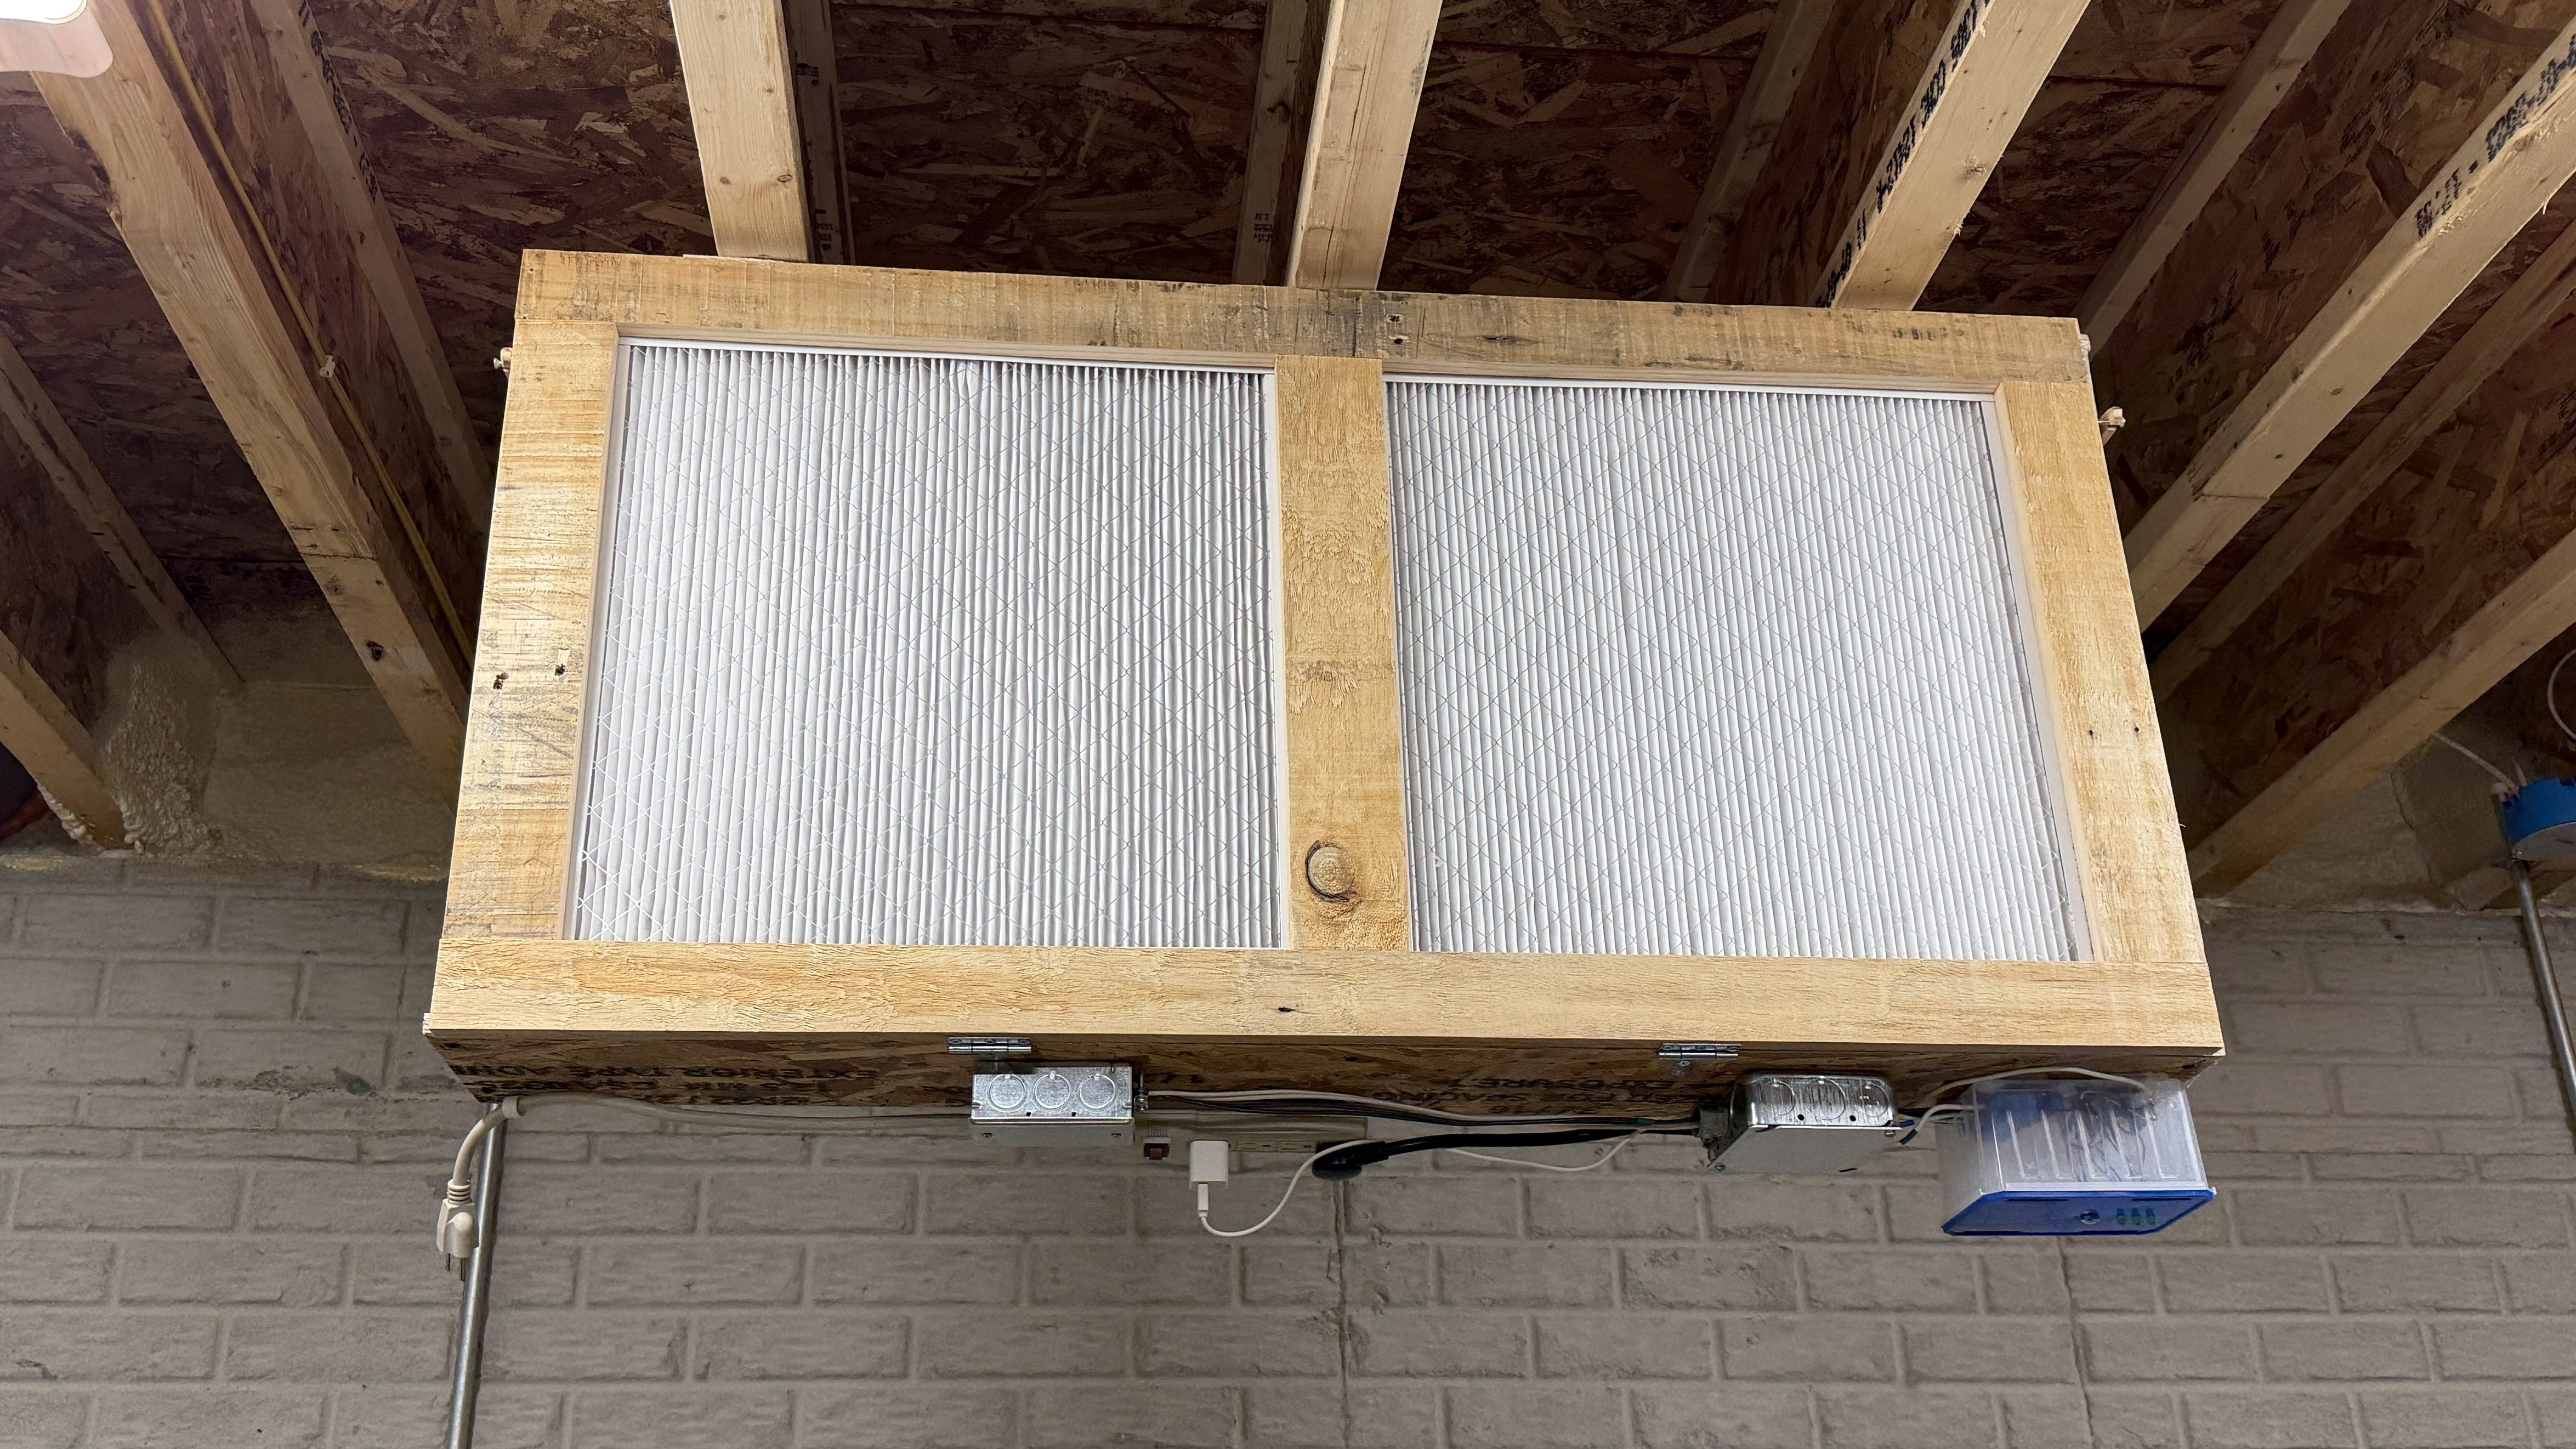
I put together a frame from OSB, cut slots to feed the wires through, and screwed the box fans in.
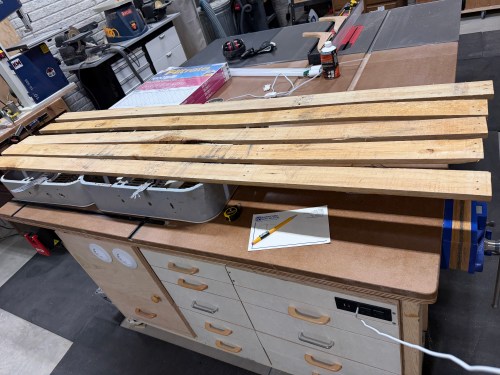
Then I grabbed wood that had been salvaged from a pallet to construct a door.
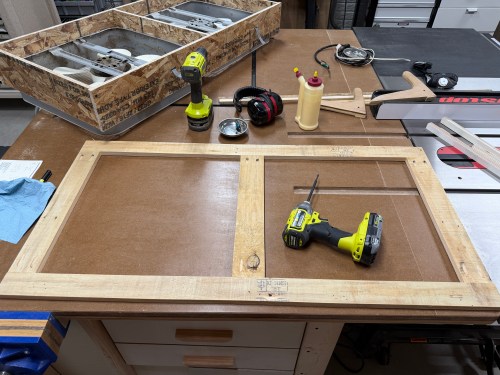
On the back side, I used glue and brad nails to attach plywood rails. I also made tabs to hold the filters secure.
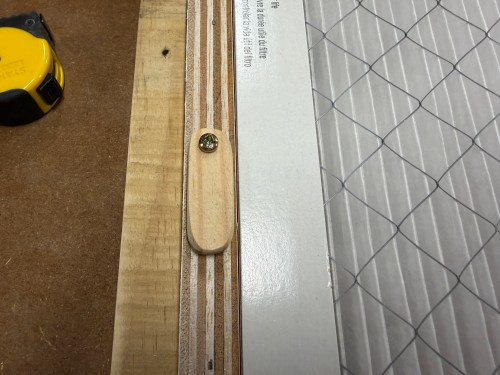
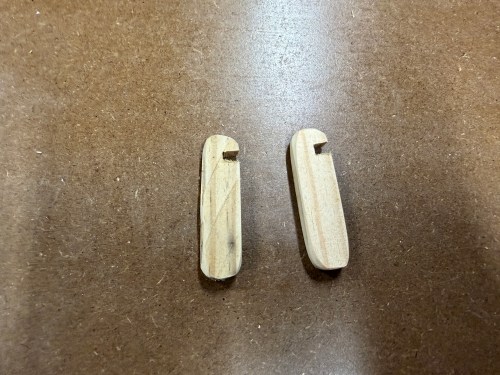
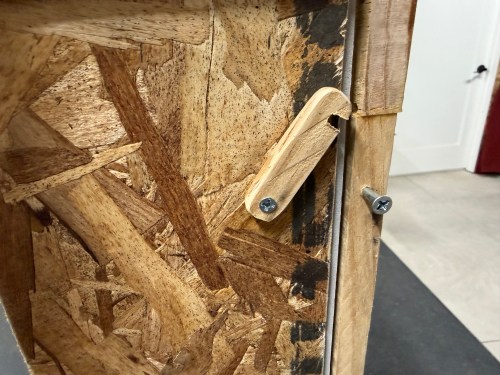
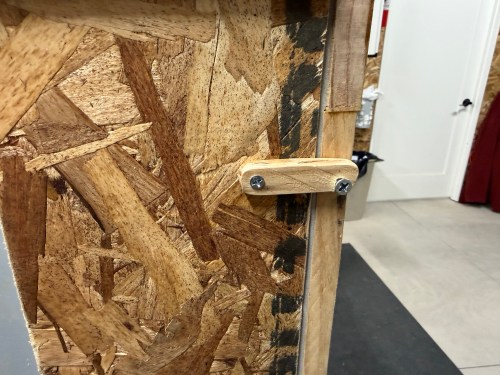
I attached the door with a couple hinges and made some notched tabs to hold the door shut.
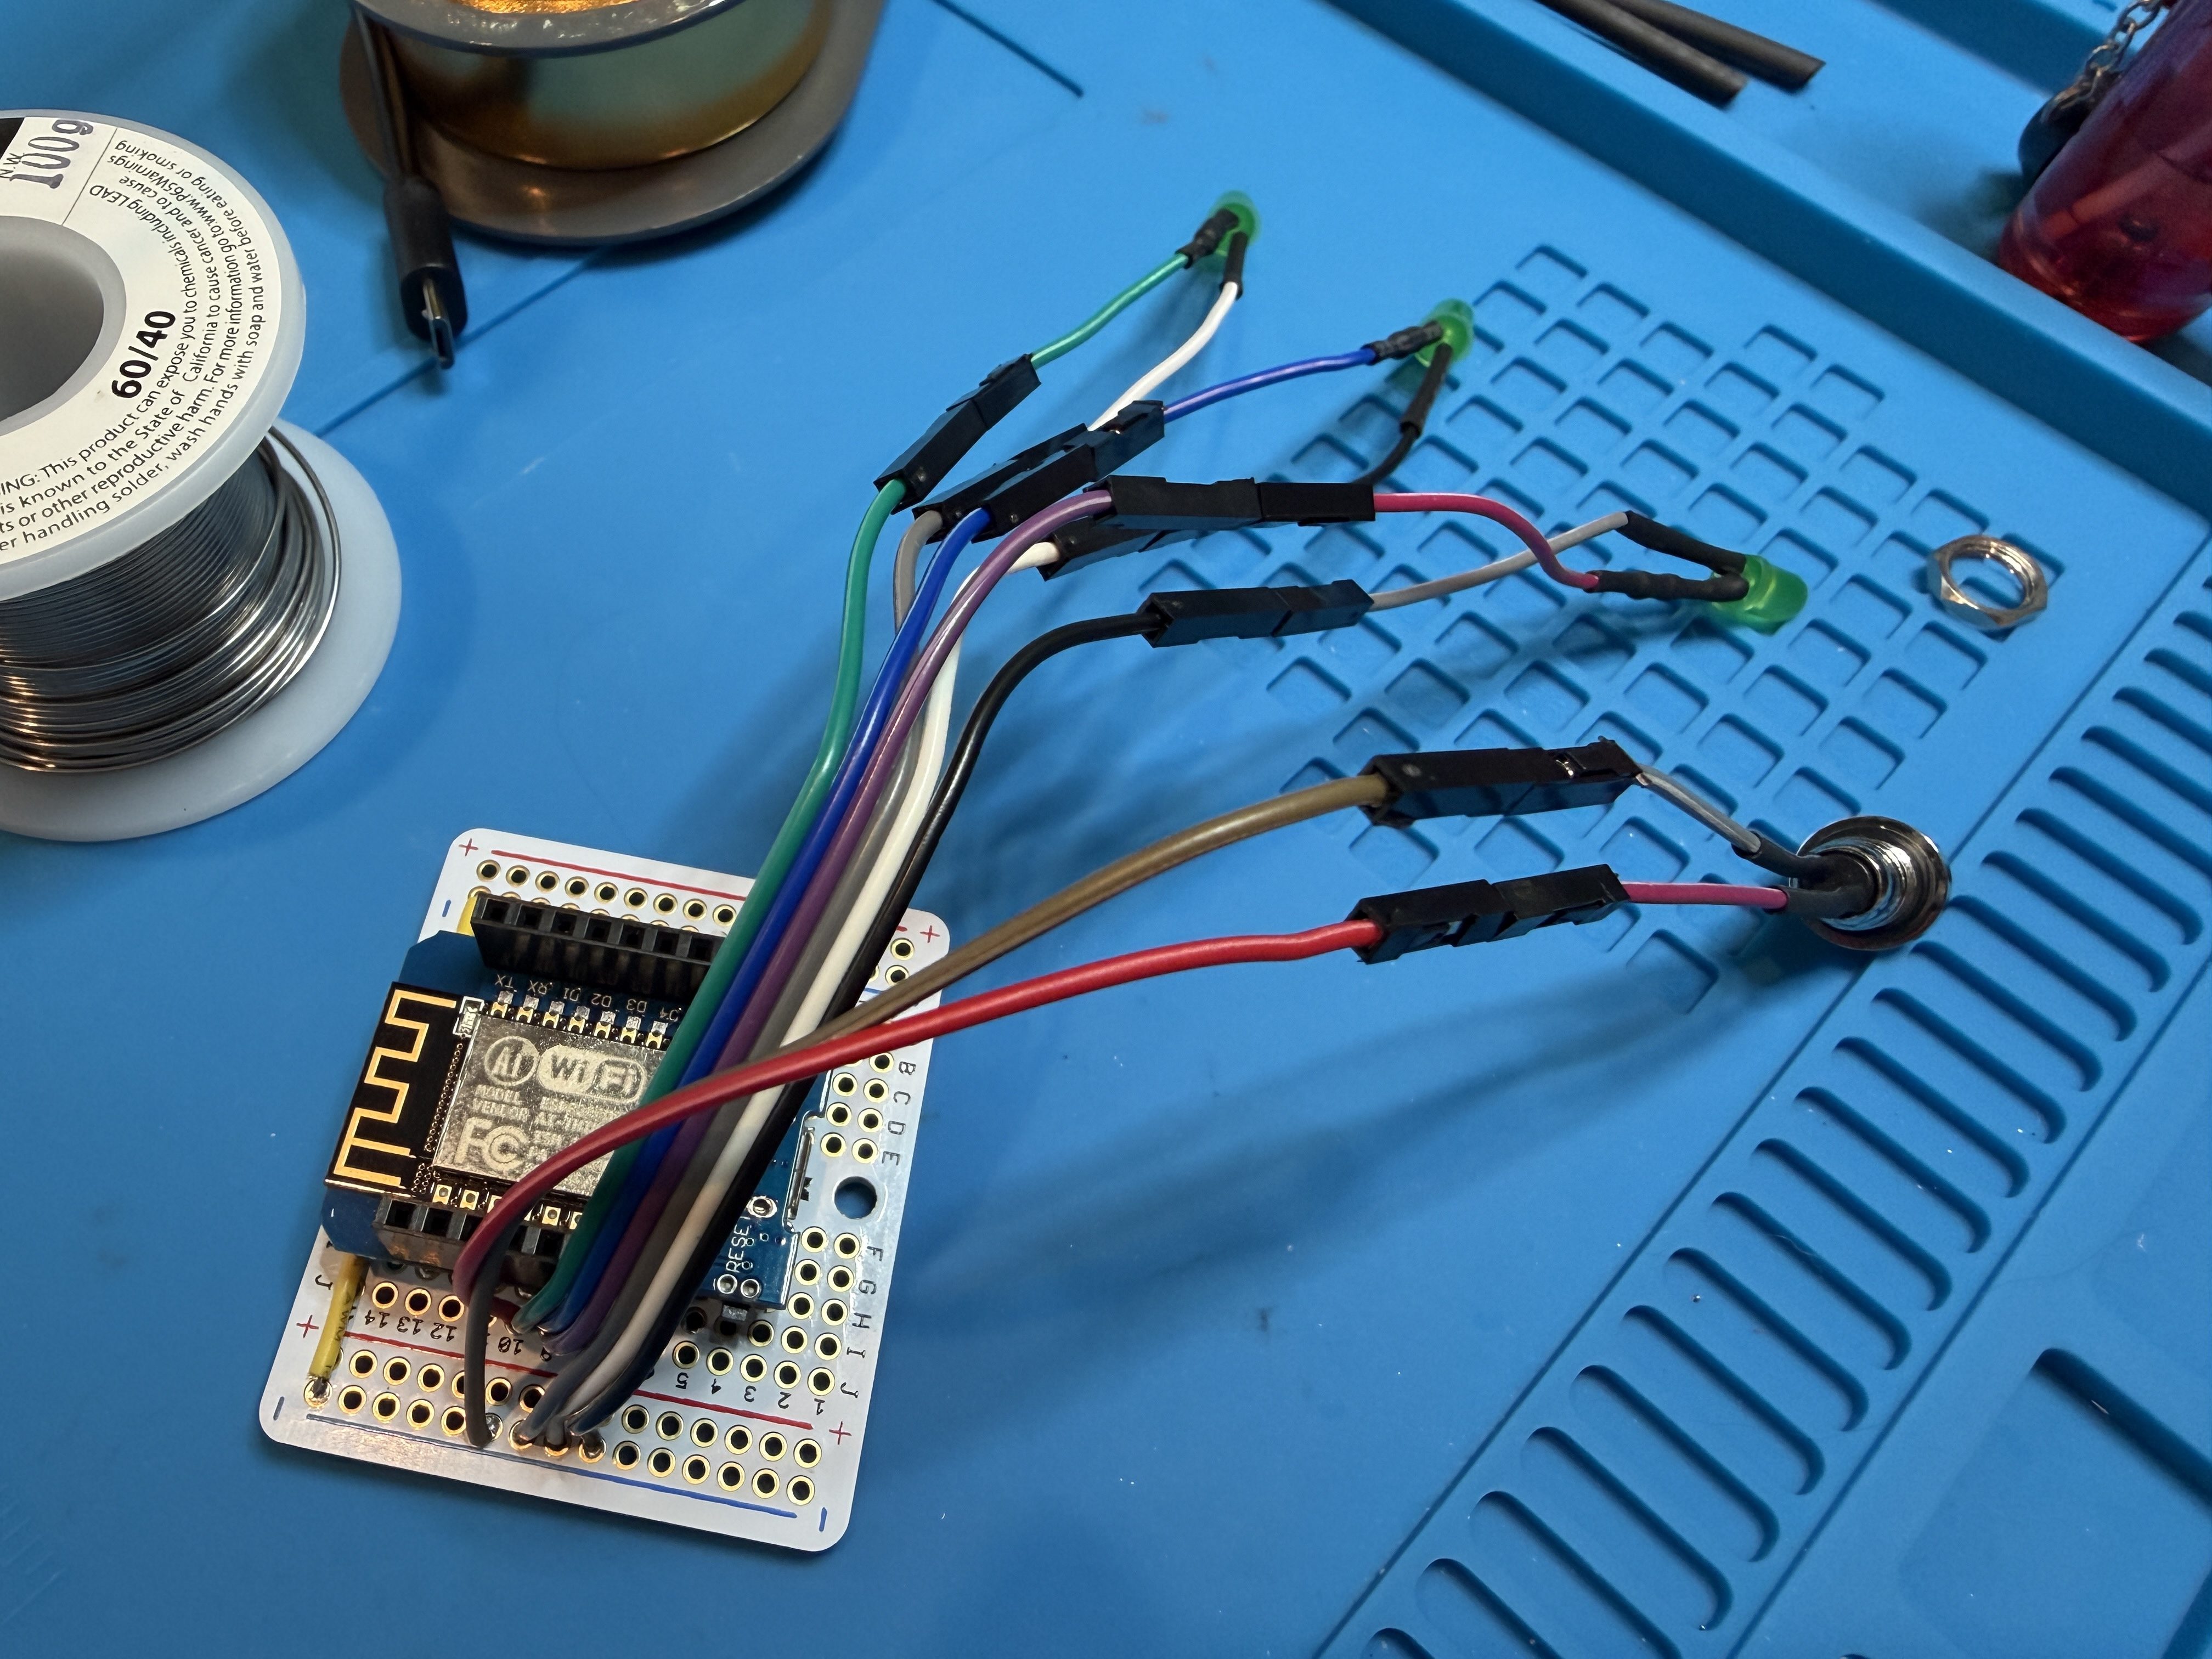
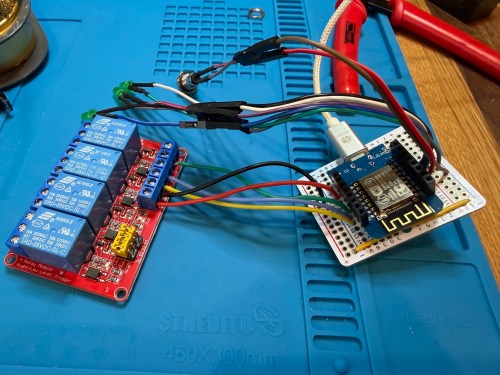
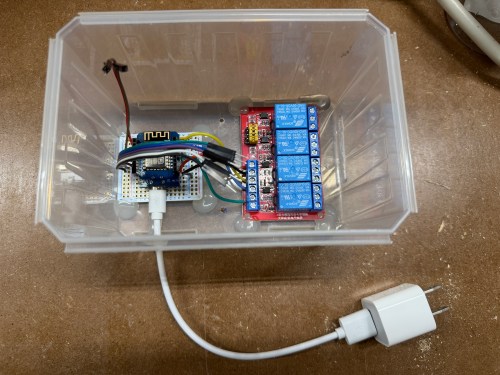
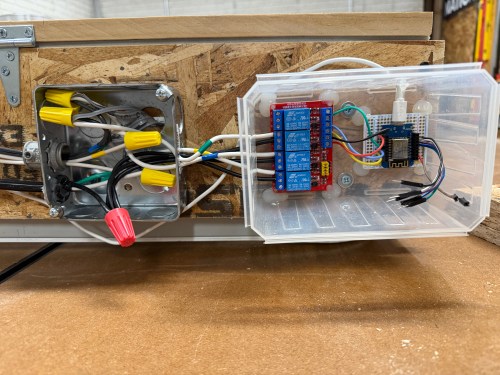
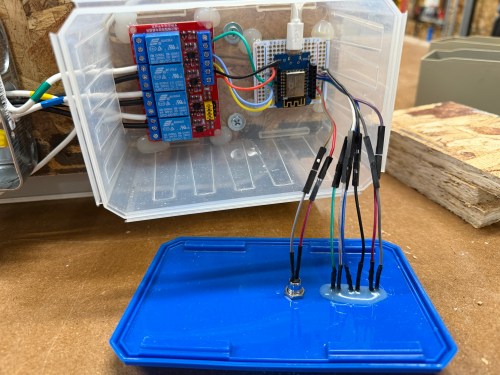
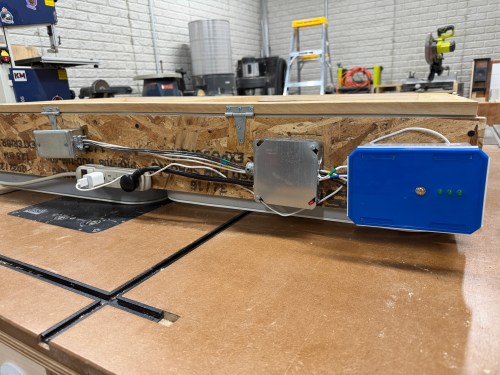
A plastic screw container was a good side, so I used hot glue to secure the boards and then wired up all of the fan connections.
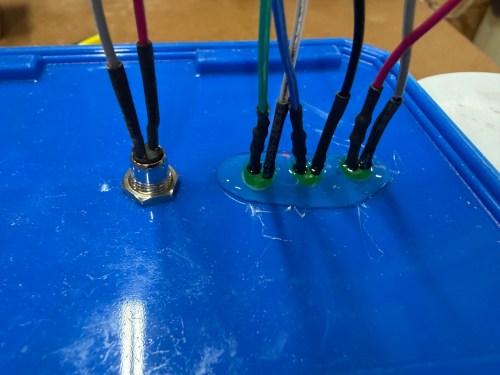
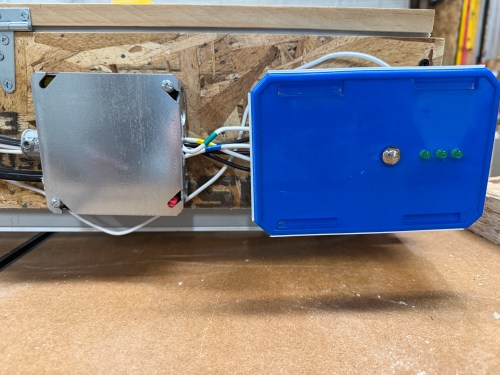
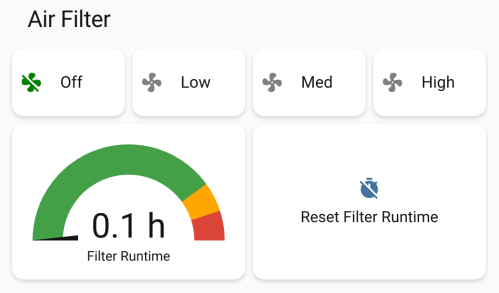
I’m not sure if I’ll ever use the button, but it allows me to cycle between the three speeds and turn it off. The three LEDs show which speed is currently running. The only thing I got wrong was reversing the low and high speeds, which was a quick fix in the ESPHome code. Speaking of the code, here’s mine.
I used Google Gemini to help and it had a great suggestion to track the run time and add a maintenance reminder when it was time to replace the filters.
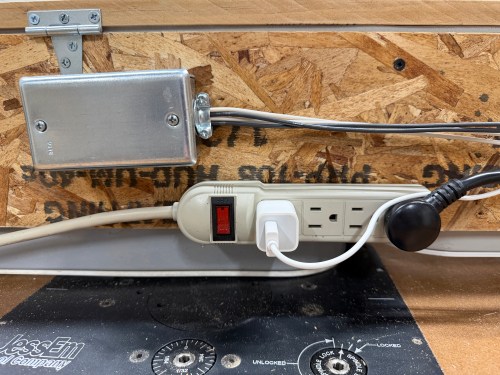
In Home Assistant I created some automations. My dust collector uses a smart plug, so when it draws electricity, the air filter automatically turns on at high speed. When the dust collector turns off, the air filter continues to run for 15 minutes before turning off. If I had to remember to turn on the air filter all the time, it would rarely happen, so this is amazing.
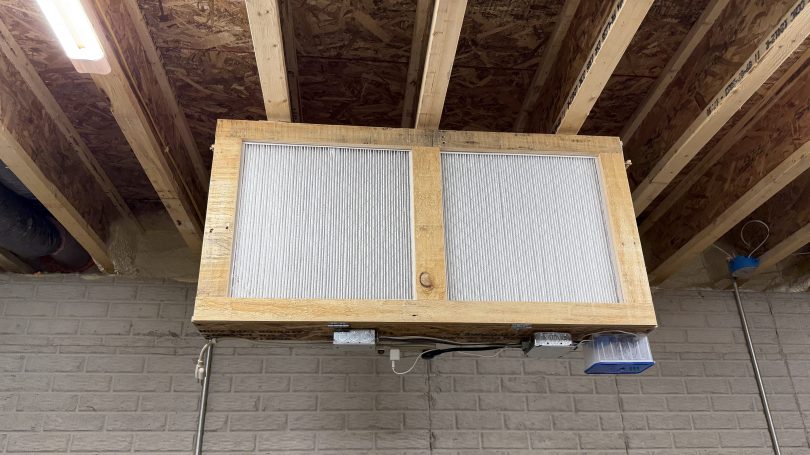
I’m still on lifting restrictions for several weeks so Brandi helped me install the air filter on the ceiling.
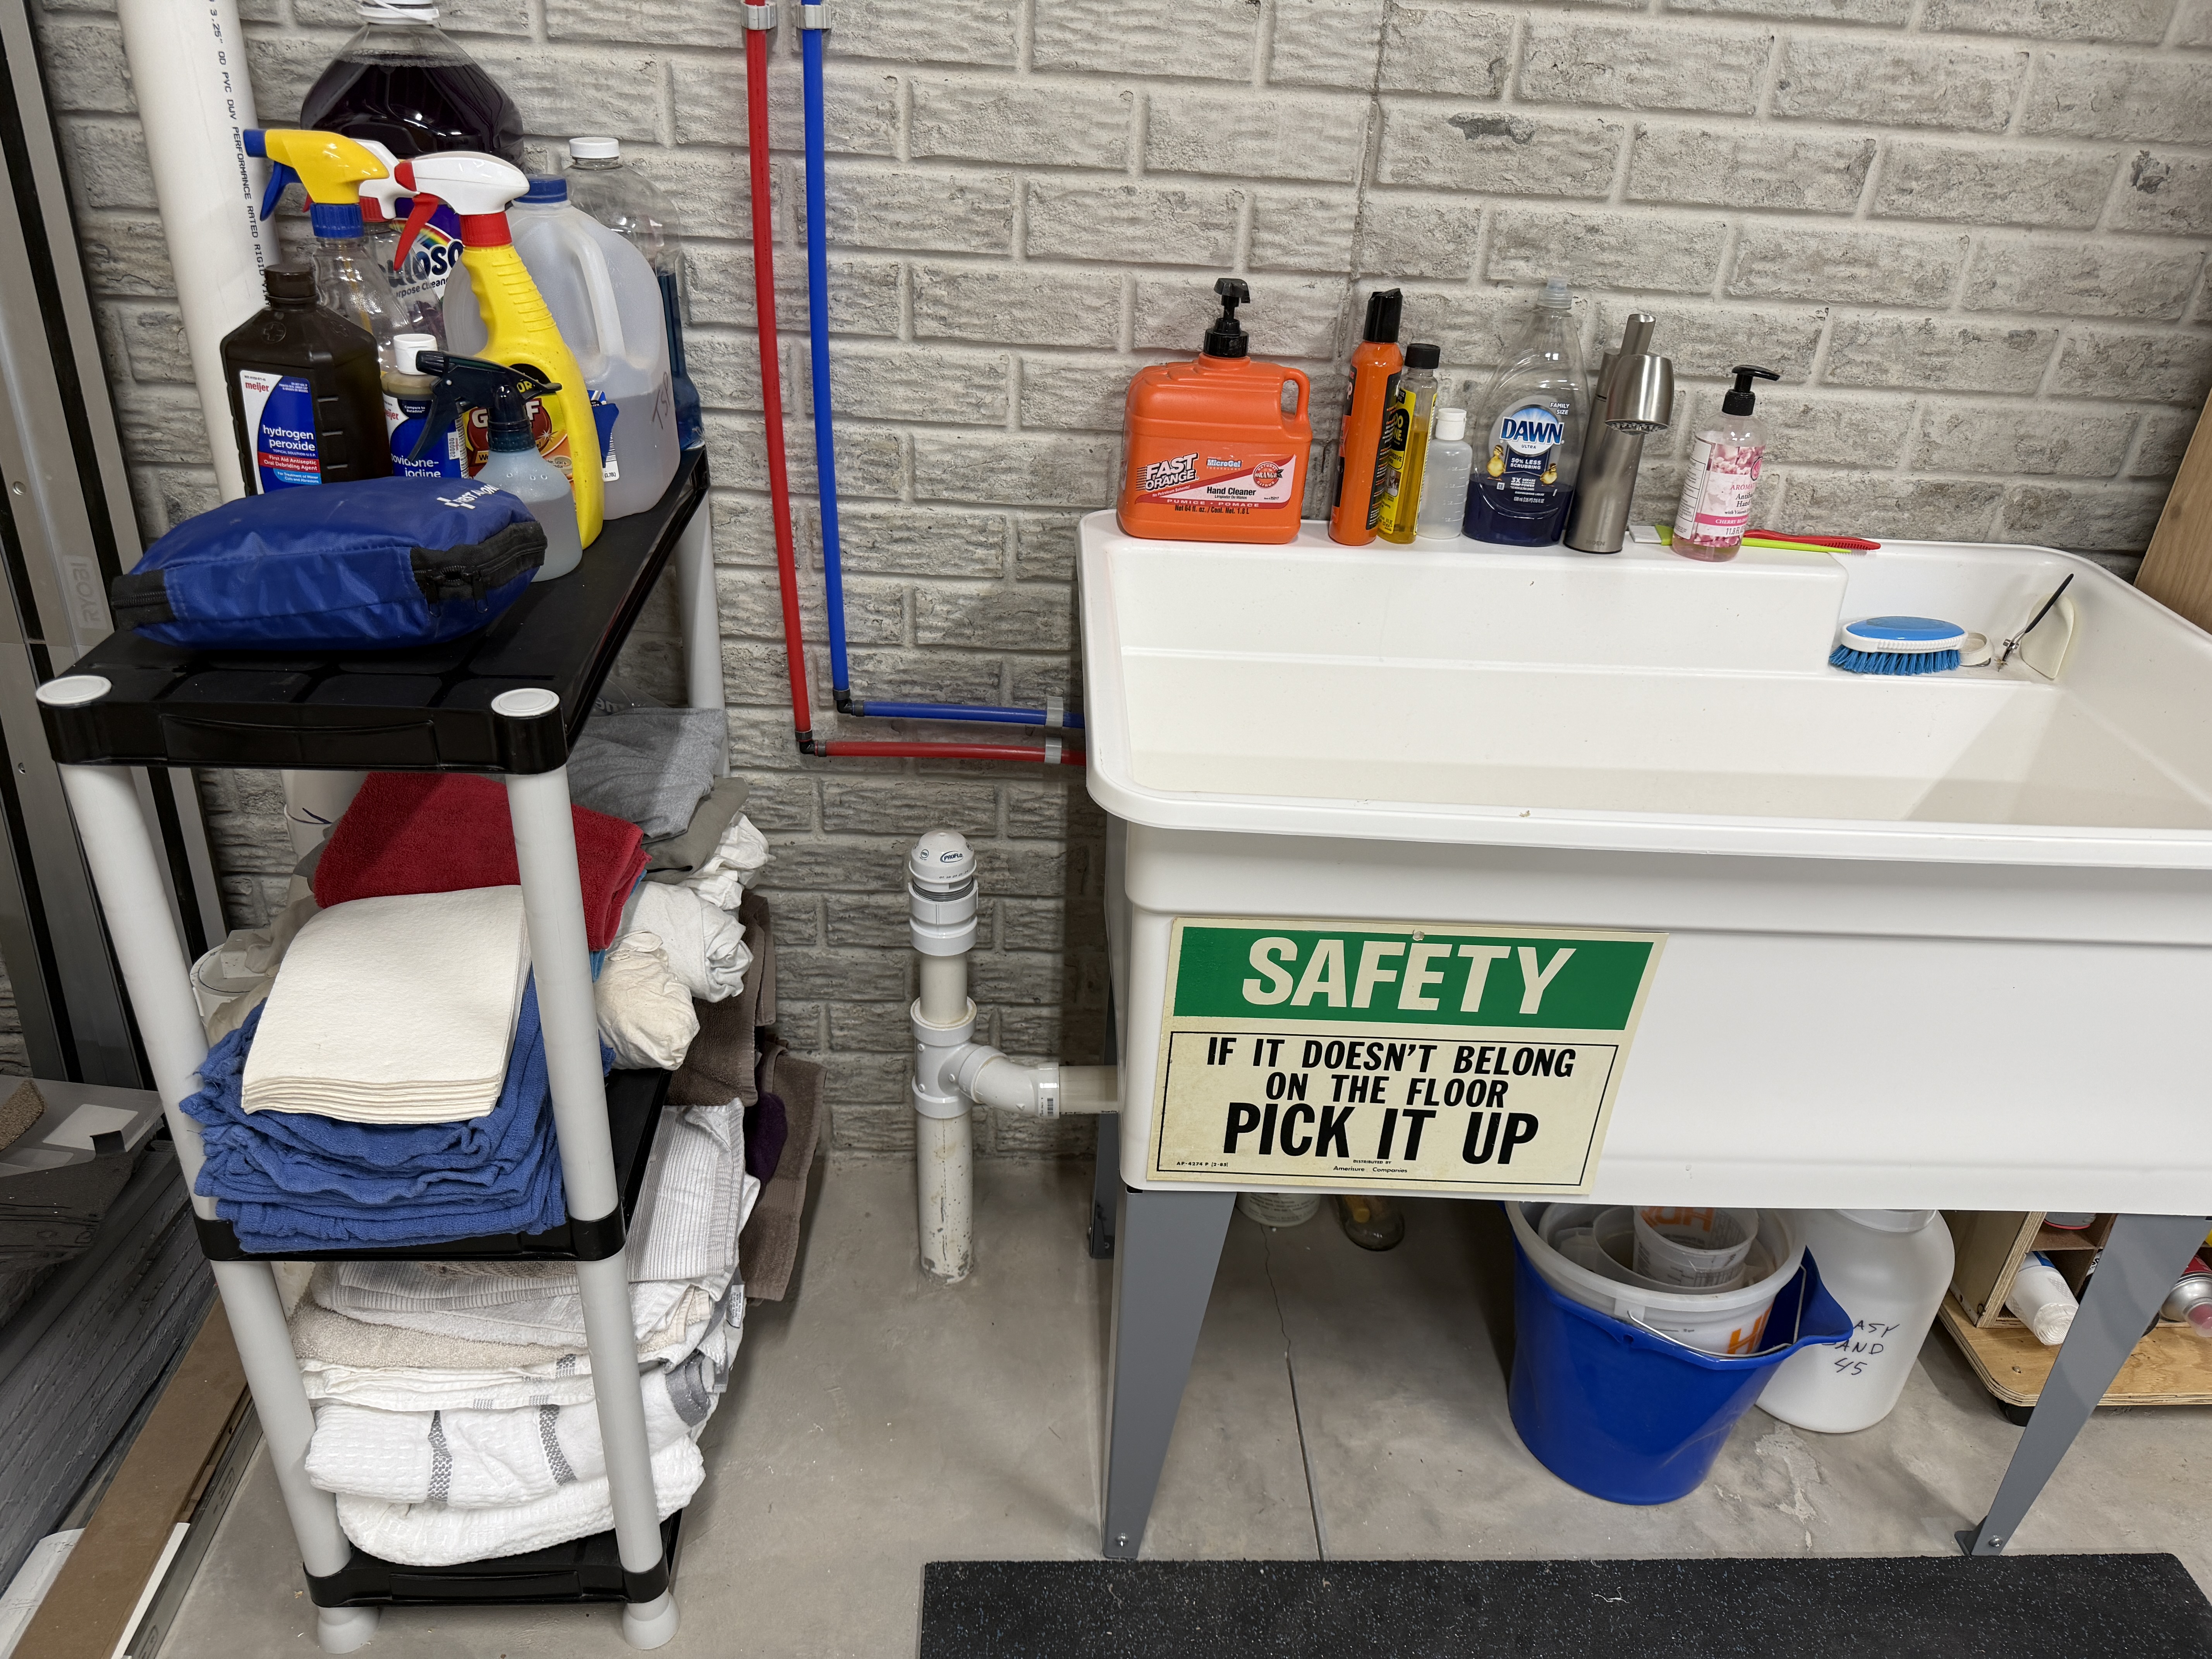
With my big shop table done and a lot of storage space to fill, I finally started to tackle the boxes and piles of things that have been sitting in the corner for nearly a year and a half. First up was towels, rags, cleaning supplies, and first aid. We had an unused plastic shelving unit, so I put it to use. It went between my Ryobi cordless tool wall and the utility sink.
Finally trying to pick things up!
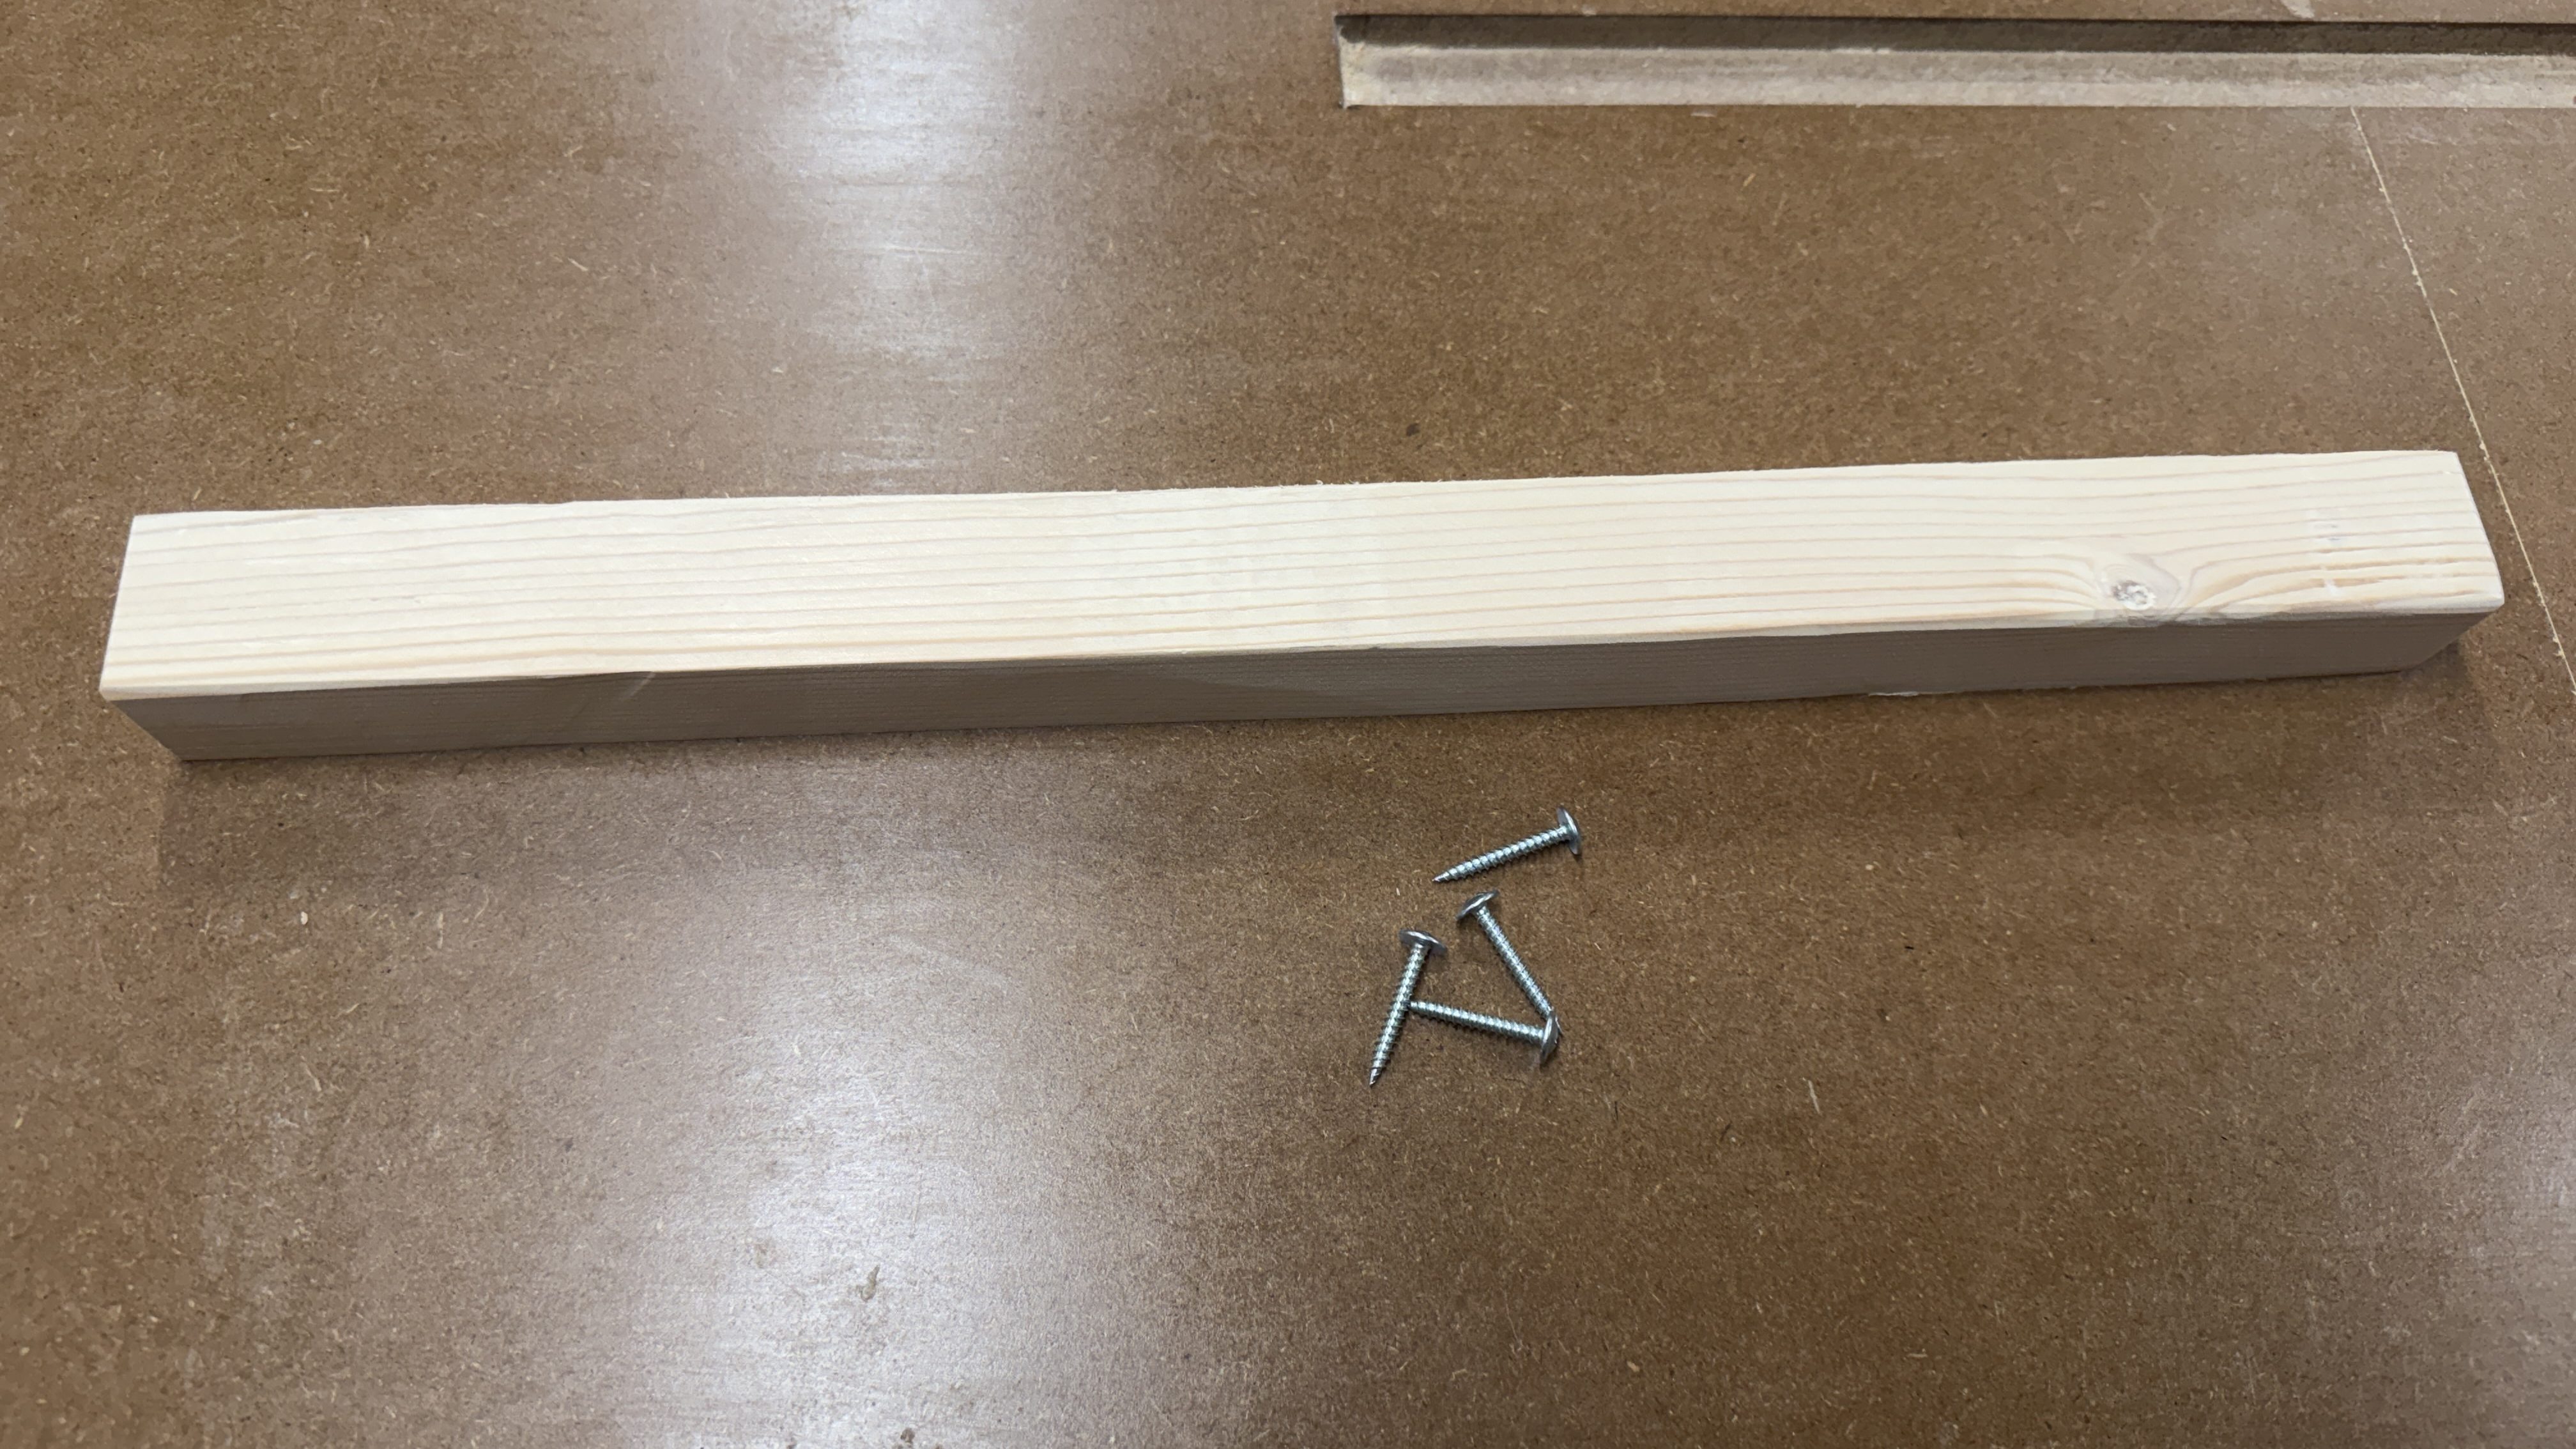
I’ve been draping a hand towel over the edge of the sink since moving in and now I had a place to mount a towel bar. I quickly cut some 2×4 to size, so it would fit between the edges on the side of the top shelf.
Truss head screws, so they’re less likely to pull through the plastic.
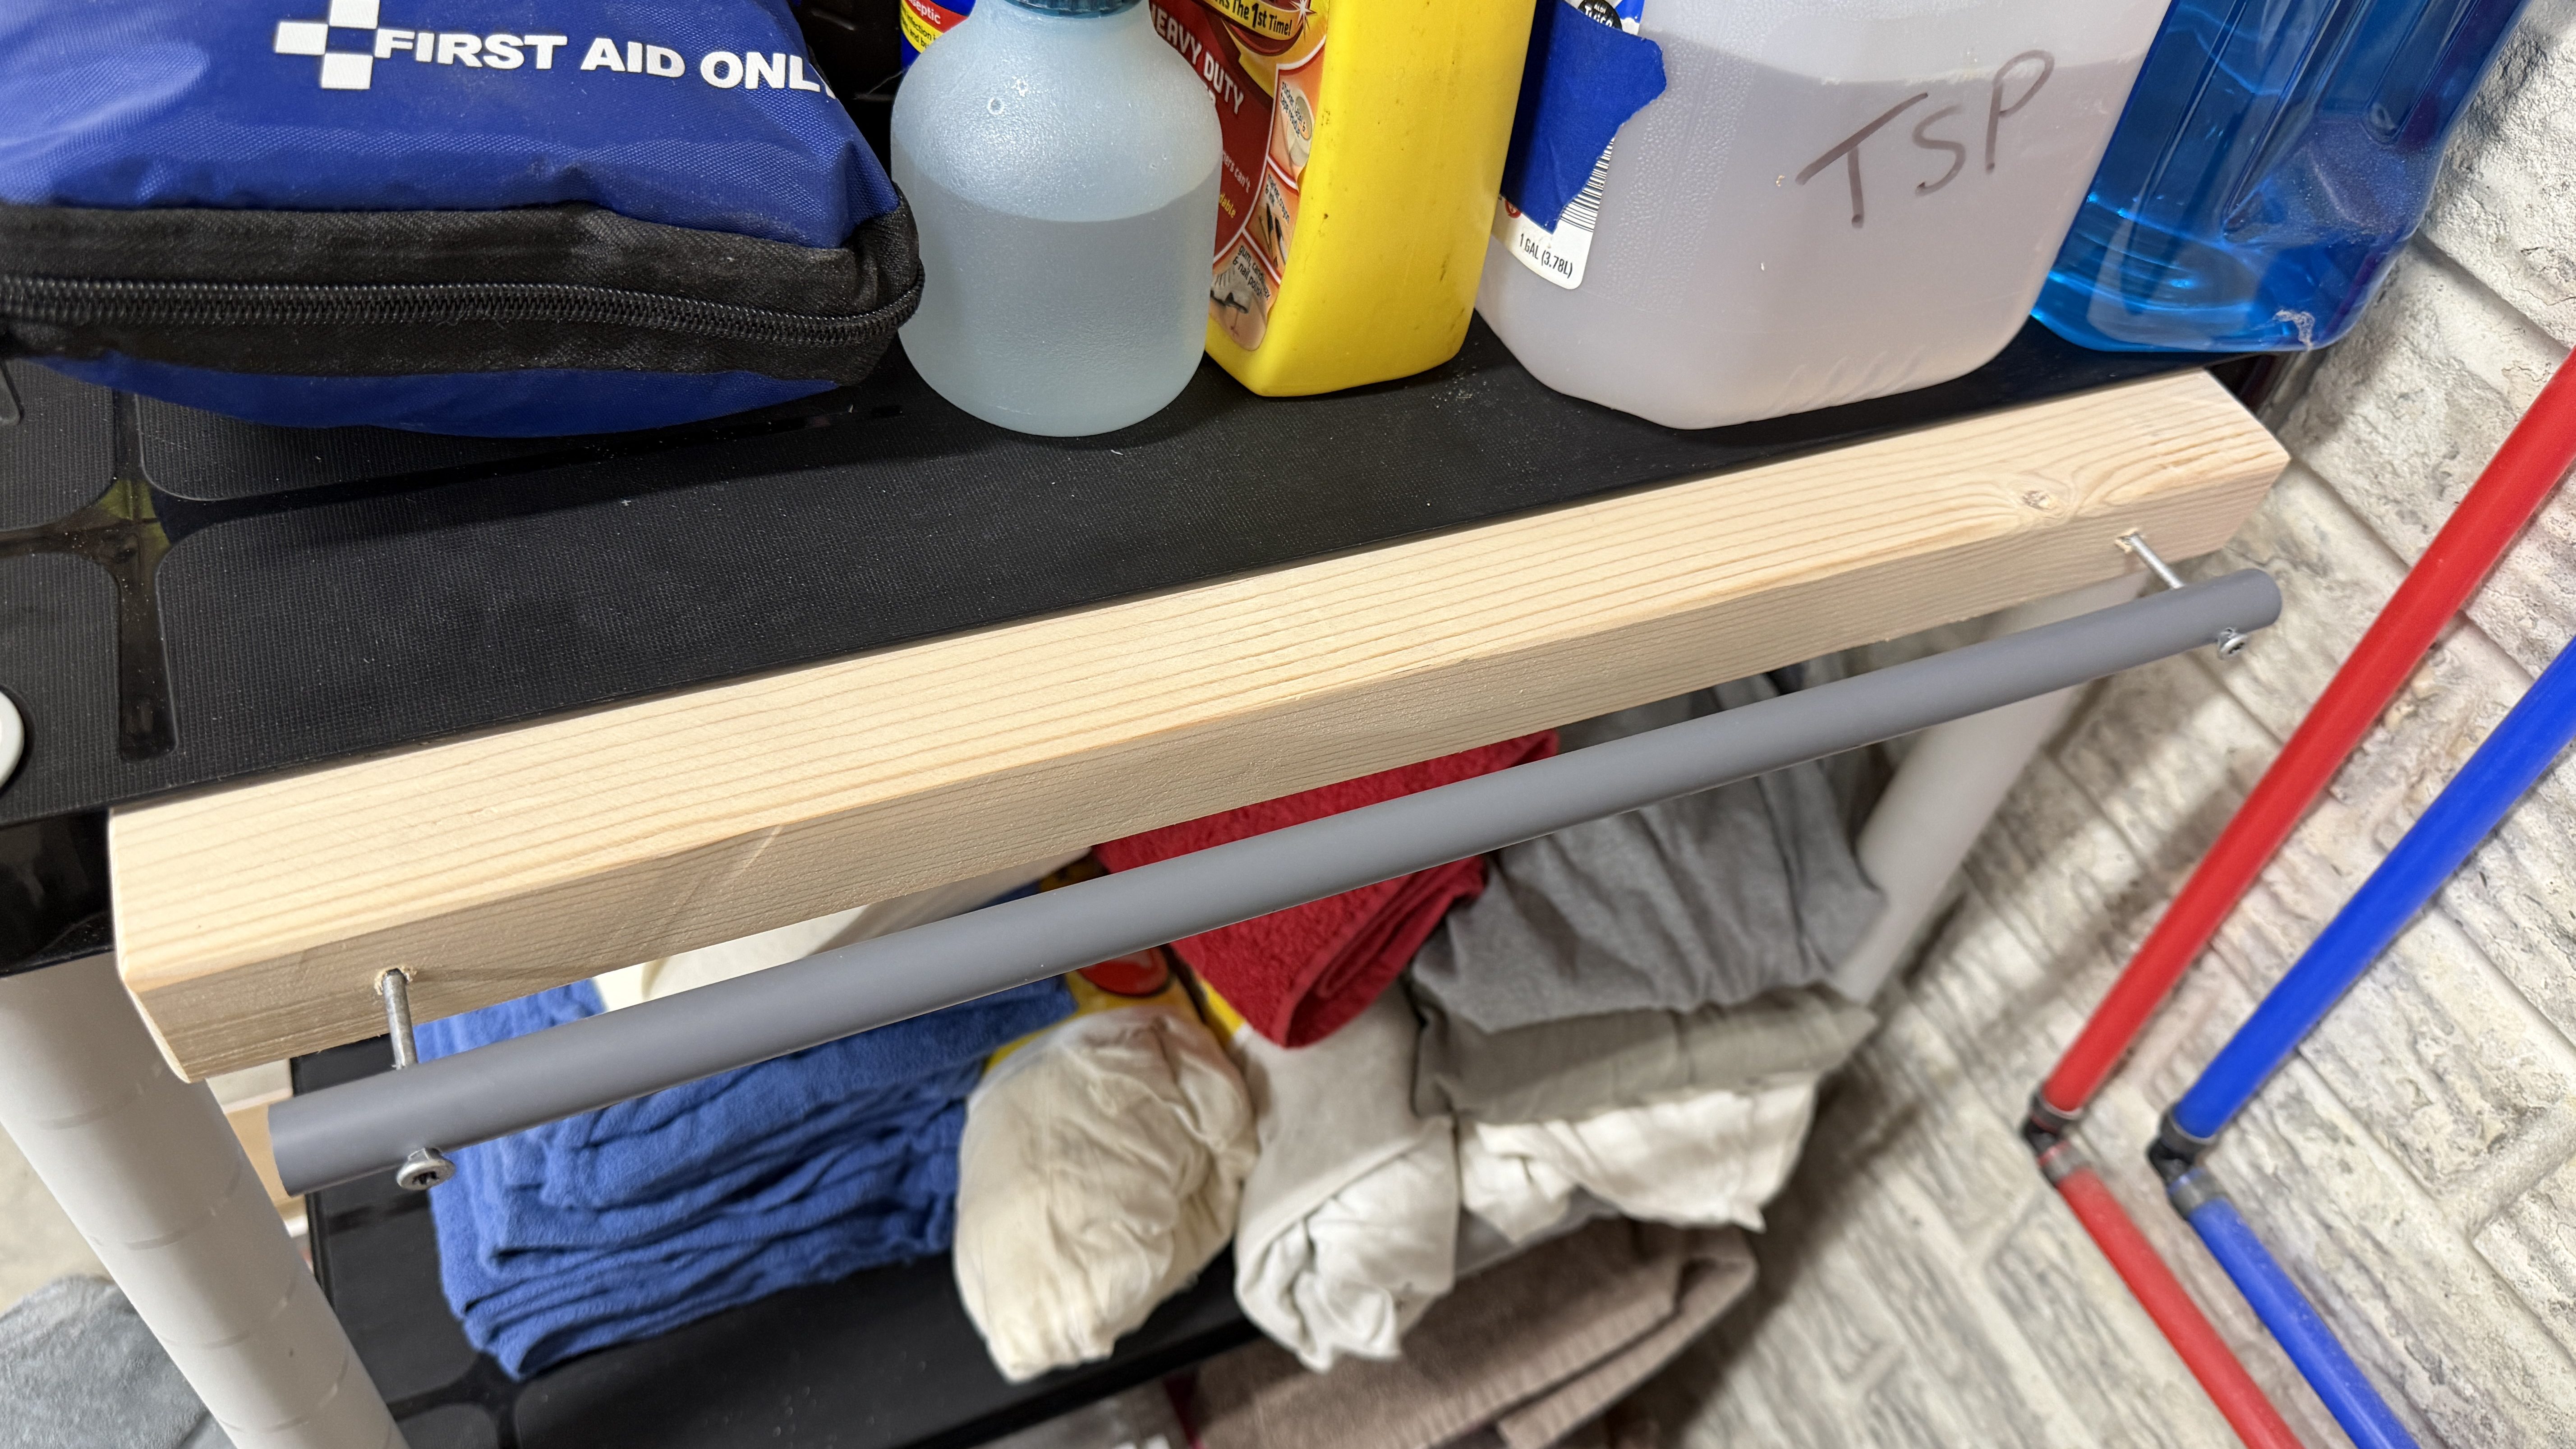
Then I drilled four holes in the edge of that shelf and mounted the piece of wood. I drilled two more holes in a piece of PVC and mounted it to the wood.
Ignore the sand marks.
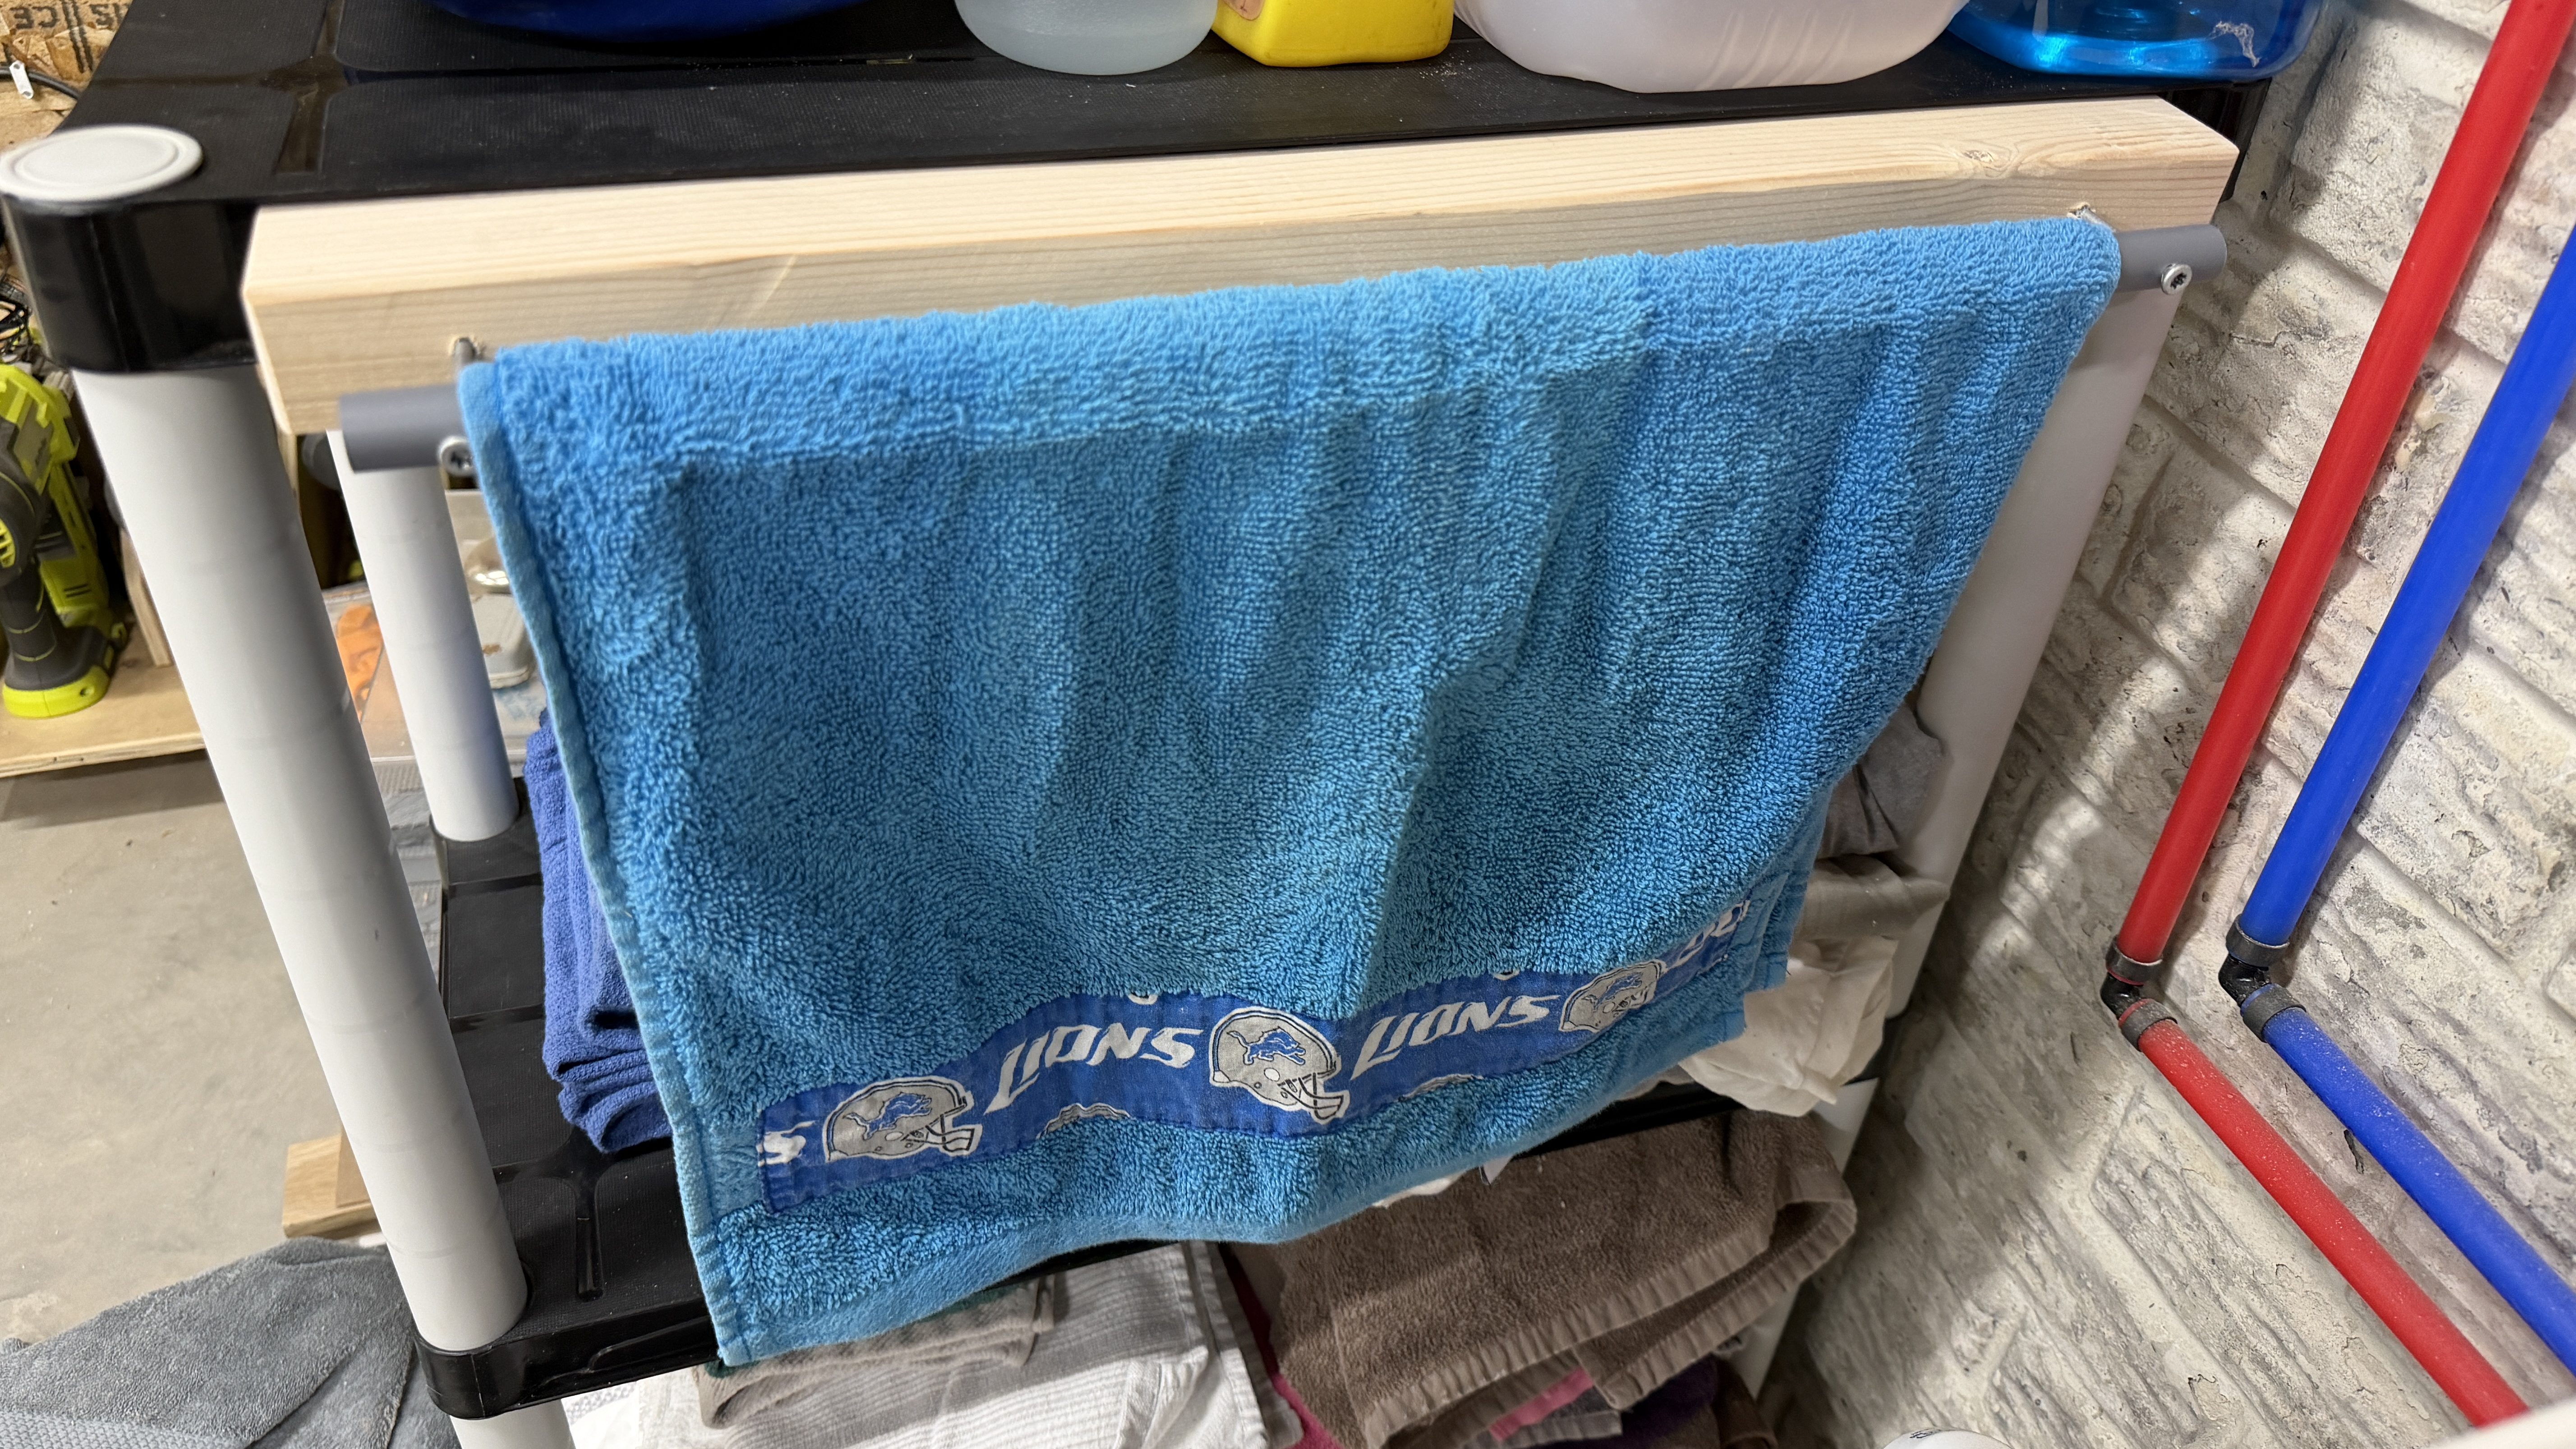
This was a quick project and it’s extremely useful. I love simple shop builds where functionality is the most important requirement.
Several years ago my aunt made me Lions and Red Wings towels that I use in the shop.
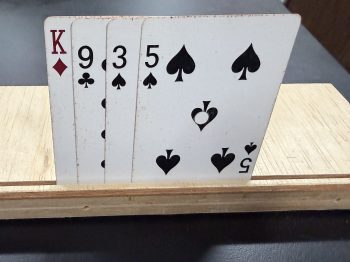
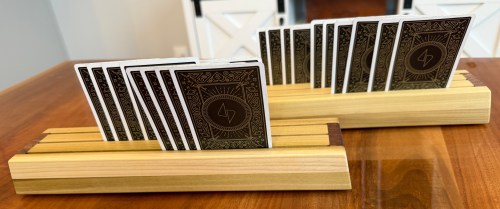
Mom sent this photo and asked me to make a couple racks/holders for playing cards.
Sounded like a fun little project to put my spin on. At first I assumed the slots would need to be angled away from the player. The more I thought about it, the width of the slot should provide enough of a lean. I gave it a test.
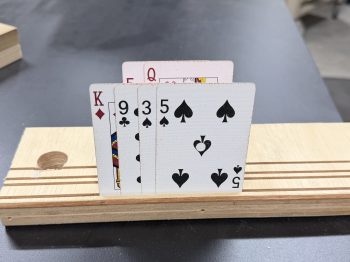
I was right, no angle needed. My next question was if you could see the cards in multiple rows, so I cut slots at several distances apart.
Not great. I had a hunch that differing heights would help and this made me confident. So I cut one slot deeper and tried it as the front row.
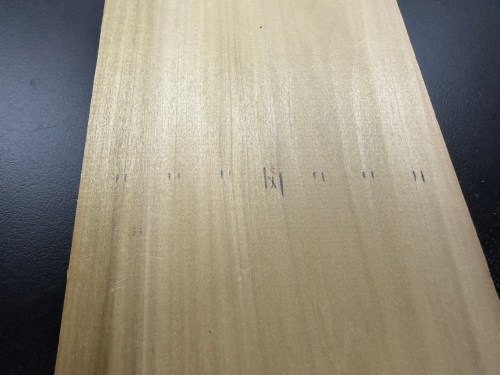
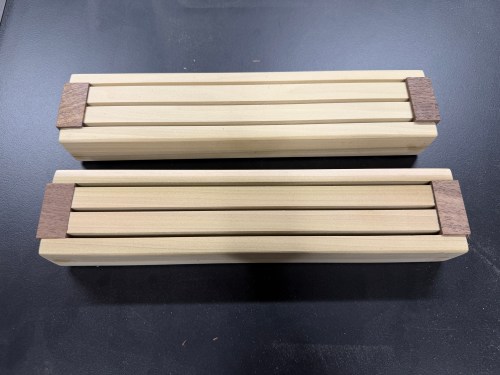
Yep! I grabbed a couple pieces from my lumber rack and marked slot spacing that could get me two racks, each with three slots.
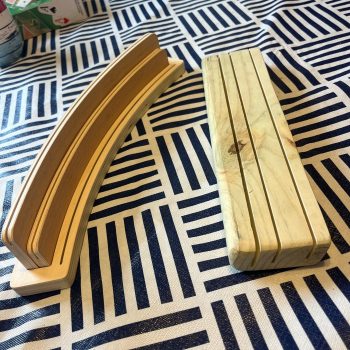
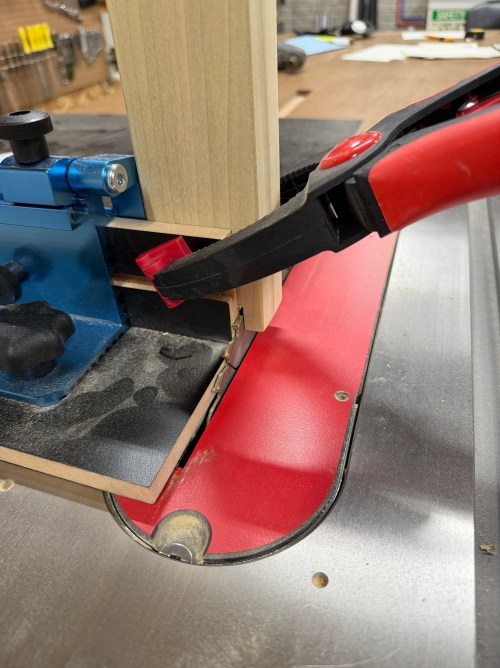
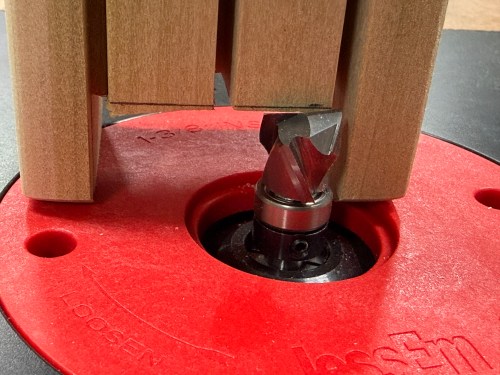
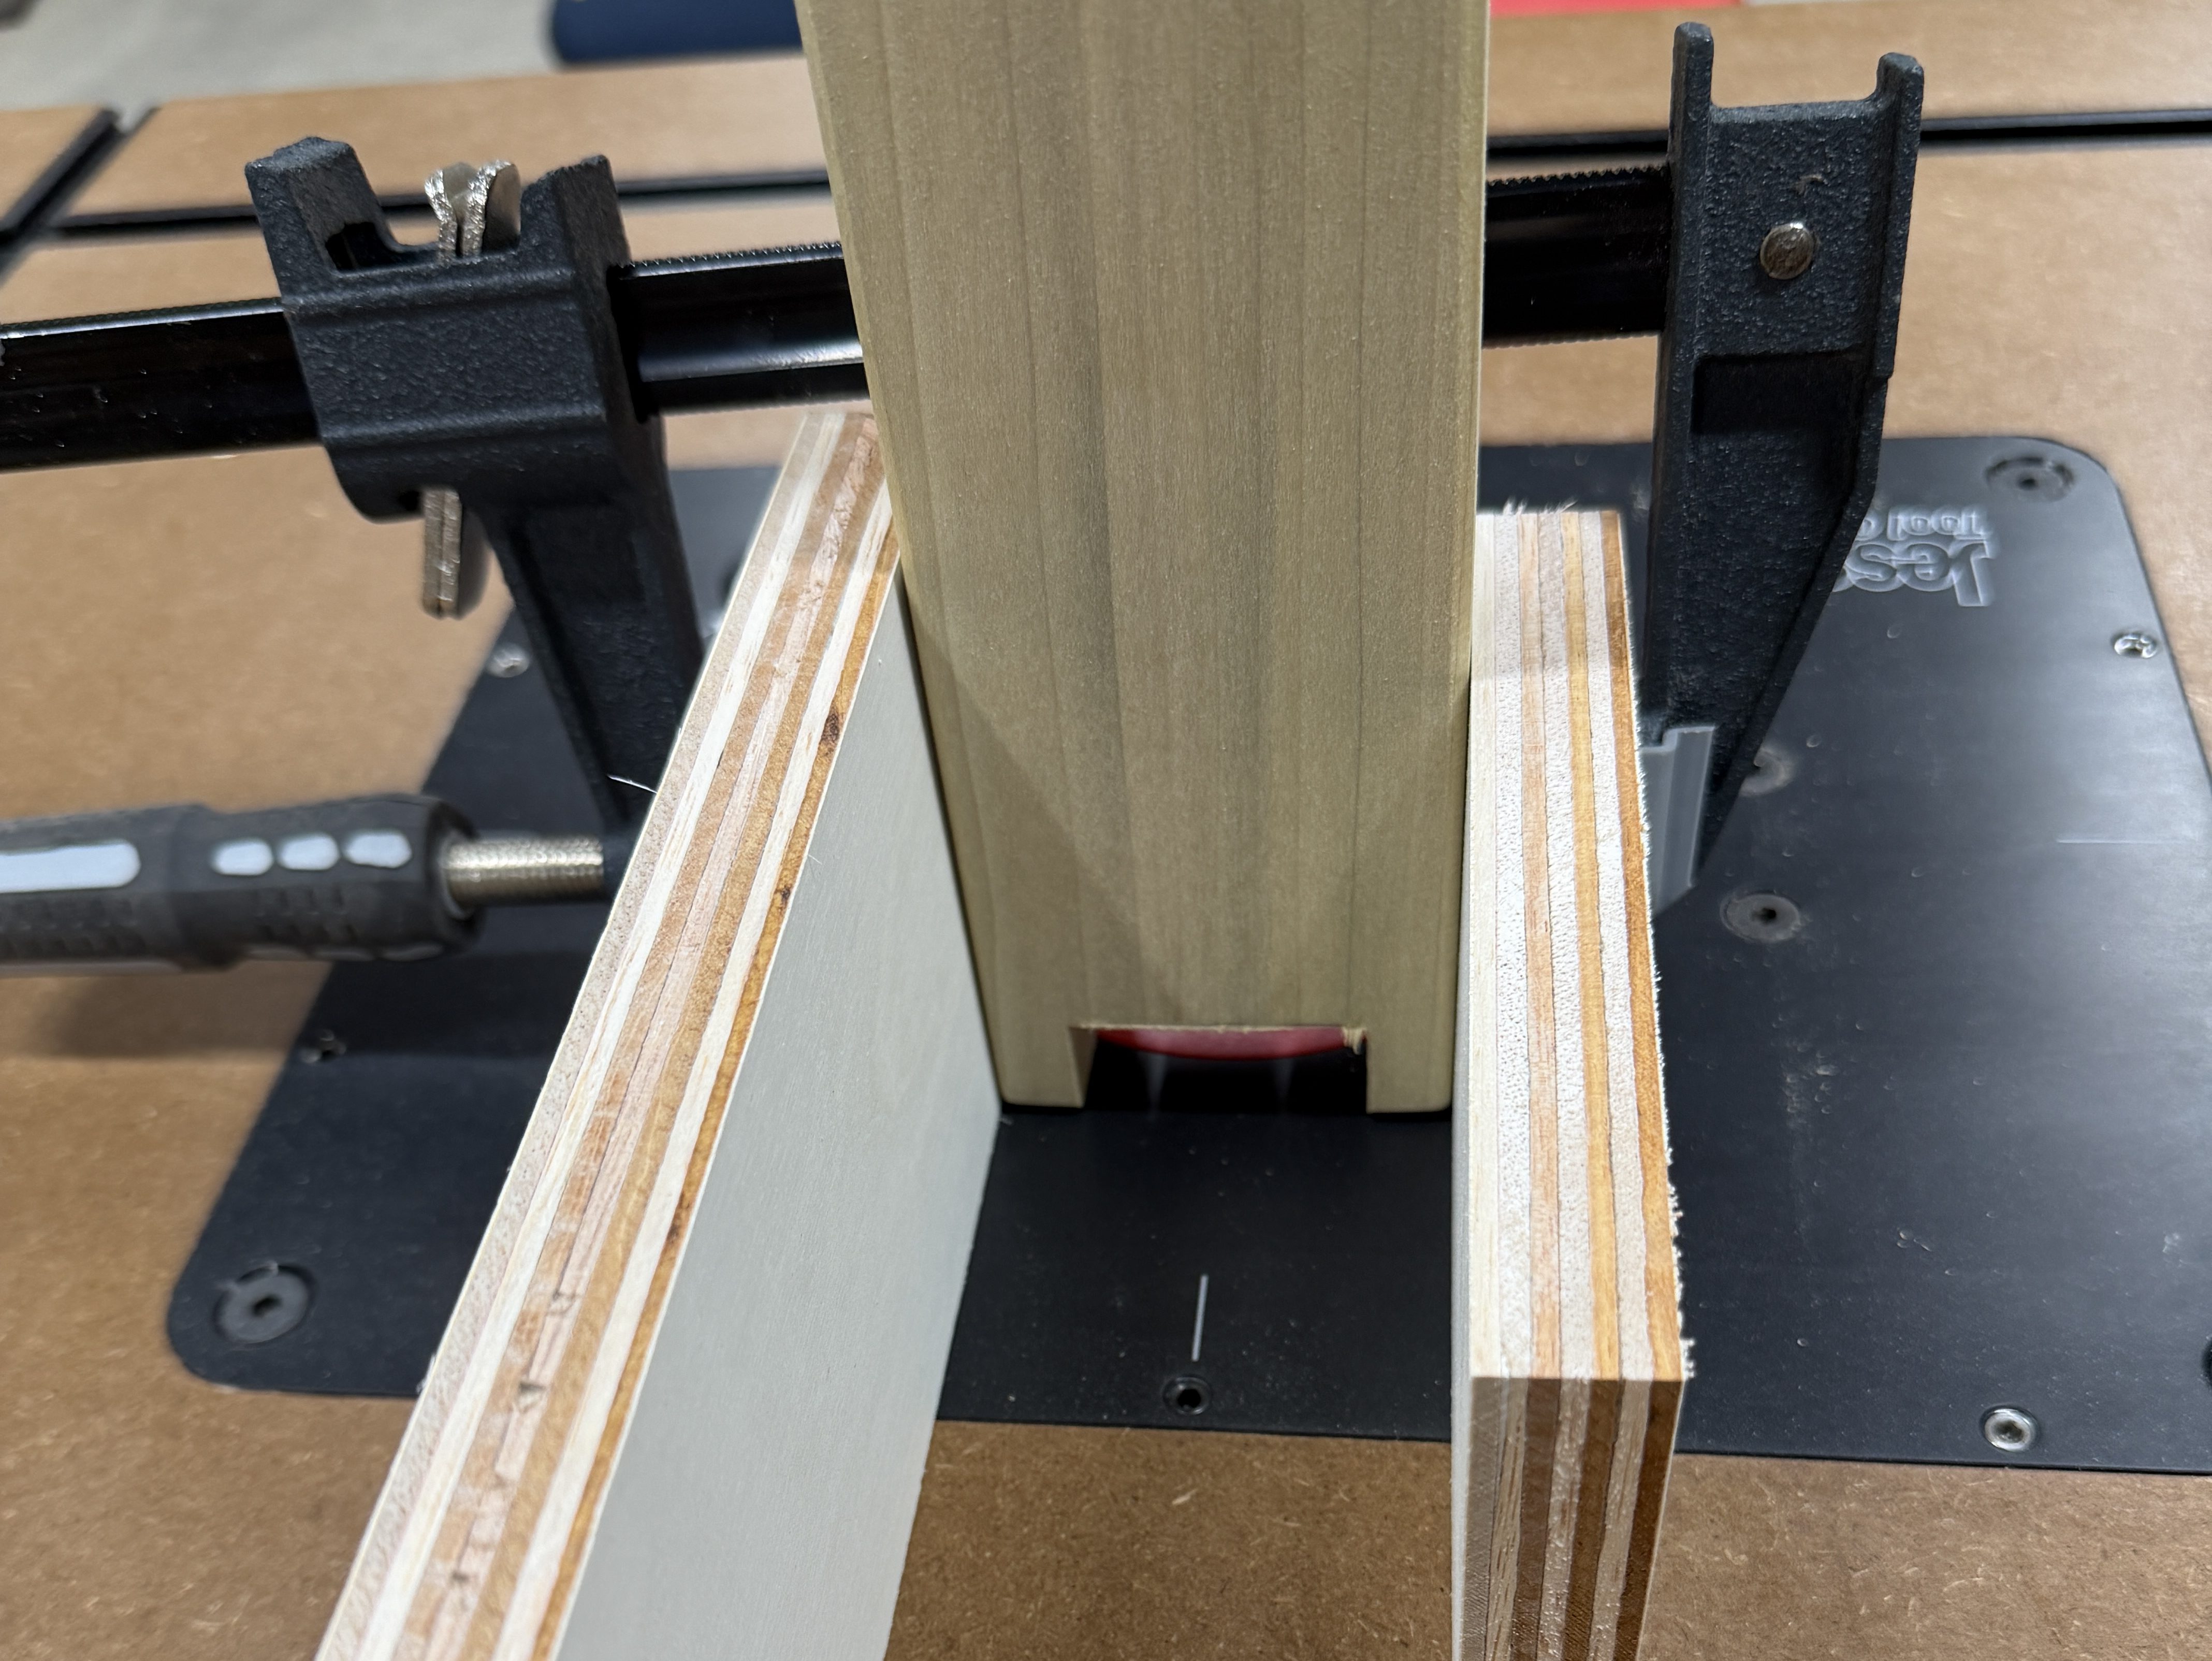
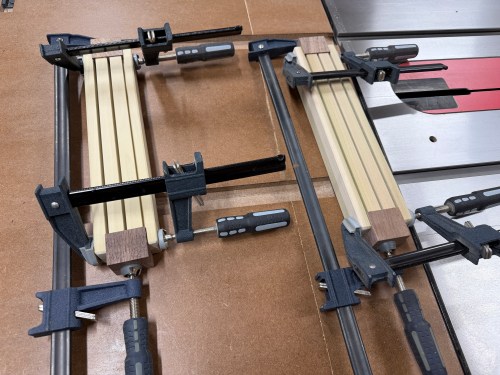
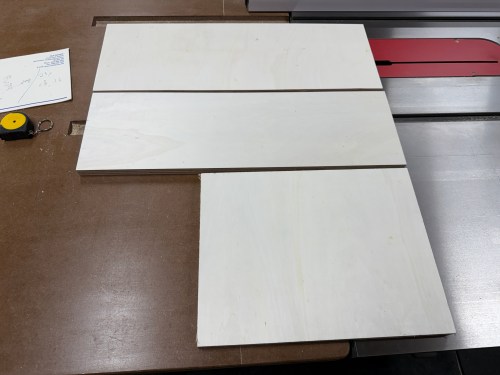
I laminated a couple of boards to give me enough height for the different slot depths.
Then I squared up the edges, cut to length, and sliced down the middle. The dimensions are 12 x 2-5/8 x 1-1/2 inches.
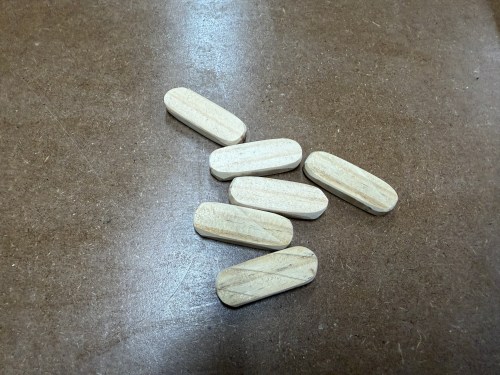
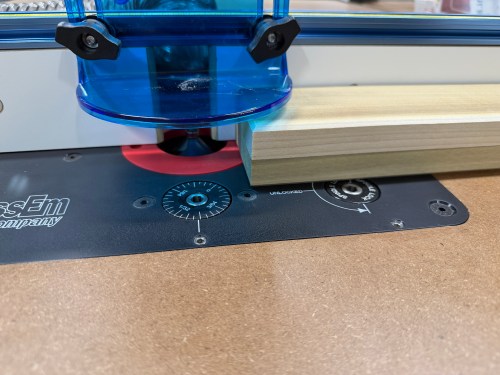
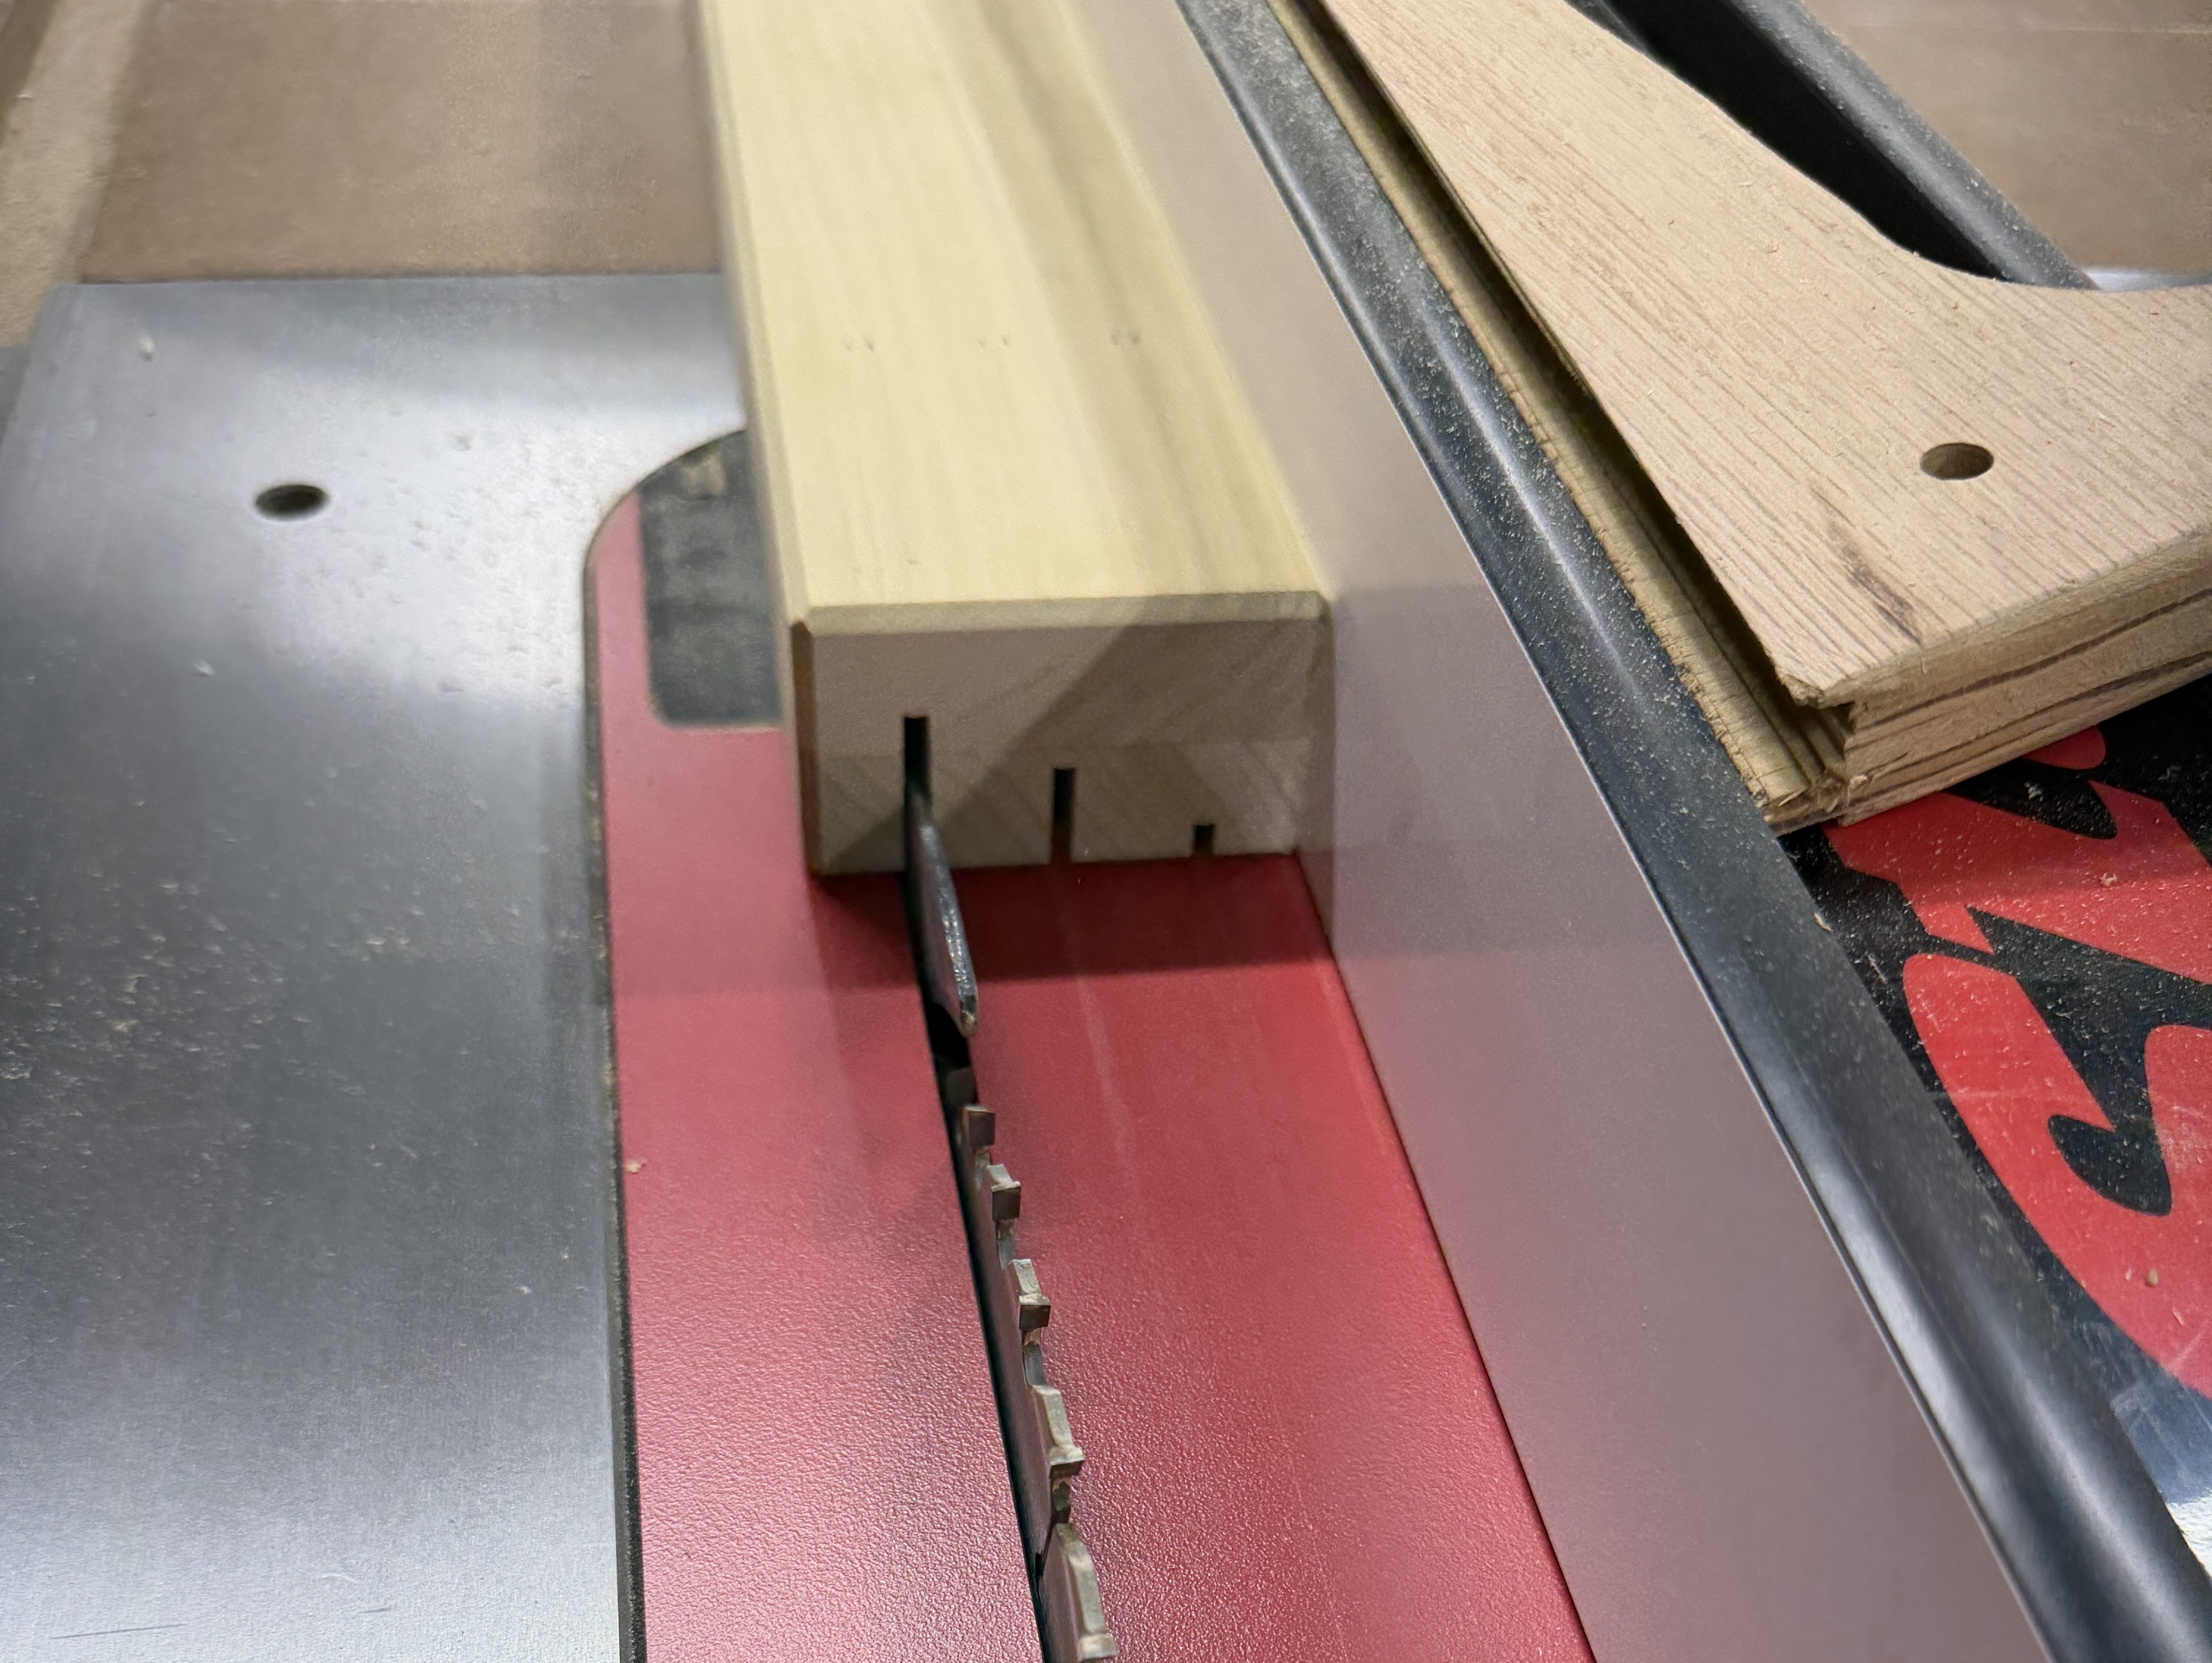
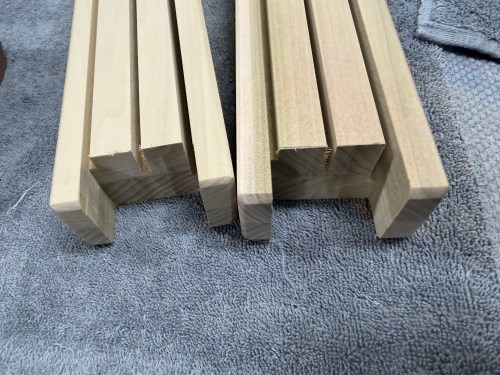
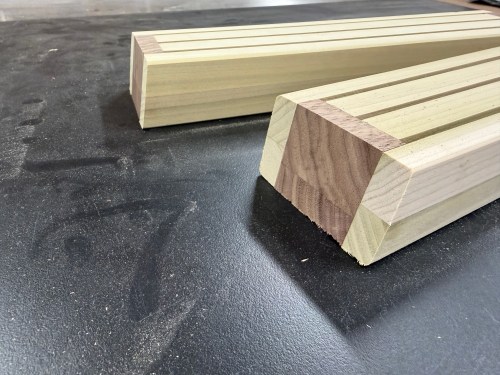
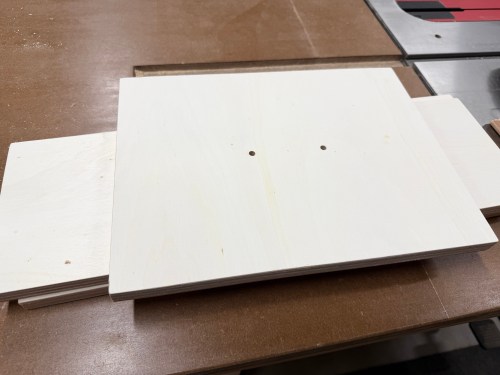
Finally, I cut the slots. The deck of cards I have in the shop are a bad example, since the numbers on most of the cards are lower than they should be. The slots are 1/4, 5/8, and 1″ deep, with 5/8″ of space in between.
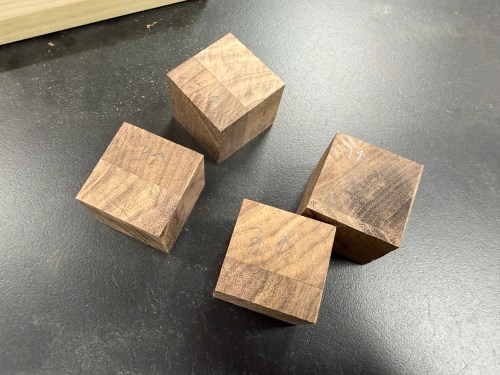
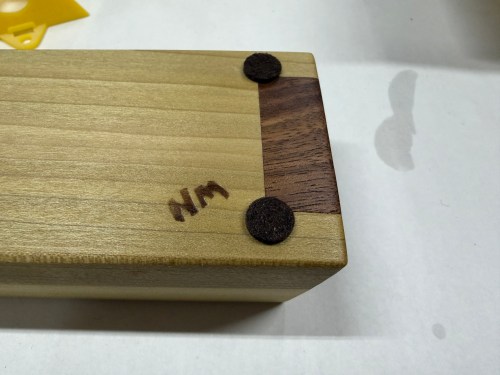
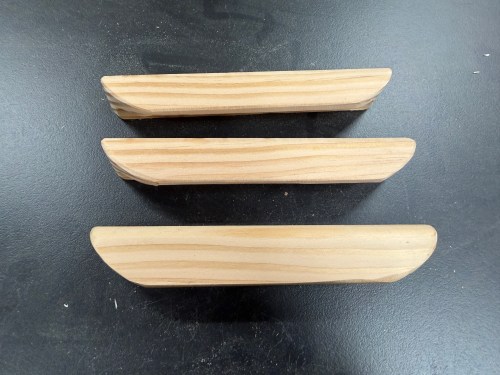
All the chamfers on my ends and the slot depths being visible was a bad look. So I cut out the middle section of each end, made black walnut fillers, glued them in, and trimmed them at a 10° angle to spice up the visual. I also added my NM stamp on the bottoms.
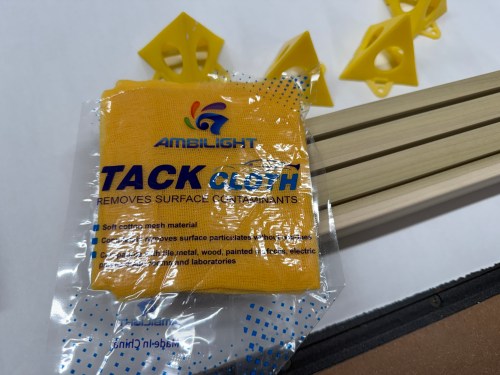
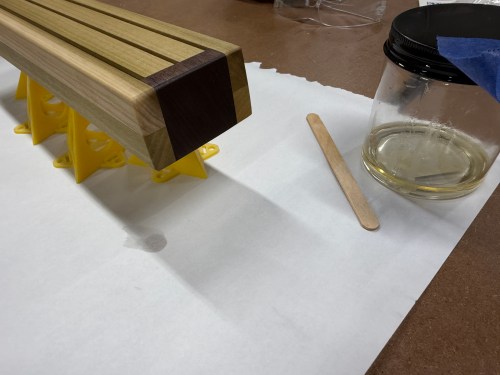
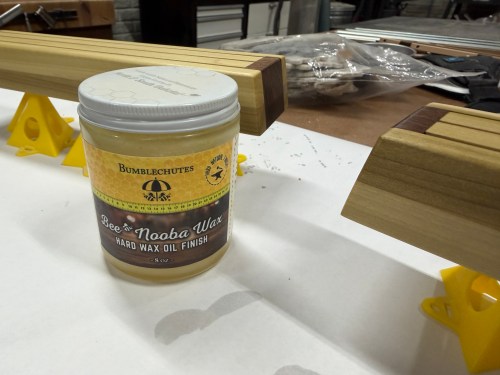
Much better! As a bonus this adds strength and will keep the cards from sliding out if the holder is picked up. I applied two coats of Bumblechutes All Natural Wood Finish and then Bumblechutes Bee’Nooba Wax. To finish them off I added felt pads to the bottom.
Time to finish this table. While part 1 and part 2 were quite involved, the rest was all about drawers. I needed to make use of the rest of the space inside the table.
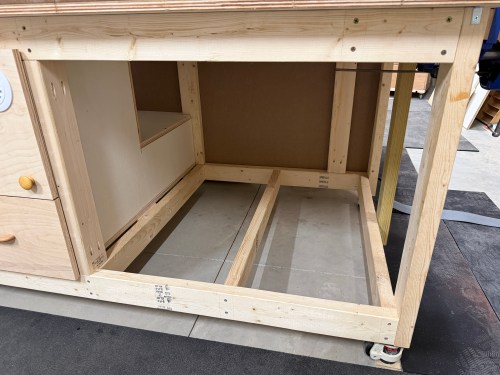
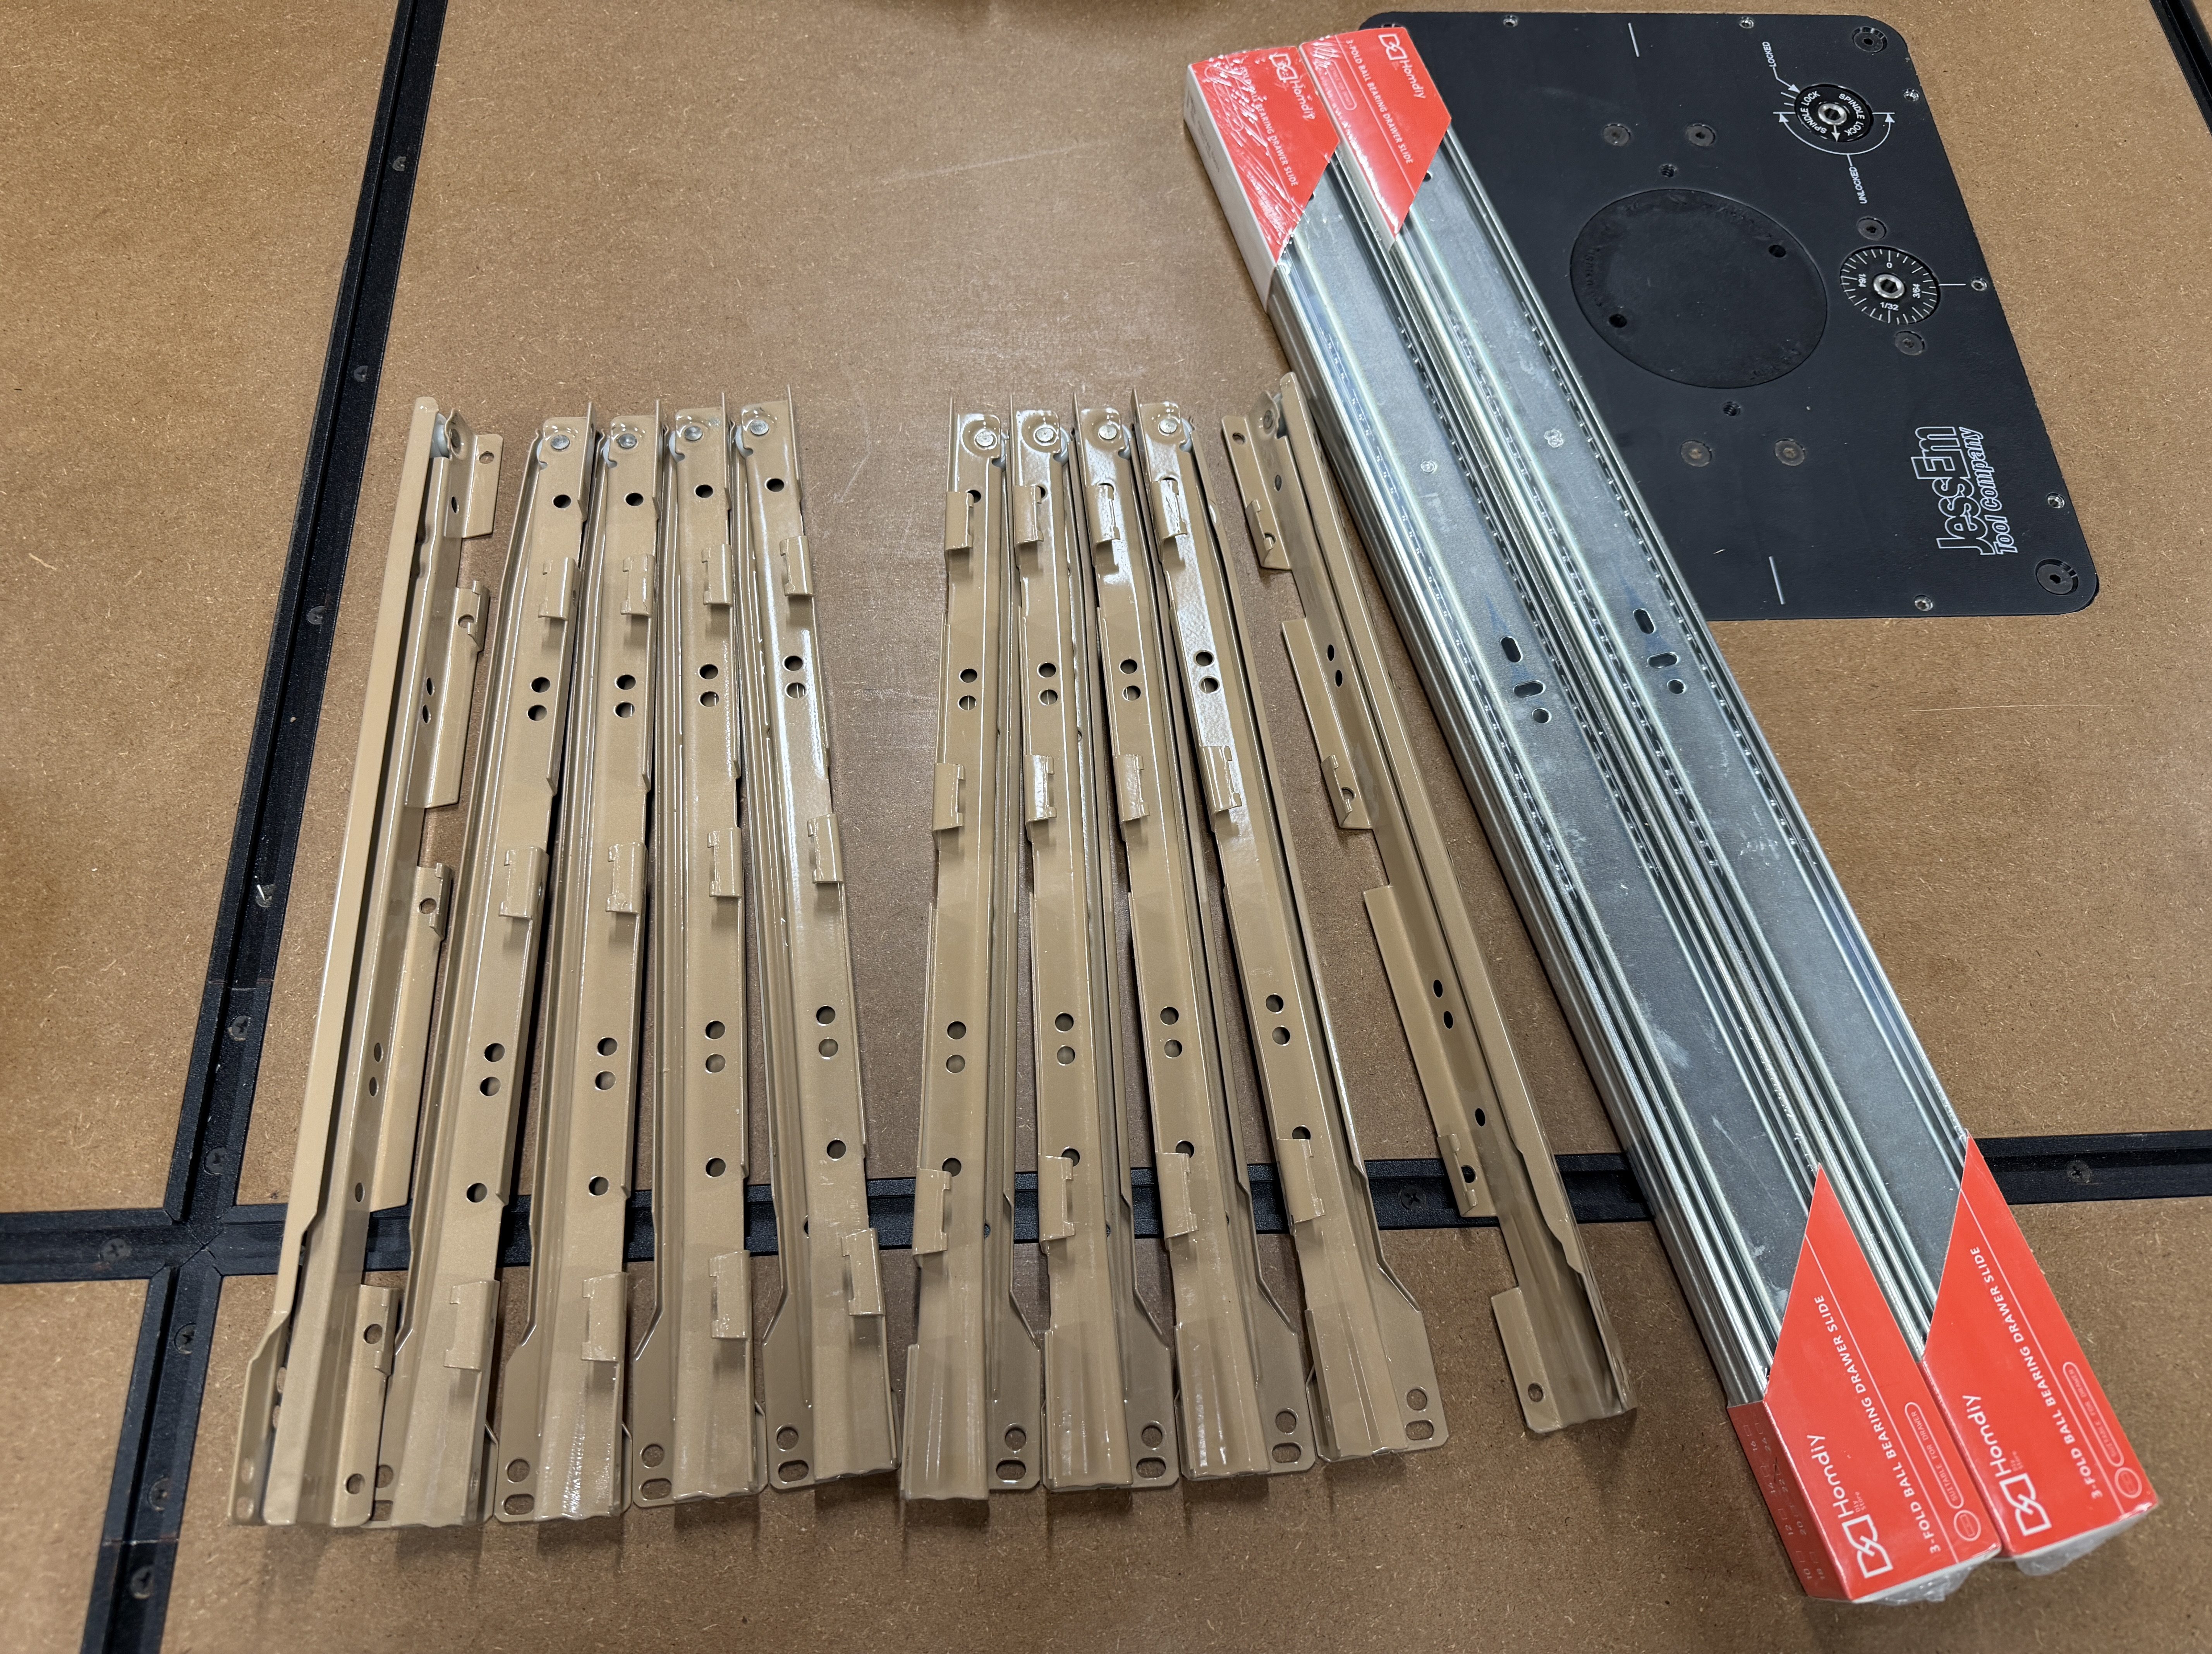
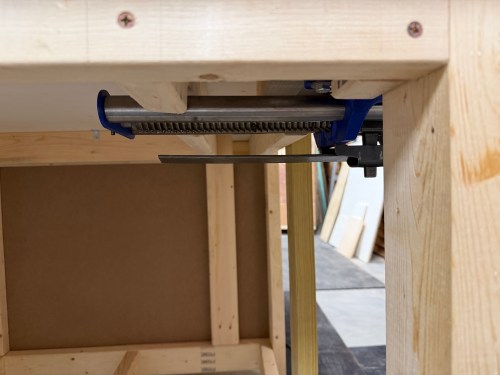
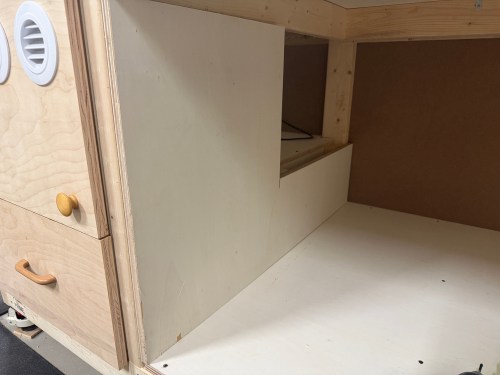
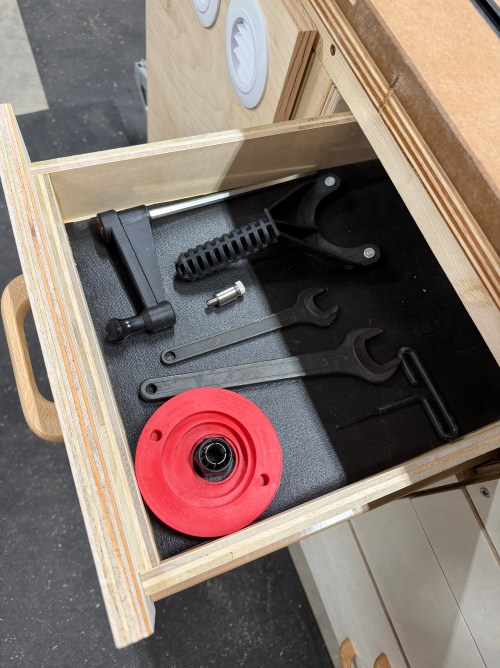
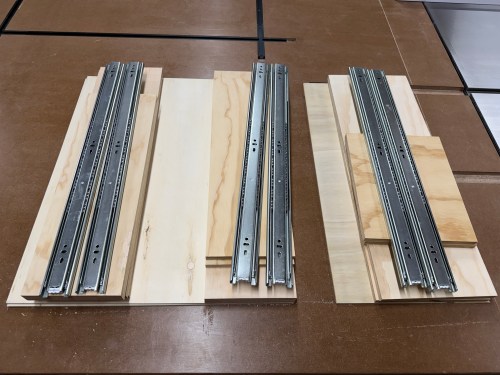
First, I got to work on a cabinet next to the router station, on the front of the table. I wanted to use five sets of cheap drawer slides I salvaged from an old dresser. I had enough room for four deeper drawers, using 22″ slides. I took measurements and sketched out a plan. I had to design around the vice, which hung down below the frame of the table.
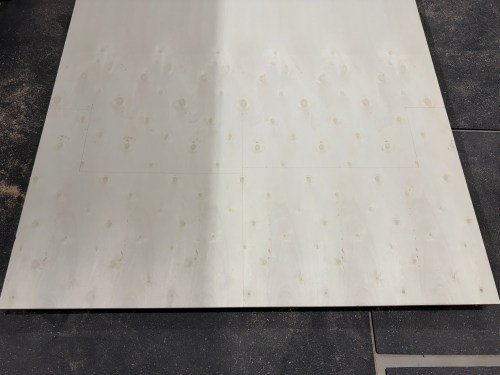
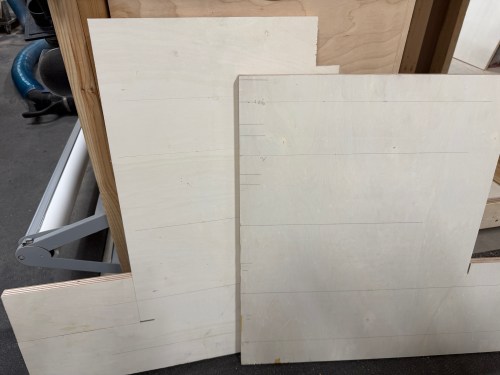
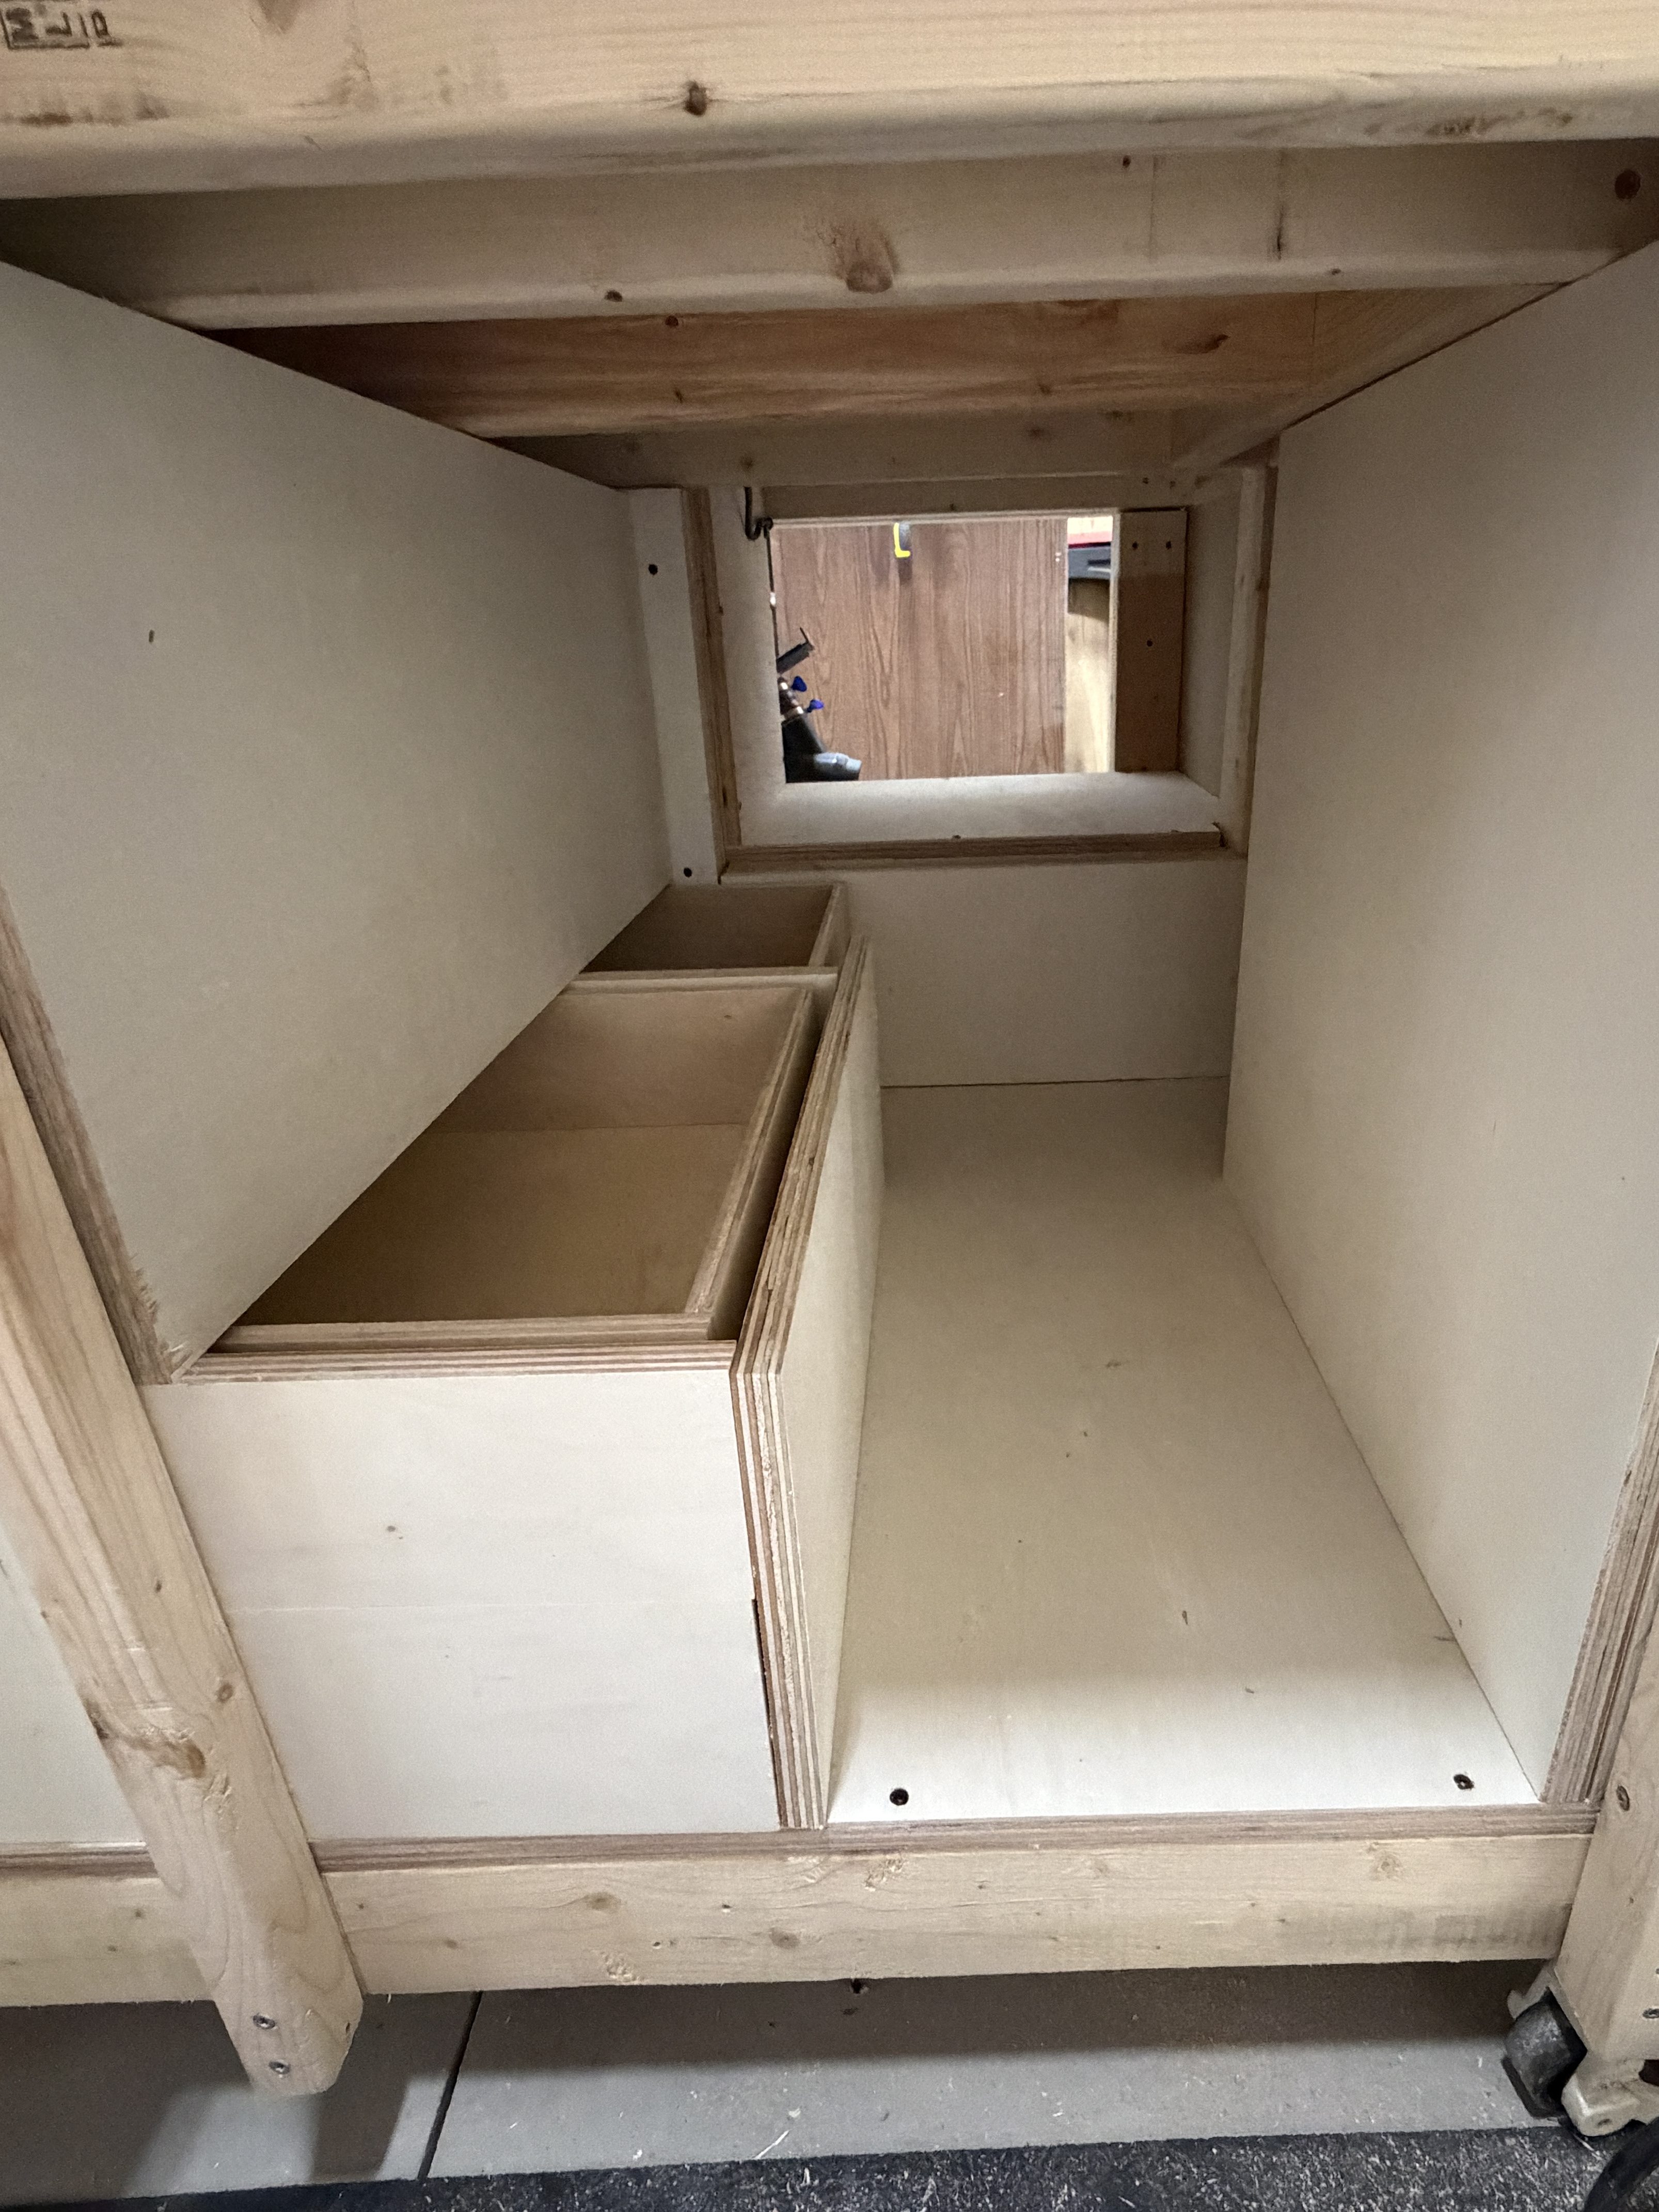
I cut a full bottom panel and some 2x4s for extra bracing. I wanted to make good use of space and have the most room for drawers on the right side of the table, so the vertical supports were made in the odd L shape again. The one on the left was cut to match up with the one from the router station.
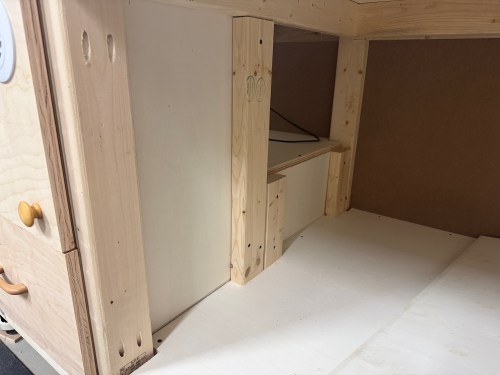
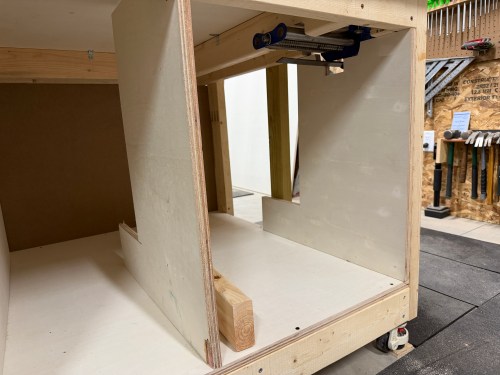
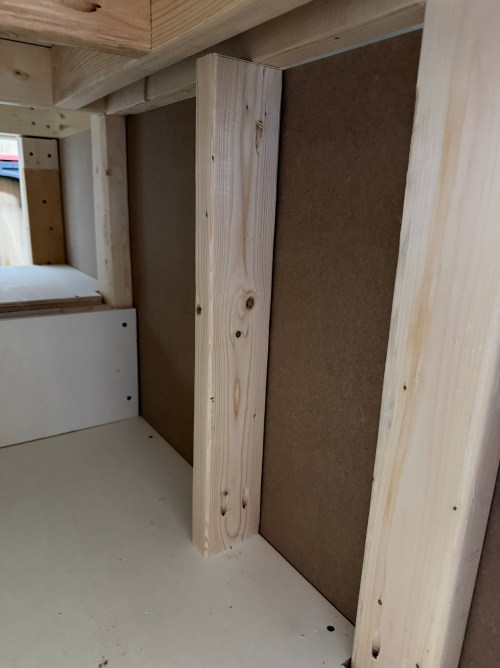
In the middle, I needed something up top to connect to, so I cut a piece of 2×4 and would secure it in place after determining the exact width of the left drawer column. The vertical on the right needed some cut away around the vice.
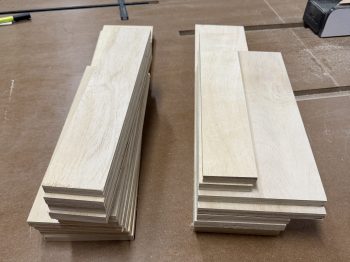
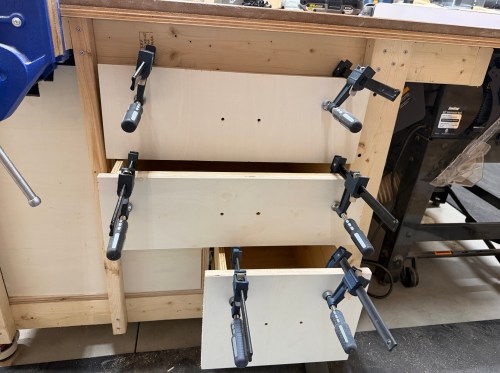
Then I was able to cut all of the drawer sides, with two different depths for the different types of slides I was using. Or so I thought.
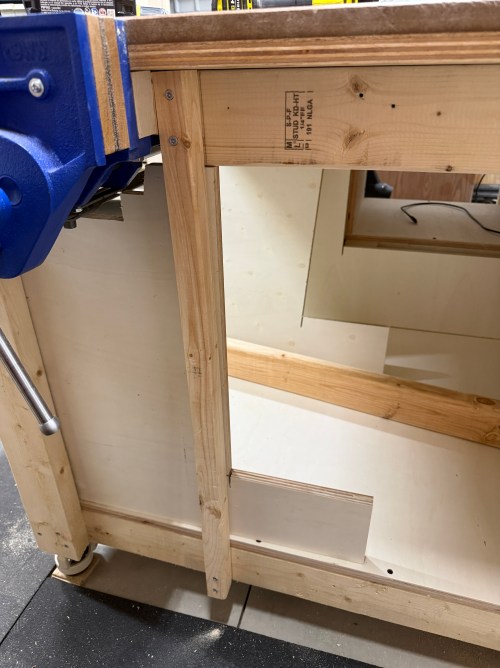
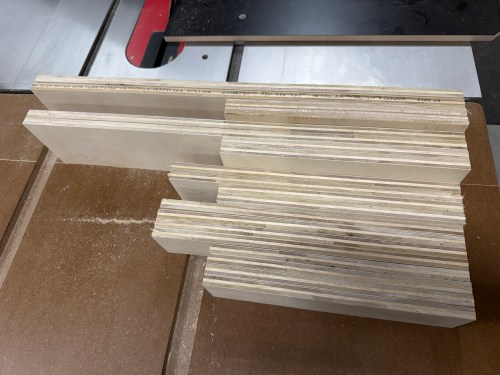
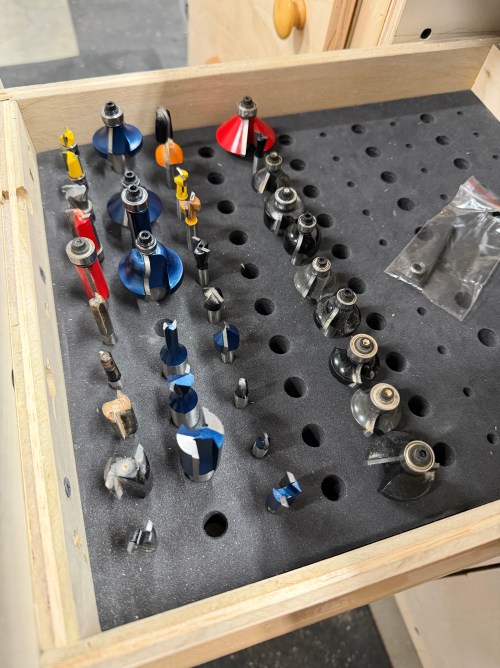
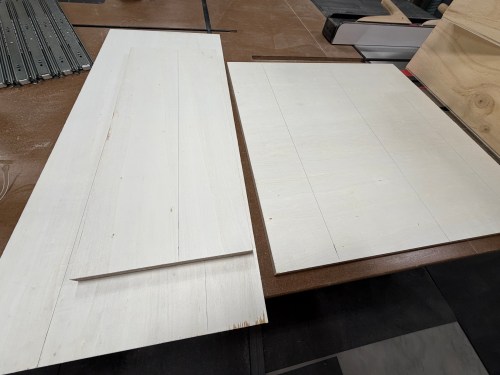
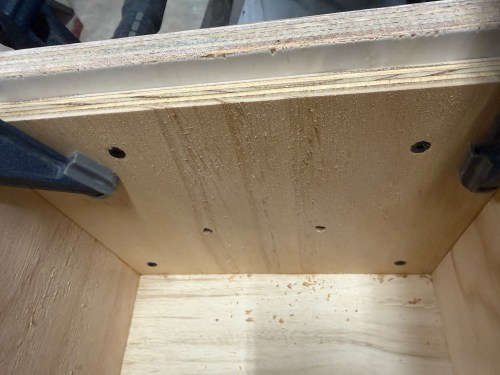
As I was going over some of my notes I realized I didn’t cut the back part of the middle and right verticals tall enough. To fix the mistake, I glued and pocket screwed on some patch pieces. I also had to recut longer sides for two drawers. From there I figured out the width of the left drawers based on the foam router bit storage tray I was using. Then I cut the fronts, backs, and bottoms for the five left drawers.
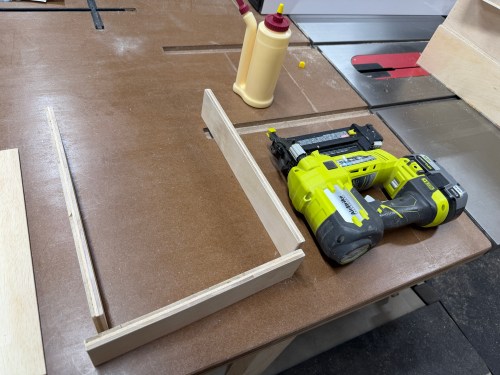
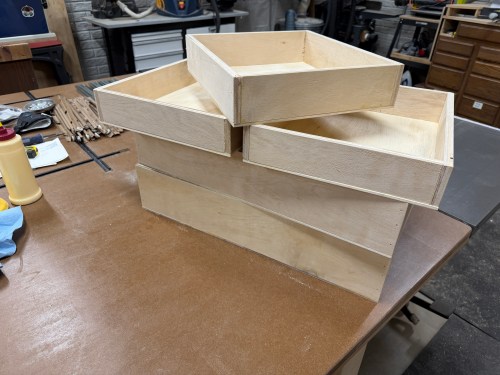
Assembly was quick with glue and brad nails.
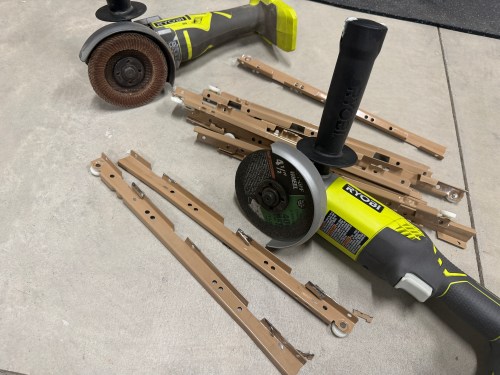
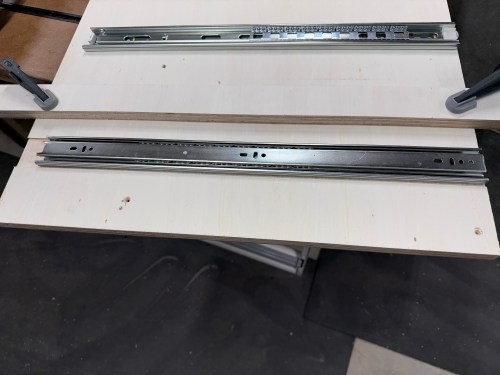
I modified the old drawer slides with an angle grinder to remove tabs that were in the way for my use case.
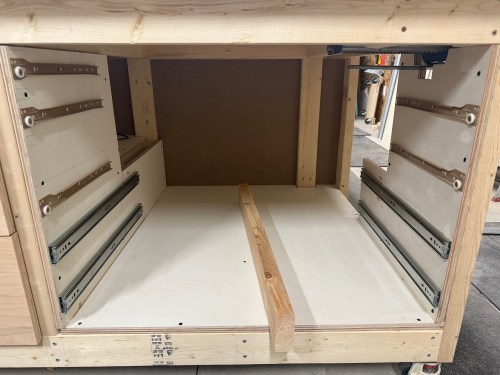
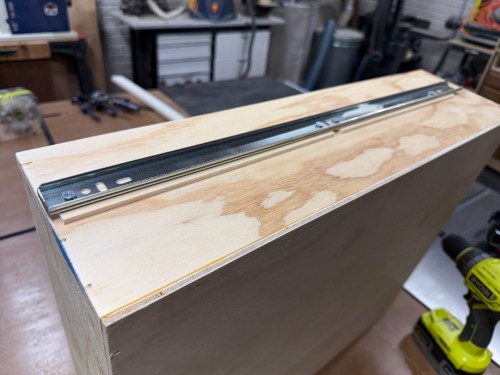
I mounted the slides to the verticals for both columns of drawers. Then I was able to secure the left and right verticals to the table frame, attach slides to the left drawers, and put them in to guide the placement of the middle vertical. It got screwed in, along with the upper 2×4.
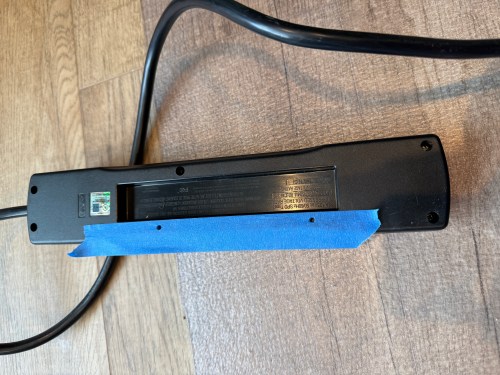
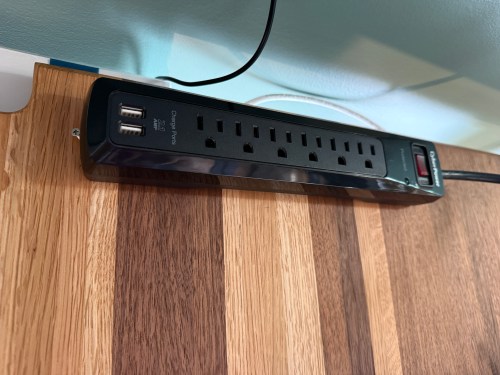
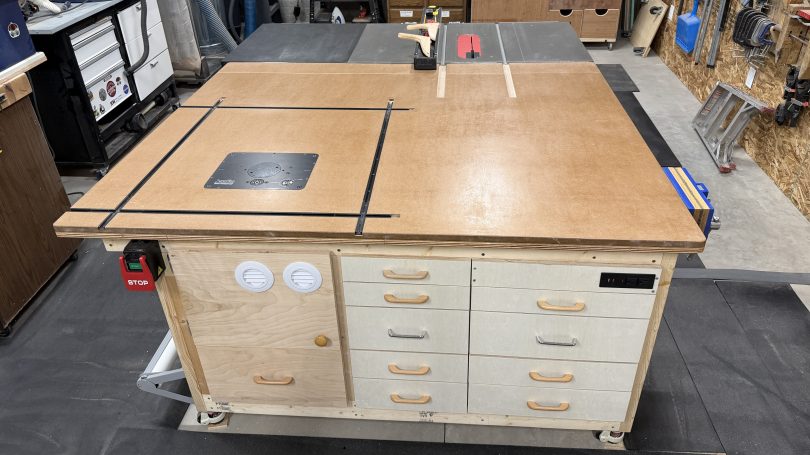
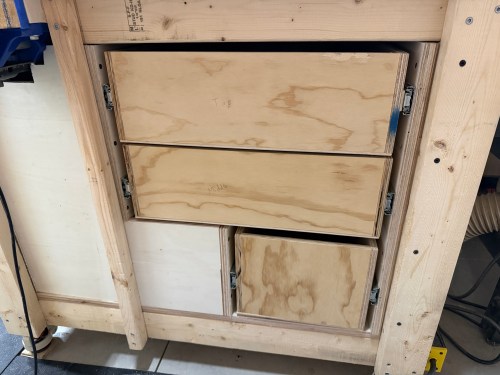
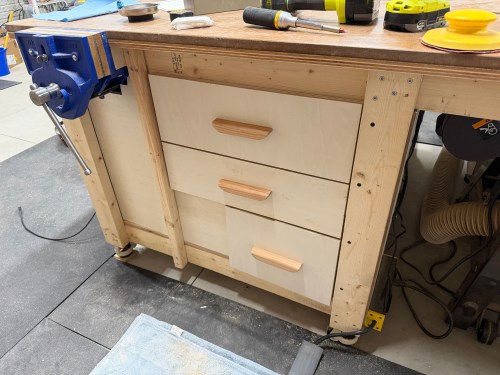
With the left column of drawers in, I figured out how wide the remaining parts needed to be for the right column of drawers and got them done. Then it was time for some drawer fronts and a false front, since the vice prevented a drawer from being installed there. This gave me a place for a recessed power strip with USB. I didn’t have enough matching handles, so I used two different styles I’ve bought at estate sales.
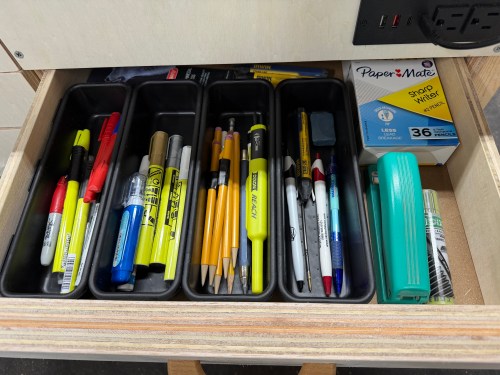
I filled in a few drawers.
I will never combine different drawer slides in a cabinet like this again. It was a major pain in the ass and too much to keep track of with the different mounting methods, widths, depths, and clearances. I had to adjust the placement of the old slides many times and alter some drawers. Wasn’t worth it.
The drawers for the right side of the table was much of the same and went together a lot faster. The table frame is slightly out of square, so the bottom drawer was a touch too tight and the top too loose. I had to route a recess on one and add some spacer material on the other. The handles were cut out of a test piece from the nightstands I made.
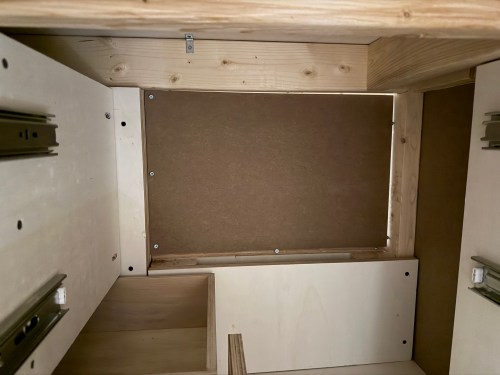
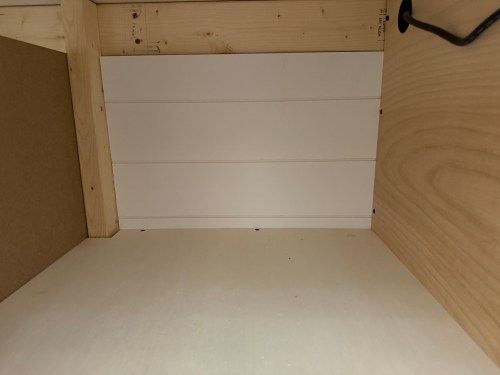
I cut a piece of shiplap paneling and closed off the back of the shelf. This leaves a little unused area in the middle back of the table. If I took out the drawers I could hide something back there. Shhh!
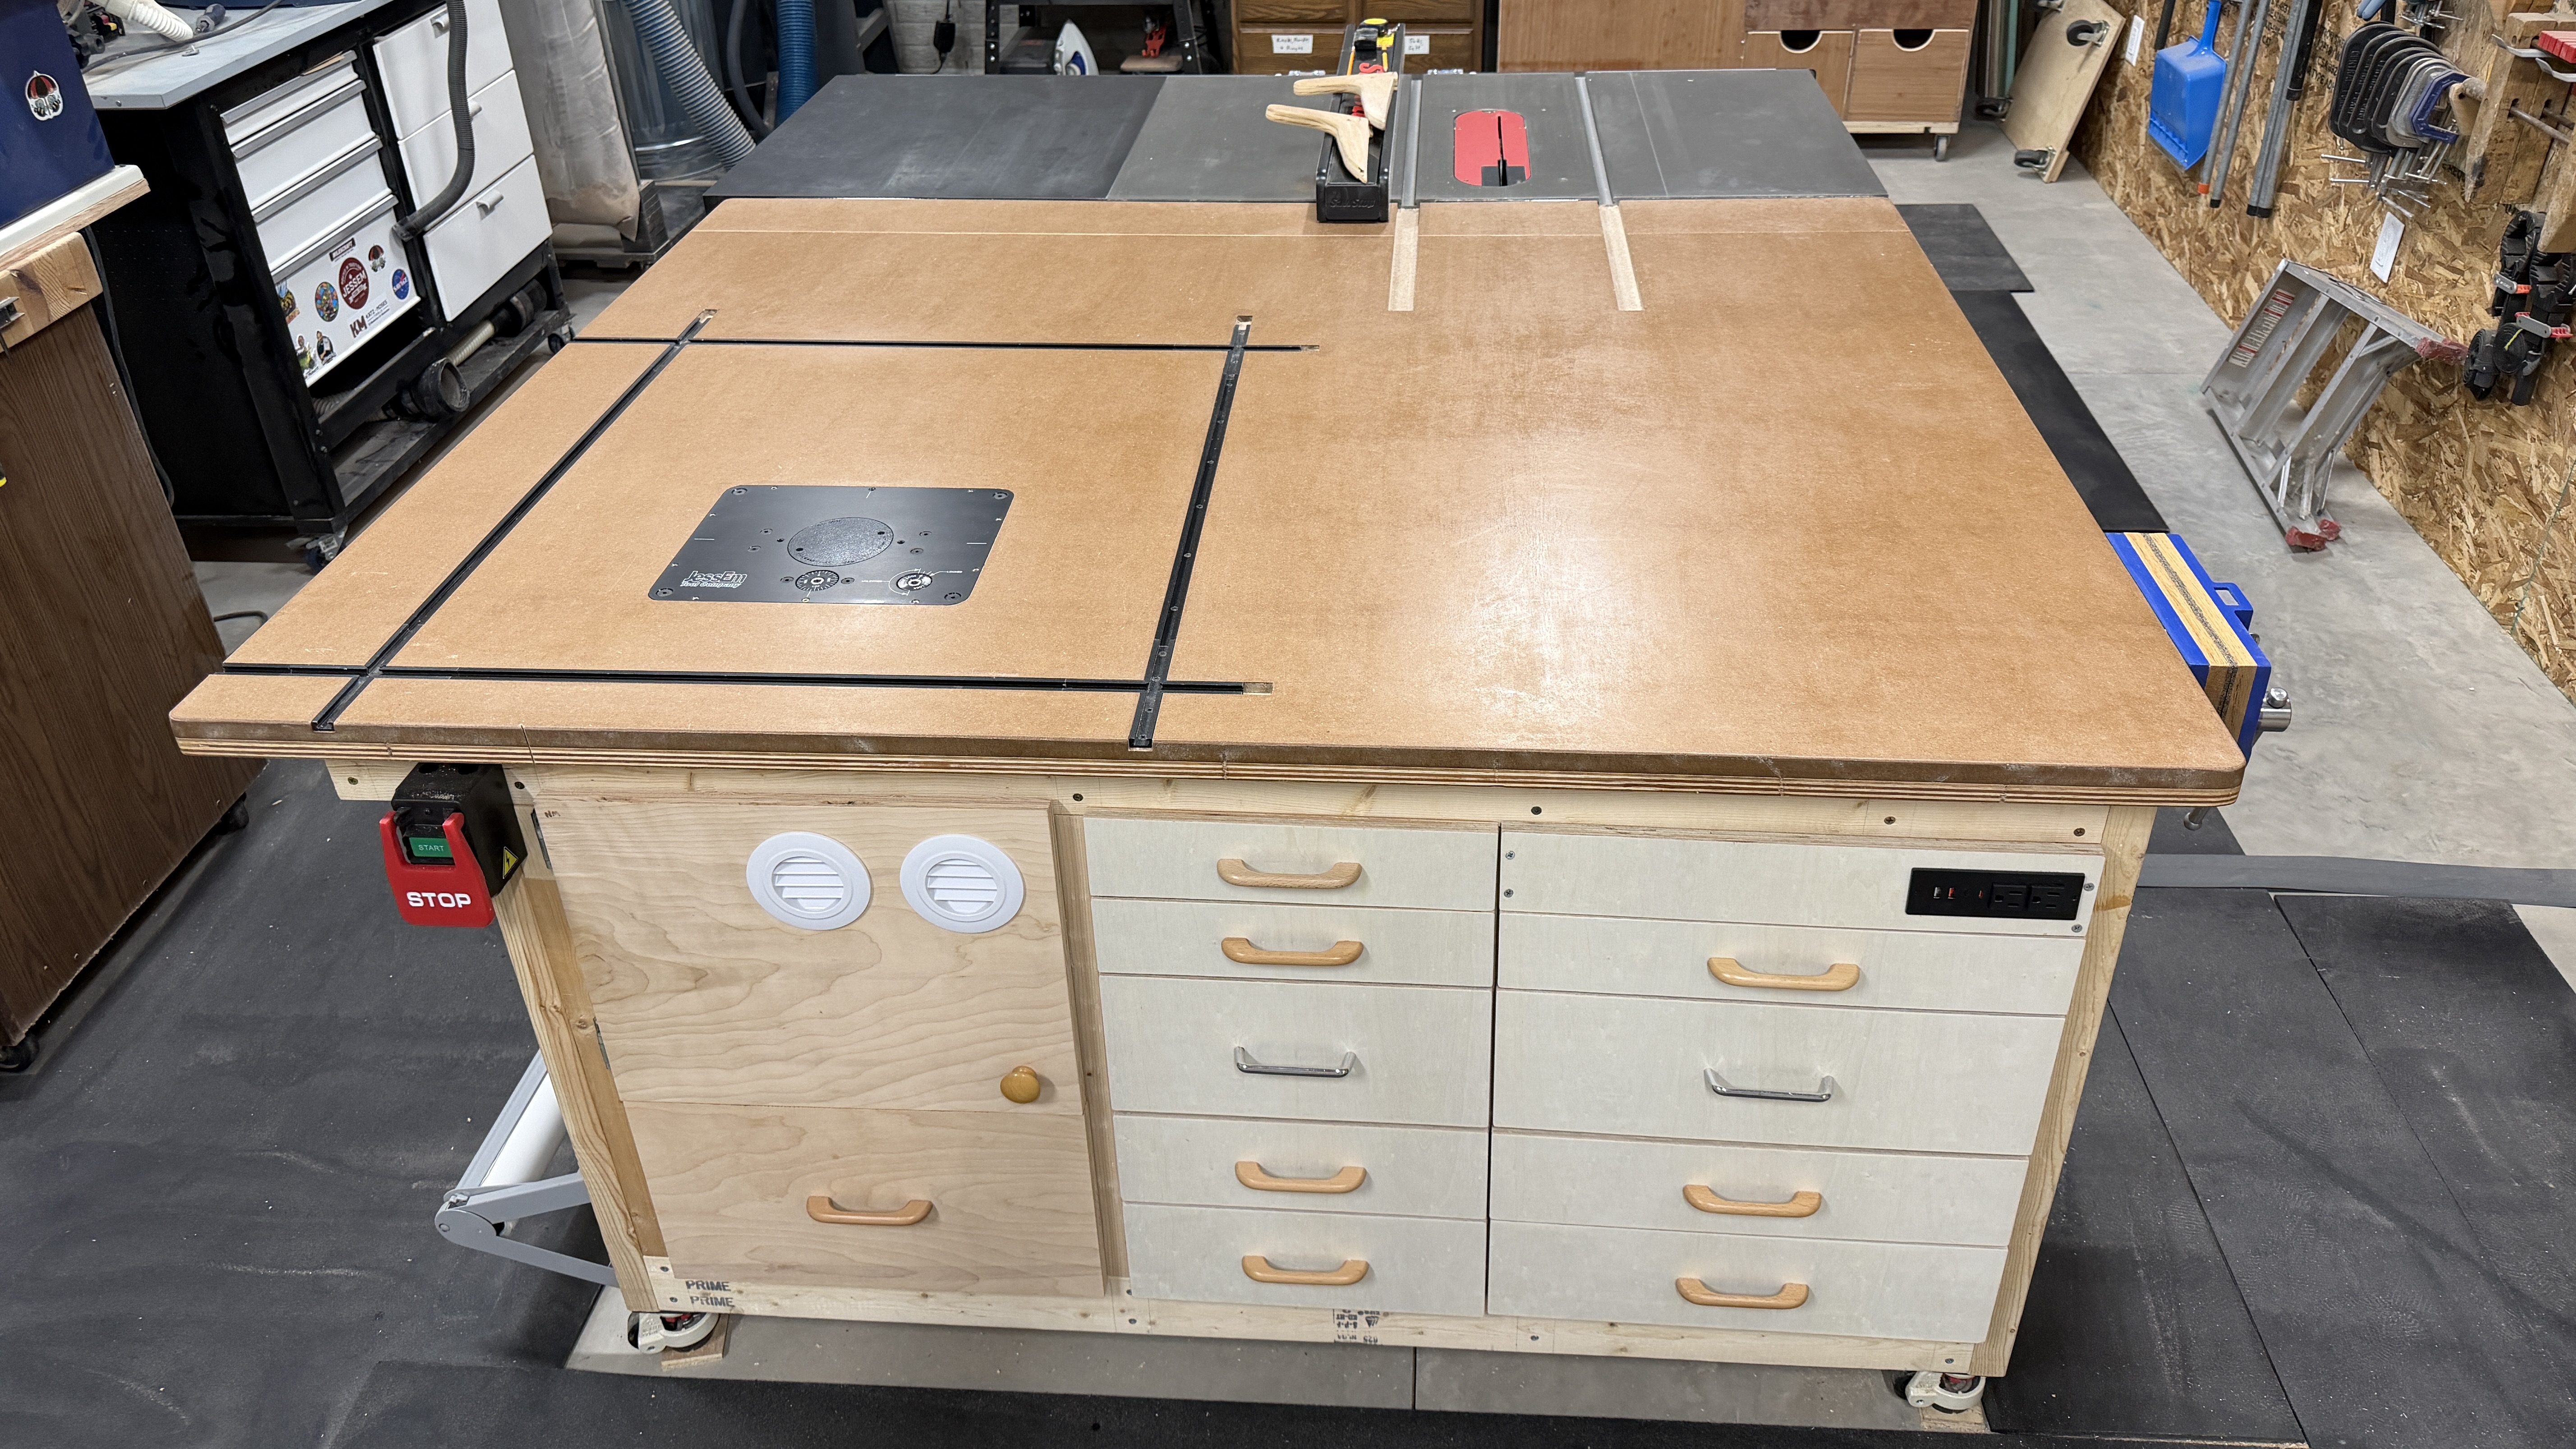
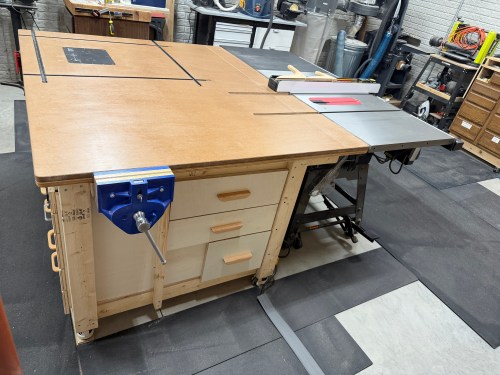
The saw outfeed and the huge work area are already amazing to have. This is really going to improve my processes in the shop. Here are some final photos.
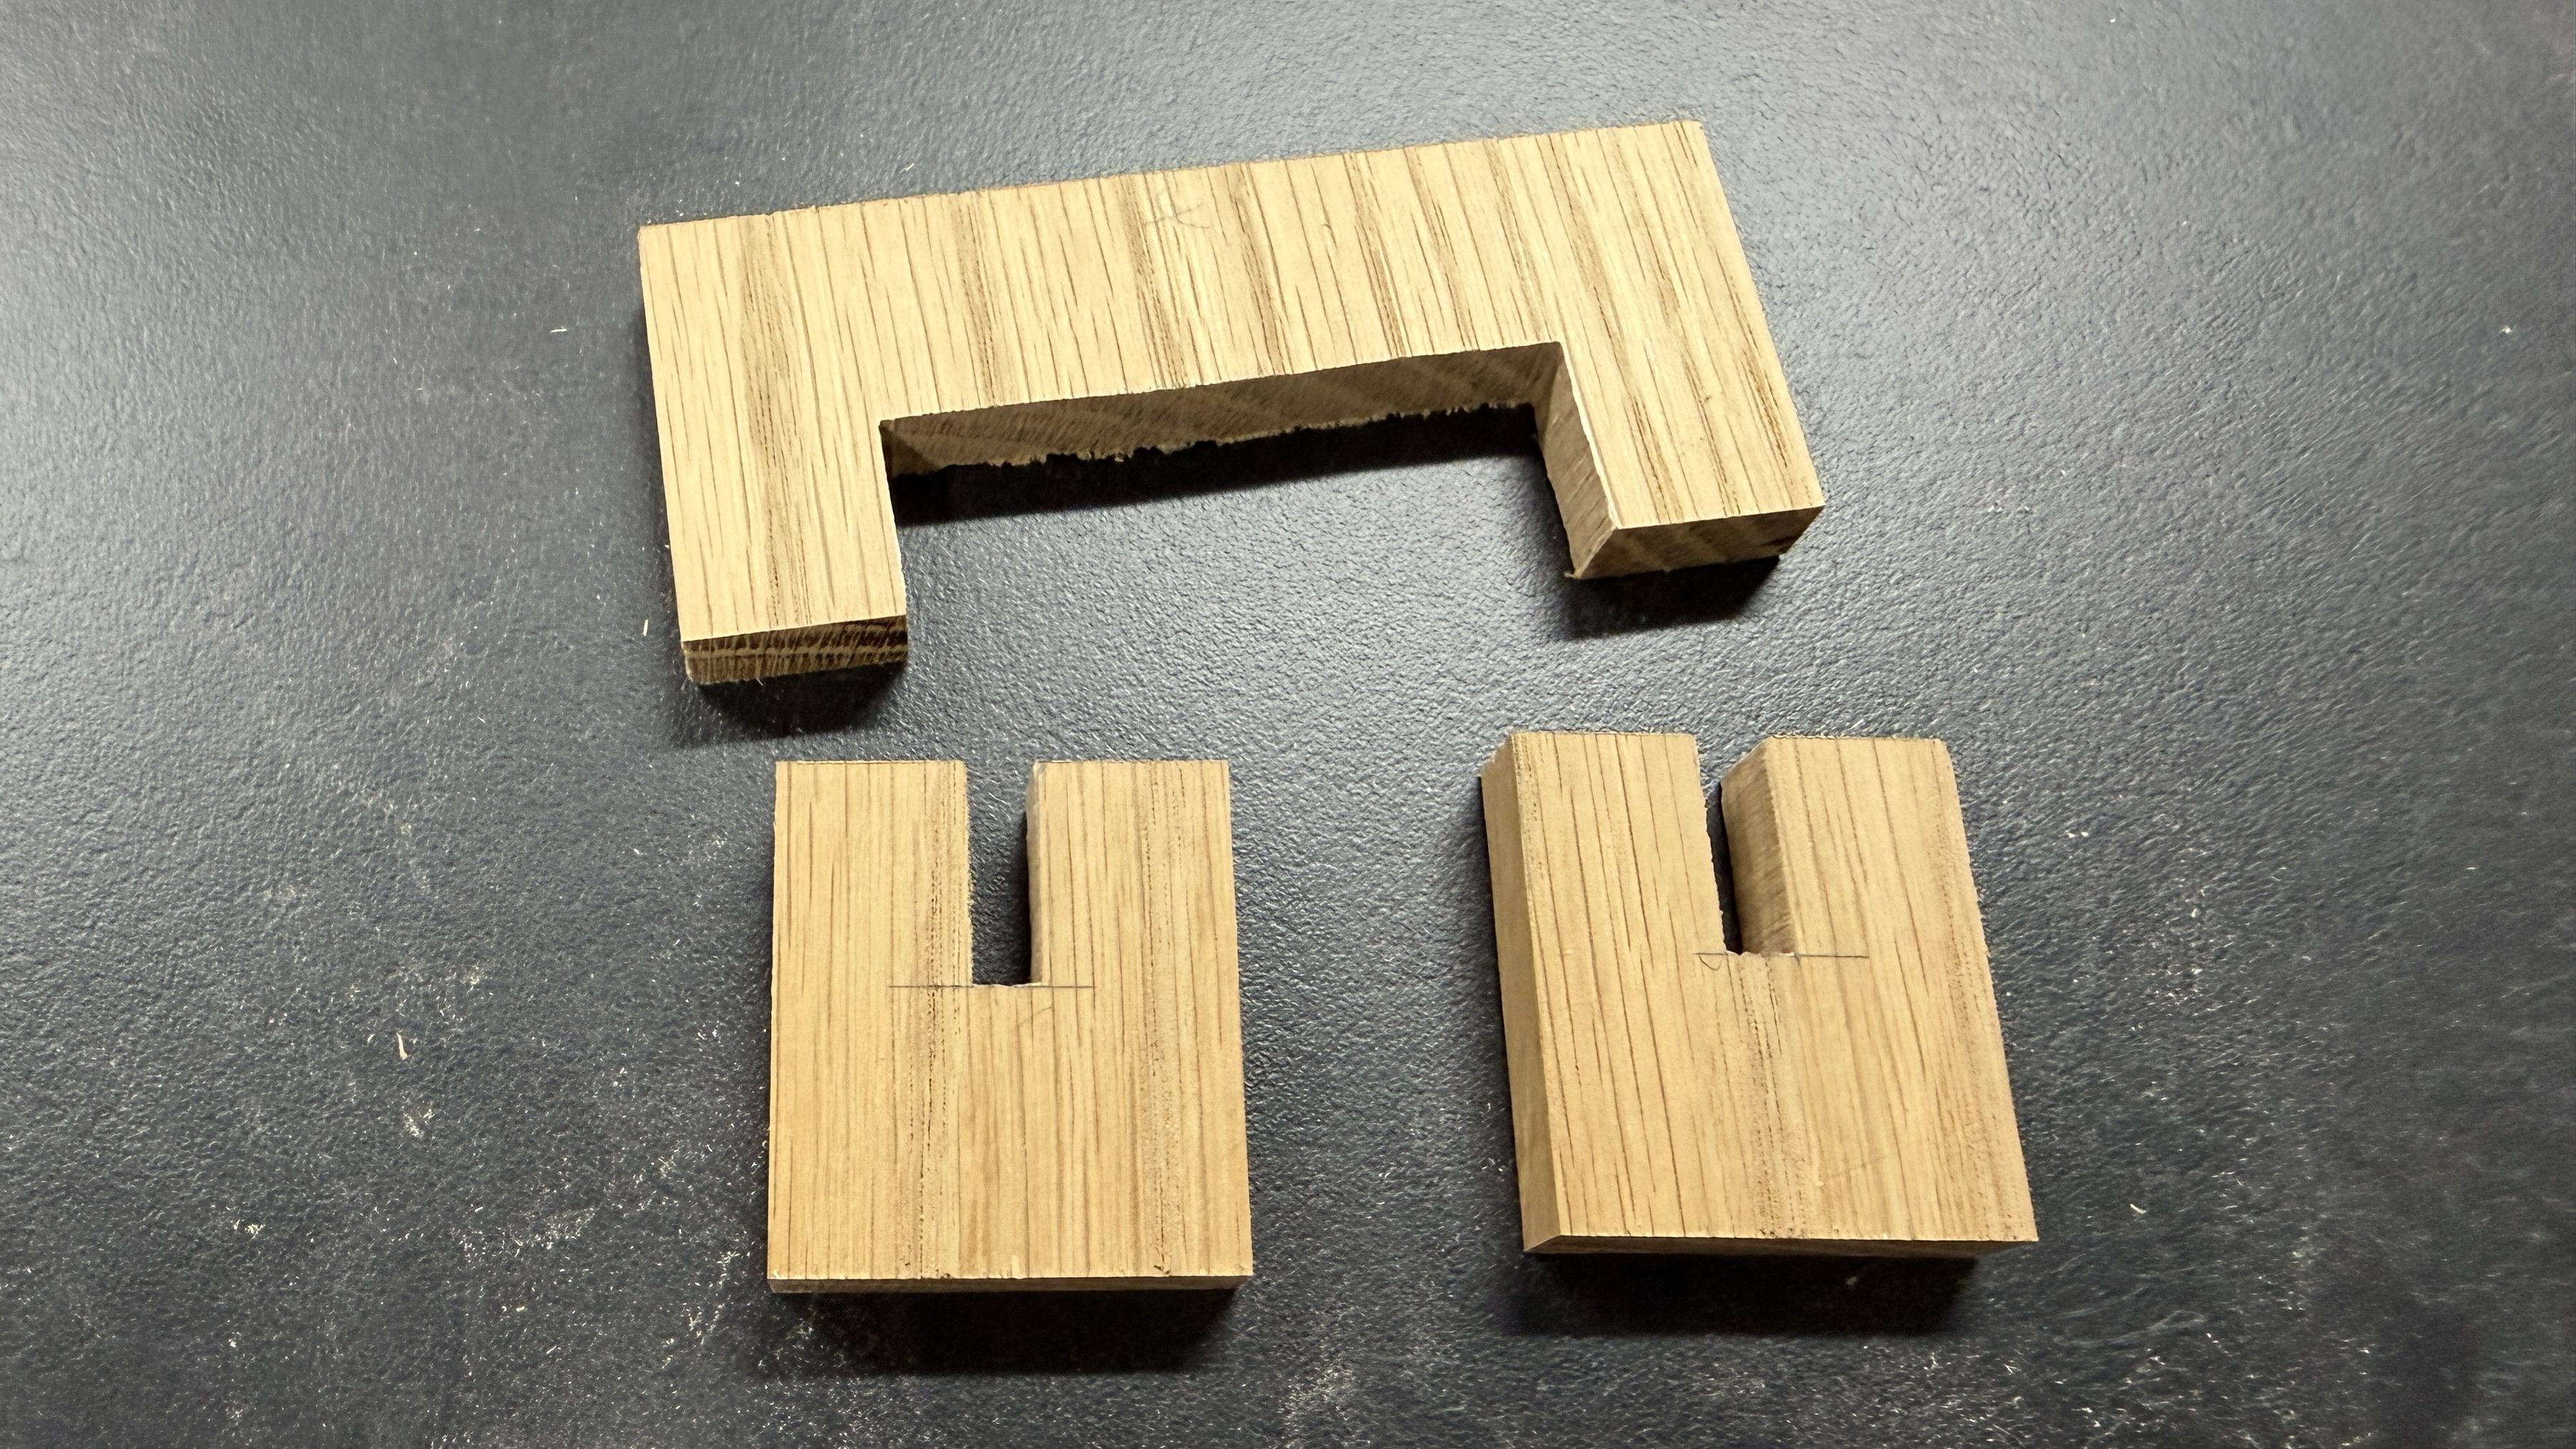
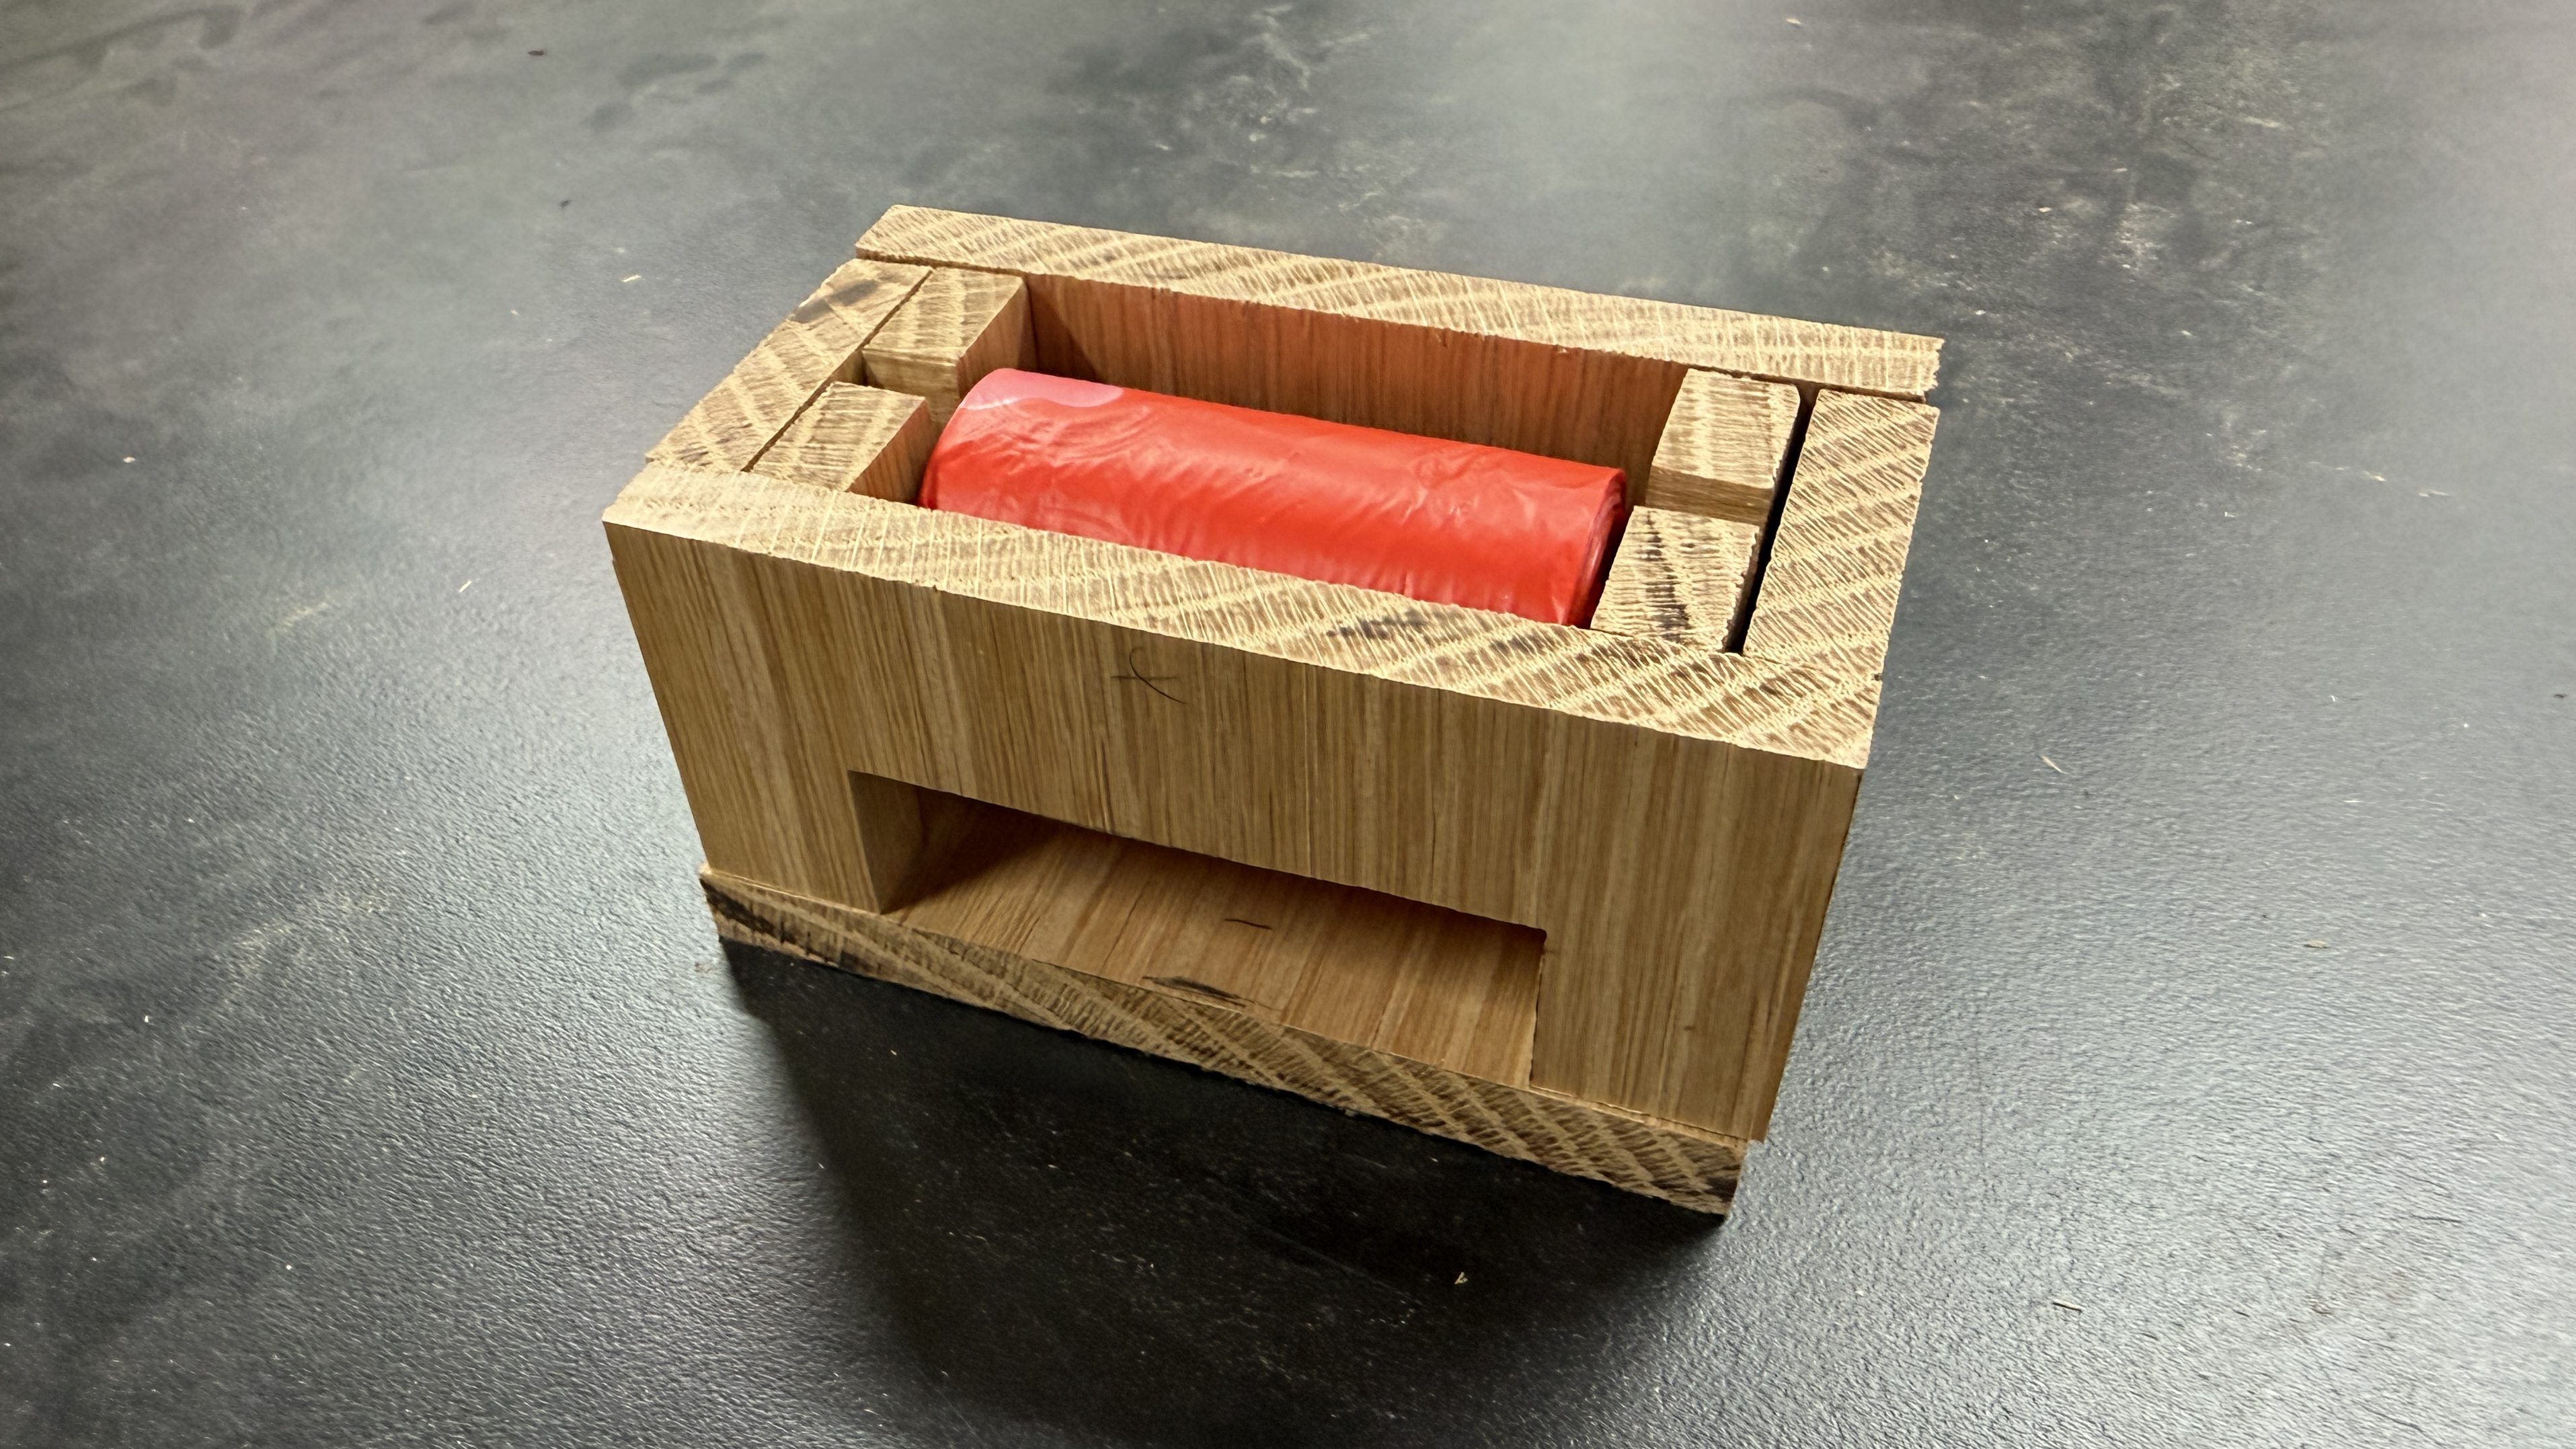
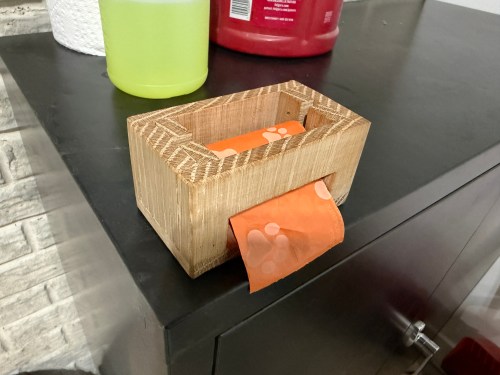
We use those small pet waste bags when cleaning out the cat litter and just throw the roll on a cabinet.
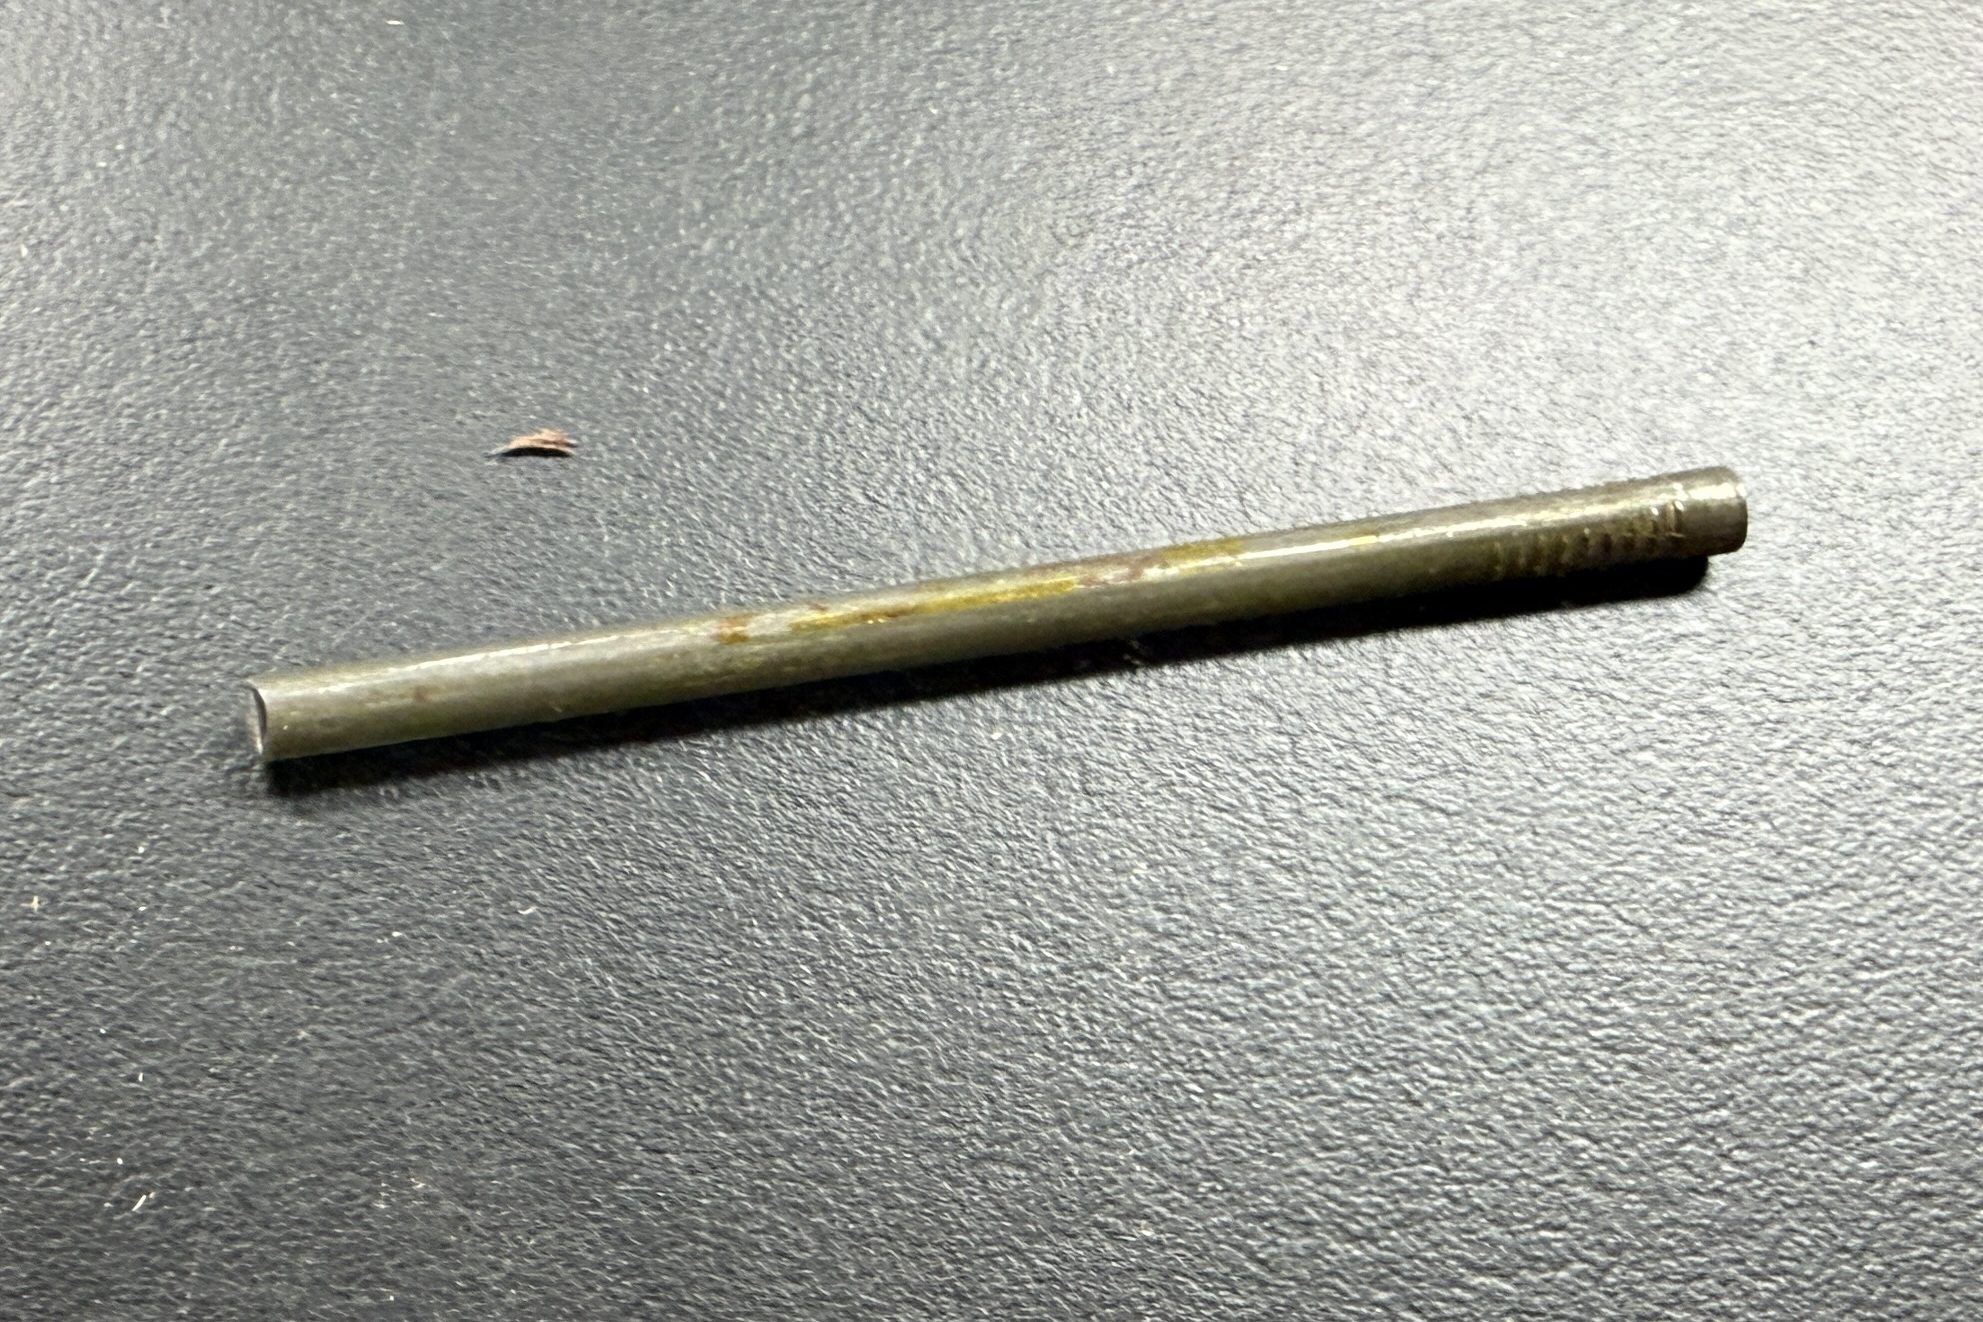
I’ve thought about making a holder/dispenser for quite awhile and decided to do it this weekend. I picked a piece of oak from my scrap bin to cut all of the pieces from. It was a quick, crude build. I snipped the ends off a nail for the pin and glued a couple of magnets in the bottom, since the cabinet is metal.
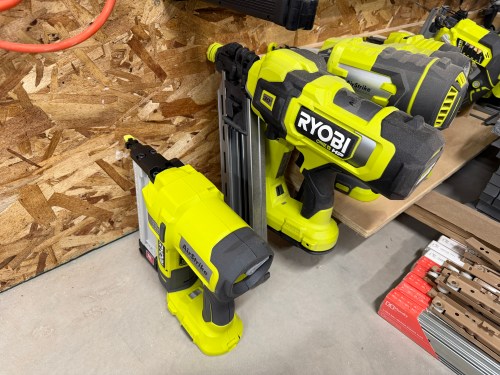
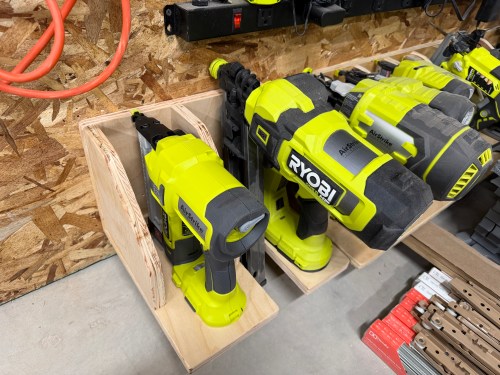
Quick build this weekend to expand my Ryobi tool storage wall (which moved to the new workshop) with spots for the framing nailer I got last year to build the shop wall and a narrow crown stapler I recently bought on sale.
As I’m writing this and seeing the pictures, I butt jointed the back and bottom incorrectly, which is why it’s too tall and not deep enough to match up with the old spots. Oh well!
It’s great to be back in the shop again and getting it more organized.
I’ve never heard of this one and that’s because it’s an Applebee’s franchise exclusive fountain soda. Rightly so, because they shouldn’t be trying to sell this anywhere. Maybe it was a bad mix at this particular restaurant, because the aftertaste really stood out; it was really strong and very artificial flavoring. A search says it’s “blending blue raspberry and blackberry with Mountain Dew’s citrus base, similar to Voltage but with darker berry notes.” Voltage is one of the rare flavors I’ll buy at the store and Dark Berry Bash tastes nothing like it. I can only give it a 2/10 and it was so bad I’m not sure I’d try it again to find out if I got a bad batch.