Bath Tub Tray/Caddy

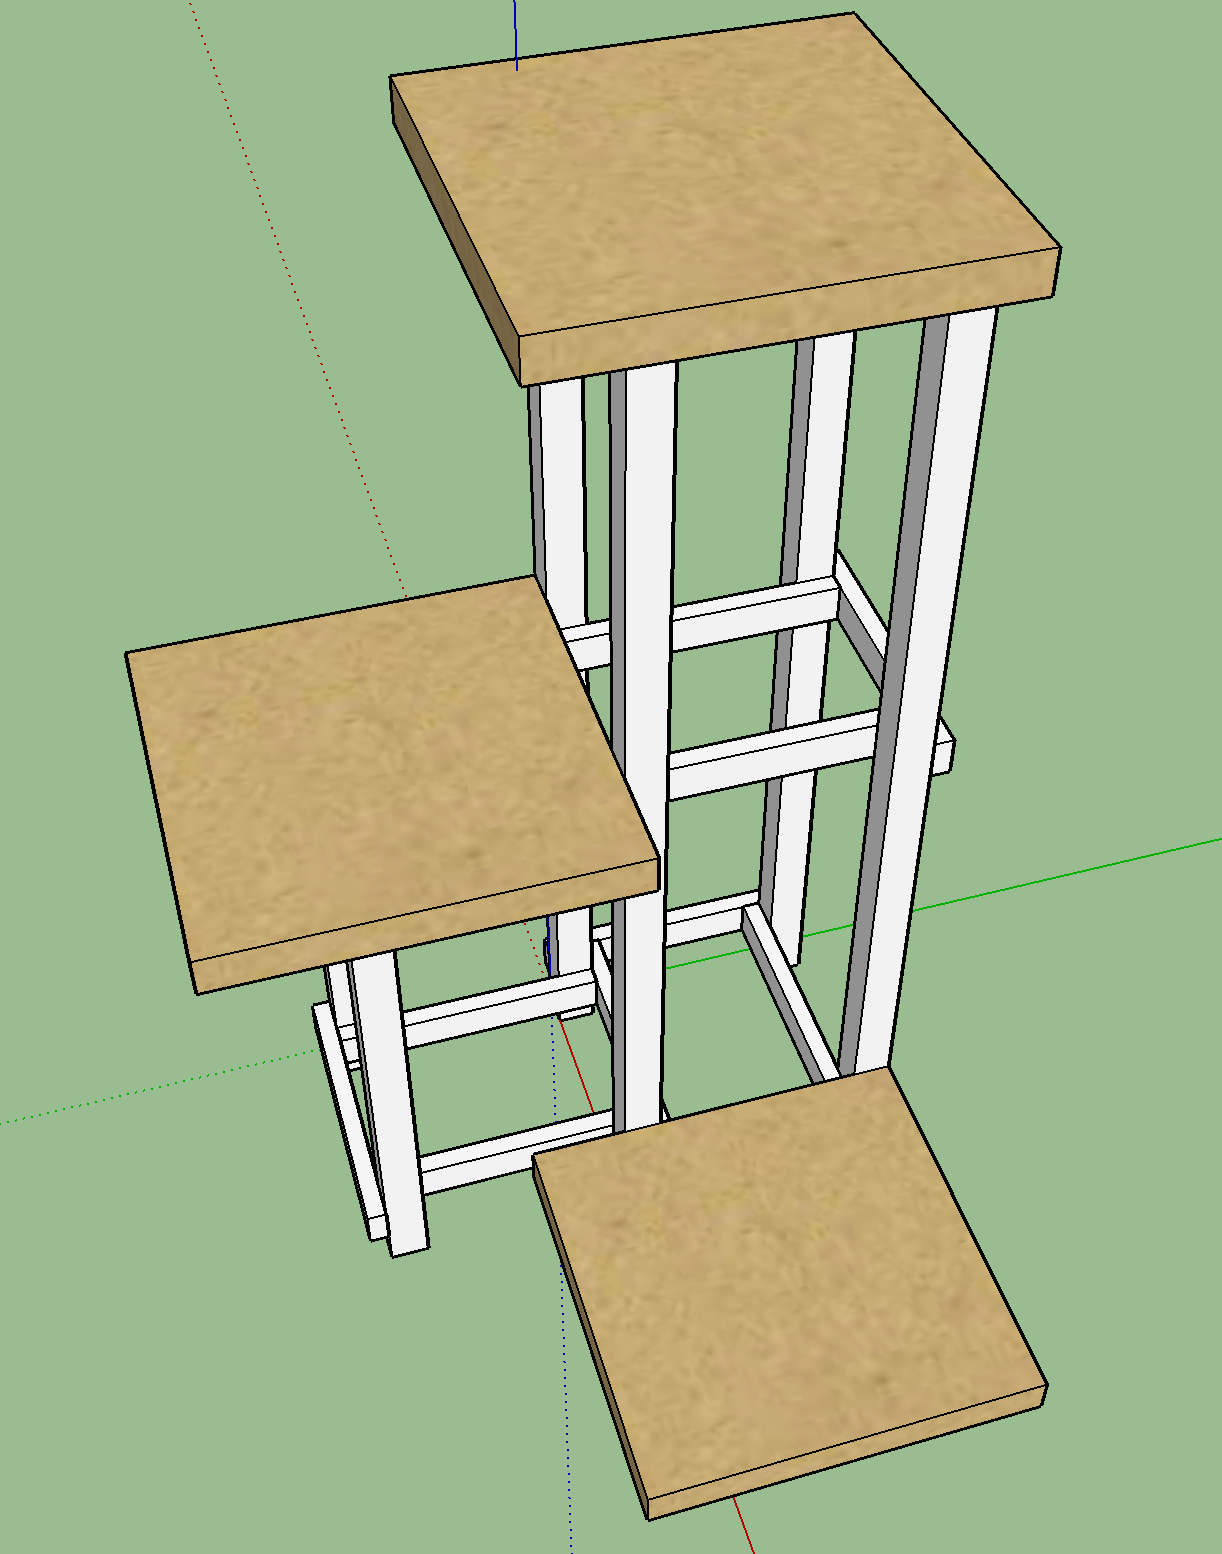
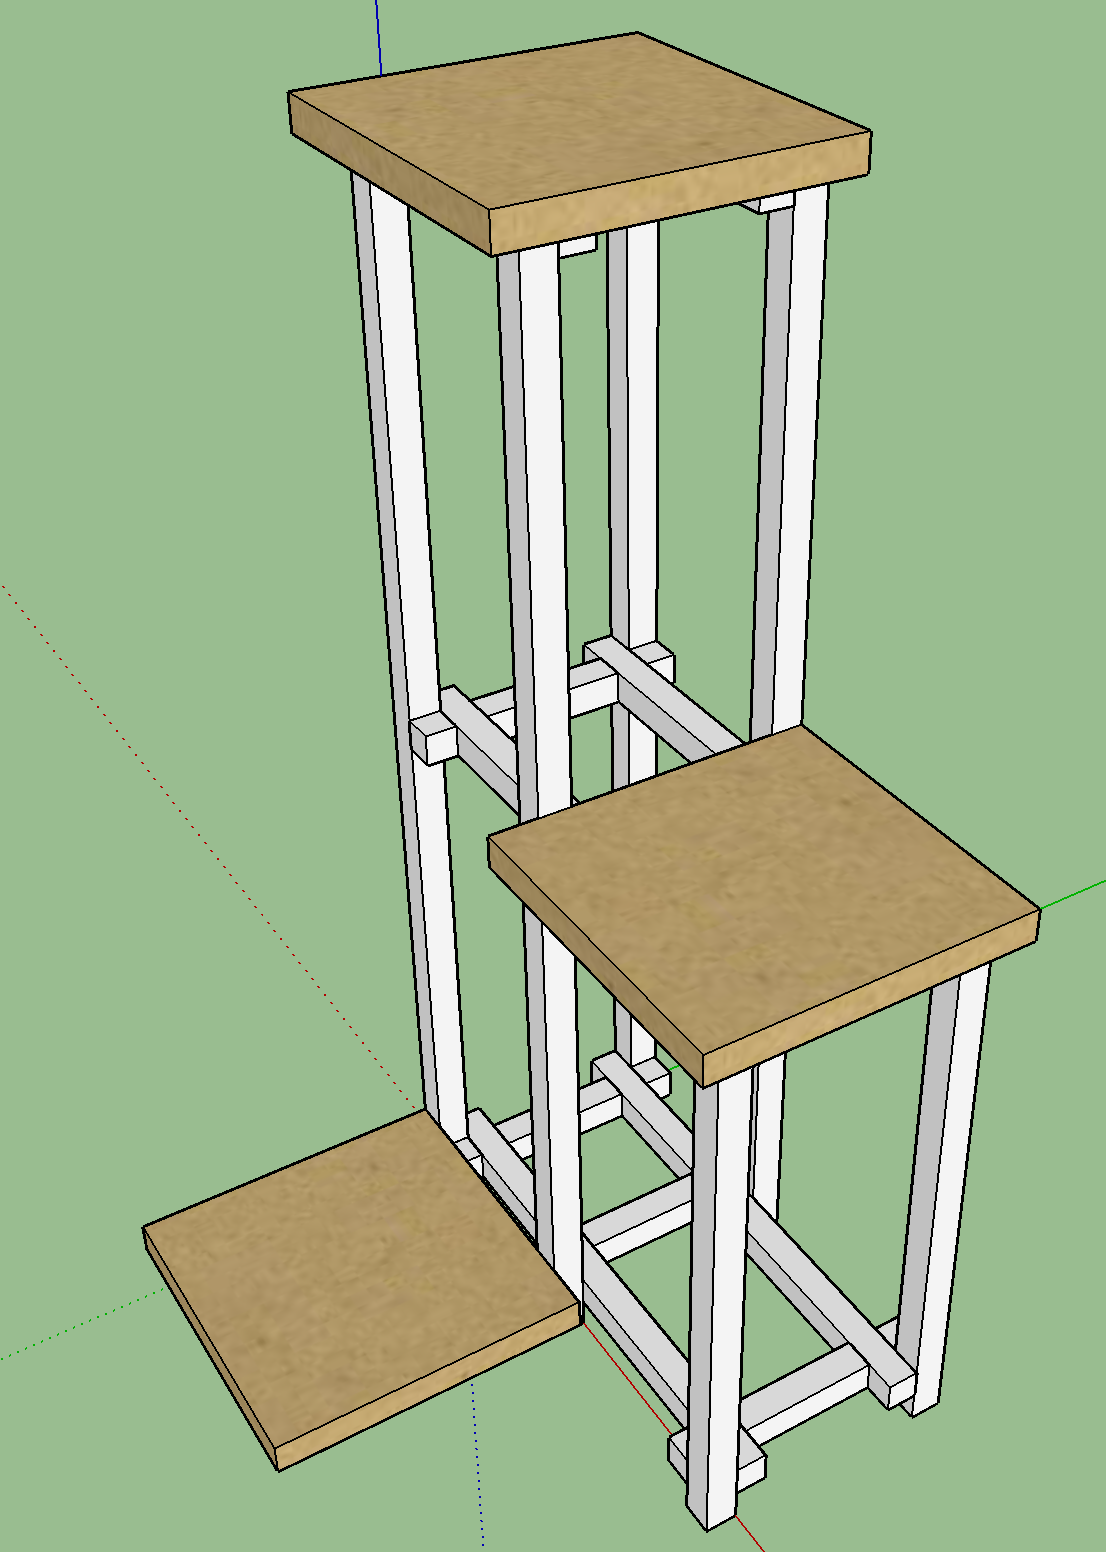
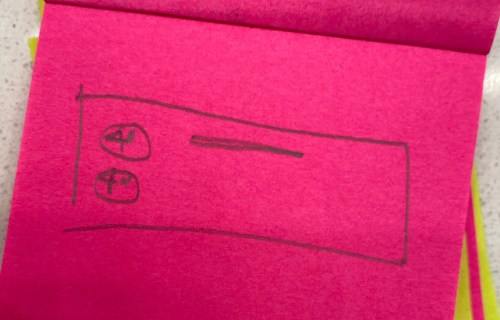
My friend Casey asked if I could make his vision come to lift as a gift for his wife Maggie. Here’s his sketch.

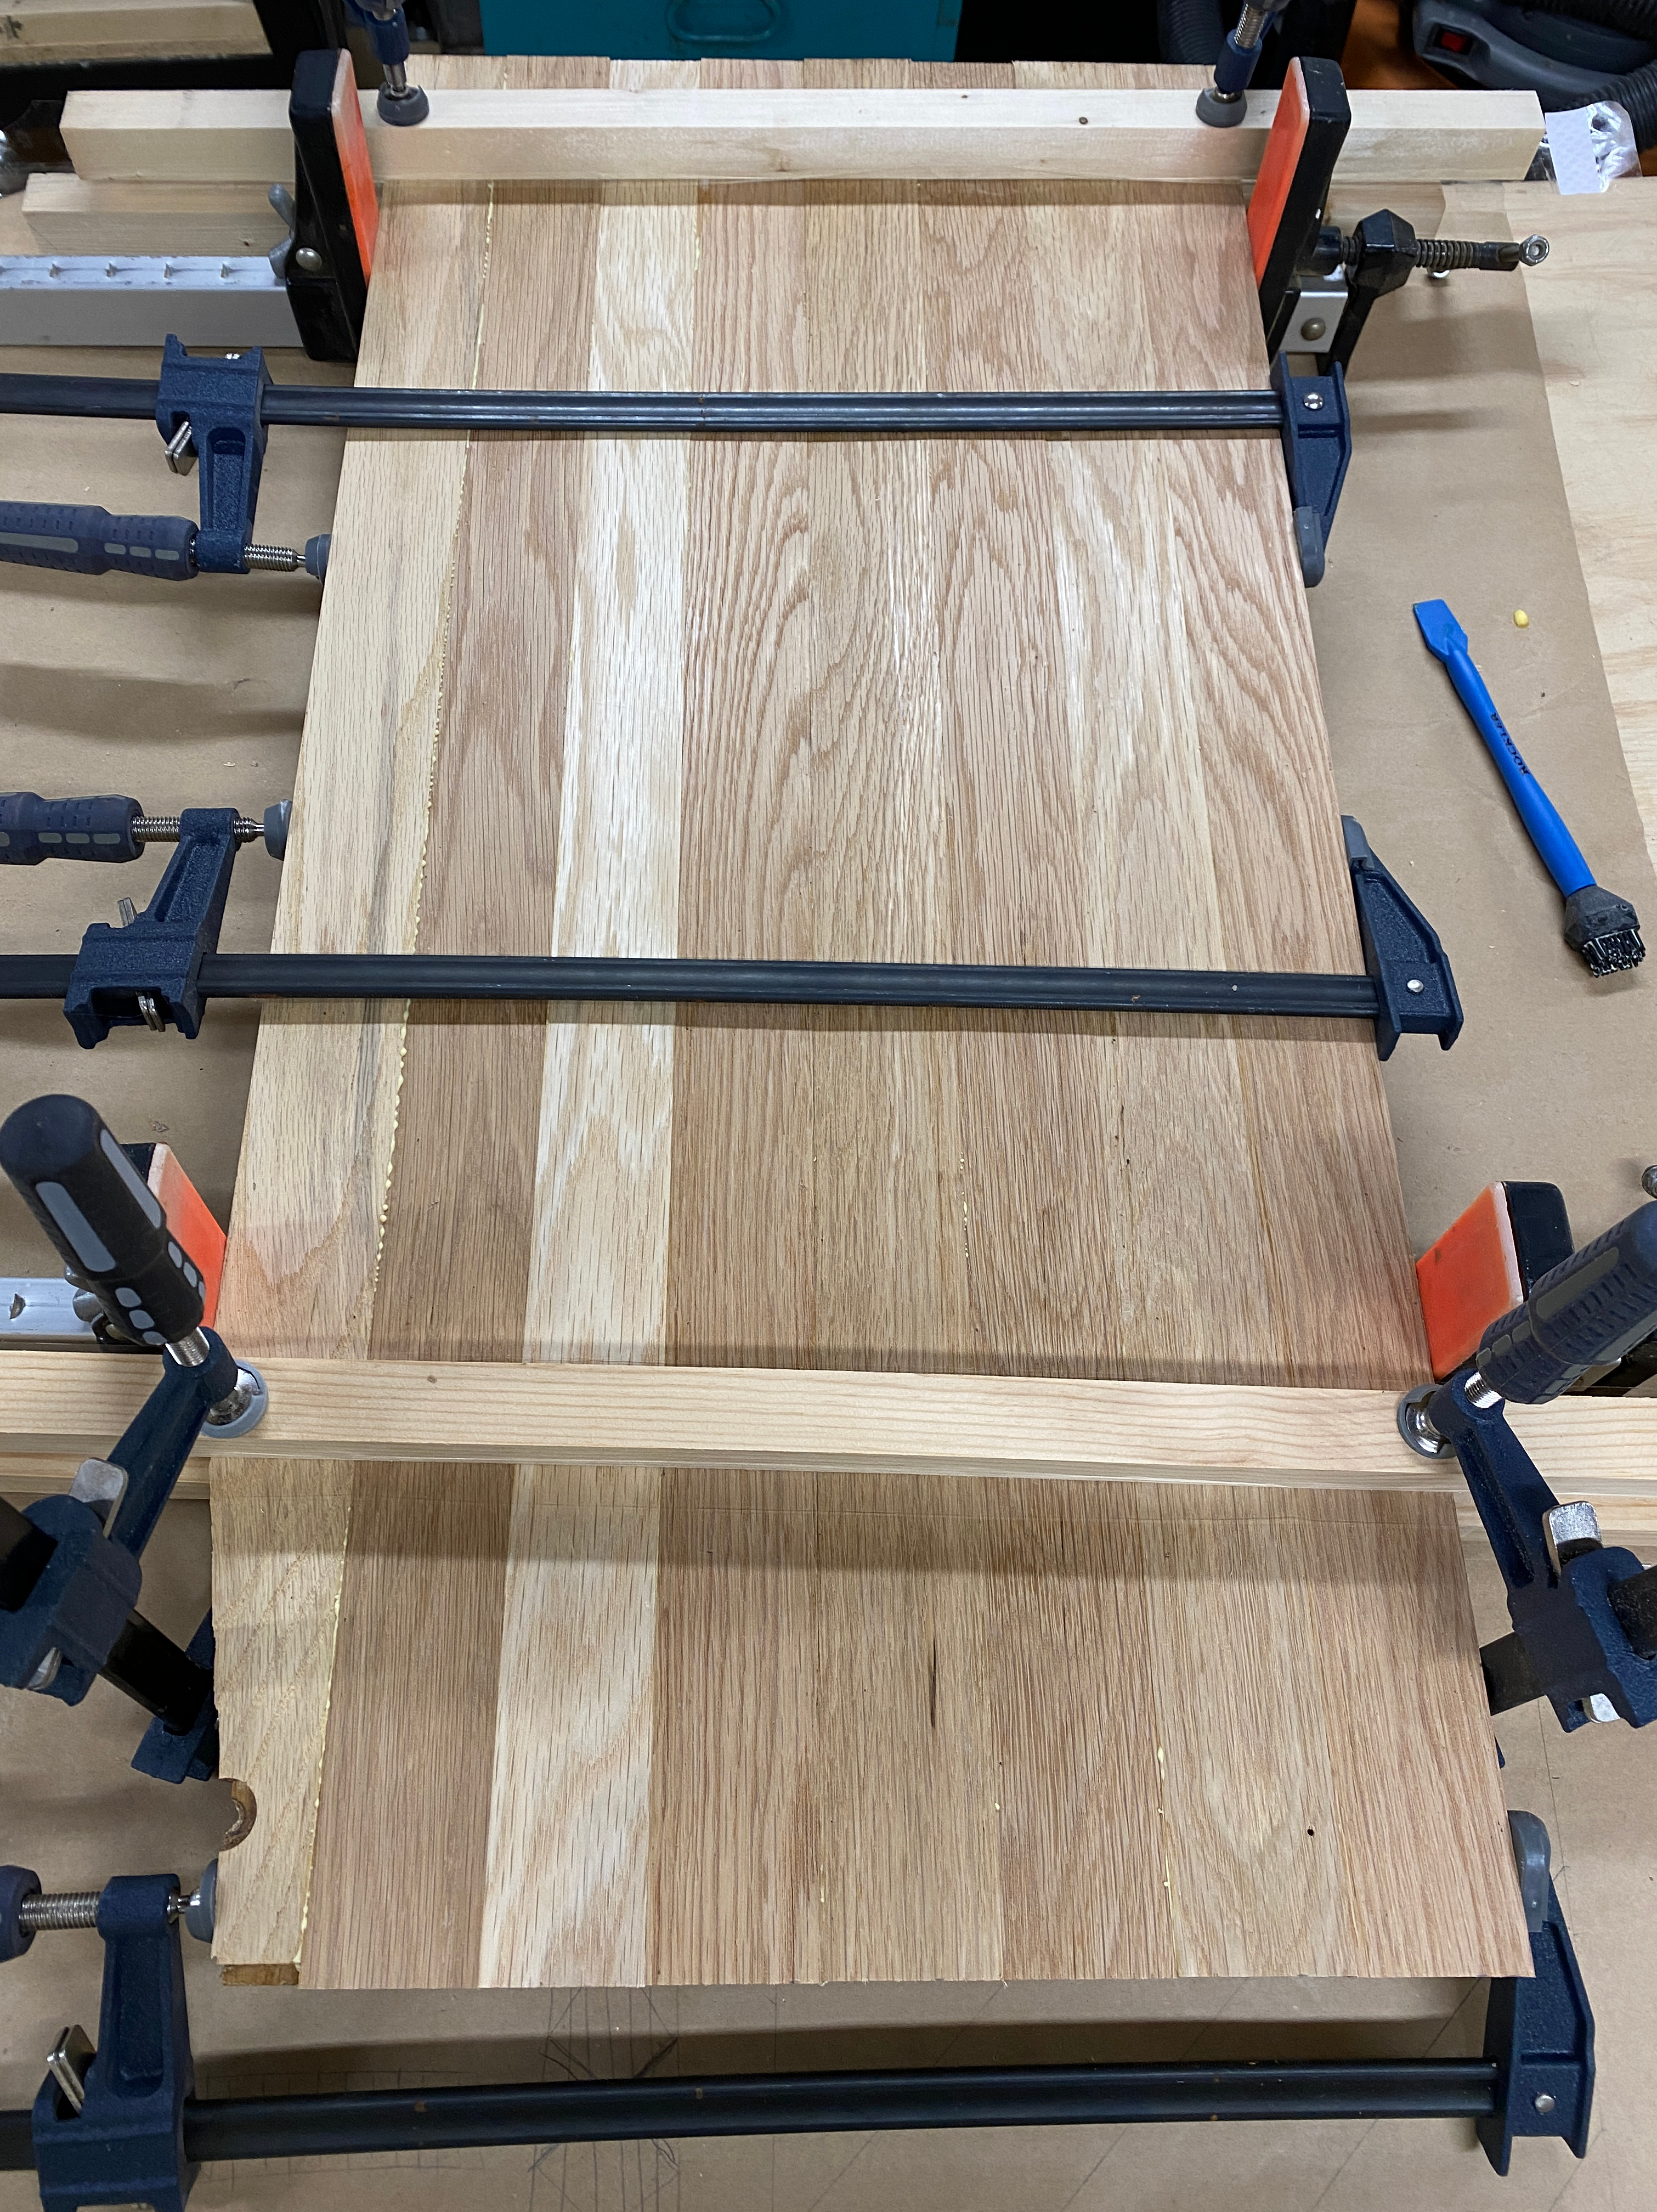
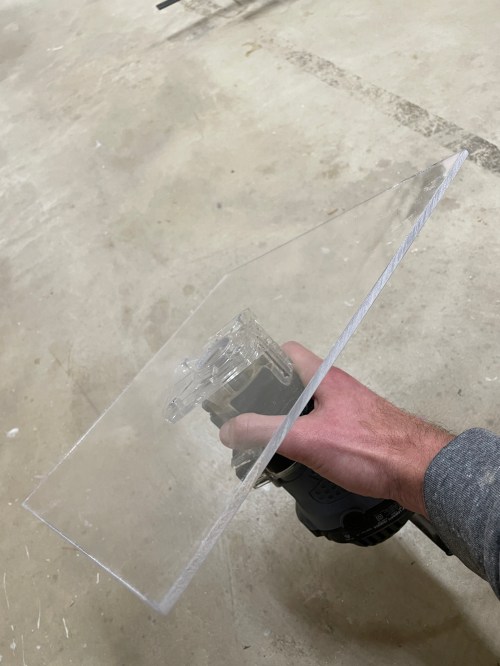
He picked up a nice piece of maple, which I cut and glued up. I’d never made recessed cuts in wood before, so that was a fun challenge to tackle. I bought a piece of acrylic and made a large base for my palm router.

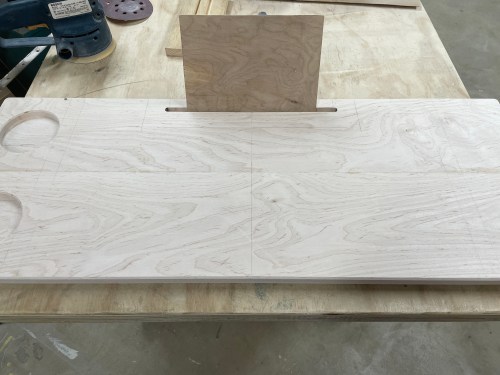
Then I made a 4″ circle template in some scrap plywood by cutting a large hole with a forstner bit, getting close to the line with the router, and finishing up on the oscillating spindle sander.

I attaching the template to the maple by using blue tape on each surface and then some CA glue with activator in between the taped surfaces. I used a flush trim bit with a top bearing in the router to copy the template. It was much easier than I expected.

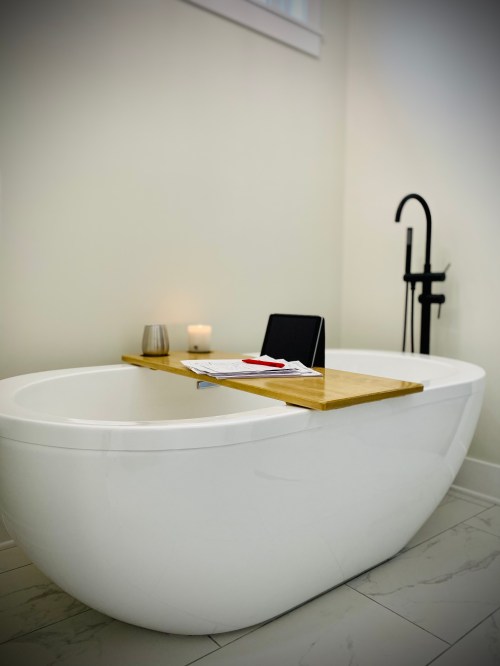
To cut a slot for an iPad I clamped down some scrap wood to create a border for the palm router and it’s original base. I didn’t have the iPad so I cut thin plywood to a similar size for testing, while also making sure the slot would work for future iPad sizes.

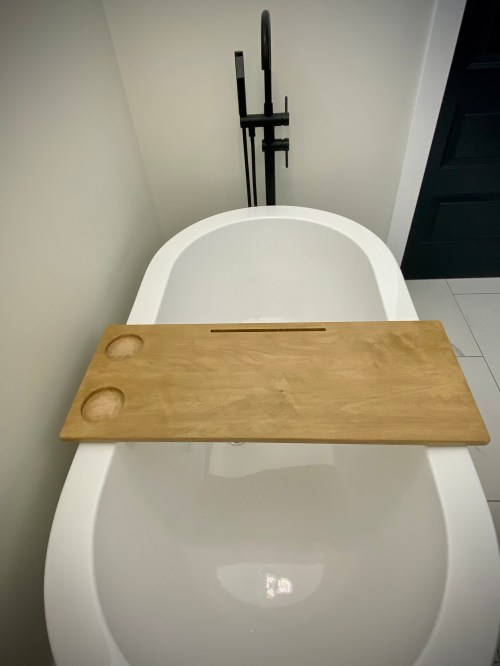
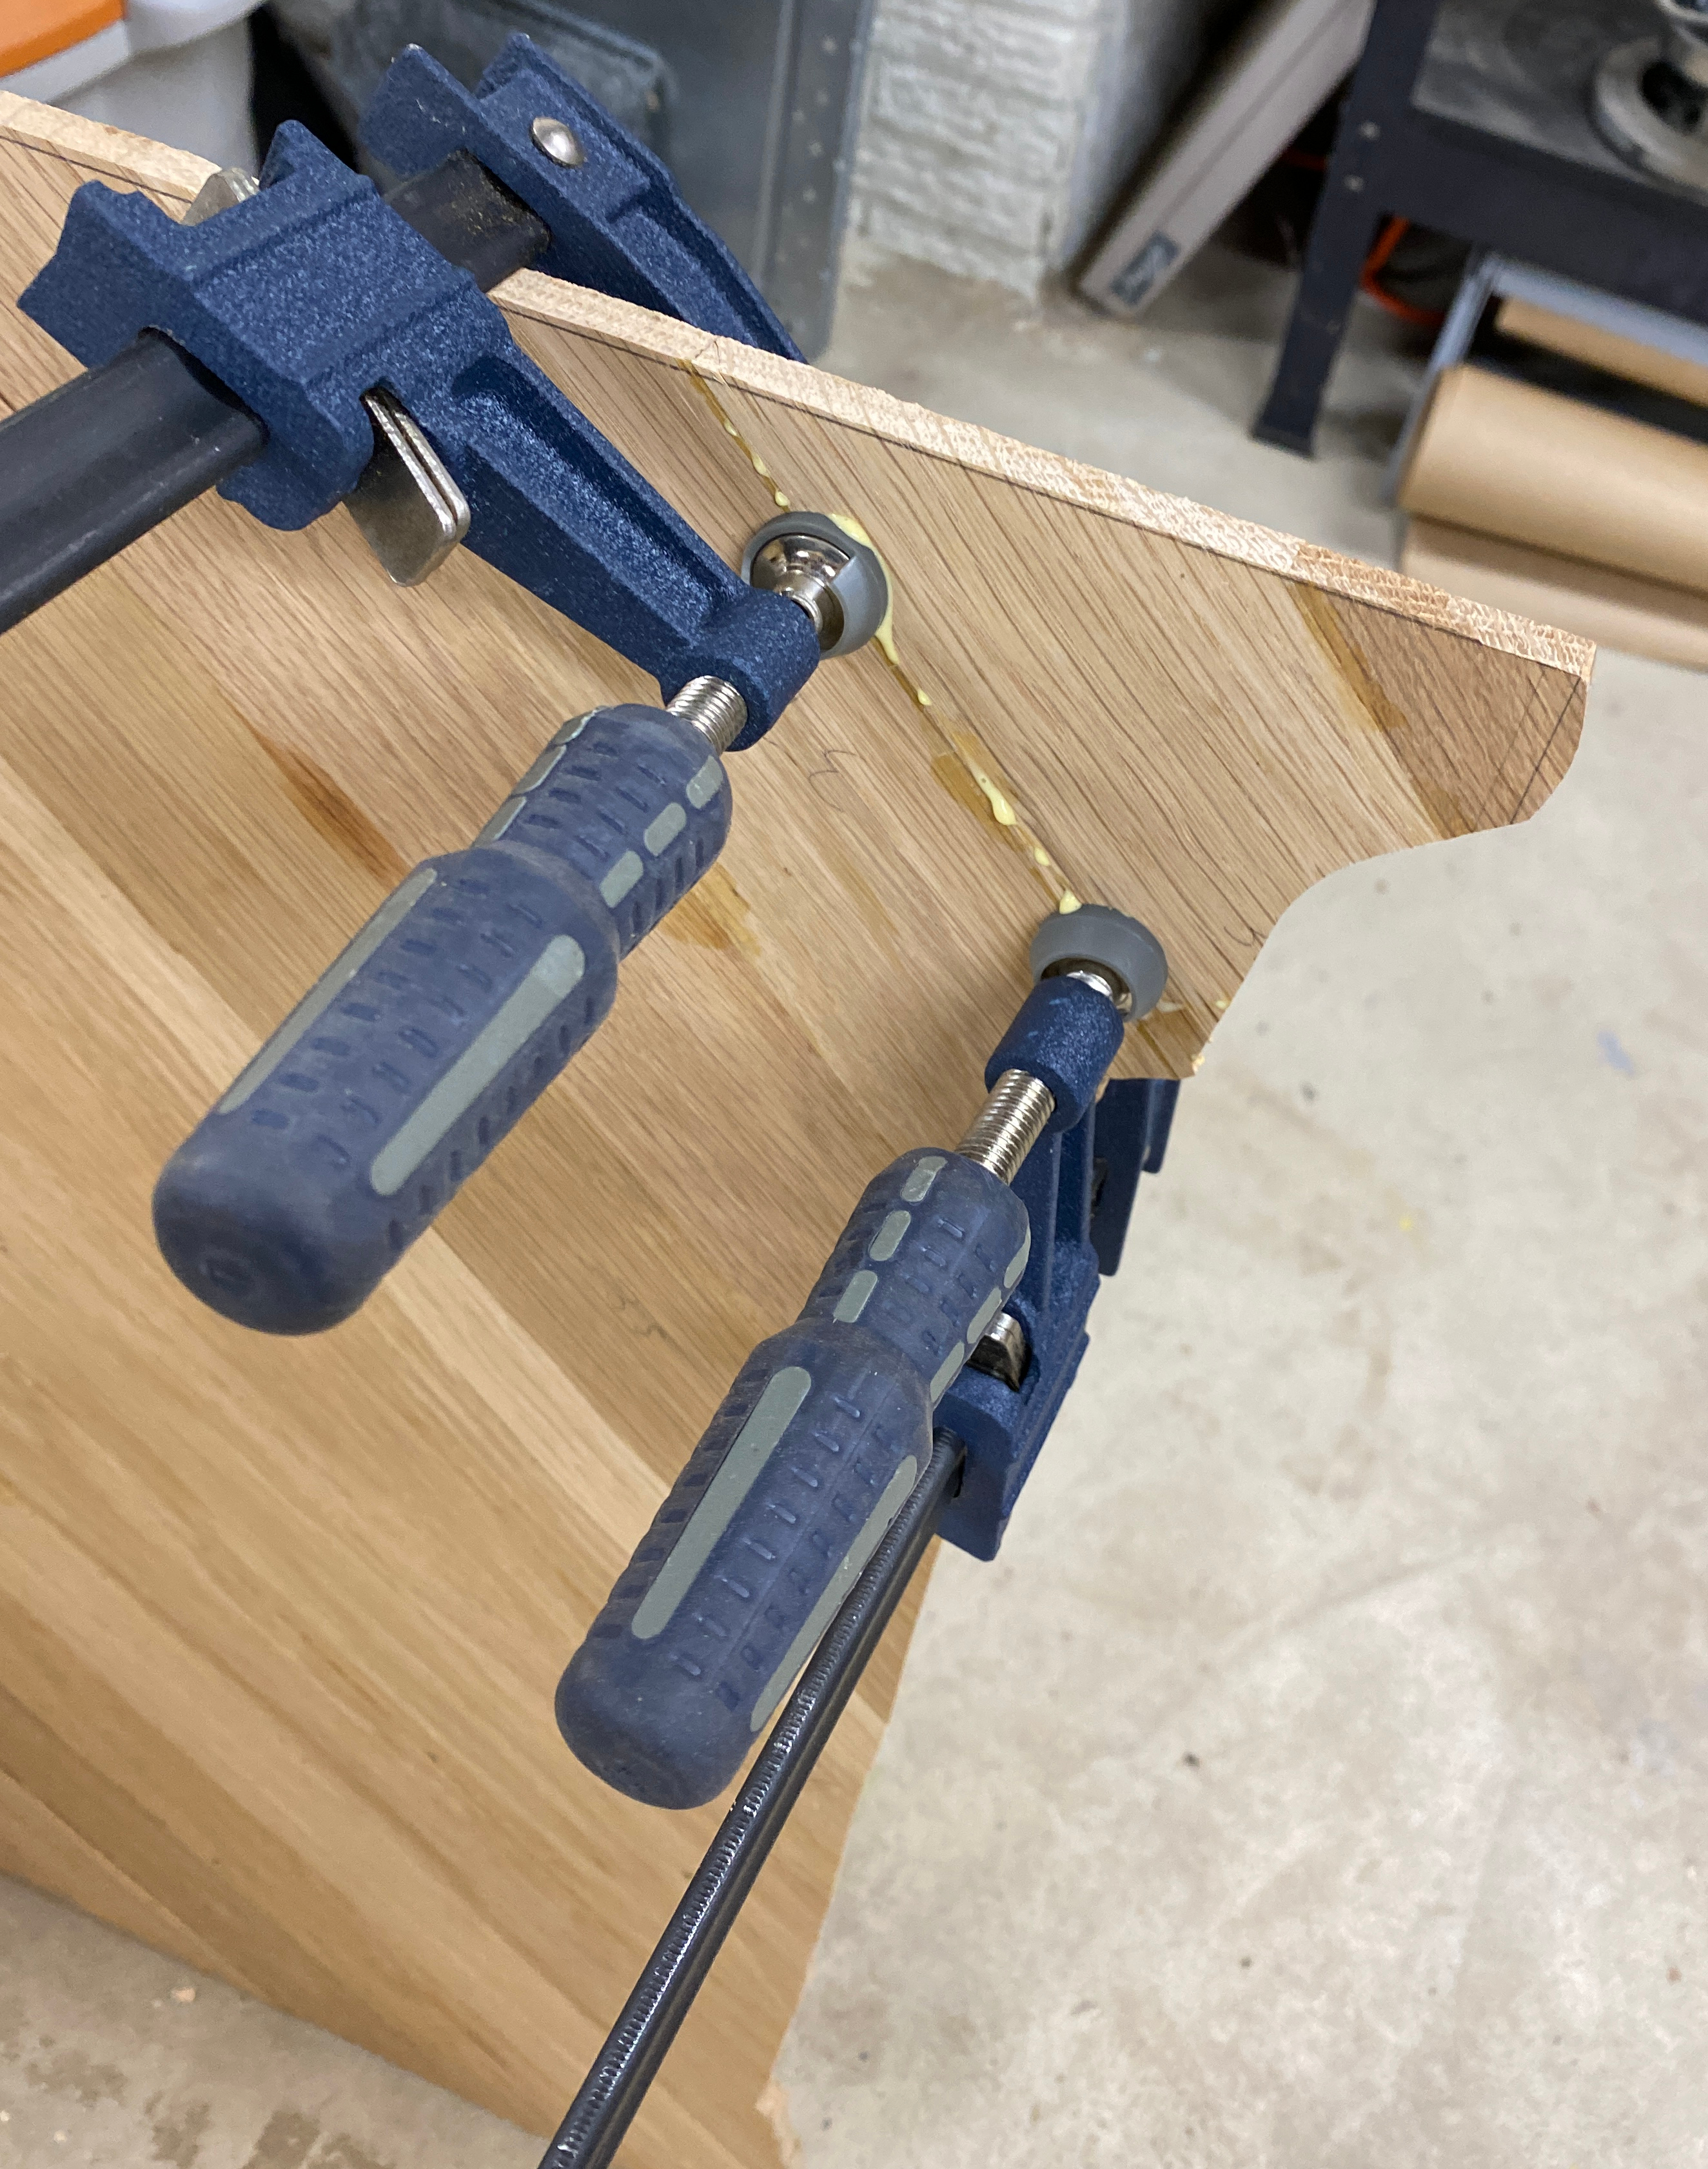
I cut and attached runners, rounded all of the corners and edges, and gave everything a thorough sanding.

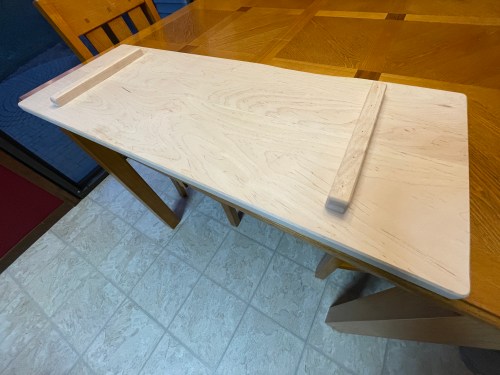
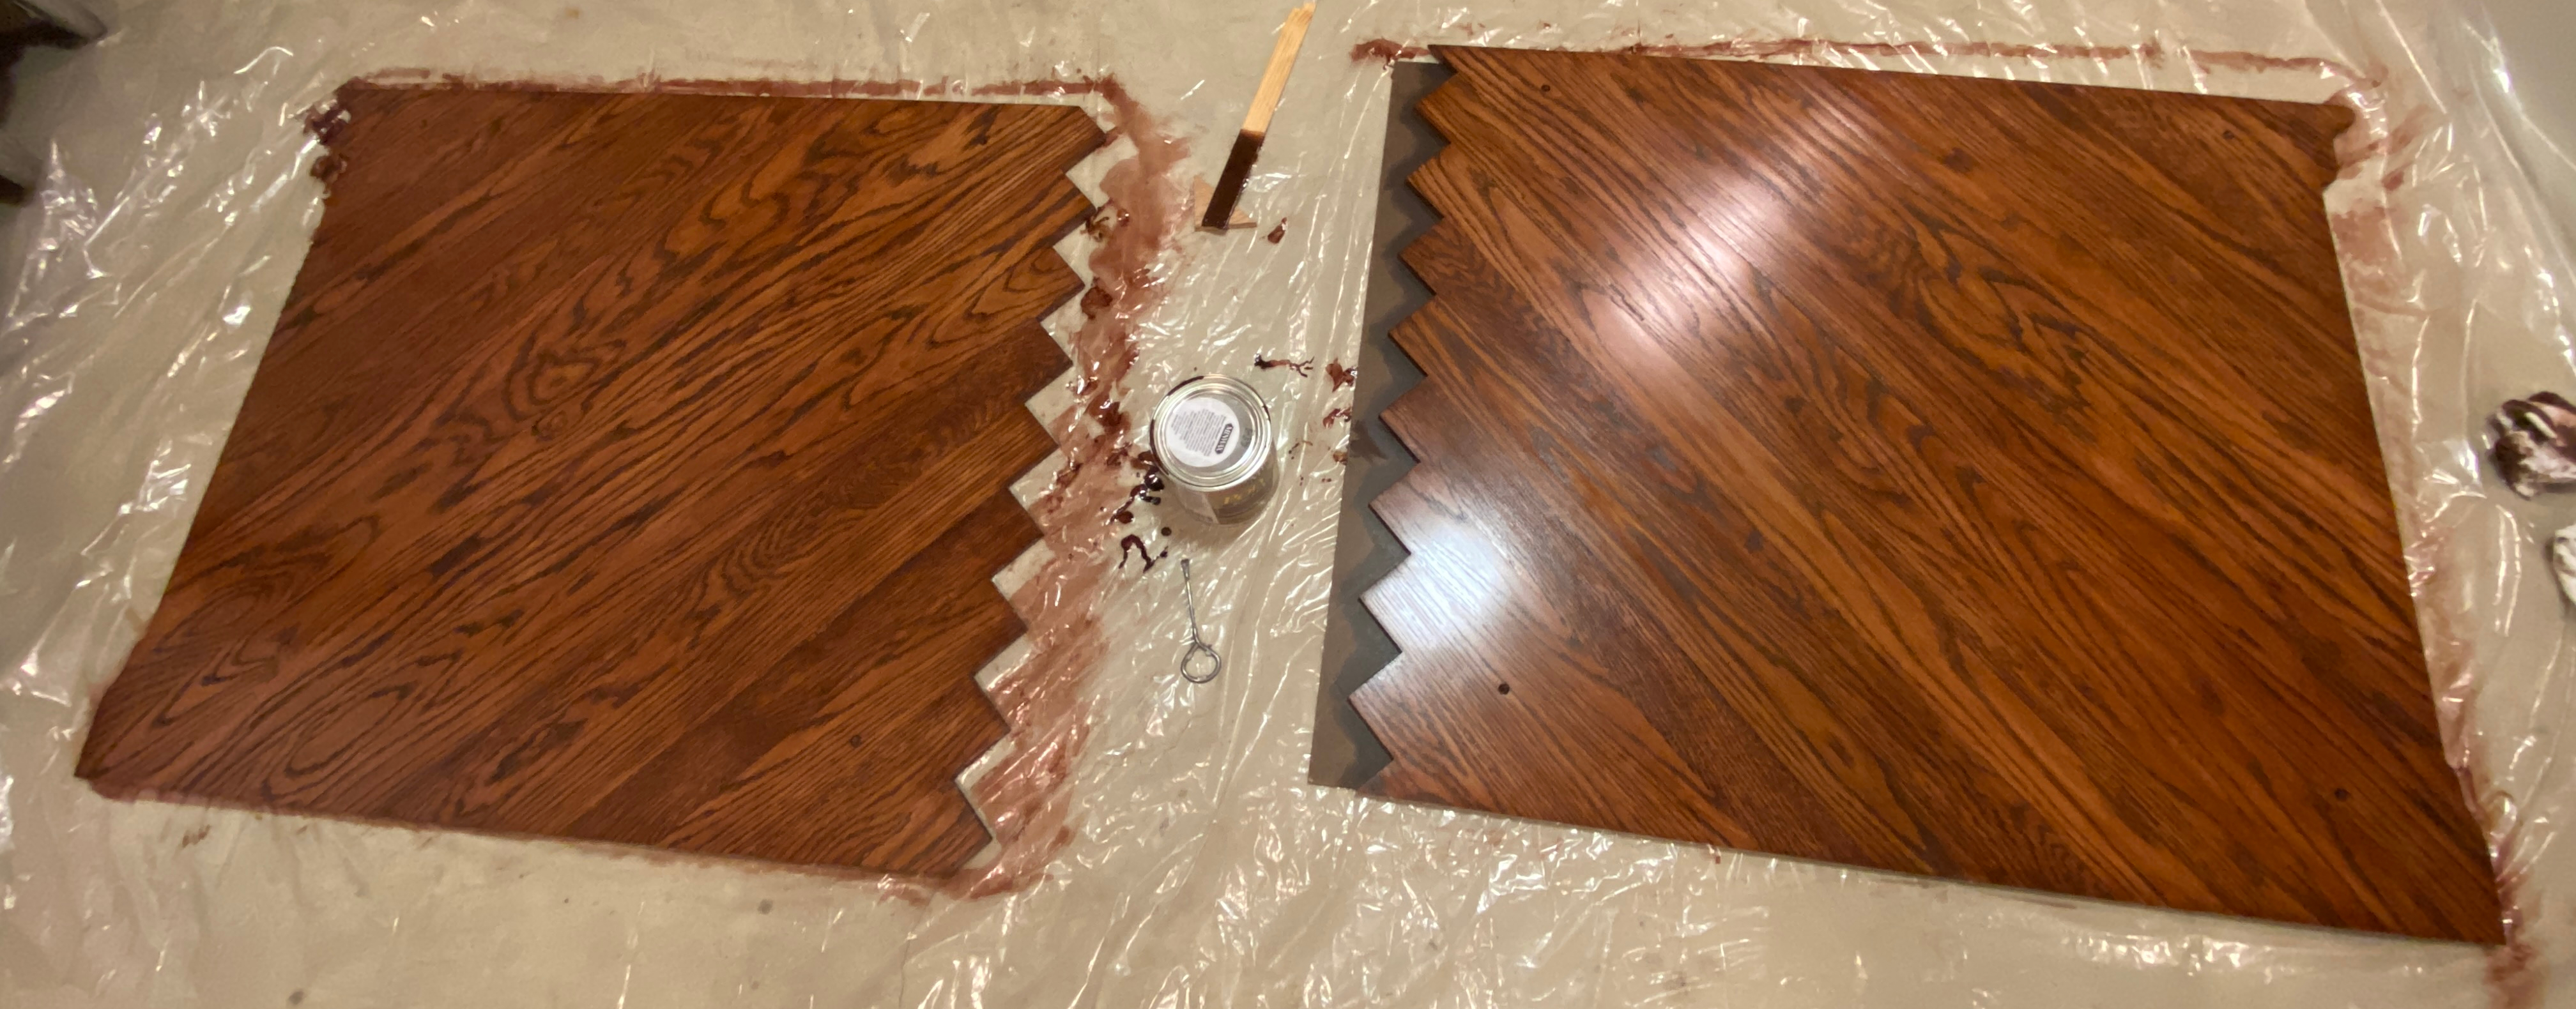
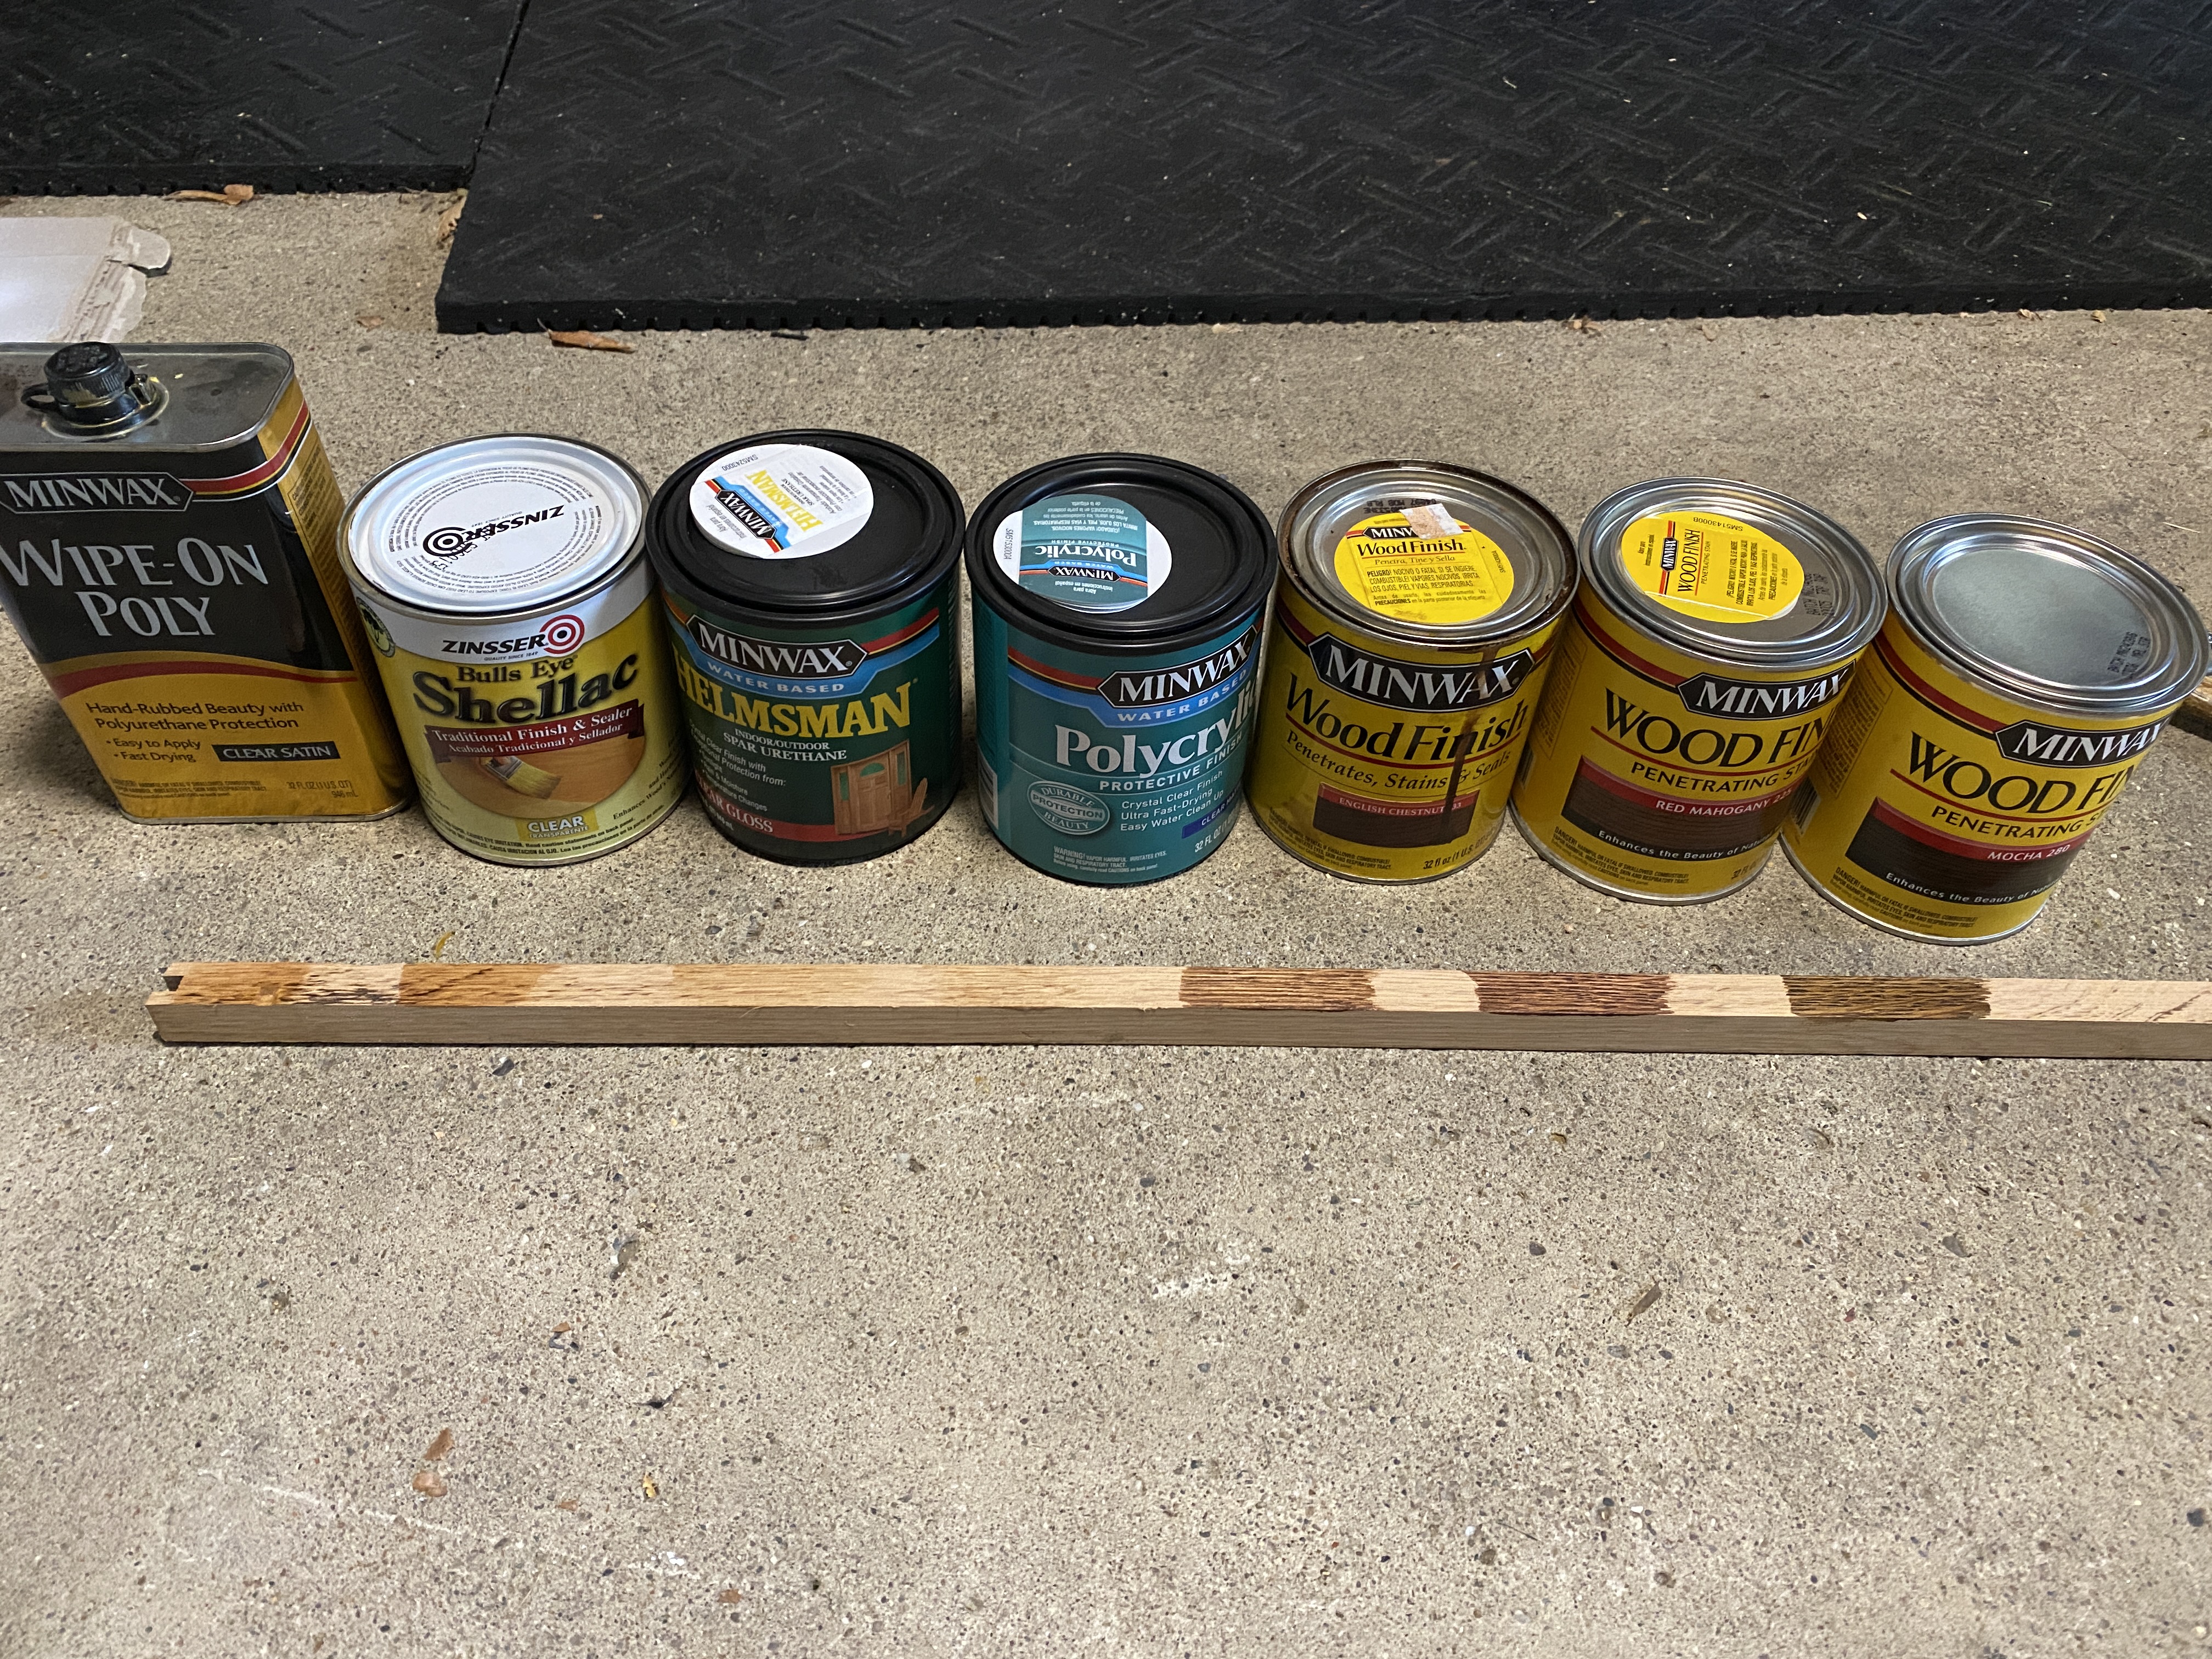
My work was done at this point, since Casey was taking care of the finish to match their bathroom cabinets. It turned out great and we had a happy recipient!

New Air Tools and More Storage

Yesterday I picked up a used 23 gauge pin nailer. I also used a mini die grinder for the first time, which had been sitting on a shelf in the package. Both tools needed places to live, so I made spots on my air tool wall.

I stopped at Harbor Freight and bought 3 sizes of pins for the new nailer. I also had some unopened boxes of various brad nails sitting around. I took the opportunity to reorganize my bins and more than doubled capacity. Seemed like a good place to move all of the regular nails too.

I love when everything in the workshop has a home.

Table Saw: Fence and Wings

It took me several more weeks to get to it, but the table saw upgrade I mentioned in my previous post is complete. I installed a new fence and built custom wings. These are huge improvements to the saw!

The road to get here was a bumpy one though. The fence is the 30″ 36-T30T3 made by Delta and it goes for $200. I ordered one from Amazon, which came banged up with holes in the box and missing parts. They sent a replacement and it was the same problem, so I returned both. Lowes sells the fence for the same price, so I ordered one and had it shipped to the store, hoping their delivery system would take better care of the box than UPS. It worked out and I received a complete box of parts.

I’m not going to go in to detail on the installation because it’s different depending on the type of saw you have and there are several YouTube videos and articles out there. My saw is a Craftsman 113.298032, which required some new mounting holes. Some people drilled in to the cast iron top, but I went the other way and drilled new holes in the fence rails, which I think is a much better way to go.

I made my wings using oak flooring for the sub frame (1 1/2″ tall) and 1/2″ laminate finished panels from Menards. Here are some pictures I took through the process.

New Table Saw Switch

Now that I’ve been in my workshop again, it’s time for some table saw upgrades I’ve been wanting to do. The bigger project I had planned for yesterday couldn’t happen because of part damaged during shipping, so I went with the easy one. Here’s the old switch on my saw.

It worked fine, but I wanted something cooler and safer, so I ordered one from Amazon for about $13. The hardest part was finding an electrical box to would work with the location where I wanted to install the switch. Then I built a simple scrap wood box around it and wired everything.

The START button is recessed and you really have to push it, so there is almost no chance of accidentally turning on the saw. The STOP paddle is a big target and at knee height, which will make it easy to turn off the saw without moving my eyes or hands if an operation becomes dangerous.

DIY Desk Backer

Here it is, the final project I had planned for my new home office.

The idea for this actually started a year ago, when I rotated my desk in the old office.

The back of my desk is obviously meant to be up against a wall, so it’s not a finished look with the particle board and the big access holes. At the time, I was thinking I could create some type of artsy piece for the back using reclaimed pallet wood. I didn’t have any motivation to make anything over the winter though.

Fast forward to this year and moving my office to a newly redone room across the hall. With better lighting, the back of the desk stuck out even more.

My idea came back to me and inspired part of the plant stand. I acquired a bunch of reclaimed oak flooring from the 50s to use for both projects. Hopefully the following pictures tell a little bit of the story about how the idea went from my brain, to a 3D model/plan, and came to life.

It was probably the most complicated build I’ve done. Really happy with how it turned out!

If you want the plans you can grab a SketchUp file on GitHub.

Weight Plate Storage

I made a weight plate rack probably 7 years ago and it held up reasonably well with limited use.

Through the pandemic, I’ve been using my garage gym a lot and the rack was starting to fall apart. The design had two main problems:

  1. The screws (I didn’t know about wood glue back then) couldn’t support the load of plates leaning and falling against the uprights.
  2. The narrow base meant the plates could easily roll off when bumped.

So I took a bunch of measurements, looked at my scrap plywood, and modeled a new rack in SketchUp (plans on GitHub). My goals were to make construction simple, not spend any money, add spots for the kettlebell plates, and save space. Here’s what I came up with.

Originally it was one wide rack, but I ended up making it in two sections since my scrap plywood wasn’t long enough. This made assembly easier and gives me the option of storing half of the plates in a different location.

I cut all of the plywood, used wood glue and a nail gun for assembly, and sanded all of the edges. I gave it some spray paint and number stencils. I had everything I needed in my workshop so I didn’t spend a dime.

I tested with the heavier plates and quickly realized I’d failed to plan for the plates tipping to the sides; they don’t stay upright without some kind of vertical support. Also with the lightweight plywood construction, the whole thing could move depending on how many other plates are in use. Back to the drawing board. I didn’t want to throw away all my work, so I came up with a way to use 2x4s from the previous rack.

I cut slots in the 2×4 to create stable vertical supports. I only needed a single screw in each one. Then I added another piece of 2×4 across the back, double screwed to each support, to link all four together, which improved the strength a lot. Each half rack was also screwed to the wall. It works well now.

While I was at it, I removed the Plasti Dip and colored paint from the small metal plates, which had been peeling for years. Blakleen was a huge save in this process, even though it was still a mess and a lot of work. Then I primed and painted them black. They look really good, so it was worth it.

Organizing my Workout Shoes

A couple of years ago I put this cheap shoe rack in my broom closet by the door out to the garage. It was out of the way and a quick place to grab my bag and shoes when I headed to the gym.

workout-shoes-before.jpeg

The rack obviously didn’t fit the space, I couldn’t see the shoes, and it was hard to grab a pair if they were not on the outside. This had been bugging me for years.

Today I set out to make something simple to fit the space. Since it’s a broom closet and I didn’t care what it looked like, I used beat up plywood. Turned out great and works exactly as I had hoped.

workout-shoes-after.jpeg

It felt good to finally make something again!