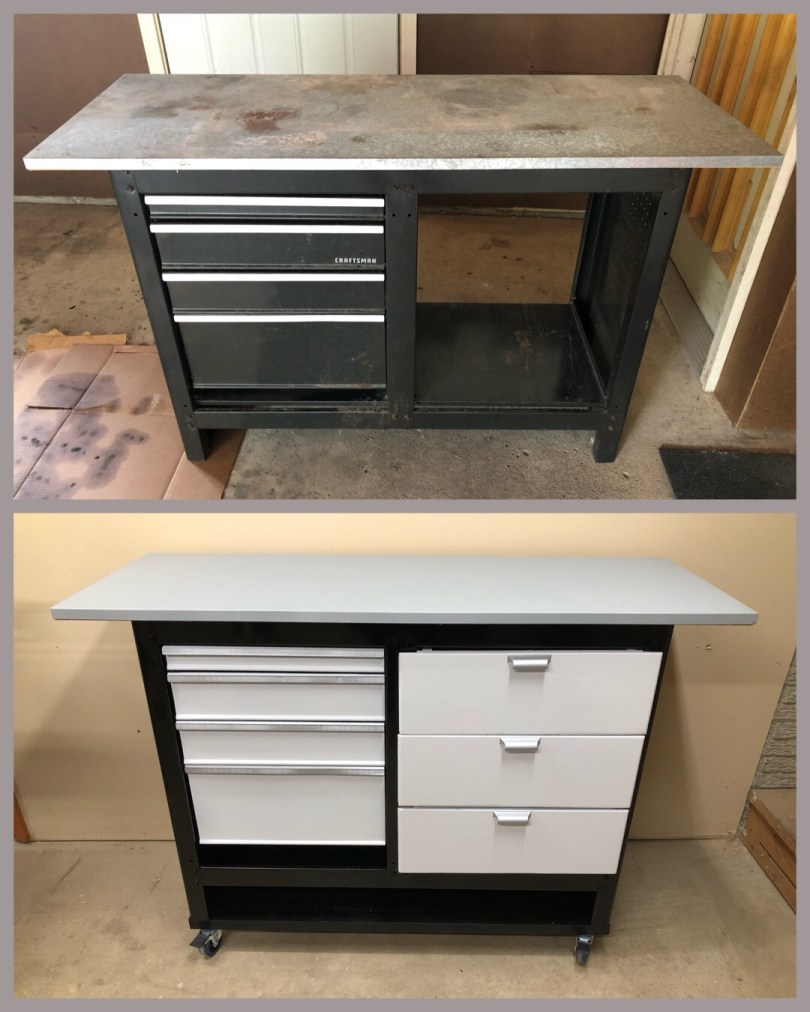
In the summer I snagged an old Craftsman workbench (model 706653800) for $30. I thought it would make a great sanding station for my workshop. Here is a before and after of just the table (near the end is a photo with my sanding machines attached). I’m really happy with how it turned out!

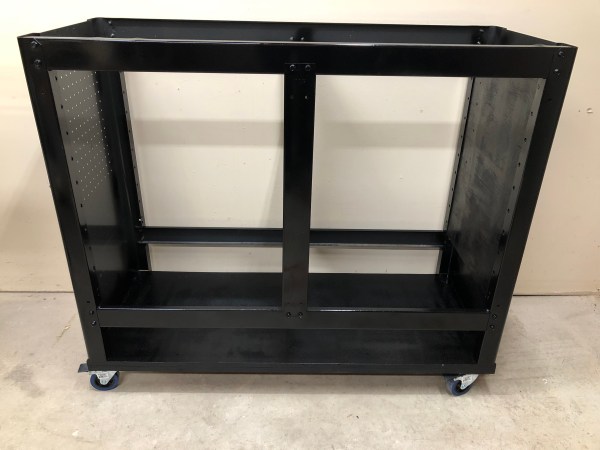
One of the first tasks was to make use of the right side. I started by cutting a couple of plywood panels and screwing them in.

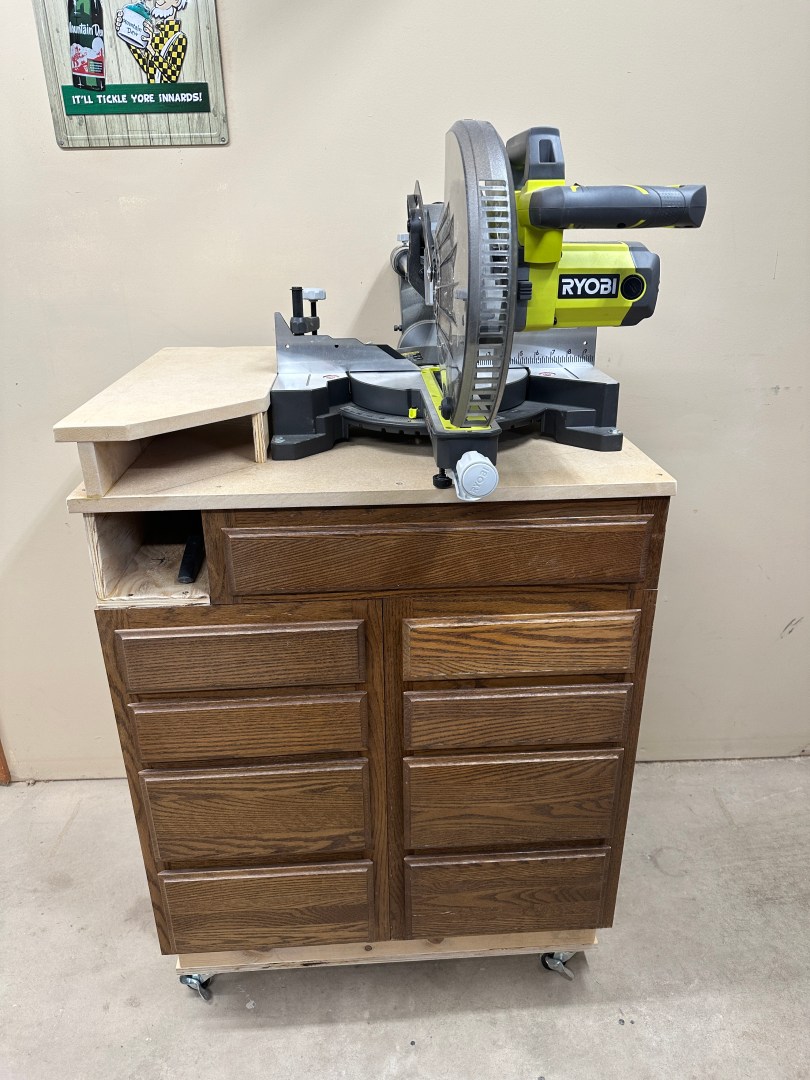
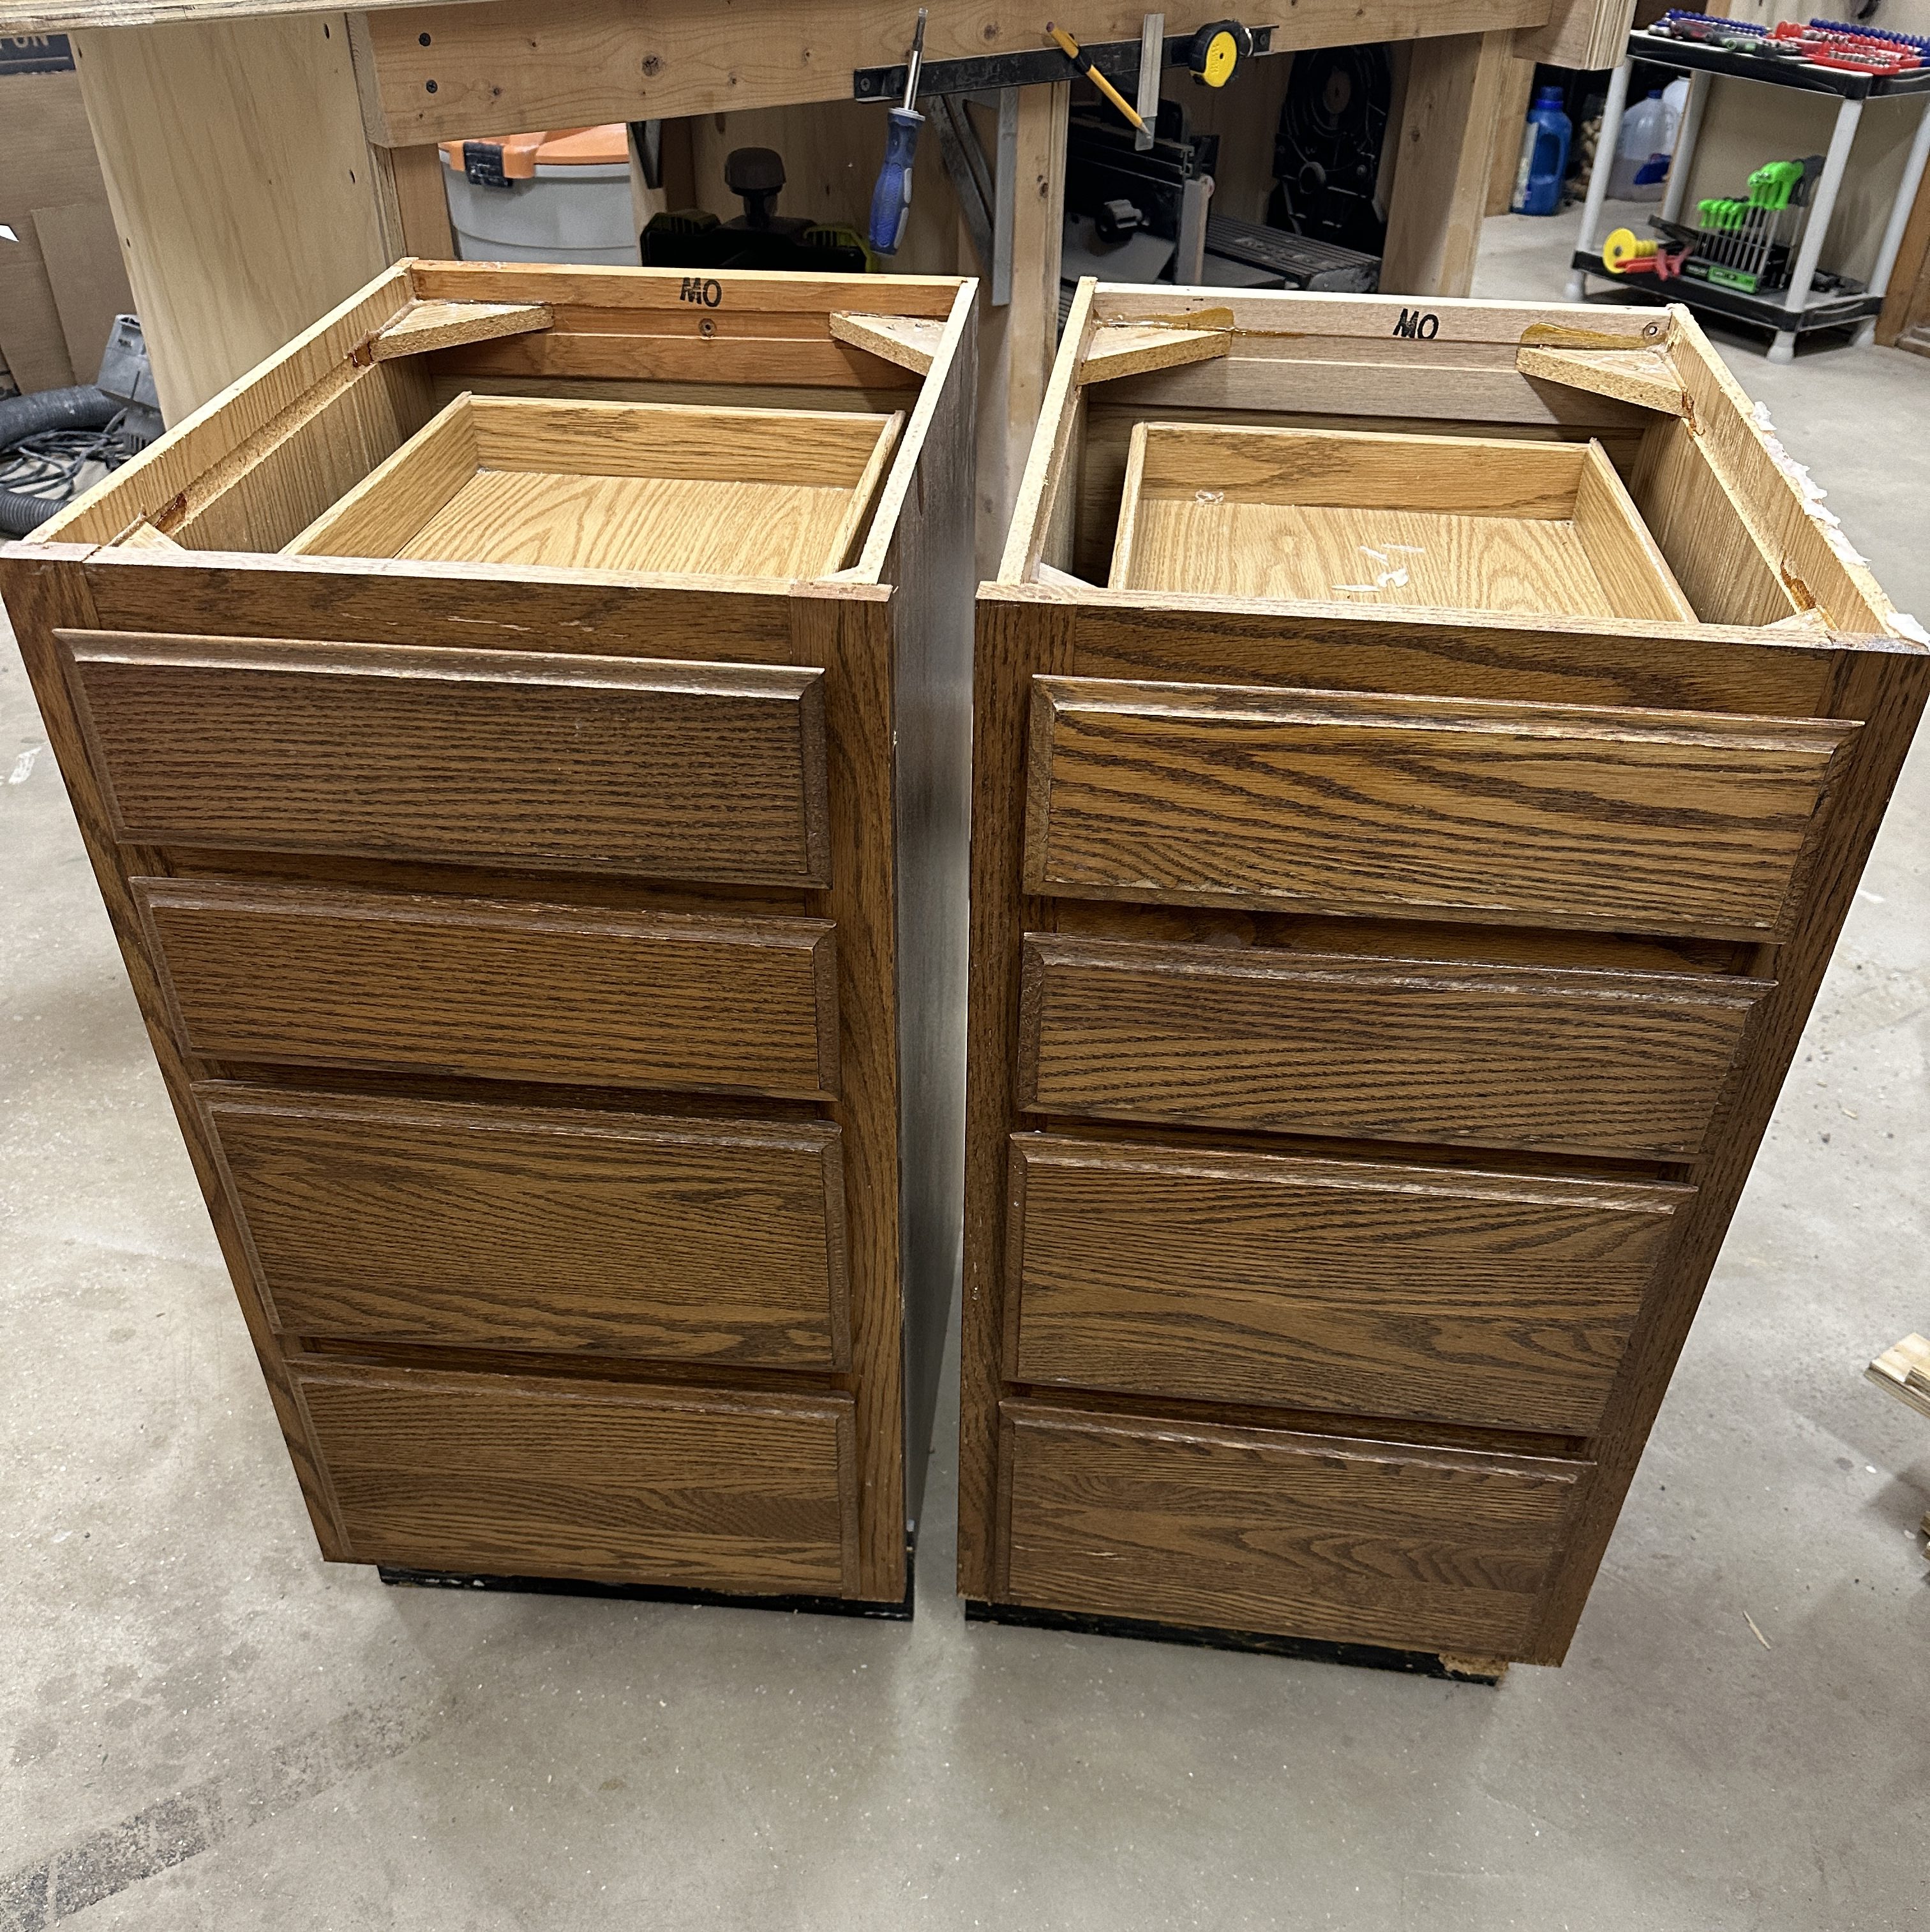
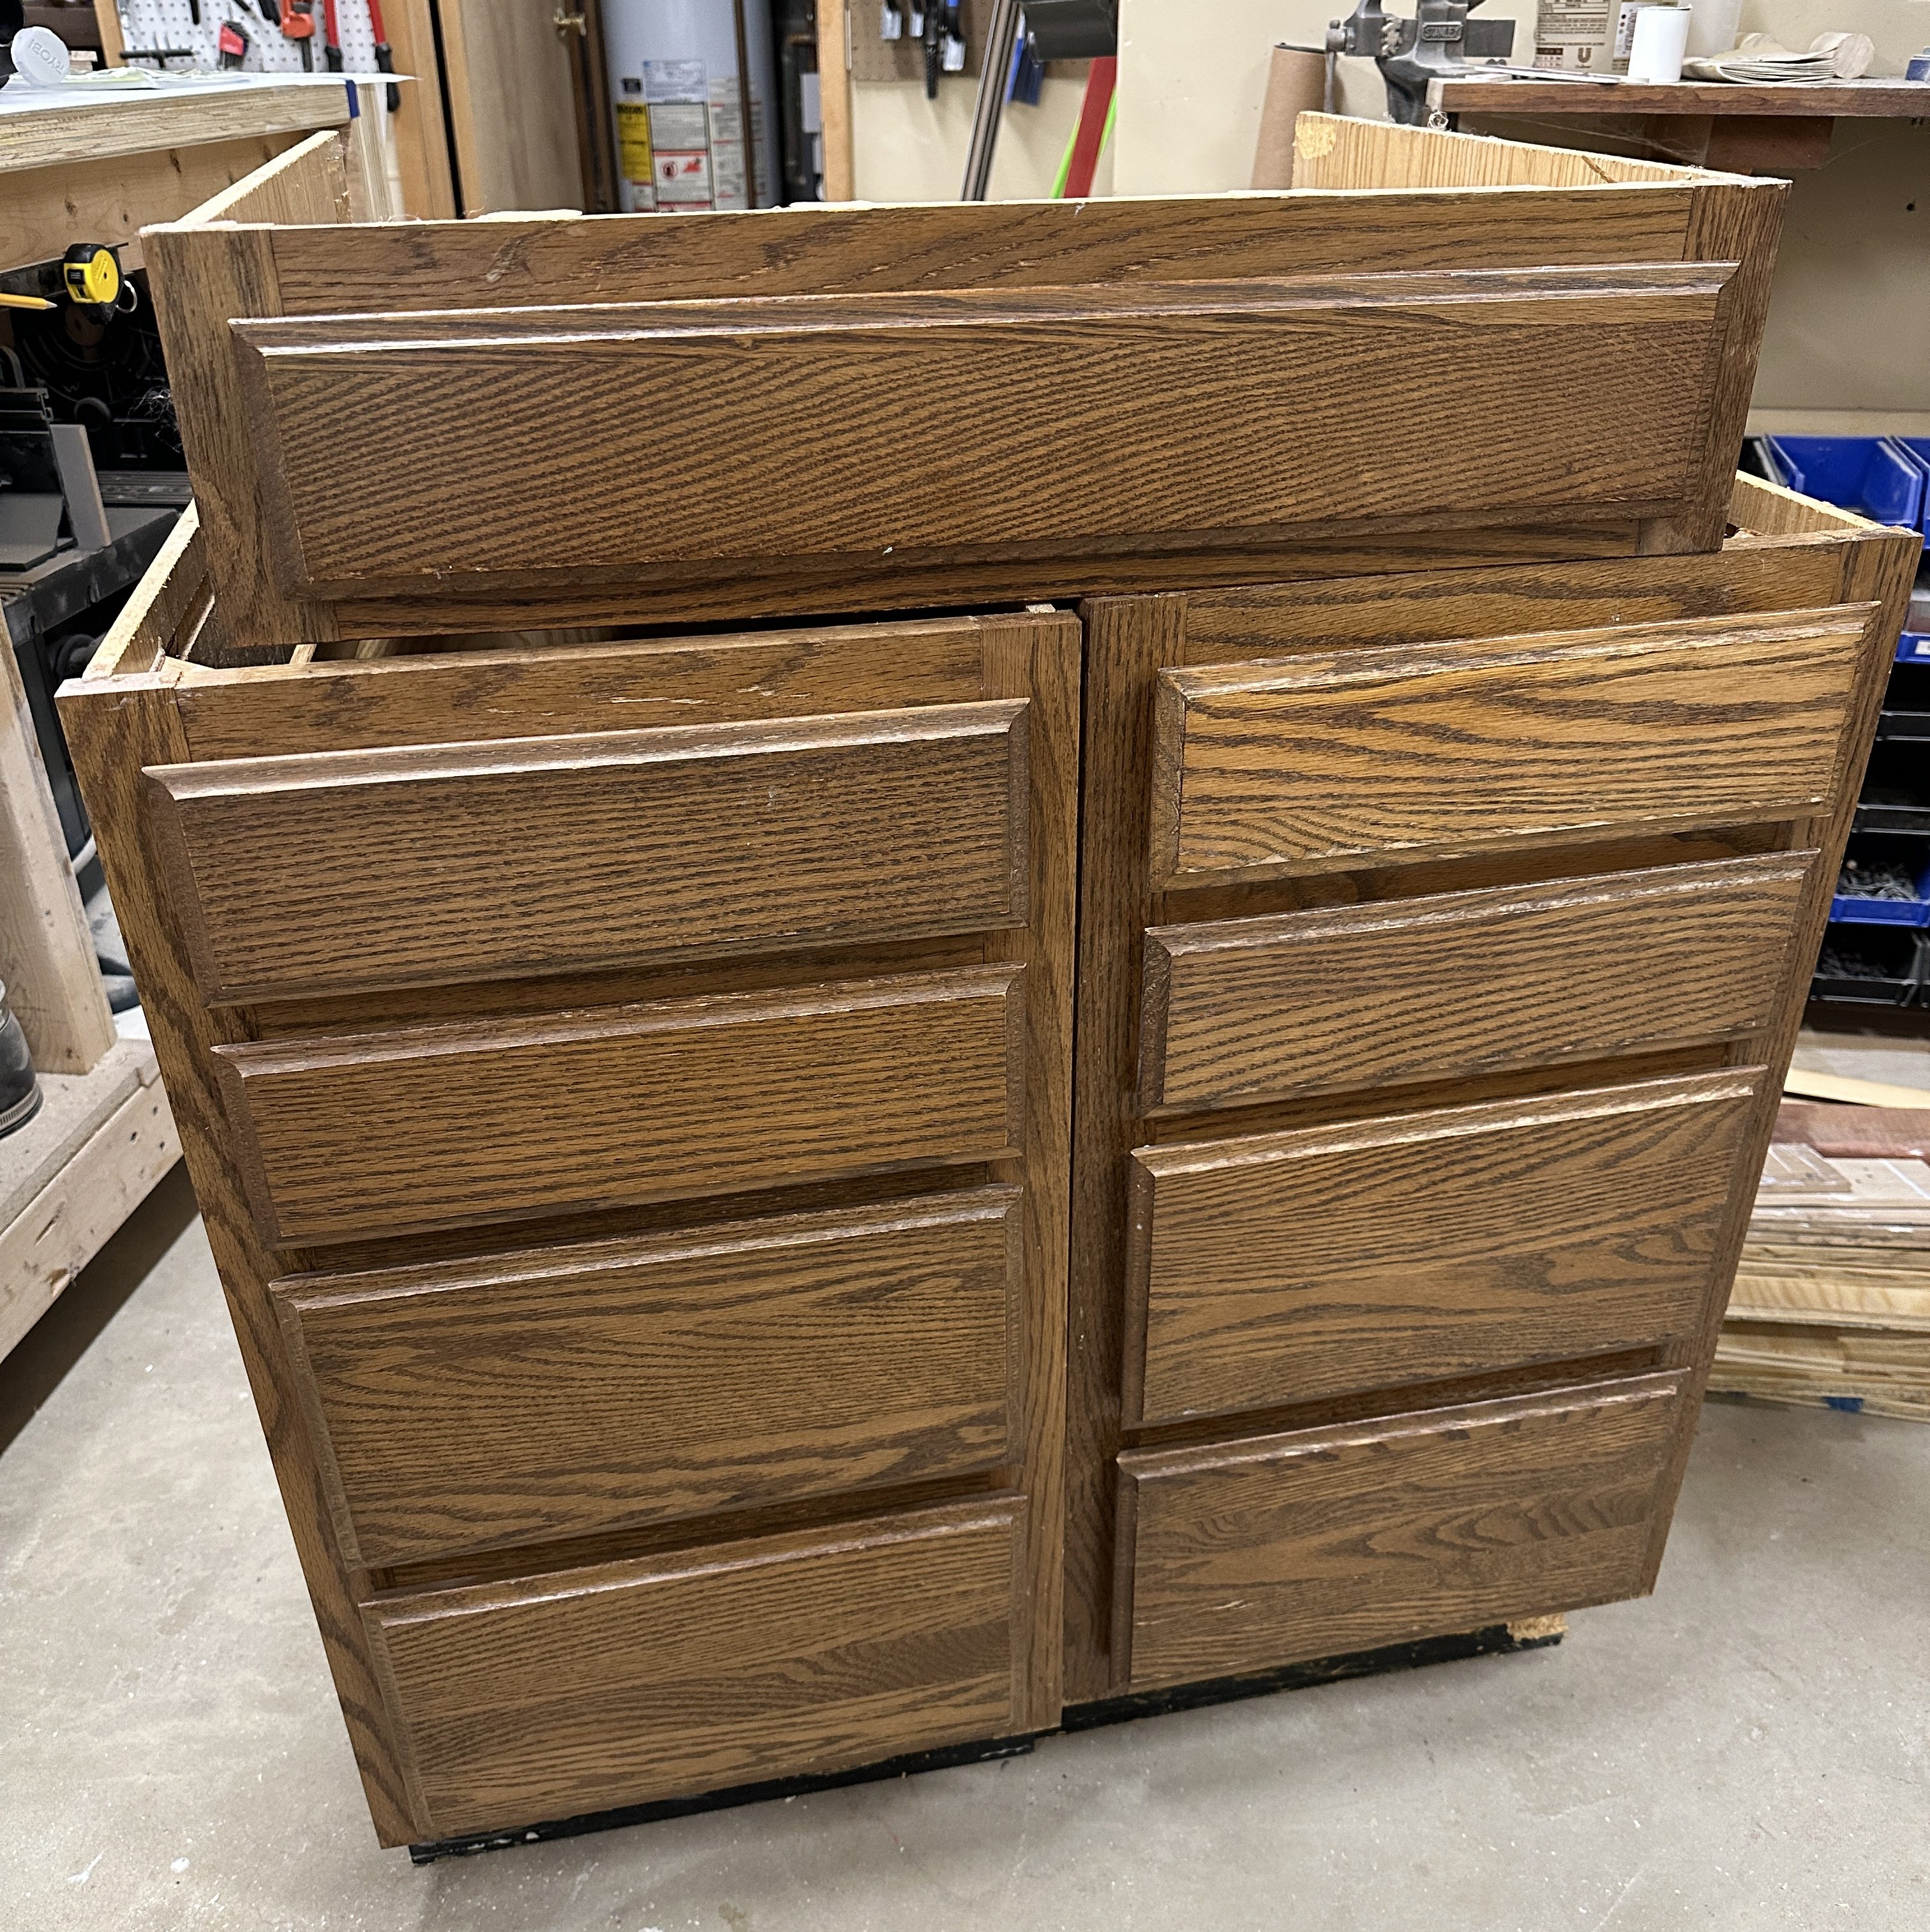
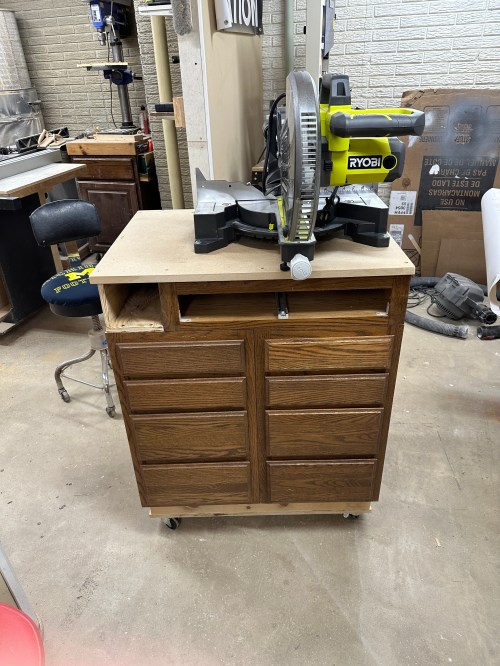
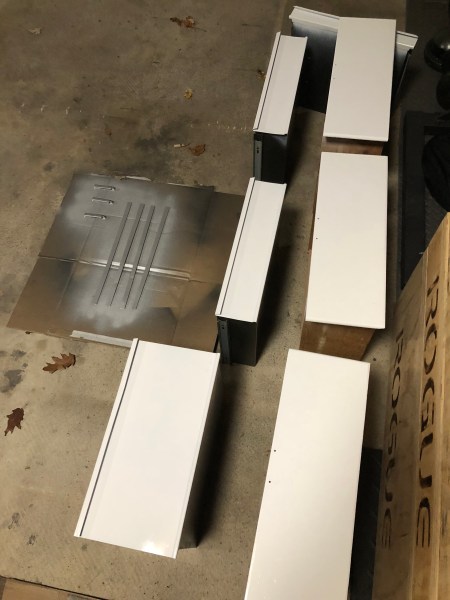
If you look back at the post where I took out a couple of walls to open up my workshop, you can see a unit with five drawers. When I dismantled it, I saved the drawers and slides. This was the perfect project to use a few.

The drawers were too wide, deep, and tall, so I had to resize them in every dimension. Thankfully glue wasn’t used in the original assembly, so they were easy to break down.

It felt like I measured and checked my calculations 10 times before cutting anything to size. I didn’t want to rush it and cut too much from any pieses, so I ook my time and the assembly went well. Putting the drawer slides in was tricky, but I made everything fit.

I cut a plywood base and attached it to the frame. Then I screwed in some locking casters ($4/each at Harbor Freight). I drilled holes for the drawer handles before taking both sets of drawers out and removing all of the slides. After two coats of a glossy black on the body and base, I was finally able to move it to the basement and free up the space in my garage.
I sanded the wood drawers, wire brushed the original drawers, and cleaned all of the drawer slides with Brakleen. The faces got two coats of glossy white and the handles were sprayed with metallic aluminum.
I’m really glad I decided to paint everything. Having this and the lathe stand in more of a finished condition makes the shop feel much nicer. I might have to paint some of my previous shop projects.

I gave the galvanized metal top a good scrubbing with a soft brush according to what I’d read and it was still in rough shape. So I used a wire brush and a wire wheel on a drill. It ate up the rust, but went through some of the galvanizing. I found a product made by Rust-oleum to resurface the metal that looked promising for less than $5.

I did 3 good coats, screwed the metal back to the MDF, and attached it to the stand. Looked pretty sweet if you ask me!

I gave the galvanizing a full week to cure. I’d read about people having mixed results with it scraping off.
My original plan was to make some kind of hinging platform for the larger belt/disc sander so I could flip it on the side to use the belt for edge sanding. It couldn’t come up with a layout to make it work though, especially making sure I still had access to all of the dust ports. This configuration should work just fine.

From left to right:
- Craftsman 4×36″ belt and 6″ disc (Model 137.215360)
- Ryobi oscillating spindle (Model OSS500)
- Craftsman 1×30″ belt and 5″ disc (Model 137.215150)
I bought all three of these used and paid $25, $50, and $30. The smaller Craftsman sander was still sealed in its original box. If you buy the Harbor Freight versions of these three machines, the new prices are $70, $145, and $85 respectively or $56, $116, and $68 with 20% off coupons if you make separate trips to the store. I love buying used tools!
All of the power cords run along the back and then over to the right side where there is a power strip (free from Harbor Freight) and an extension cord ($9 at Harbor Freight) so I only have to deal with one plug.

My shop feels infinitely more organized without the three sanding machines scattered across the floor. All that’s left now is to fill up the drawers with my hand sanders, sand paper, and accessories.