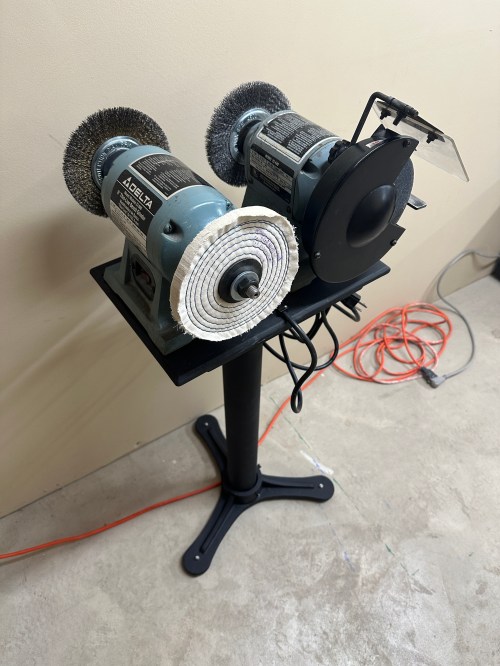
I’ve wanted some type of cabinet in my workshop for PPE and earlier this year I saw a cool cabinet that I thought might be perfect. Fast forward to the new house, the wall, and a new shop (post coming soon), so when I saw the Facebook Marketplace listing again I jumped on it.
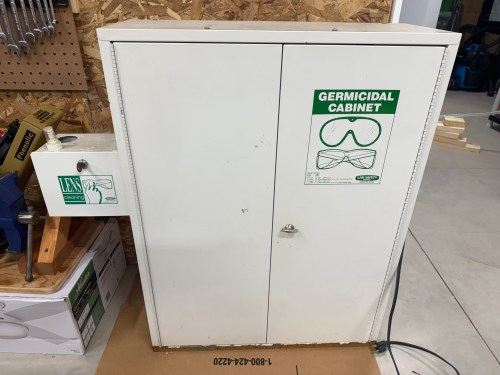


Aren’t the graphics great on those green stickers? I only paid $25 for this Sellstrom Model 2000 Germicidal Cabinet. A new one is currently 51% off on Amazon, which brings it down to $599 and replacement UV light bulbs cost over $100! This unit had some rust, like it had been sitting in a puddle, but otherwise it barely seemed used. The light bulb still works and so does the timer pictured below, which can be set to run for up to 5 minutes. You can also see the UV light bulb on inside the cabinet, through that tiny window.

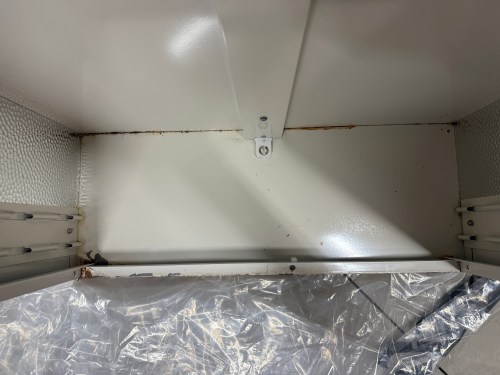
I used a razor blade to scrape as much of the rust off as I could and then used a sanding block. I cleaned the areas with mineral spirits and masked them off with painter’s tape. The bare metal got a coat of rusty metal primer.

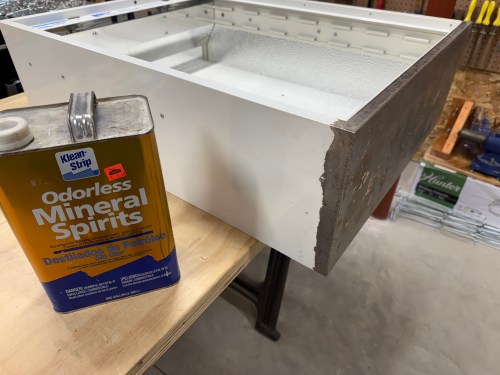


The few inside corners were painted with a non-matching white, which nobody will see. I painted the bottom exterior area with some black, which turned out great. I hung the cabinet near the door and surrounded it with my glove dispenser and other safety stuff.