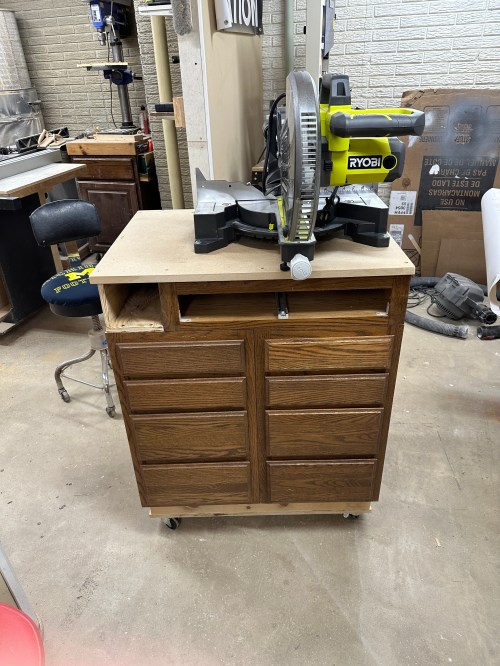
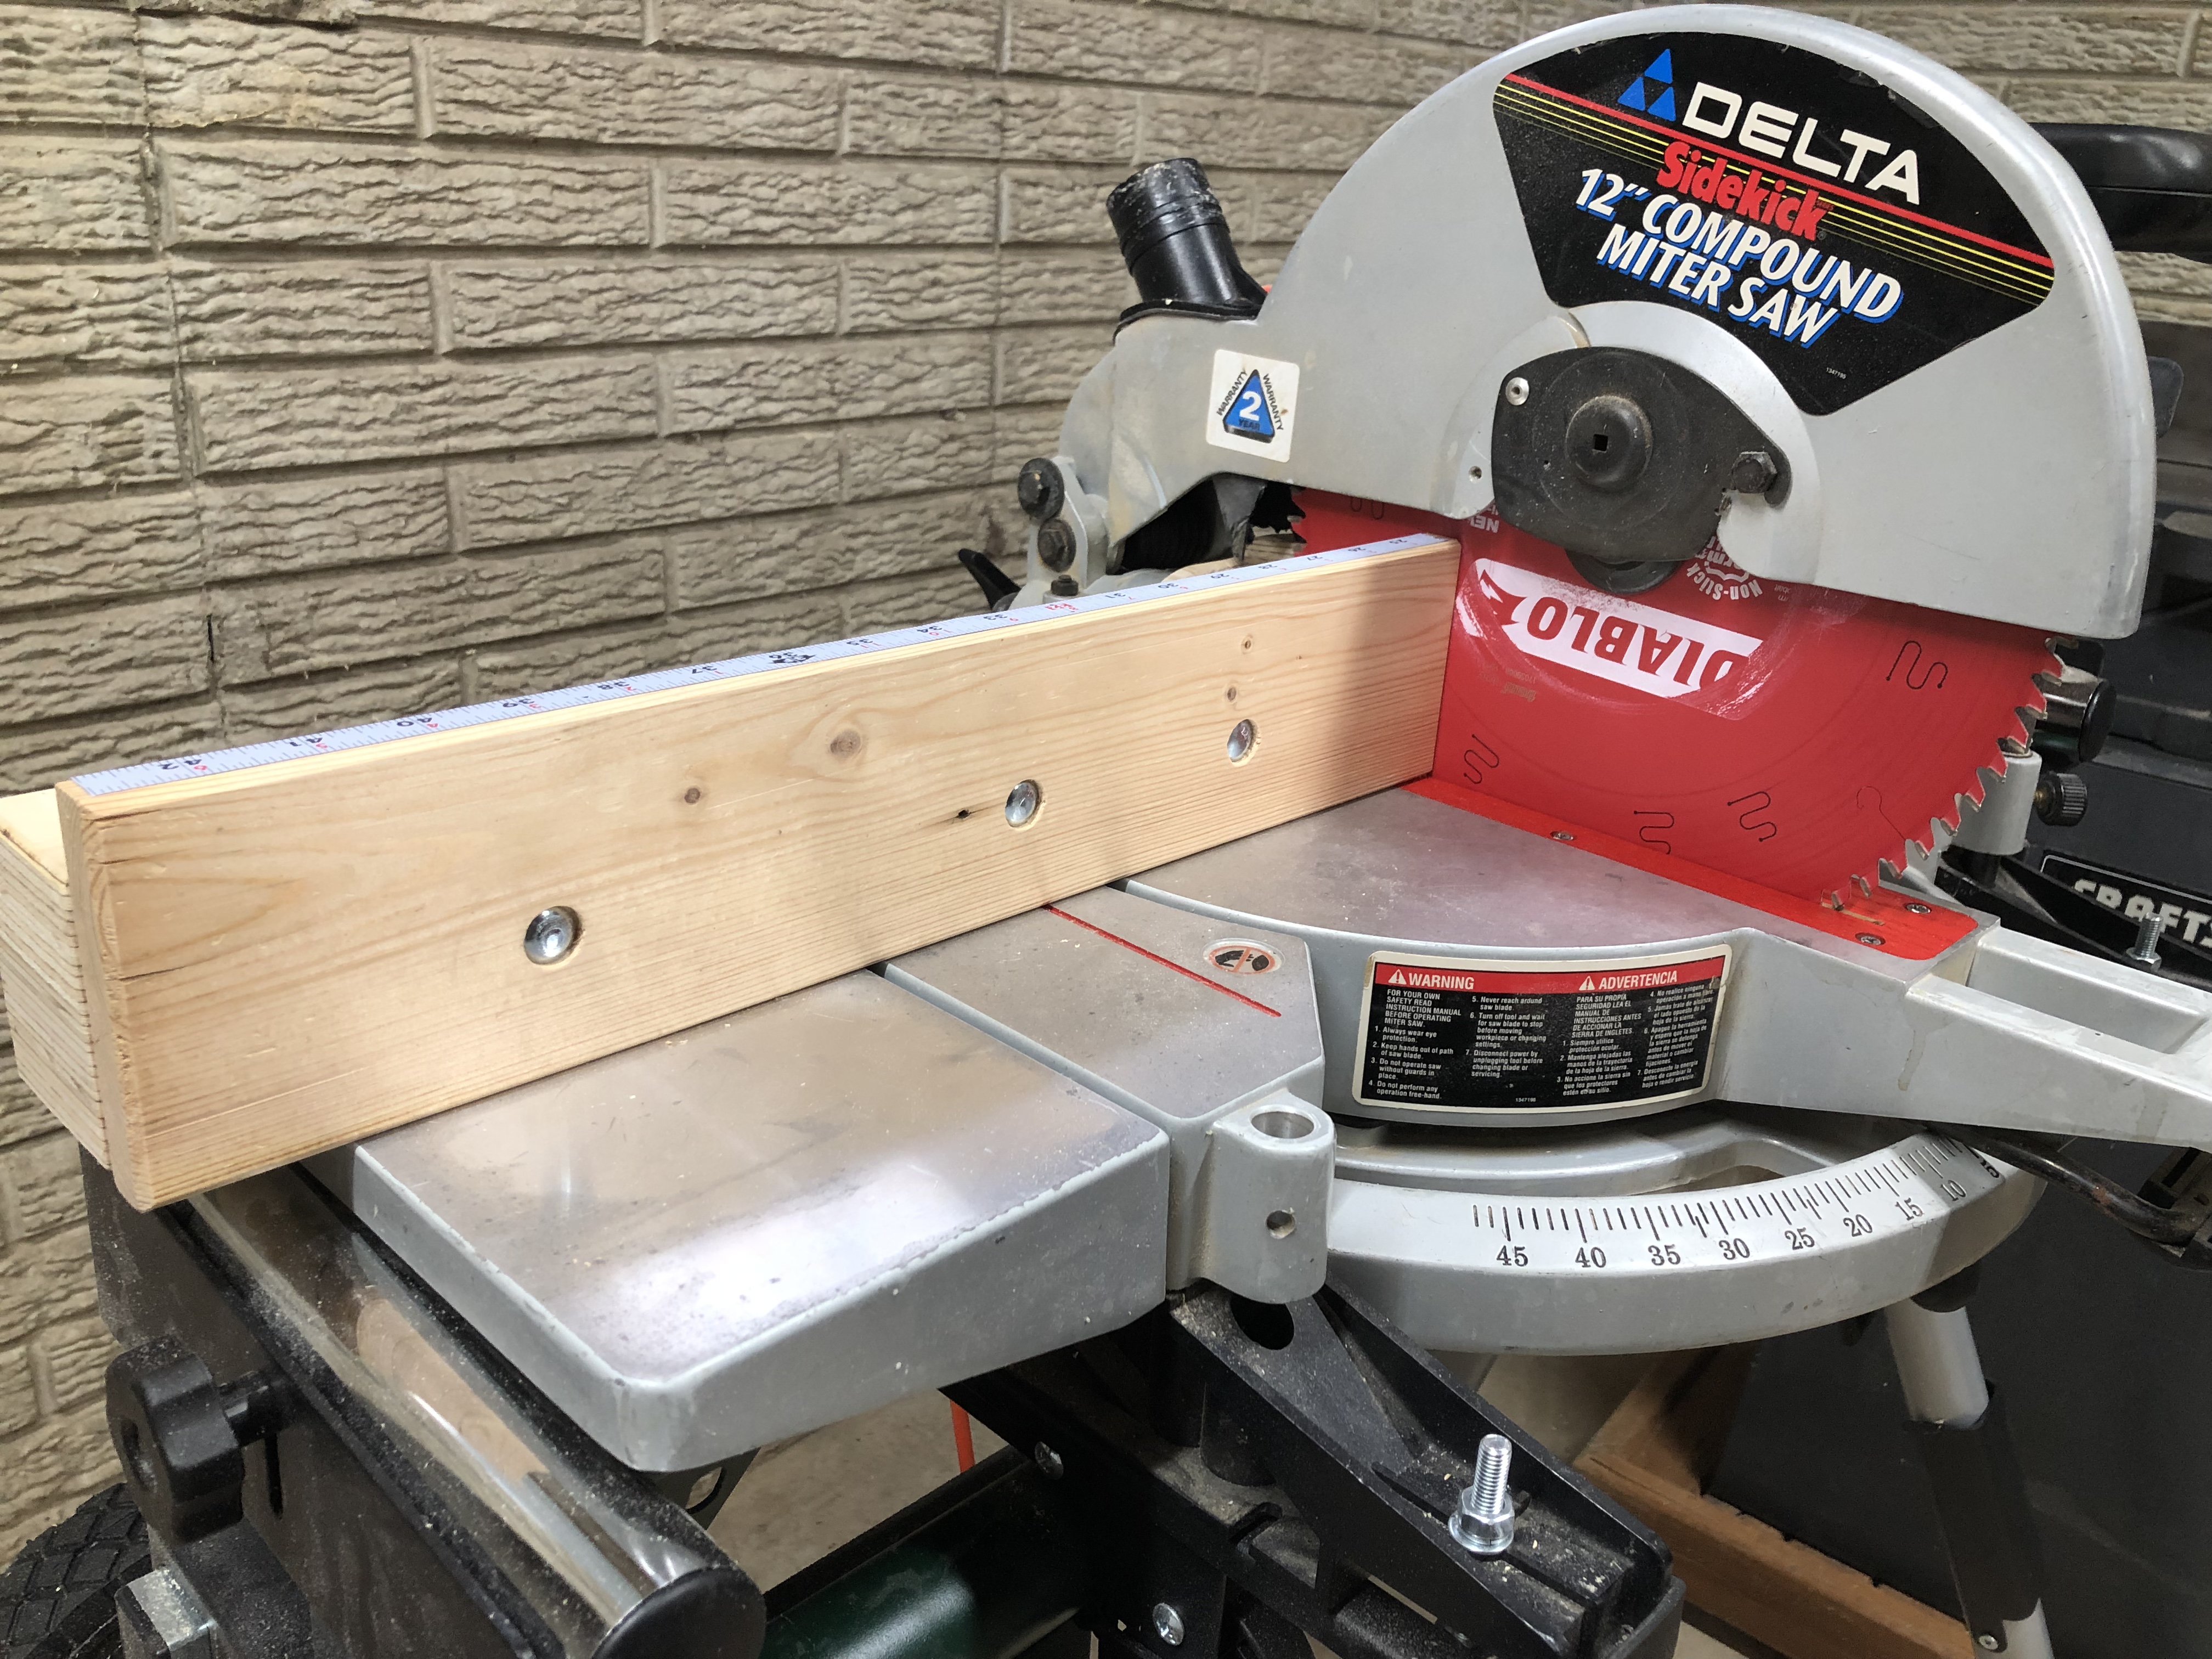
If you haven’t seen the other posts, check out part 1 and 2 of this series about improving a Delta Sidekick 12″ Compound Miter Saw (Model 36-235).
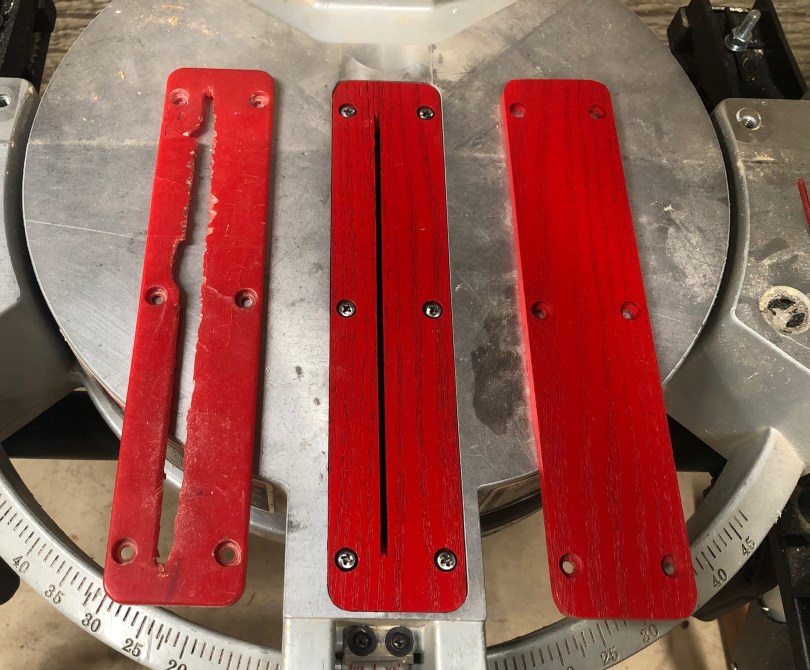
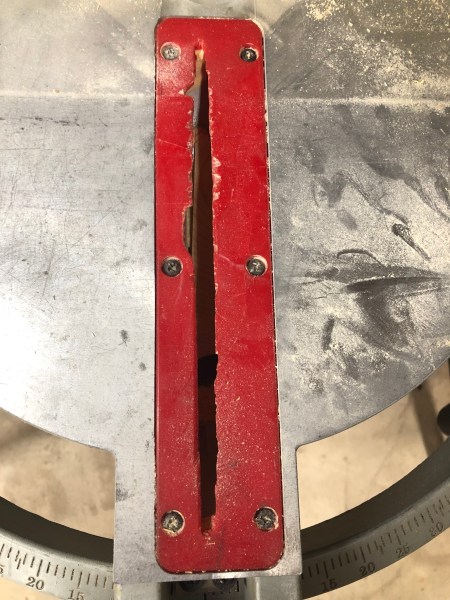
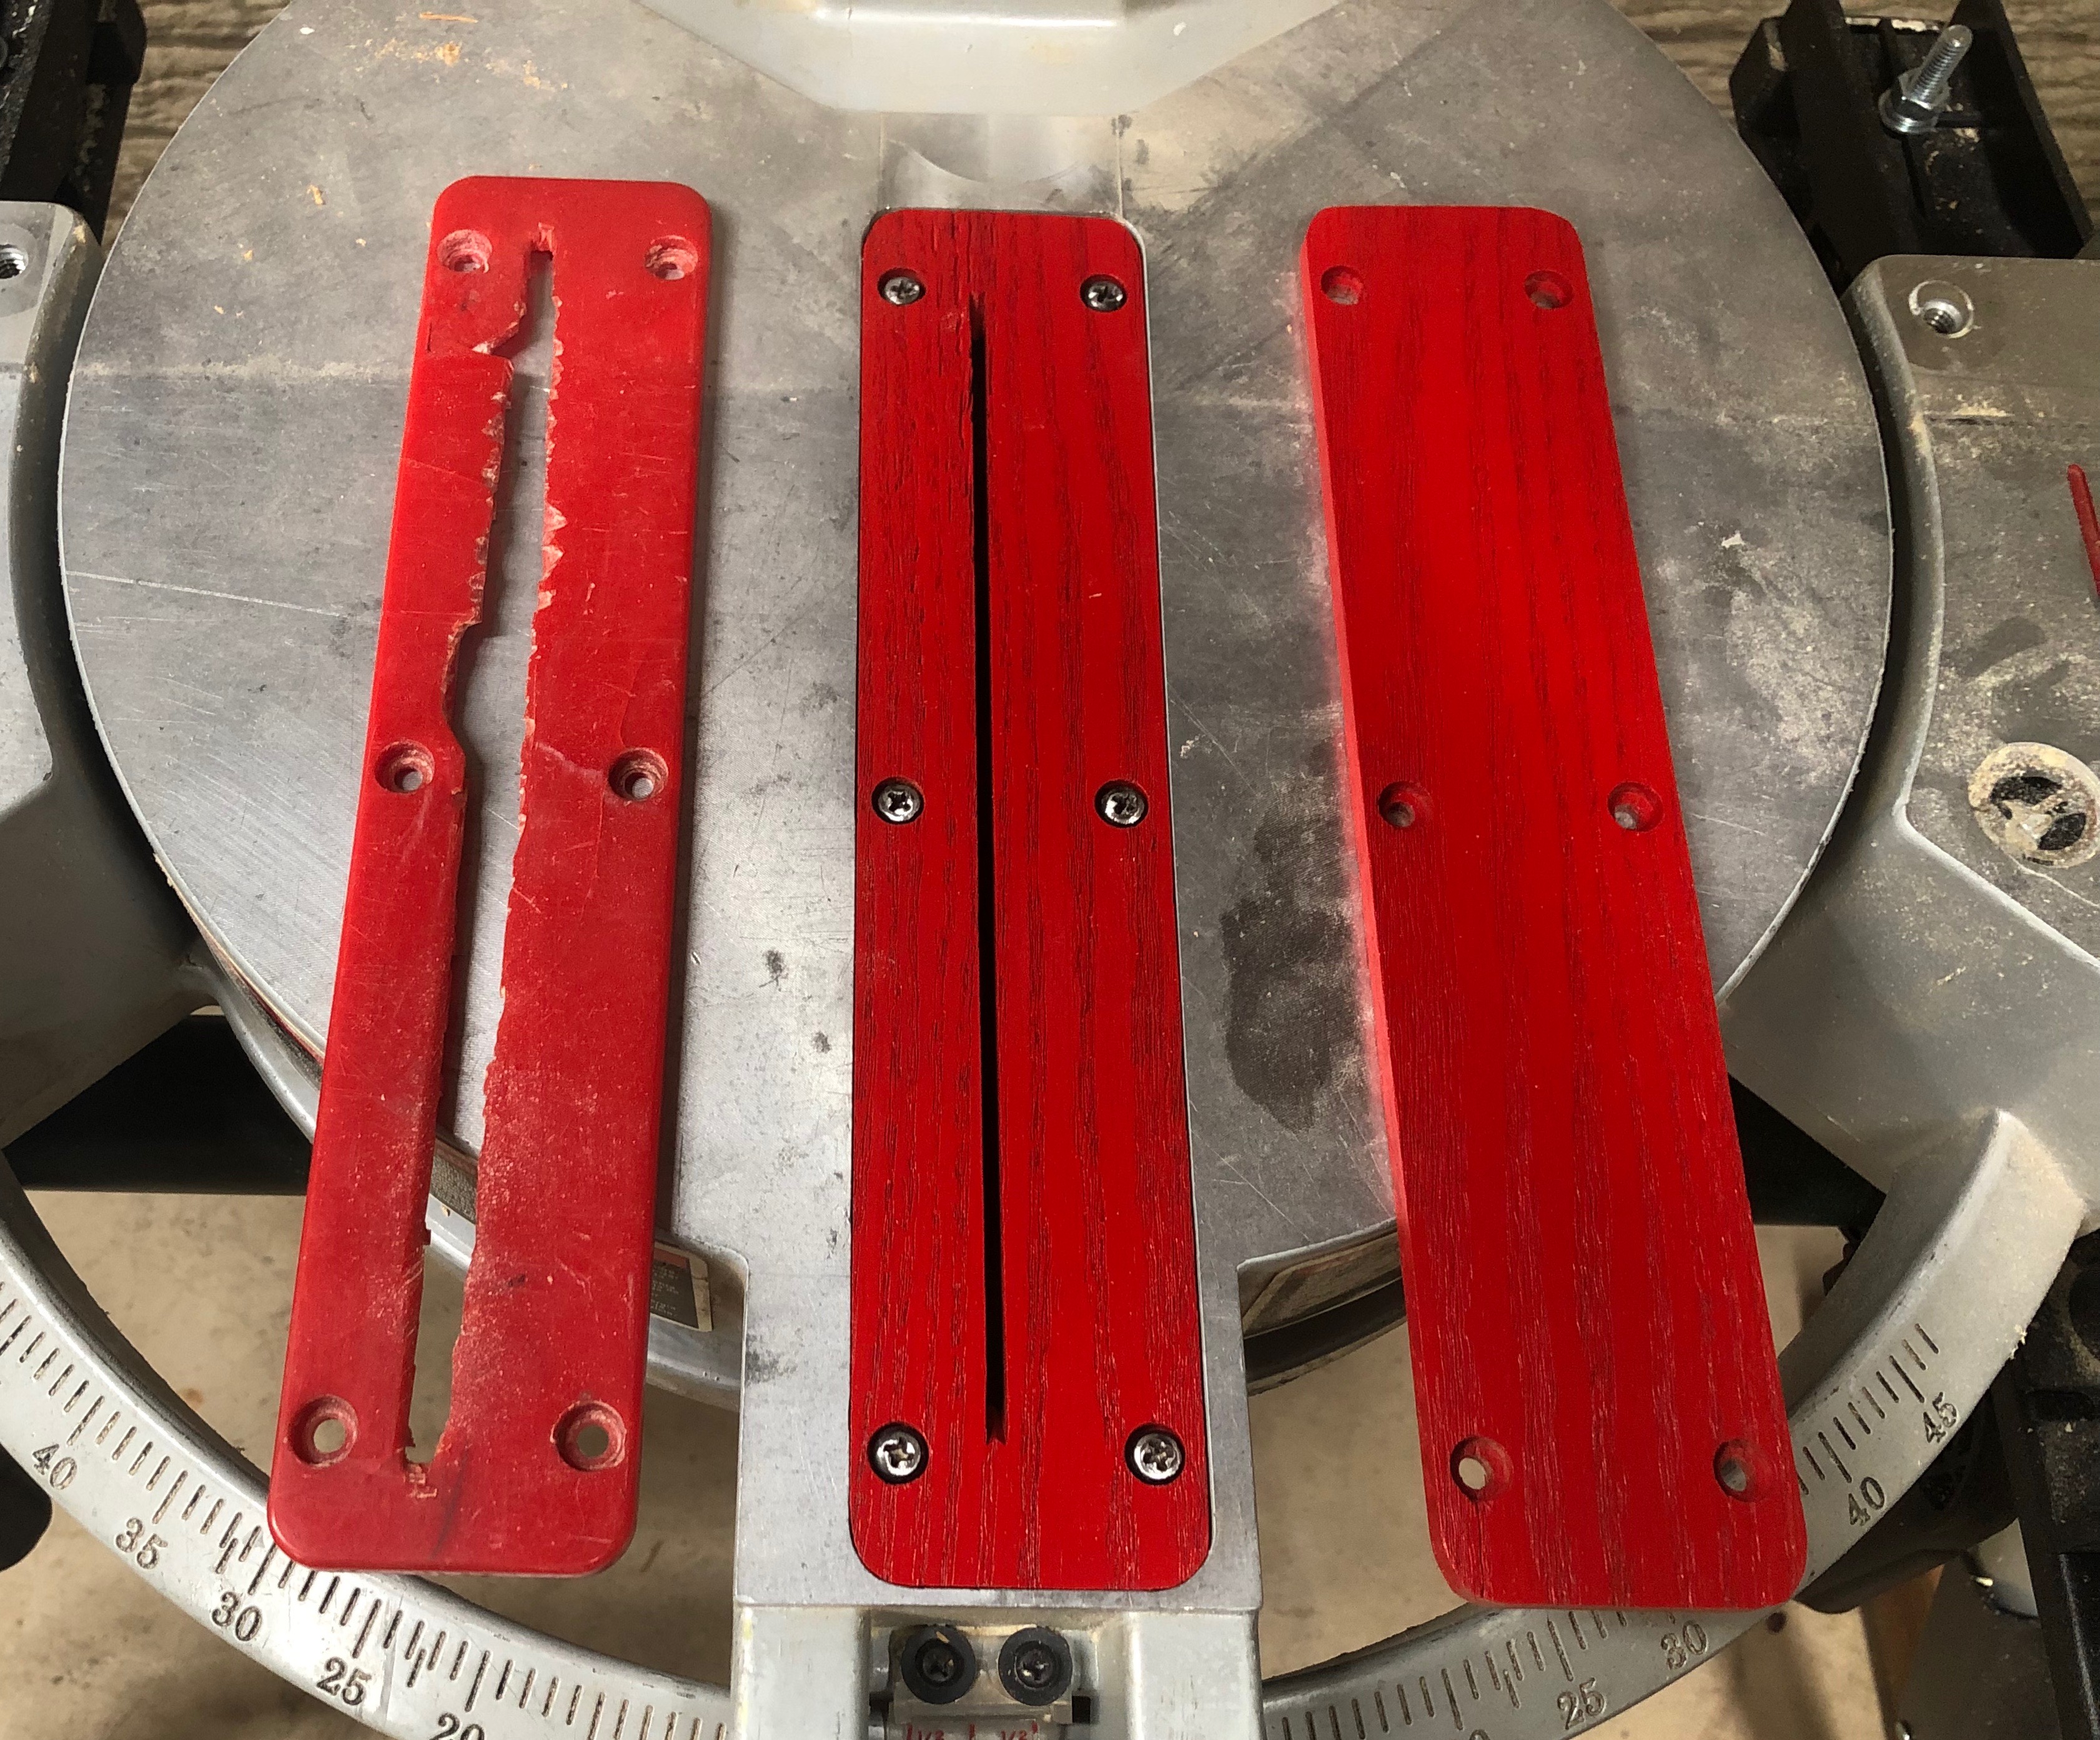
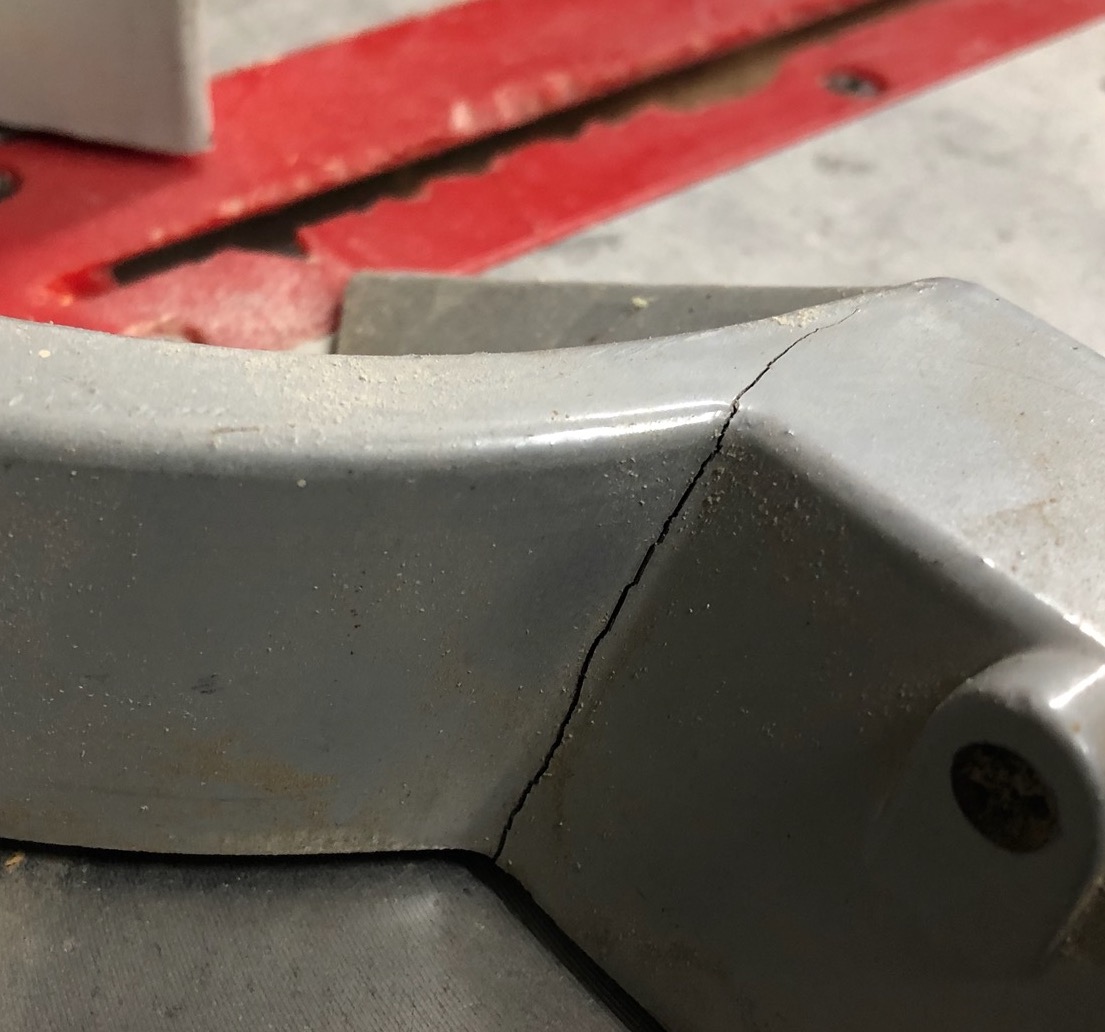
With a fresh zero clearance insert plate, I wanted to move on to making a new fence for the saw. In the previous post I mentioned the cracked fence. It’s a significant one, so there was no fixing this.
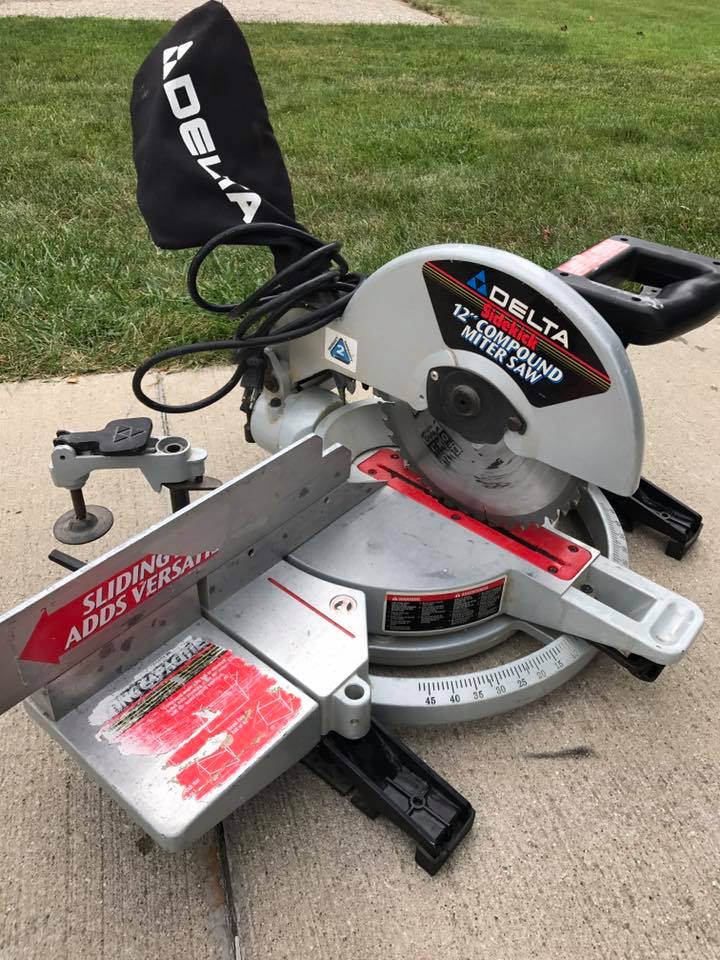
I forgot to take a decent picture of the fence before I took it off, but you can get the general idea from this old photo.
After looking around, I found a YouTube video where someone had built a new fence and the shape of theirs was very similar to mine. It looked pretty straightforward and I had a few upgrade ideas of my own.
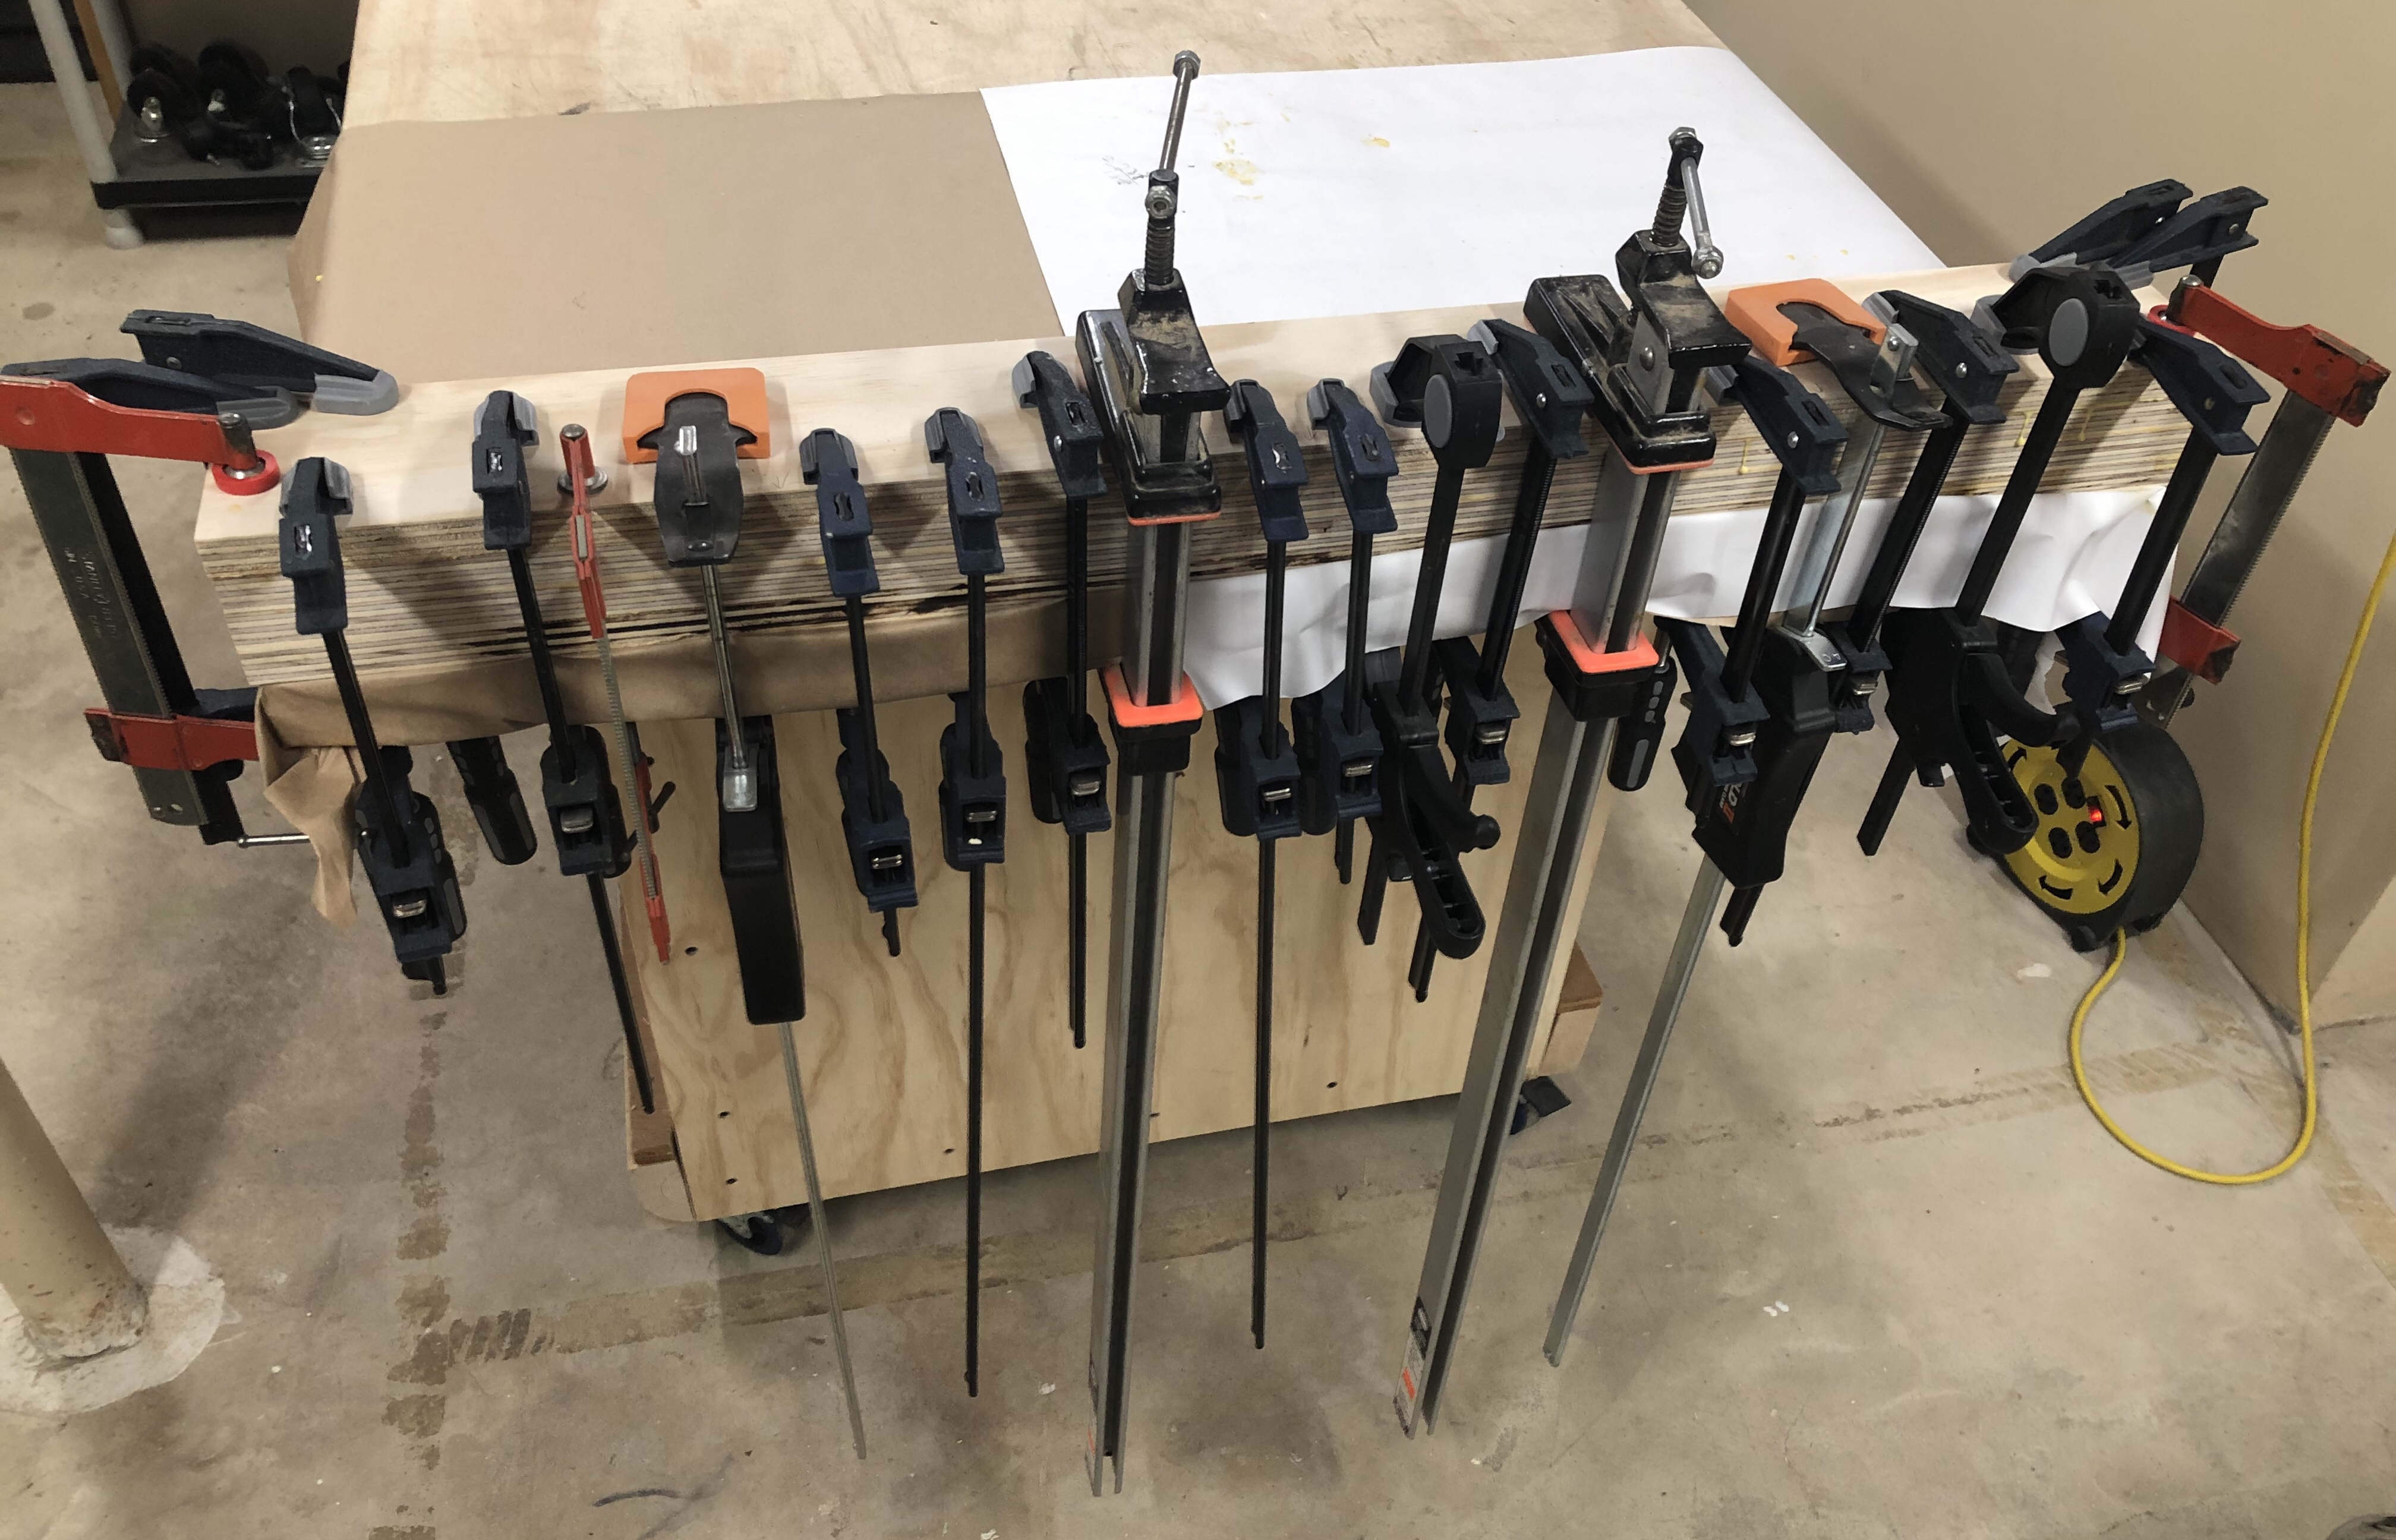
I jumped in by cutting four pieces of 3/4″ plywood to 4×36″ and glued them together. I clamped them to the edge of my work table, hoping it would flatten everything out.
On the table saw I squared up the edge that’ll be the face of the fence. Then I used the old fence as a guide to mark the mounting holes and some of the areas I need to trim. I’m going to have a secondary removable zero clearance fence, so I also marked the 4 original holes in the face plus two more since I’m building a longer fence (the 6″ left extension isn’t pictured below) that’ll overhang the edges of the saw’s table.
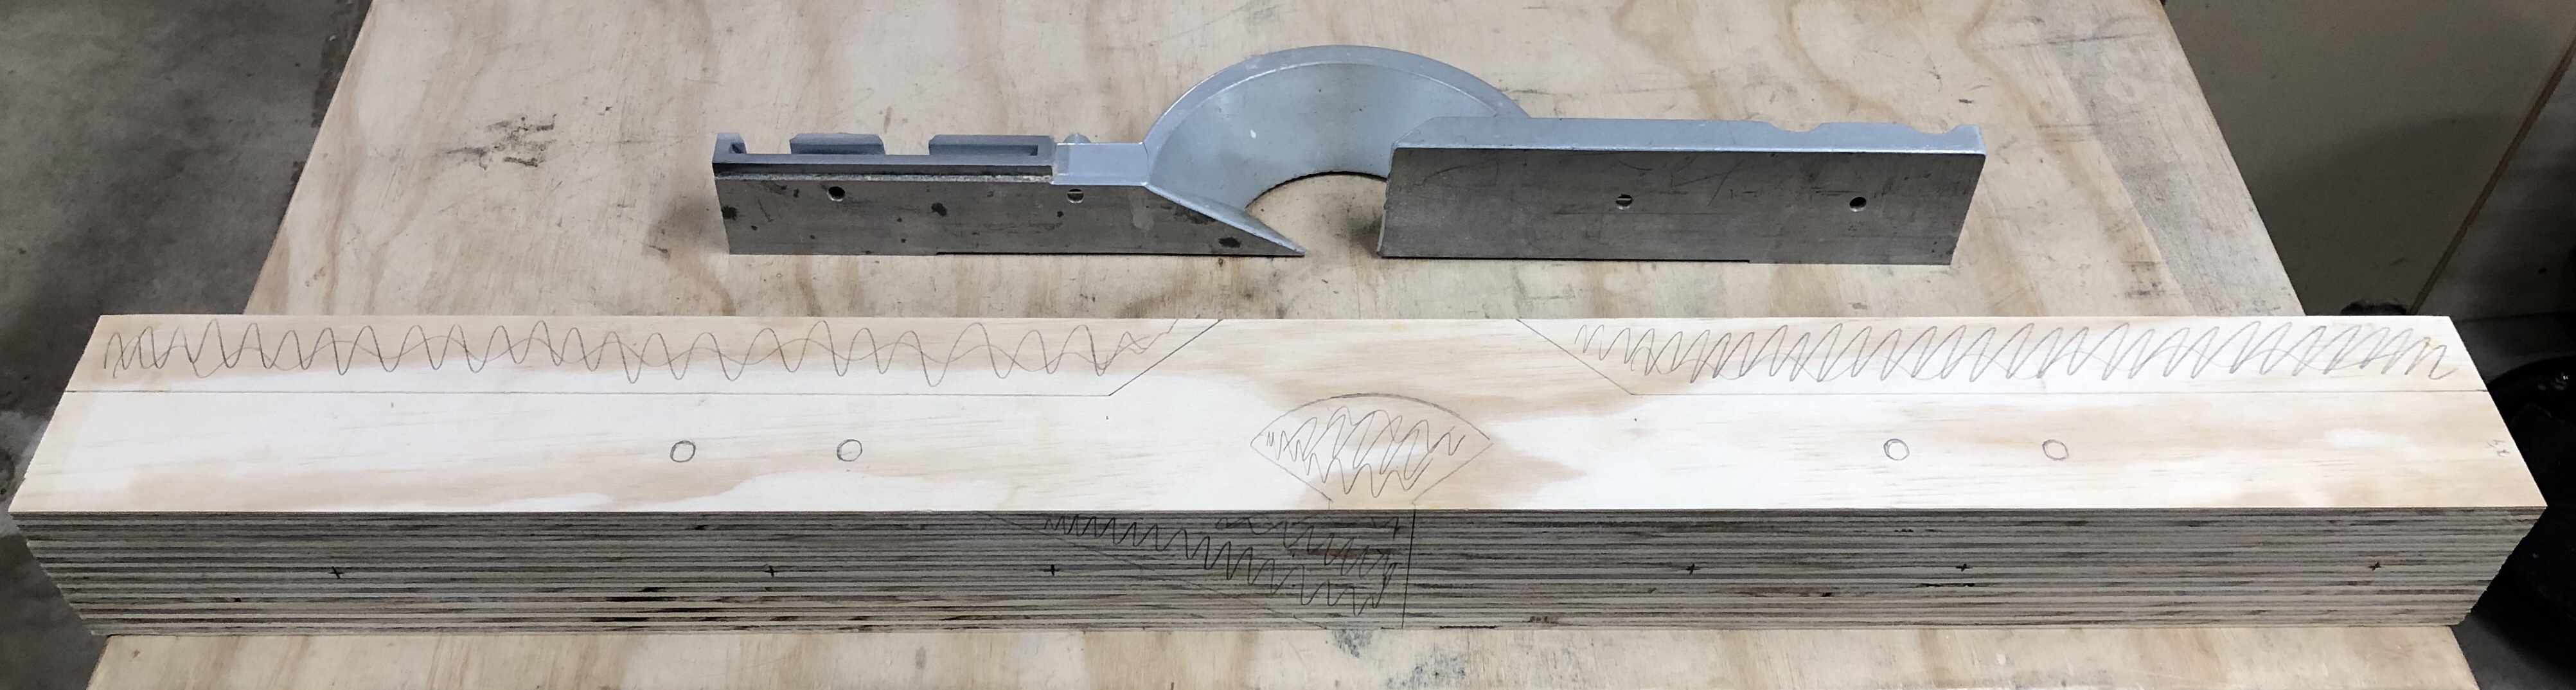
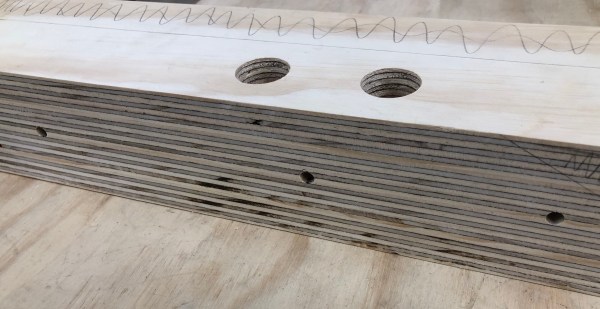
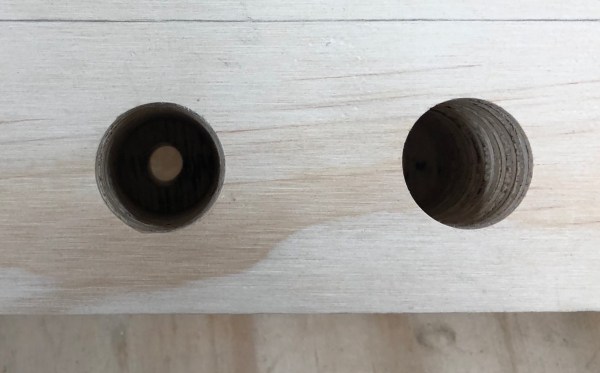
I moved over to the drill press and drilled all of the 1/4″ face holes. Then I used a 1″ Forstner bit with a depth stop to give the mounting bolt washers a place to rest. After that I was able to drill the rest of the way with a 21/64″ bit for the mounting bolts. I moved the bit over to a hand drill and made these holes oblong because they need adjustment room when aligning the fence.
Back at the table saw, I trimmed the sides. I also did most of the long cuts along the back. I switched to the band saw to finish cutting off the back pieces and then I did a little sanding with the oscillating single sander. While I still had the middle in tact, I figured it would be a good time to chamfer the edges, so I knocked that out on the router table.
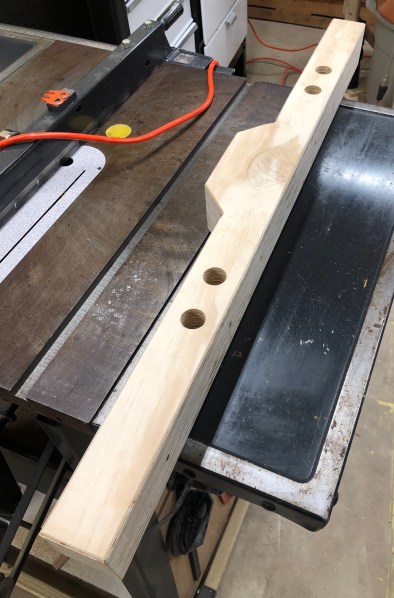
In the video that gave me this idea, he used a band saw to hog out the middle area. I thought I could use the miter saw itself to do this. It would give the area nice shapes, keep as much of the fence’s structure as possible, and hopefully provide a nice ramp for sawdust to be directed out the back. So I attached the fence, squared it up, and made the first cut.

I immediately noticed I would need to remove the fence if I ever wanted to swap insert plates. I went to make the first miter cut and it wouldn’t rotate. I thought I might run in to this. I removed the fence and used the band saw to make room for insert plate removal. I also sanded off the bottom of the fence where it was making contact with the rotating part of the table.
That was all good but now the back of the saw was hitting the fence at 11 degrees each way because I went with angles around the back instead of curves. I made adjustments at the band saw and then still had problems with mitered bevel cuts. Instead of taking everything off again, I used a hand saw, chisel, and files on the left side. After a ton of adjustments, I was able to make all of the miter, bevel, and combo cuts.

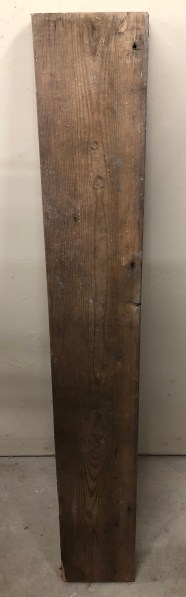
The final piece to this was creating the removable zero clearance fence. I started with an old piece of reclaimed wood.
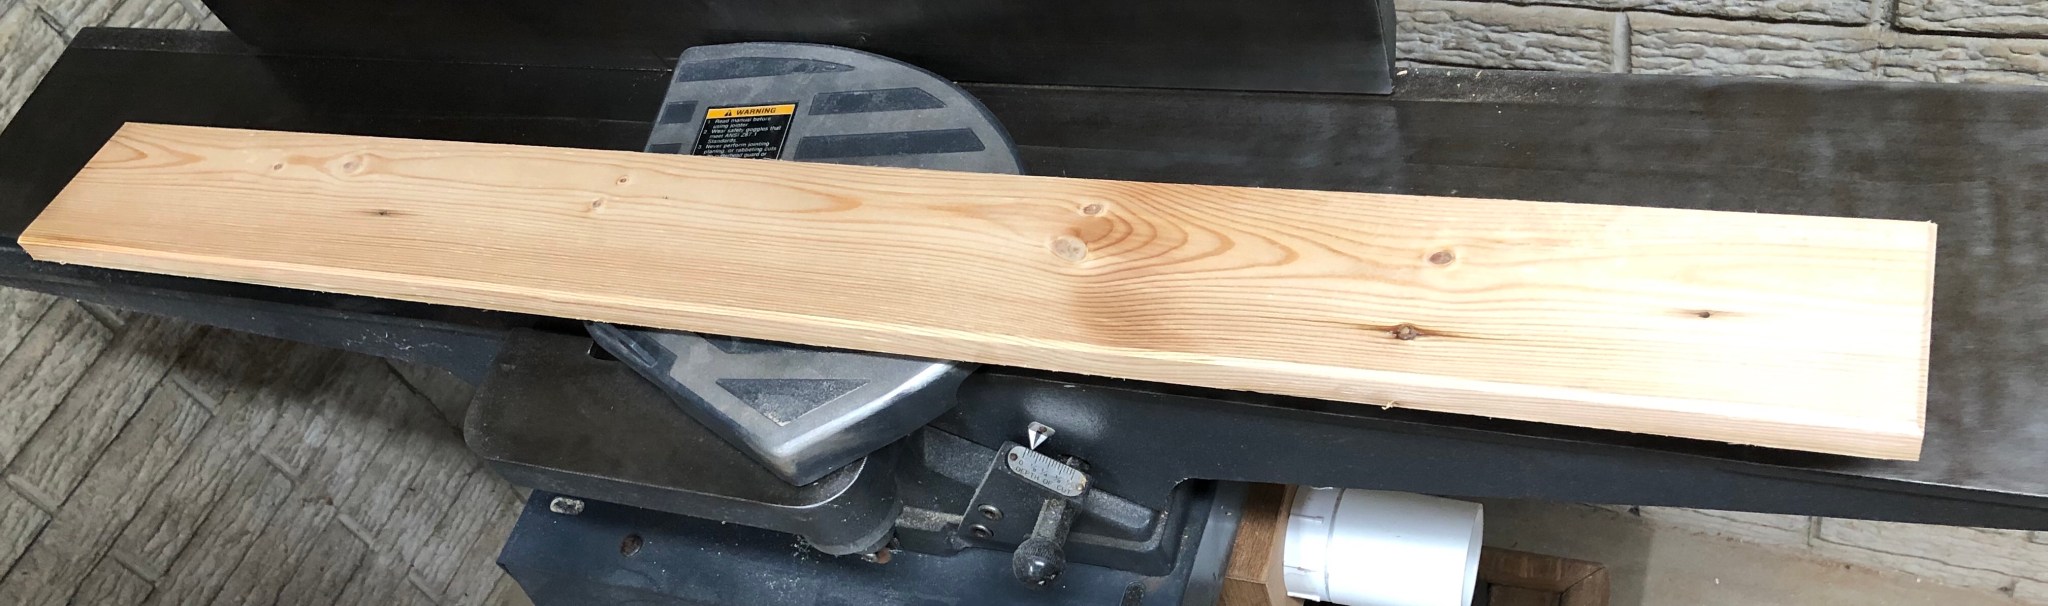
I used my jointer to flatten the face and square an edge. Then I ripped it to 3-3/4″ and trimmed the sides with the table saw. I used the bandsaw to resaw it and then the planer got the rest of the way to the 3/4″ thickness I wanted. To finish it off, I chamfered the edges on my router table.
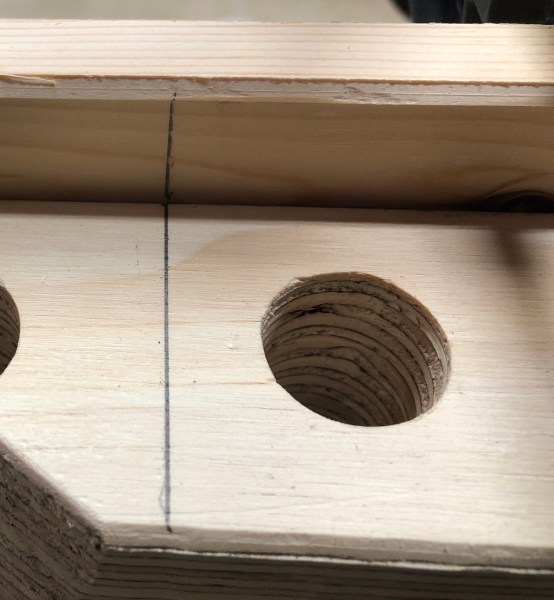
I clamped the board to the miter saw fence and drilled through the back of the original 1/4″ face holes to make marks in this board. I also drew lines on the left and right of both fences as a reference to make lining them up easier.
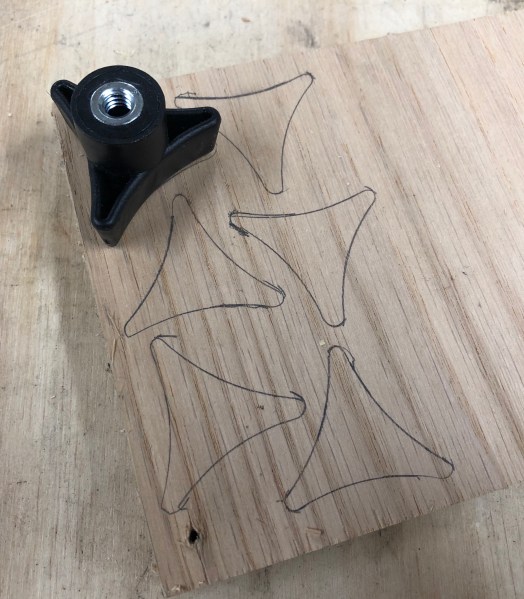
I shifted gears to make some knobs. I grabbed one from router table, traced it, and cut six of out of 3/4″ plywood on the bandsaw. Then I cleaned them up on the sander.
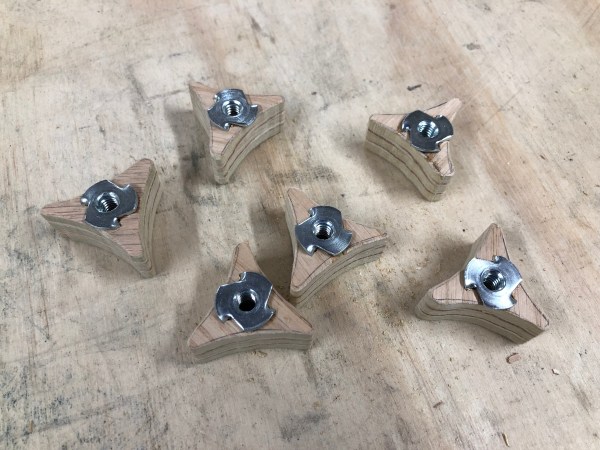
Over at the drill press I cut a 5/16″ hole through the center of each knob. I set a 1/4″ T-nut on top and hit it with a hammer so the prongs would leave marks where I could drill starter holes. Then I applied some cyanoacrylate and pounded each T-nut in.
I grabbed the zero clearance fence and drilled the 1/4″ holes all the way through on the drill press. Then I set a 3/16″ (I think) depth stop, switched to a 5/8″ Forstner bit, and drilled the same holes. This would make a recess for the head of the carriage bolt.
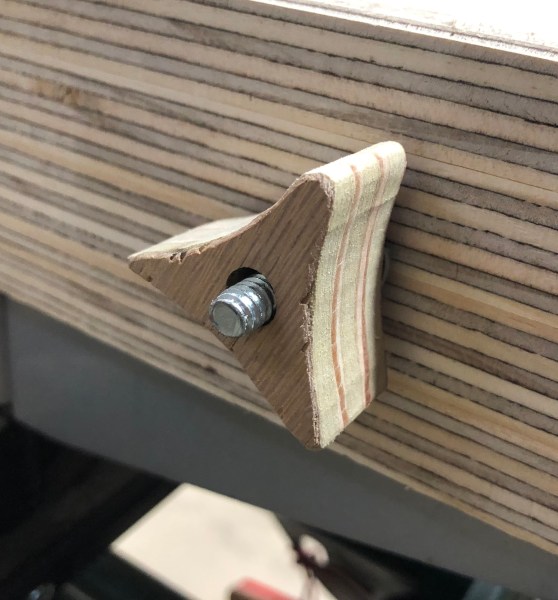
I put the zero clearance fence in place up against the big fence, fed the carriage bolts through their holes, added a washer, and tightened the knobs. Here is what they look like from the back.
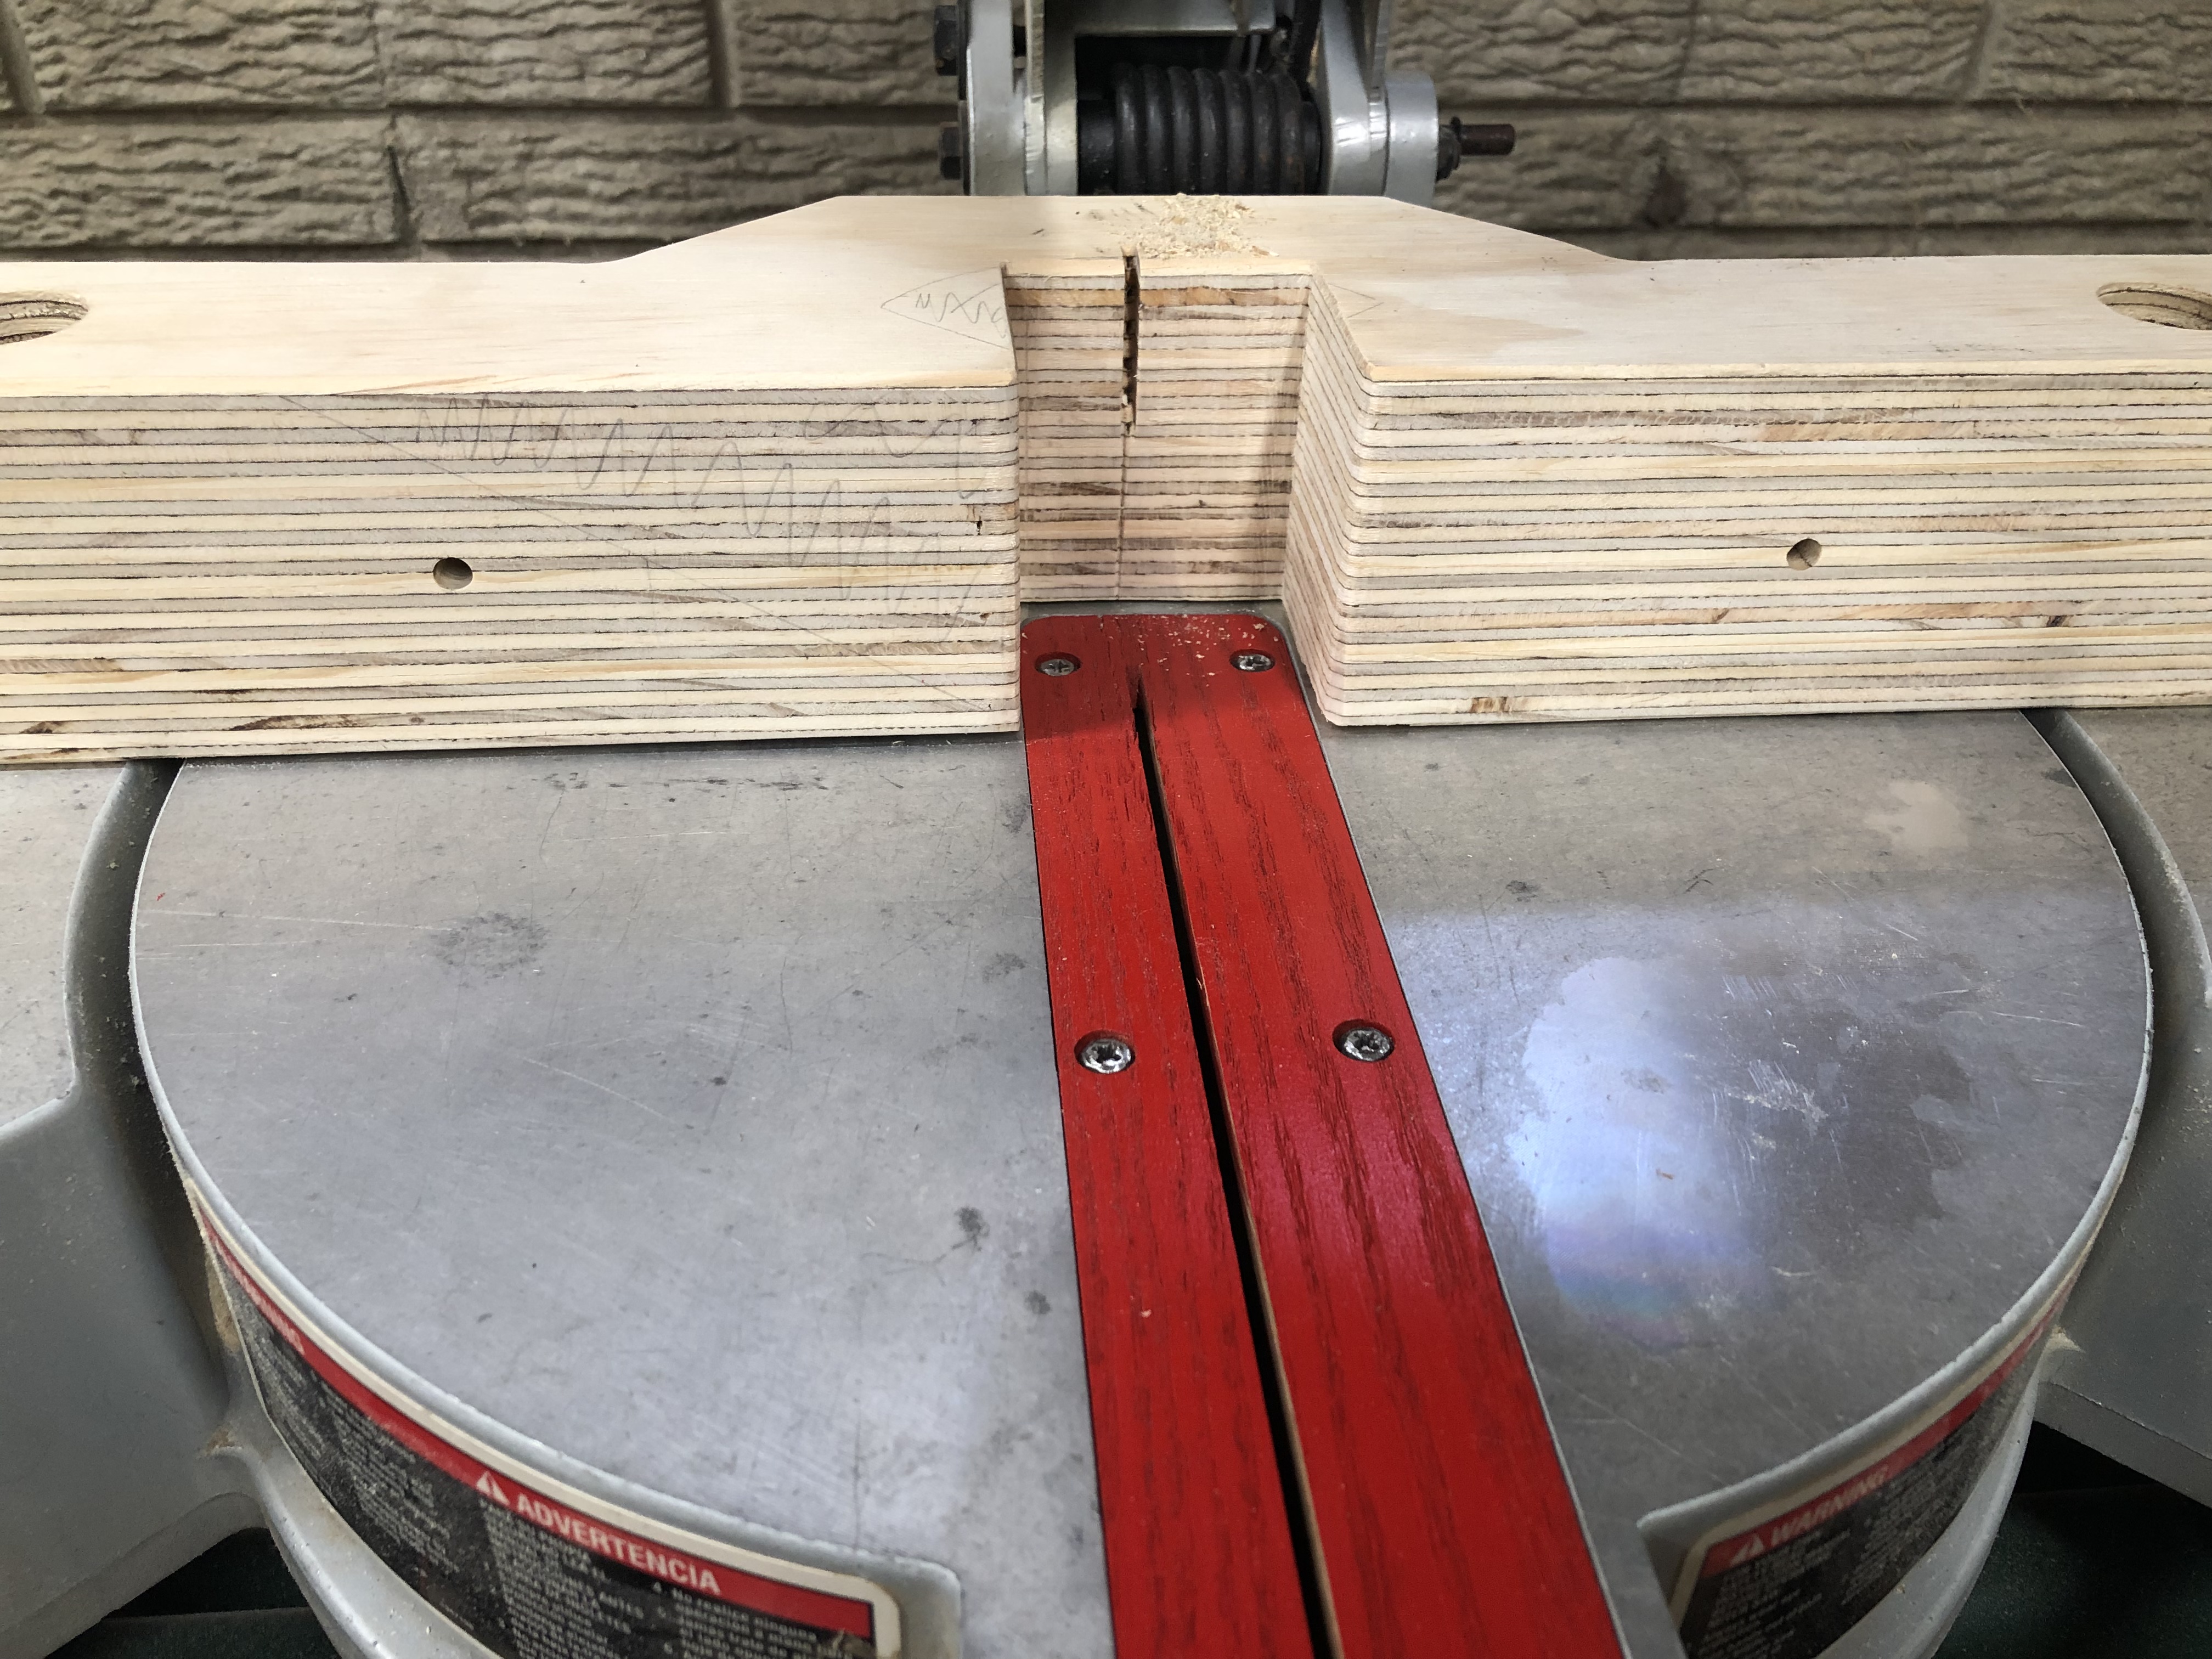
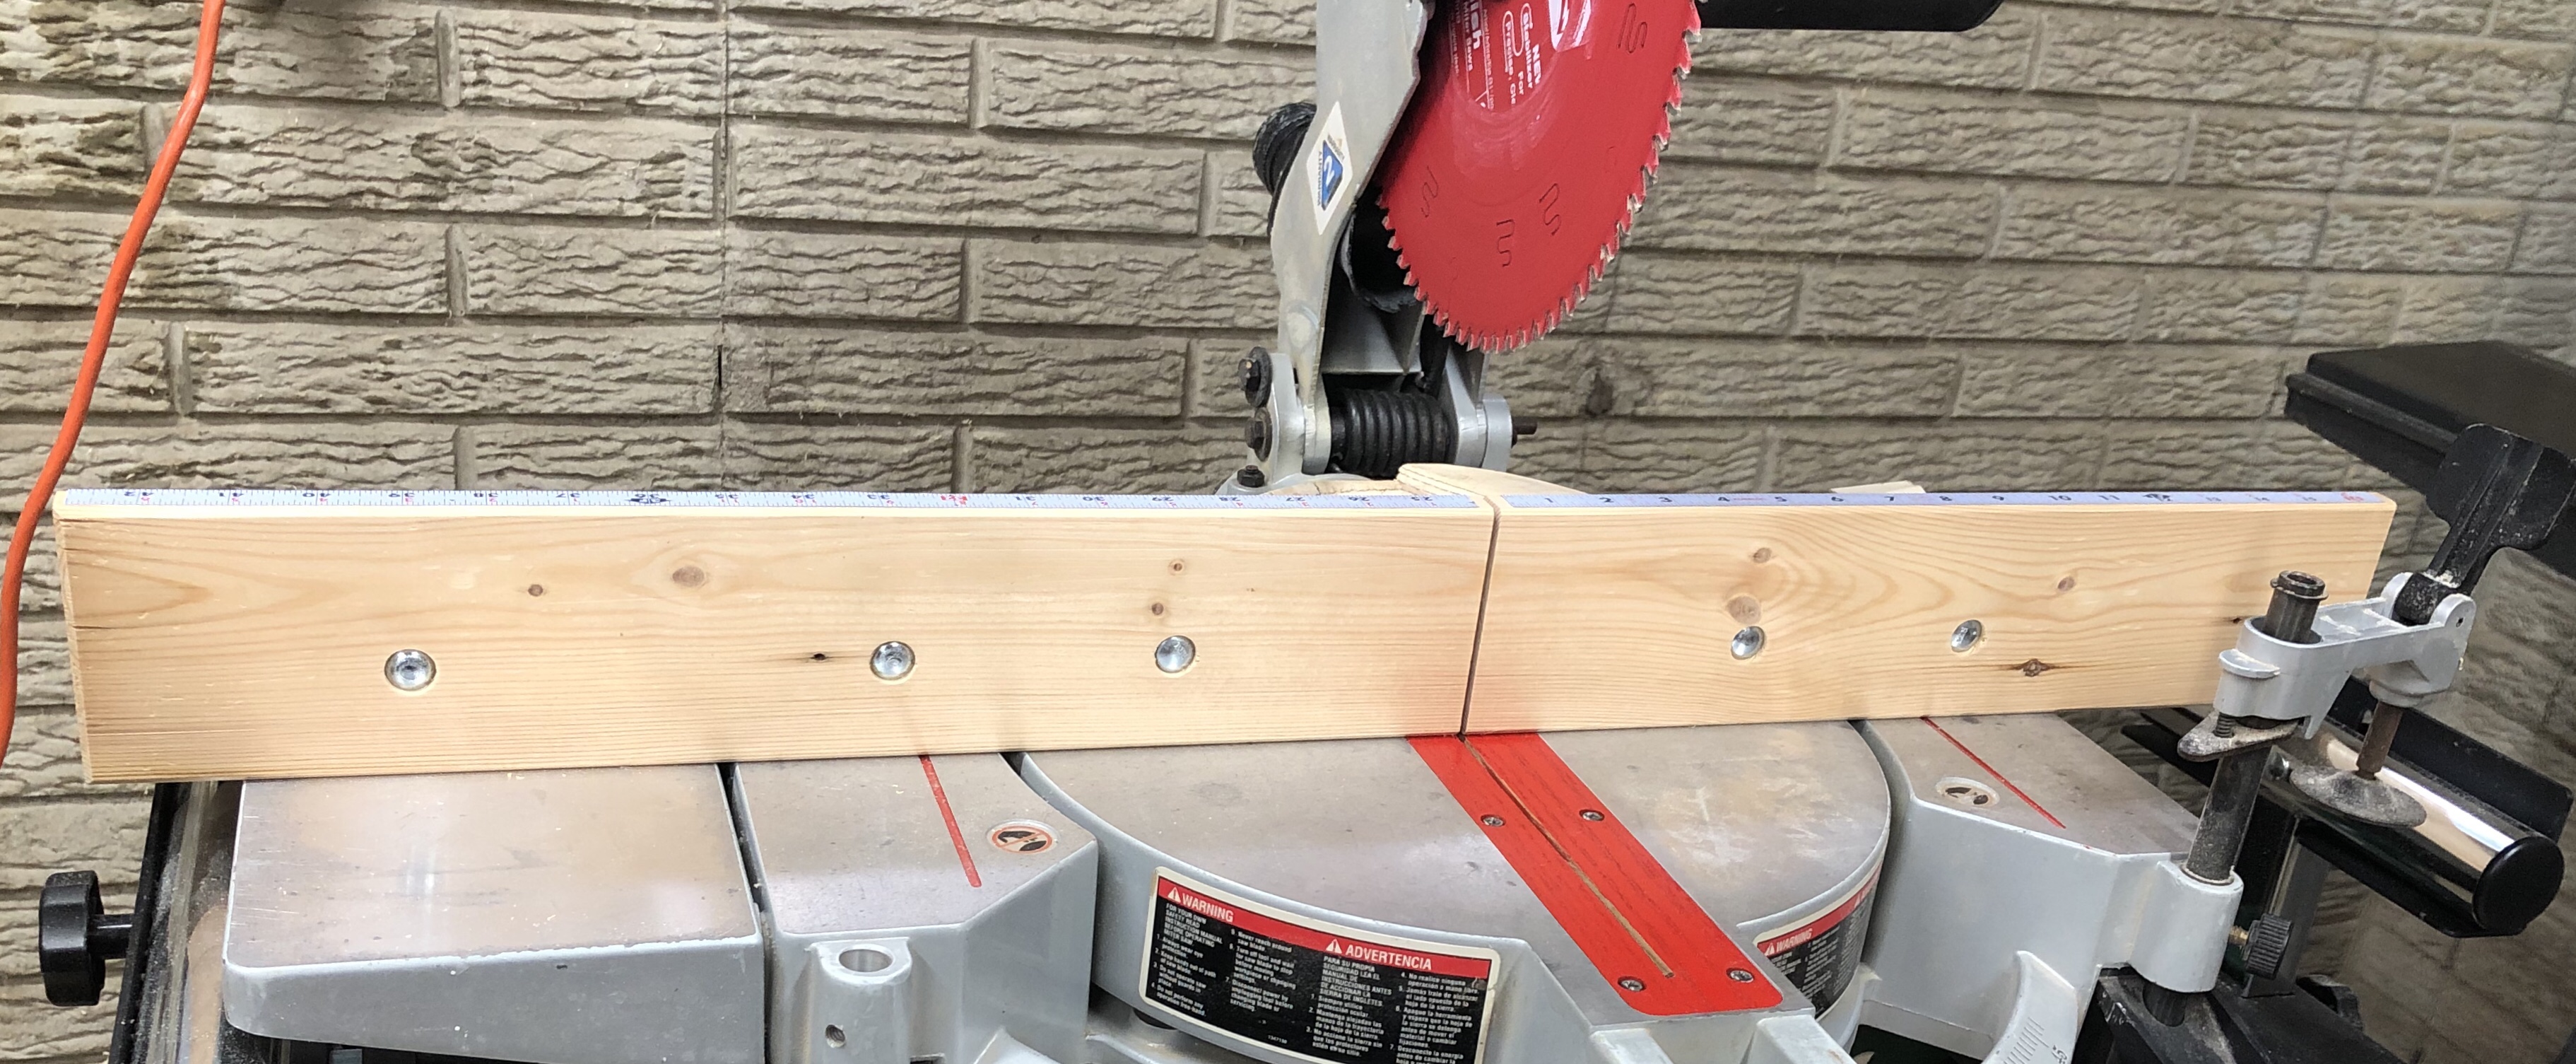
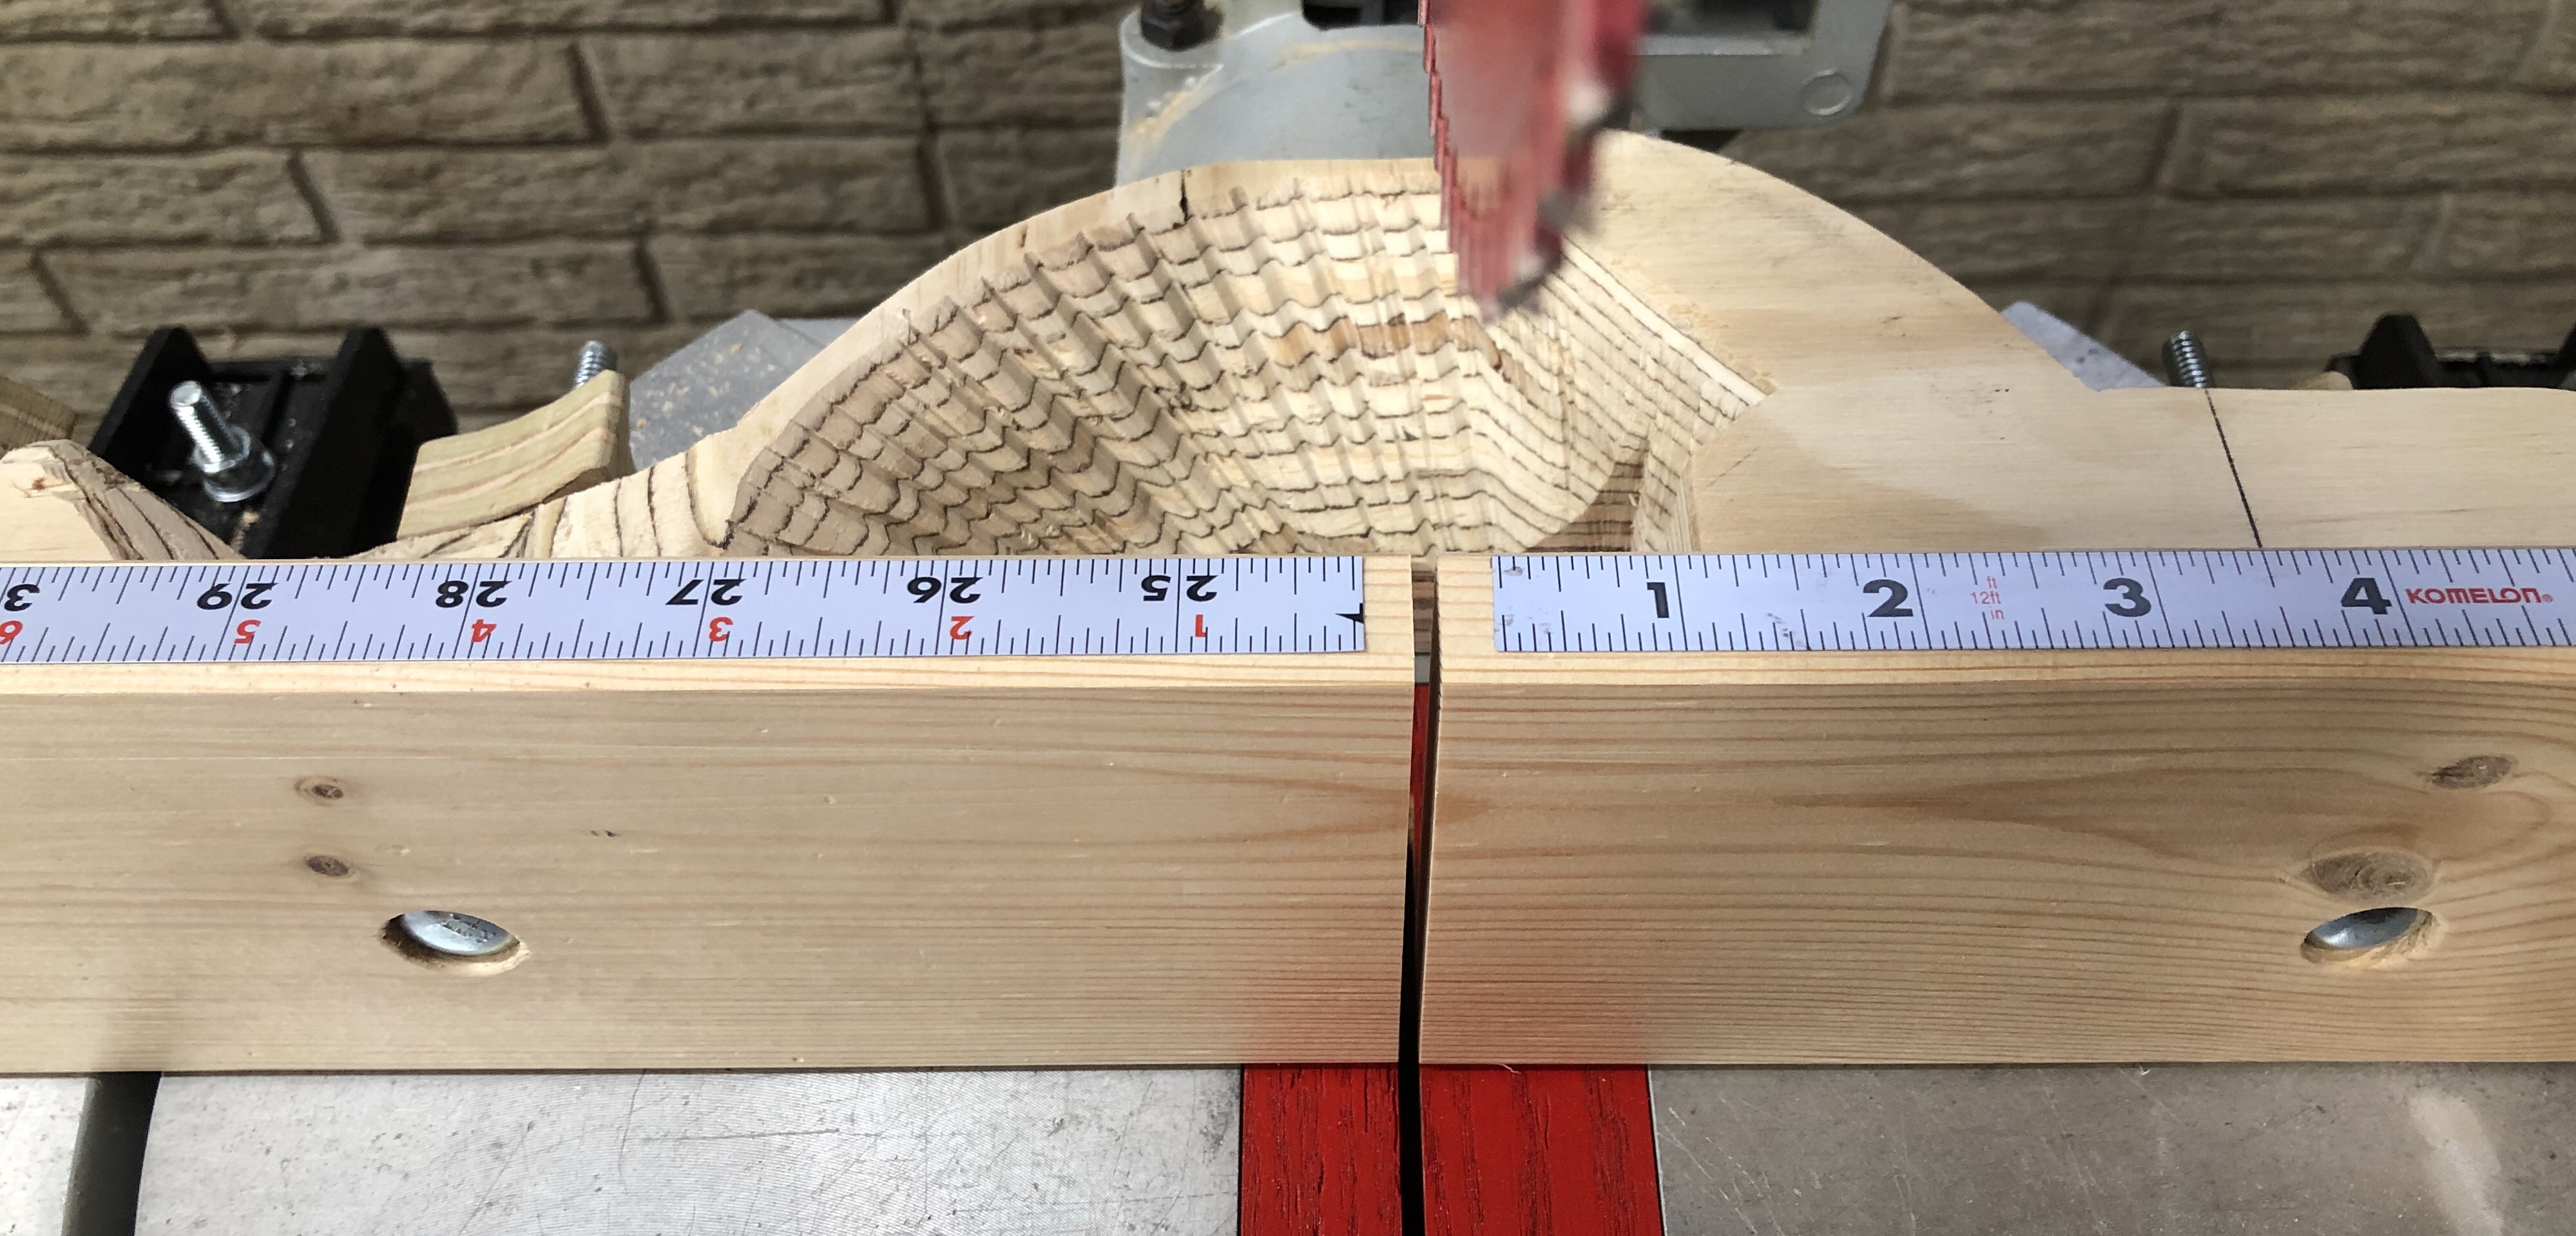
Tightened hard this first time so the square part between the head of the bolt and the threads would pull into the wood and the head would set into the recess. Everything was straight and square, so I made the first cut. After the cut was established in the fence, I was able to attach adhesive backed ruler to the top, based on the kerf.
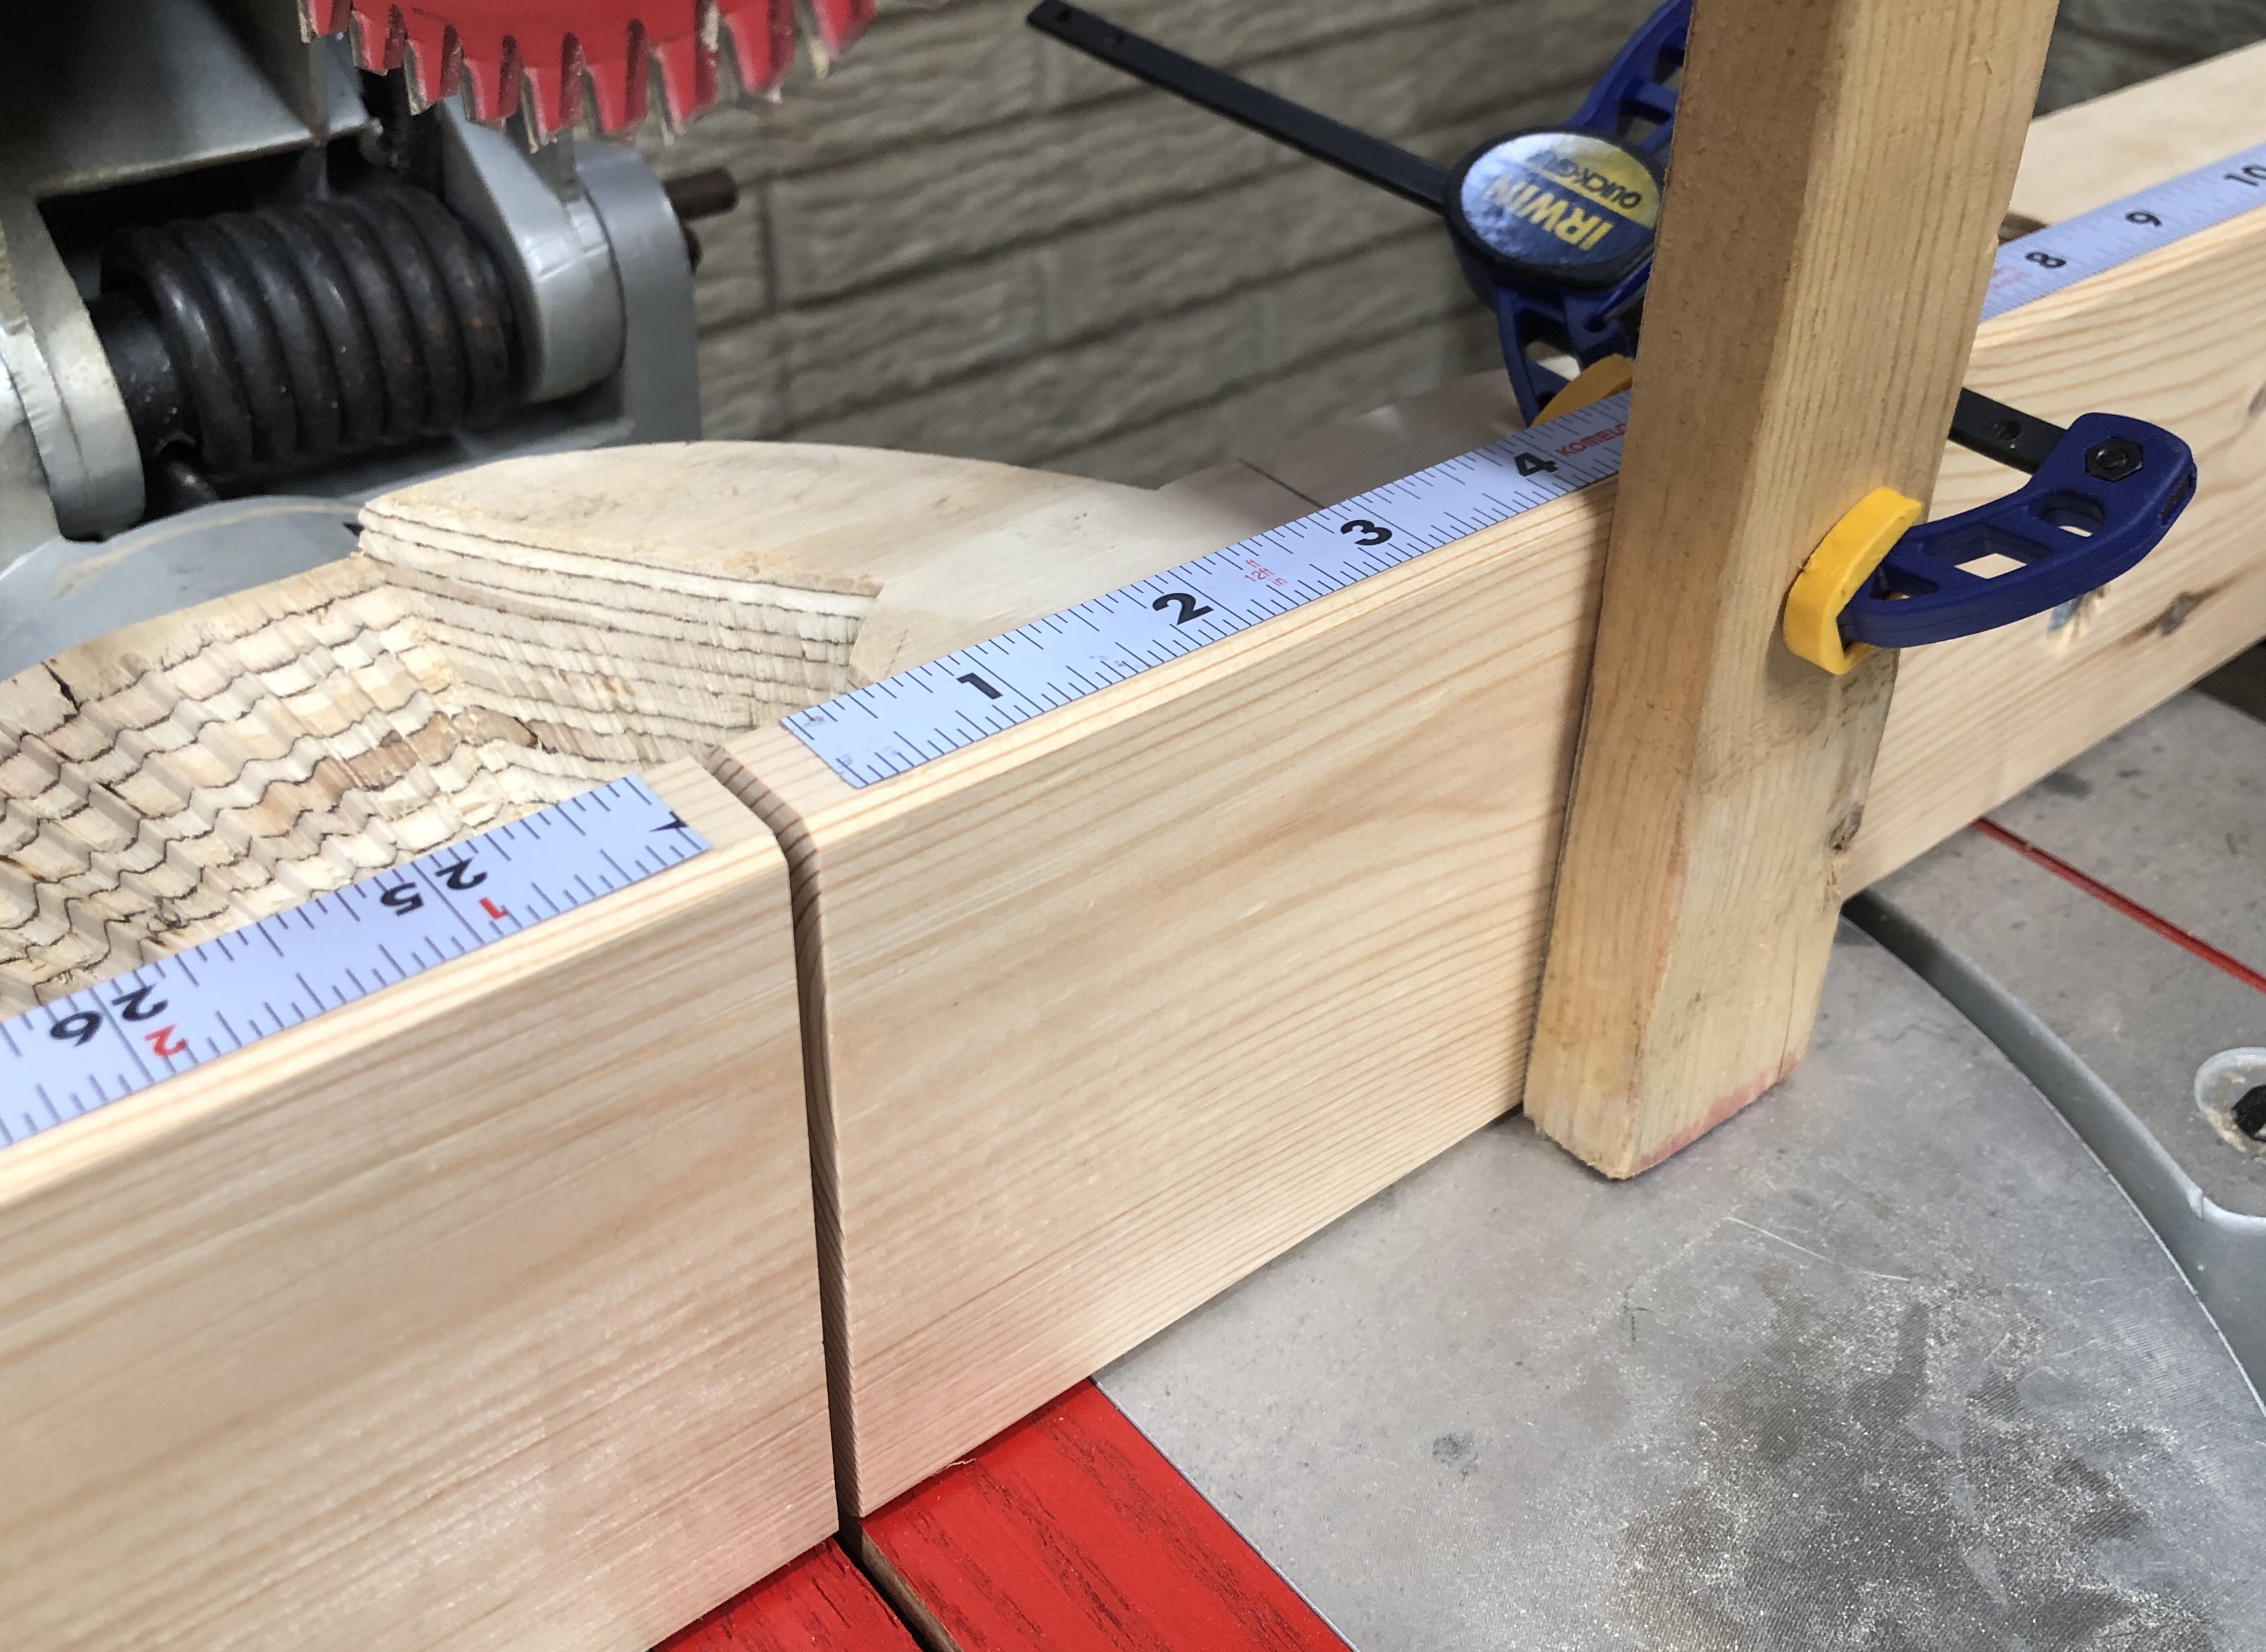
I didn’t plan it, but a bonus of the higher secondary fence is a perfect place for clamping a stop block when making repeated cuts.
This was a really fun project and is going to be so much better than the old fence.
One more thing to improve on this saw is the dust collection, but that project is probably on hold for at least a couple of weeks.