Creating a New Home Office

Late in August I’m finally getting air conditioning (Mitsubishi mini splits) installed in my house. One of the wall units will be in the room across the hall from my current office, so I decided I’ll move there. The room is larger, gets more natural light, and has never been used for anything.

I’ve spent a lot of time in that room over the last three weekends, removing wallpaper, painting, and installing flooring. I’m loving with how it’s turning out. Here’s a before and after with the progress so far.

It’s been nice to have a big project to focus on. This room has already become a happy place whenever I walk by or look across from where my desk is now. Since I spend so much time in my office, I have several other plans for the room. More to come!

AC Maintenance for a Tesla Model 3

If you have a Tesla Model 3, the air conditioning system may start to smell like rotten feet. That probably means it’s time to replace some air filters and clean the AC coils. You can either pay Tesla around $150 to do it or get what you need from Amazon for about $35 (filters and spray). It was really easy by following this guide and only required one tool.

Look how dirty those filters were after 20 months.

Weight Plate Storage

I made a weight plate rack probably 7 years ago and it held up reasonably well with limited use.

Through the pandemic, I’ve been using my garage gym a lot and the rack was starting to fall apart. The design had two main problems:

  1. The screws (I didn’t know about wood glue back then) couldn’t support the load of plates leaning and falling against the uprights.
  2. The narrow base meant the plates could easily roll off when bumped.

So I took a bunch of measurements, looked at my scrap plywood, and modeled a new rack in SketchUp (plans on GitHub). My goals were to make construction simple, not spend any money, add spots for the kettlebell plates, and save space. Here’s what I came up with.

Originally it was one wide rack, but I ended up making it in two sections since my scrap plywood wasn’t long enough. This made assembly easier and gives me the option of storing half of the plates in a different location.

I cut all of the plywood, used wood glue and a nail gun for assembly, and sanded all of the edges. I gave it some spray paint and number stencils. I had everything I needed in my workshop so I didn’t spend a dime.

I tested with the heavier plates and quickly realized I’d failed to plan for the plates tipping to the sides; they don’t stay upright without some kind of vertical support. Also with the lightweight plywood construction, the whole thing could move depending on how many other plates are in use. Back to the drawing board. I didn’t want to throw away all my work, so I came up with a way to use 2x4s from the previous rack.

I cut slots in the 2×4 to create stable vertical supports. I only needed a single screw in each one. Then I added another piece of 2×4 across the back, double screwed to each support, to link all four together, which improved the strength a lot. Each half rack was also screwed to the wall. It works well now.

While I was at it, I removed the Plasti Dip and colored paint from the small metal plates, which had been peeling for years. Blakleen was a huge save in this process, even though it was still a mess and a lot of work. Then I primed and painted them black. They look really good, so it was worth it.

Shortcuts Rarely Save Time

After I added lighting to my broom closet, the unfinished shoe rack started to bug me. It wasn’t only that the saw marks and colors caught my eye, more than once I scraped fingers when grabbing a pair of shoes since I never sanded the edges. My time-saving shortcuts only ended up causing more work in the long run because now I had to disassemble the other shelving a second time in order to get the rack out and finish it.

I sanded the edges and used white spray paint. I also painted the piece of wood holding up the other shelves.

Much better!

Automated Closet Lighting

After building a rack for my workout shoes a couple of weeks ago, I wanted to tackle another thing about the broom closet that has been bugging me for years. It never had a light! I put together a rough video of the entire process.

I’m really happy with how it turned out, especially since I was able to use parts I had in my electronics collection. The whole thing uses a simple circuit, cost less than $10, and doesn’t require WiFi or any fancy connections. The Working of Transistor as a Switch page on Electronics Hub was a big help. I ended up using a PNP transistor in my circuit without resistors because the LEDs were dimming and I wanted maximum brightness.

Organizing my Workout Shoes

A couple of years ago I put this cheap shoe rack in my broom closet by the door out to the garage. It was out of the way and a quick place to grab my bag and shoes when I headed to the gym.

workout-shoes-before.jpeg

The rack obviously didn’t fit the space, I couldn’t see the shoes, and it was hard to grab a pair if they were not on the outside. This had been bugging me for years.

Today I set out to make something simple to fit the space. Since it’s a broom closet and I didn’t care what it looked like, I used beat up plywood. Turned out great and works exactly as I had hoped.

workout-shoes-after.jpeg

It felt good to finally make something again!

Ab Wheel Modification

When I do Evil Wheels (aka Ab Rollouts), I prefer to use a PVC pipe through the middle of a large bumper plate instead of loading plates on a barbell.

Only having one point of contact with the floor creates more instability, making me recruit more muscles. I’ve always worried the PVC will snap though. Today I ran in to a new problem while trying a hip abducted version of the movement, which is a game changer by the way! I lost my balance and the plate started to fall over before I was able to catch myself and avoid a face plant. The large bumper plate isn’t great on an uneven garage floor.

I had some wheels from an old vacuum cleaner and thought about creating my own ab wheel. Then I remembered this old thing was sitting on the shelf in my garage gym.

I don’t like it because the base of support is too wide and it has internal springs that “wind up” as you roll out and help you back in. Think of those toy cars you pull back and then they take off when you let go. This is basically a cheater ab wheel.

Could I modify it? I took it completely apart.

I put it back together without the springs or guard and I was in business!

Hidden Wireless Charging in my Desk

After getting a set of AirPods this year I thought it would be nice to have wireless charging at my desk. I like using the touch pad on my MacBook pro, so this mouse pad drawer doesn’t get used and I got the idea to embed a charger in it.

img_2886.jpg

I bought a cheap $10 wireless charger.

img_2887

It won’t charge very quick, but it doesn’t have to when I’m sitting there working most of the day. I figured it would be a fun project and the worst that could happen is I fail and I’m out $10. I opened up the case and there wasn’t much to it.

img_2888

Then there was only one small screw to remove and the electronics were free.

img_2889

img_2890

I forgot to take any other pictures until I had put everything back together. After pulling up the top of the mouse pad, there was some foam underneath. I traced the electronics and USB cable to make a cut out in the foam. Then I used a chisel to carve out the particle board until there was a deep enough recess. I drilled a few holes for wires and the LED. I had cut the LED off of the circuit board so I could route it to the front of the drawer. I soldered on some wires to connect the LED back to the board, hot glued everything in place, and then used super glue to put the mouse pad top back on. Overall it was an ugly hack job. Over to the right is a picture of the holes and wiring underneath.

Check out this short video of the charging in action.

BTW, the mouse pad drawer has two identical halves, so if I ever decide to use a mouse again (it’s been at least 5 years since I had one), I’m good to go.

Microwave Upgrade

I was given a “newer” microwave and installed it yesterday. Here’s the before and after…

When I took the old black one out the original receipt (complete with the buyer’s full credit card number!) was still attached to the power cord. It was purchased in 1995 and still worked well, but the control panel was ready to fall off because several tabs were broken. The stainless steel of this other one matches my fridge, which is nice. The receipt was also with it and it was purchased in 1999. Not much newer, but in really good condition. It’s a nice boost from 850 to 1,000W and the inside is roomier. Each of these microwaves cost around $350 in their day and you can get a brand new one for half that now.

They obviously made these safety instructions before CrossFit was around, because I was able to install it by myself.

img_2148.jpg

I don’t have to think as much about efficient button pressing because I can start 30 seconds, one minute, two minutes, or three minutes all with a single press. It also has a button for adding an extra 30 seconds at a time, which is much more useful than the one minute adding on my old machine.

Of course I wasn’t just going to toss the old microwave in the trash. I took it apart and salvaged a bunch of goodies.

I got fans, motors, lights, capacitors, temperature sensors, a huge transformer, and the control panel which has a lot of useful relay circuitry.

Workshop Dust Collection 2.0: Modding a Harbor Freight 2 HP Dust Collector

I’m going to warn you, this post sucks!

In 2017 I made my own cyclone dust separator with a Ridgid 16 gallon vac. It worked pretty well, but left me wanting something better. Some of the things I wanted in a new system are:

  • More power
  • Larger container
  • Stationary unit
  • Better filtration

What I needed/wanted was something around two horsepower and the clear winner in that category is the one from Harbor Freight. Nothing else even comes close to their price, especially after using a 20% or 25% coupon. In order to make it work really well it needs a lot of mods though.

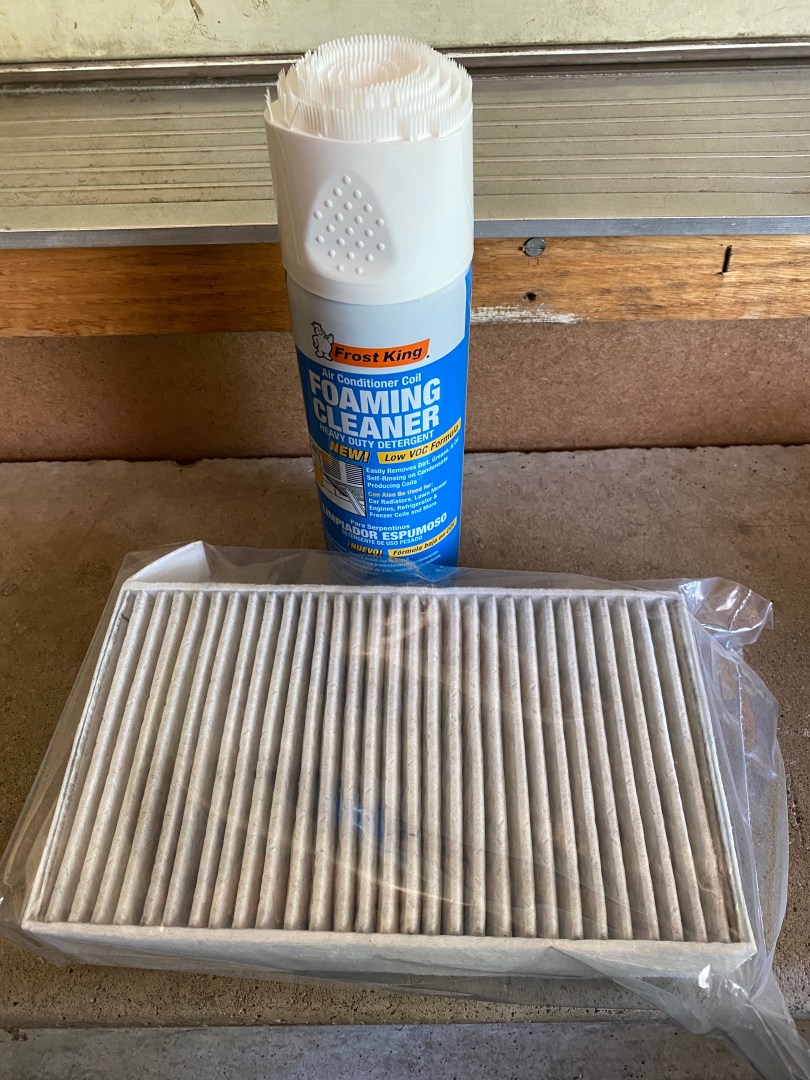
I looked at some of the complete solutions available and they cost at least a grand. I spent about $540 and could have saved around $100 by going with a cheaper hose and getting creative with connectors. Here’s what I bought:

Sucked my wallet dry!

This is a common project in the woodworking community, so Google can show you to a lot of variations. This 2010 post on lumberjocks.com is almost exactly what I was going for, including the trash can Thien cyclone separator baffle.

Before I get into it, here is the what the Harbor Freight dust collector looks like when it’s assembled and not modified.

hf-dust-collector

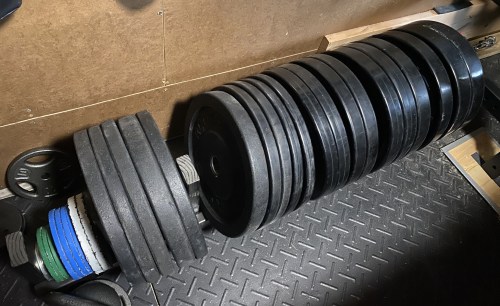
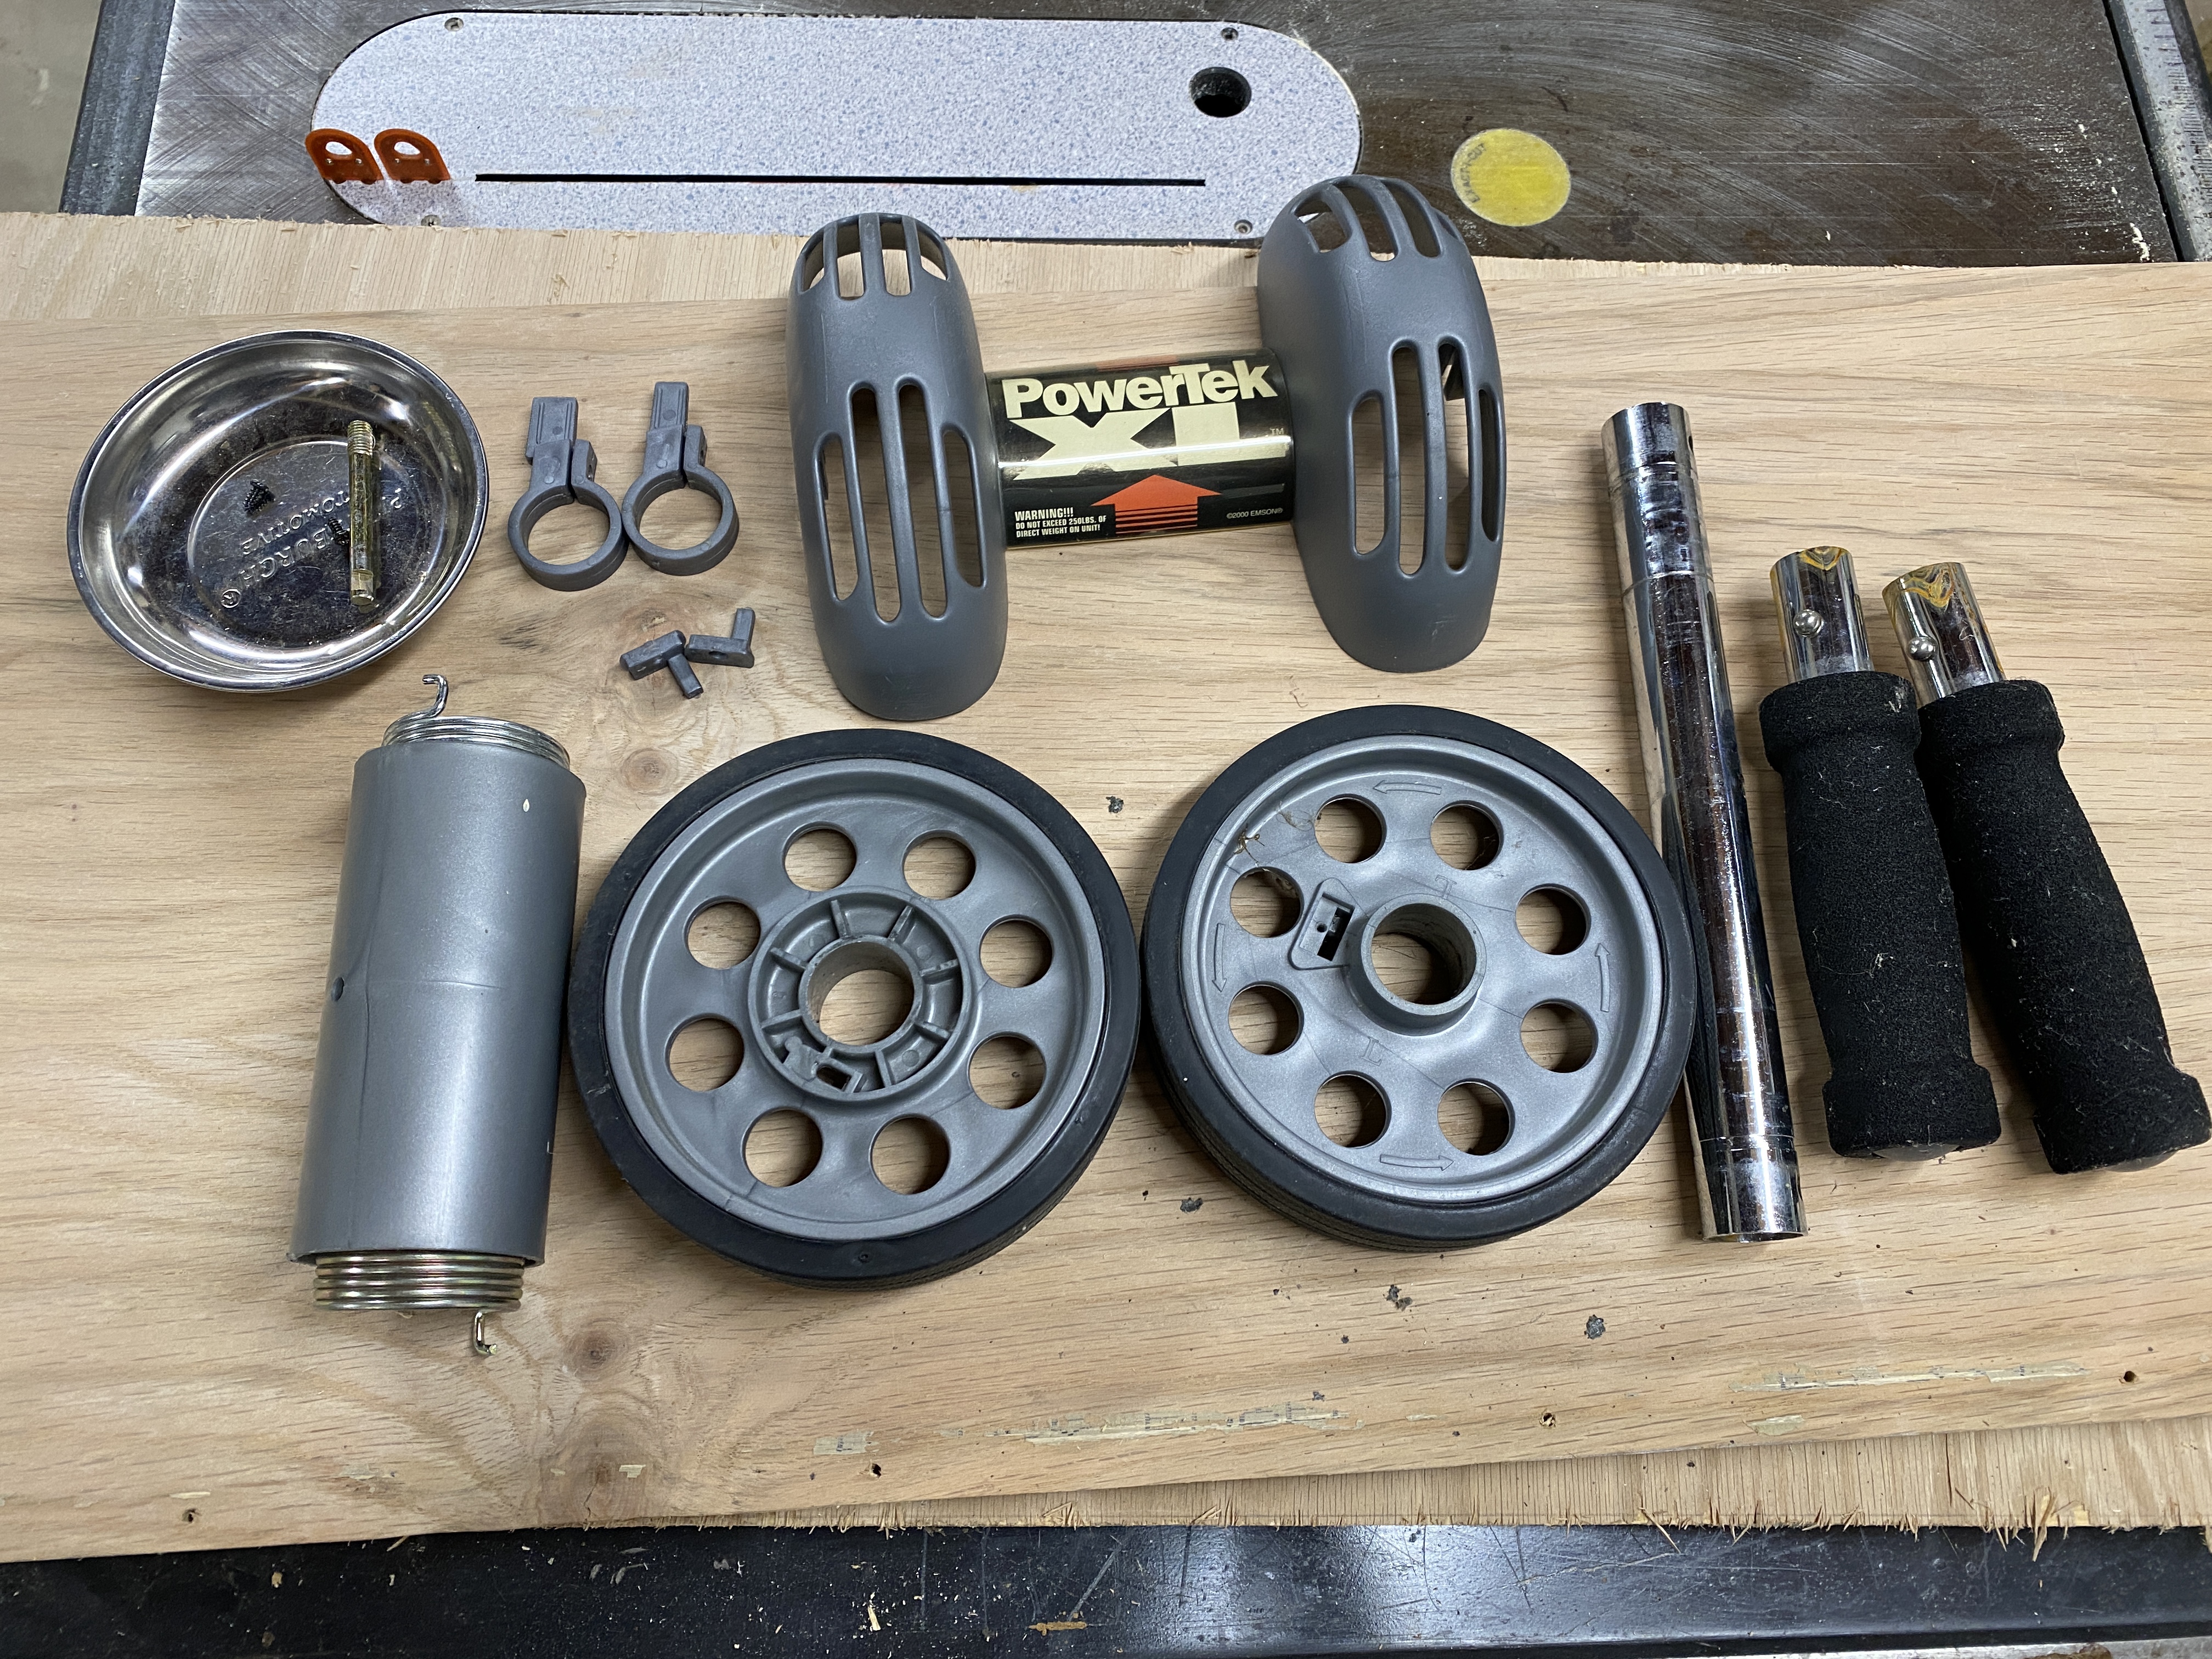
I took a few photos during my build. First task was some knolling.

I installed the cyclone kit on the trash can cover and made a Thien baffle.

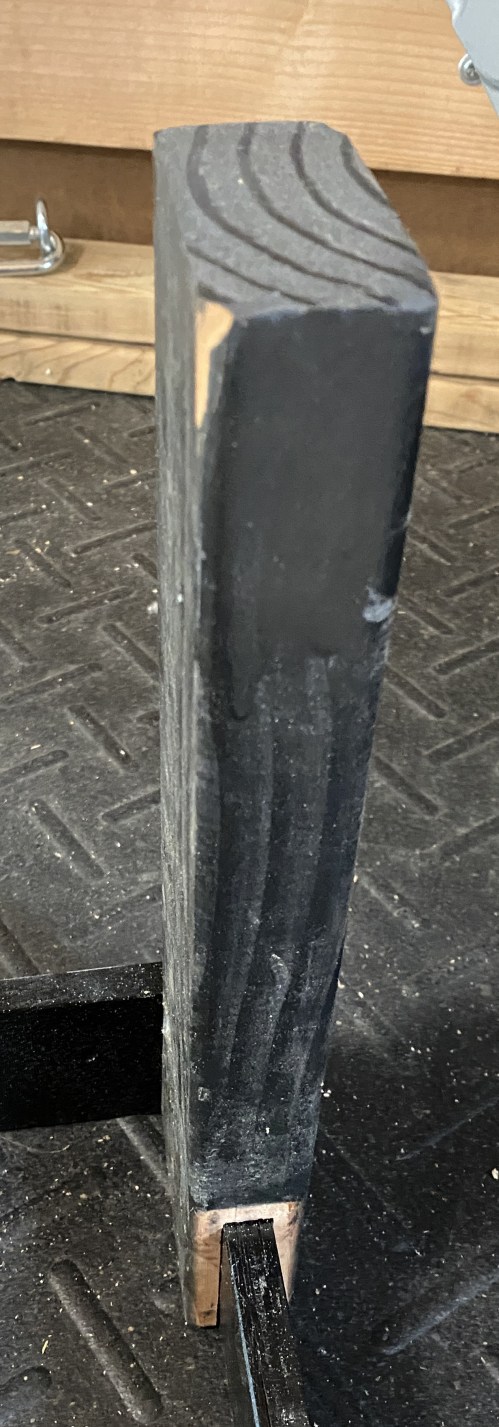
A very ugly cart was made using scrap wood. The only 2x4s I had were extremely twisted.

I wasn’t sure how the stand was going to support the weight of the motor. Does fine though. I can make it lean if I push on it, but it’s not going to fall over. Most of the time it’ll be sitting in a corner also supported by the trash can under it.

These risers combine with a makeshift wedge, propping up the trash can to mate with the motor.

img_2088.jpg

Here’s the “wedge” platform. I made a design change after the stand had already been built, otherwise it could have been much shorter.

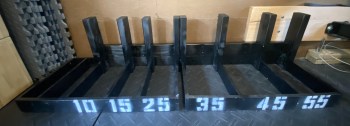
With the trash can and motor jacked up, these layered blocks raise up the bag holder and filter.

img_2090

Two coats of black spray paint.

img_2091

Turned out great, but it takes up a lot of space!

img_2094.jpg

The above picture was featured in Stumpy Nubs video The WORST things you can do in a dusty woodshop.

How is the performance though? I hooked the hose up to my table saw and it started pulling old sawdust out of the saw body. I could actually see things swirling around in there. Huge improvement!

As usual, this project ended up being more work than I expected. I’m really happy with the end result and how well it works. Another upgrade I could make in the future would be to install a larger Rikon impeller for even more airflow.

I’ll have to create some adapters for tools with dust ports smaller than 4″, though the hose kit did come with some for use with 2.5″ ports. Now that I have a system with enough power I can build something around the miter saw.