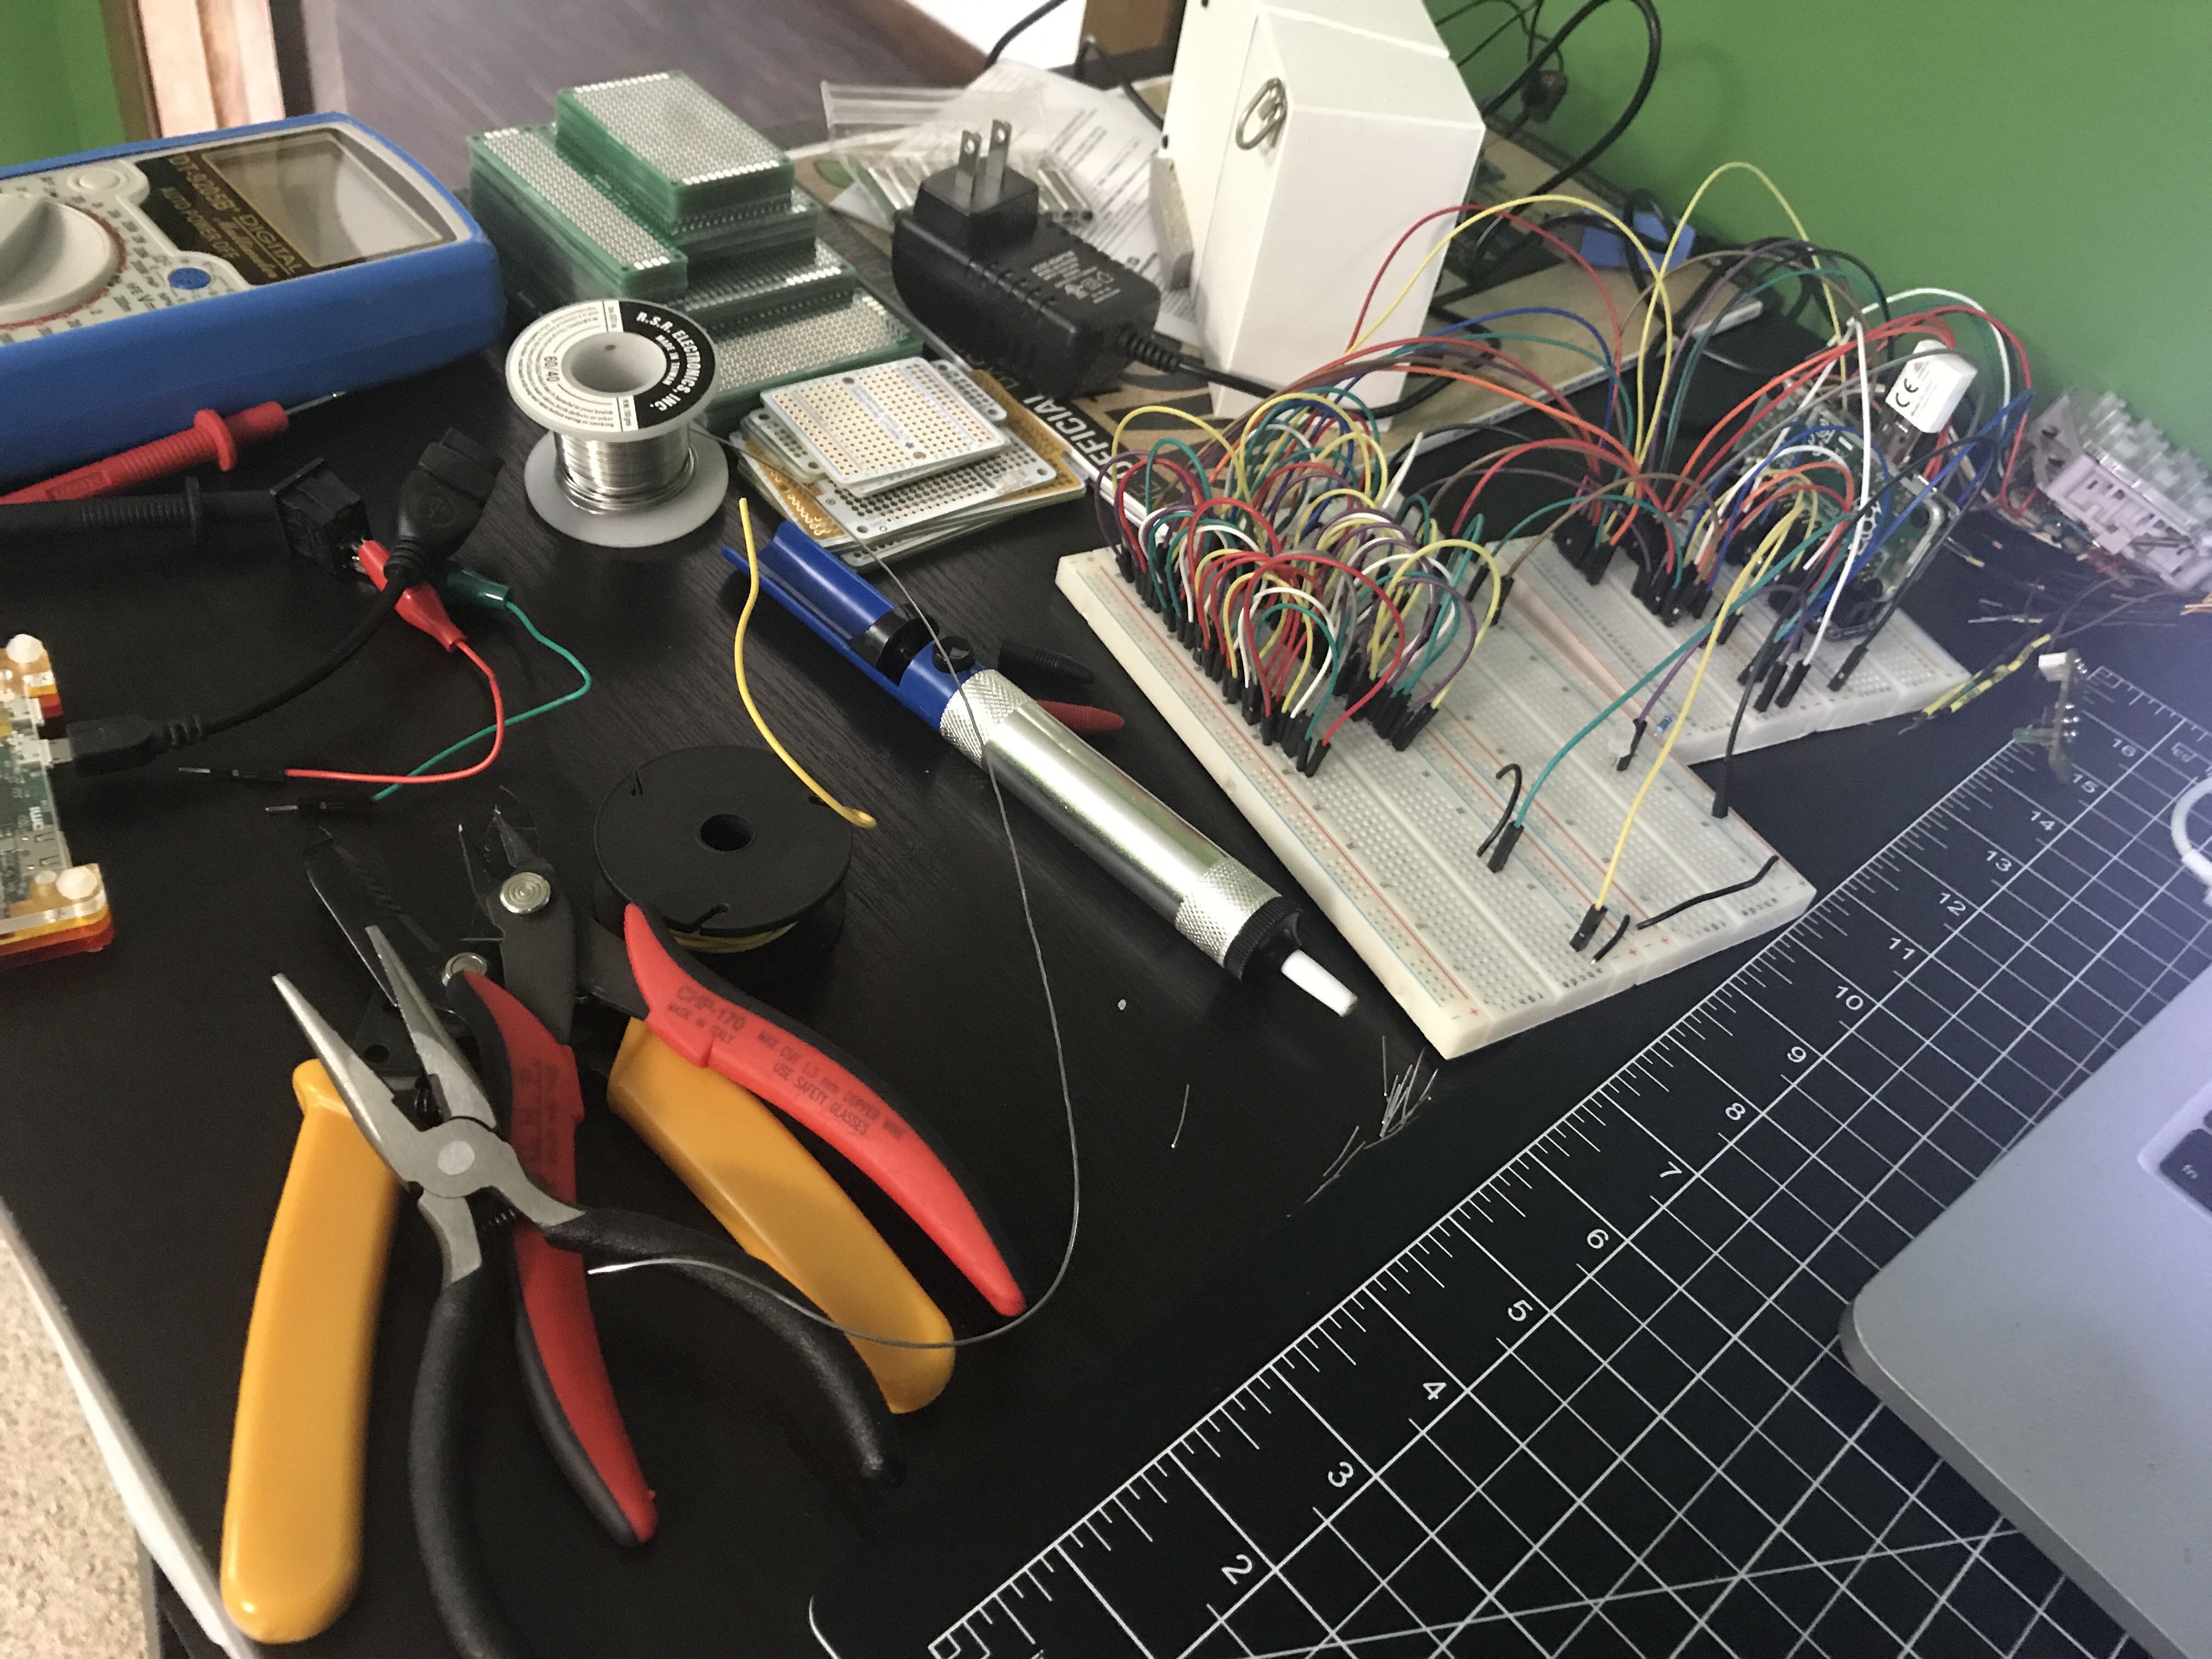
 There’s a lot happening on the left side of my hobby desk.
Solder Bridges
Yesterday I posted about multiplexing 7 segment displays, but it’s actually been weeks since I got that circuit working. After 2 weeks of travel and a busy weekend, I finally got some time on Wednesday night to start moving the circuit from the breadboard to a more permanent home. I stocked up on a variety of different sized circuit boards, but unlike a breadboard each hole on these is independent. It was time to learn how to make solder bridges. After fumbling through about 10 bridges I started to get the hang of it. They won’t win any beauty contests, but they’re functional, which is what matters.

In round 2 last night I tried a couple of tricks. The first method is using a small wire or the discarded end of a lead (this happened to come from trimming off the ends of a resistor) to bridge pads together.
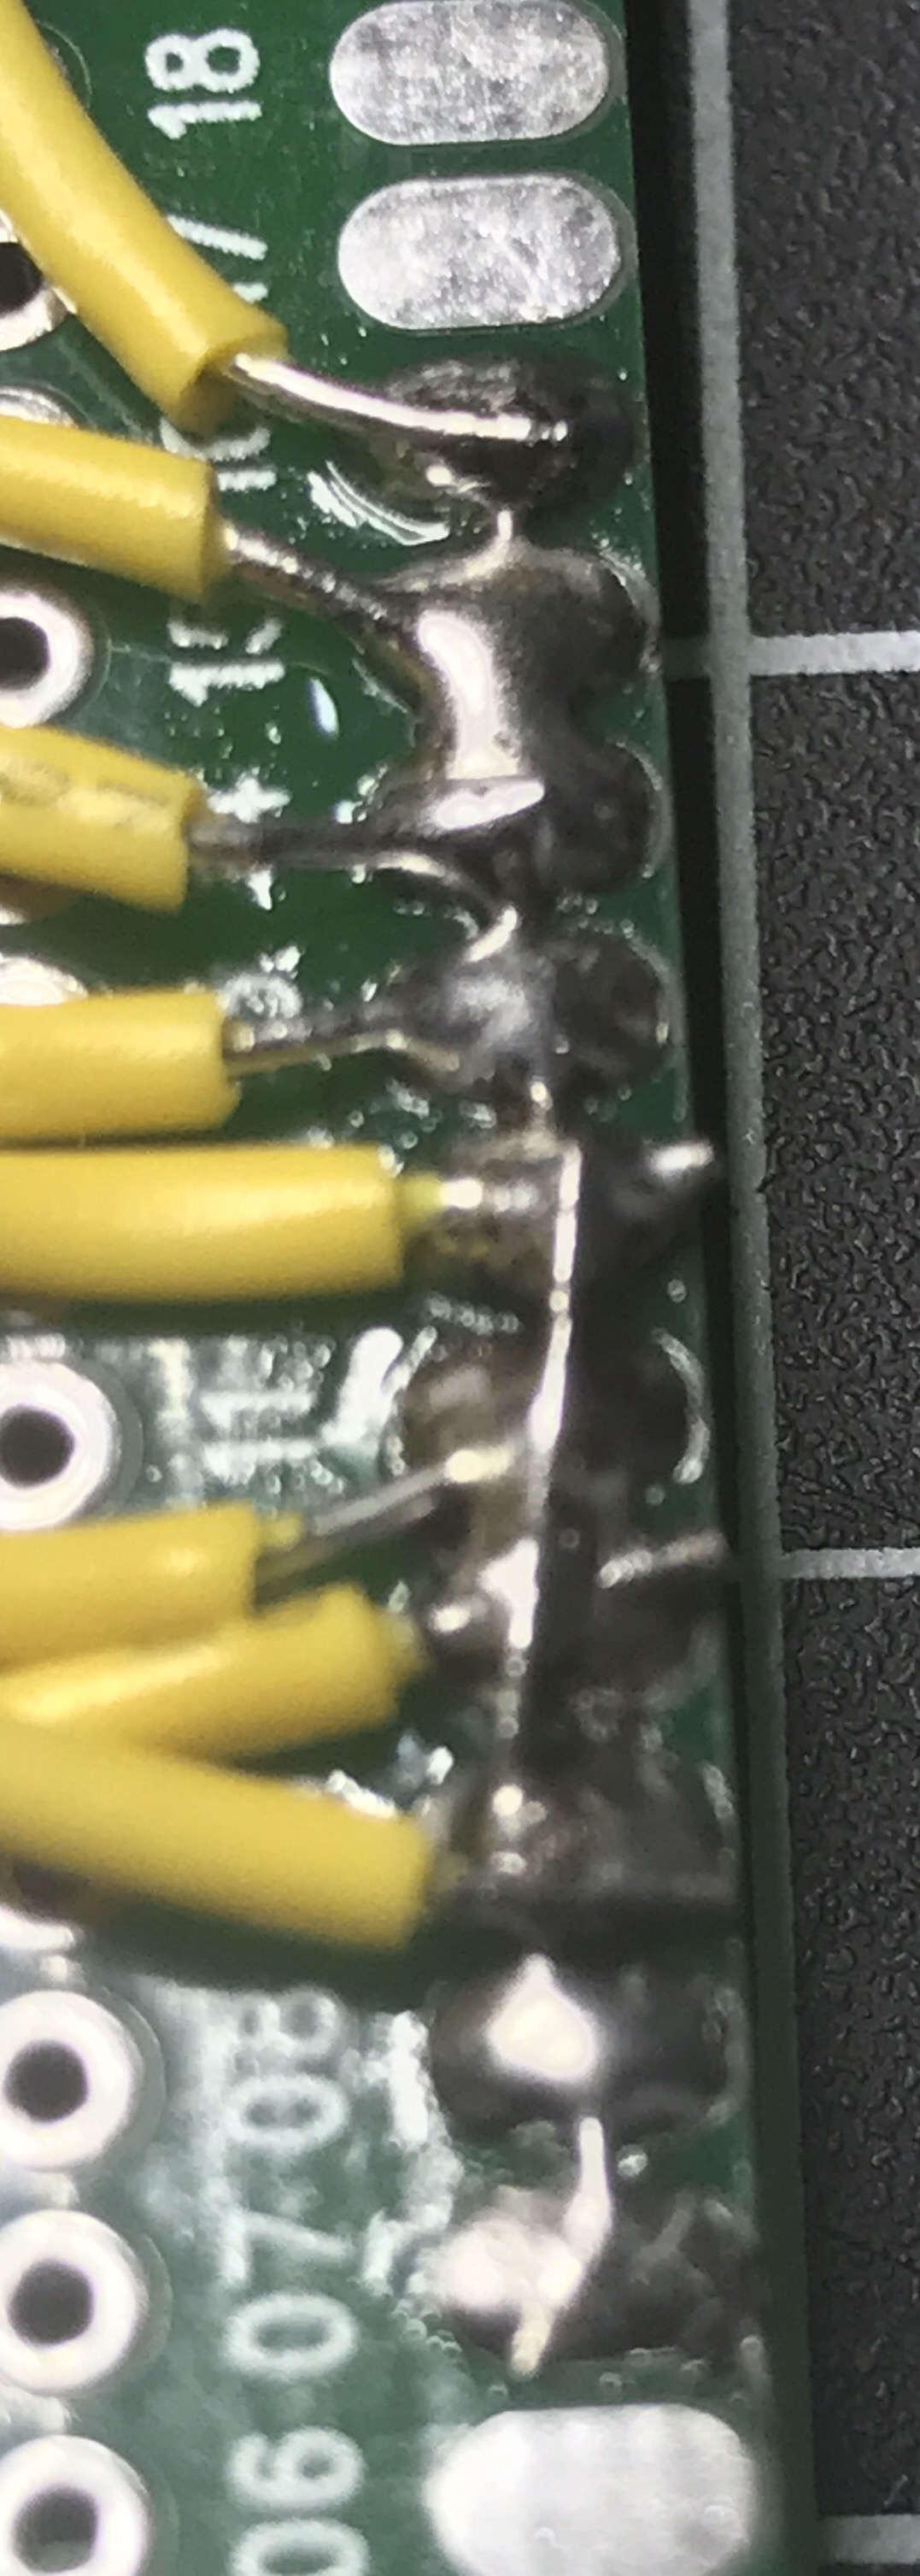
Another trick is to bend over the ends of leads to create a bridge. In the left and right columns you can see this type of bridge used. The middle column shows bent leads I’ll use when I connect more wires.
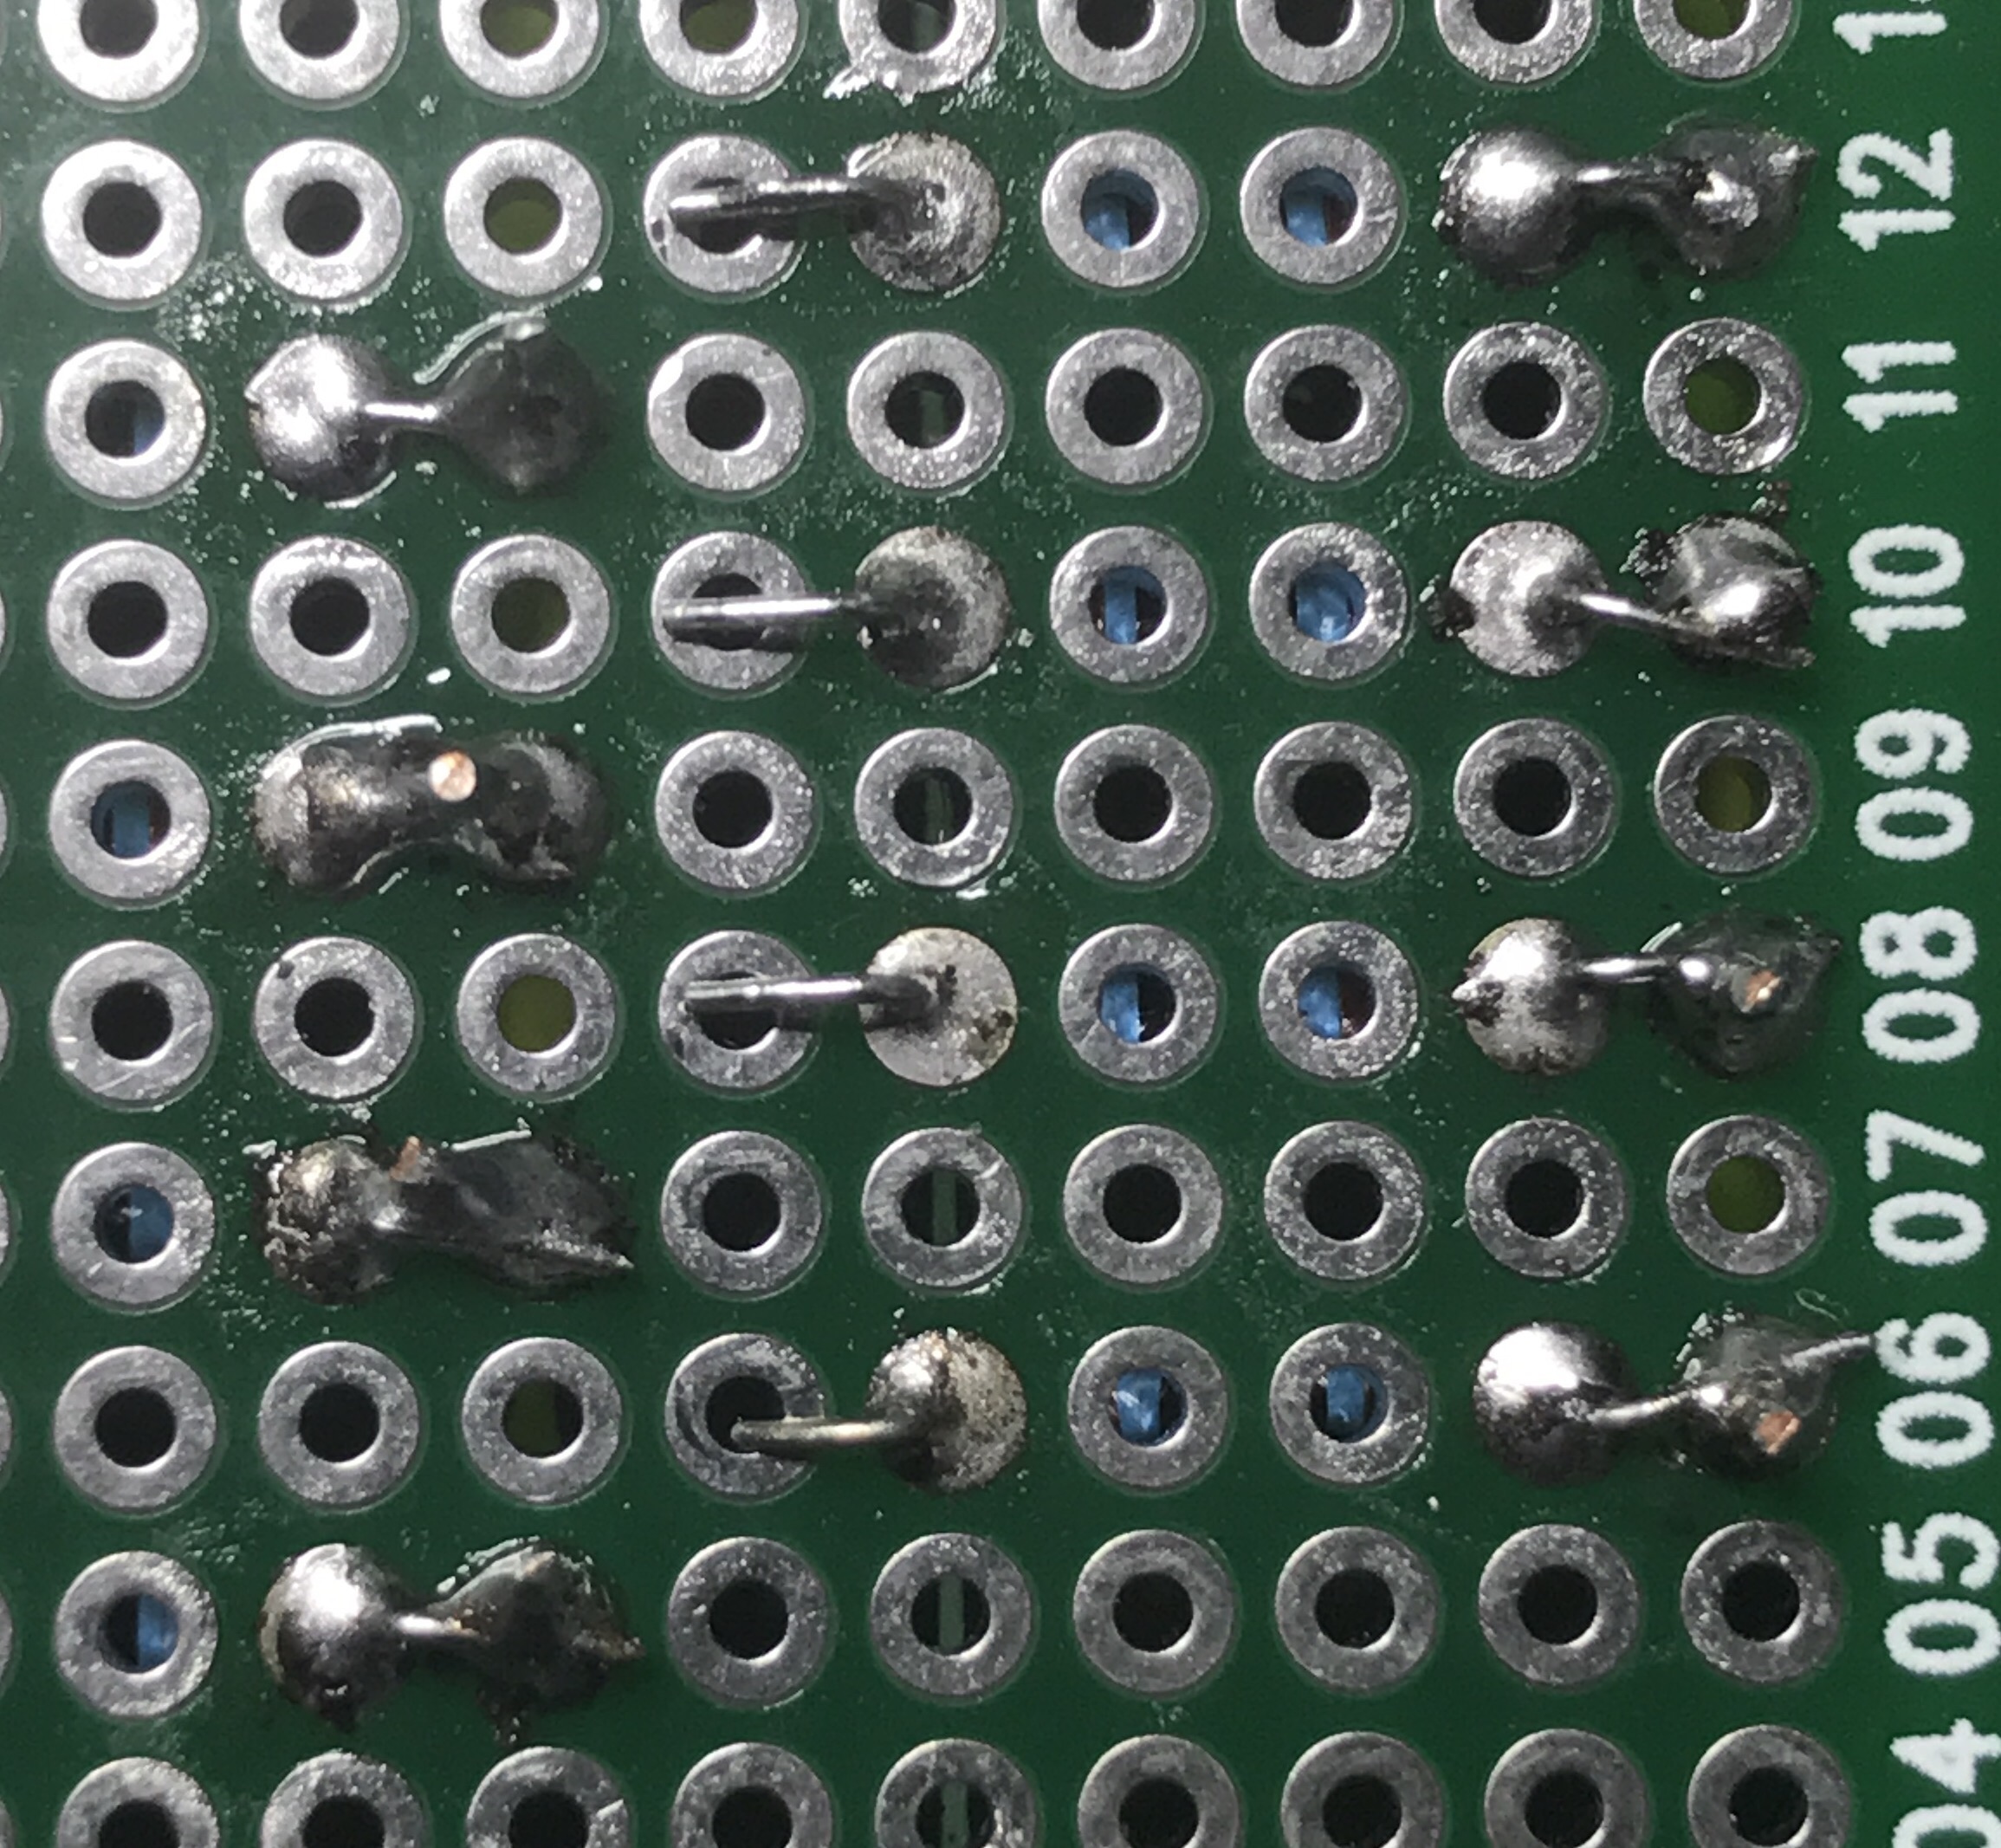
Both methods worked a lot better than trying to use mountains of solder to jump the connection pads.
By the way, I find soldering (no matter what it’s for) to be extremely relaxing. Maybe it’s something to do with the order of the entire process; physically connecting things to make a circuit work. I typically do it late at night with some music and a cold beer.
I’m glad I decided to upgrade my soldering iron, by getting a Hakko FX888D. It works much better than the entry-level iron I’ve been using.
Large Turtle
 Walked up on this speed demon on the golf course.
Multiplexing 7 Segment Common Cathode Displays on a Raspberry Pi

I picked up a 10 pack of these 7 segment red LED displays for less than $5. Since each display requires connecting to a minimum of 8 of the 10 pins (9 if using the decimal point), they aren’t exactly easy to work with. Sure, you can buy these where 2 or 4 displays are already connected in a nice package, controlled with the help of an integrated circuit, but where is the fun in that?
If you need to use more than 1 or 2 displays (at 8-9 pins per display), you’ll quickly run out of pins on your microcontroller or Raspberry Pi. The most common way to work with several of these displays is called multiplexing. It’s a method where you briefly turn on one display, turn it off, turn on the next one, and turn it off. You repeat this through all of your displays and then start over. If you do this fast enough, the human eye thinks all of the displays are on at once. It’s pretty slick!
The advantages of multiplexing are:
- Fewer wires/pins needed to drive the displays.
- Lower power consumption since the LEDs on only one display are lit.

Seven of the pins on one of these displays match up to the 7 segments (labeled a through g), one pin is for the decimal point (DP), and the two remaining pins can be used for the common cathode (cc), though you only need to connect one or the other. Over to the right you can see how all of the pins and LED segments are arranged. Pretty straight forward.
I’m using 6 of these displays in a project, so I needed a lot of wires. It got complex and tangled in a hurry, but amazingly, I connected all the wires without a single mistake on my first try. 🙂 For the most part, I based my circuit design off of this schematic…


When I went to write my proof of concept code, I decided to use the Gpiozero Python library to simplify working with the LEDs. The library allowed me to set up a couple of arrays for the LED segments and the 6 digits (displays)…
segment_leds = []
for i in range( len( segment_pins ) ) :
segment_leds.append( LED( segment_pins[i] ) )

digits = []
for i in range( len( digit_pins ) ) :
digits.append( LED( digit_pins[i] ) )
Then I could easily loop through and toggle the LEDs in a display as necessary…
for i in range( len( digits ) ) :
for j in range( 7 ) :
if ( numbers[ digit_values[i] ][j] ) :
segment_leds[j].on()
else :
segment_leds[j].off()
To make sure things worked I count up from 999000 and then start back at 000000 after hitting 999999. You can see the full code on GitHub.
Now for some visual proof that I actually got it all working! Here it is running when I keep one digit lit for 5/10,000th of a second before turning it off and lighting the next digit.
You’d never know that only one digit is turned on at a time, would you?
If I change from 0.0005 to 0.05 of a second you can start to see that only one display is on at any point in time.
You may also notice it’s counting up a low slower due to the way this code increments the counter. Don’t worry about that.
When I keep each digit turned on for half of a second you can really see how this works.
An issue I’m running into on a Pi Zero is when the processor gets busy doing other tasks, there is a bit of flicker across the displays. You can see this a couple of seconds in to the first video. I’m guessing the code would perform much better on a Raspberry Pi 3B. For my project it’s not a concern, but I want to mention it in case you follow this for your own project. You may also pick up what looks like random flickering of a single digit here and there but that’s due to video timing; the human eye doesn’t see any of that when it’s in front of you.
If necessary, you can take multiplexing a step further and only light up an individual LED on each display at a time, with a method called charlieplexing. It will use even less power, but due to the speed at which you need to switch from one LED to the next, especially across an array of multiple displays, you lose brightness to the human eye.
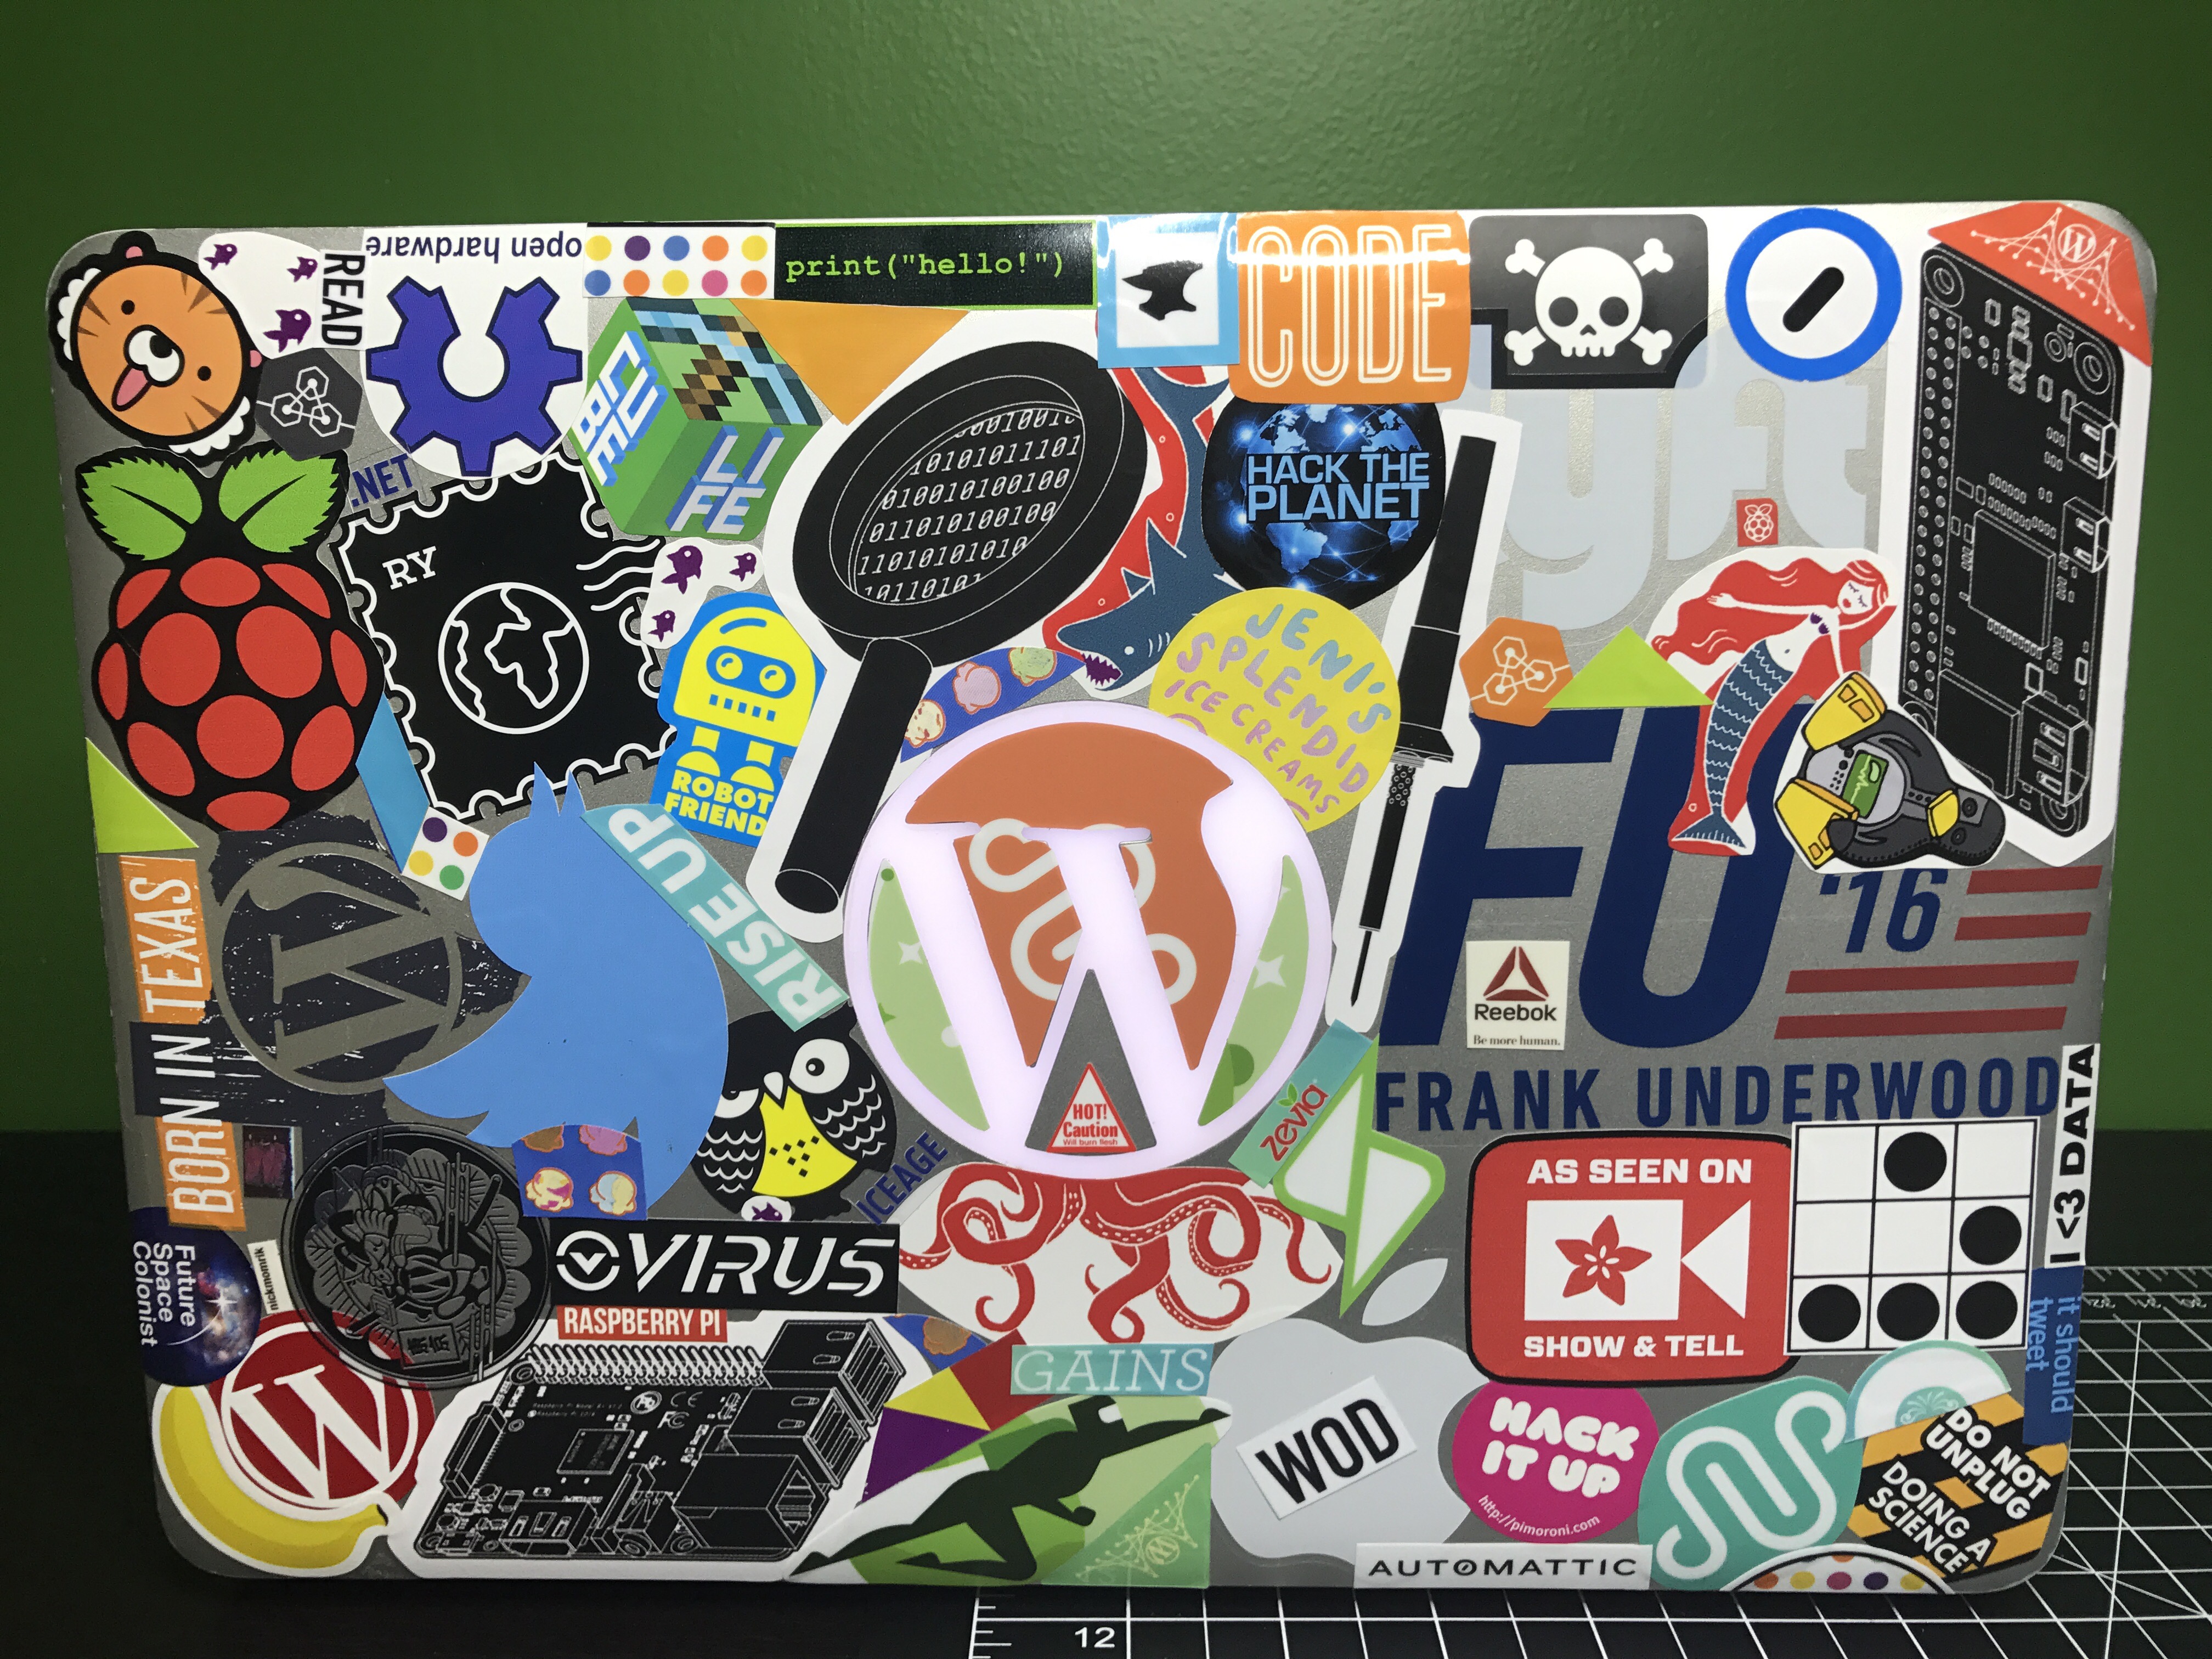
Stickered
A couple of months ago I started applying stickers to my old 4-year Automatticaversary laptop. After collecting a bunch on recent trips I was able to get the top and bottom pretty well covered. I think my favorites are the Raspberry Pi stickers I bought from the N O D E shop.

Link Dump – 2017/06/06
- This Man Has Programmed Every Event of the CrossFit Games … Ever
Next year, I don’t know what I’m going to do, though, because I’m not sure the Regionals format will look the same.
That’s all I’m going to say about that for now
- Posting a Score From an Unrated Set of Tees
One of our older golfers plays from the women’s tees, which aren’t rated for men. Turns out the USGA has thought of this and provides some adjustment tables based on yardage differences. - What’s in My Bag, 2017 edition
I’ve never gone wrong trying something recommended by Matt. I often refer back to these posts when I’m looking to buy something. - Wrangle Your Cables with These 2 Zip Tie Tricks
I’m going to have to try the weave with some of the cables behind my TV. - Thumbs Up Tape
Looks like a worthy alternative to ABG Stretch Tape | Average Broz Store , the best tape you can buy for weightlifting and CrossFit. Traditional athletic tape isn’t flexible enough, especially when used over a finger joint. - code: deck classic
Learn some code while playing cards. I think I’d be too distracted from the game. - Fondoodler
At my recent team meetup, we discussed Easy Cheese. A week later I came across this. Should I buy one? - Why exercise is the best medicine for your brain
Glad my Dad exercises since his dad had Alzheimer’s. Get up and move people! - Fuck Productivity
I definitely worked too much (which is easy to do when you work from home) in my early years at Automattic. I’ve learned to step away, enjoy my hobbies, and make sure I have enough time for myself. Enjoy what you do and make sure to find balance. - 2017 CrossFit Regionals Super Leaderboard
It’s never fair to compare since the regionals are spread over three weeks, but still fun to look at.
Rubik’s Cubes

I think we had a cube at some point as kids, but I never put any time into learning how to solve one. I recently watched a video (and part 2) from my YouTube subscriptions which pushed me to order this set of speed cubes for $10.99 on Amazon. I also learned of the existence of different sizes from that video. Figured they go well with my fidget cube and fidget spinners too. These speed cubes are different from the old school cubes we had growing up, because you can start to rotate a different area before completing a full rotation elsewhere. I used a step by step guide from You can do the Rubik’s Cube to learn the 2×2 and a series of videos from Think Maths for the 3×3.
HoC Season 5
I finished season 5 of House of Cards and it did not disappoint. It was a little scary how much was similar to our current political situation though.
Still finished watching in under a week, but I’m pretty sure that’s the longest it’s taken me to watch any of the seasons. You could say I’m not a fan of the Tuesday release.
The last line of the season gave me chills again!

Wonder Woman
Finally a DC movie on Marvel’s level. Great movie.
Update on Living Without Cable TV
It’s been a few more months since I cancelled Charter’s TV service and everything has worked out great. I’m still loving Playstation Vue and it was even excellent for watching March Madness. I still haven’t adjusted my HD antenna either, which should tell you how much I watch live TV on the local channels. With Vue having On Demand for ABC, CBS, and NBC, I didn’t even need to use the Tablo to record any of my shows on those channels, so adjusting the antenna hasn’t bumped up my priority list. I added everything to the My Shows list in my Playstation Vue account and it’s easy to watch everything there. With so much great content on Netflix as well, it’s hard to start watching any new shows on traditional TV. I won’t be going back to cable TV anytime soon.
