I Made an Escape Room

This summer, I got an idea to build some stuff to make an escape room for our family vacation. I finally dismantled some of the parts this week, so I figured it was time to write a post about it and at least get something online in case it’s useful to someone else. I won’t got into much detail here because I think it’s a fun process to think about how you want things to work and learn going through that if you decide to build something similar. The GitHub repo has all of the code, wiring diagrams, and documents. In the docs folder there are things to print for props, some of my notes, and the story.

First, a few lessons I learned when I watched 2 small groups of my family try to escape:

  • All of your clues and hints are probably twice as hard as you think.
  • People will break shit even if you tell them to be very careful. Hot glue isn’t the best to hold some of this stuff together.
  • They’ll think everything is a clue.

My room consisted of 9 different circuits.

Door Lock

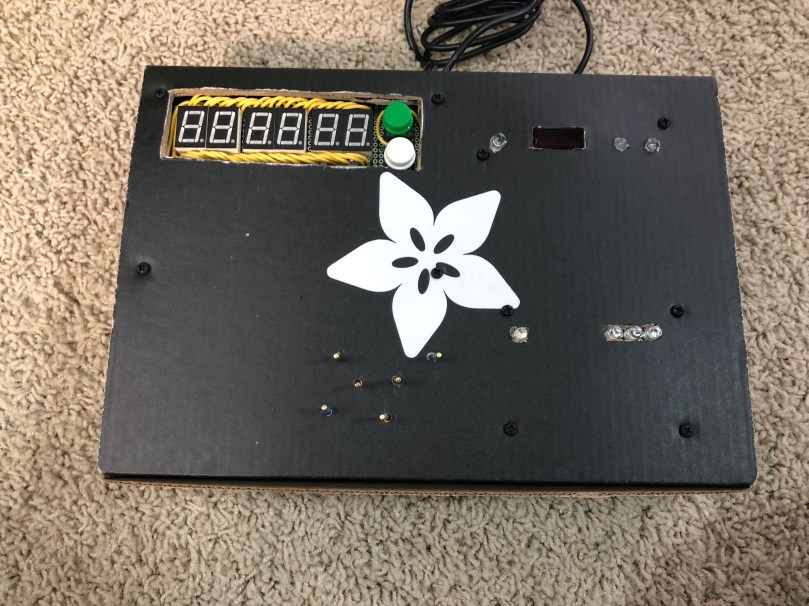
Served as an alarm when telling the story, the game timer, and where participants enter the final code to escape the room. This box is the final build and I the video shows some of the early testing.

IMG_9476

Control Panel 1

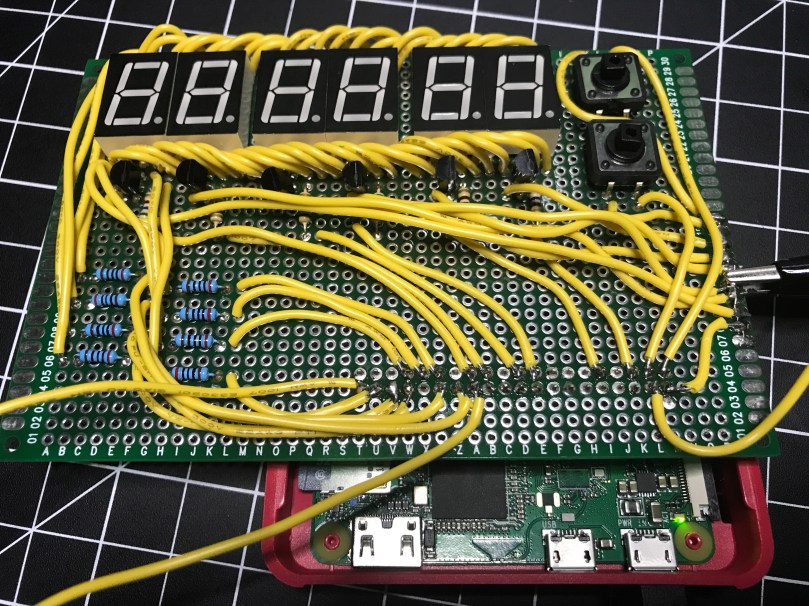
In order to get things going, a simple switch on the side turns on the first part of the game. When the correct code is entered, it flips a relay module, which then provides power to the rest of the circuits on the control panel. When I built this, I wrote posts about multiplexing 7 segment displays and solder bridges.
IMG_9378

IMG_0414

IMG_0413

This box also housed control panels 2 & 3, which I talk about below.

Power Outlet Relay

I wrote a few posts about building the relay module for this. There are also plenty of guides online.

IMG_9484.jpg

Control Panel 2

Basically some colored wires that needed to be connected in the correct order. Not that easy to see in the pictures above but it’s the bottom part of the box with the 6 standoffs sticking up out of the box, the single LED, and the group of 3 LEDs.

Control Panel 3

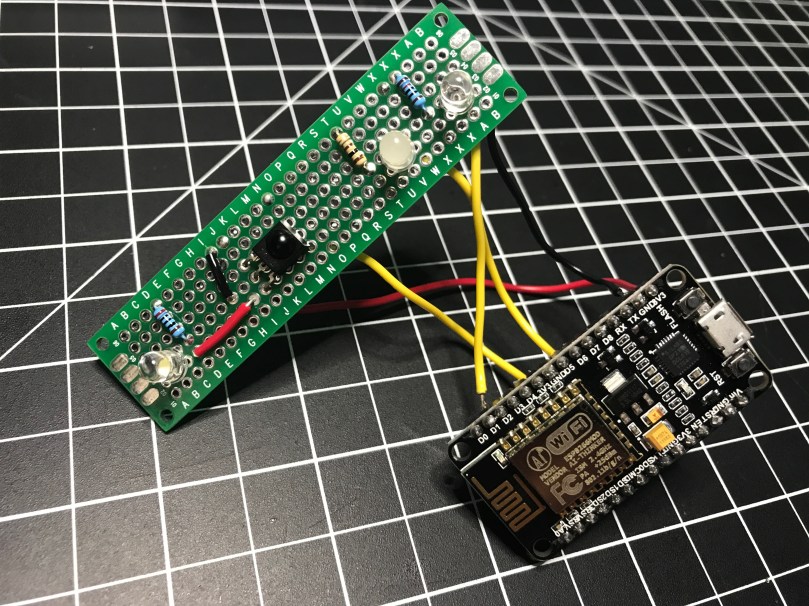
An infrared receiver. After finding batteries for an old VCR remote, when the correct button was pressed, a colored LED would blink a number of times. It’s the top right section of the box above.
IMG_9479.jpg

Control Panel 4

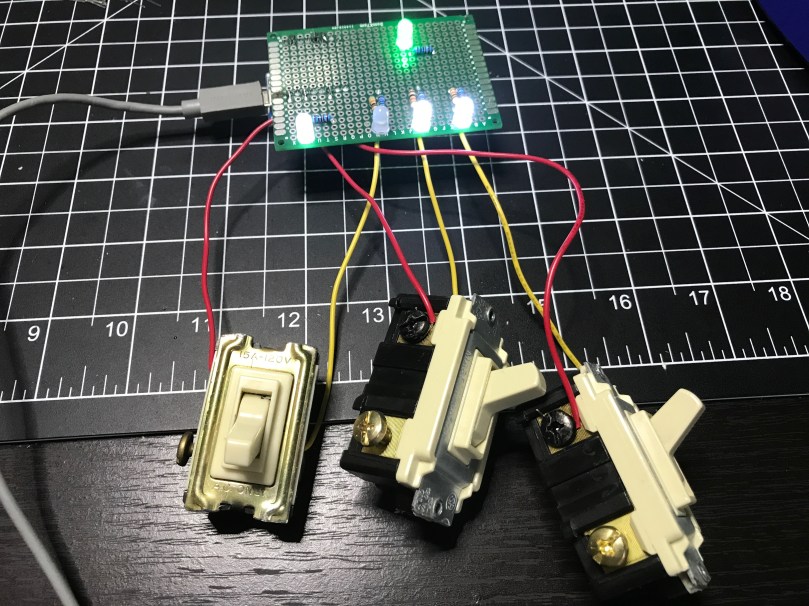
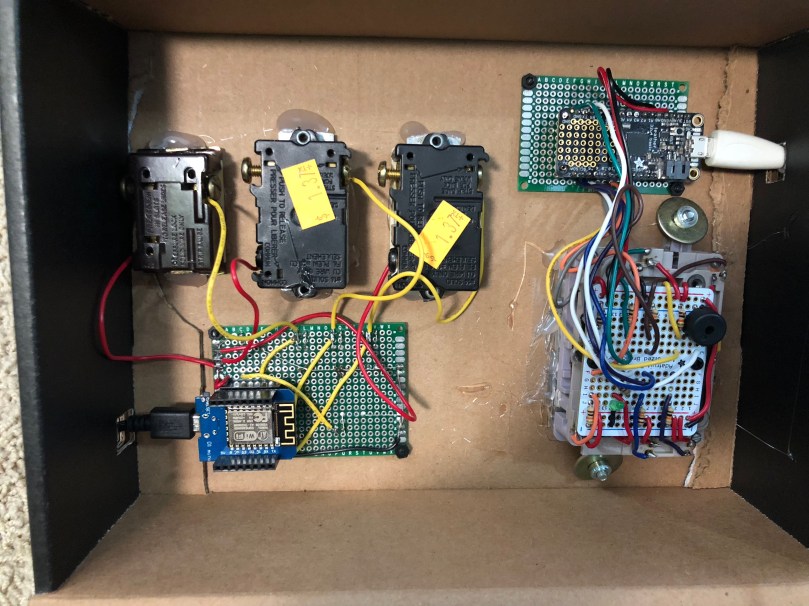
Used 3 old light switches as binary on/off. When the switches were set correctly the binary to decimal conversion gave part of the code and the color of the LED gave another part.

IMG_9467.jpg

IMG_9469.jpg

IMG_9472

img_9473.jpg

IMG_9475

Control Panel 5

I used the keypad I got out of an old phone, which I wrote a 4 part series about. I learned a lot and had some fun figuring that stuff out.

IMG_9488

IMG_9489

This went in the same box as control panel 4.
IMG_0418

IMG_0417

Control Panel 6

Probably the most confusing part for participants to figure out. It consisted of:

  • A knob which needed to be rotated to the correct general position.
  • A light sensor which needed to have a flashlight (find batteries) pointed at.
  • A distance sensor on the side which needed to have an object a certain distance away.
  • A sensor which need to have a magnet near by.

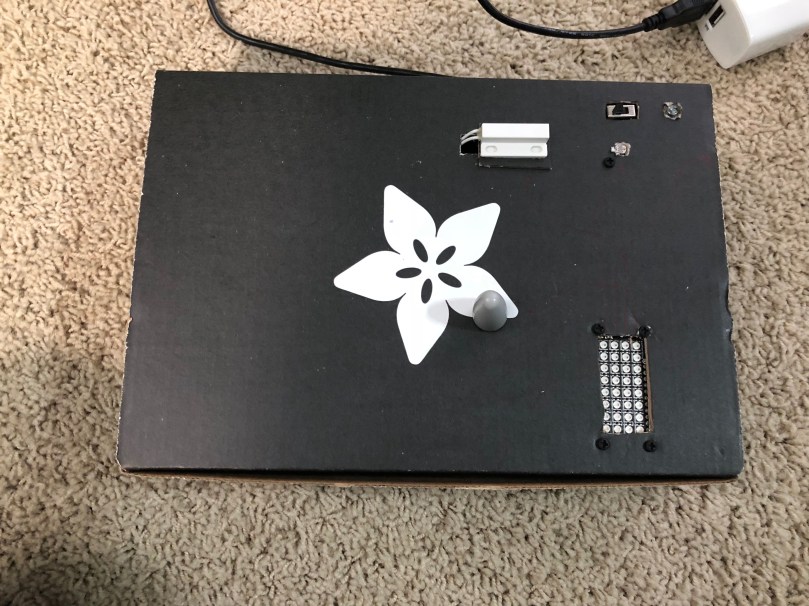
As feedback, there was an LED matrix used as a bar graph. Once a sensor was set properly the line would fill up and a buzzer would beep. When all 4 things were set correctly at the same time, the LED matrix would scroll some text across it, providing the necessary code.

IMG_9491.jpg

IMG_0416.jpg

IMG_0415.jpg

Circuit Playground

Taking advantage of the accelerometer on this microcontroller, the goal here was to tilt the board in a series of directions within a short period of time. The LEDs and buzzer on the board were used for feedback. With a win, the board would give audio and visual feedback in the form of another code to be used with the door lock. The period of time was way too short for people.

The Door Code

Each circuit that provided an answer/clue was a combination of a color and a number. These needed to be matched up with the colors being in the correct order and then the numbers would unlock the door. In order to figure out the correct order, a series of index cards with cutouts needed to be arranged properly (by matching symbols in the corners of the cards) so the “windows” would show the names of colors.

Summary

If I were to do it again, I’d know that there is way too much going on here and to make it much easier. I had a lot of fun building all of the circuits, writing the code, and trying to figure out how people would interact with the different parts.

I know everything here is a bit light on details, but that’s on purpose. I didn’t even mention the other props I had in the “room” to go along with this stuff. If you decide to build something similar hopefully this stuff will give you some ideas to can run with. Leave a comment if you have any questions.
Favorite Buys of 2017

In no particular order, here are some of my favorite 2017 purchases. Links are included where appropriate.

Cardboard Cutter

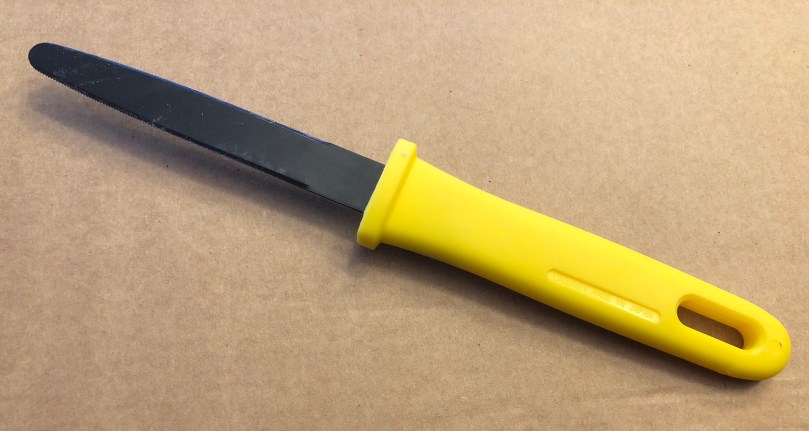
I’ve bought a lot of tools this year, but this might be my favorite. Works great for breaking down boxes to put in the recycle bin. Can be used for detailed work when creating models as well. Much easier to use than a utility knife. Goes for $6-7 on Amazon.

Digital Calipers

I use these all the time. You can can measure insides, outsides, and depths and switch between inches, inch fractions, and metric. I wouldn’t go too cheap, which may sacrifice accuracy. I got mine from Amazon on Prime Day and plan to pick up a shorter set as well.

HackerBoxes Subscription

I started out with an AdaBox subscription and later found the HackerBoxes subscription. I would say AdaBox is aimed more at beginners (no soldering required) and the components are higher quality, but HackerBoxes is usually more challenging and exciting. I also like getting a box each month, which keeps me learning more and coming back to electronics if I drift off a bit.

hackerbox-0021.jpg

mini French Press

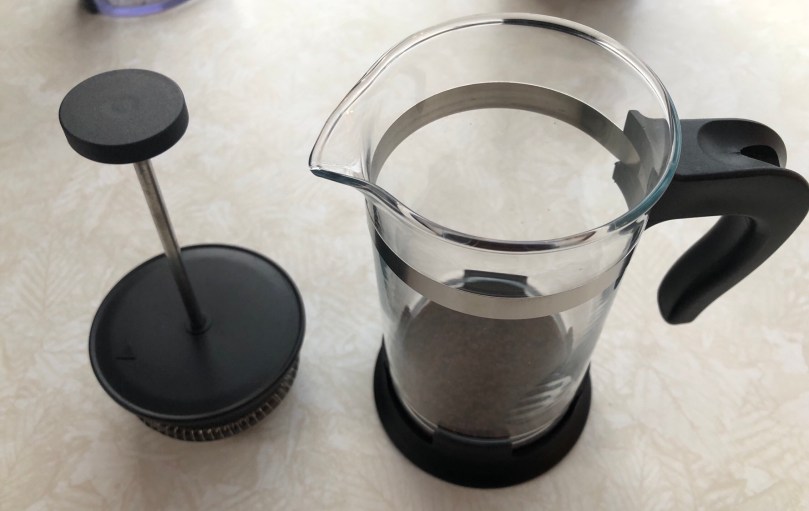
If you’re not grinding beans and using a brewing method similar to a French Press you’re probably settling for low quality coffee. This mini press is $8 at IKEA and is the perfect size for my one cup per day.

iPhone X

I’m still loving this iPhone. Face ID is a game changer and works really well for a first version. The user interface changes made possible (and necessary) after removing the home button are a huge improvement over previous iPhones. No regrets getting the X instead of an 8 Plus.

Oscillating Spindle Sander

I bought this from a guy (found on Craig’s List) when I went to buy his planer. I feel like I stole it when all he wanted was $50, which included 3 extra sets of sanding sleeves. Nobody enjoys sanding, so every machine that speeds up that process is worth the money.

Impact Driver

I basically stole this well, getting it with a set of several other used Craftsman battery tools. It probably come out to about $10. I was excited when I learned how to use a power drill clutch, but an impact driver does all of that automatically. Plus it pretty much eliminates slipping, so the days of stripping screws are gone.

YI 4K Action Camera

Much cheaper than a GoPro and it does all of the same stuff. I got mine (both of them) from Amazon. Yep, I said both. 😦 After I cracked my first one and replaced the screen, the crack eventually spread and the mounting threads came out.

Magnetic Parts Holders

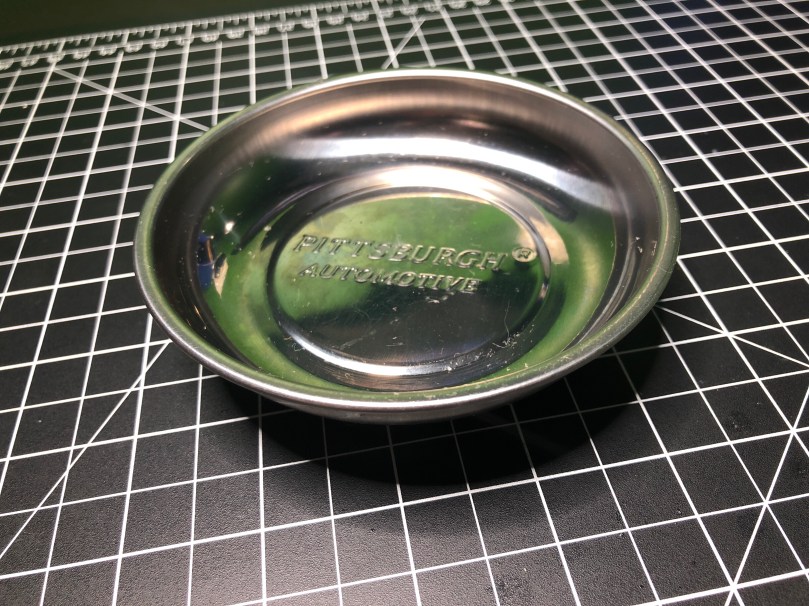
I use these in my workshop and at my hobby desk. I think I have 5 of them now, because they are that useful. The base is magnetic making it easy to attach to something and the magnetic tray is great for holding on to your screws as you work on something. They’re only $2.99 at Harbor Freight, but I haven’t paid for a single one because you can get them for free with a coupon.

Playstation Vue

A great streaming TV service with cloud DVR. I’ve been using this for a year now and don’t miss cable at all. The service has improved a lot since my free trial and the Apple TV app hasn’t locked up or skipped a beat in months.

Pi-hole Port Update Helper

I’m a big fan of Pi-hole. Due to my instance running on the same Raspberry Pi as Home Assistant I have it configured for a different port than the default 80. Each time I run an update for Pi-hole I manually edit the config file and restart the service, because the update scripts reset the port. I finally whipped up a script to take care of it.


sudo cp /etc/lighttpd/lighttpd.conf /etc/lighttpd/lighttpd.conf.old
sudo sed -i -e 's/= 80/= 8081/g' /etc/lighttpd/lighttpd.conf
sudo systemctl restart lighttpd

Fixing a Simple Button & LED Circuit

I found an old Christmas ornament which was supposed to light up by pressing a button. Before trashing the ornament, I tore out the circuit. While I was taking it apart and figuring out why it didn’t work, I turned on the camera and talked to myself. Probably boring for most people, but it might be interesting to see what I was thinking through the process. If you’re new to electronics (like me) it may even teach you a few things.

This is completely raw and unedited footage. Sorry about the noise in the background. I was using an electric heater because my boiler wasn’t heating up the house properly.

Quarterly Maker Box #MKR08 by Adam Savage Part 2

In part 1 I said there would be more to come as I worked on the projects in the box, so here we go. The first project’s instructions were titled “How to Draw Essay” which consisted of Adam describing some of his experience with sketching and then giving several tasks.

Step 1 consisted of filling 5 pages of the notebook by drawing cylinders. It gets you thinking in 3 dimensional space. This was a neat exercise. I tried to draw different cylinders to keep it interesting.

In step 2, the exercise was to draw things from life. I couldn’t tell you the last time I tried to do this. I felt accomplished when a sketch was recognizable (though you may disagree on that!).

Am I ever going to work as an artist? No. Every one of us can be an artist in our own way at our own level though. It’s fun to put ideas on paper and a good skill to practice. Definitely helps with making things when you can see that idea in your head on paper.

There was a time growing up when I wanted to be an artist. Maybe a lot of kids have a bit of that feeling when going through those early creative stages. Apparently I missed out on the gene my Papa Momrik had that was also passed on to my Uncle John, because they both had some talent. I never turned out to be any good at drawing, but I still have those creative juices and try to use them in my own ways.