Author: Nick Momrik
I'm searching for my first hole-in-one.
I enjoy being active and making things.
I work for Automattic.
Fire on the Lake

I wouldn’t mind living on a lake.

1968 Chevrolet C10 Truck Interior
This week while on vacation I spent a lot of time finishing up the interior of the truck. Big thanks to my Dad for his help. Most of the work is far from perfect, but it’s a huge improvement from what it was, especially for a couple of guys who had no idea what we were doing.
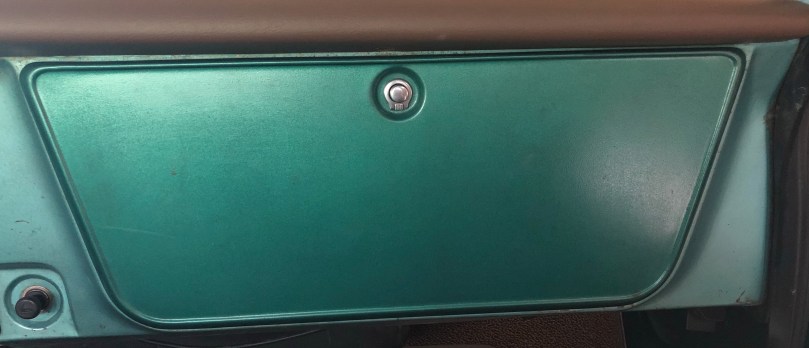
First, here is how everything looked before we touched anything. With the exception of the glove box and door panels all of the interior green-ish paint was extremely faded with some rust.

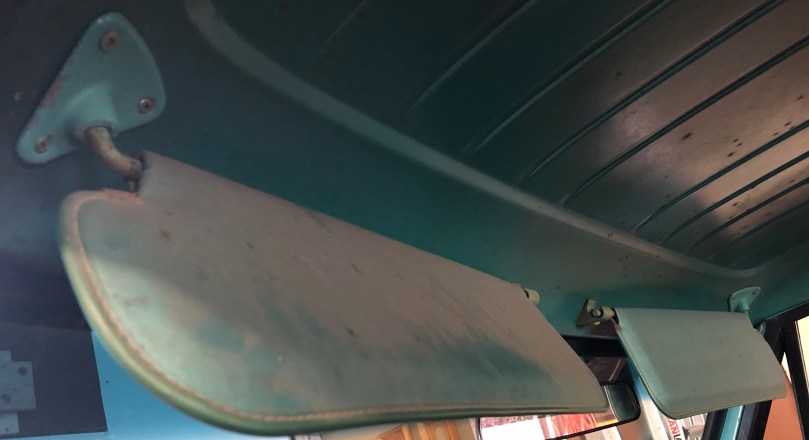
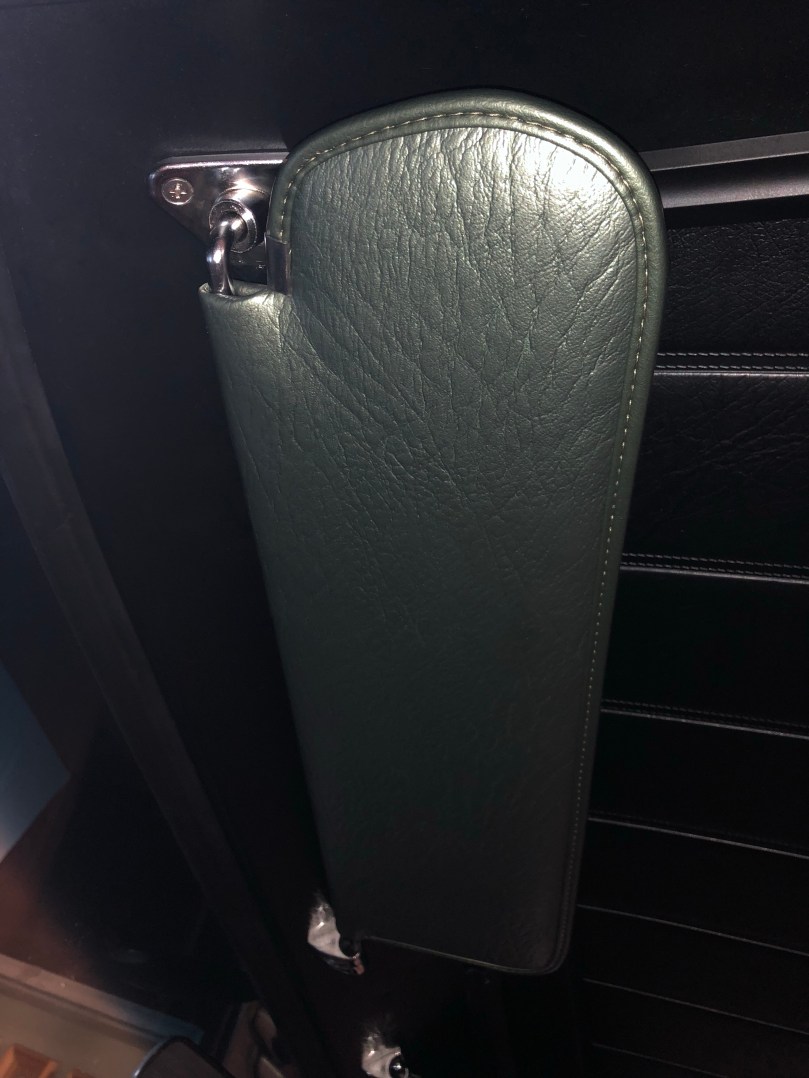
Just a little dust on those sun visors!


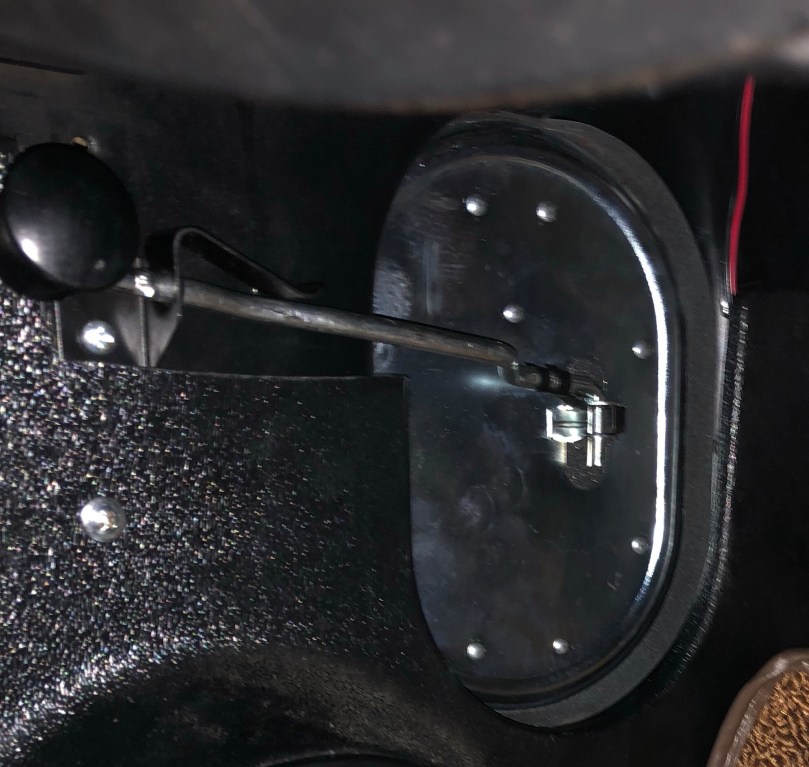
Parking break, so you can see how the bulk of it is covered up later.

Side panel vent which actually does a really good job of circulating air through from the outside. The passenger side has a vent as well.
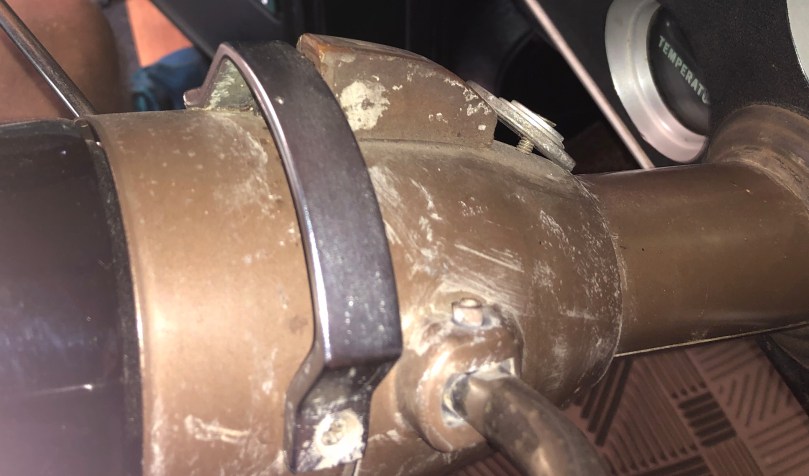
Check out the hack job using washers to keep the shift indicator in place.

This picture has a pretty good glare, but you can still see how worn the gear lettering was.

The instrument panel was faded and boring.

The right blinker was all out-of-place, so the general lighting bled in and it wouldn’t light up properly when the blinker was on. The lighting wasn’t great overall here and check out that orange filter for the shift indicator.

I don’t have a later picture of the new speaker, but this old beat up one from the top center of the dash was in rough shape. It rattled and hissed as the volume went up.
Here are all of the upgrades…

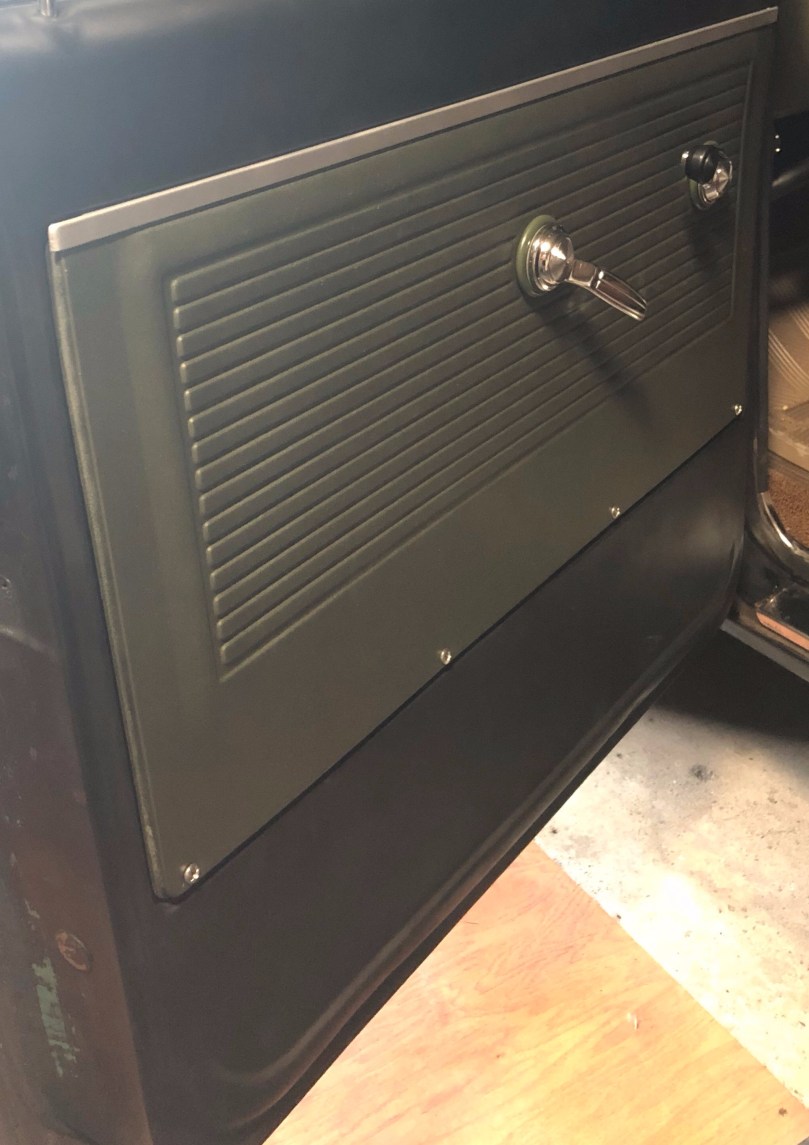
Fresh paint on the dash to more of a retro green that goes well with the brown seat, carpet, and dash pad. I don’t like the brown stuff, but those parts are all pretty new so no sense in replacing them. Still don’t understand why the previous owner would have picked brown to go with a black truck. Painted the glove box black and added a light inside of it.

The ash tray was also painted black. Added a new bezel to go with the new ignition cylinder and replaced the lighter/charger with one that works. The old one didn’t even have any wires connected to it. I nearly put the entire truck up in flames when I initially wired it backwards.
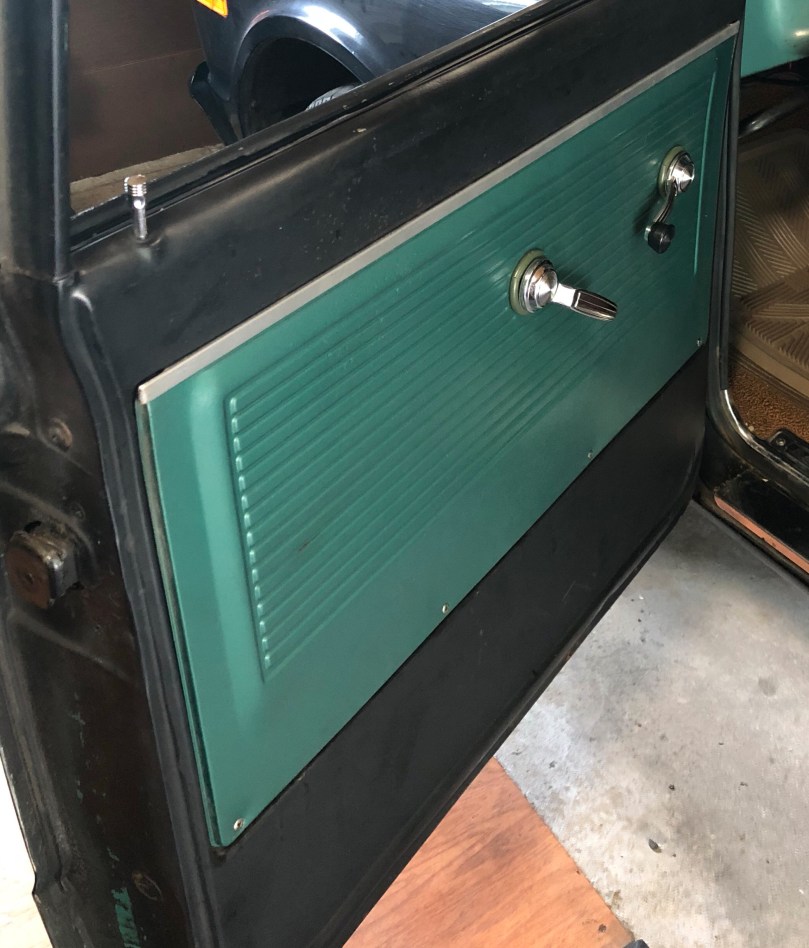
Freshened up the black on the doors, changed the color of the panels to match the green dash, got new screws, and painted the panel strip silver.

New sun visors with chrome hardware.
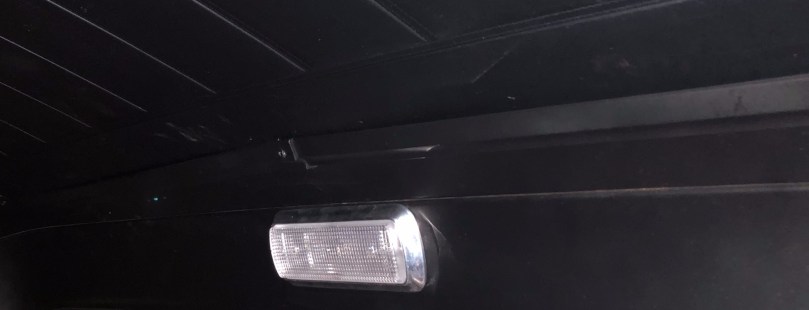
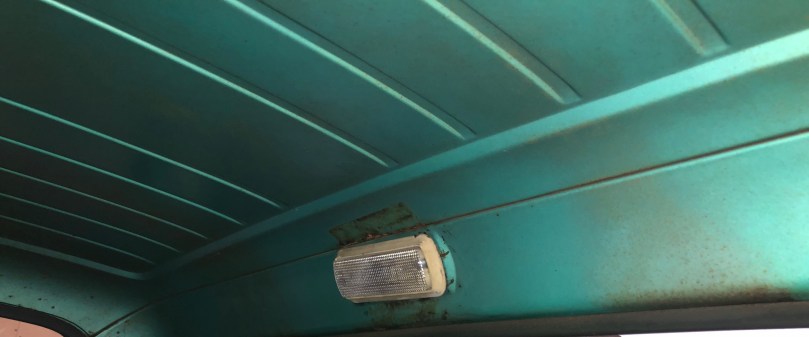
Black paint on most of the interior and a new bezel for the dome light.
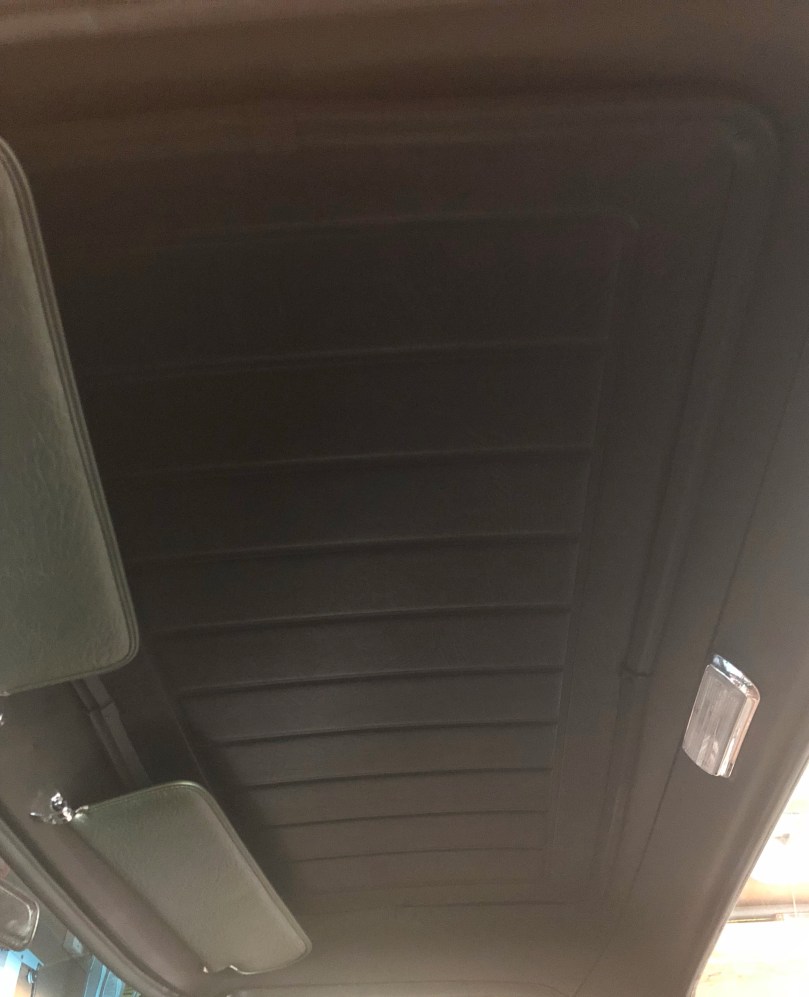
Installed an actual headliner and trim. The trim was chrome, but it didn’t fit worth a shit after drilling and cutting mounting holes the frame, so I painted it to make it blend in with the rest of the black.

It’s a little hard to see here, but this is a chrome cover for the parking brake.
New side panel vents.
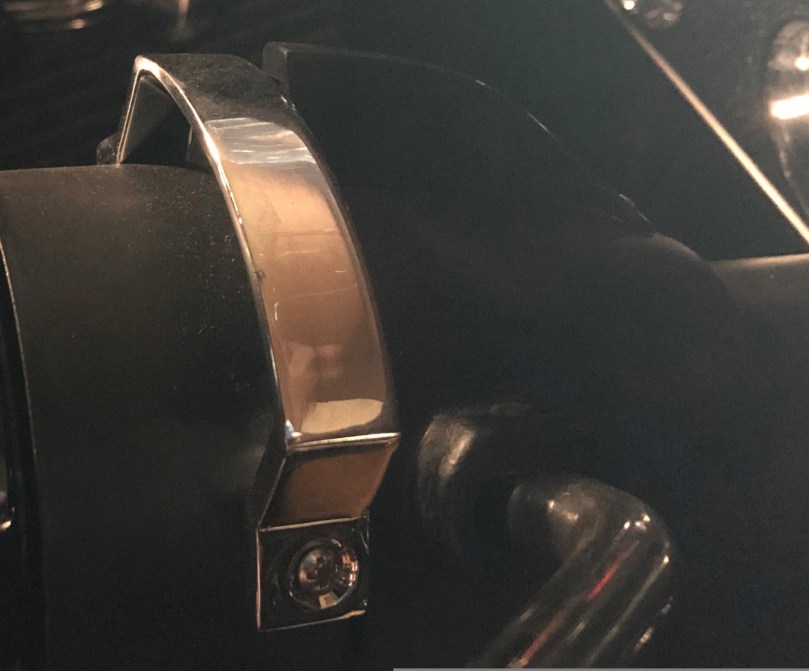
All new hardware on the steering column and black paint. New wiring harness inside and got the horn button working.

Can actually read the gears now.
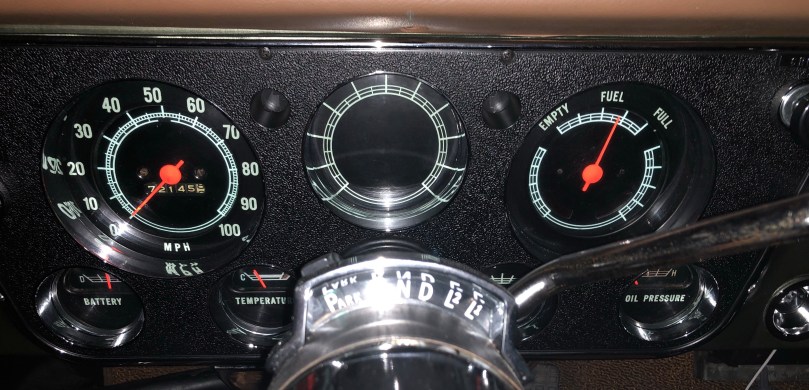
Put in a brand new instrument panel bezel, knobs, and circuit board. After removing the button used for the horn that had been in the choke position I put a dummy choke knob in there since the carb has an electric choke. Fixed the housing around the right blinker indicator so it lights up properly now. The gauges are the same but I pained the extremely faded needles; they really pop out now!
I have a new speedometer ordered because the odometer doesn’t work at all. I was able to take it apart and thought I’d repaired it by glueing back together one of the gears. It must have snapped again because the miles stopped turning over a day later. There are some inaccuracies which may be due to the old speedometer, so after I get the new one I’ll see if I have to take a look at the speedometer gears in the transmission or maybe replace the speedometer cable.


While moving the radio and other dash parts out-of-the-way, I think we bumped the wiper fluid pump motor, which must have been really loose because one of the bolts was out completely and the entire pump was dislodged from working properly with the wiper motor. I ended up having to take the pump motor off and learn how it works in conjunction with the wiper motor. Got it figured out, adjusted, and tightened up.

I replaced the dash light bulbs with green LEDs and all new bulb housings, which were quite corroded. The picture doesn’t do the lighting justice. The green lights are sweet at night. I also put a piece of green plastic inside the shift indicator instead of the previous orange, which I thought was too distracting.
I couldn’t begin to estimate how many hours we’ve spent working on the interior. I made some mistakes and learned a lot.
I’m really happy with how everything turned out.
My Go To Road Trip Snack

After gas and Mountain Dew, gummi worms are what I buy most often at gas stations. What is your favorite road trip snack?
Founders Canadian Breakfast Stout

Lake Life
3D Printed N
I helped my sister fix one of her printers for work the other day and she printed this as a test.
Colorful Fire Slo-mo
I got some packets of Colorful Fire, which look pretty neat but are dominated by green and some blue.
Near Disaster

No Butterfly
Sophie: “Can you put your feet together Uncle Nick?”
Me: Not sure where she was going with it, but I put my feet together.

Sophie: Looking down at my feet and sandals, “Good, you don’t have a butterfly. Sissy used to help me with my shoes but now I know how they go.”

