Might be one of the top 5 Mountain Dew flavors I’ve tried.

Might be one of the top 5 Mountain Dew flavors I’ve tried.

I was gifted this cool homemade egg ornament. Now I need a Christmas tree.
If you haven’t seen it, check out part 1 of this series about improving a Delta Sidekick 12″ Compound Miter Saw (Model 36-235).
I’ve been keeping a list of improvements I wanted to make to the miter saw and haven’t made time to work on any of them. When I made a frame a few weeks ago I noticed the fence to the right side of the blade wasn’t square. After looking things over, I found a large crack, which I’ll share in part 3. Now I had an excuse to prioritize the improvements and give the saw some love.
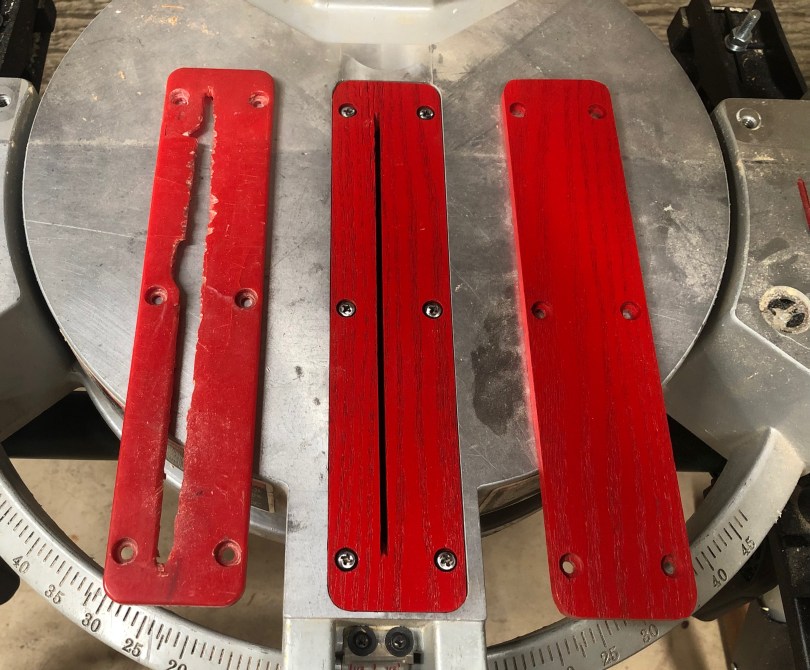
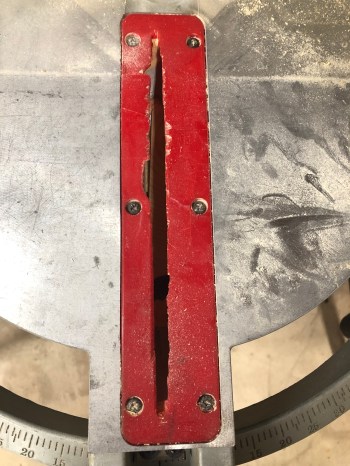
I removed several things from the saw and decided the first thing I’d build was a zero clearance insert plate. The original plate was a little beat up.
I actually made two plates since it’s not much extra work. I can either use the second one for bevel cuts, which I don’t think I’ve done once since I bought the saw, or keep it as a spare. I really liked the natural wood look, but it’s better to paint them red to signify the dangerous area.
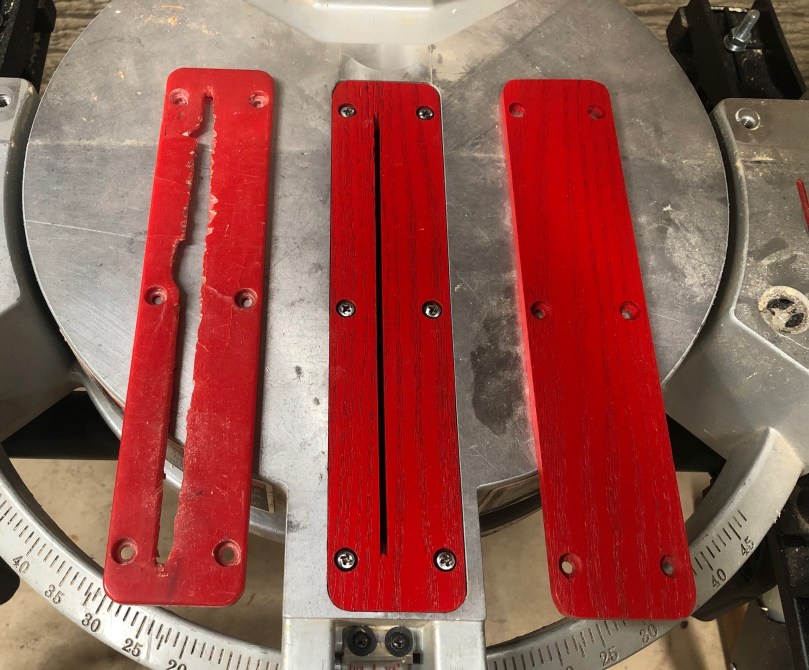
Check out the difference in that slot! Cuts will be much cleaner and I’ll no longer have to worry about things clogging up underneath. The new inserts also fit much tighter than the original.
I used a piece of reclaimed pallet wood (oak I think) to make these. Here’s a video of the process, which took about 2 hours.
Check out part 3 of this series where I build a new fence.
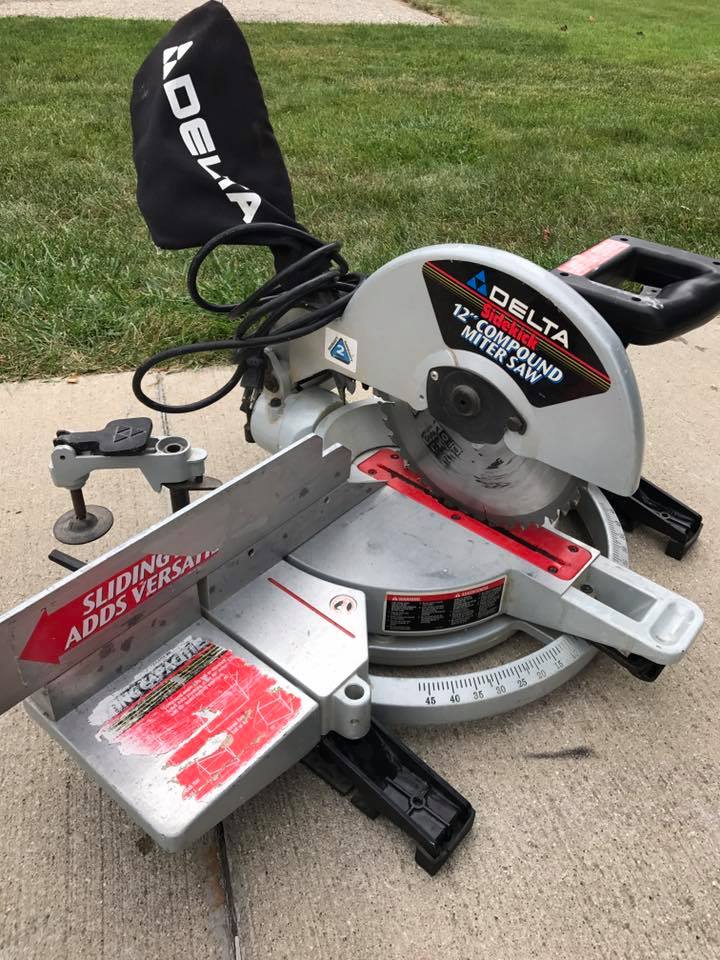
I’m starting on some improvements to my miter saw and realized I never posted anything about some of the things I’ve already done. I bought this Delta Sidekick 12″ Compound Miter Saw (Model 36-235) for $75 off someone on Facebook Marketplace last September. It’s not a sliding one, but the 12 inch blade is nice.

I immediately bought a quality 12″ Diablo blade since there was only a 10″ in the saw. I also took the handle apart and replaced the mangled power cord with a 10′ extension cord I bought at Harbor Freight.
A few months ago I picked up a Masterforce folding miter saw stand from Menards. I think it was less than $80 during a sale. It’s been so nice to have the saw ready to go at all times.

I recently cleaned up the sticker residue (was still there in the picture above) on the table and fence. I think that about covers it for what I’d done so far. Check out part 2, where I make new insert plates.
You can never have too many clamps!

I bought this t-shirt to support the I Like To Make Stuff YouTube channel, which I watch all the time for ideas and techniques.
If you want to see how I built my clamp racks, check out my post.
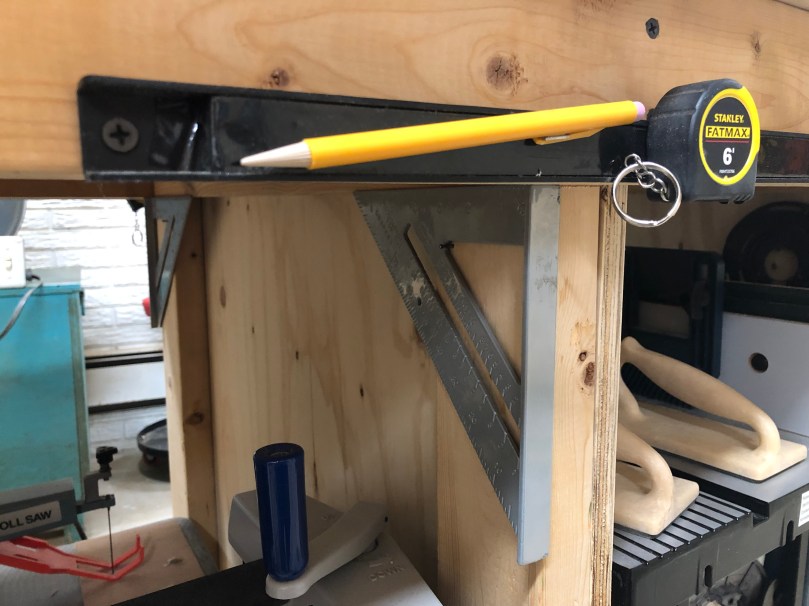
When I built my my workshop table I put a magnet tool holder on each side, but haven’t really used them. Finally making use of them with a 6′ tape measure and a pencil with a magnet glued in. I also used a nail for hanging a speed square there. Both sides of the table have the same setup.
I’m always trying to make things more efficient.

I built my crosscut sled for the table saw just over a year ago and one thing always bugged me. The piece of plywood I used for the original fence had a slight bow to it, so the cuts weren’t perfectly square. While it had served me fine for building shop furniture, it wasn’t going to work when building a couple of cabinets.
To fix the problem:


I should have fixed it a long time ago, especially since it was only a 30 minute job.
Yeah buddy!
A lot of people think of Arnold Schwarzenegger when it comes to bodybuilding, but Ronnie Coleman won My Olympia eight years in-a-row and earned the nickname “The King” as the best bodybuilder in history. He has bigger than anyone before him and everyone who has come after.
All the years of hard training and heavy weights took a toll on his body. It was hard to watch him hobbling around in this film.
If you’ve never watched Pumping Iron, watch that first.

My housekeeper asked me to finish up some cabinets that had been started for her bathroom. Looked simple enough when she dropped them off. Later, when I went to get started and took a closer look, I realized how rough they were. Nothing was square, no glue was used, there were saw marks, joints had big gaps, and the doors were cut from heavy warped plywood.


No bueno! I decided to start from scratch as a holiday gift for her. After disassembling these I’ll use the wood on an upcoming shop project.
I didn’t take pictures or video during the build because I wanted to concentrate on what I was doing. Pretty happy with the way they turned out.

She is going to paint them, so I didn’t need to apply any finish.
I enjoyed this one. Has some great action sequences.

