Home Gym Weight Plate Storage v3

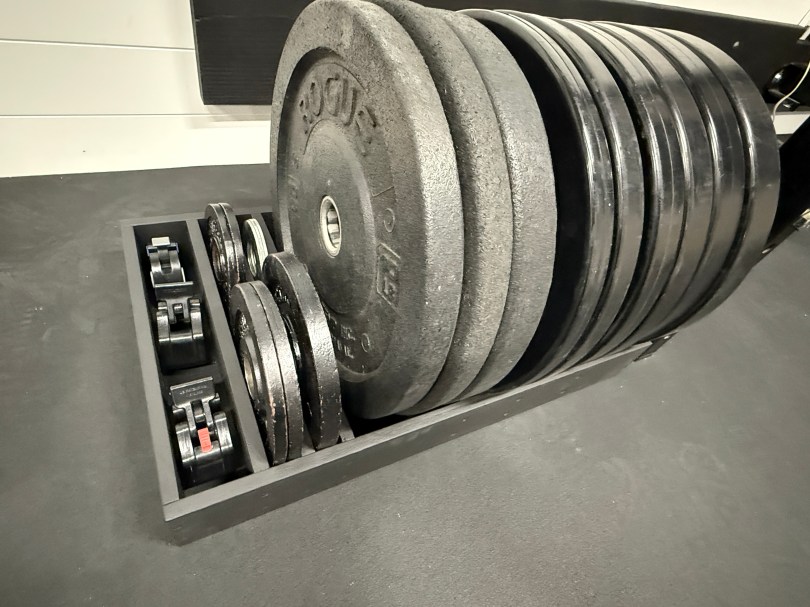
During the move, version 2 of our weight plate storage was tossed in the trash because we sold our 55 pound plates and wanted to evenly split the plates on either side of the rack in our new gym.

I took some measurements and did a little math for a general idea of how much wood I’d need.

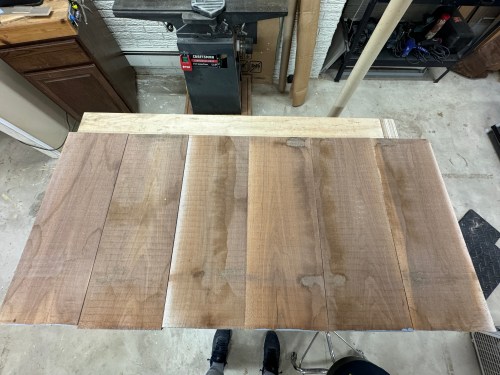
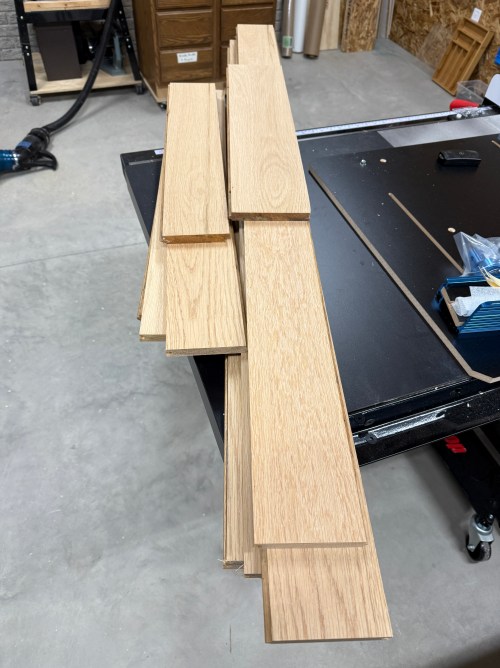
Grabbed some old oak flooring and started processing it on the miter saw, planer, and table saw.

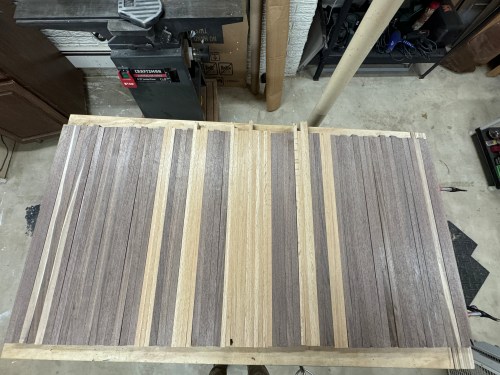
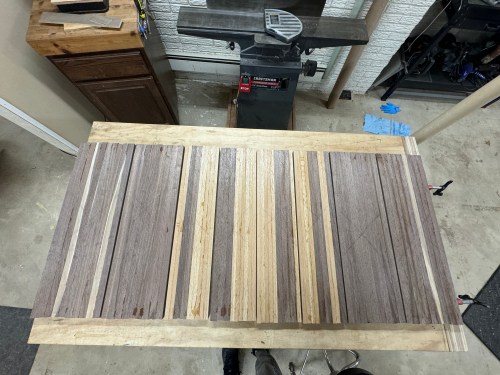
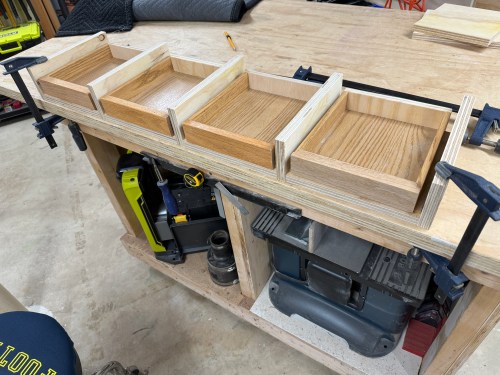
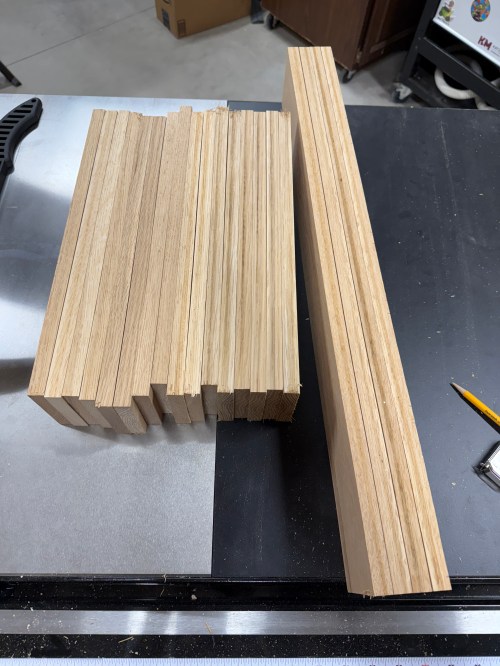
I realized I had measured the full width of the plates, which I don’t need since the storage racks are only at the bottom. After recalculating, I cut a bunch of the dividers and did a mockup, when I realized I could add another slot to hold the barbell collars. The extra spacing on the sides of the plates ended up being less than my original guess as well.

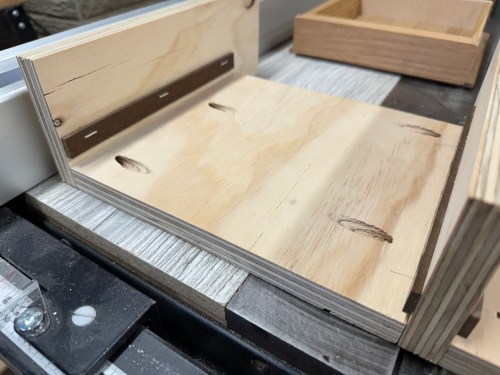
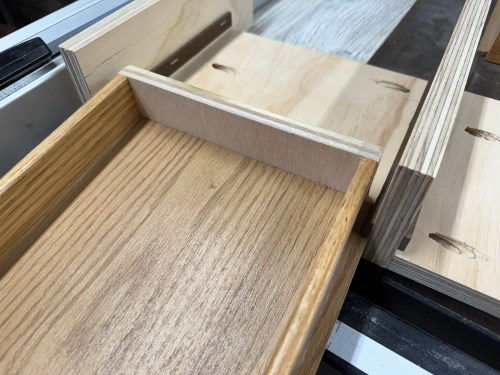
Then I to cut everything to size, and drilled a lot of holes.

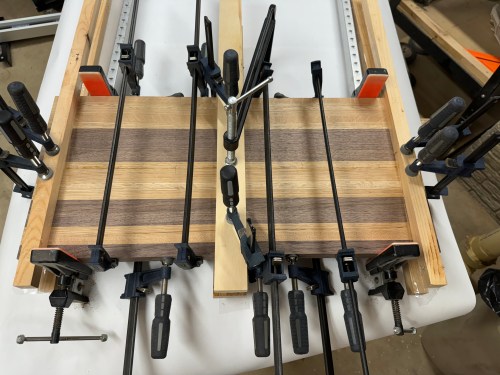
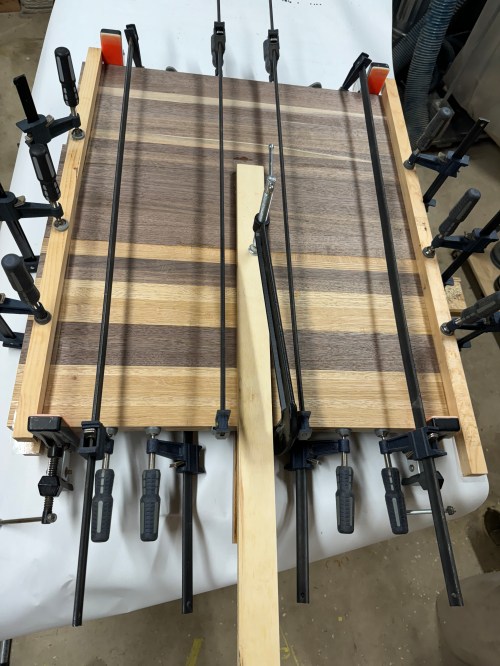
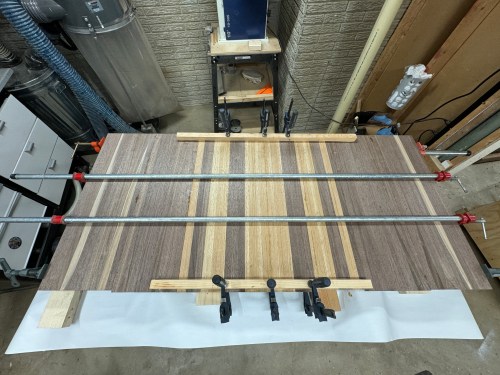
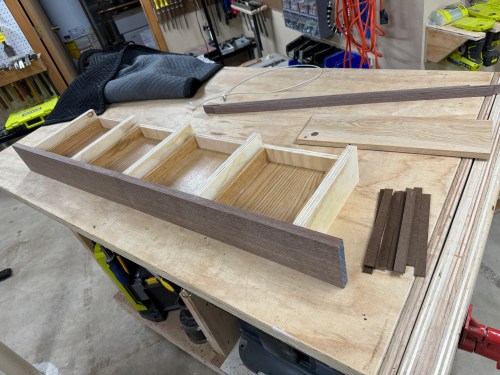
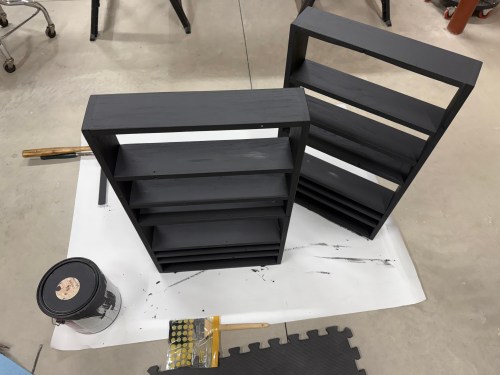
The assembly process was complicated, since I had to individually square up and attach eight dividers. Then the other side needed to have glue applied to all eight dividers before getting 16 holes to line up.

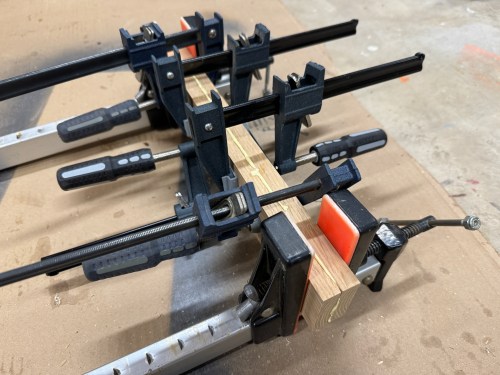
The second one is always easier and I was able to use the assembled rack as my 90° to clamp to.

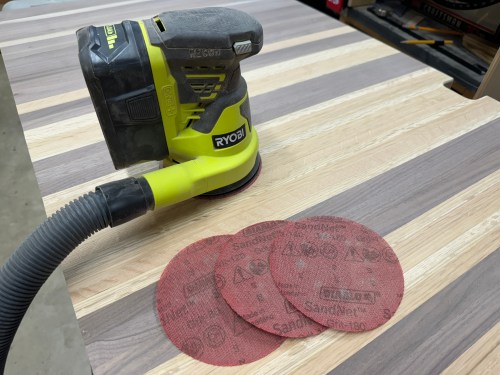
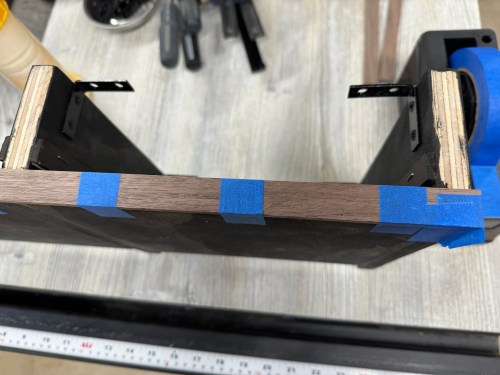
More sanding and then black paint. Brushing on the paint with the oak’s grain pattern was a challenge, especially in some of the small gaps between dividers, so it took many coats.

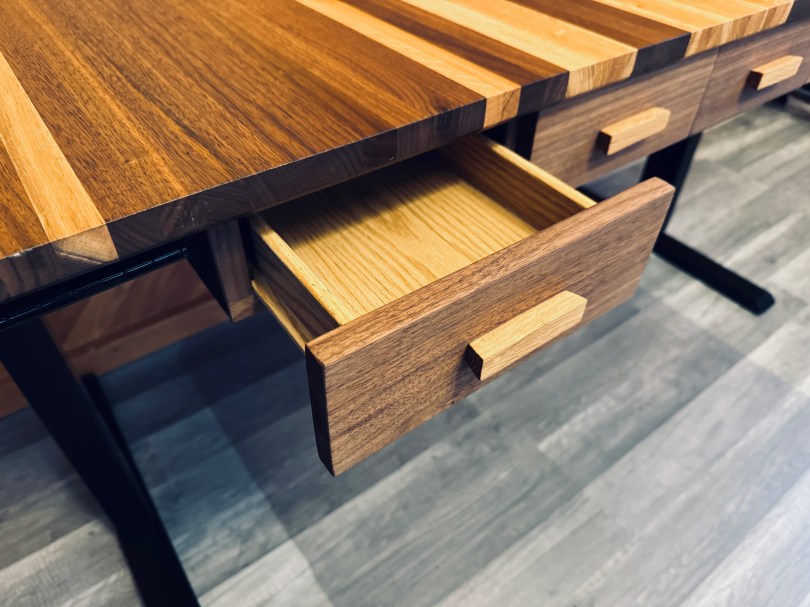
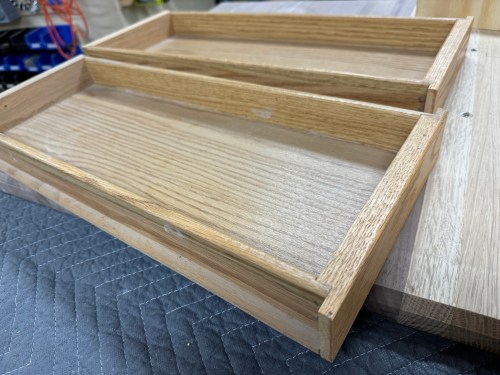
The area looks a lot cleaner and the weights will be a lot easier to use.

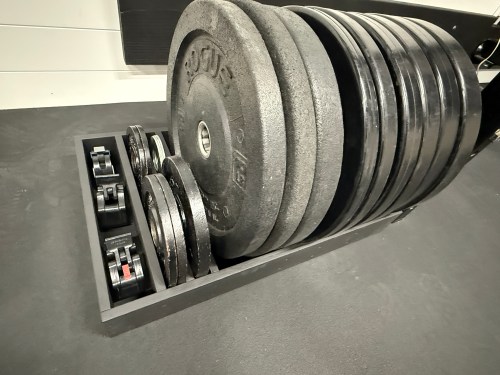
Here are the final dimensions for anyone who wants to build their own:

  • All wood: 5/8″ thick and 3-11/16″ tall
  • Front and Back: 27-3/8″ long
  • Dividers: 15-1/4″ long
  • Gaps between dividers:
    • 2×45#: 5″
    • 2×35#: 3-7/8″
    • 2×25#: 2-15/16″
    • 15# + 2×10#: 5-5/8″
    • Metal 10#: 1-1/8″
    • Metal 2×5#: 1-1/4″
    • Collars: 2-5/8″

Everything will depend on the size of your plates though. I measured the thickness of our plates and ended up adding a half inch for the gaps, which feels good for moving the plates in and out.

DIY Walnut & Oak Desk with Adjustable Base

It was time for a new desk for my home office. I ordered this TOPSKY desk base on Amazon for $220.99.

Over the years, without success, I’ve tried to stand some while working. Hopefully a motorized adjustable base will encourage me to stand for certain tasks and even if I can do a couple of 20-30 minute sessions each day it’ll be a big help.

I got to work processing walnut boards and white oak flooring.

There was a lot of jointing, cross-cutting, ripping, planing, more ripping, and trimming. I’m excited to use that box of off-cuts to make an end grain cutting board or two! I felt like the key to this build was going to be the glue-ups. I started with sections of 9-10 pieces and ended up with eight of those.

I ran each section through the planer, with the help of some shimming for a couple, to flatten them. I made a temporary sled to square up the sides to the faces.

To help assemble the sections, I used a couple of biscuits on each glue joint.

I glued up two sections at a time, which gave me four bigger sections. Then I glued up two of those at a time and one final glue up.

I drilled and put in all of the bolt inserts, which will attach the top to the desk base.

I took three passes with the router to put a big chamfer along the bottom edge.

With a jigsaw, I rough cut out a spot in the back to pass cables through. Then I did some sanding to smooth it out and added a chamfer with the router. Here is it, viewed with the desk bottom facing up.

Due to the base’s cross support, there’s was limited depth for drawers, but there was width for them. I took some old kitchen cabinet drawers, chopped them in half, and closed them up with scrap plywood.

Then I worked on what I’m calling the drawer box even though it’s not a box. I also cut top rails from hardboard and oversized drawer faces from walnut. Grabbed strips of walnut for face-framing and glued together pieces of oak to make drawer pulls.

All the sanding! I went through 80, 120, 180, and 220 grits on the top and sides of the desk.

Time to put some finish on, which is always a favorite step to see how it’s really going to look. It was my first time trying out a hard wax oil and I used Bee Nooba Wax from Bumblechutes. It was very easy to apply and I’ll definitely be using it on future projects. I applied one coat to the bottom and three coats to the sides and top.

Then it was back to the drawers. I stained the “box” black and ended up having to trim some things to fit better around the rail of the desk base. I sized the drawer faces, made oak handles with 10° angles, assembled everything, and applied finish.

It turned out great! I can’t wait to see it in our new house later this year!