
I put in the $100 order just in case I want one.
I put in the $100 order just in case I want one.
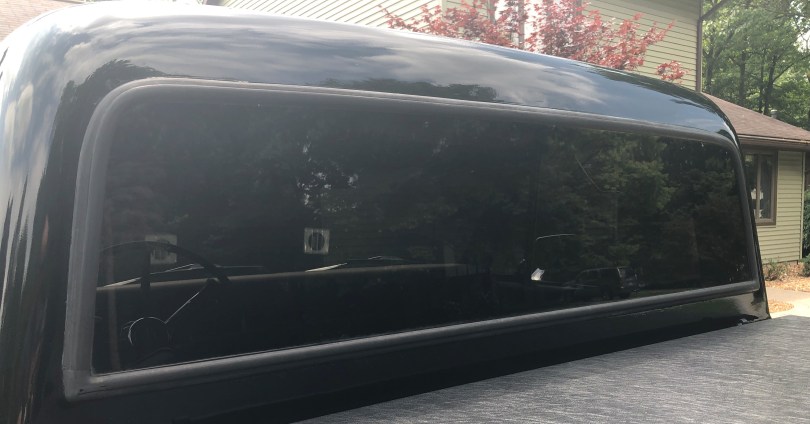
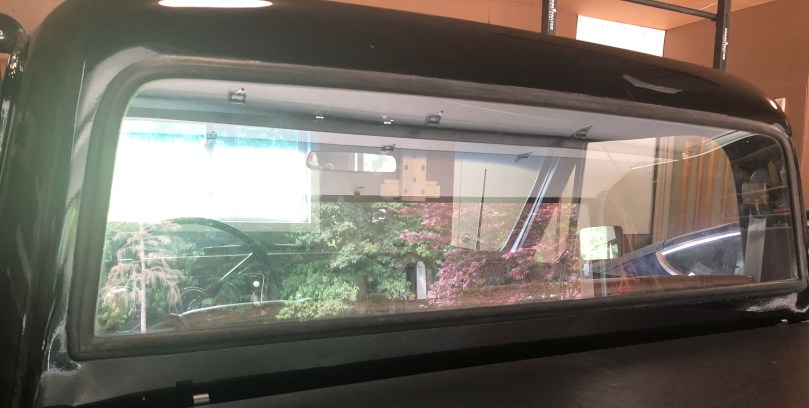
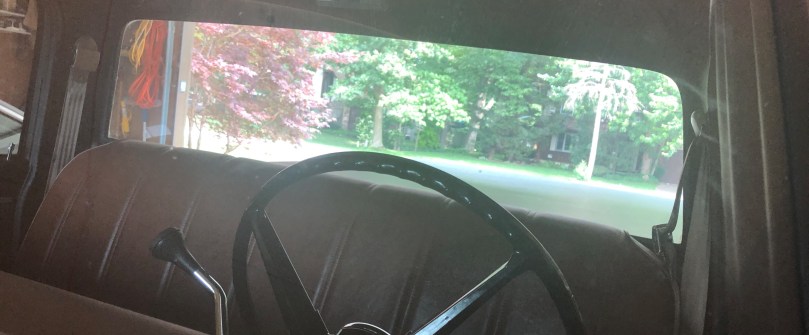
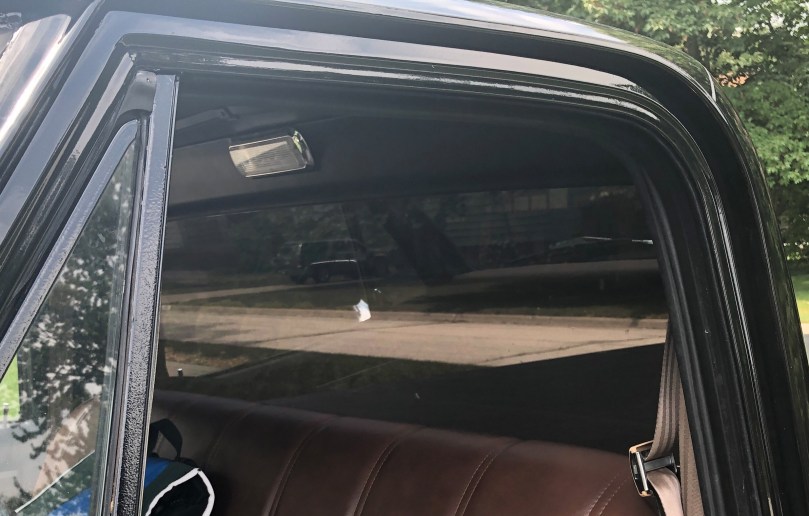
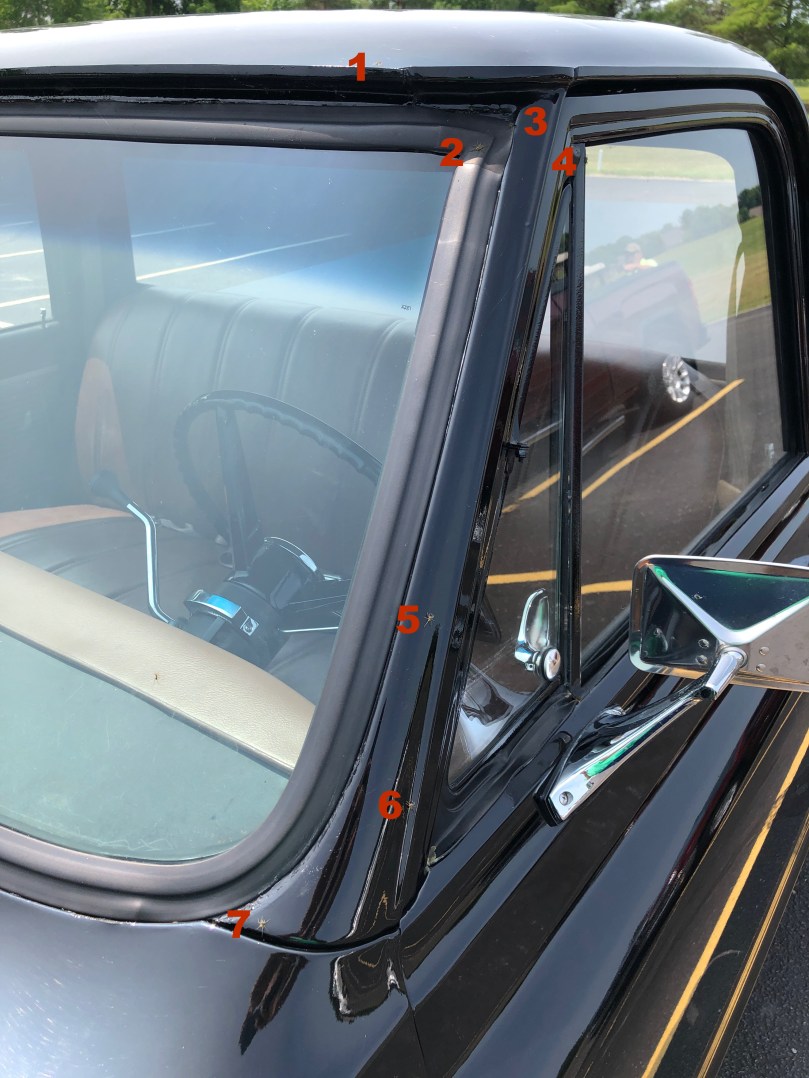
When the sun was out and I was driving in the opposite direction, I would get fried because the rear window of my 1968 Chevrolet C10 truck is literally right on my back. So I got it tinted with 5% at Top Notch Tint out of Freeland, MI. Cost me $80 (original quote was $110) and took him an hour while I used their WiFi to got some work done. Check out the before and after pictures.

Now I need to get that air conditioning kit installed.
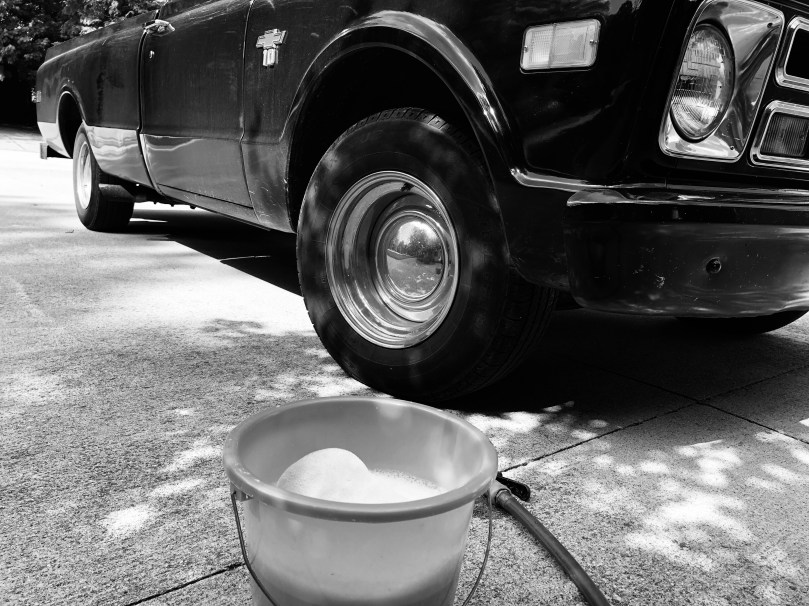
After golf yesterday I caught spiders trying to steal my truck.
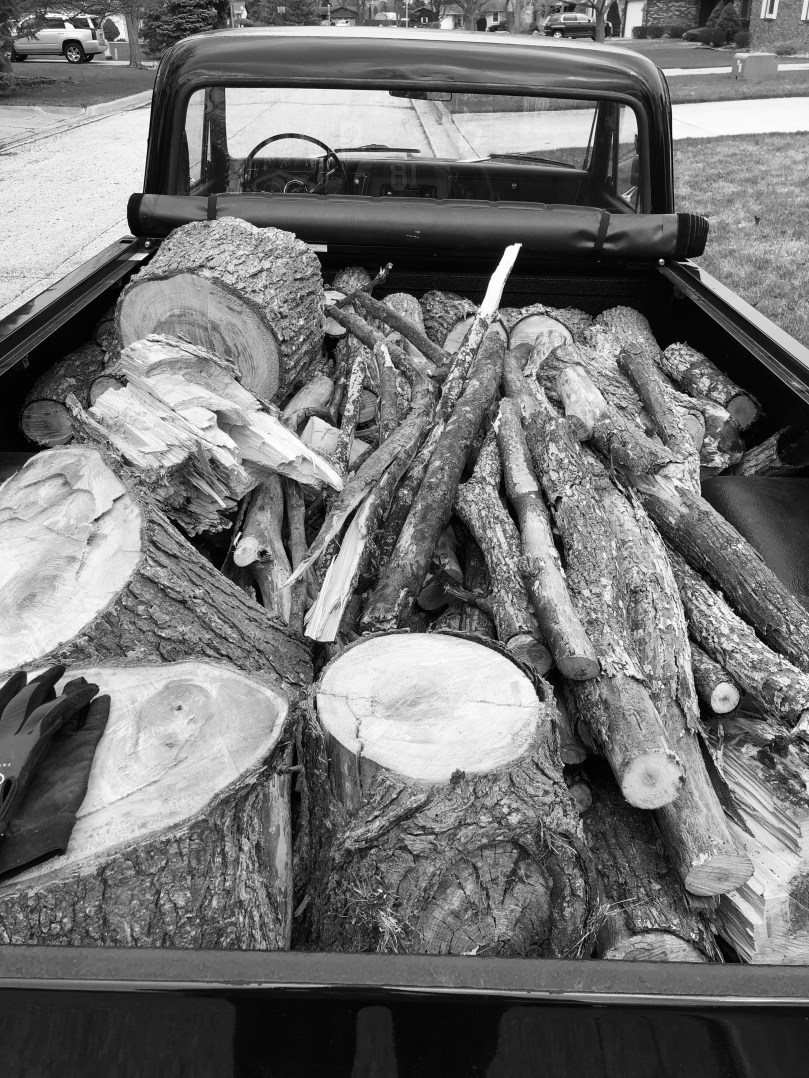
Finally got time and weather to cut and haul away the trees that fell in February. Big thanks to my buddy Brent!

It’s so nice not having to go to gas stations.
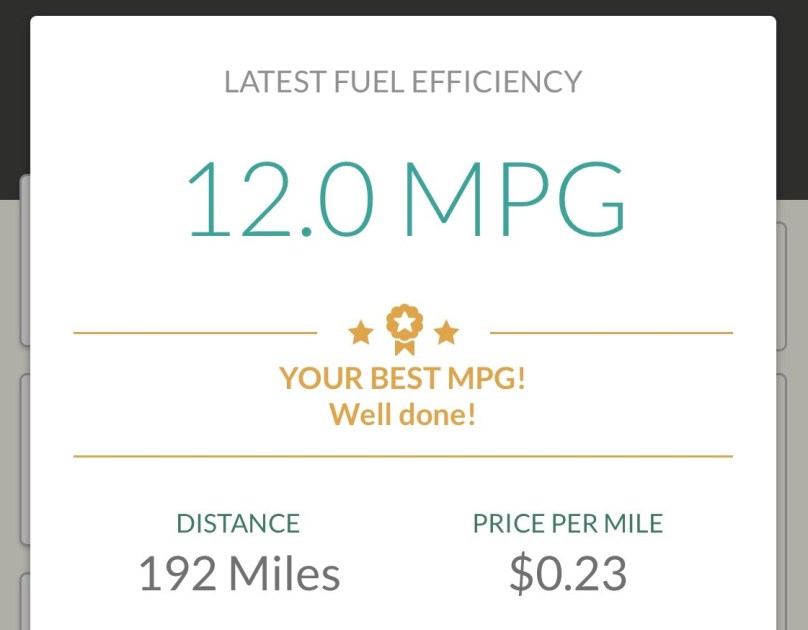
First tank of gas in my 1968 Chevrolet C10 truck after fixing the speedometer and setting a baseline odometer reading with the previous fill-up.
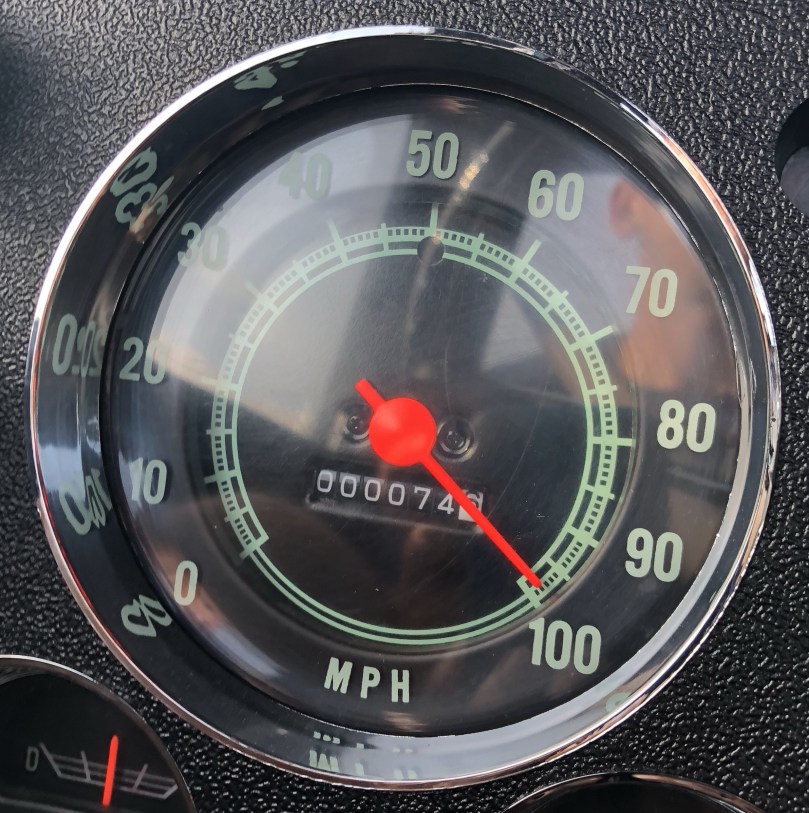
In my post about the truck interior a couple of weeks ago I talked about the broken odometer and inaccurate speedometer. Last weekend the new speedometer came in and I installed it before making the trip down to my brother’s place.
Driving on a marked freeway is the best way to test the accuracy of your odometer. At one of the mile markers (not an exit), note your odometer reading. Drive 10 miles (by the markers) and note how far your odometer said you travelled. Mine was showing about 11.8 miles each of the 3 times I checked it, so it was about 18% high. When I compared the speedometer to a speed app on my phone it was even more inaccurate.

After testing the odometer you basically have two choices: 1) swap out the speedometer gears inside the transmission, so the speedometer cable spins at a slower rate, or 2) put a ratio adapter between the transmission and the speedometer cable. The first option is much cheaper and the second option is much easier.
I went with the easier option so I could fix it myself. You can buy adapters that either speed up or slow down the rate that the speedometer spins. This is where you need a bit of math. My odometer was 18% high, but that doesn’t mean I want to slow it down 18%. To go from 11.8 miles to 10, it’s about a 15.3% decrease (1.8/11.8). I didn’t feel like getting a custom ratio adapter built, so I found one close enough (17.6% slow down), which cost me $91. It was an easy install…
I took the truck out for a test drive and after 2 miles the speedometer dropped to 0 and the odometer stopped turning over. What the fuck?!
The next day I started troubleshooting and quickly found the problem when I unscrewed the speedometer cable from the ratio adapter. When I tugged on the inner cable a bit, the end came right out!

I must have either bumped the cabling around during the install or this was really bad timing. The outer cable housing must have been sitting on the exhaust, which melted right through, jammed up, and prevented the inner cable from spinning freely. The transmission kept spinning the end and the inner cable unravelled, completely snapping.
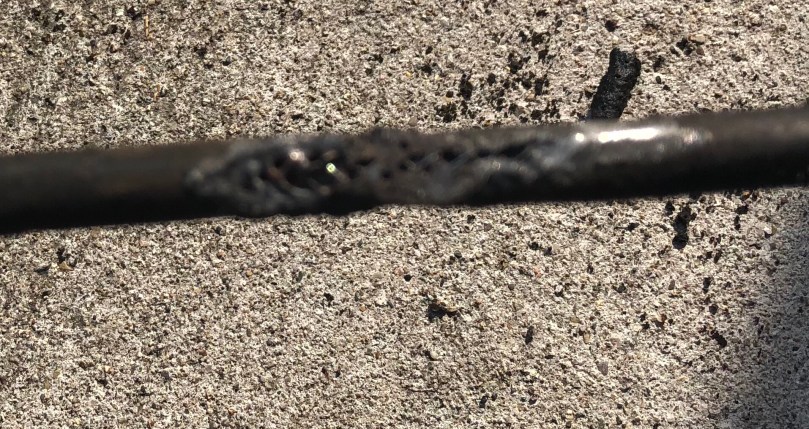
I picked up a brand new speedometer cable and outer jacket from Advanced Auto Parts for less than $14. I’m glad the closest they had to 72″ (length of my old one) was 83″ because I ended up needing the extra foot. I installed the cable, properly routed it up to the dash, and zip tied it in place so it can’t come in contact with the exhaust or any moving parts.
After a test drive, the odometer was about 3% high, which was to be expected. Remember that I needed to slow it down 15.3% and the closest adapter I could find slowed it down a bit more, by 17.6%. Speeds were about 2-5 mph fast until I got on the freeway where it was dead nuts while going 70-77 mph. Close enough for me!
I have an idea of the gas mileage from the first trip with the odometer (after adjusting for the inaccuracy), but now that everything is working I’ll be able to track it and see for sure what I’m getting. Stay tuned!

This week while on vacation I spent a lot of time finishing up the interior of the truck. Big thanks to my Dad for his help. Most of the work is far from perfect, but it’s a huge improvement from what it was, especially for a couple of guys who had no idea what we were doing.
First, here is how everything looked before we touched anything. With the exception of the glove box and door panels all of the interior green-ish paint was extremely faded with some rust.

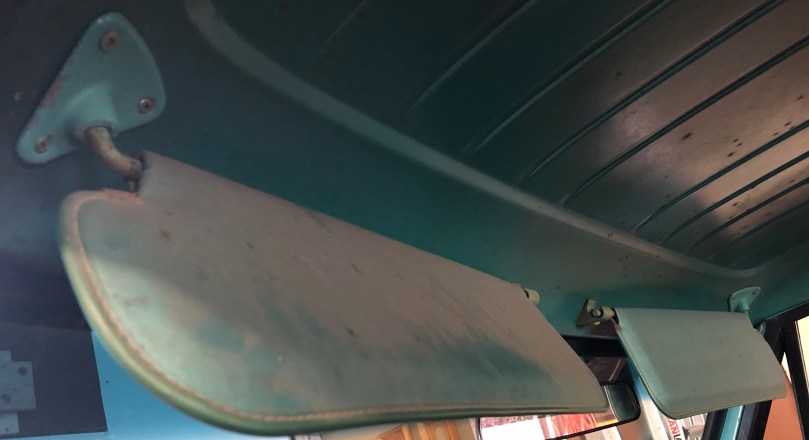
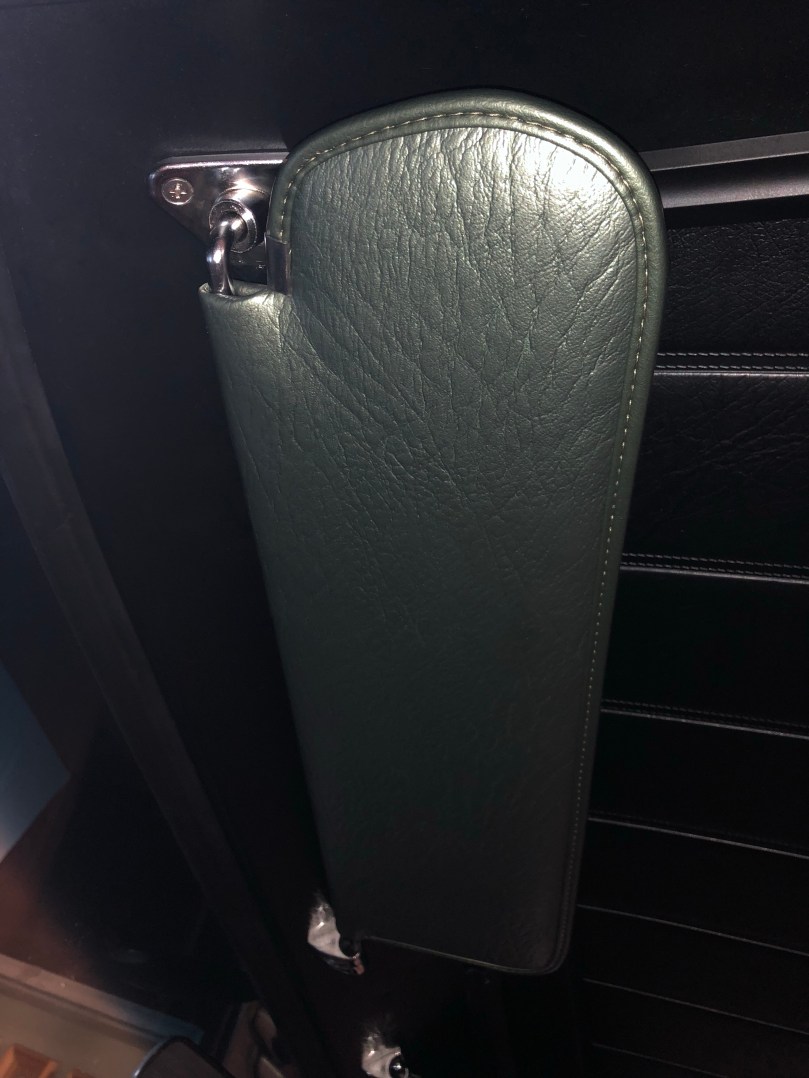
Just a little dust on those sun visors!


Parking break, so you can see how the bulk of it is covered up later.

Side panel vent which actually does a really good job of circulating air through from the outside. The passenger side has a vent as well.
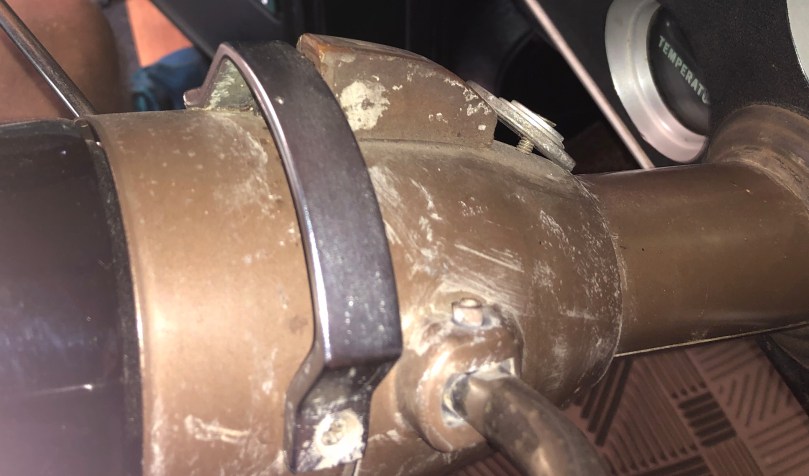
Check out the hack job using washers to keep the shift indicator in place.

This picture has a pretty good glare, but you can still see how worn the gear lettering was.

The instrument panel was faded and boring.

The right blinker was all out-of-place, so the general lighting bled in and it wouldn’t light up properly when the blinker was on. The lighting wasn’t great overall here and check out that orange filter for the shift indicator.

I don’t have a later picture of the new speaker, but this old beat up one from the top center of the dash was in rough shape. It rattled and hissed as the volume went up.
Here are all of the upgrades…

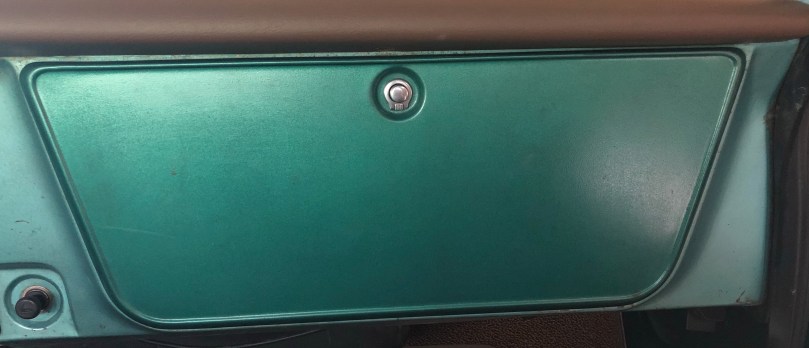
Fresh paint on the dash to more of a retro green that goes well with the brown seat, carpet, and dash pad. I don’t like the brown stuff, but those parts are all pretty new so no sense in replacing them. Still don’t understand why the previous owner would have picked brown to go with a black truck. Painted the glove box black and added a light inside of it.

The ash tray was also painted black. Added a new bezel to go with the new ignition cylinder and replaced the lighter/charger with one that works. The old one didn’t even have any wires connected to it. I nearly put the entire truck up in flames when I initially wired it backwards.
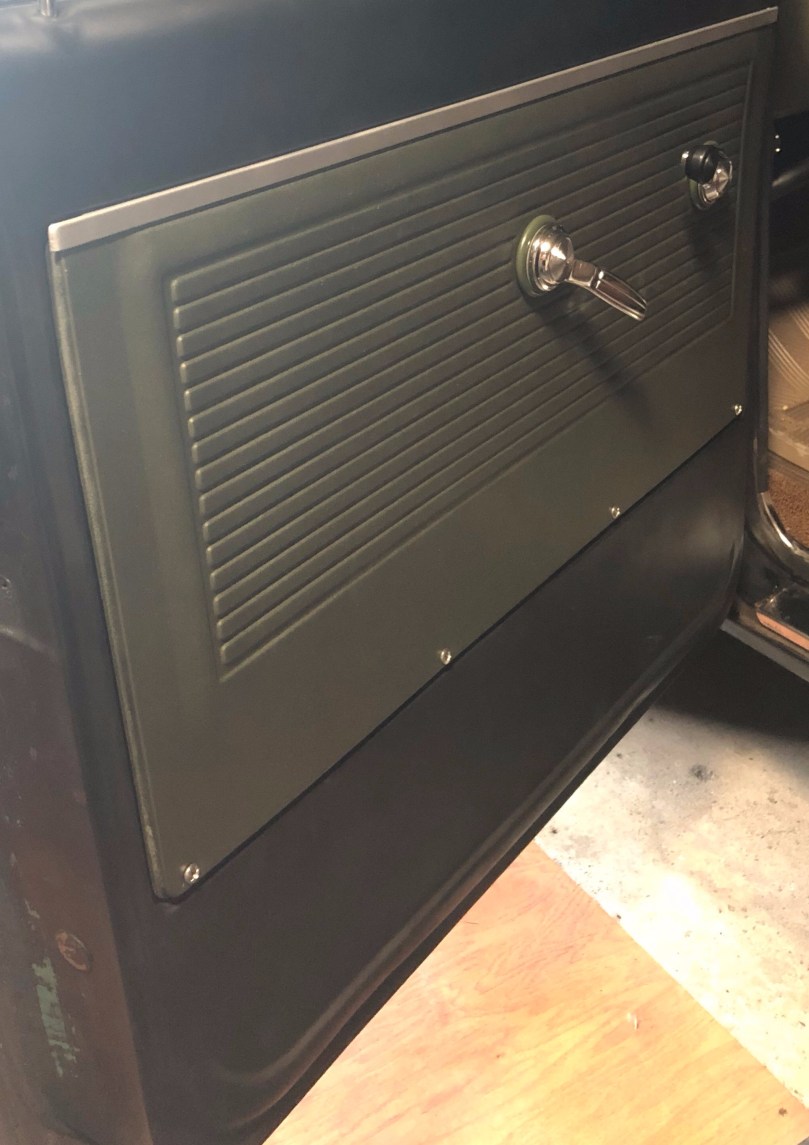
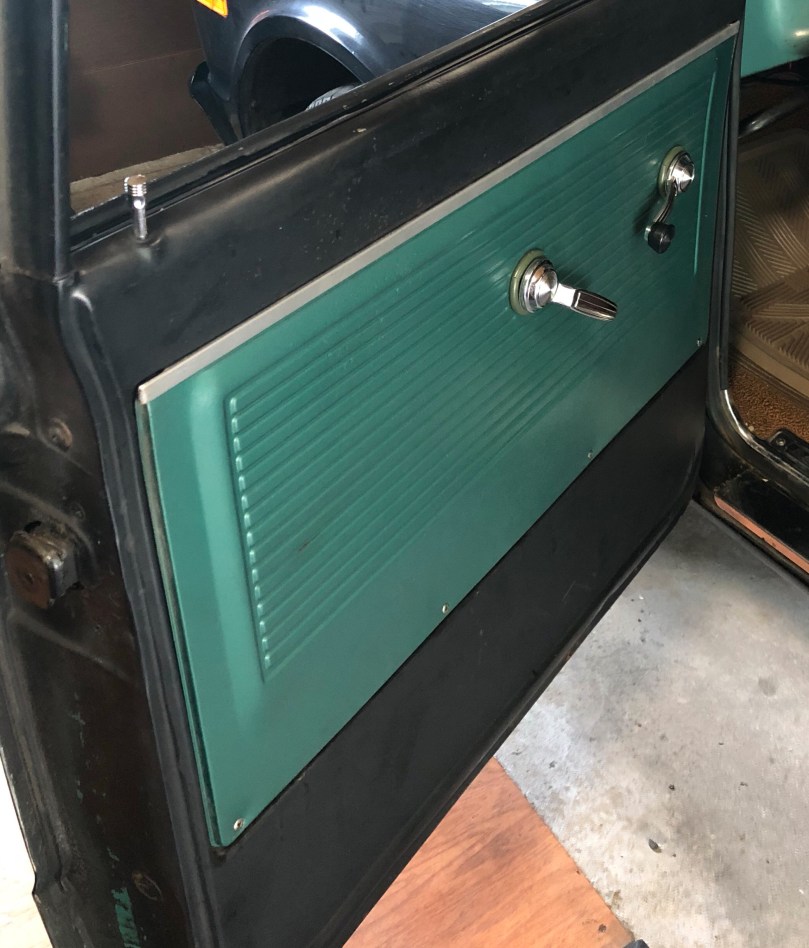
Freshened up the black on the doors, changed the color of the panels to match the green dash, got new screws, and painted the panel strip silver.

New sun visors with chrome hardware.
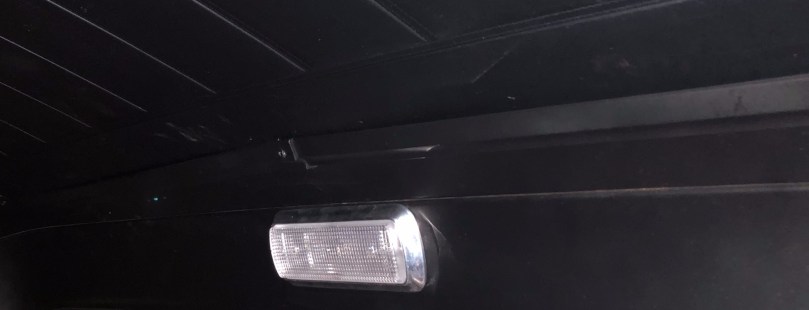
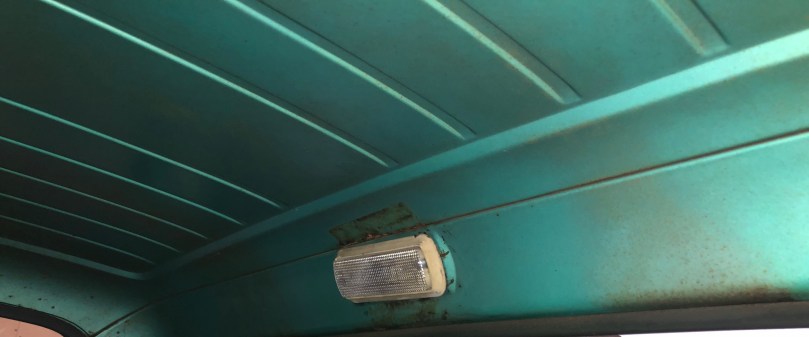
Black paint on most of the interior and a new bezel for the dome light.
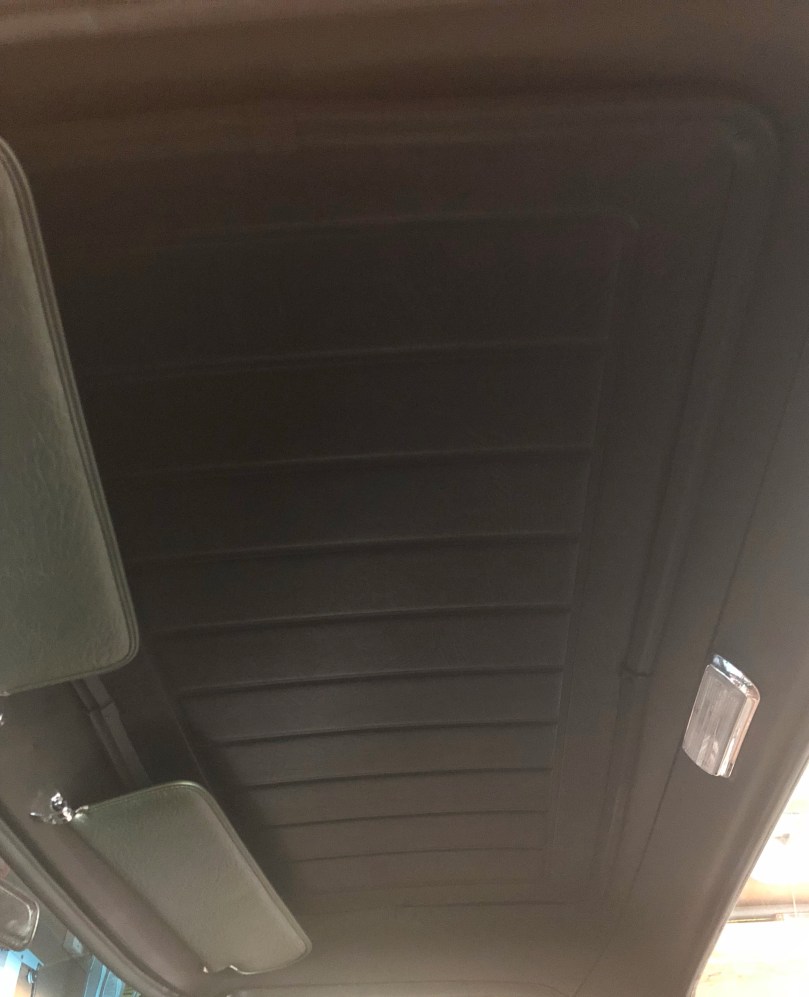
Installed an actual headliner and trim. The trim was chrome, but it didn’t fit worth a shit after drilling and cutting mounting holes the frame, so I painted it to make it blend in with the rest of the black.

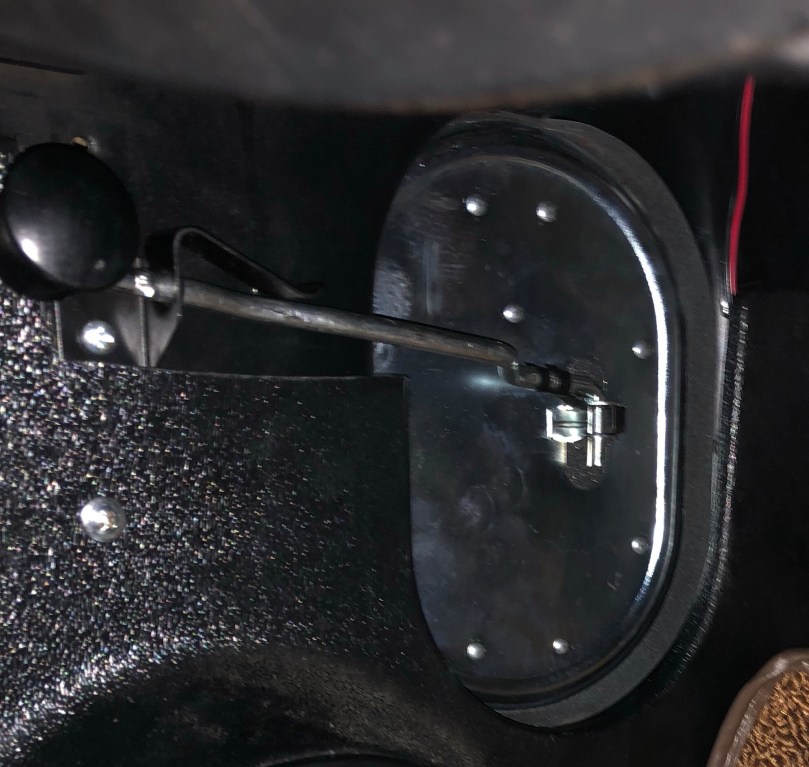
It’s a little hard to see here, but this is a chrome cover for the parking brake.
New side panel vents.
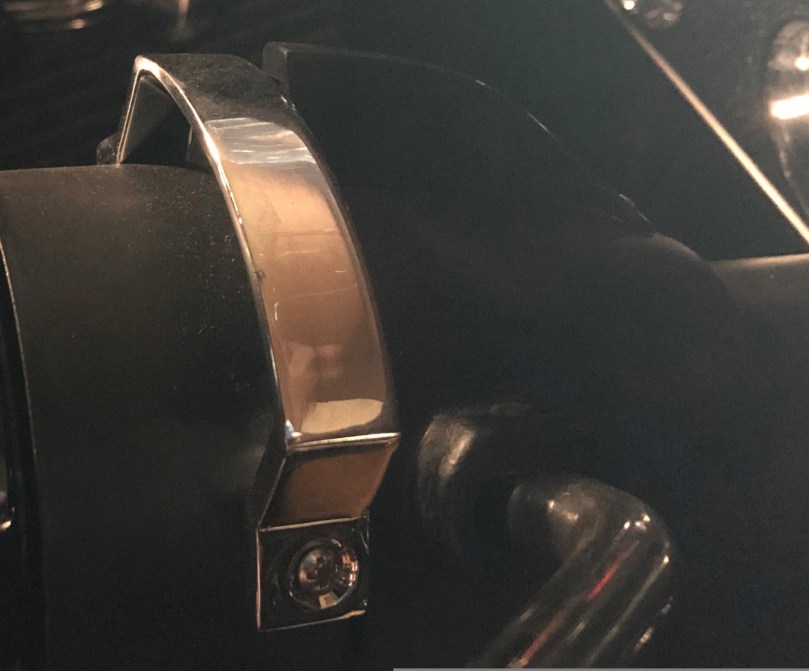
All new hardware on the steering column and black paint. New wiring harness inside and got the horn button working.

Can actually read the gears now.
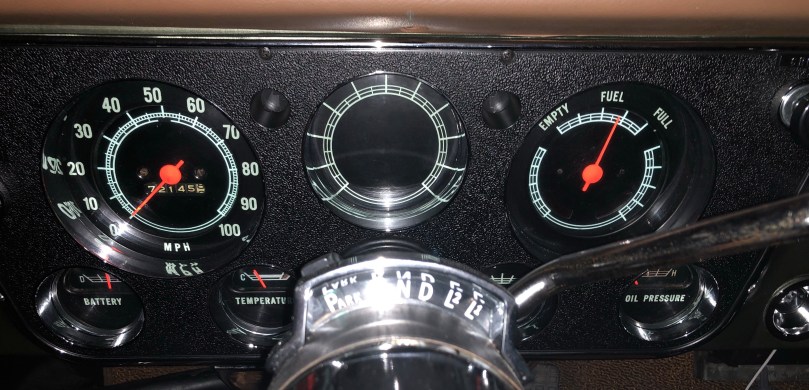
Put in a brand new instrument panel bezel, knobs, and circuit board. After removing the button used for the horn that had been in the choke position I put a dummy choke knob in there since the carb has an electric choke. Fixed the housing around the right blinker indicator so it lights up properly now. The gauges are the same but I pained the extremely faded needles; they really pop out now!
I have a new speedometer ordered because the odometer doesn’t work at all. I was able to take it apart and thought I’d repaired it by glueing back together one of the gears. It must have snapped again because the miles stopped turning over a day later. There are some inaccuracies which may be due to the old speedometer, so after I get the new one I’ll see if I have to take a look at the speedometer gears in the transmission or maybe replace the speedometer cable.


While moving the radio and other dash parts out-of-the-way, I think we bumped the wiper fluid pump motor, which must have been really loose because one of the bolts was out completely and the entire pump was dislodged from working properly with the wiper motor. I ended up having to take the pump motor off and learn how it works in conjunction with the wiper motor. Got it figured out, adjusted, and tightened up.

I replaced the dash light bulbs with green LEDs and all new bulb housings, which were quite corroded. The picture doesn’t do the lighting justice. The green lights are sweet at night. I also put a piece of green plastic inside the shift indicator instead of the previous orange, which I thought was too distracting.
I couldn’t begin to estimate how many hours we’ve spent working on the interior. I made some mistakes and learned a lot.
I’m really happy with how everything turned out.
