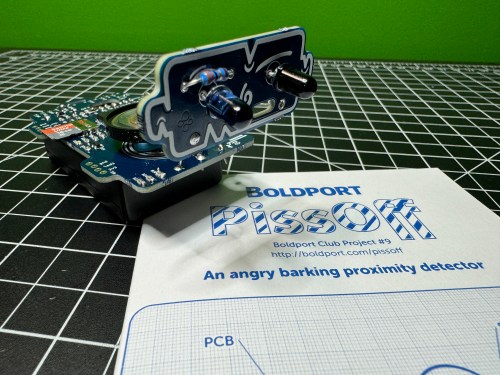
PissOff was project #9 of the Boldport Club, which was before my membership, but I bought it in December of 2018 with my credits when the club closed. I recorded an unboxing video on February 21, 2021 and I guess I ran out of time for the build. The project sat on my shelf for almost three more years before I finally assembled the circuit, which ended up being five years after ordering it!
The kit created a proximity sensor via IR and combined it with annoying noises. With so many surface mount components, this was one of my most challenging electronic soldering builds. I really struggle when an IC has a lot of pins. At one point I tried some other solder and realized what I’d been using was junk, so it went right in the trash.
I screwed up the placement of a couple of SMD capacitors, but caught myself soon enough to remember which ones needed to be exchanged. The other mistake I made was swapping locations between the IR phototransistor and diode, which I didn’t catch until testing. After putting them in the correct locations, everything worked!
Here’s a 8x speed run of the unboxing and some footage of Ninja’s testing.
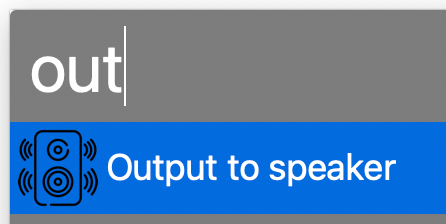
When playing music I usually change my office MacBook’s sound output to a Sonos speaker, which is an AirPlay device. Sometimes the connection freezes and I have to reset output my default device and back to the office speaker. I wanted to automate both of these processes, so I found an AppleScript as a starting point. I modified it and created an Alfred Workflow with a keyword trigger. Here’s my version of the AppleScript. Feel free to modify it for your own use.
	-- This script can be used to set/reset the sound output

	-- Two devices because sometimes the AirPlay device loses connection
	set myDevices to {"LG UltraFine Display Audio", "Office"}

	tell application "System Settings"
		-- sometimes it is already open to Sound, which causes an error
		quit
		delay 0.2
		activate
		delay 0.2

		tell application "System Events"
			tell process "System Settings"
				delay 0.4
				set theWindow to first window
				delay 0.4
			end tell

			keystroke "Sound"
			delay 0.5

			tell application process "System Settings"
				tell its group 2 of scroll area 1 of group 1 of group 3 of splitter group 1 of group 1 of window "Sound"
					tell its radio button 1 of tab group 1
						click
					end tell

					delay 0.3

					tell its scroll area 1
						try
							set theRows to (every row of outline 1)
						on error error_message number error_number
							--display dialog "Error: " & the error_number & ": " & the error_message buttons {"OK"} default button 1
						end try

						repeat with myDevice in myDevices
							set device to myDevice as string

							set found to false

							-- Sometimes the device isn't listed yet, so delay and retry
							repeat 10 times
								repeat with aRow in theRows
									try
										if name of static text 1 of group 1 of UI element 1 of aRow is equal to device then
											set selected of aRow to true
											set found to true

											set volume without output muted
											set volume output volume 10 --100%

											exit repeat
										end if
									on error
										--display dialog "Error setting output sound to " & device
									end try
								end repeat

								if found = true then
									exit repeat
								end if

								delay 0.5
							end repeat
						end repeat
					end tell
				end tell
			end tell
		end tell

		quit
	end tell
Updated on November 28, 2023 to work with macOS Sonoma 14.1.1.
Updated on March 13, 2024 to retry multiple times if device isn’t listed yet.
Updated on March 21, 2024 to reset volume per device, since the OS remembers the last volume of each device.
Updated on October 8, 2025 to work with MacOS Tahoe 26.0.1.
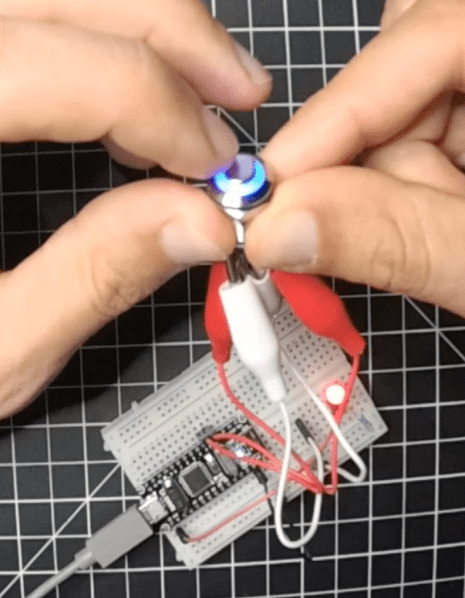
I like it when the new HackerBox shows up on a weekend.
I always see electronics projects for making some kind of digital synthesizer to generate sounds so it seems to be a common project. It’s one I’ve never done, so I’m looking forward to experimenting with this box.
Unfortunately the demo code included in the guide only uses the potentiometers, buttons, and LEDs. Will need to do some tinkering to turn this into a synth.
It’s been too long since I posted about designing a speaker in SketchUp, but other projects moved up on my priority list between then and now. Well, over the last few days I finally made the speaker. In the end, the delay was worth it, because several of the steps were a lot easier with tools I’ve acquired over the last few months.
I did those tests around the same time I was designing the speaker. Several months passed before I touched any of the components again. Since I wanted to use my own buttons, switch, and LEDs I needed to figure out the best ways to connect in to various points on the board. This involved a lot of poking and prodding with a multimeter. I figured everything out and did all of the soldering and wiring prep work to help with assembly once the box was built.
I had taken some general measurements when iterating on the design, but I thought it would be a good idea to create a cardboard model before cutting any wood. This mockup of the walls was an inch too short, but it let me get an idea of what kind of space would be on the inside. Knowing that the 1/2″ plywood would use up a lot more area, I increased several dimensions and changed the angles on the 3 front pieces.
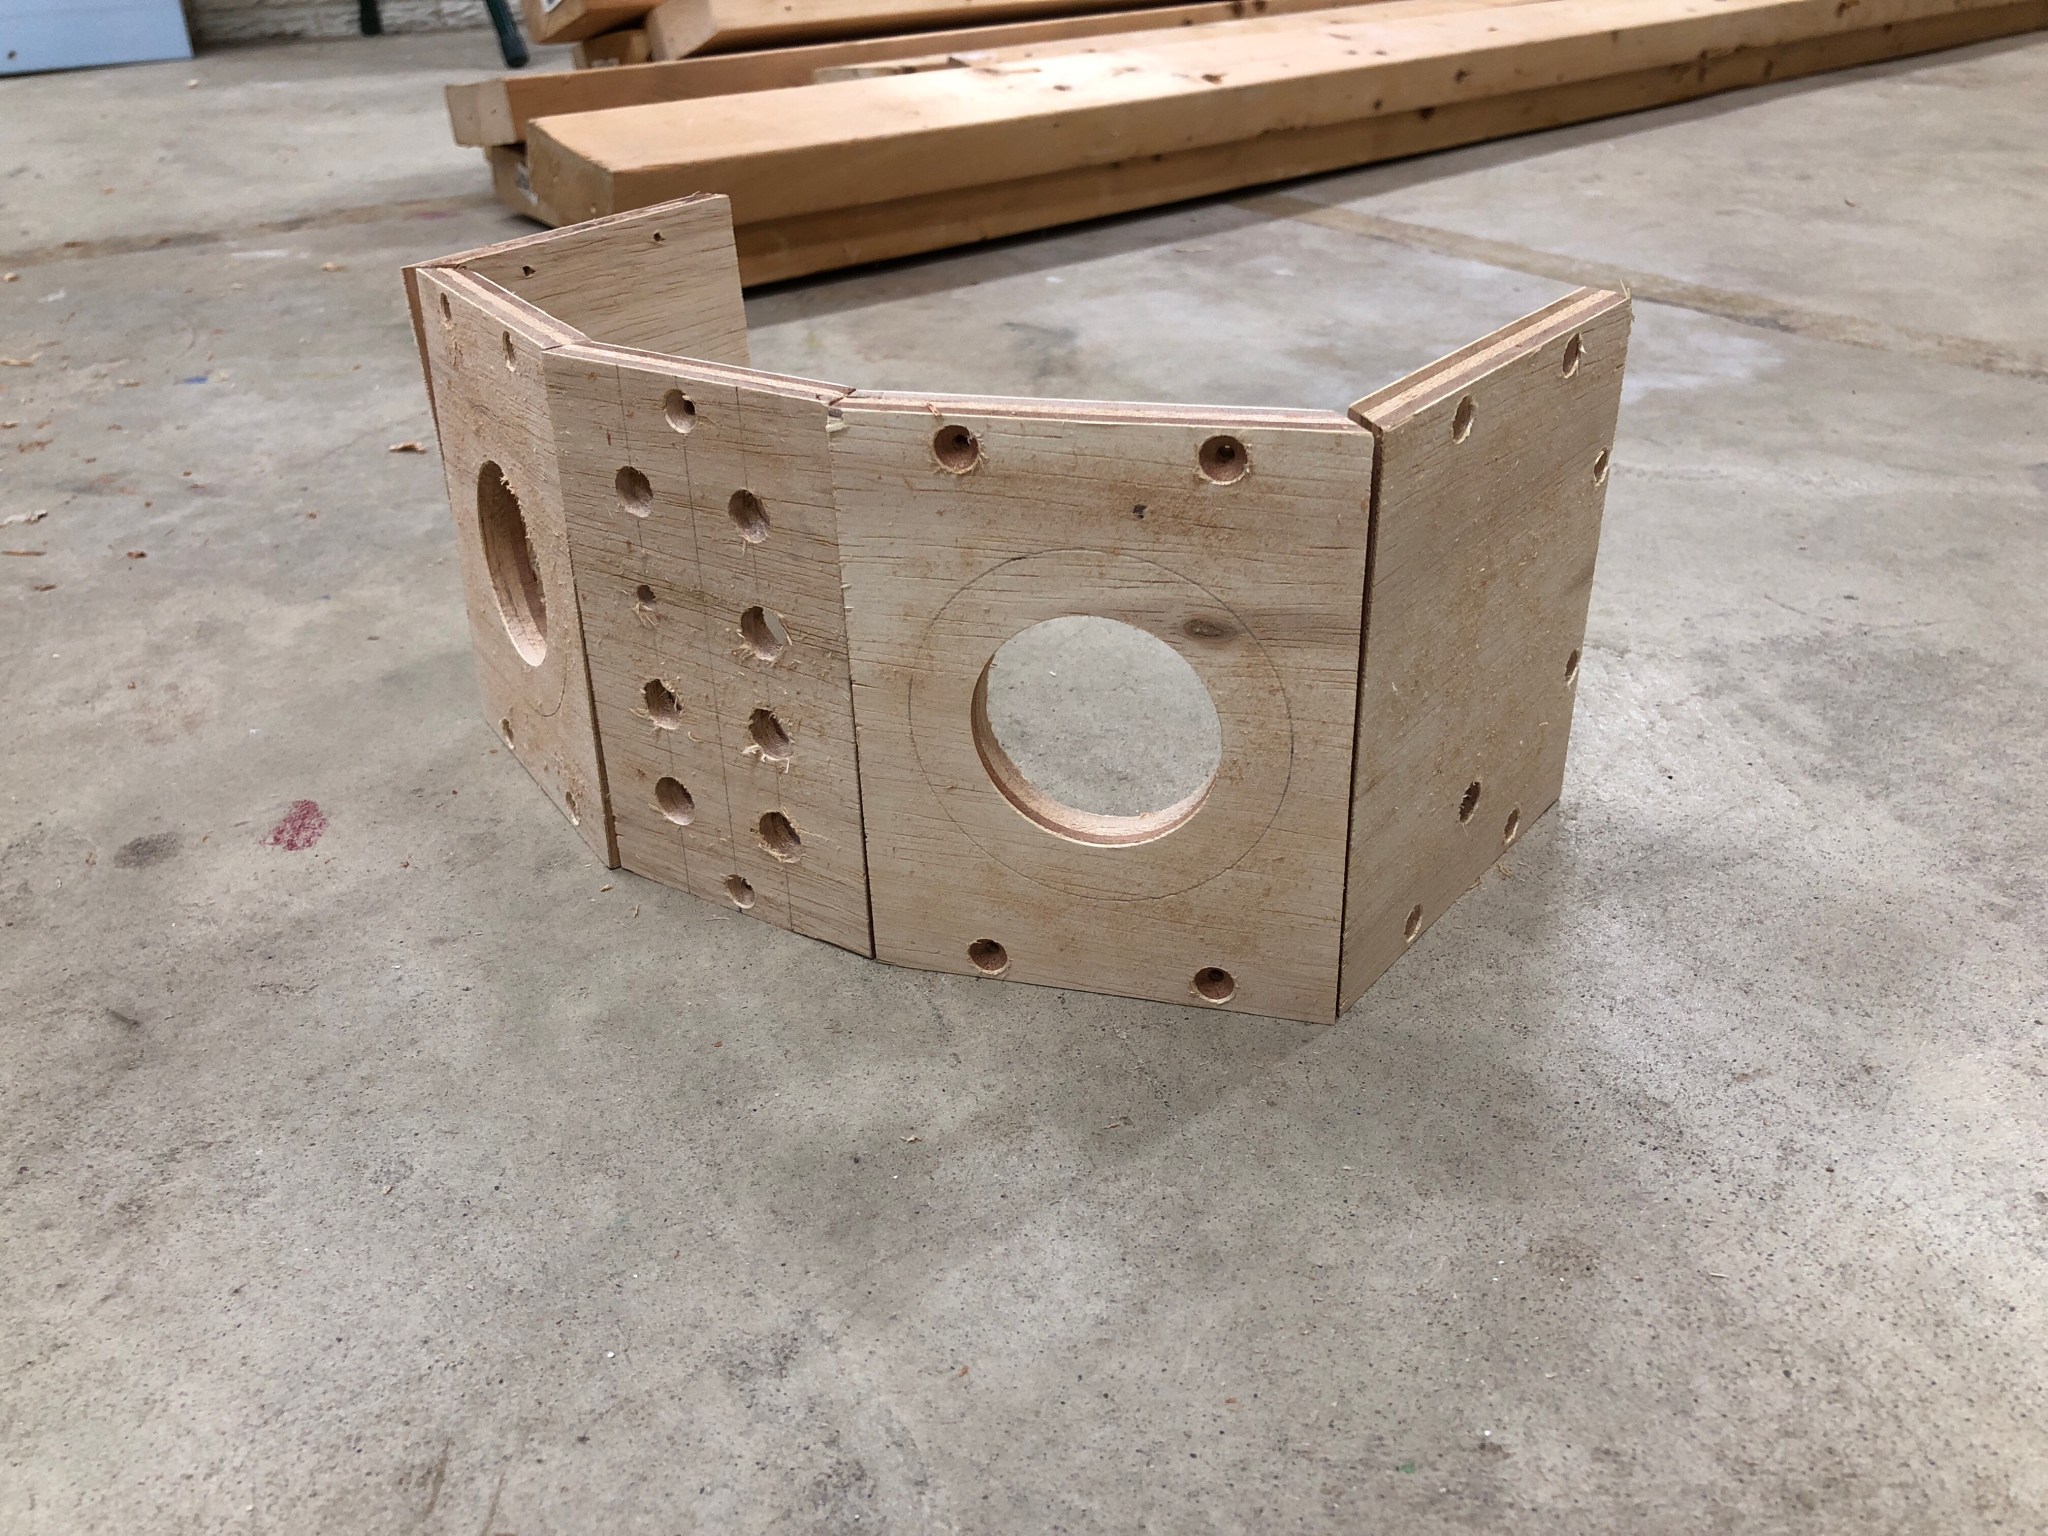
After cutting the 3 front pieces and two sides, I measured and marked all of the spots where I needed to drill holes.
Then I spent a lot of time with the drill press. There was a lot of measuring and calculating because pretty much everything going on the front face needed some kind of recess.
It was looking pretty good!
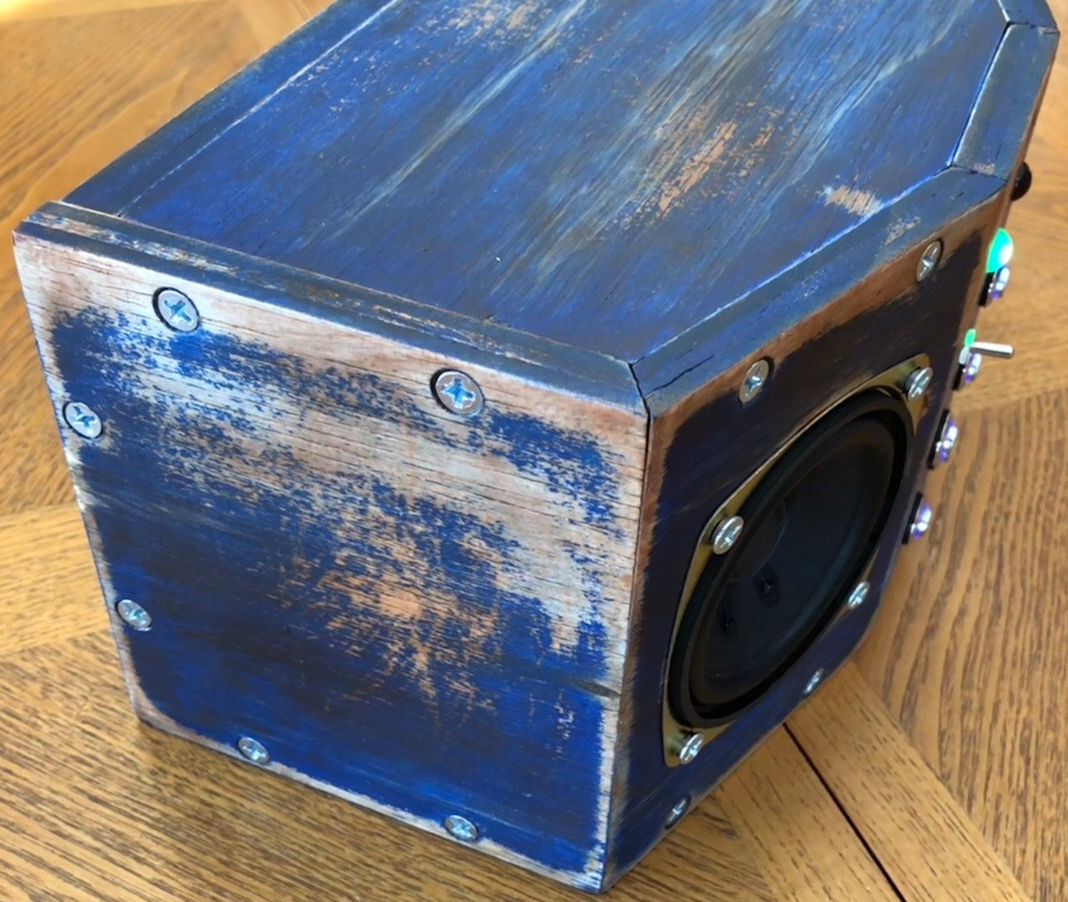
Since I hadn’t updated my SketchUp plans for the changes, it was tricky getting the correct sizes for the top, bottom, and back pieces. I ended up screwing some parts together in a step-by-step process and then making small cuts on the new pieces to inch up on the fits. At the end I had to do a bunch of sanding on the front face, which was the last piece I screwed together. It was really cool seeing the design come to life.
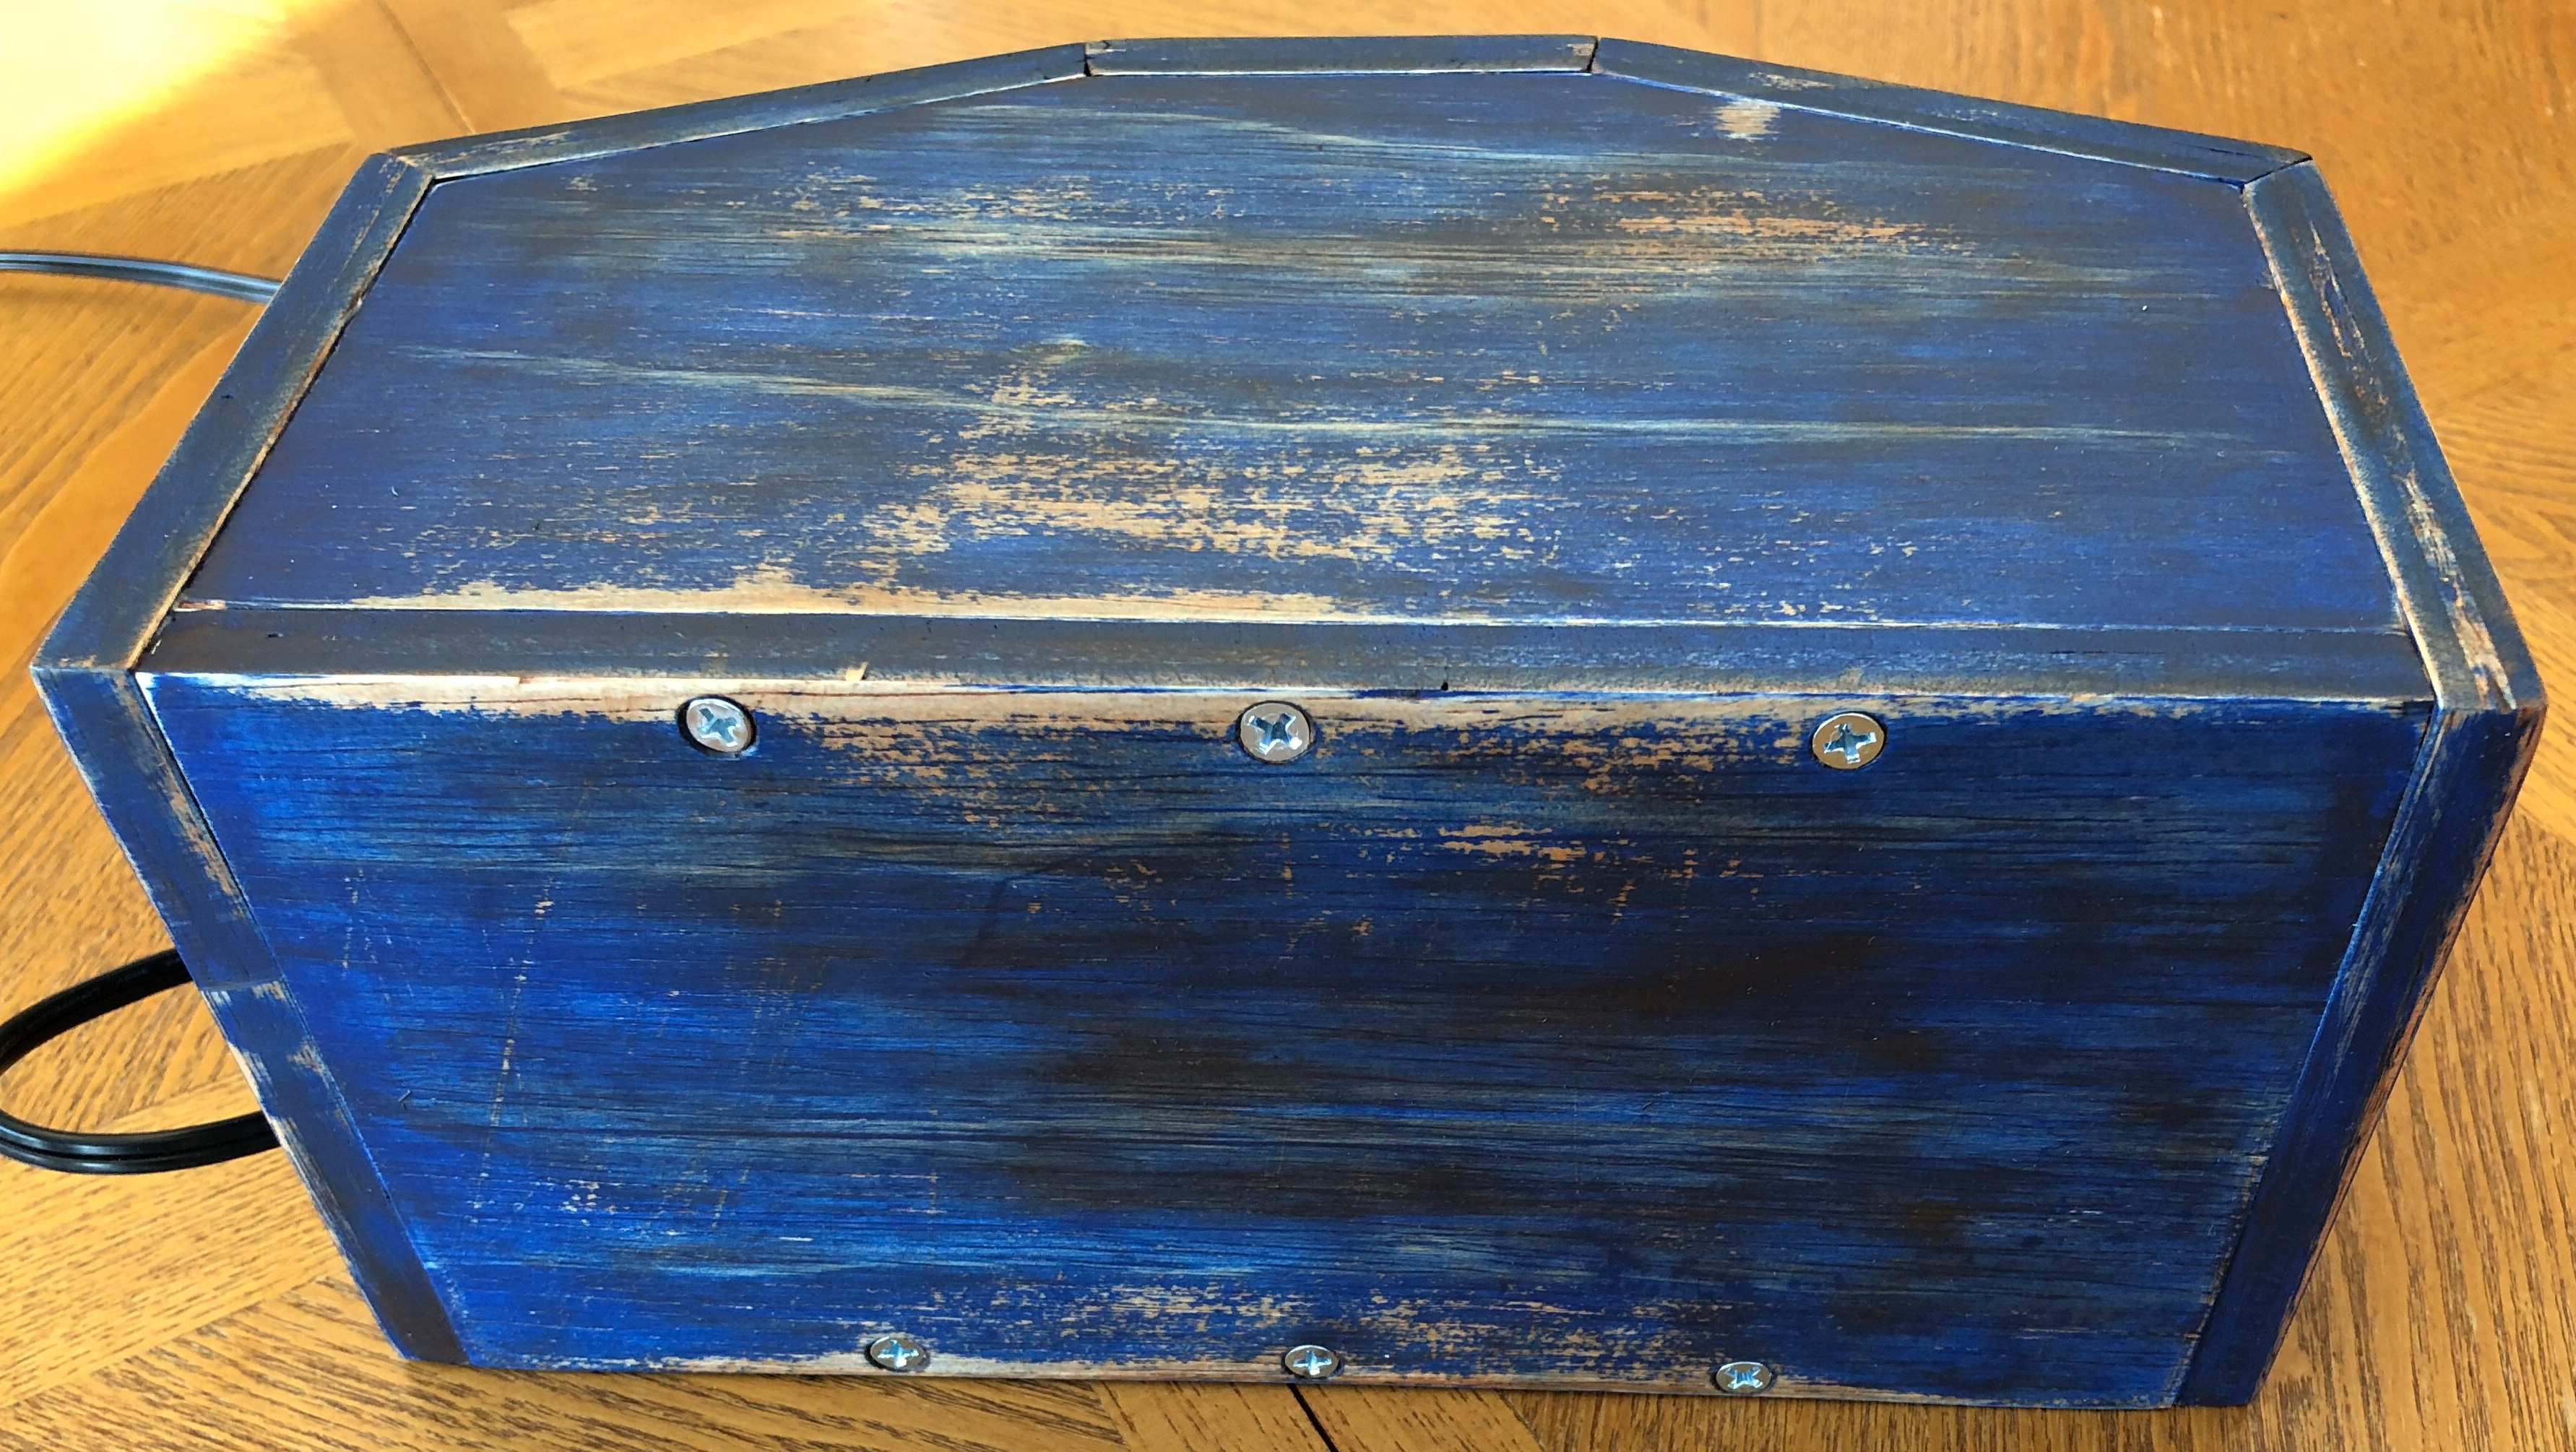
Time for some finishing work. I sanded edges and cleaned off all of the dust before I did a quick coat of spray paint. I wanted to try a neat technique I’d seen, so I did a bunch of sanding to rough up the paint. Then I coated everything with 2 coats of stain/poly, while doing a light sanding in between. After the first coat of stain, I unscrewed everything to apply the final coat because I wanted to make sure nothing was stuck together on the joints.
After letting everything dry it was time to work on the guts. I used the time-lapse recording option on my YI 4K Action Camera for the first time, which worked well, so here it is with voice-over to explain what I’m doing during the assembly process.
I wanted to give it a coat of Minwax paste finishing wax when I was done, but with all of the buttons and speakers in the way it would have been too hard to work around them. Should have done it before. I’m pretty thrilled with how the paint and stain combo turned out.
The dimensions ending up being 5″ tall, 10″ wide, 4.5″ deep at the sides, and 5.75″ deep in the middle. It weighs just under 4 pounds with most of that coming from the 2 speakers. It’s hard to get a sense for the size in the cropped images above, so for scale here is a comparison with a beer bottle.
I’ve been using an old Jawbone Jambox for music in my garage gym. This is so much more convenient because it plugs in and has a permanent spot. No more worrying about a dead battery or trying to find the Jambox when it’s time for a workout.
Whenever I was using the Airdyne or Ski Erg, it was hard to hear the Jambox. Judging by the test below, I should be able to crank the tunes now. I played 30 seconds of “Welcome to the Jungle” with both speakers, starting at the 1:00 mark, and increasing the volume every 5 seconds.
Each spark unleashes a bolt of plasma that makes the air explode. Repeat these explosions fast enough and you get a musical note. Four coils, four notes. Custom electronic hardware and software convert MIDI encoded music to pulses of light. At the other end of four fiber optic cables, the powerful amplifiers in the bases of each coil transform 300 volt DC power into hundreds of thousands of volts of musical lightning.
Working from home isn’t always rainbows and cupcakes as you might expect. It can be easy to get distracted, especially with what’s going on in our country right now. One thing that’s worked well for me lately is listening to a single song on repeat. It doesn’t take long for the sound to fade away and I really zone out on my work.
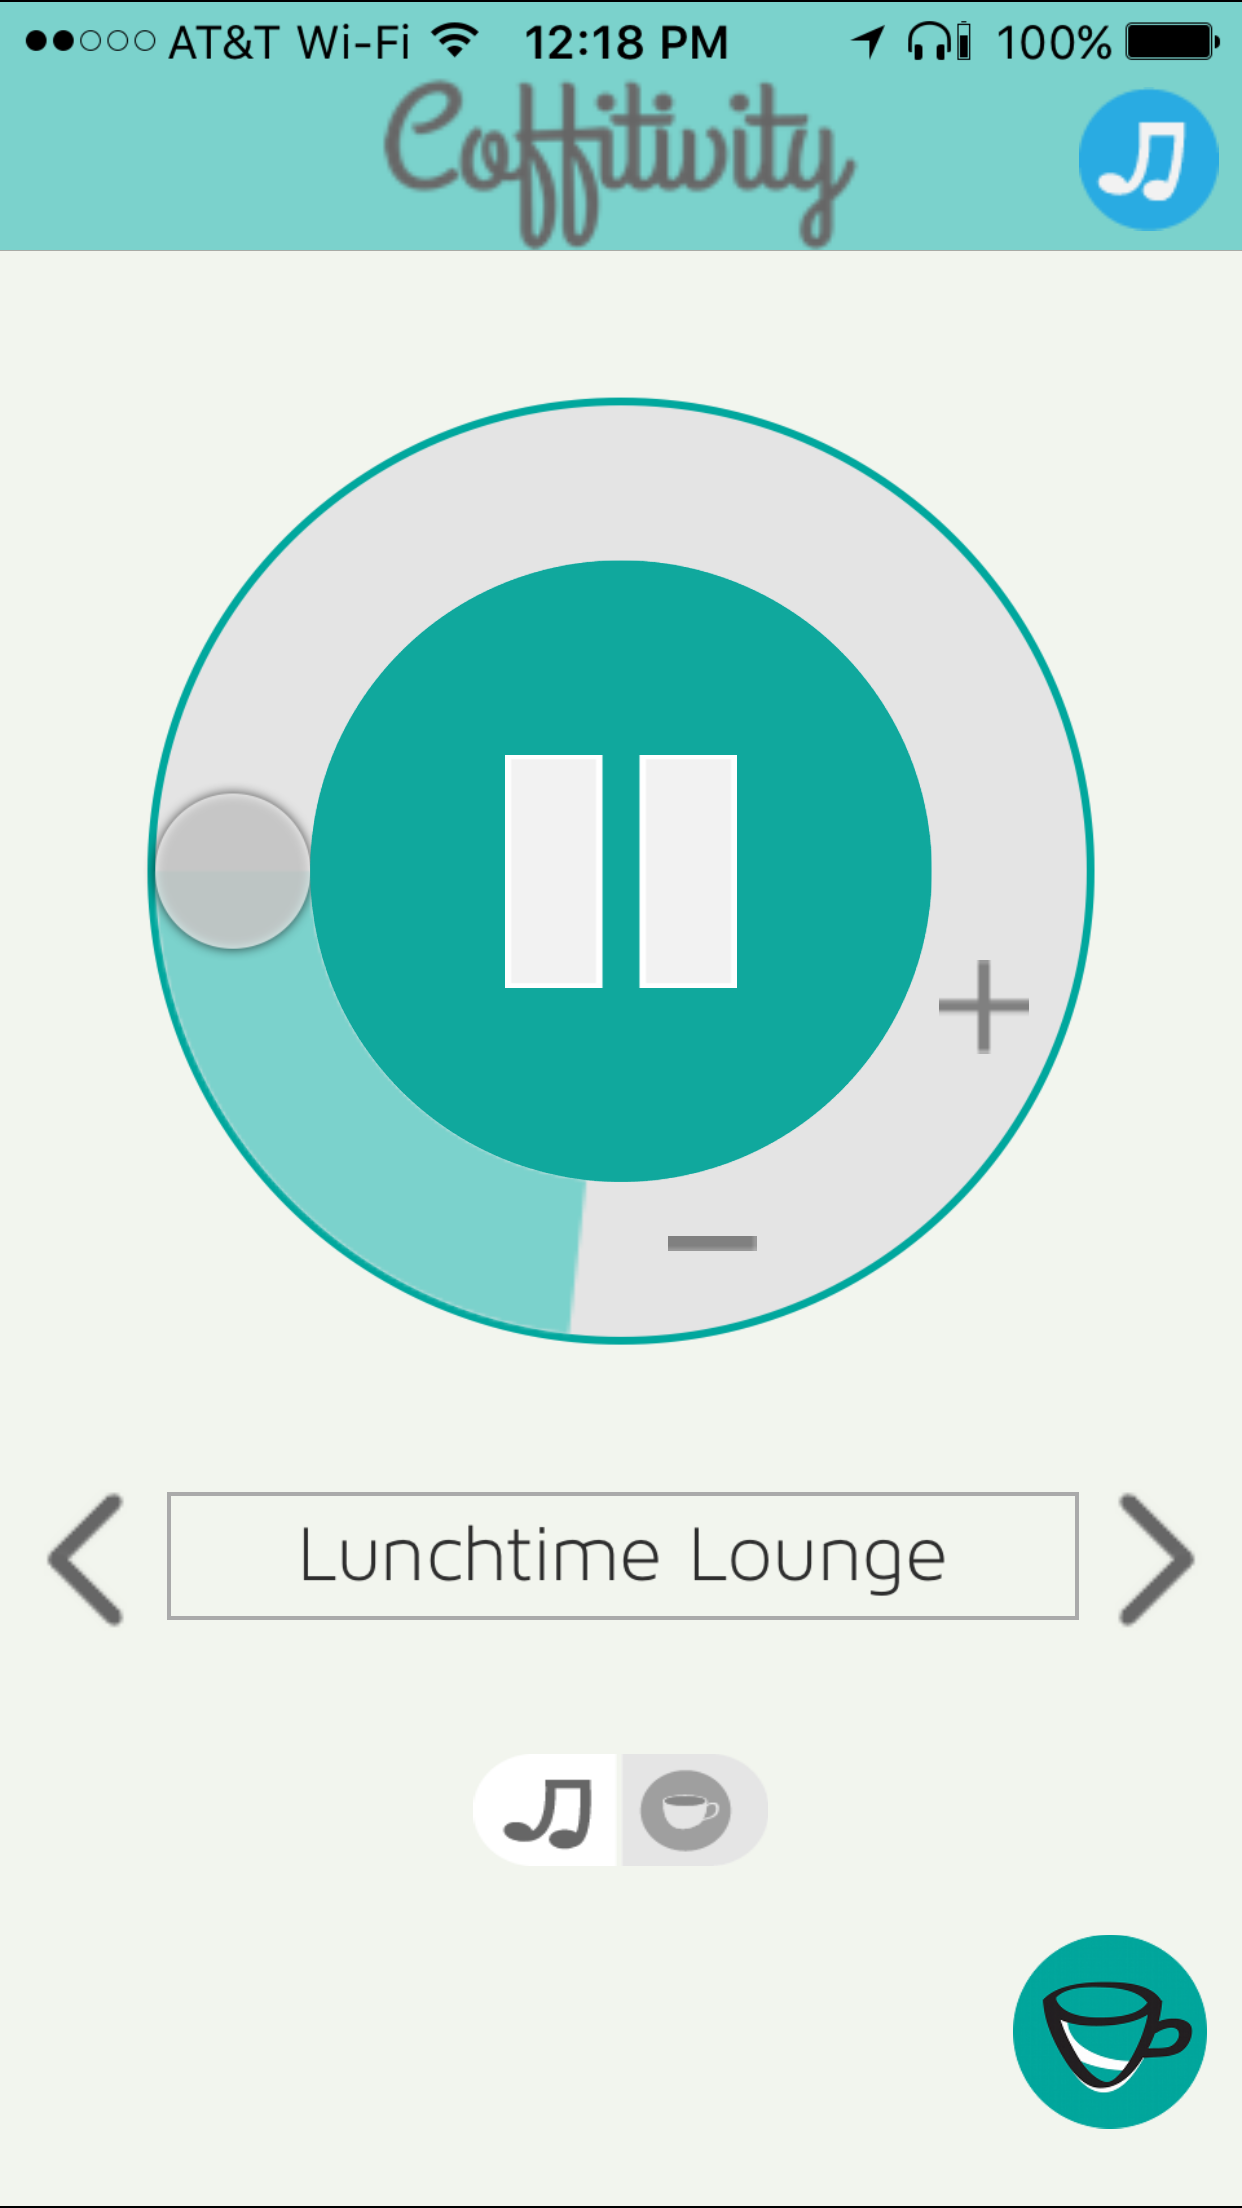
I also have the flexibility to work from anywhere I want, but I rarely ever head out to coffee shops for WiFi, unless my power is out. I’ve read about people working to the sounds of a coffee shop more and more, so when Ingrid told our team Coffitivity was working well for her, I figured I’d give it a shot.
I’m just starting today so don’t have any conclusions yet. I’m wearing my WordPress-customized Sennheiser Momentum Wireless 2.0 Over-ear Wireless headphones for the noise cancellation. It does seem a little weird to wear headphones since I live alone, but in just a short time I’ve realized I’m not being distracted by birds or squirrels outside my window or vehicles driving by.
I bought a set of these Sony MDR-EX51LP Fontopia Headphones on eBay and they came yesterday. They are definitely worth the price for the quality that you receive. I think I paid less than $30 after shipping costs are included. They fit great in the ears and have two additional sizes of attachments if your ears are larger or smaller than average. When you put them in, you can barely hear anything around you and that’s even before you start up music.
I used them at the gym last night with my iPod nano and was impressed. The sound quality is good and you don’t have to pump up the volume to block out the surrounding noise. I’d definitely recommend them.