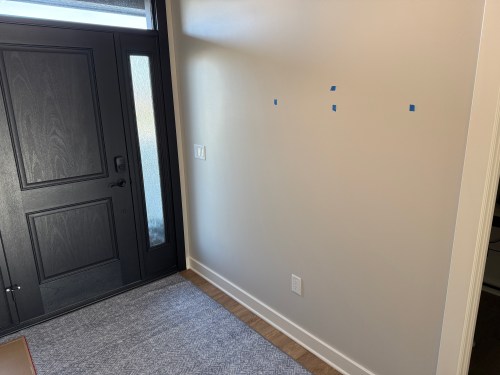
We left our foyer empty in the house design so I could build some things for it.
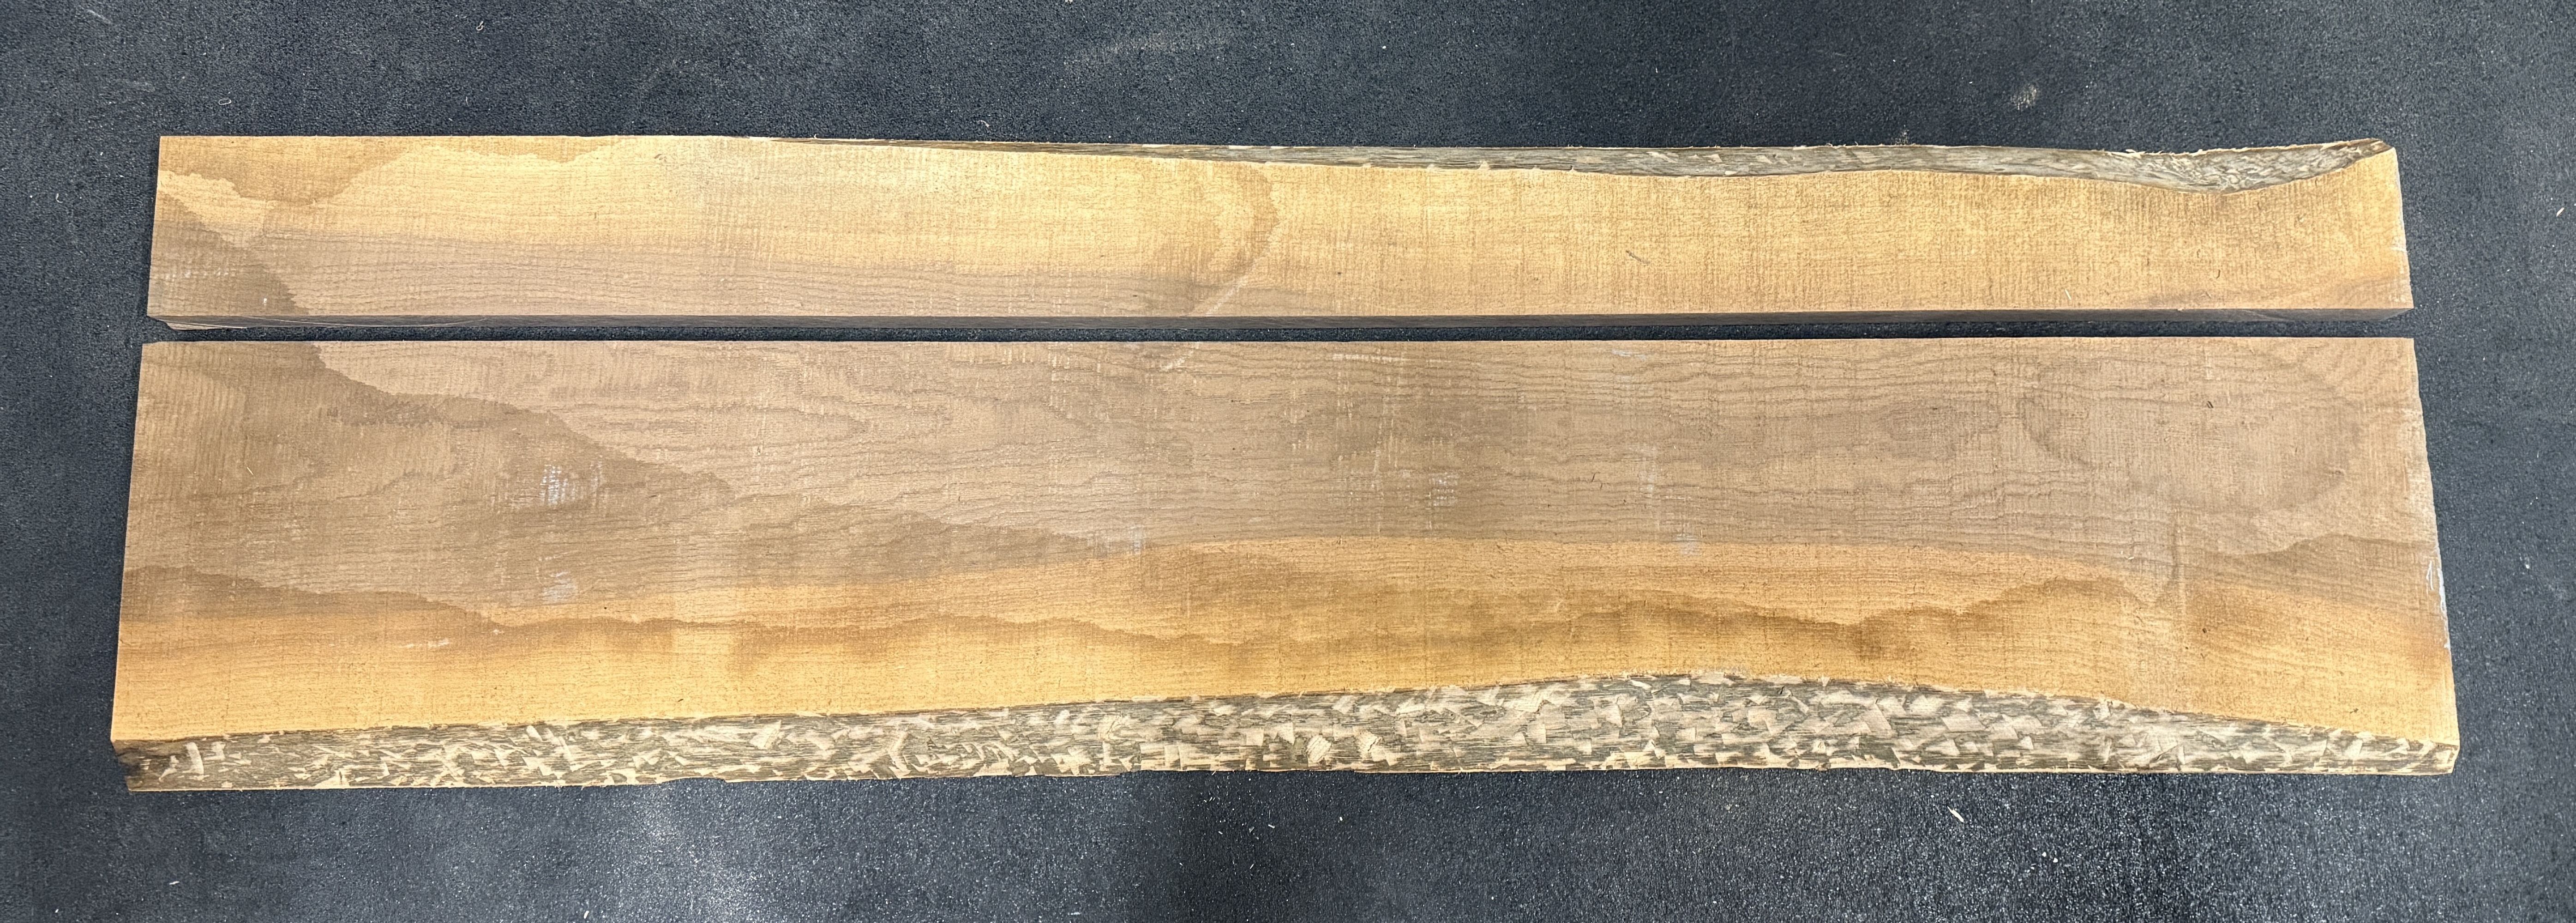
First up was a coat rack. I pulled out a piece of walnut and got the bulk of the bark off the live edge. This piece has a lot of sapwood, which should turn out sweet.
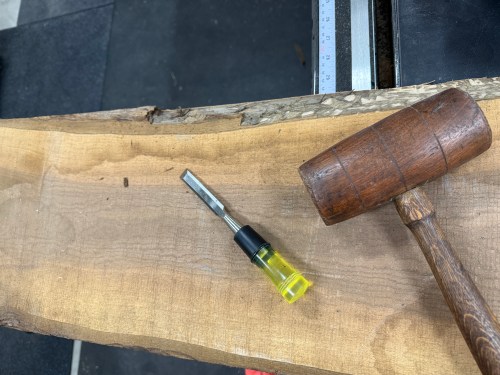

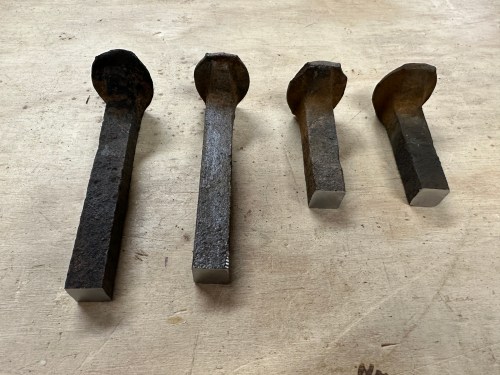
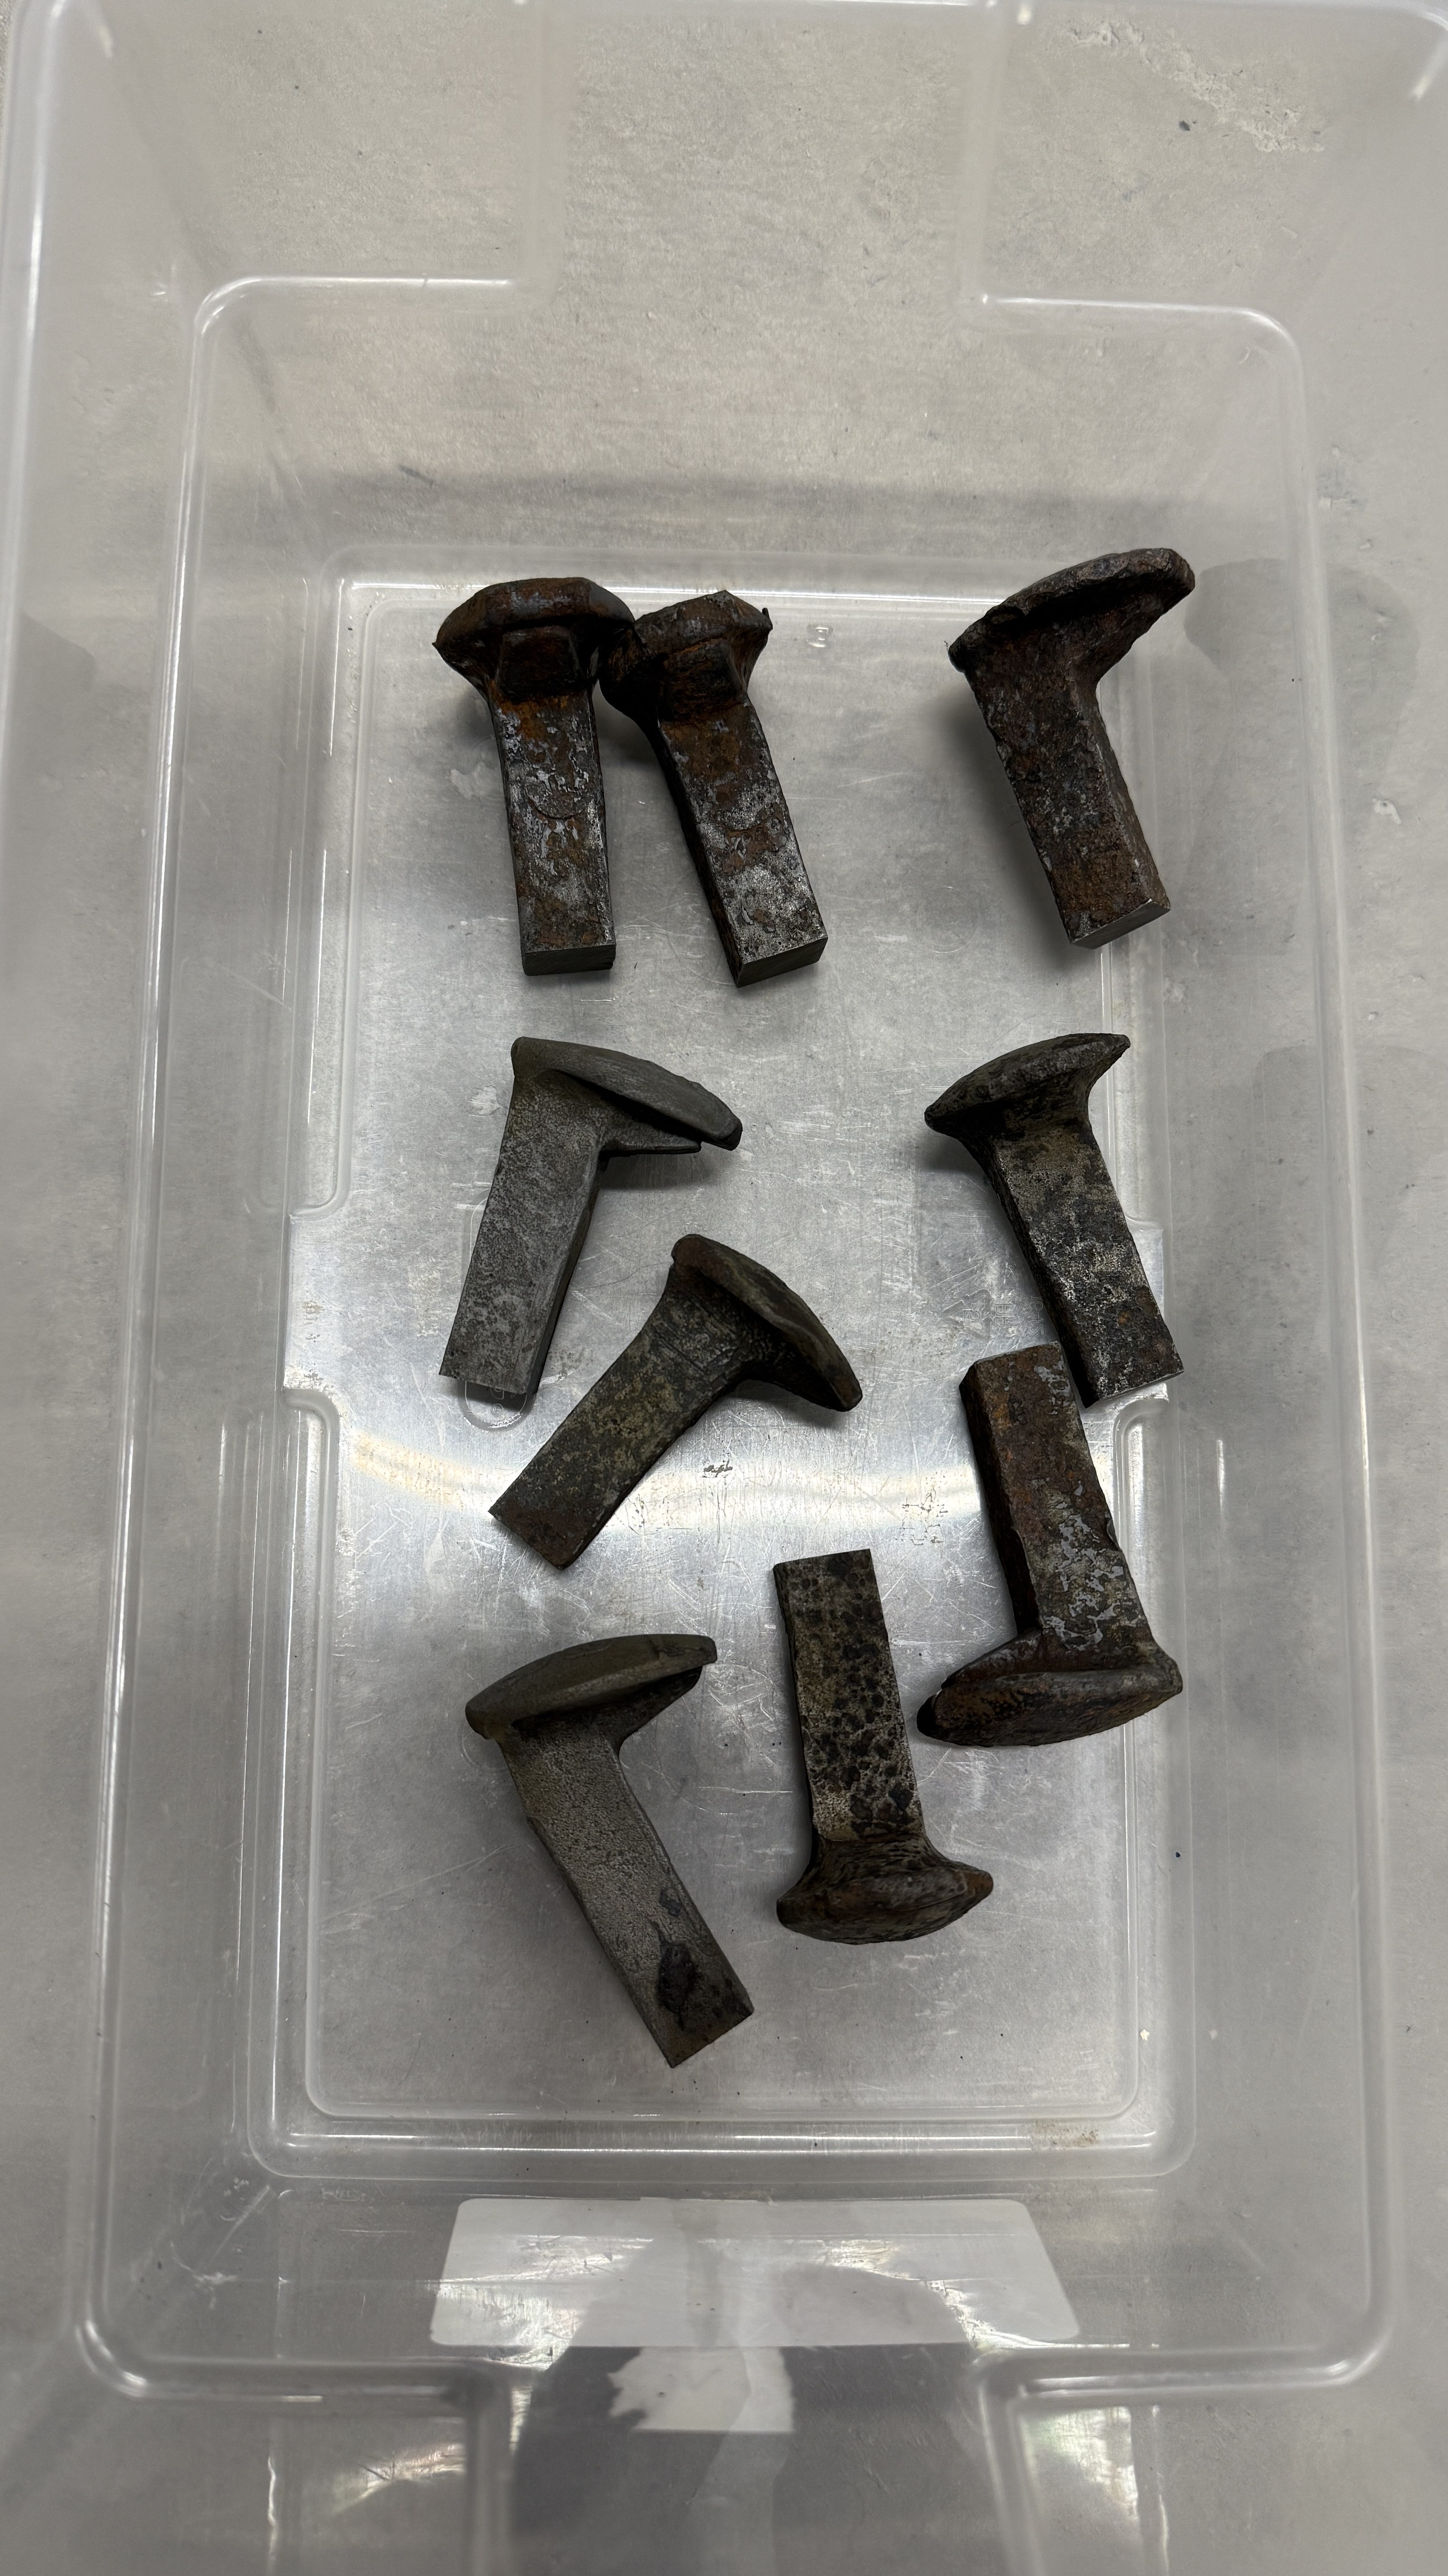
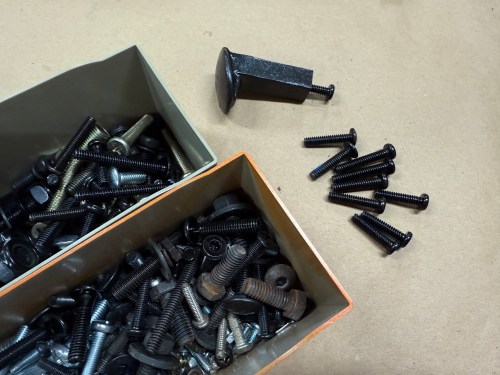
Before getting ahead of myself by sizing the board in any way, I wanted to make the hooks from railroad spikes so I could see how much space they’d need. I bought about 20 of these on Facebook Marketplace a few years ago and still have a bunch.
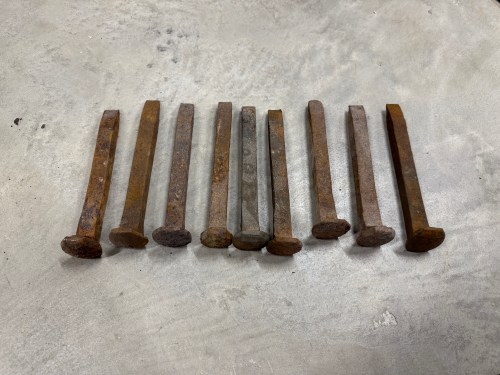
I don’t have much for metal working tools, so I knew I wouldn’t be able to get consistent length by cutting with an angle grinder. In order to give myself a decent chance at success, I screwed a couple pieces of plywood to my drill press vise and drew a reference line. Then I cut all nine spikes.


At the disc sander I flattened the ends. For the spikes to lay square to the sanding surface I propped them up on some wood.

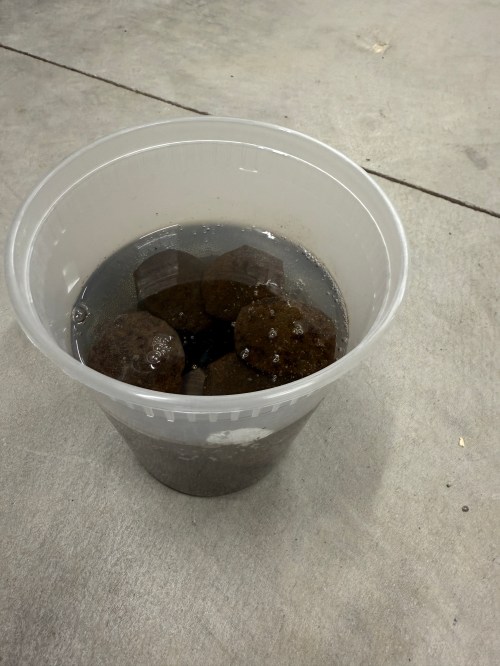
I soaked the pieces in a 50/50 mix of white vinegar and water overnight.
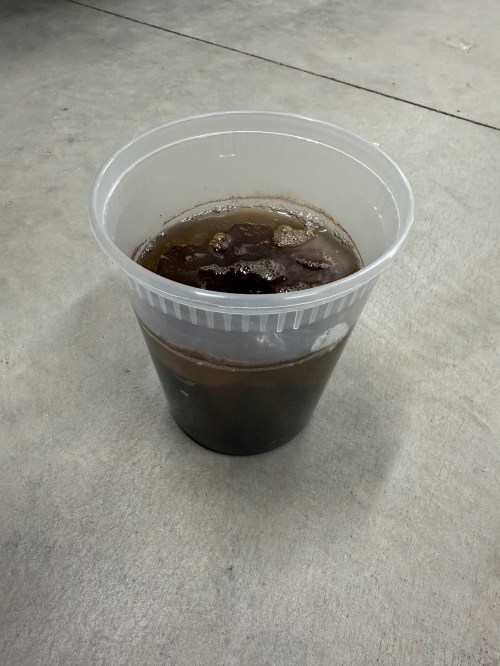
Rinsed and wiped them off.
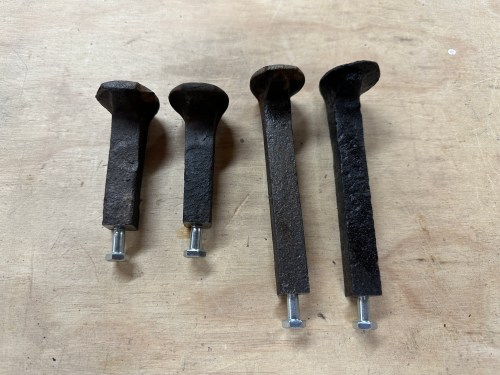
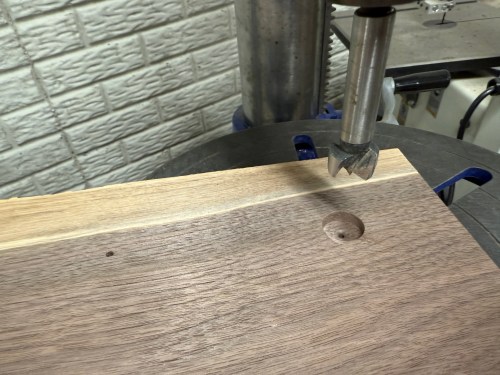
Marked the centers as best I could. Then I stepped through 3/32, 5/32, and 13/64 drill bits on each part. I broke one 3/32 bit and luckily it was deep enough in the hole where it wouldn’t matter.
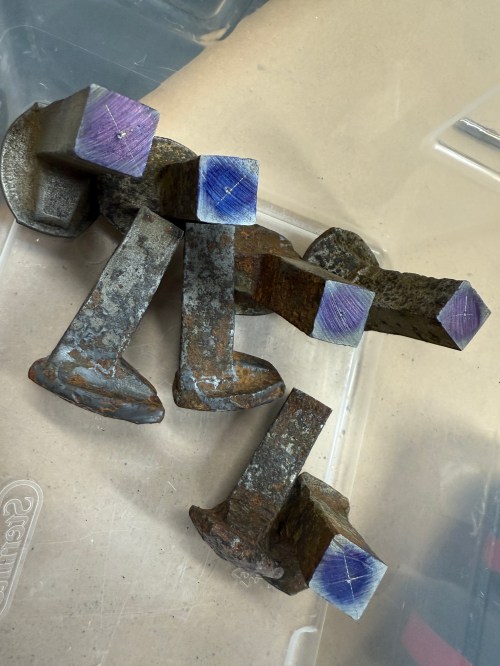

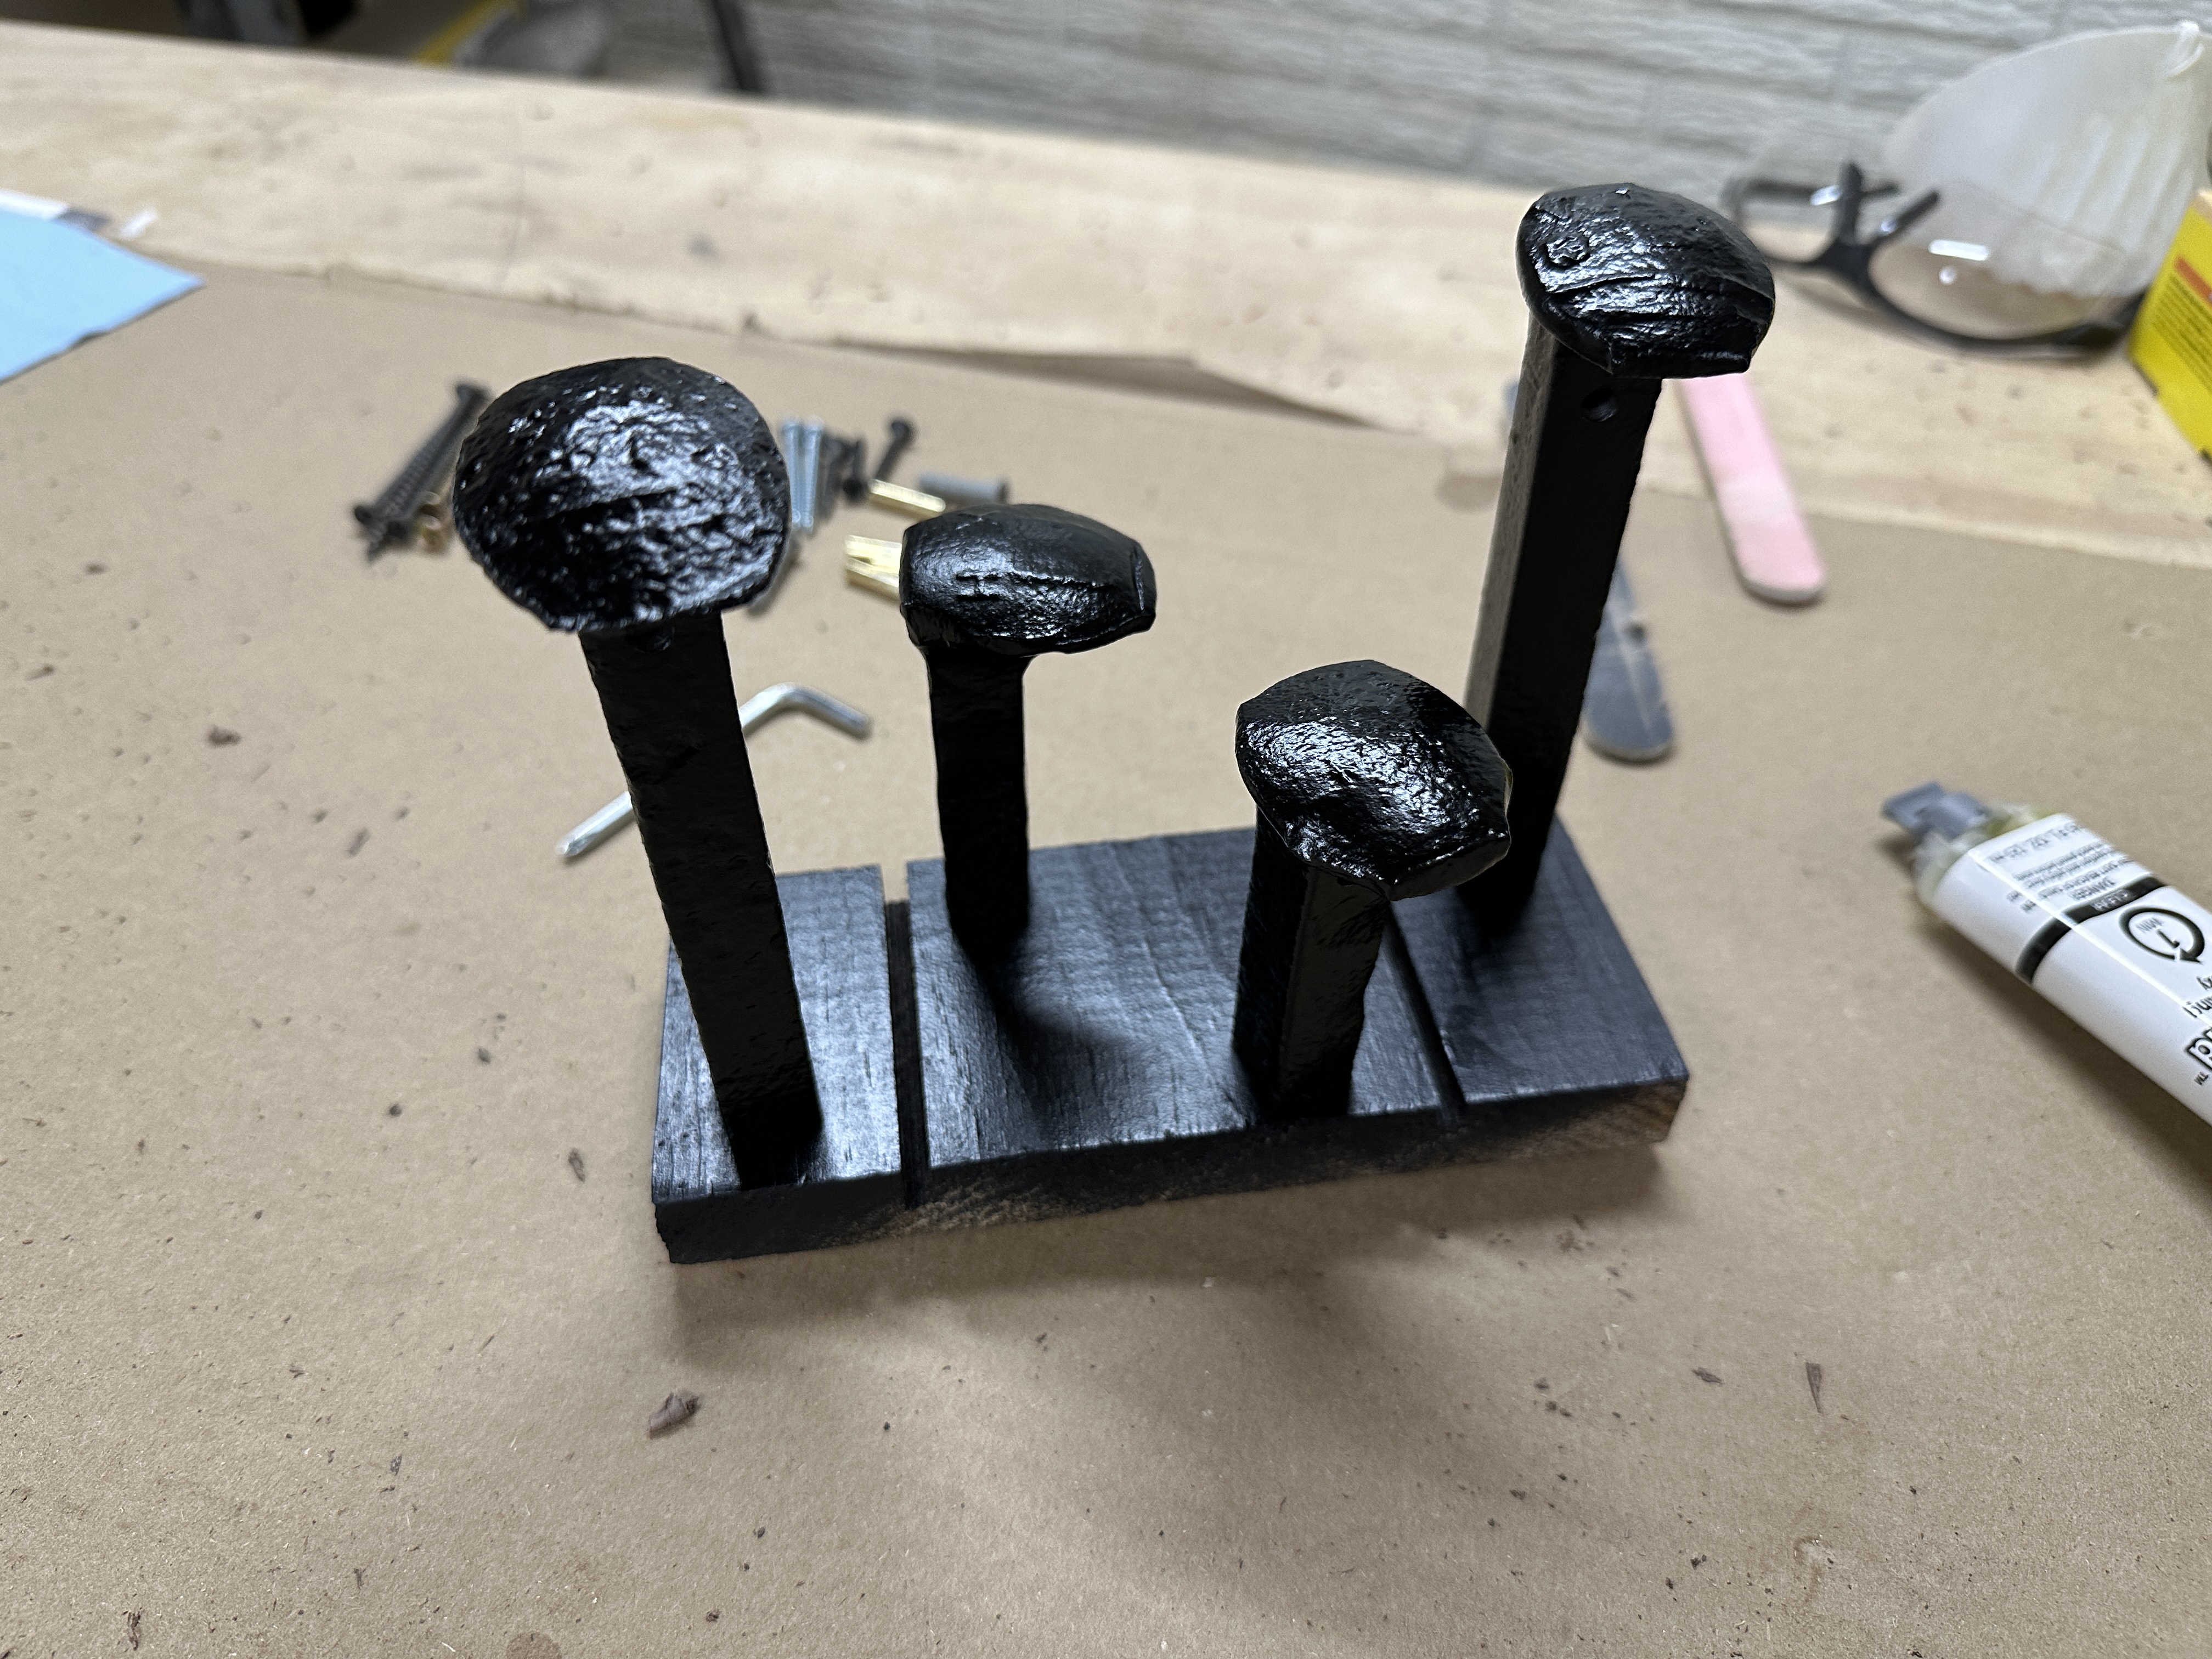
Then came my favorite part, adding threads in the holes. I used a 1/4-20 tap.


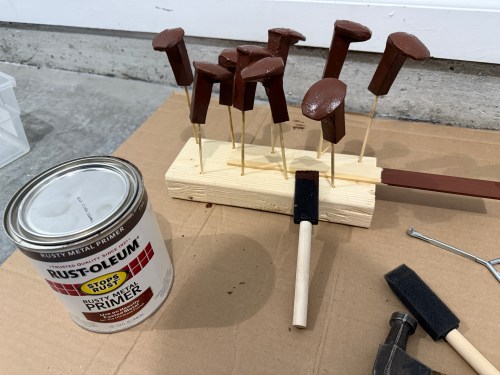
I cleaned up the rest of the rust on a bench grinder wire wheel. Then primer and paint.

Back to the wood. After doing a rough mockup, I cut a length of the larger board and ripped it to create pieces for the shelf and main.


Then they went through the planer.

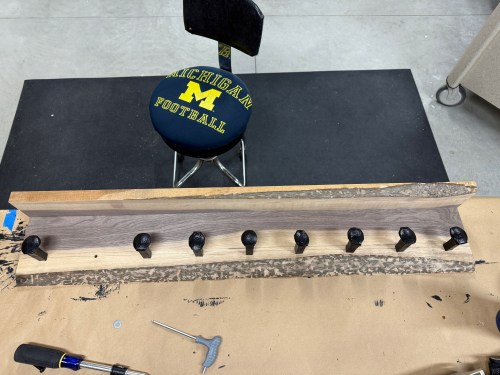
Drilled a bunch of holes, found some bolts in my collection, and did a dry fit.


I recently bought a corded 6″ random orbital sander, protection pads, and 3M Xtract Net discs, which make sanding much easier. After wiping with a tack cloth, I glued and screwed the pieces together.


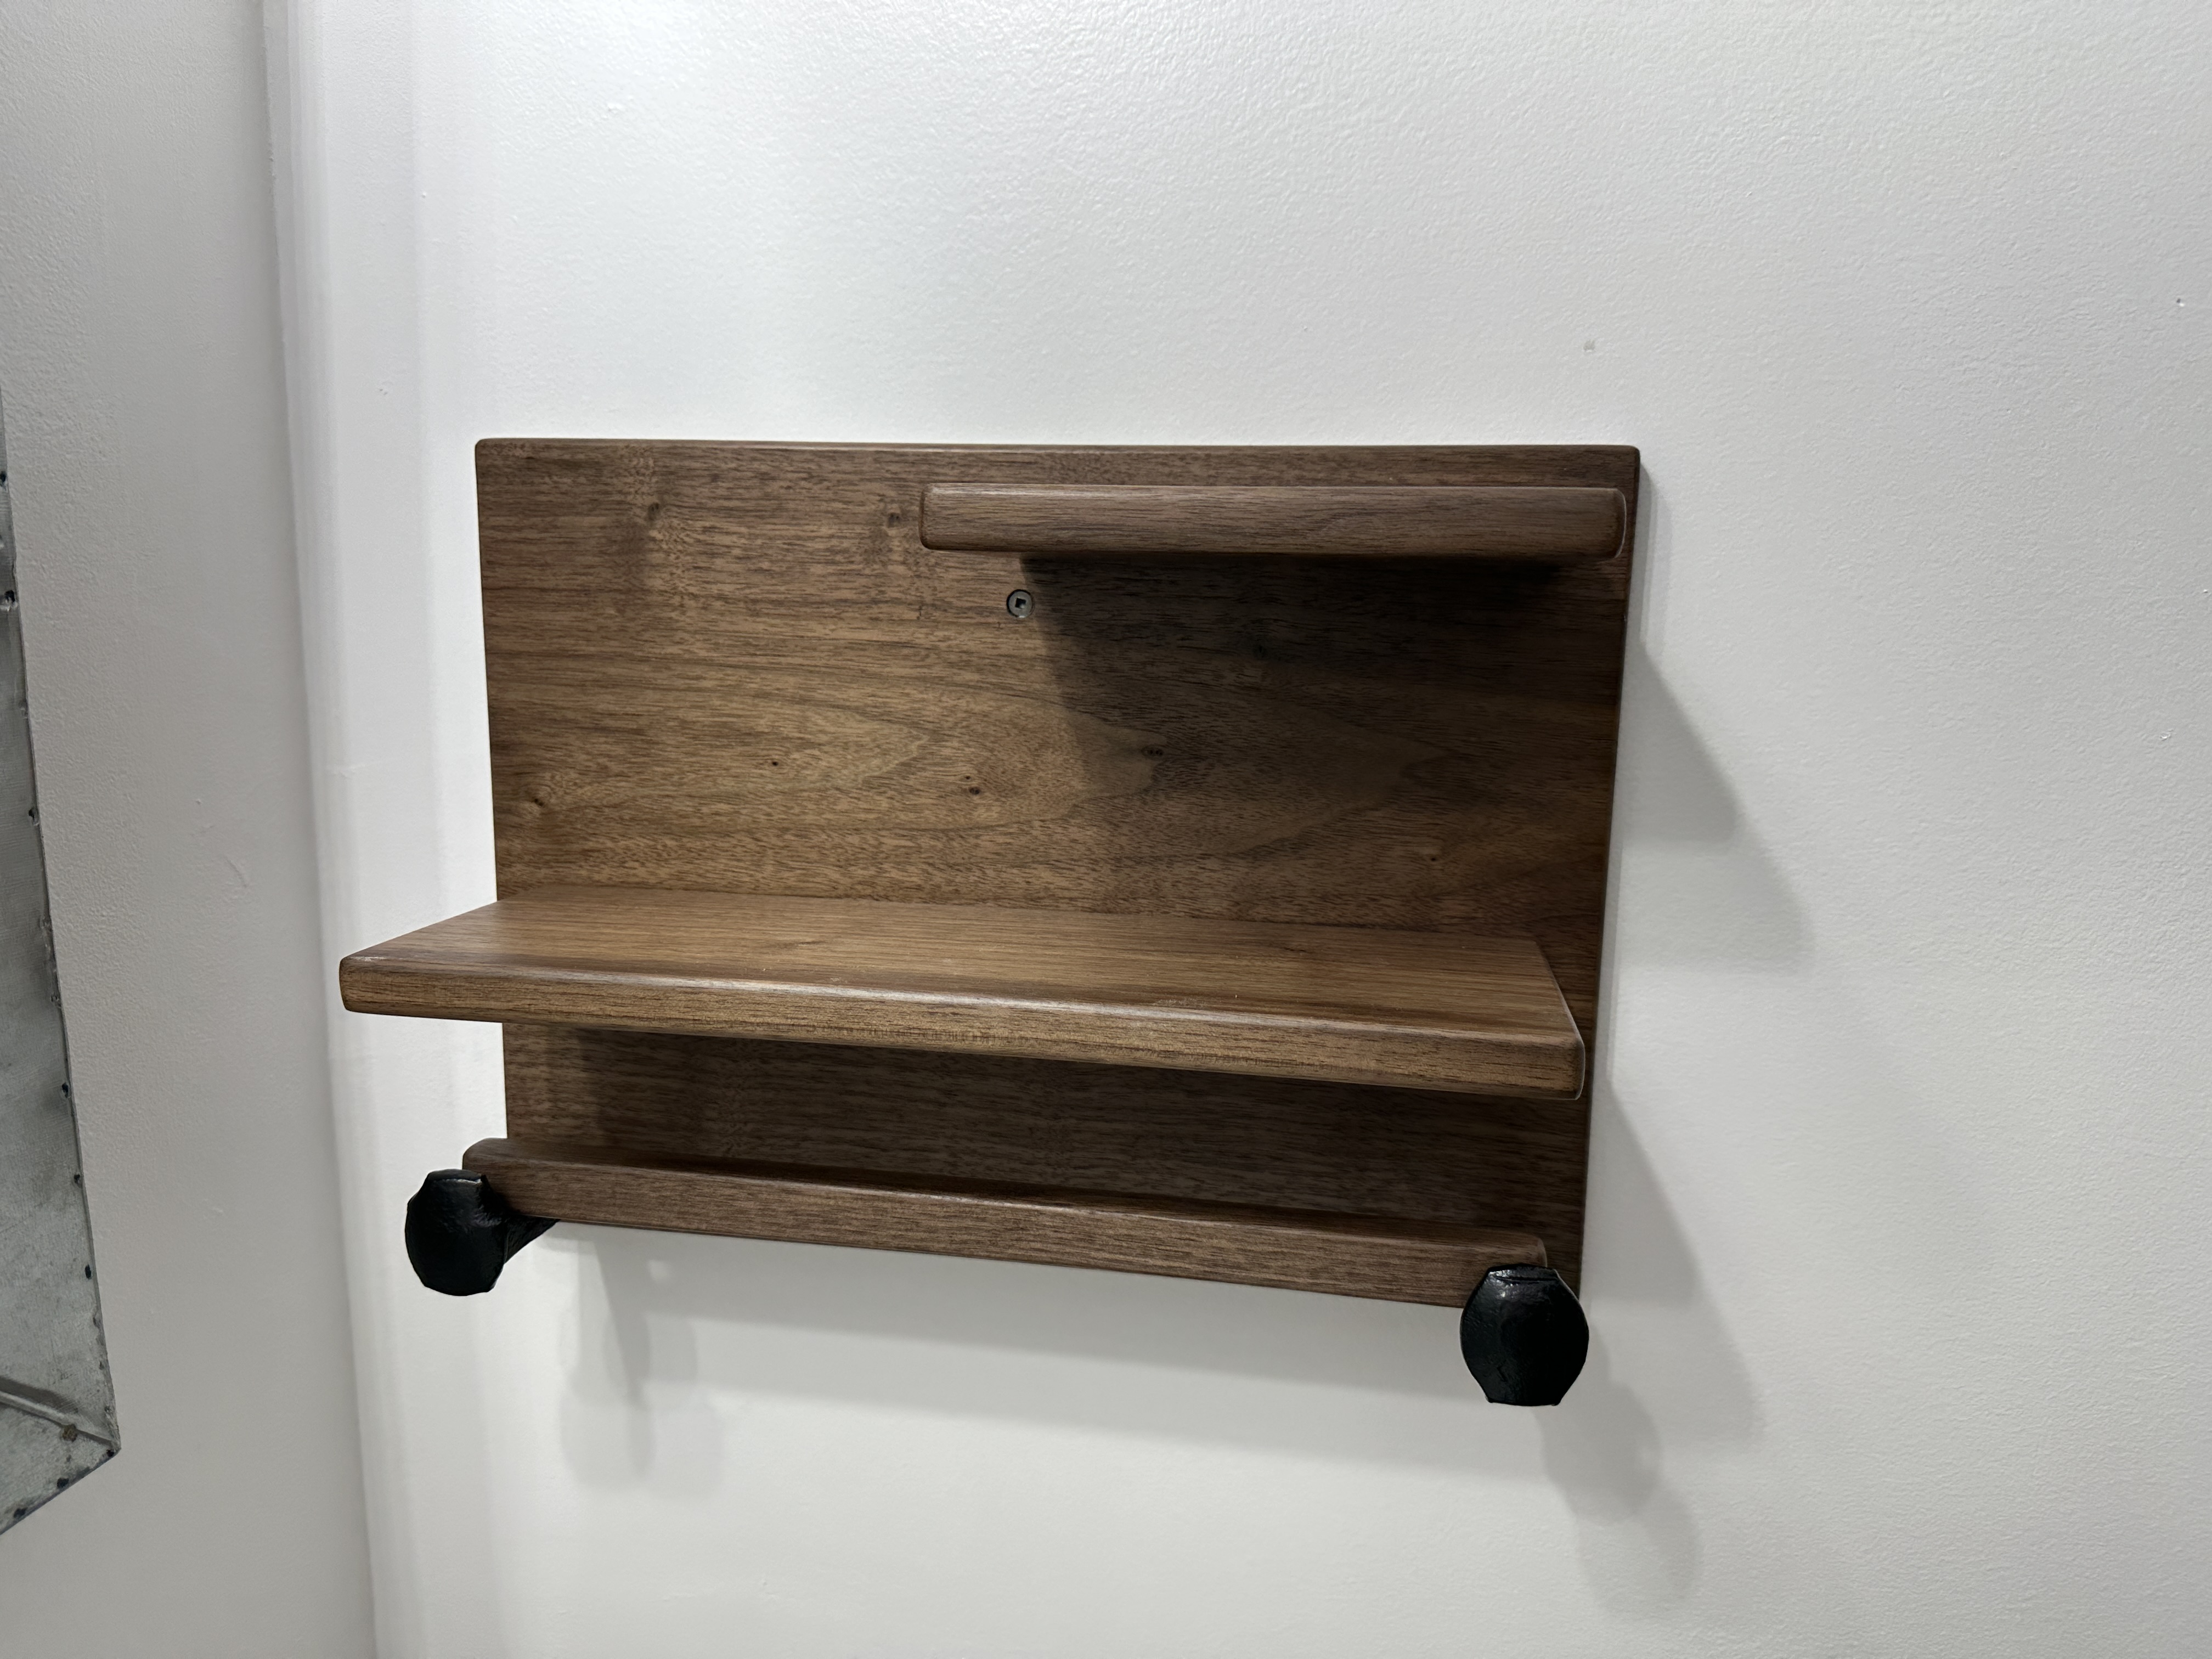
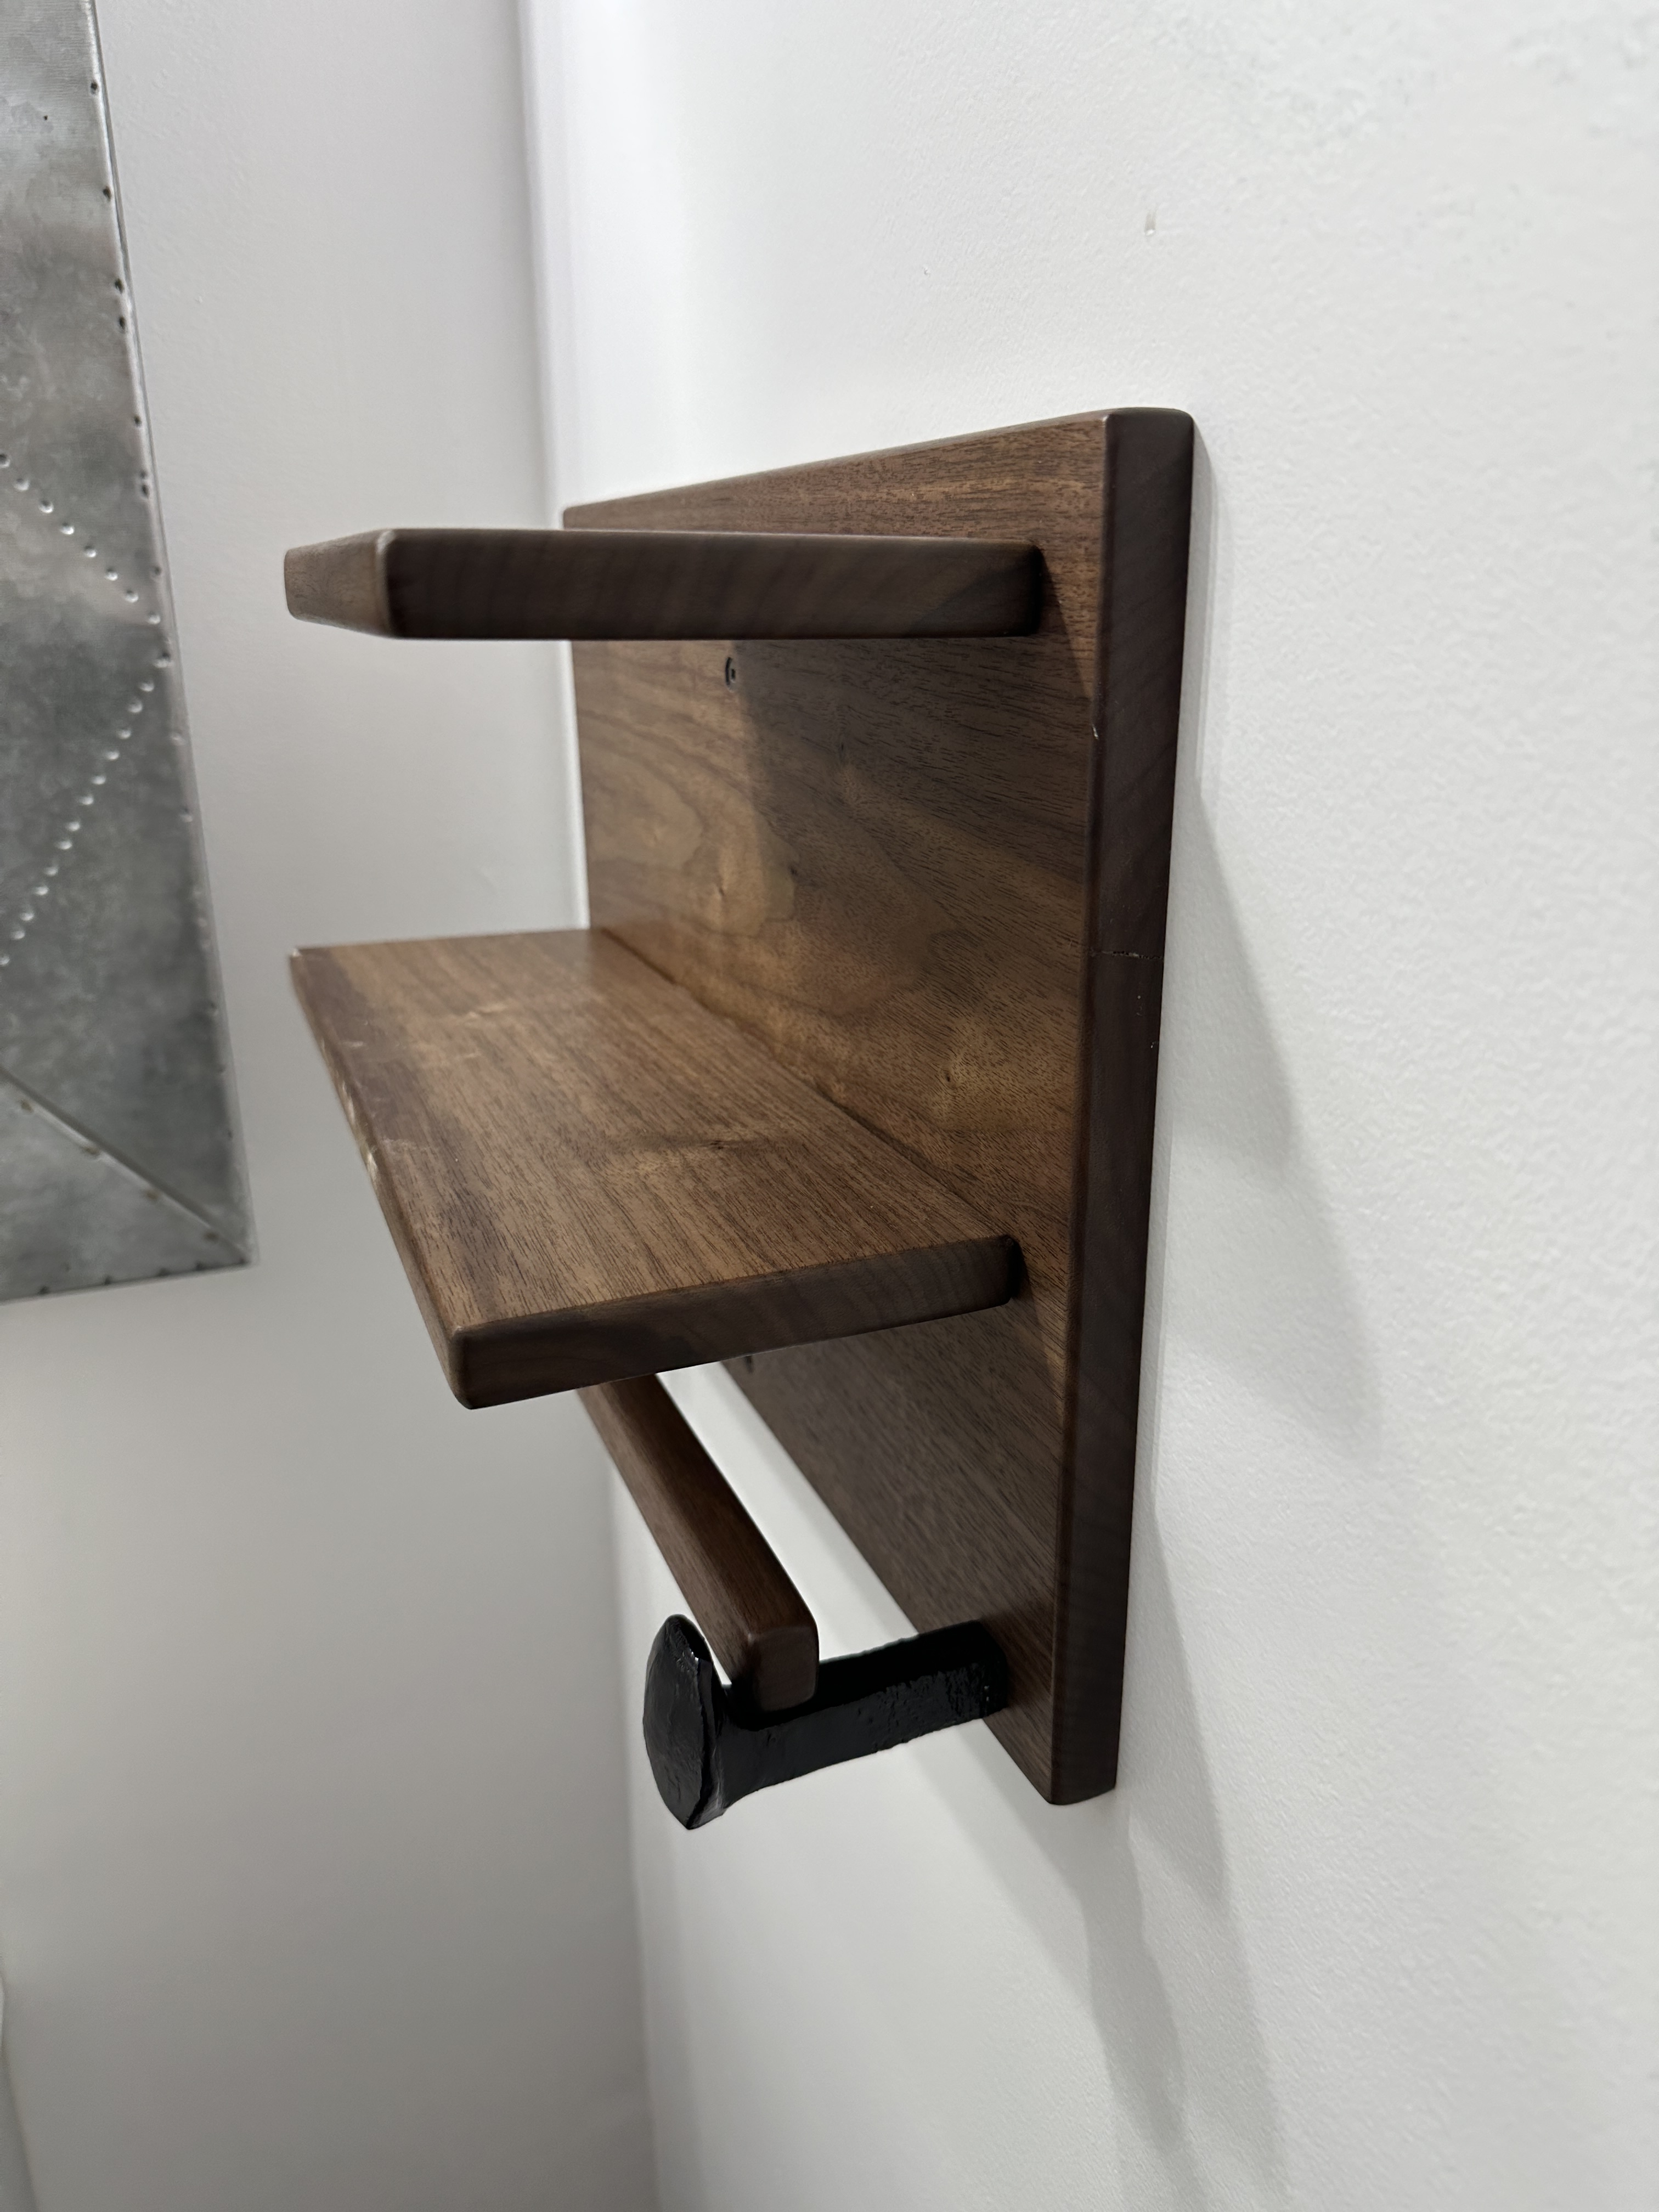
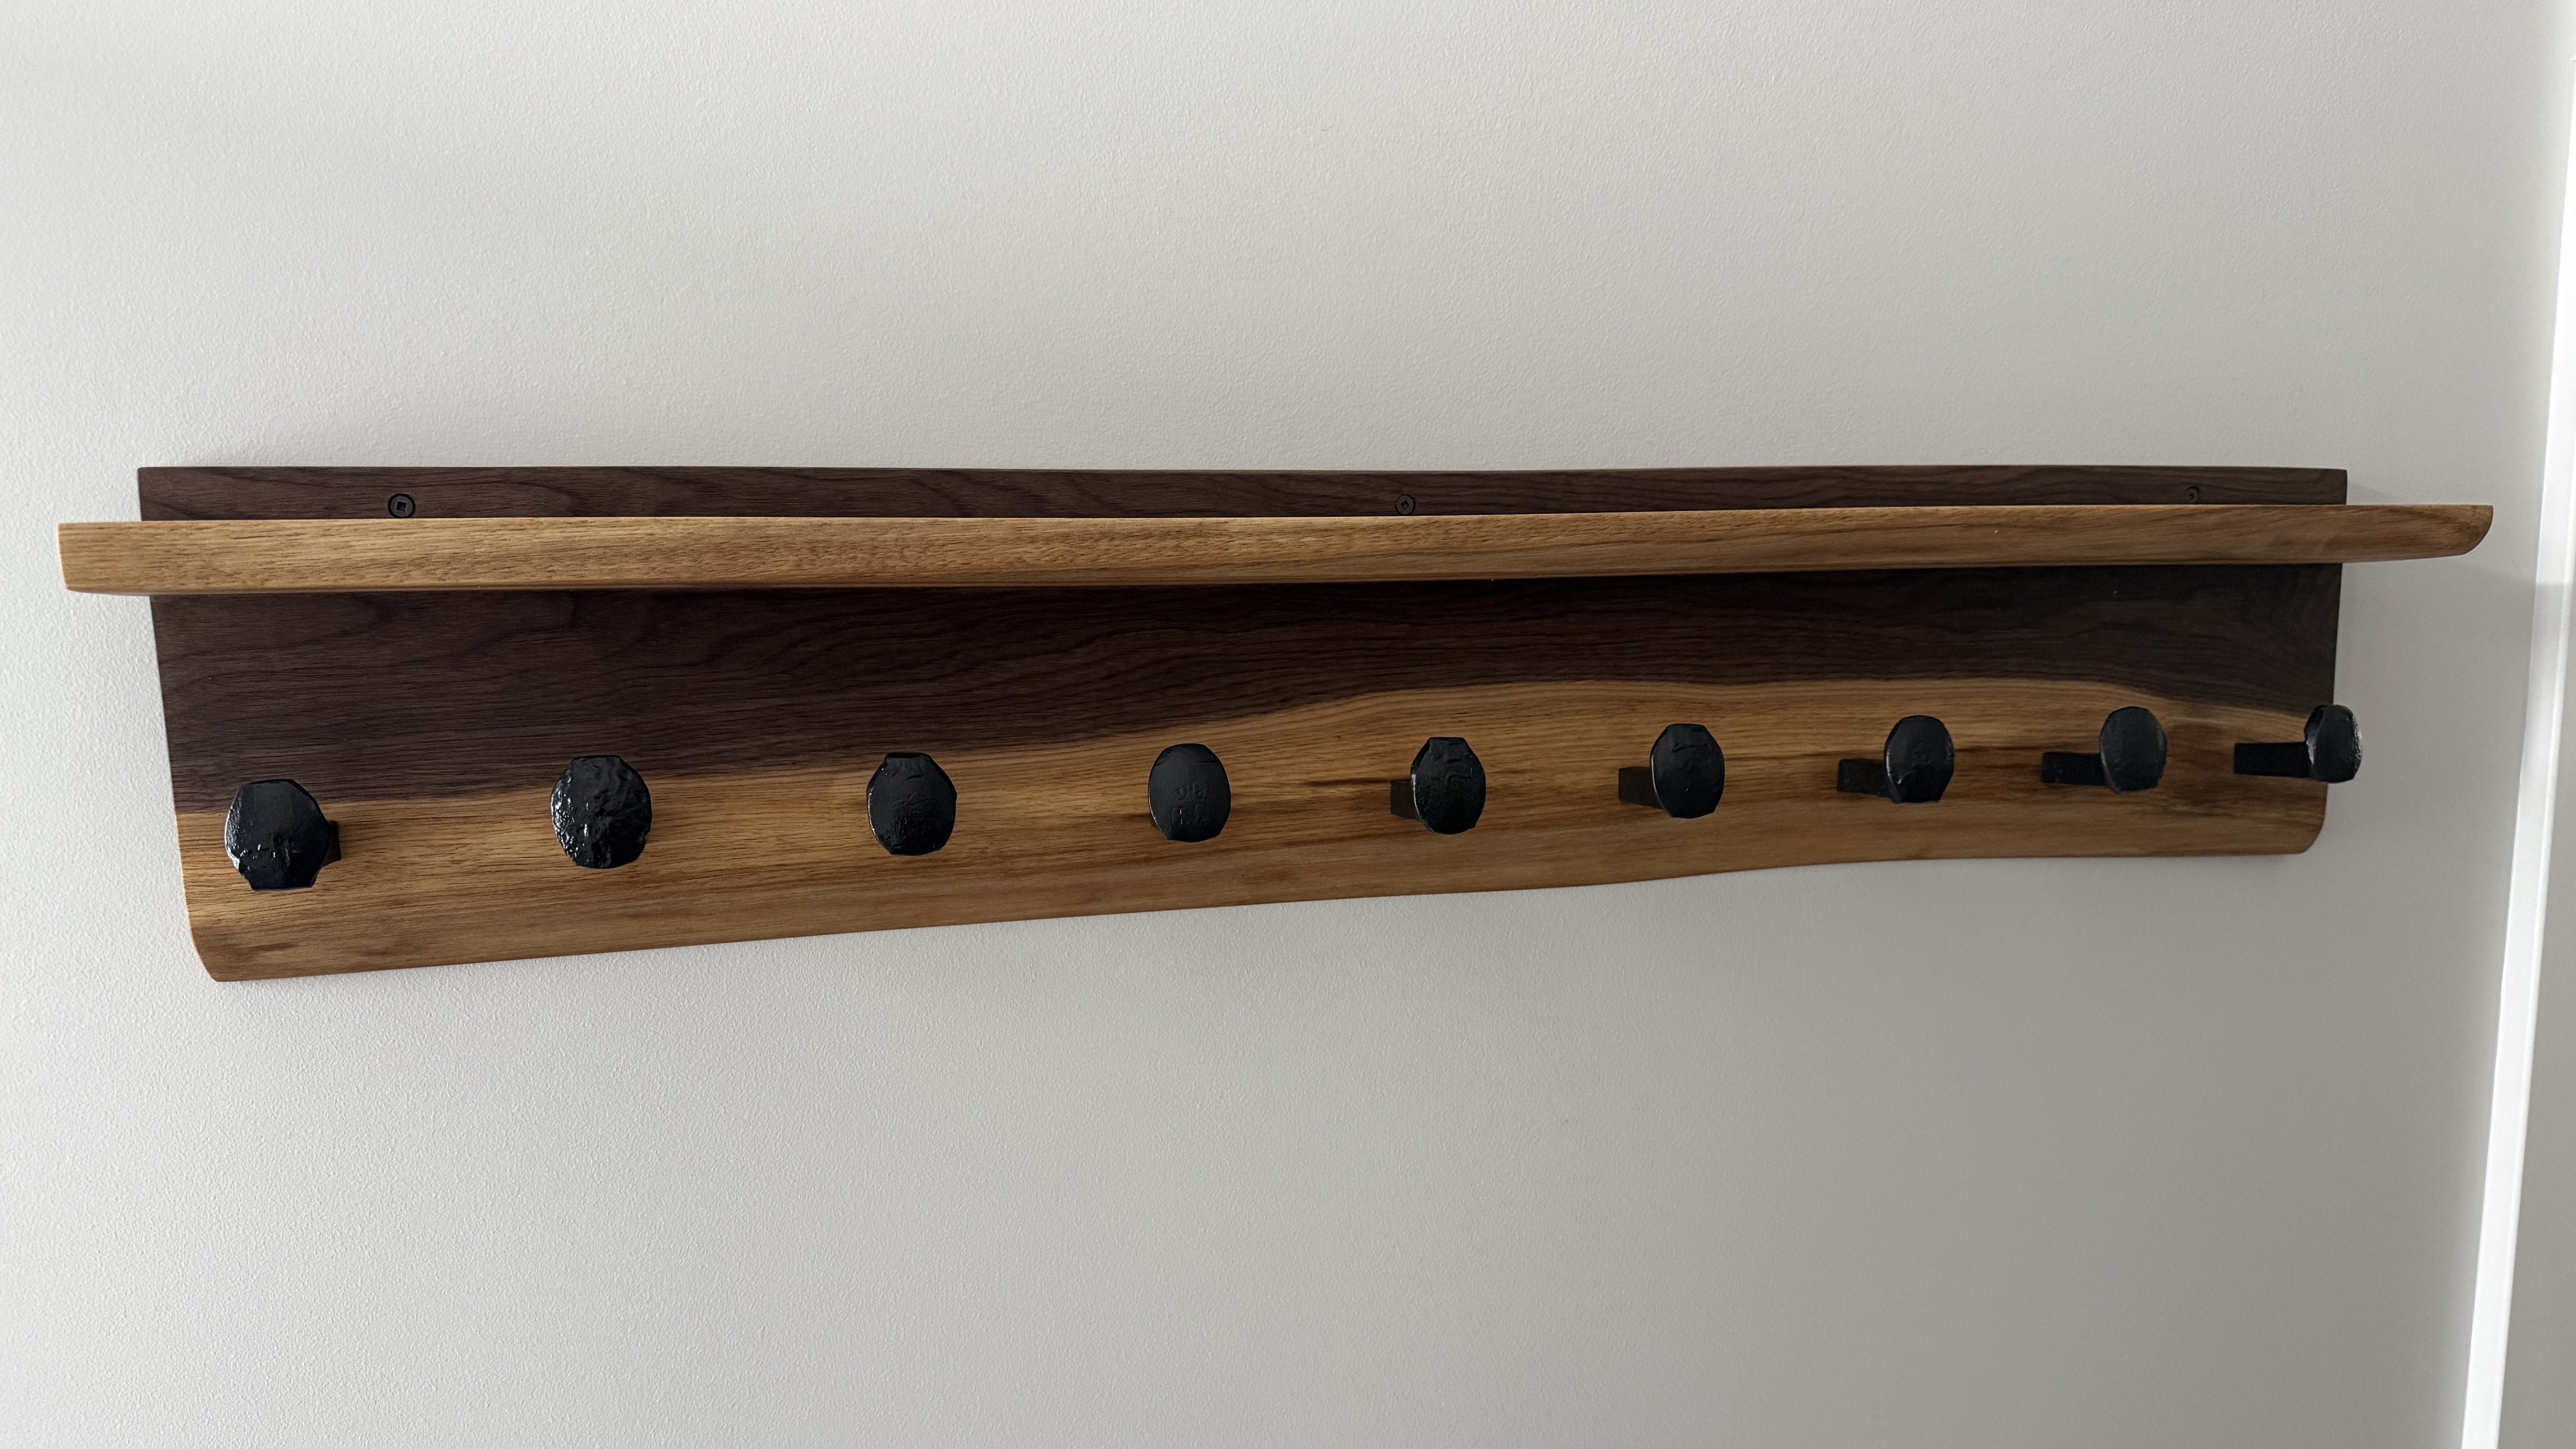
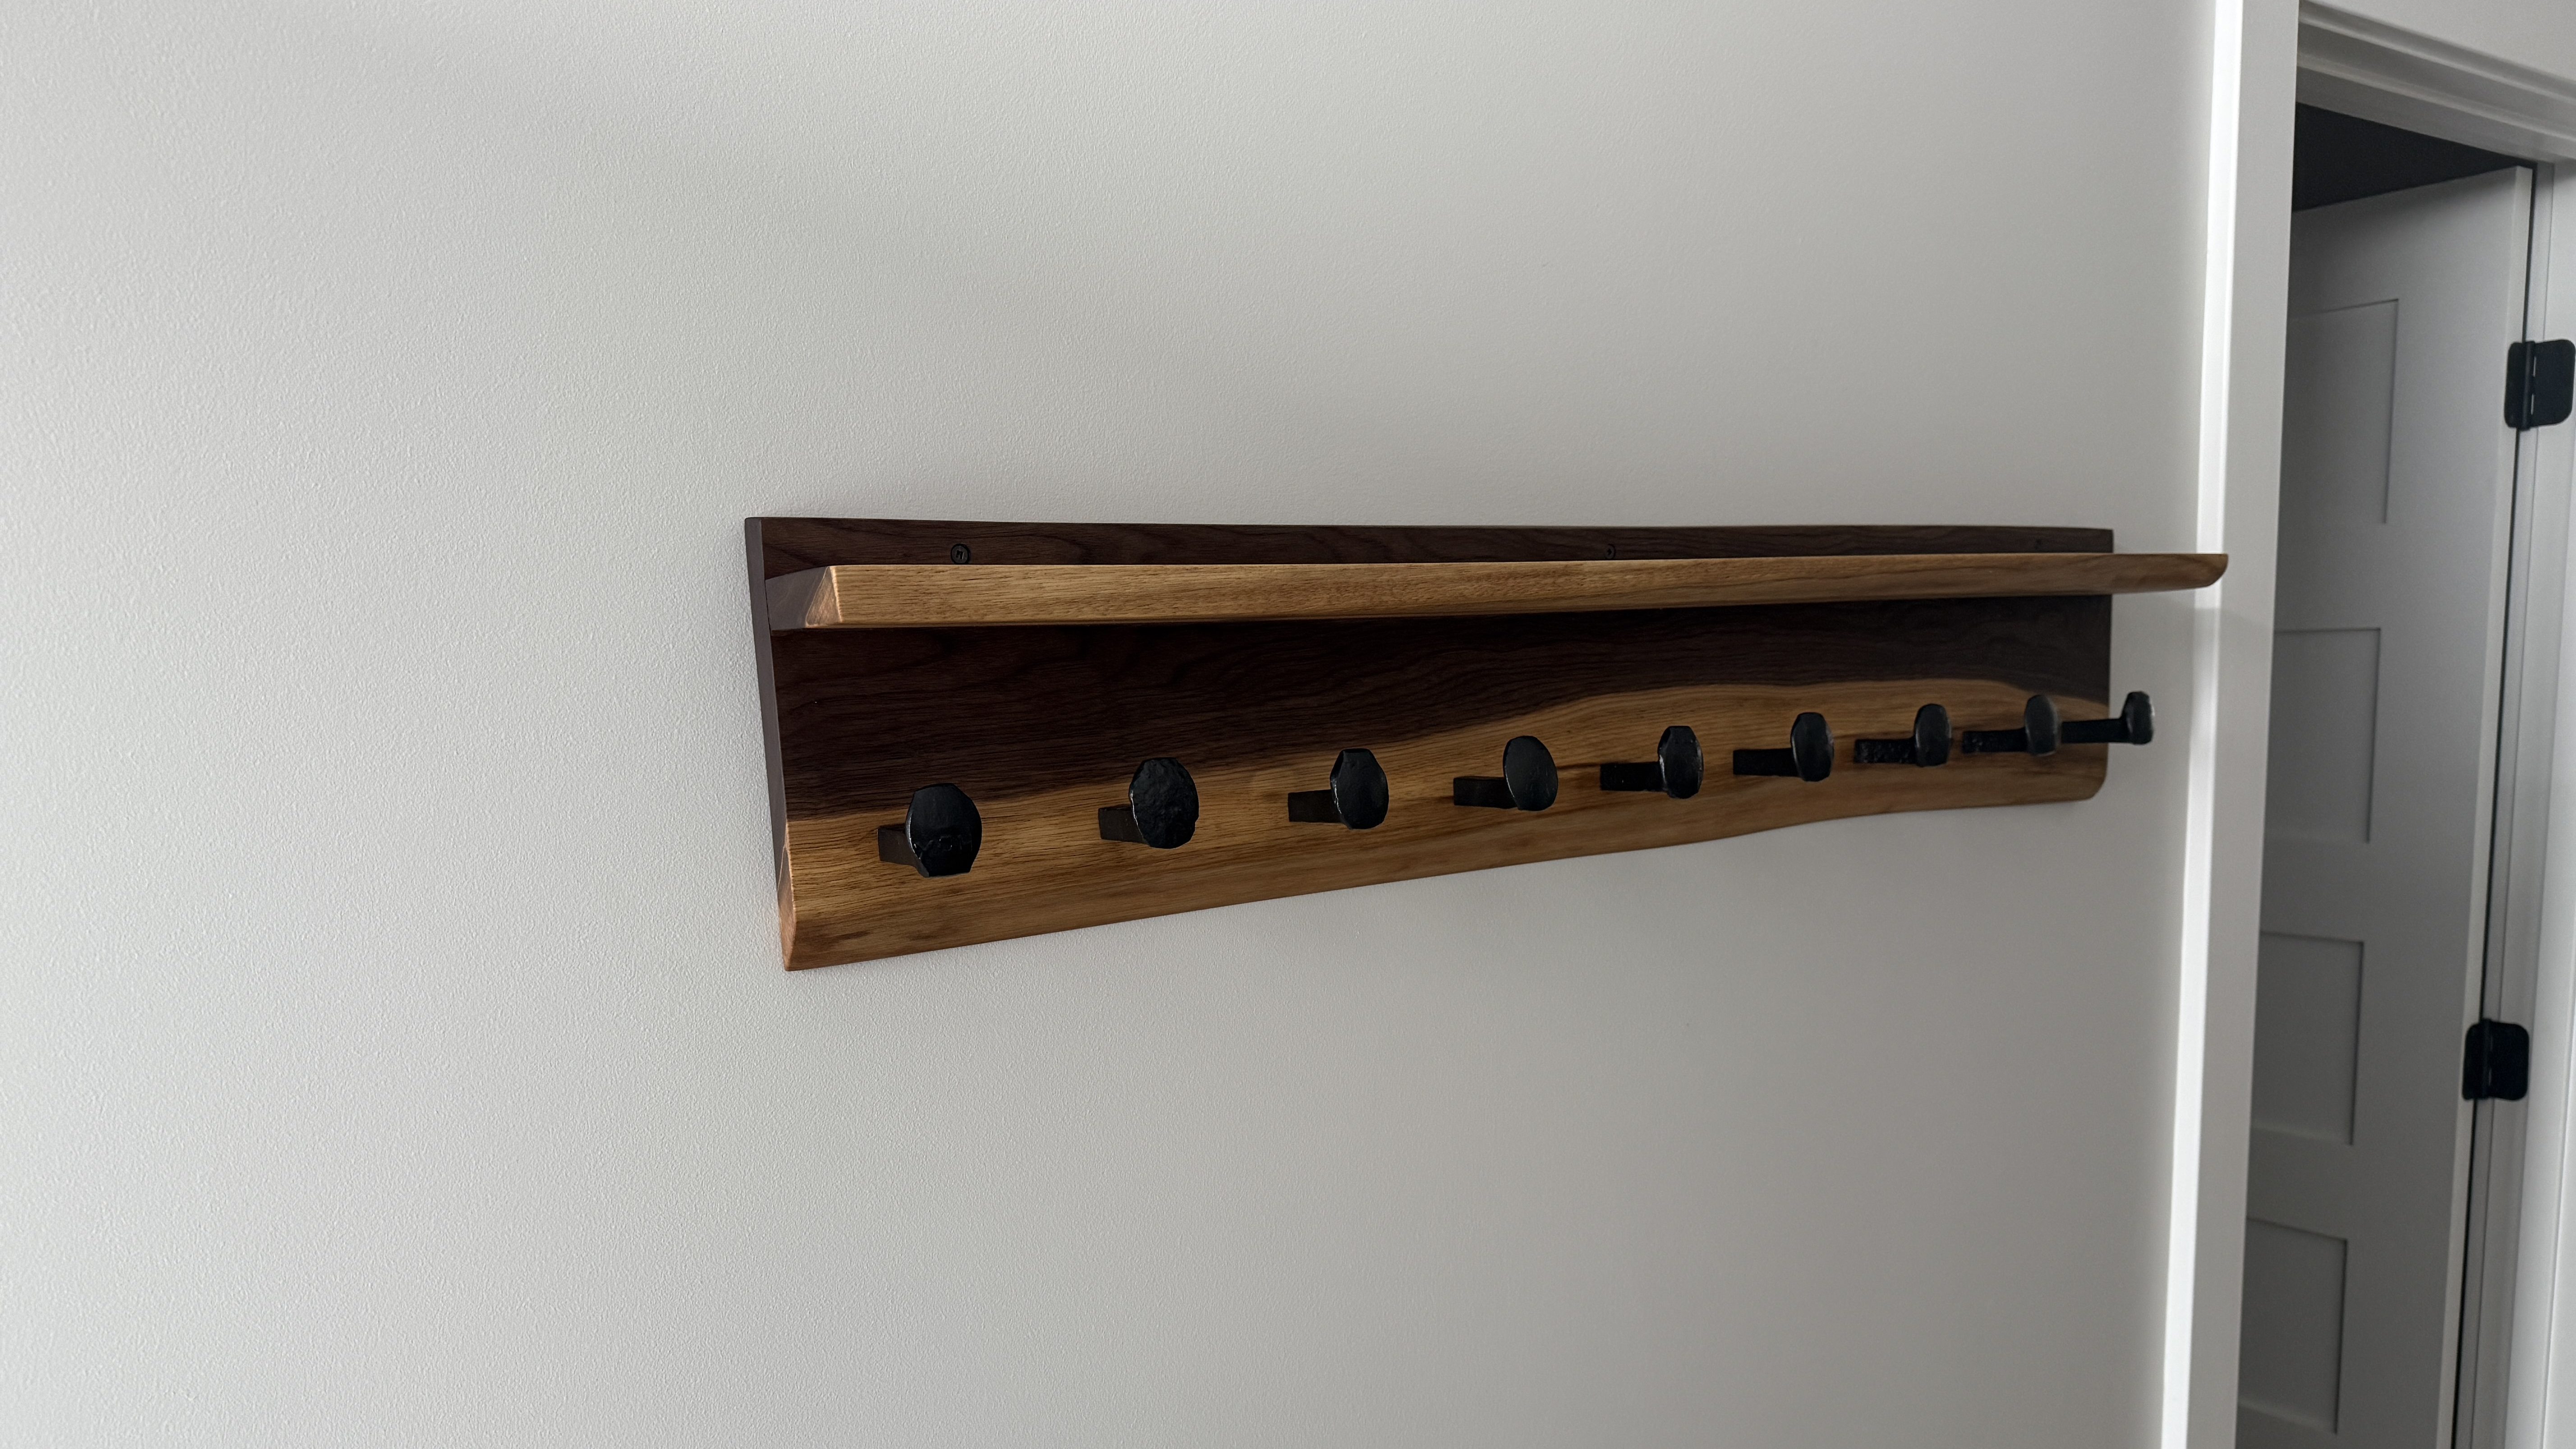
I applied three coats of the All-Natural Wood Finish from Bumblechutes mixed 1:1 with Citrus Solvent. It was the first time I’d used this on a project and I’ll definitely be using it more. It went on easy with a foam brush and light sanding with 400 grit between coats. Then to finish it off, one coat of their Bee’Nooba Wax, which I’ve used before.

When bolting on the railroad spikes I applied a little thread locker. I mounted it to the wall and put up a sign my sister gave us.


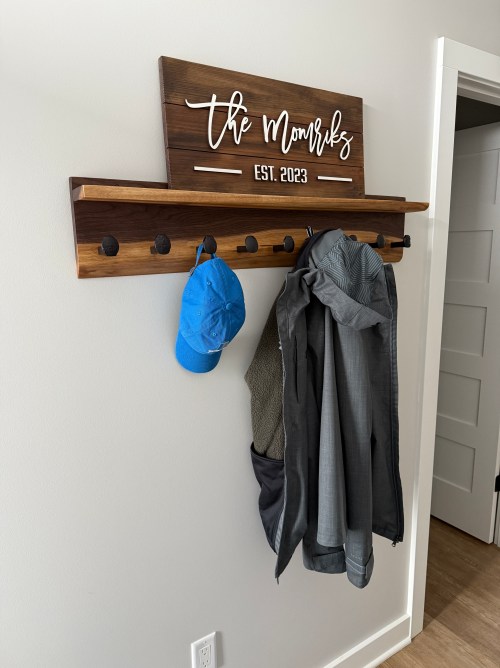

Now I need to figure out what kind of bench to build.