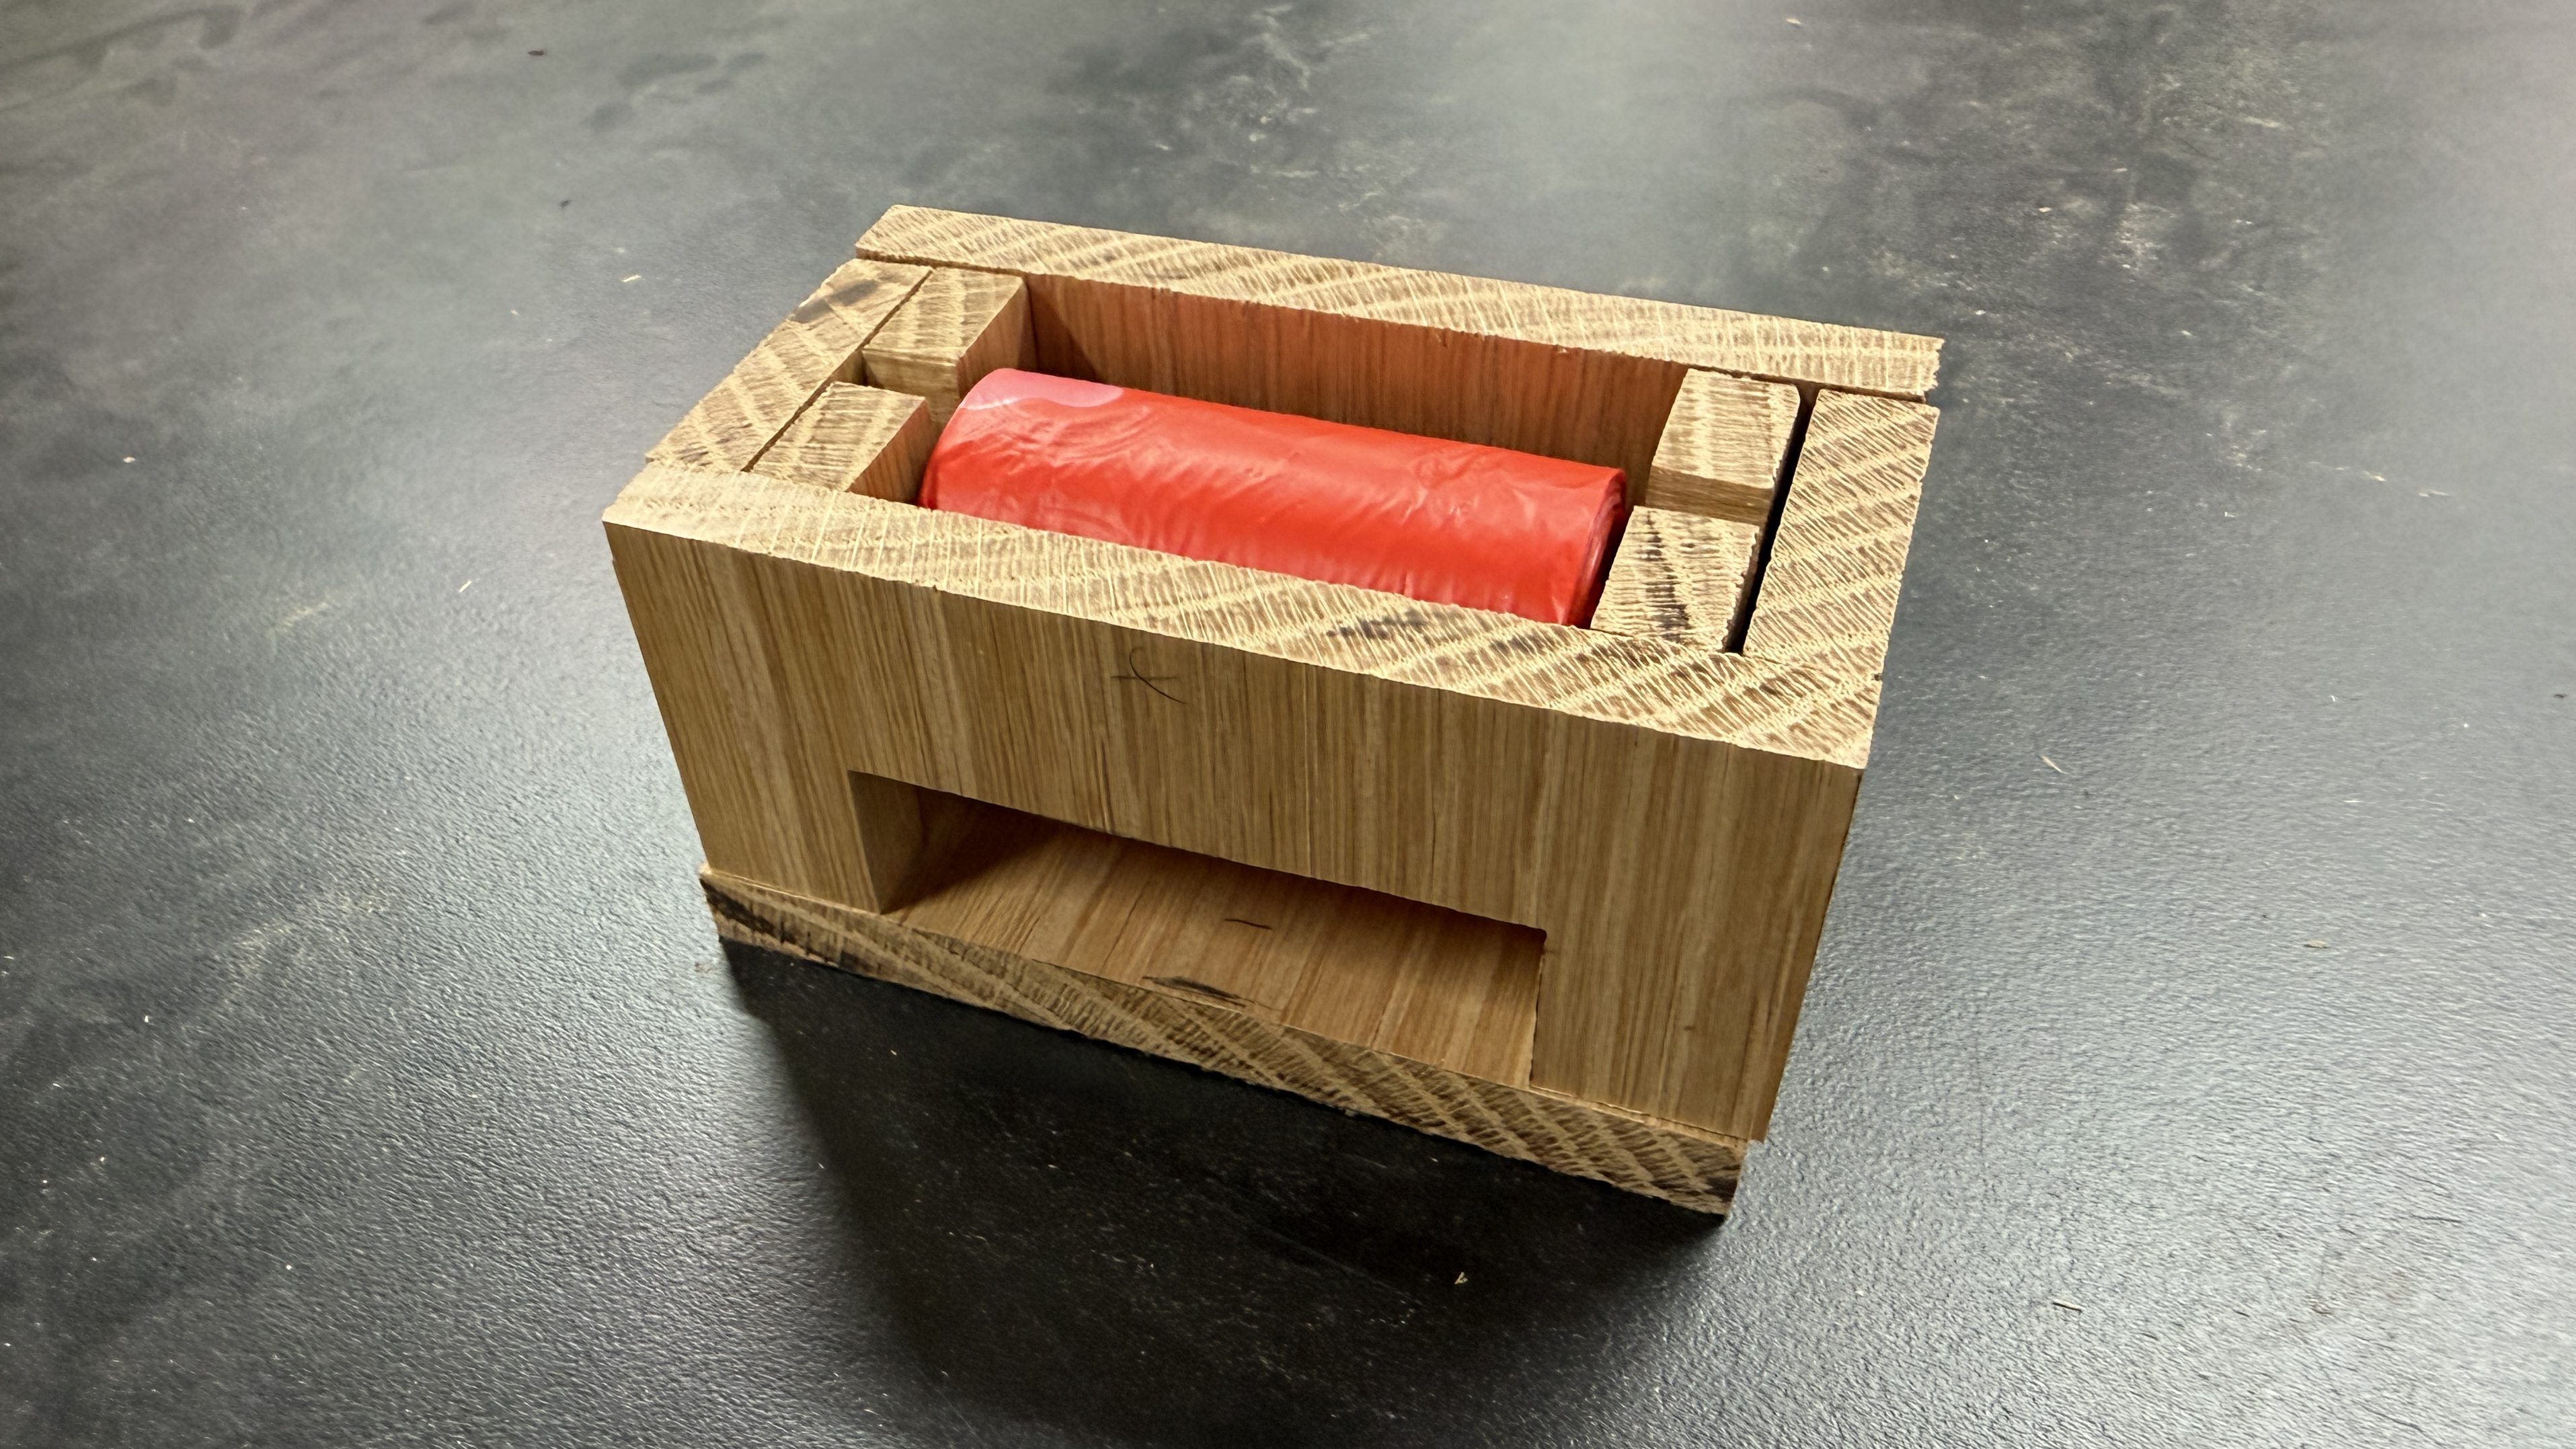
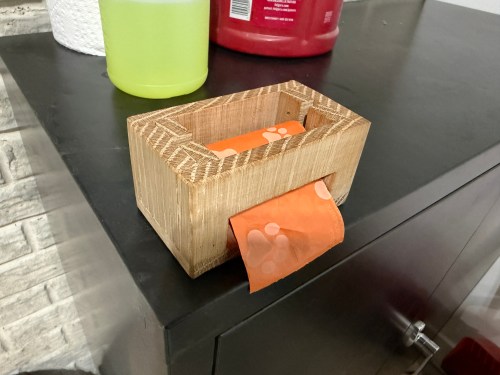
We use those small pet waste bags when cleaning out the cat litter and just throw the roll on a cabinet.
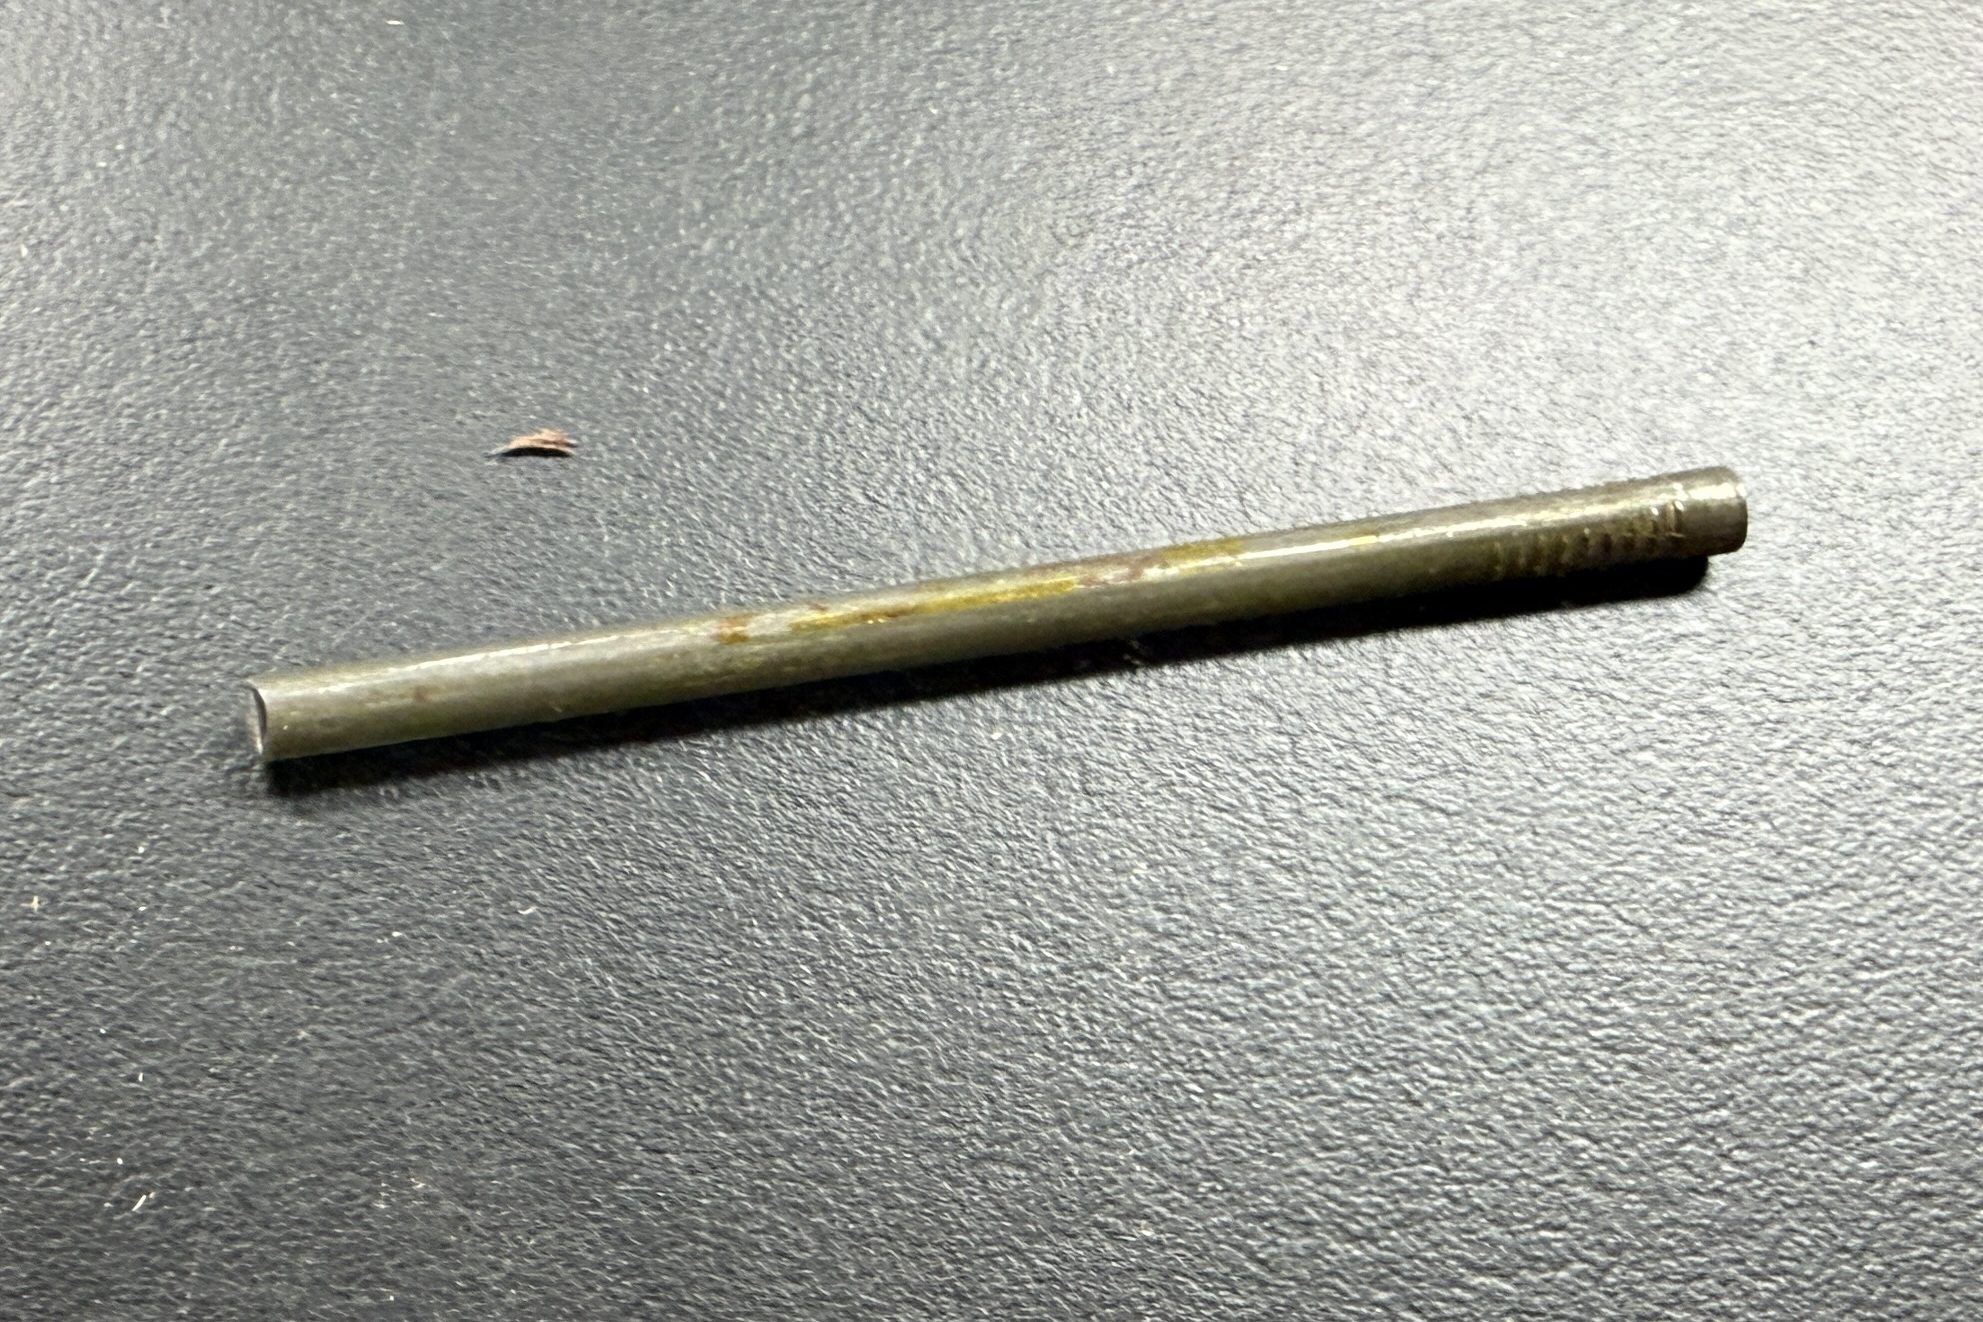
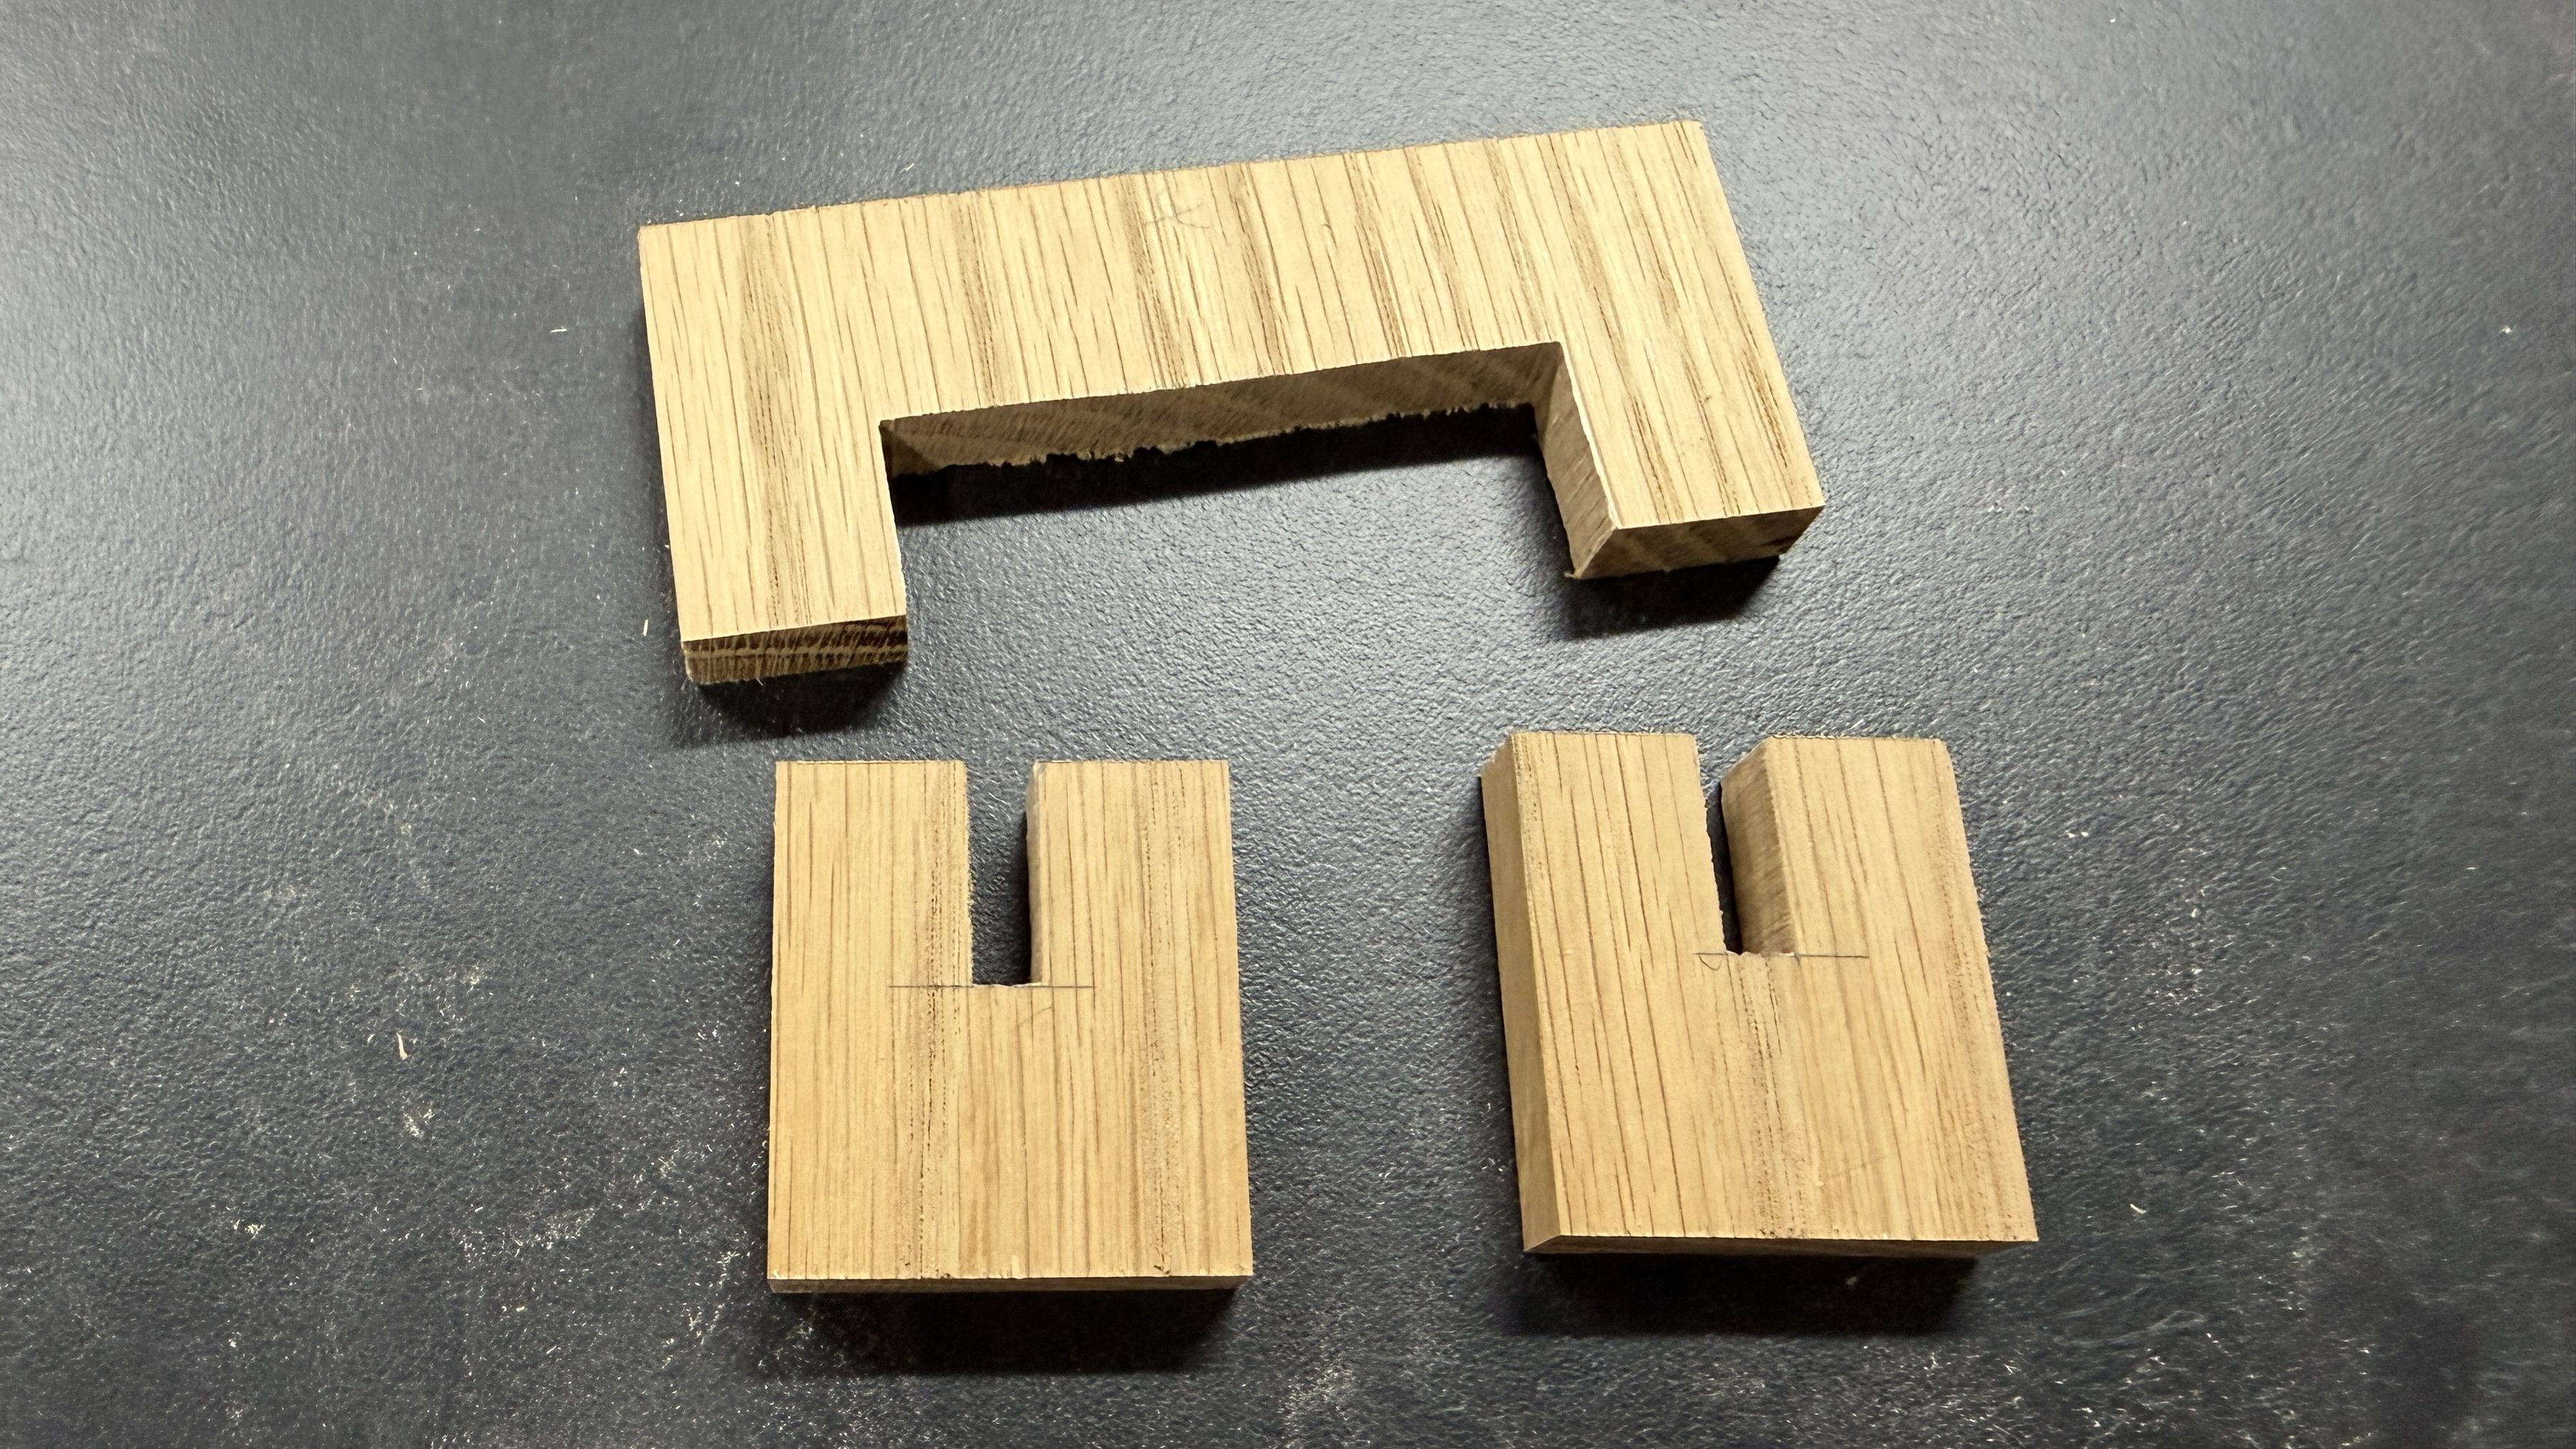
I’ve thought about making a holder/dispenser for quite awhile and decided to do it this weekend. I picked a piece of oak from my scrap bin to cut all of the pieces from. It was a quick, crude build. I snipped the ends off a nail for the pin and glued a couple of magnets in the bottom, since the cabinet is metal.
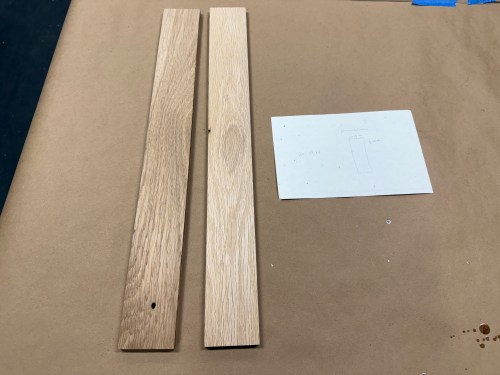
We have this old mirror you’d mount to the back of a bedroom door and it’s been propped up against the wall in our new gym. In order to mount it to the paneled wall, I needed to make brackets to span the studs. I grabbed some oak from my scrap cart.
I only ended up needing one of the pieces. Ripped a couple of 1″ wide strips and trimmed to 18″ long. I marked areas on the back side, and cut out with a router.
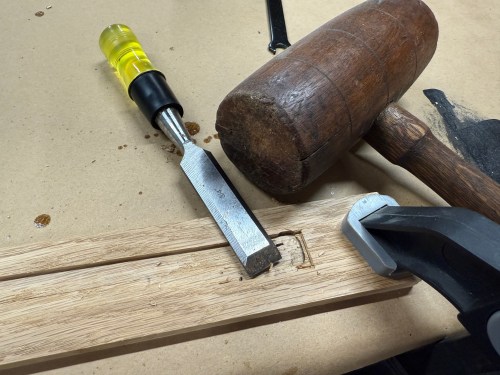
It was quick work to clean up the ends with a chisel.
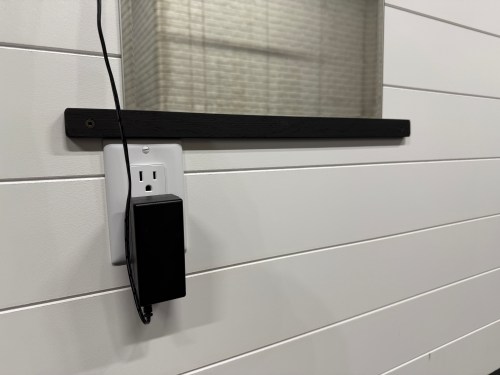
I gave the brackets two coats of black paint.
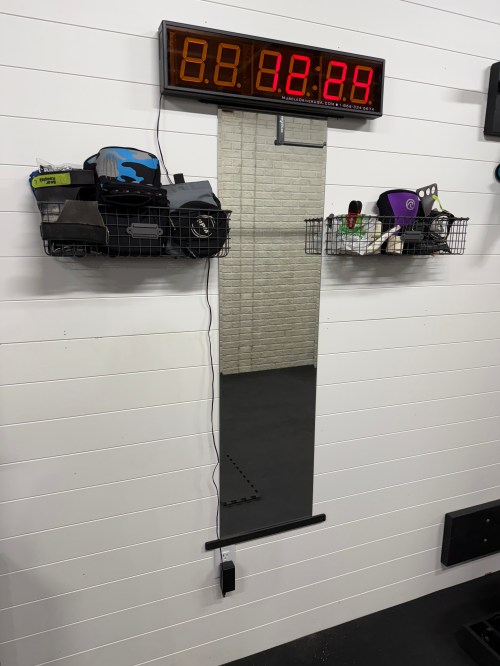
Really quick project and it cleans up the gym a little more.
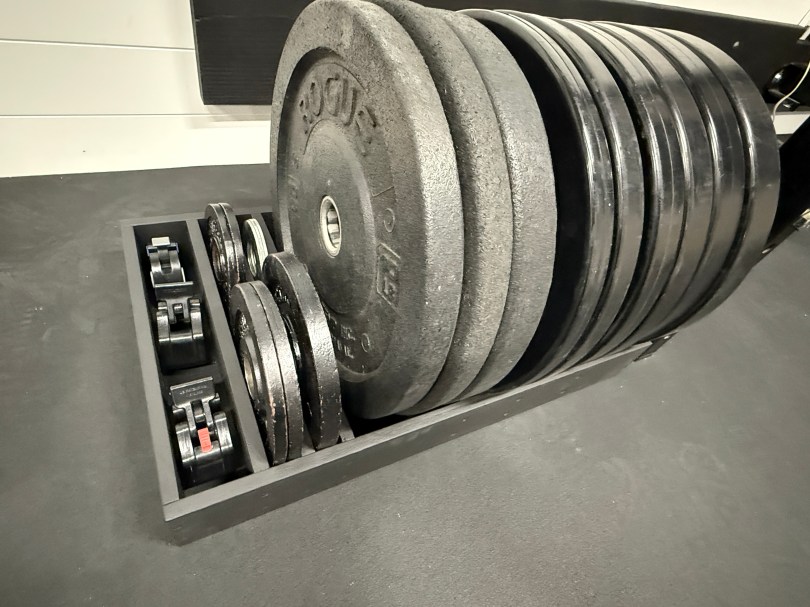
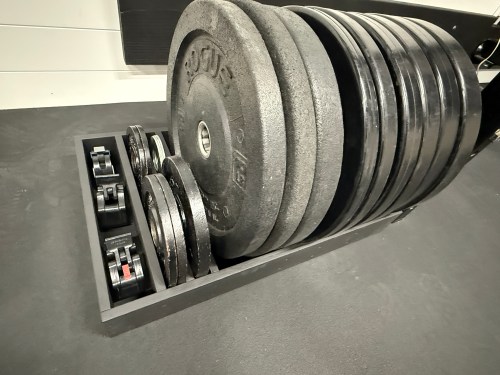
During the move, version 2 of our weight plate storage was tossed in the trash because we sold our 55 pound plates and wanted to evenly split the plates on either side of the rack in our new gym.
I took some measurements and did a little math for a general idea of how much wood I’d need.
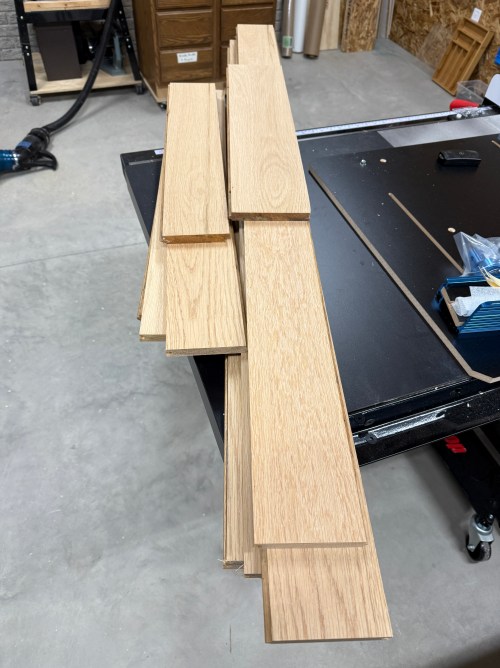
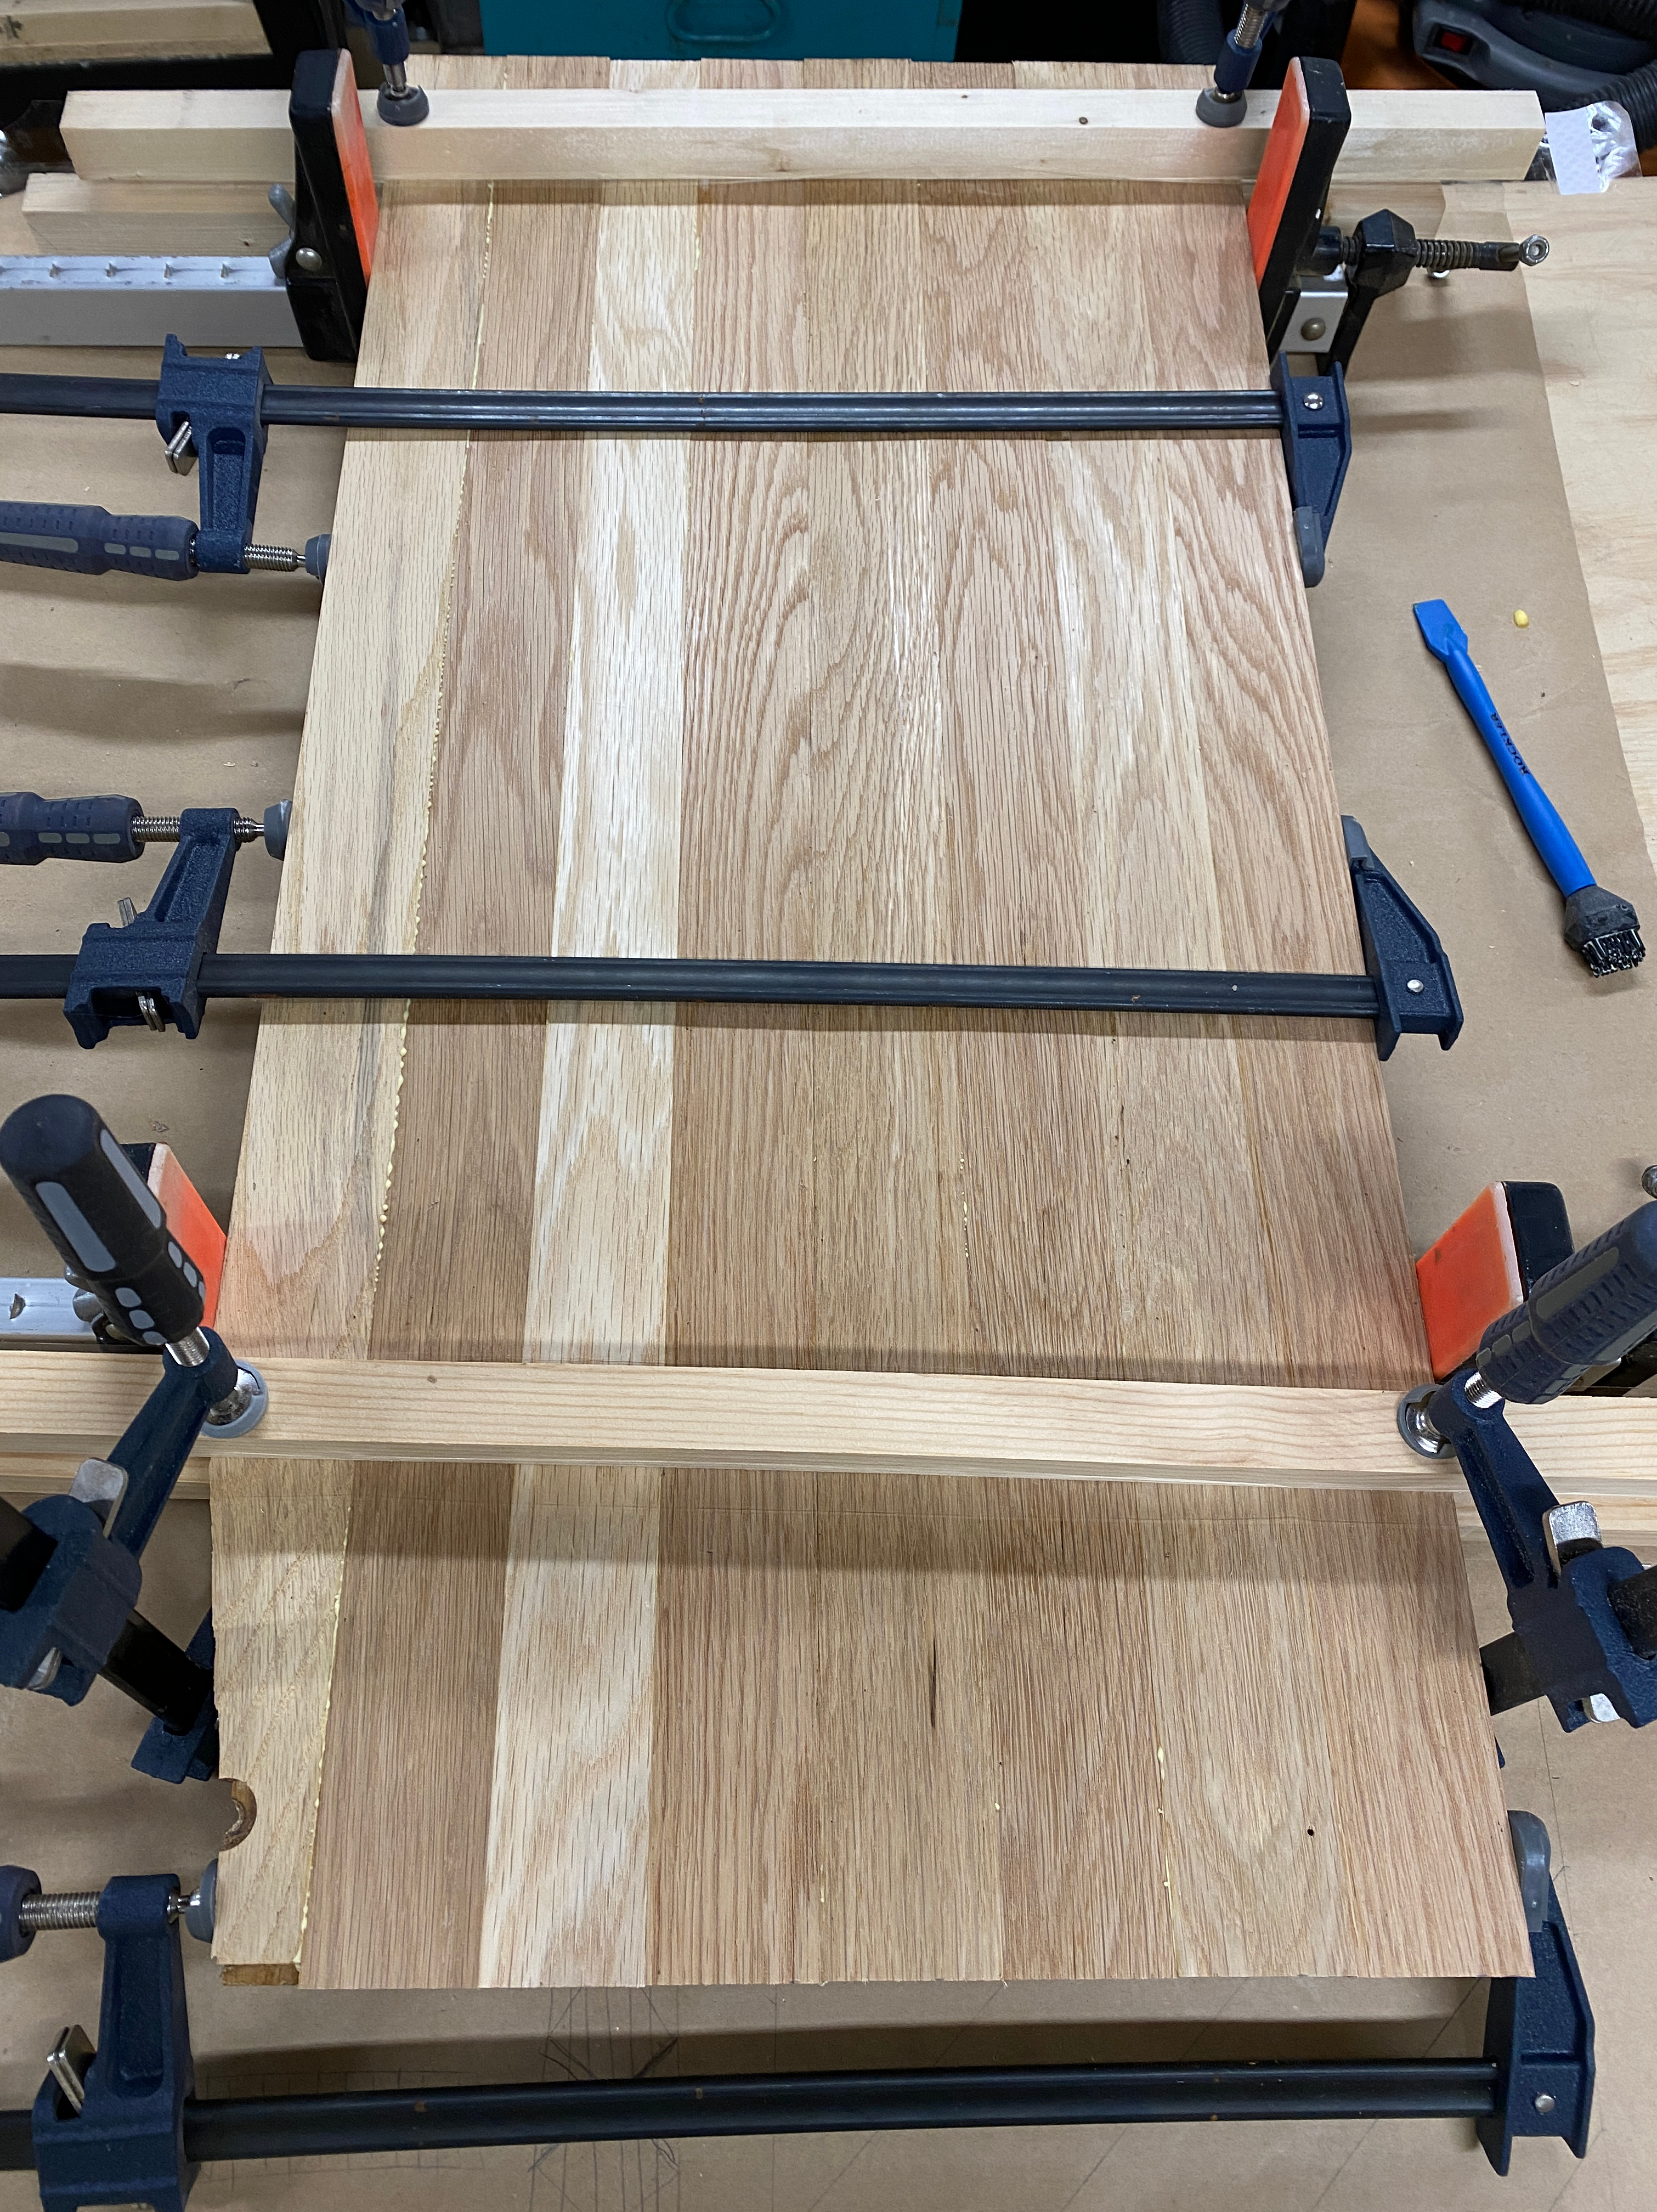
Grabbed some old oak flooring and started processing it on the miter saw, planer, and table saw.
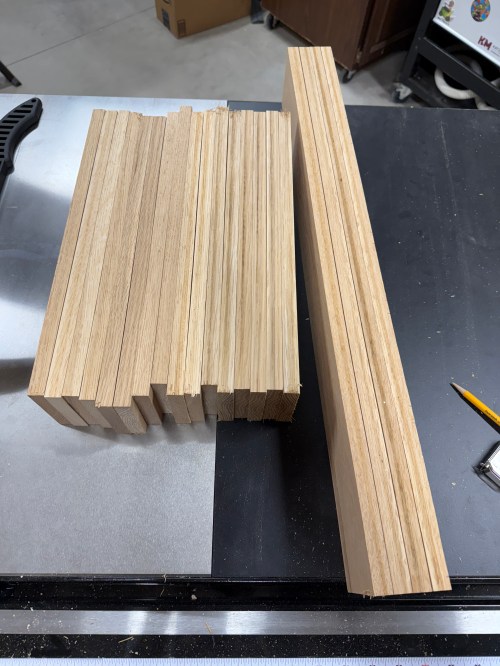
I realized I had measured the full width of the plates, which I don’t need since the storage racks are only at the bottom. After recalculating, I cut a bunch of the dividers and did a mockup, when I realized I could add another slot to hold the barbell collars. The extra spacing on the sides of the plates ended up being less than my original guess as well.
Then I to cut everything to size, and drilled a lot of holes.
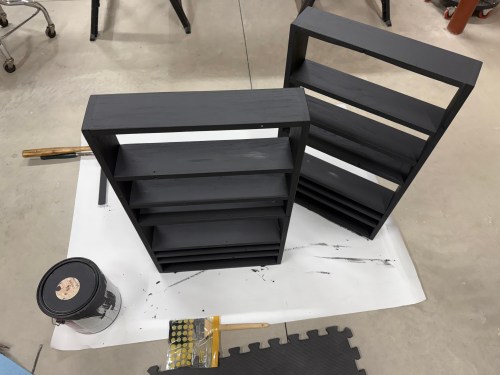
The assembly process was complicated, since I had to individually square up and attach eight dividers. Then the other side needed to have glue applied to all eight dividers before getting 16 holes to line up.
The second one is always easier and I was able to use the assembled rack as my 90° to clamp to.
More sanding and then black paint. Brushing on the paint with the oak’s grain pattern was a challenge, especially in some of the small gaps between dividers, so it took many coats.
The area looks a lot cleaner and the weights will be a lot easier to use.
Here are the final dimensions for anyone who wants to build their own:
All wood: 5/8″ thick and 3-11/16″ tall
Front and Back: 27-3/8″ long
Dividers: 15-1/4″ long
Gaps between dividers:
2×45#: 5″
2×35#: 3-7/8″
2×25#: 2-15/16″
15# + 2×10#: 5-5/8″
Metal 10#: 1-1/8″
Metal 2×5#: 1-1/4″
Collars: 2-5/8″
Everything will depend on the size of your plates though. I measured the thickness of our plates and ended up adding a half inch for the gaps, which feels good for moving the plates in and out.
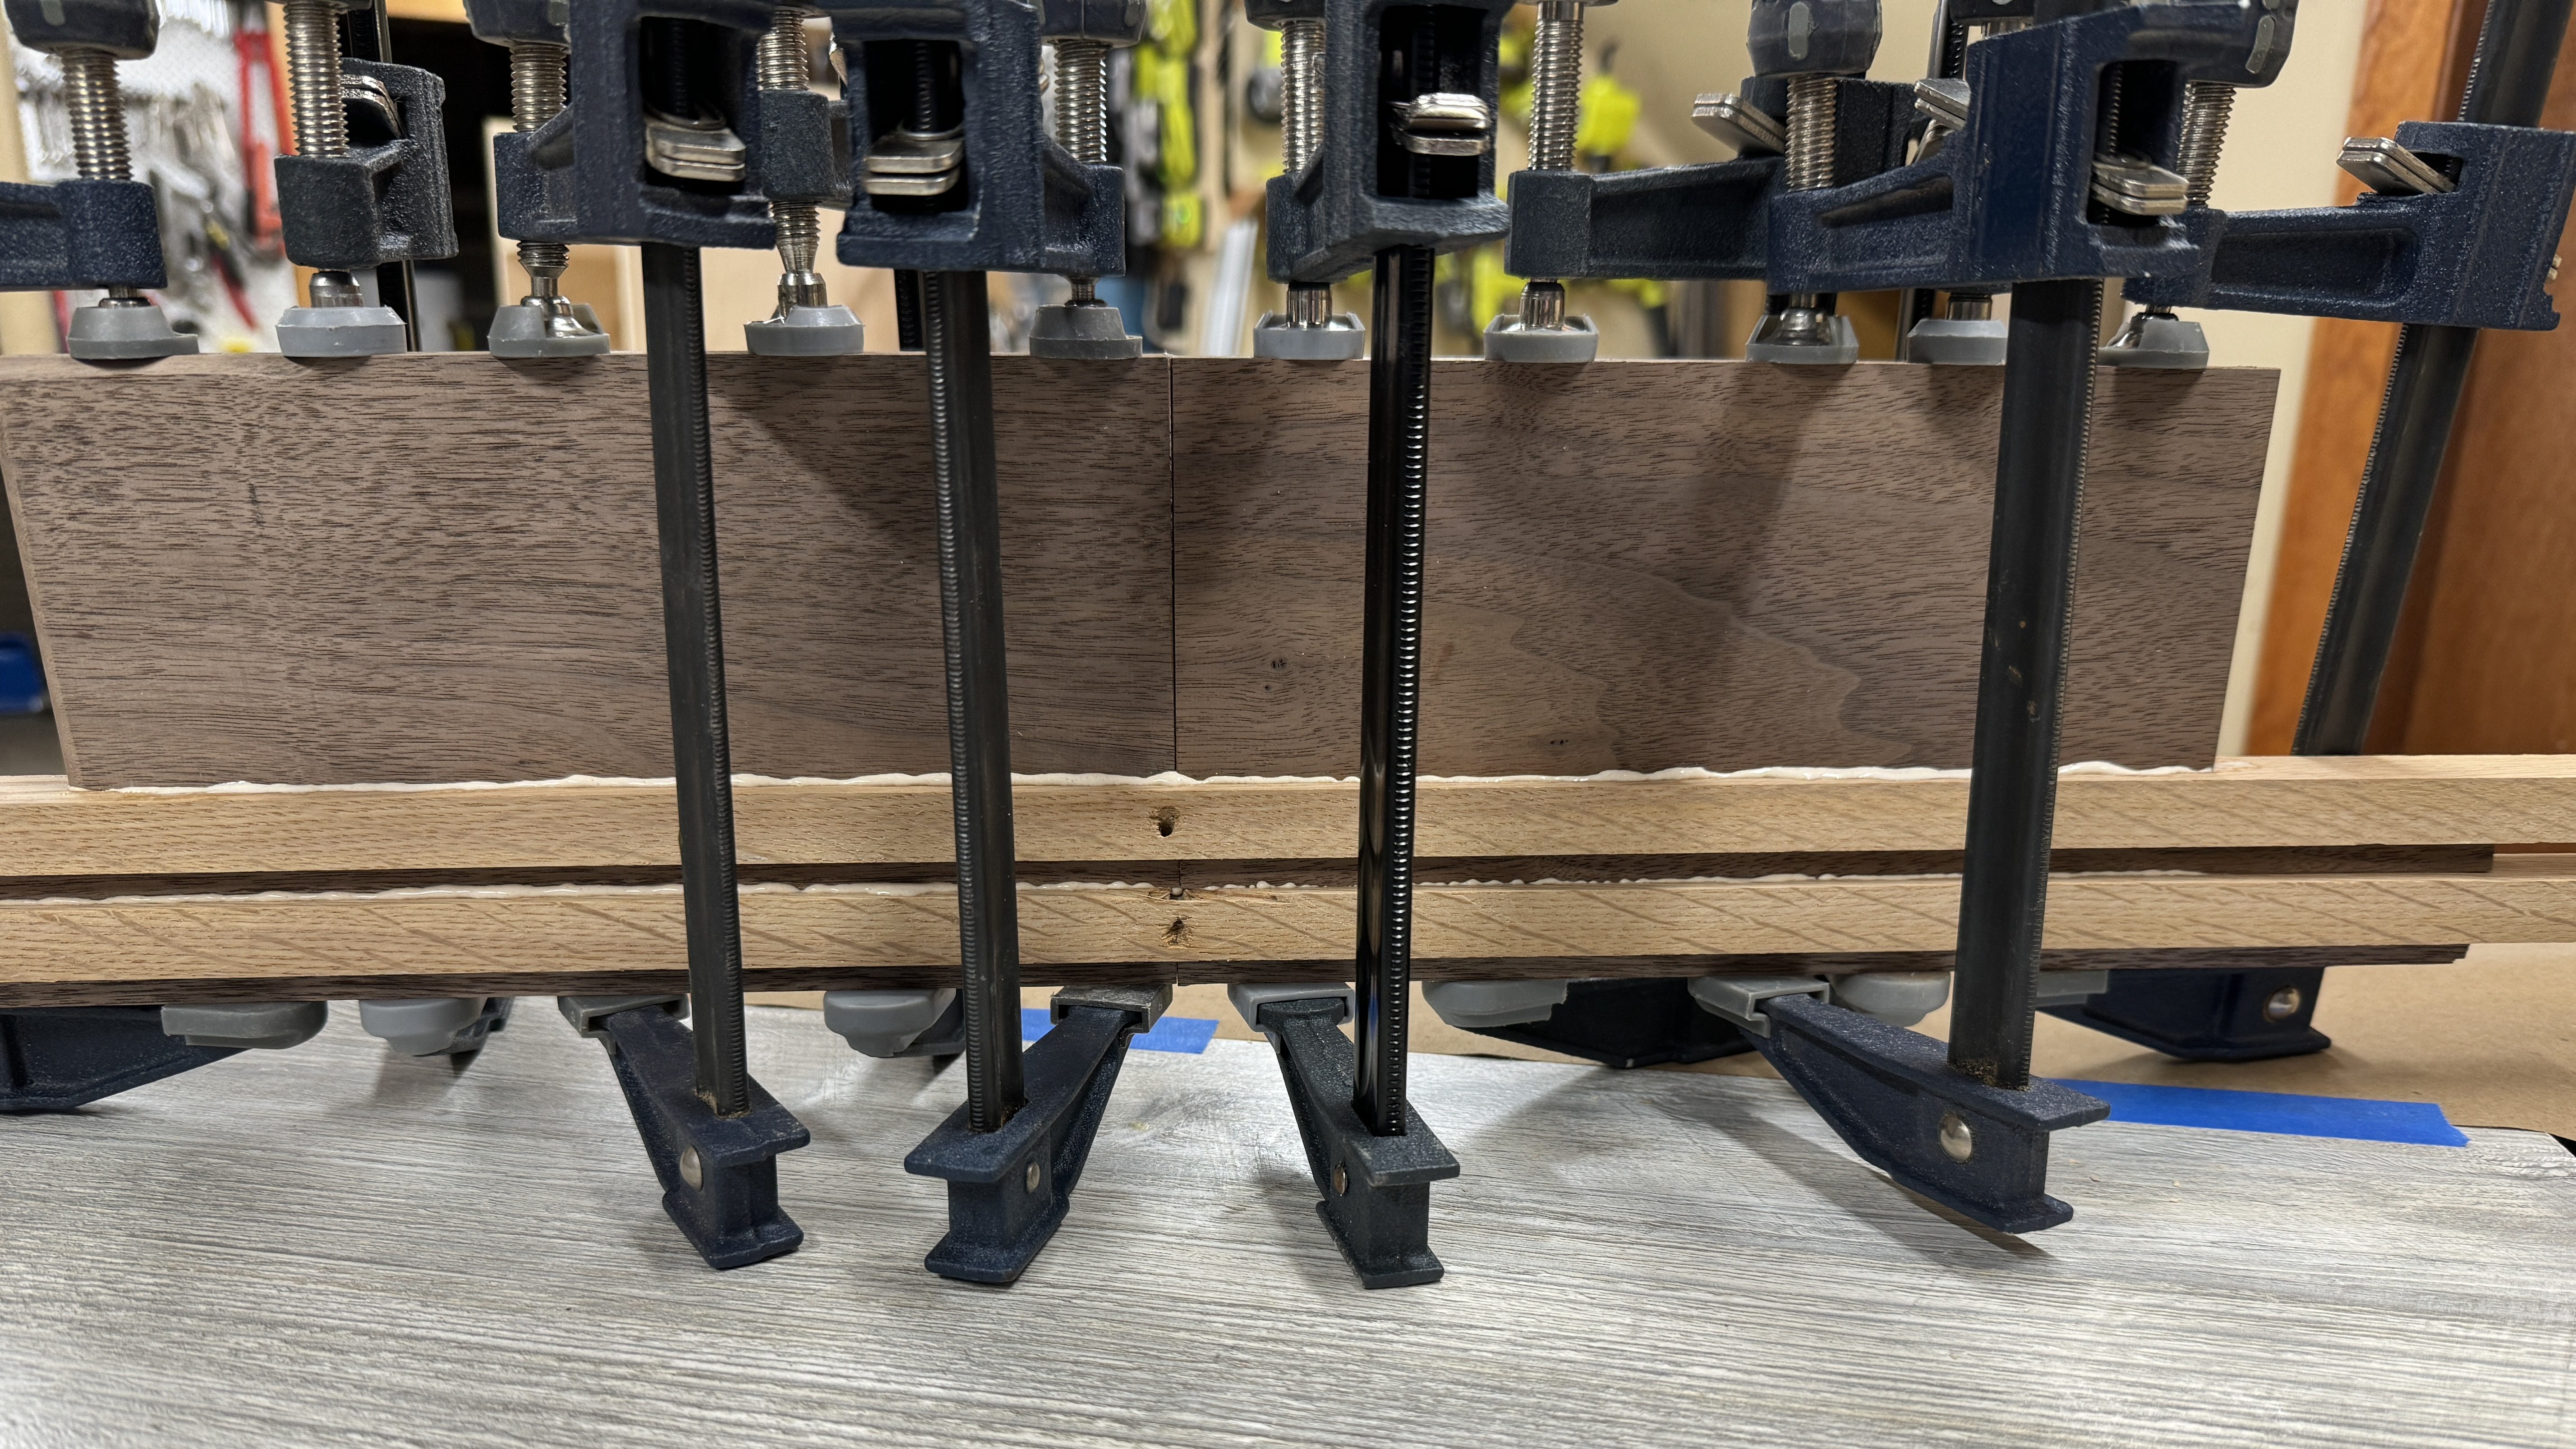
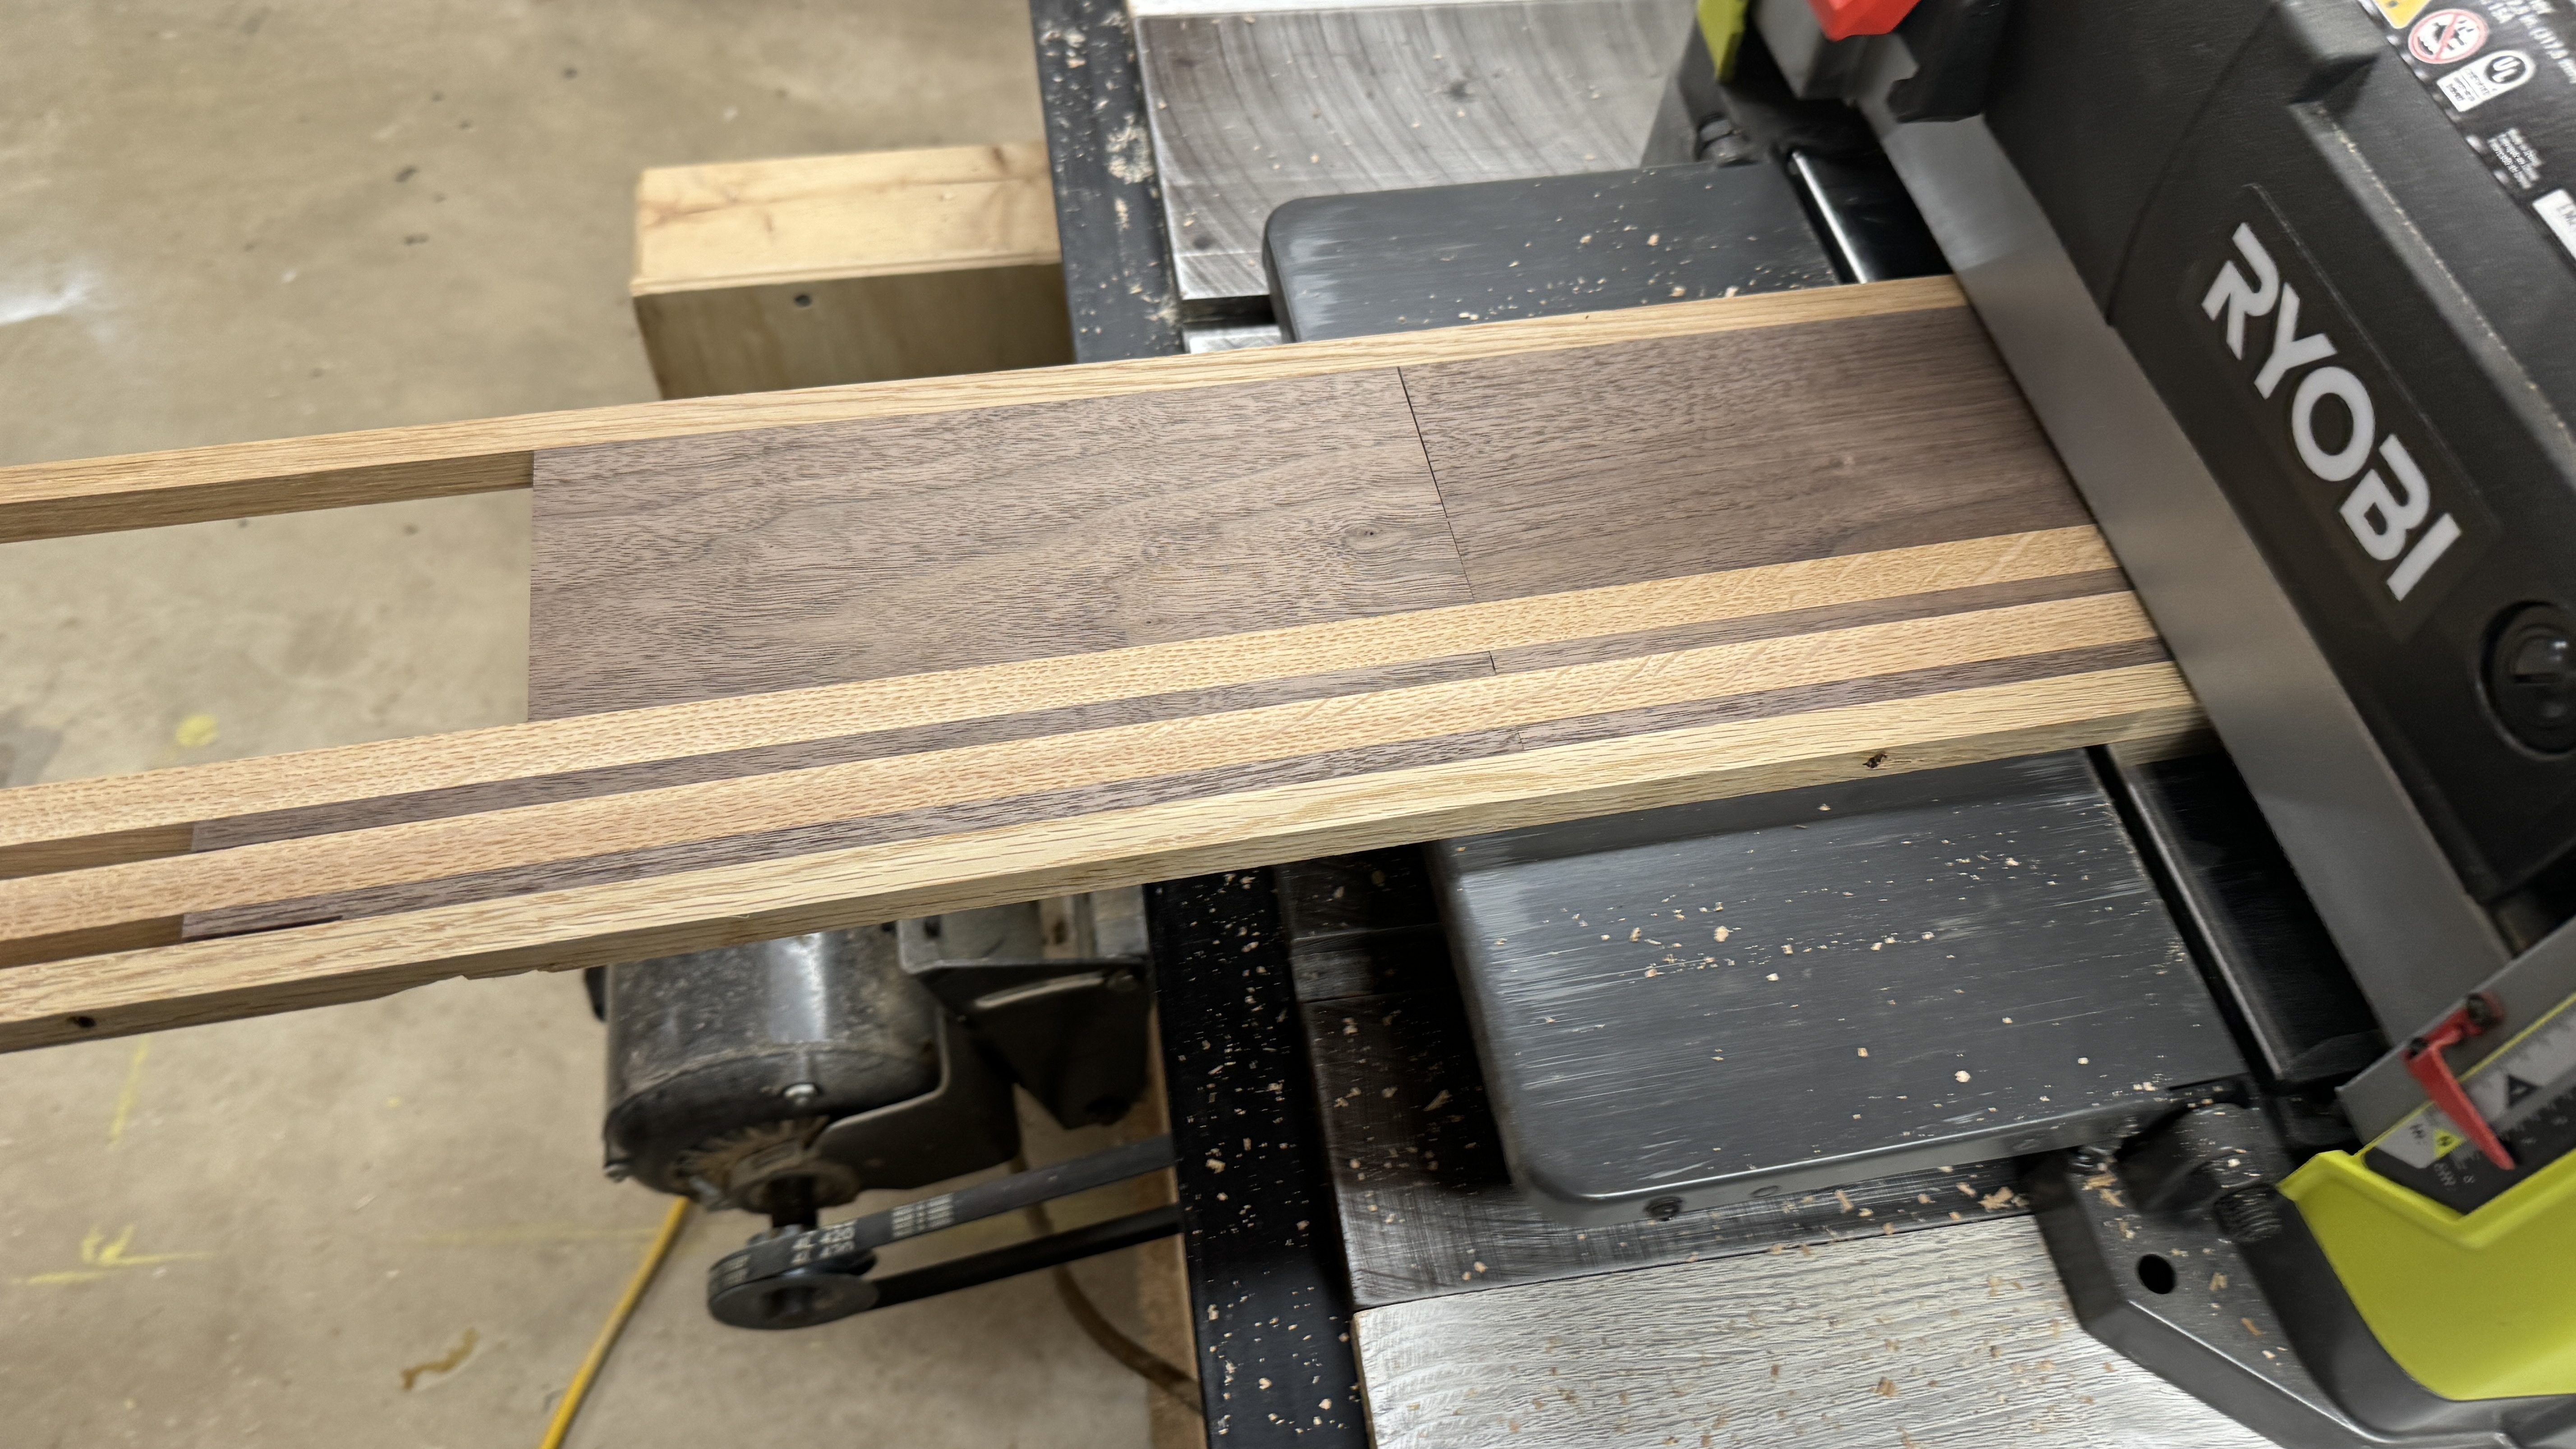
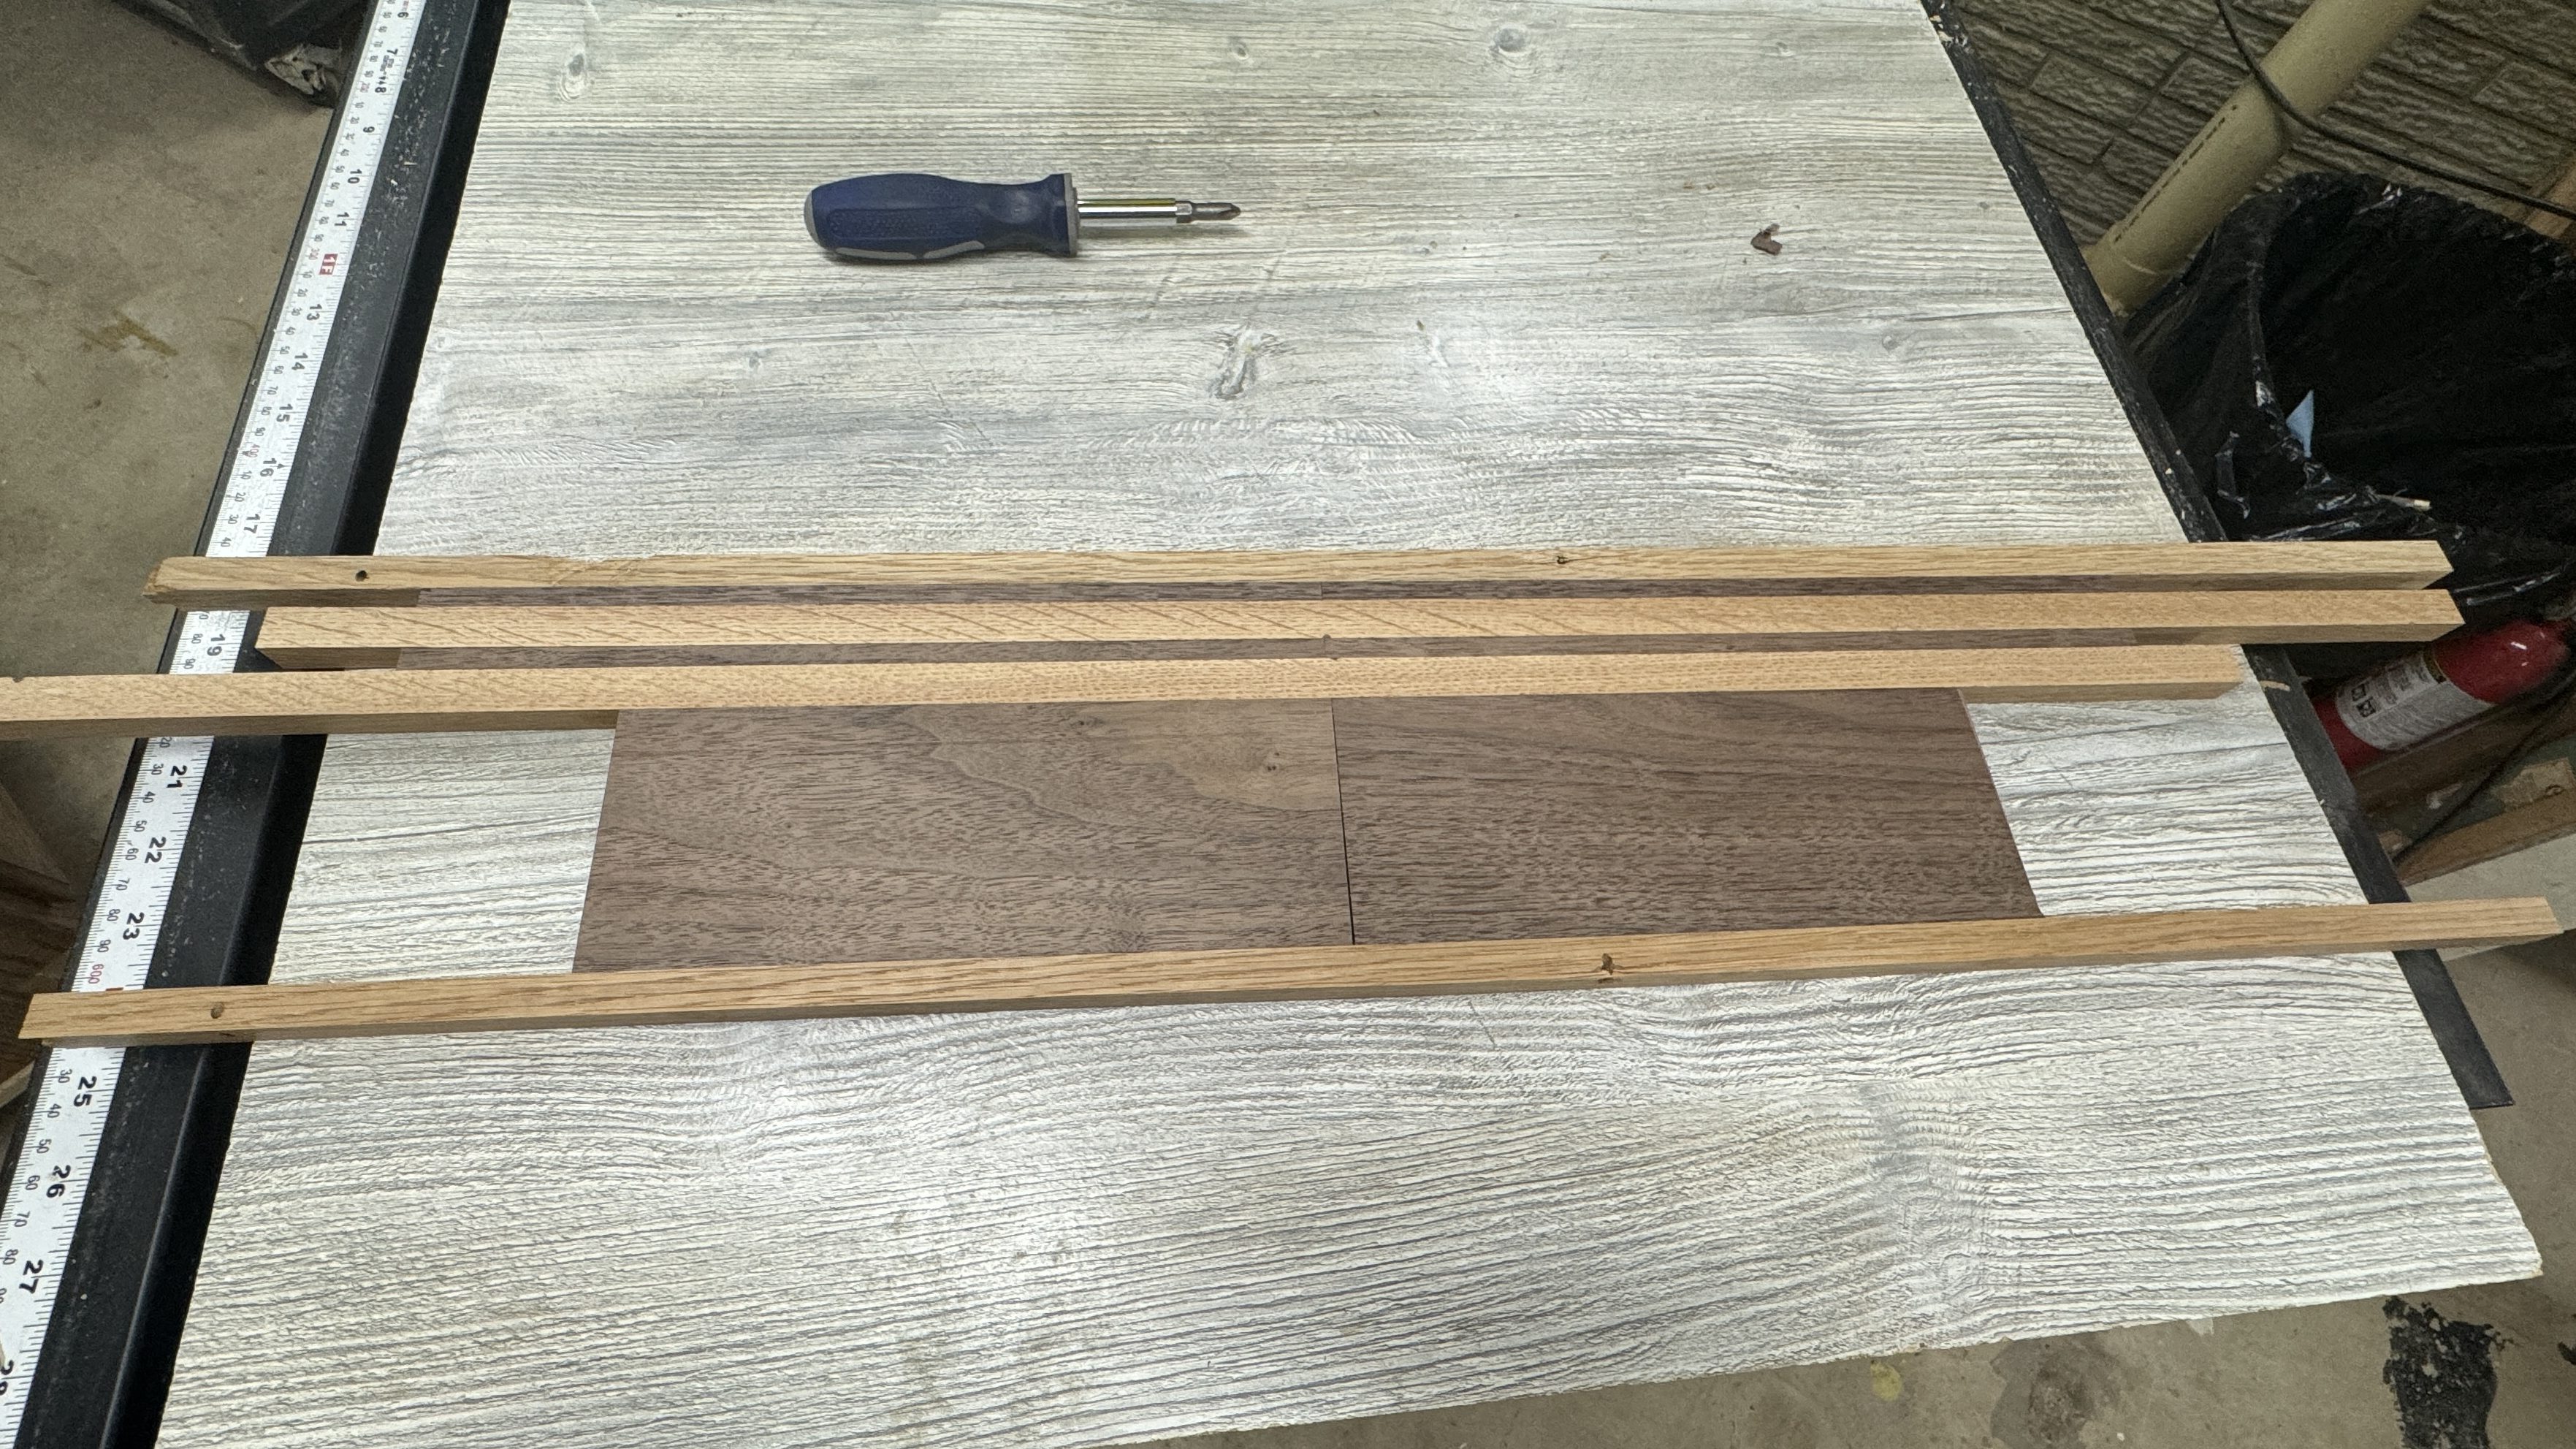
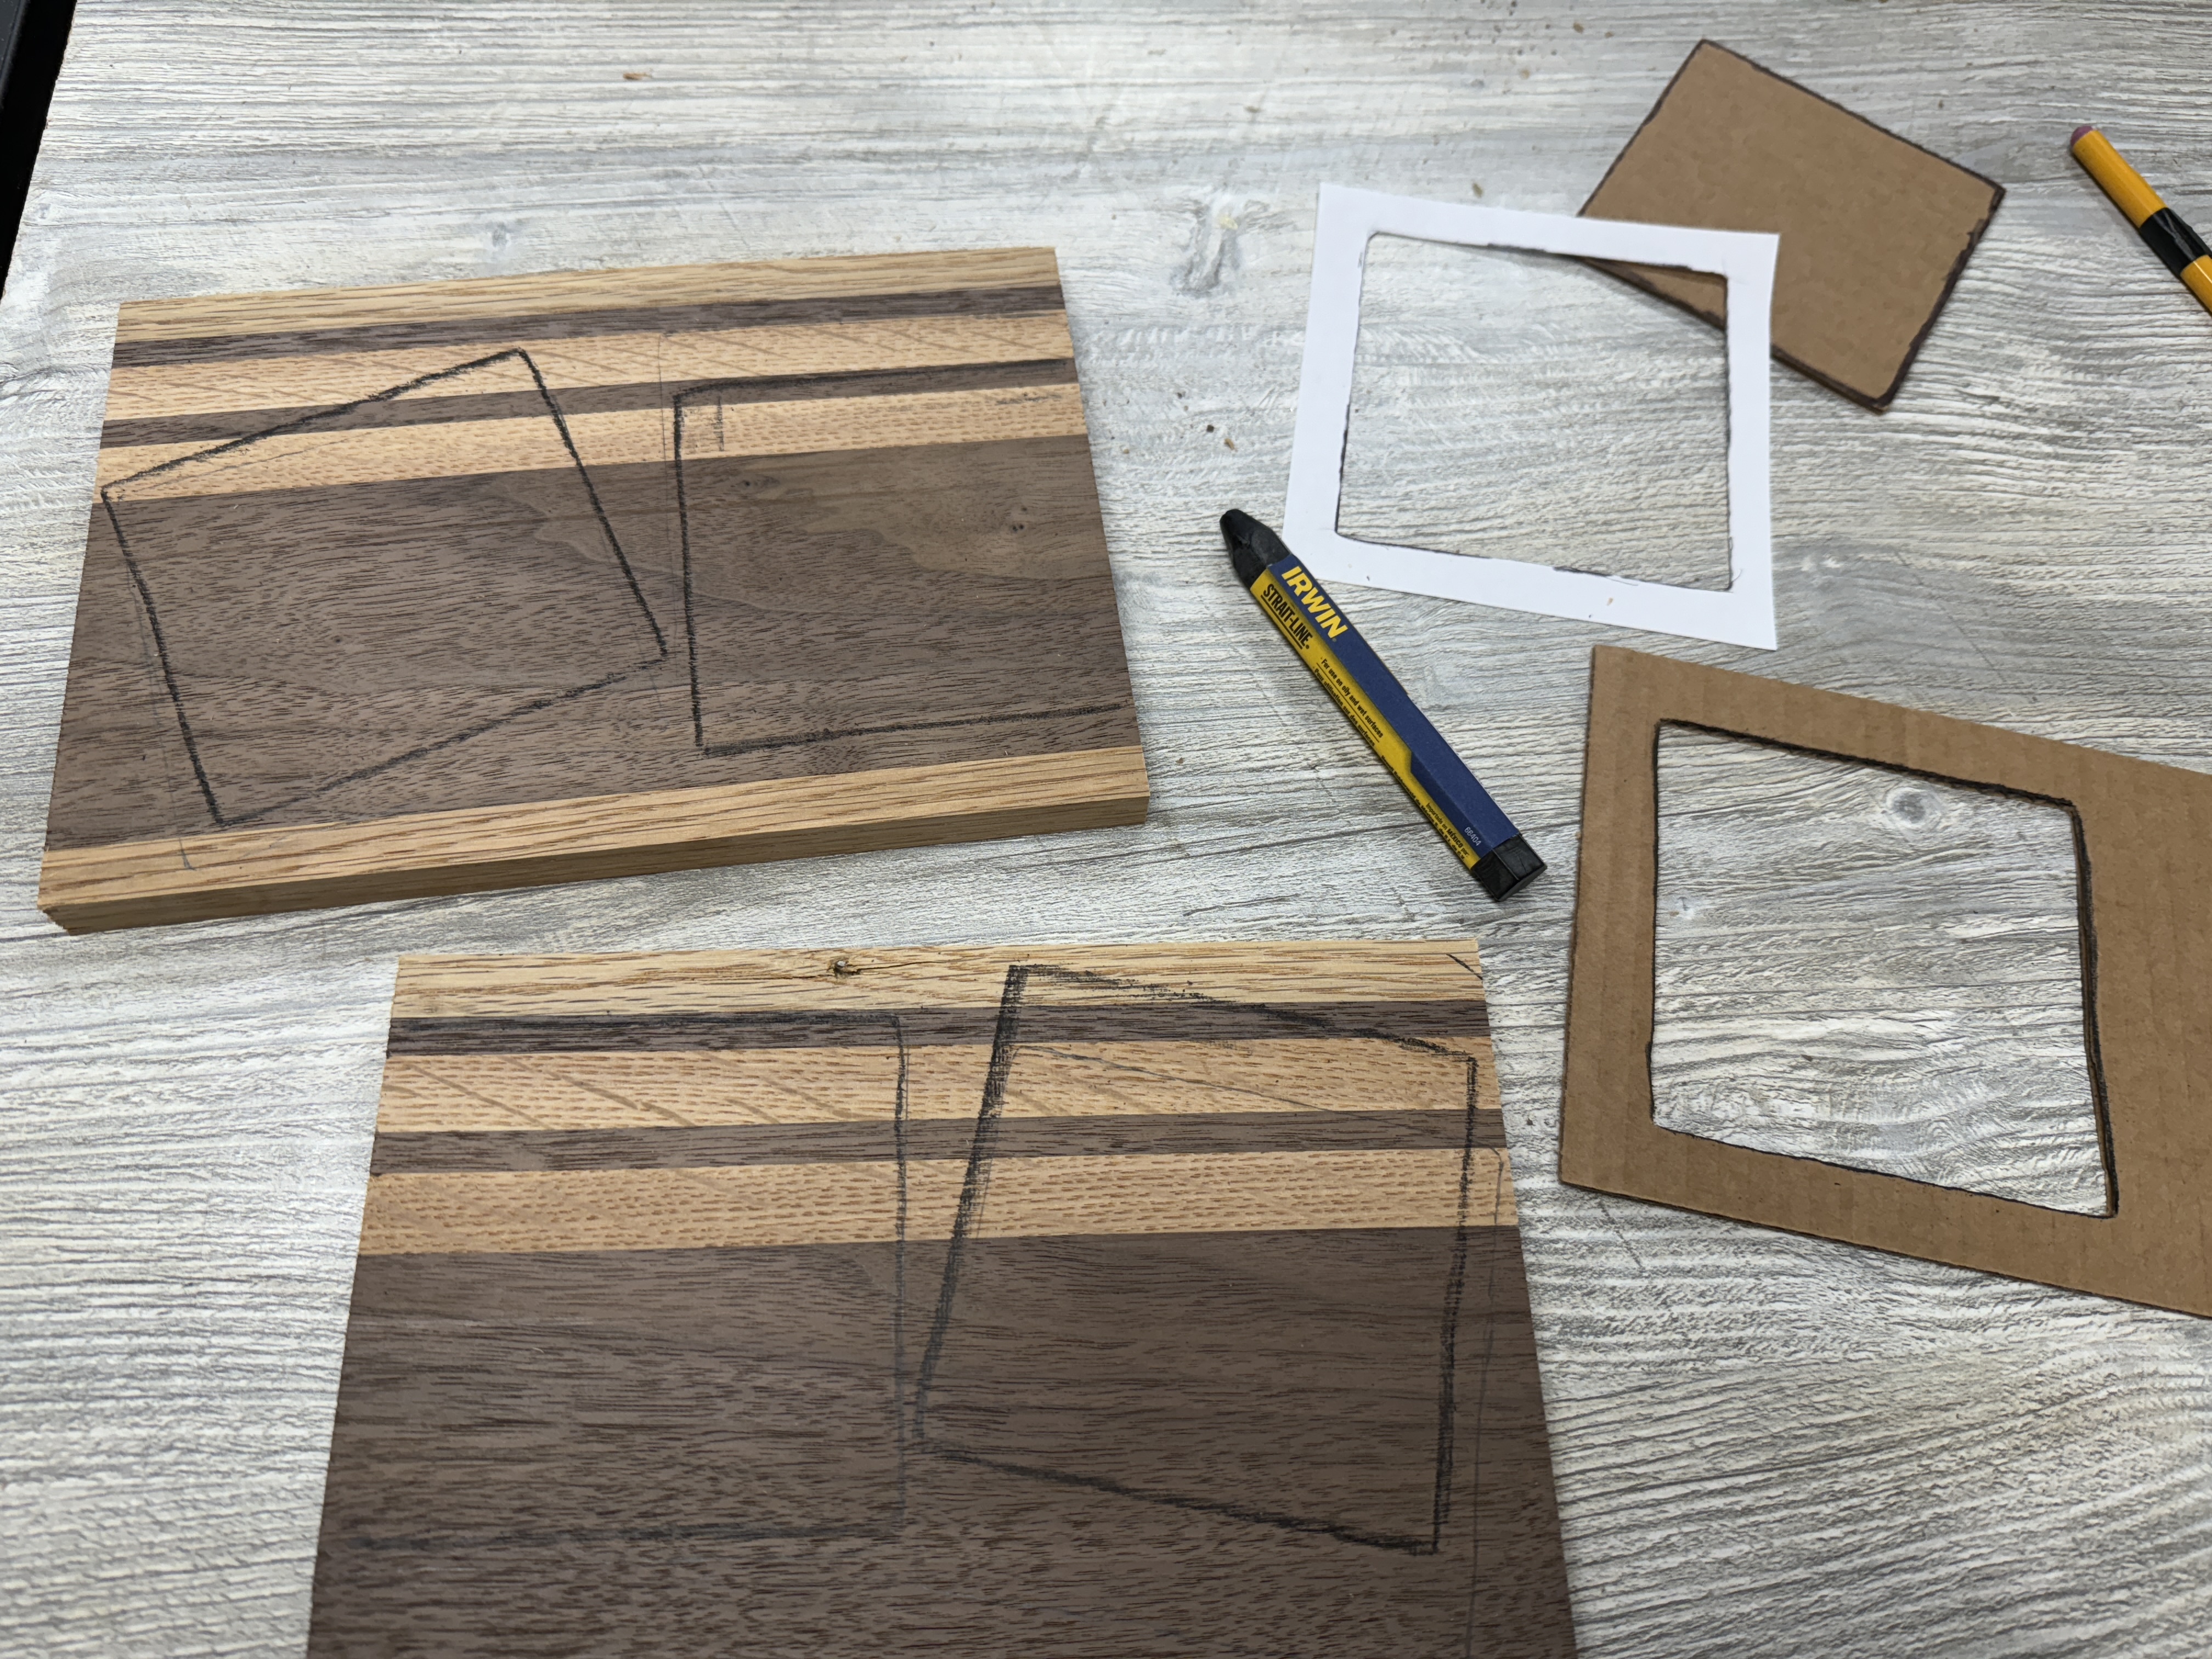
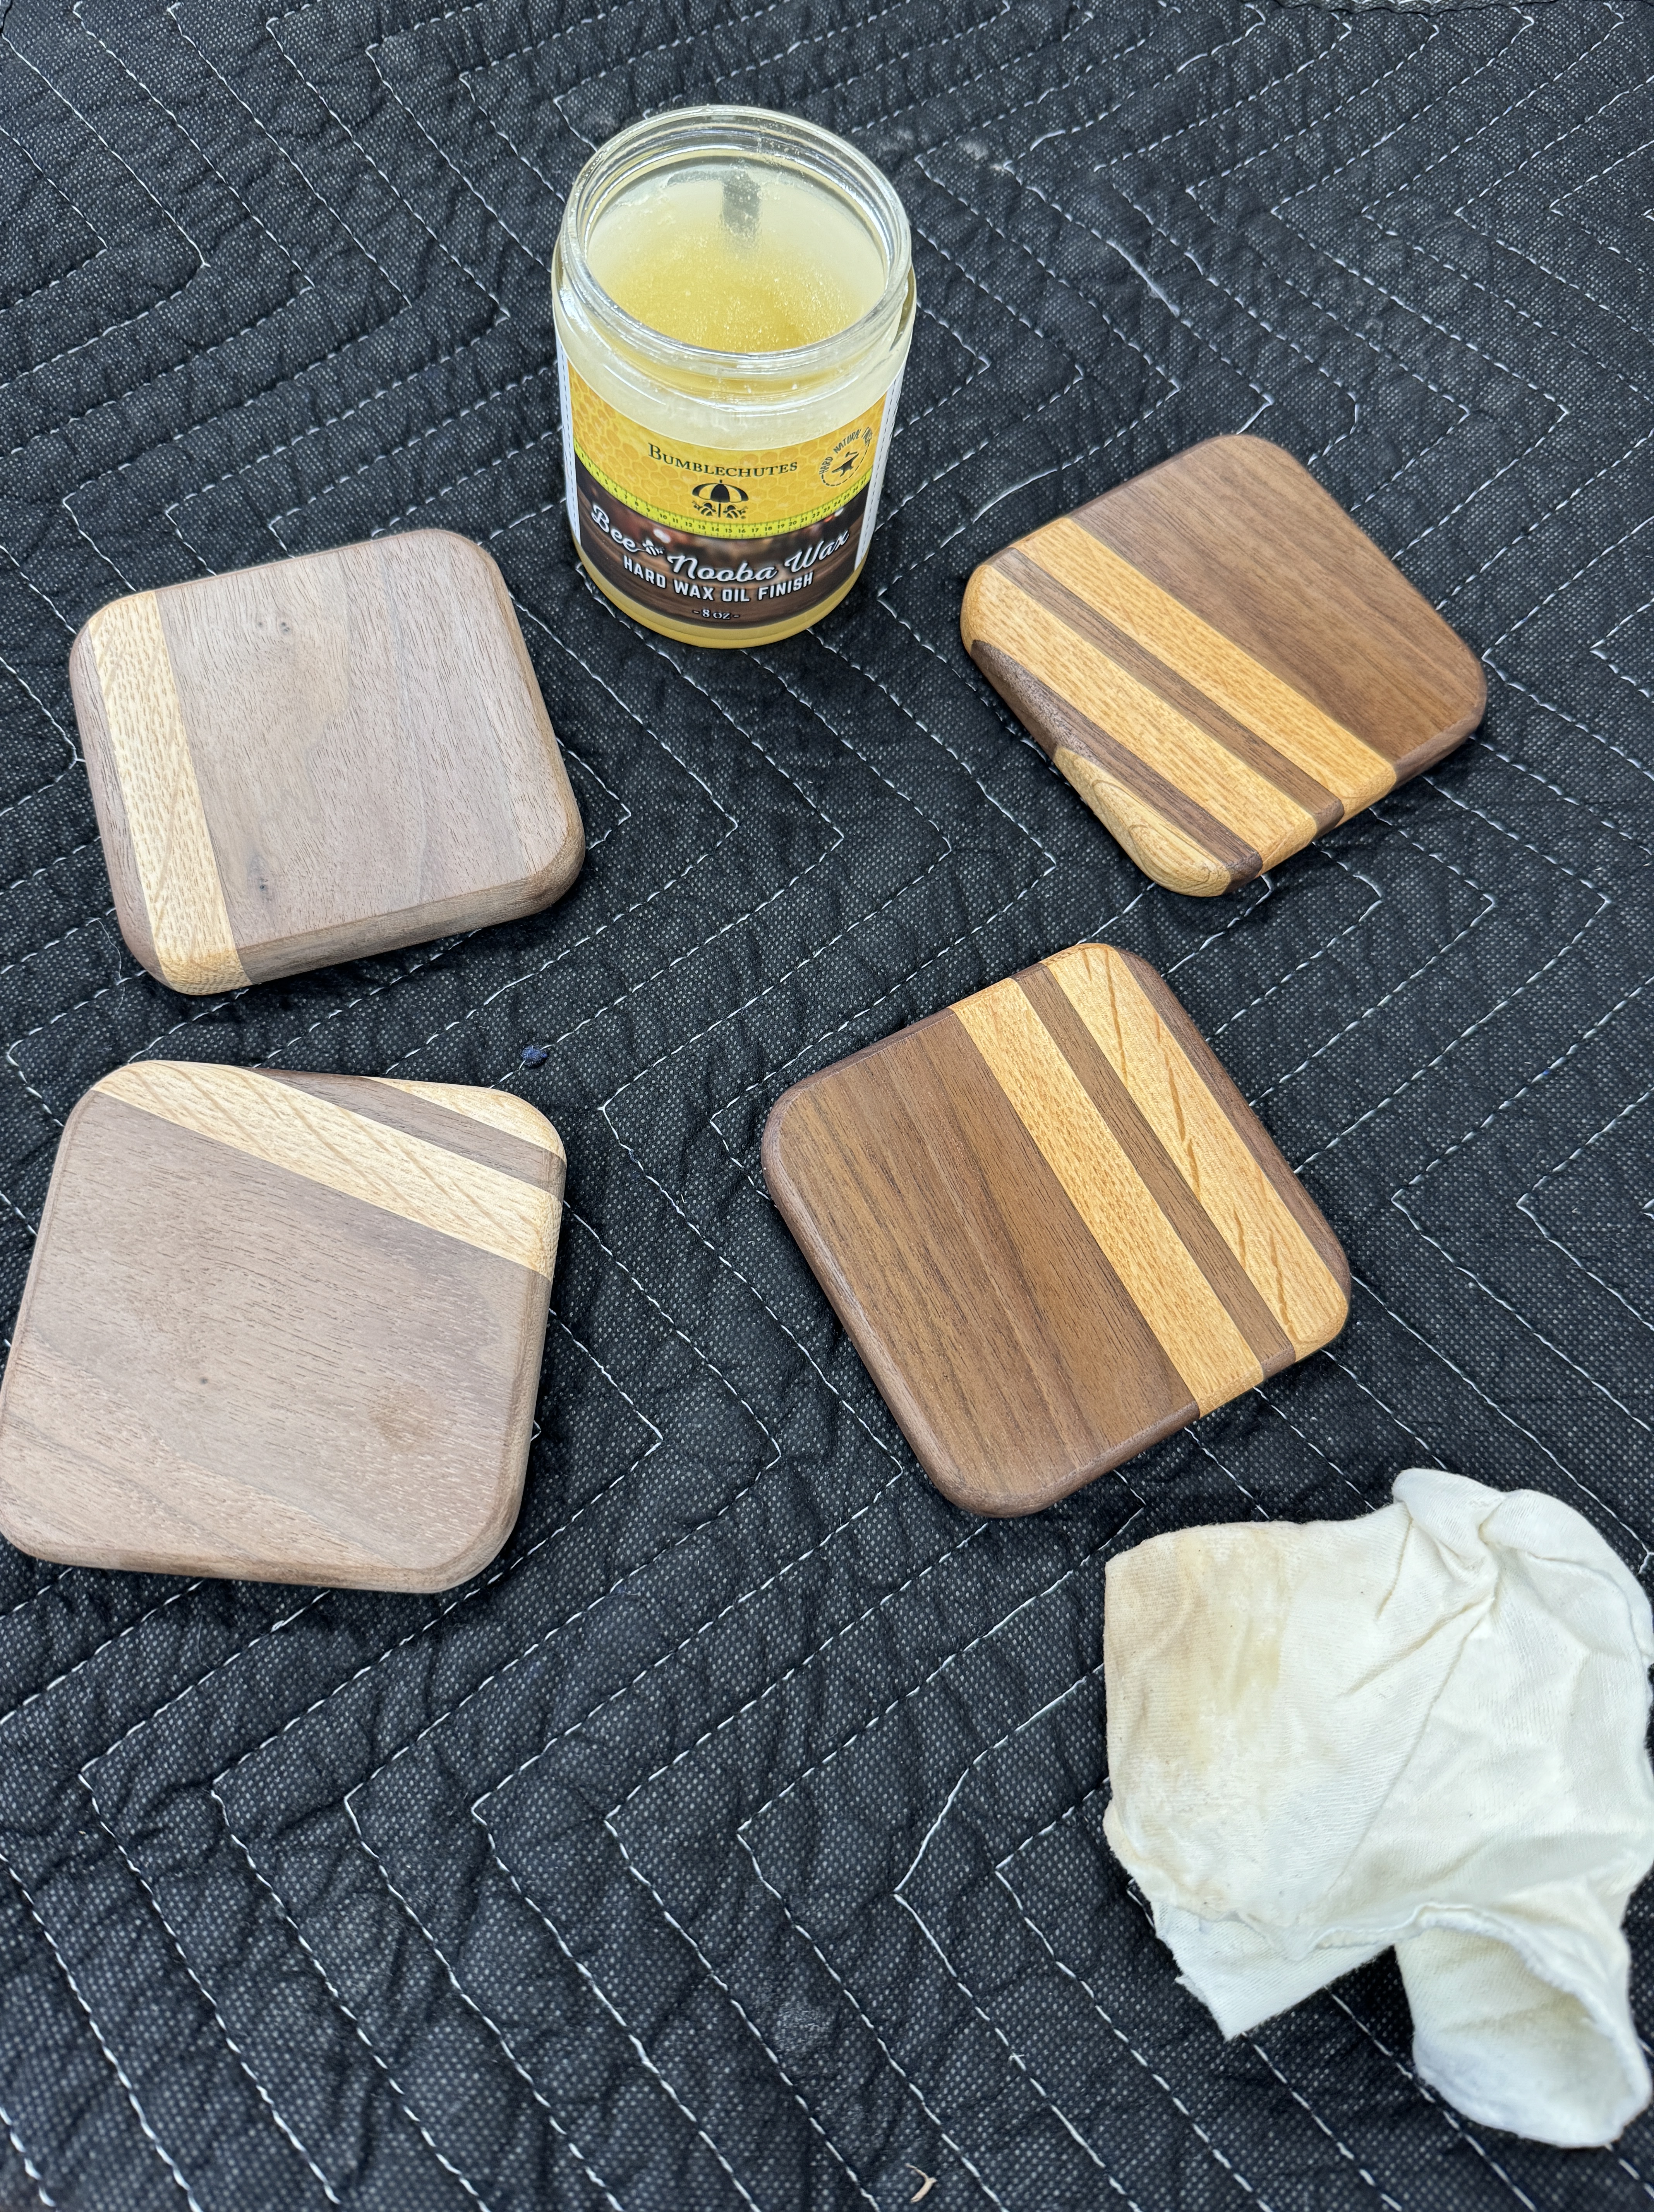
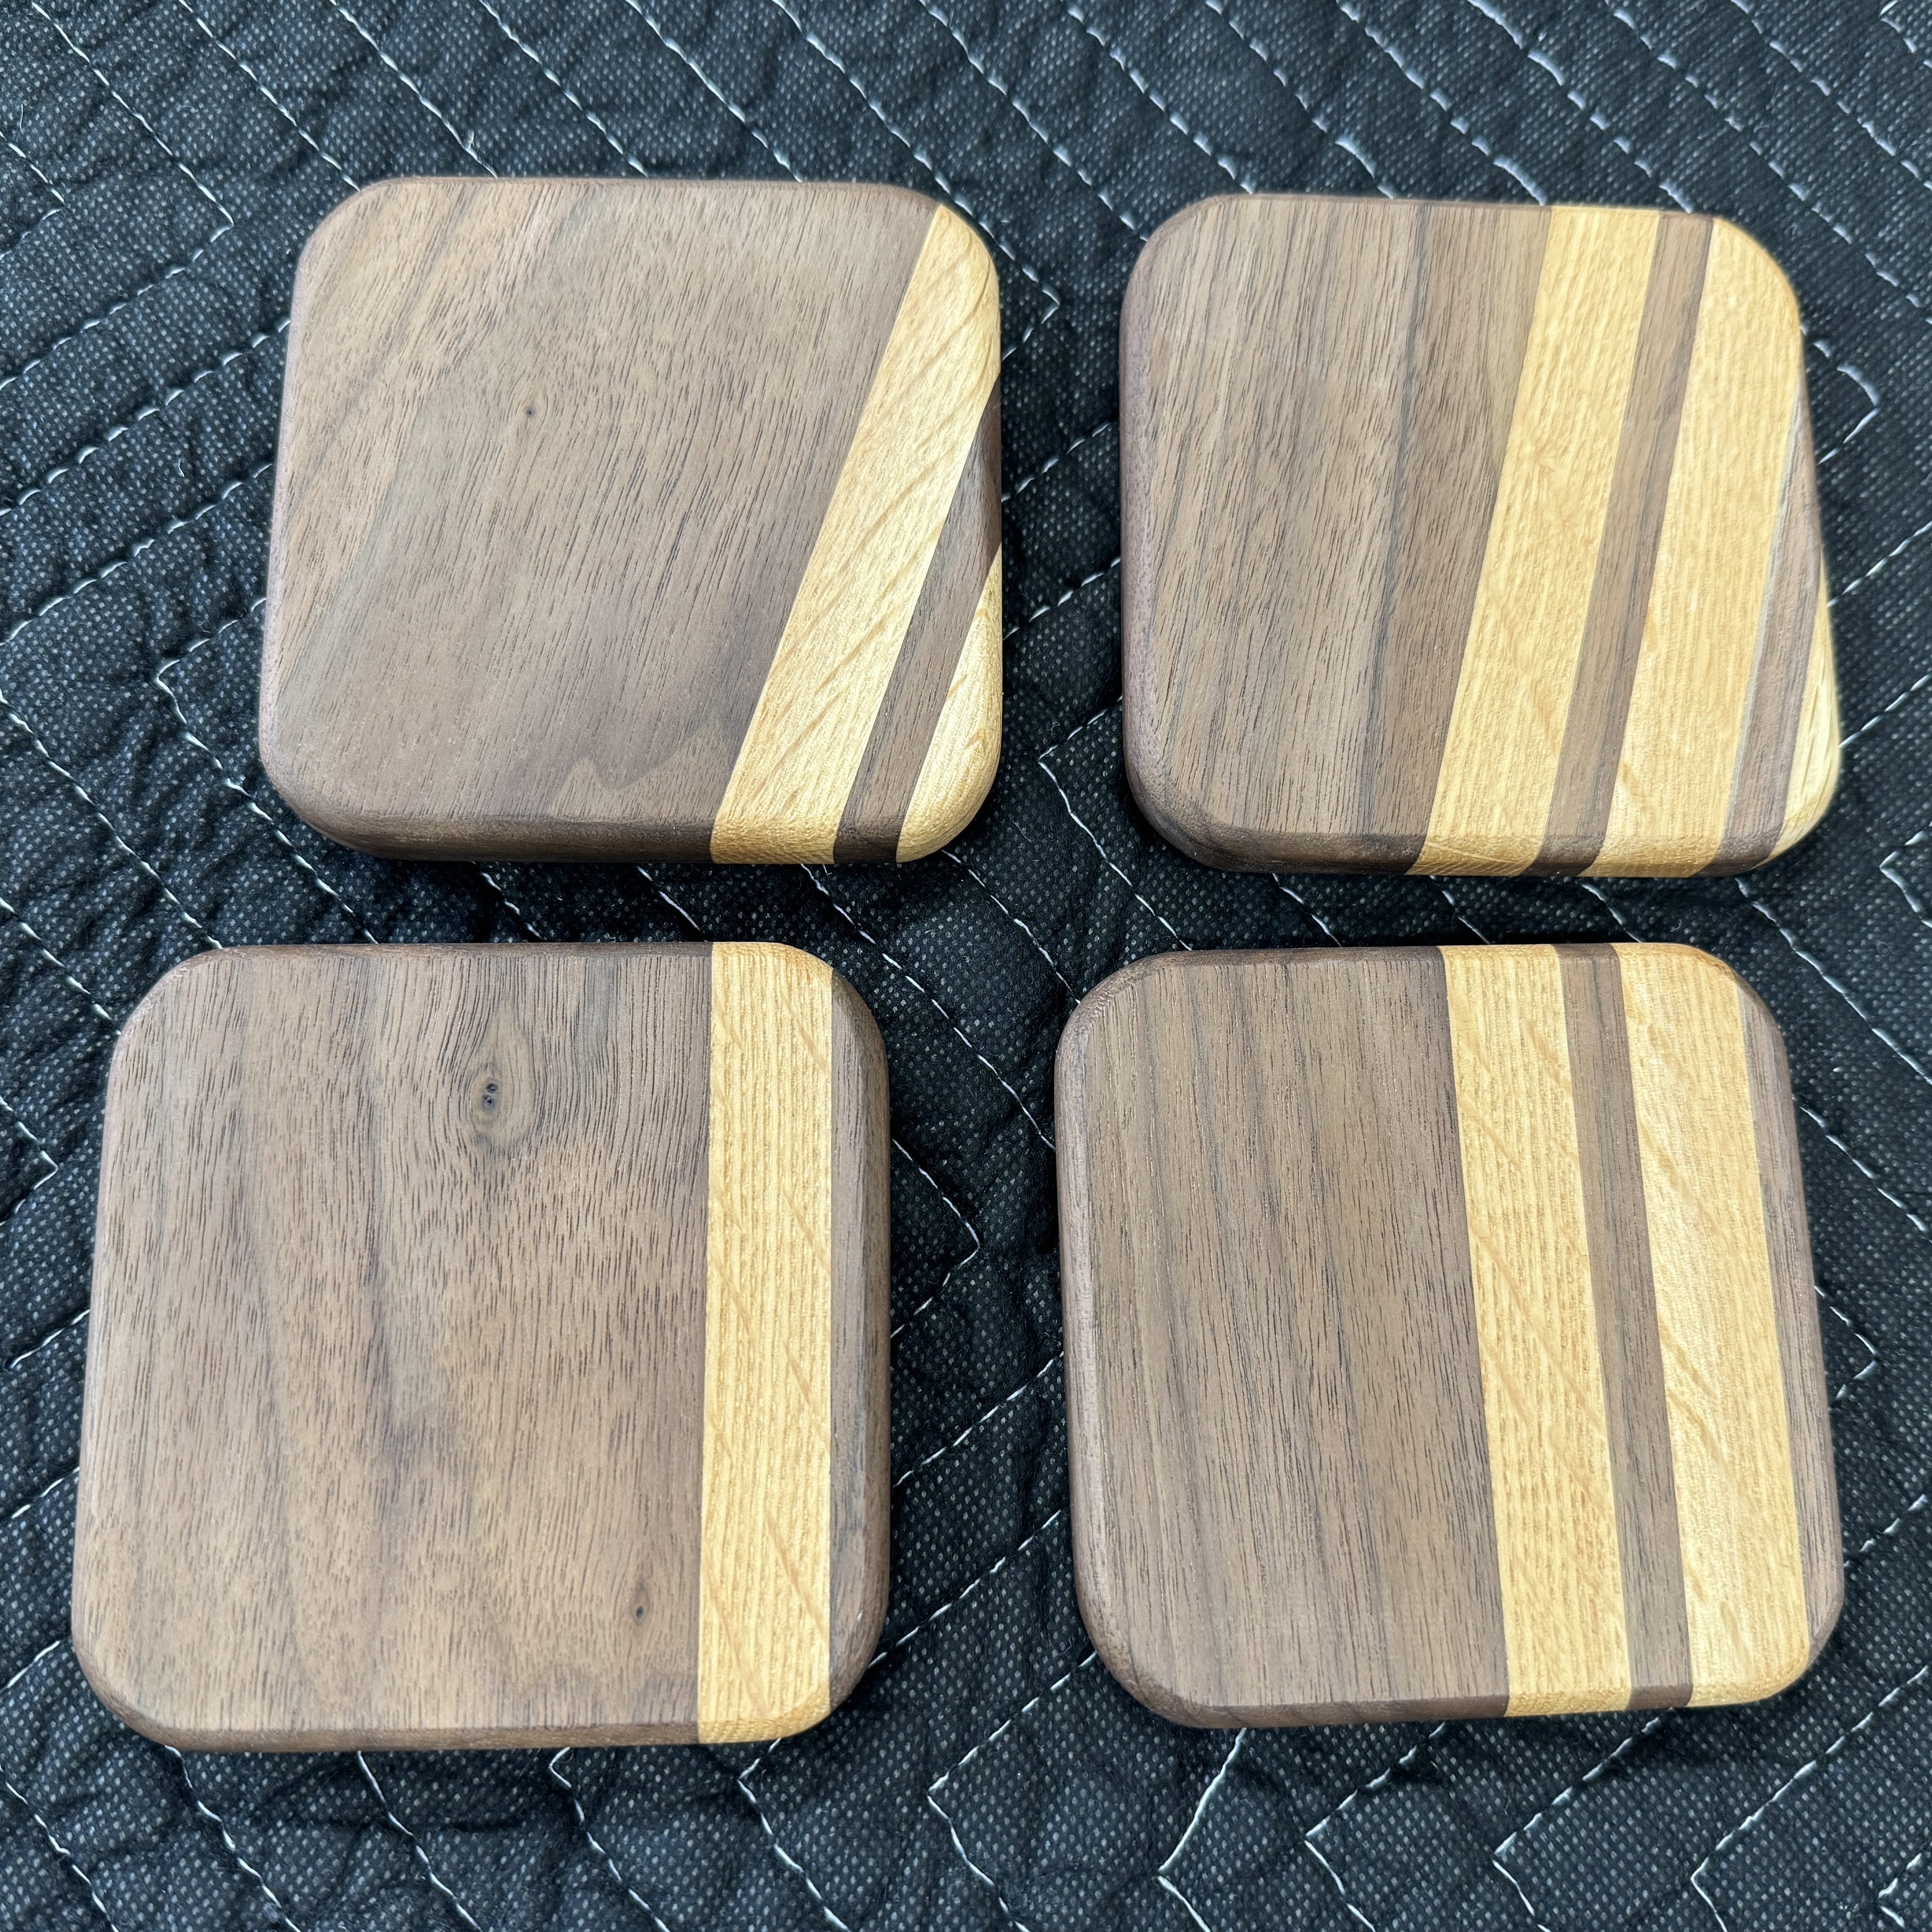
After making coasters to go with my desk, I had the idea to make some as gifts for my Automattic team members, since we had a meetup coming up. Brandi also wanted to make a couple for a gift, so she helped a lot. Unfortunately I didn’t take many pictures during the process.
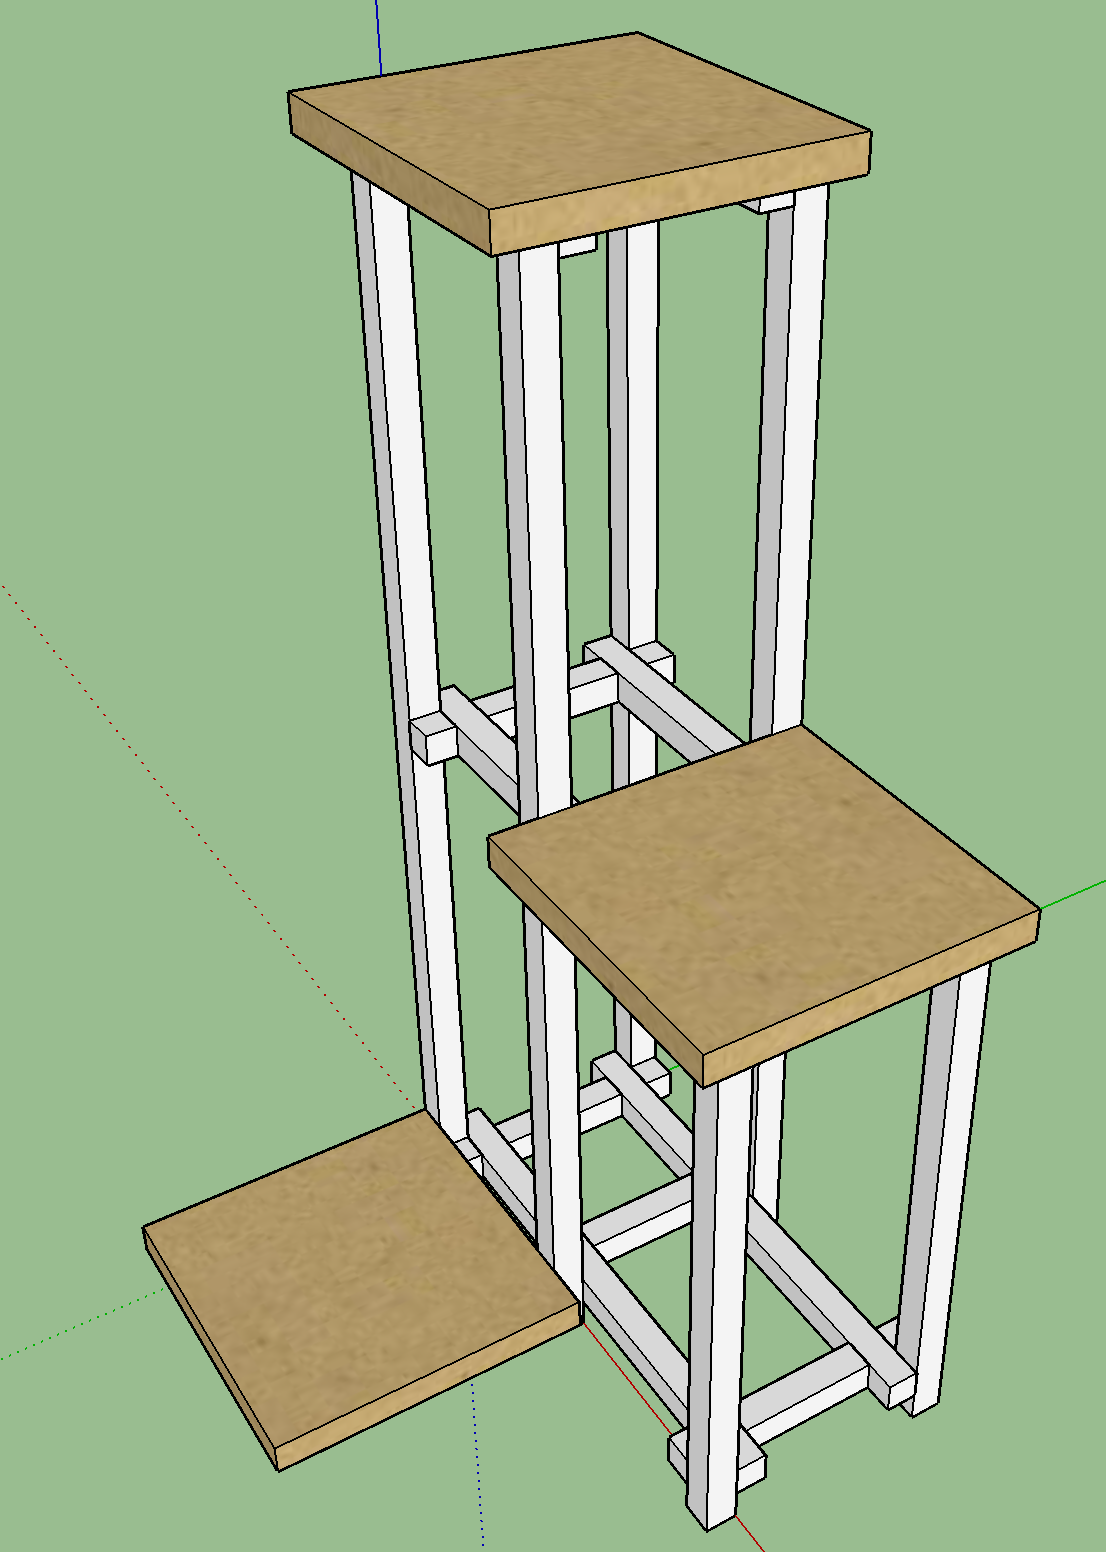
With our new house having a big walk-in closet we won’t need dressers, so we’ll be selling our bedroom set, which meant it was a good time for new nightstands. Here’s a photo dump of the build.
These will be floating on the wall in the new house, with about five inches of space under them. I did a lot of things in this build I’ve never tried before, so I learned a lot. I love how the decorative grooves turned out on the drawer fronts, which was inspired by something Michael Alm did on his kitchen cupboards. The oak handles were made with inspiration from a couple we liked on Etsy (1 & 2).
I can’t wait to get moved in this summer and mount these on the wall!
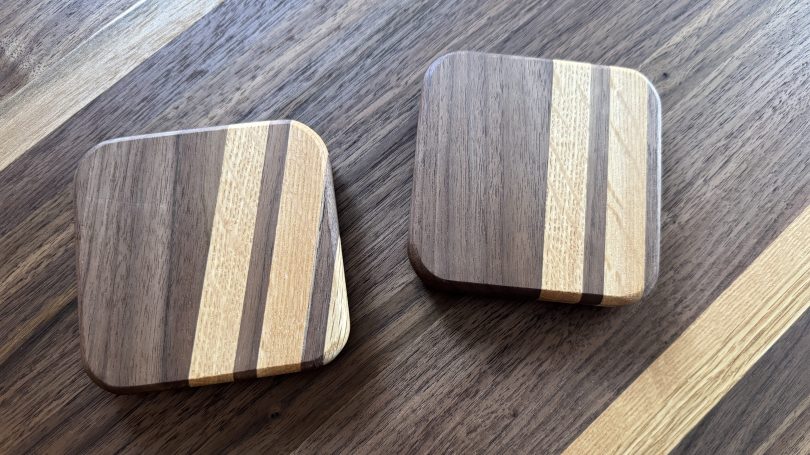
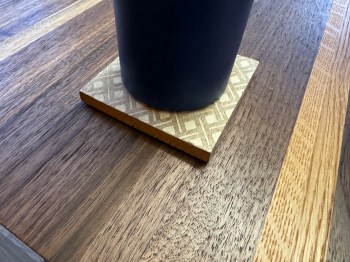
I’m loving my new desk. There are a couple of needed improvements though. First, I always have a water bottle, coffee, pop, or several on my desk when working, so I had grabbed this coaster from the living room. It bugged me all week.
Can you believe I’d never made a set of coasters? Time to fix that.
This was a simple project and a lot of fun to knock out something small. I’ll keep two of the coasters in the office and put the other two in the living room.
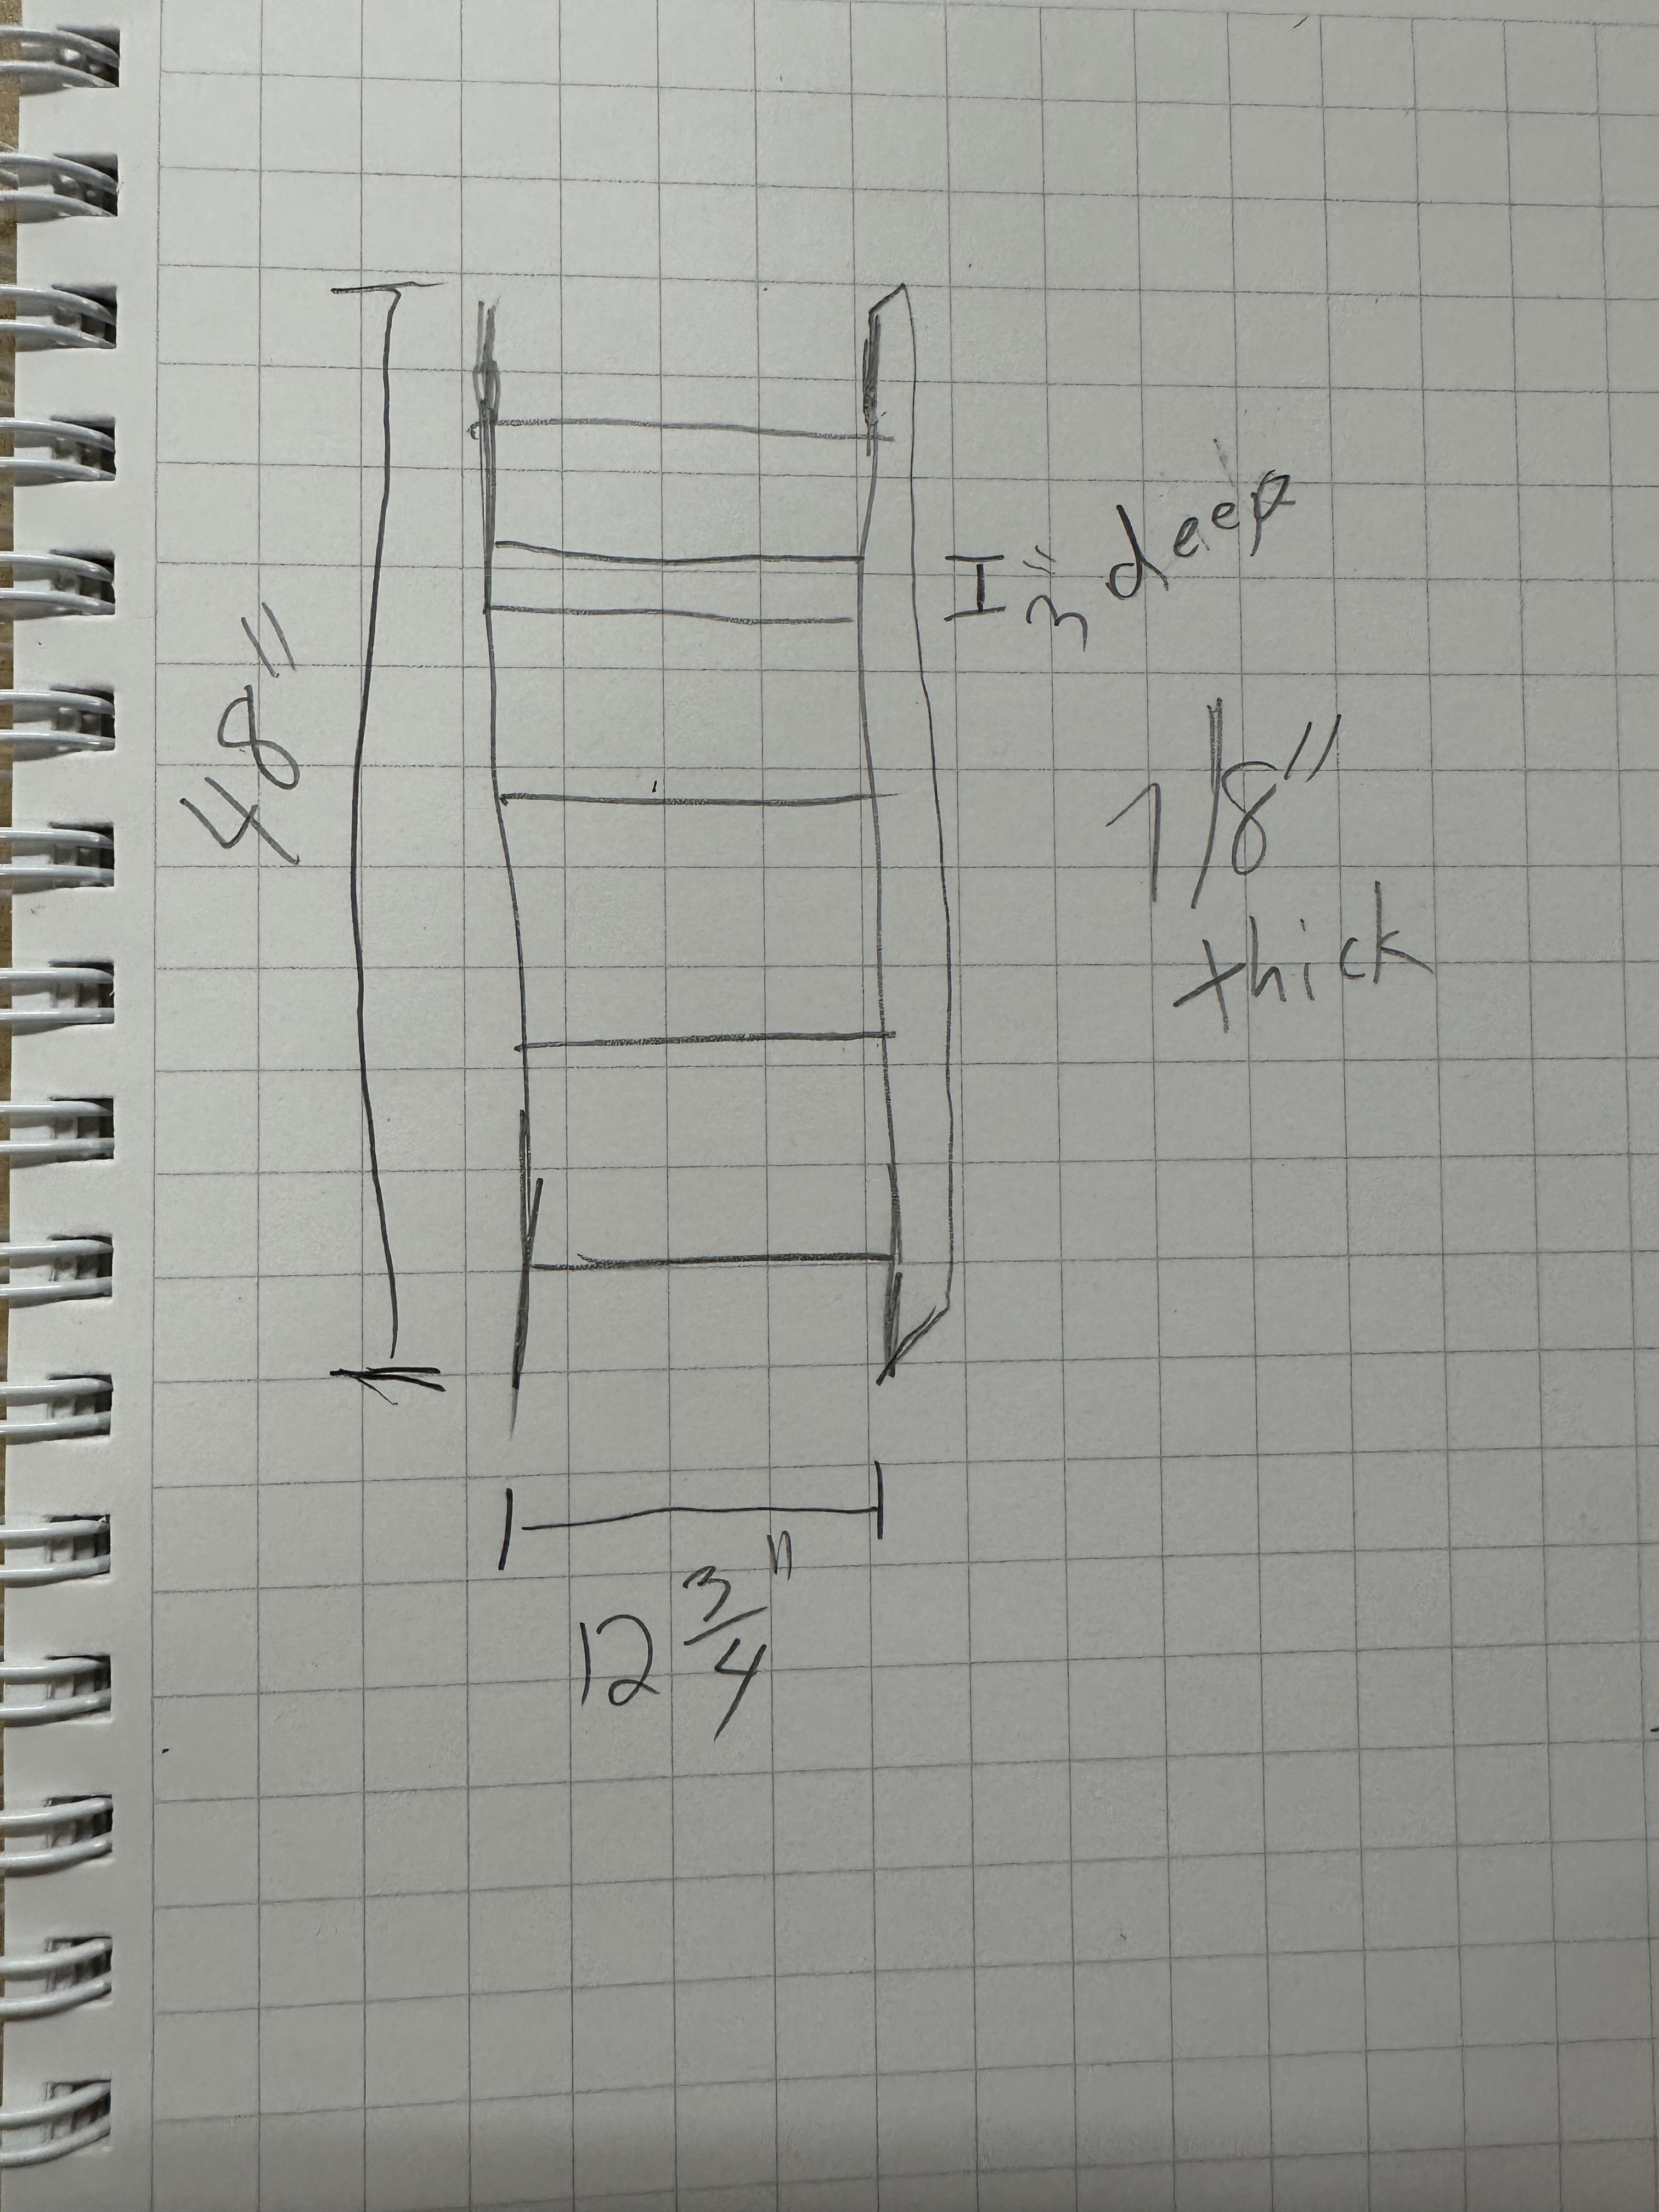
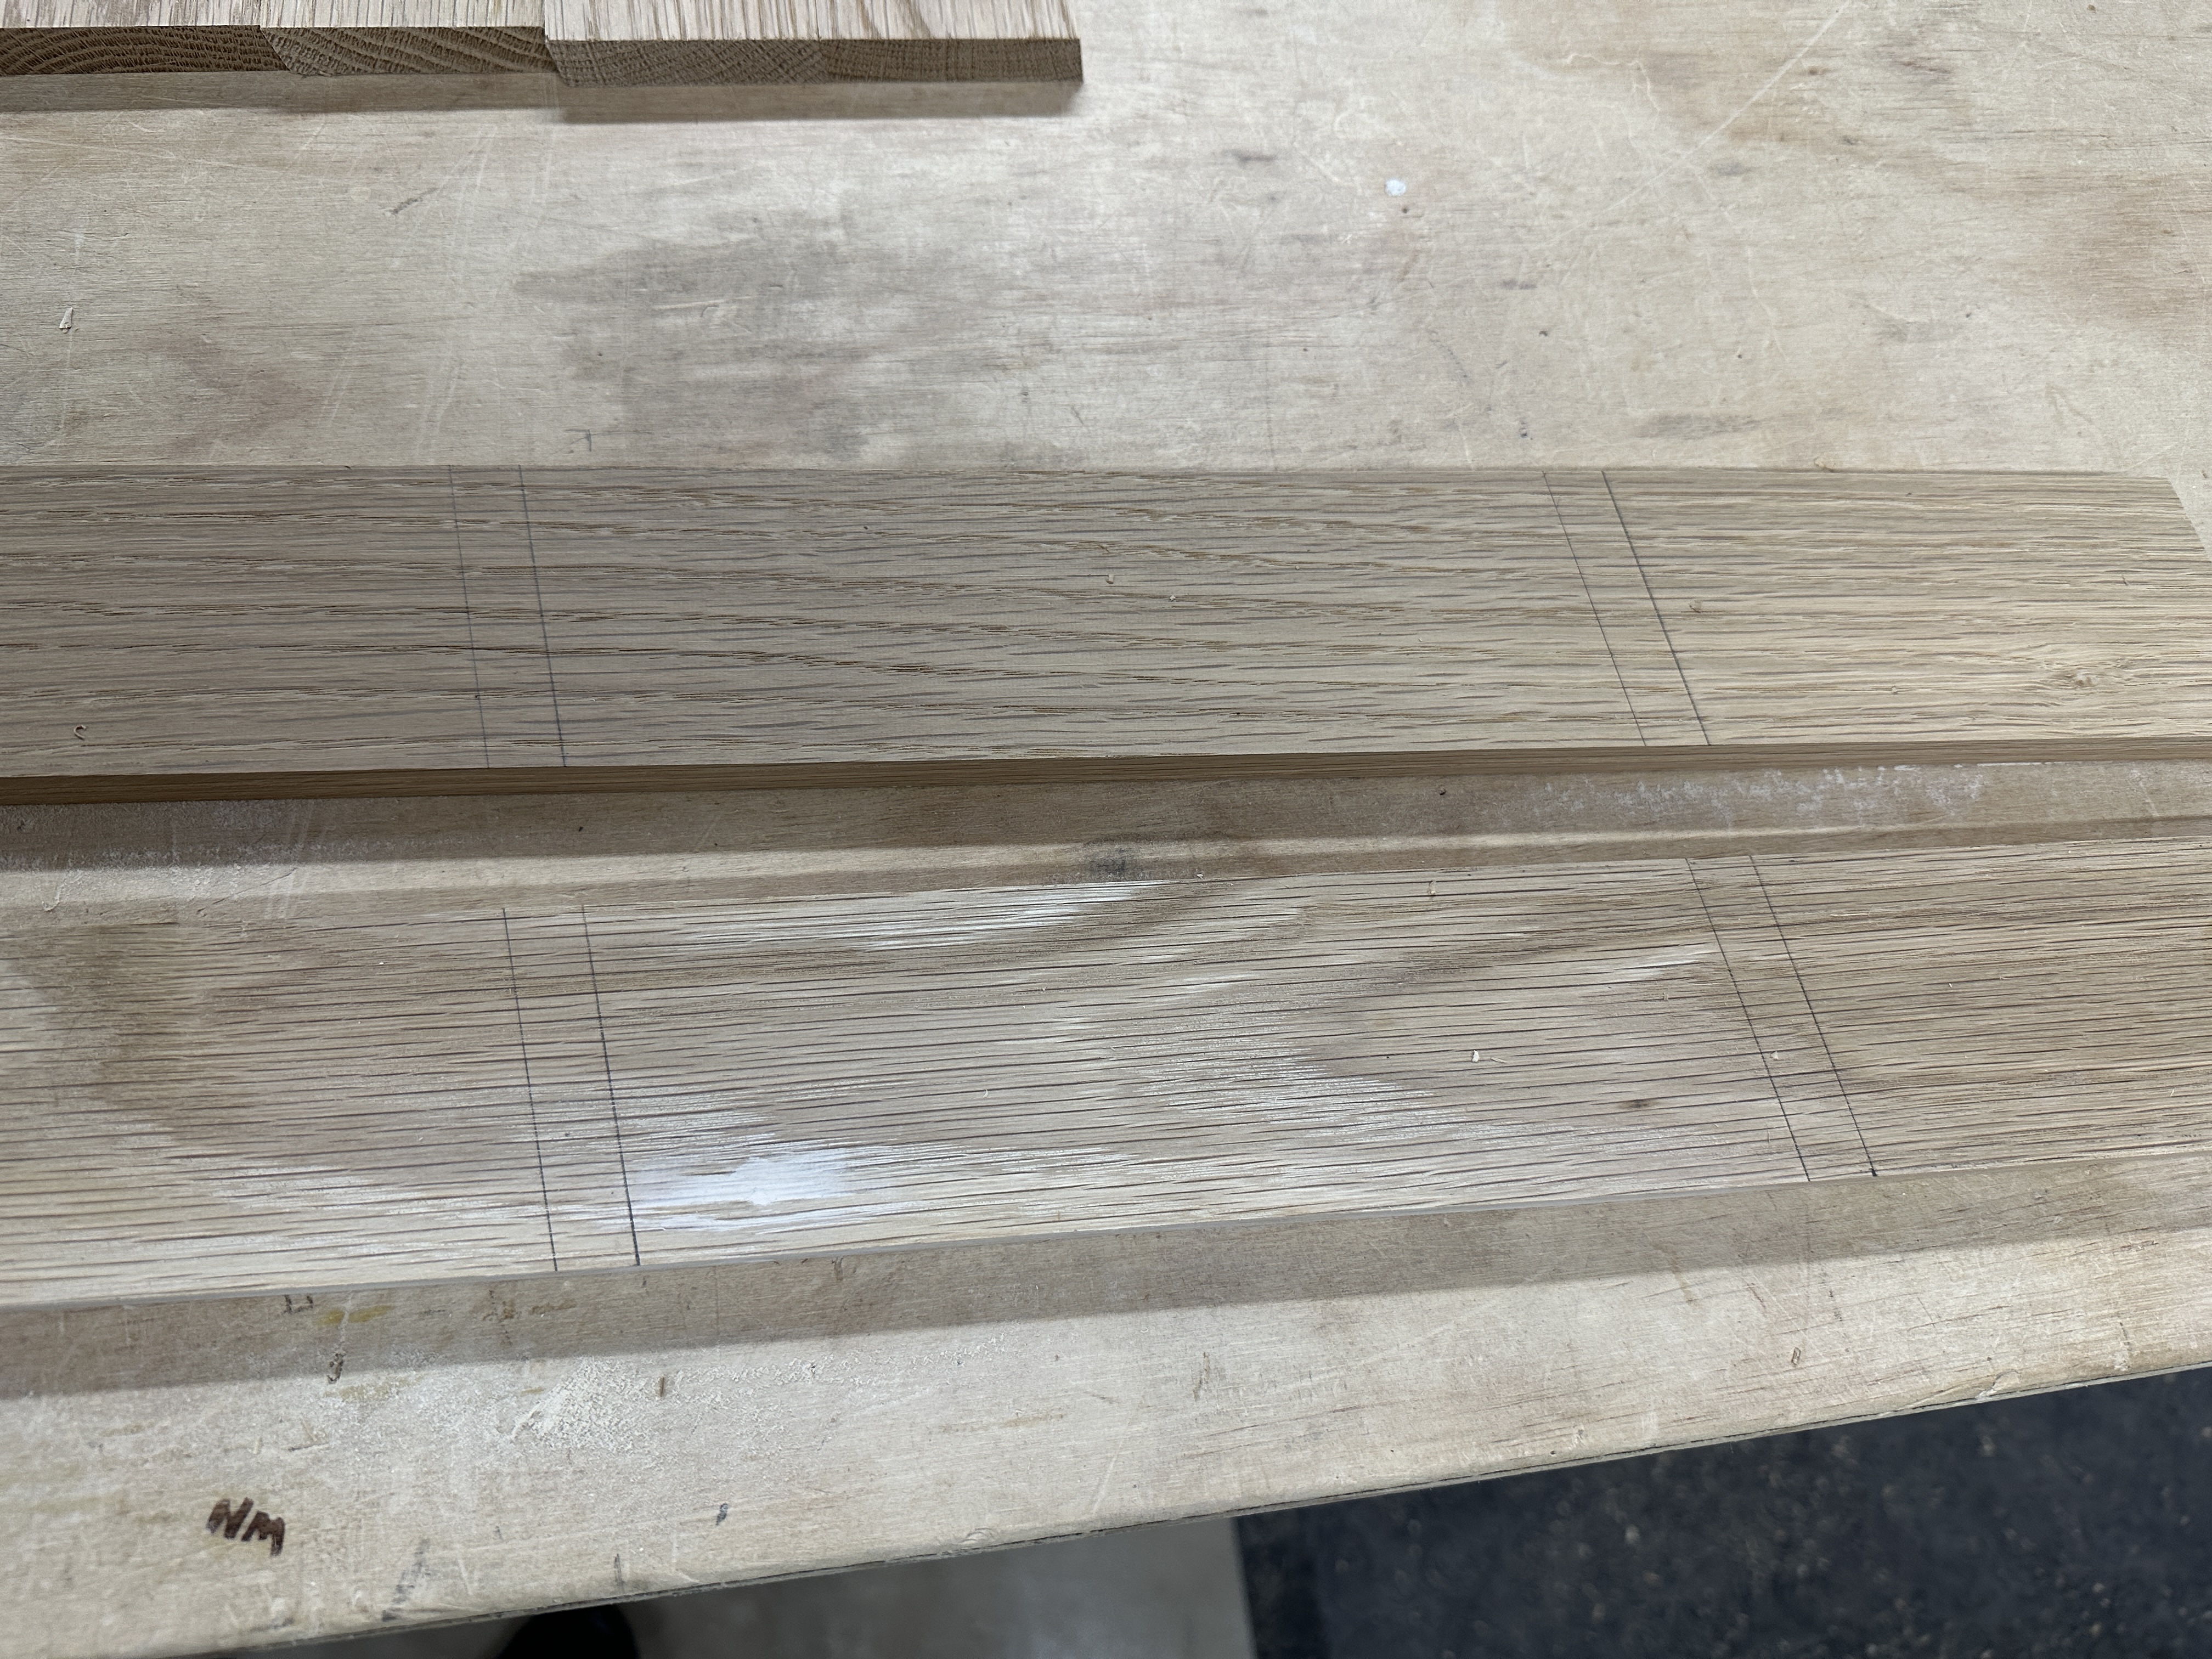
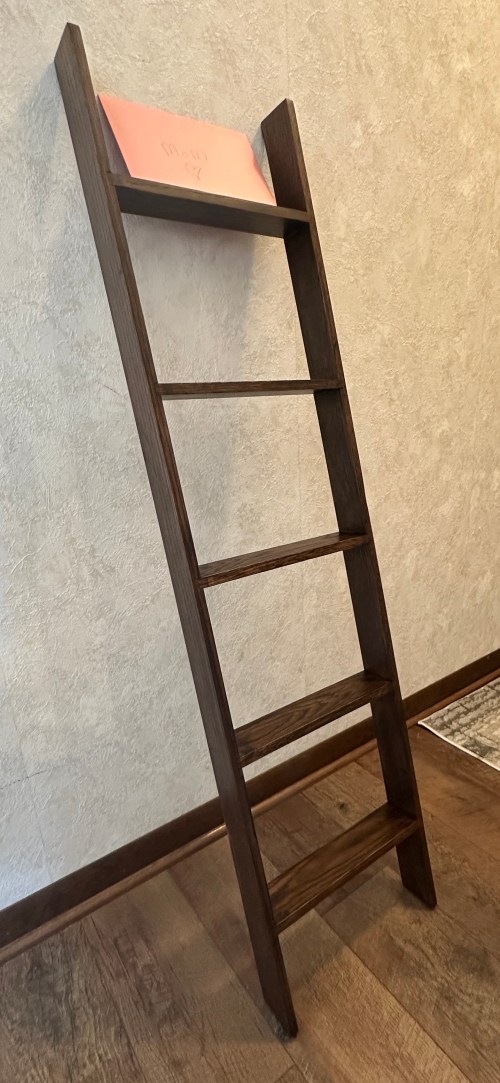
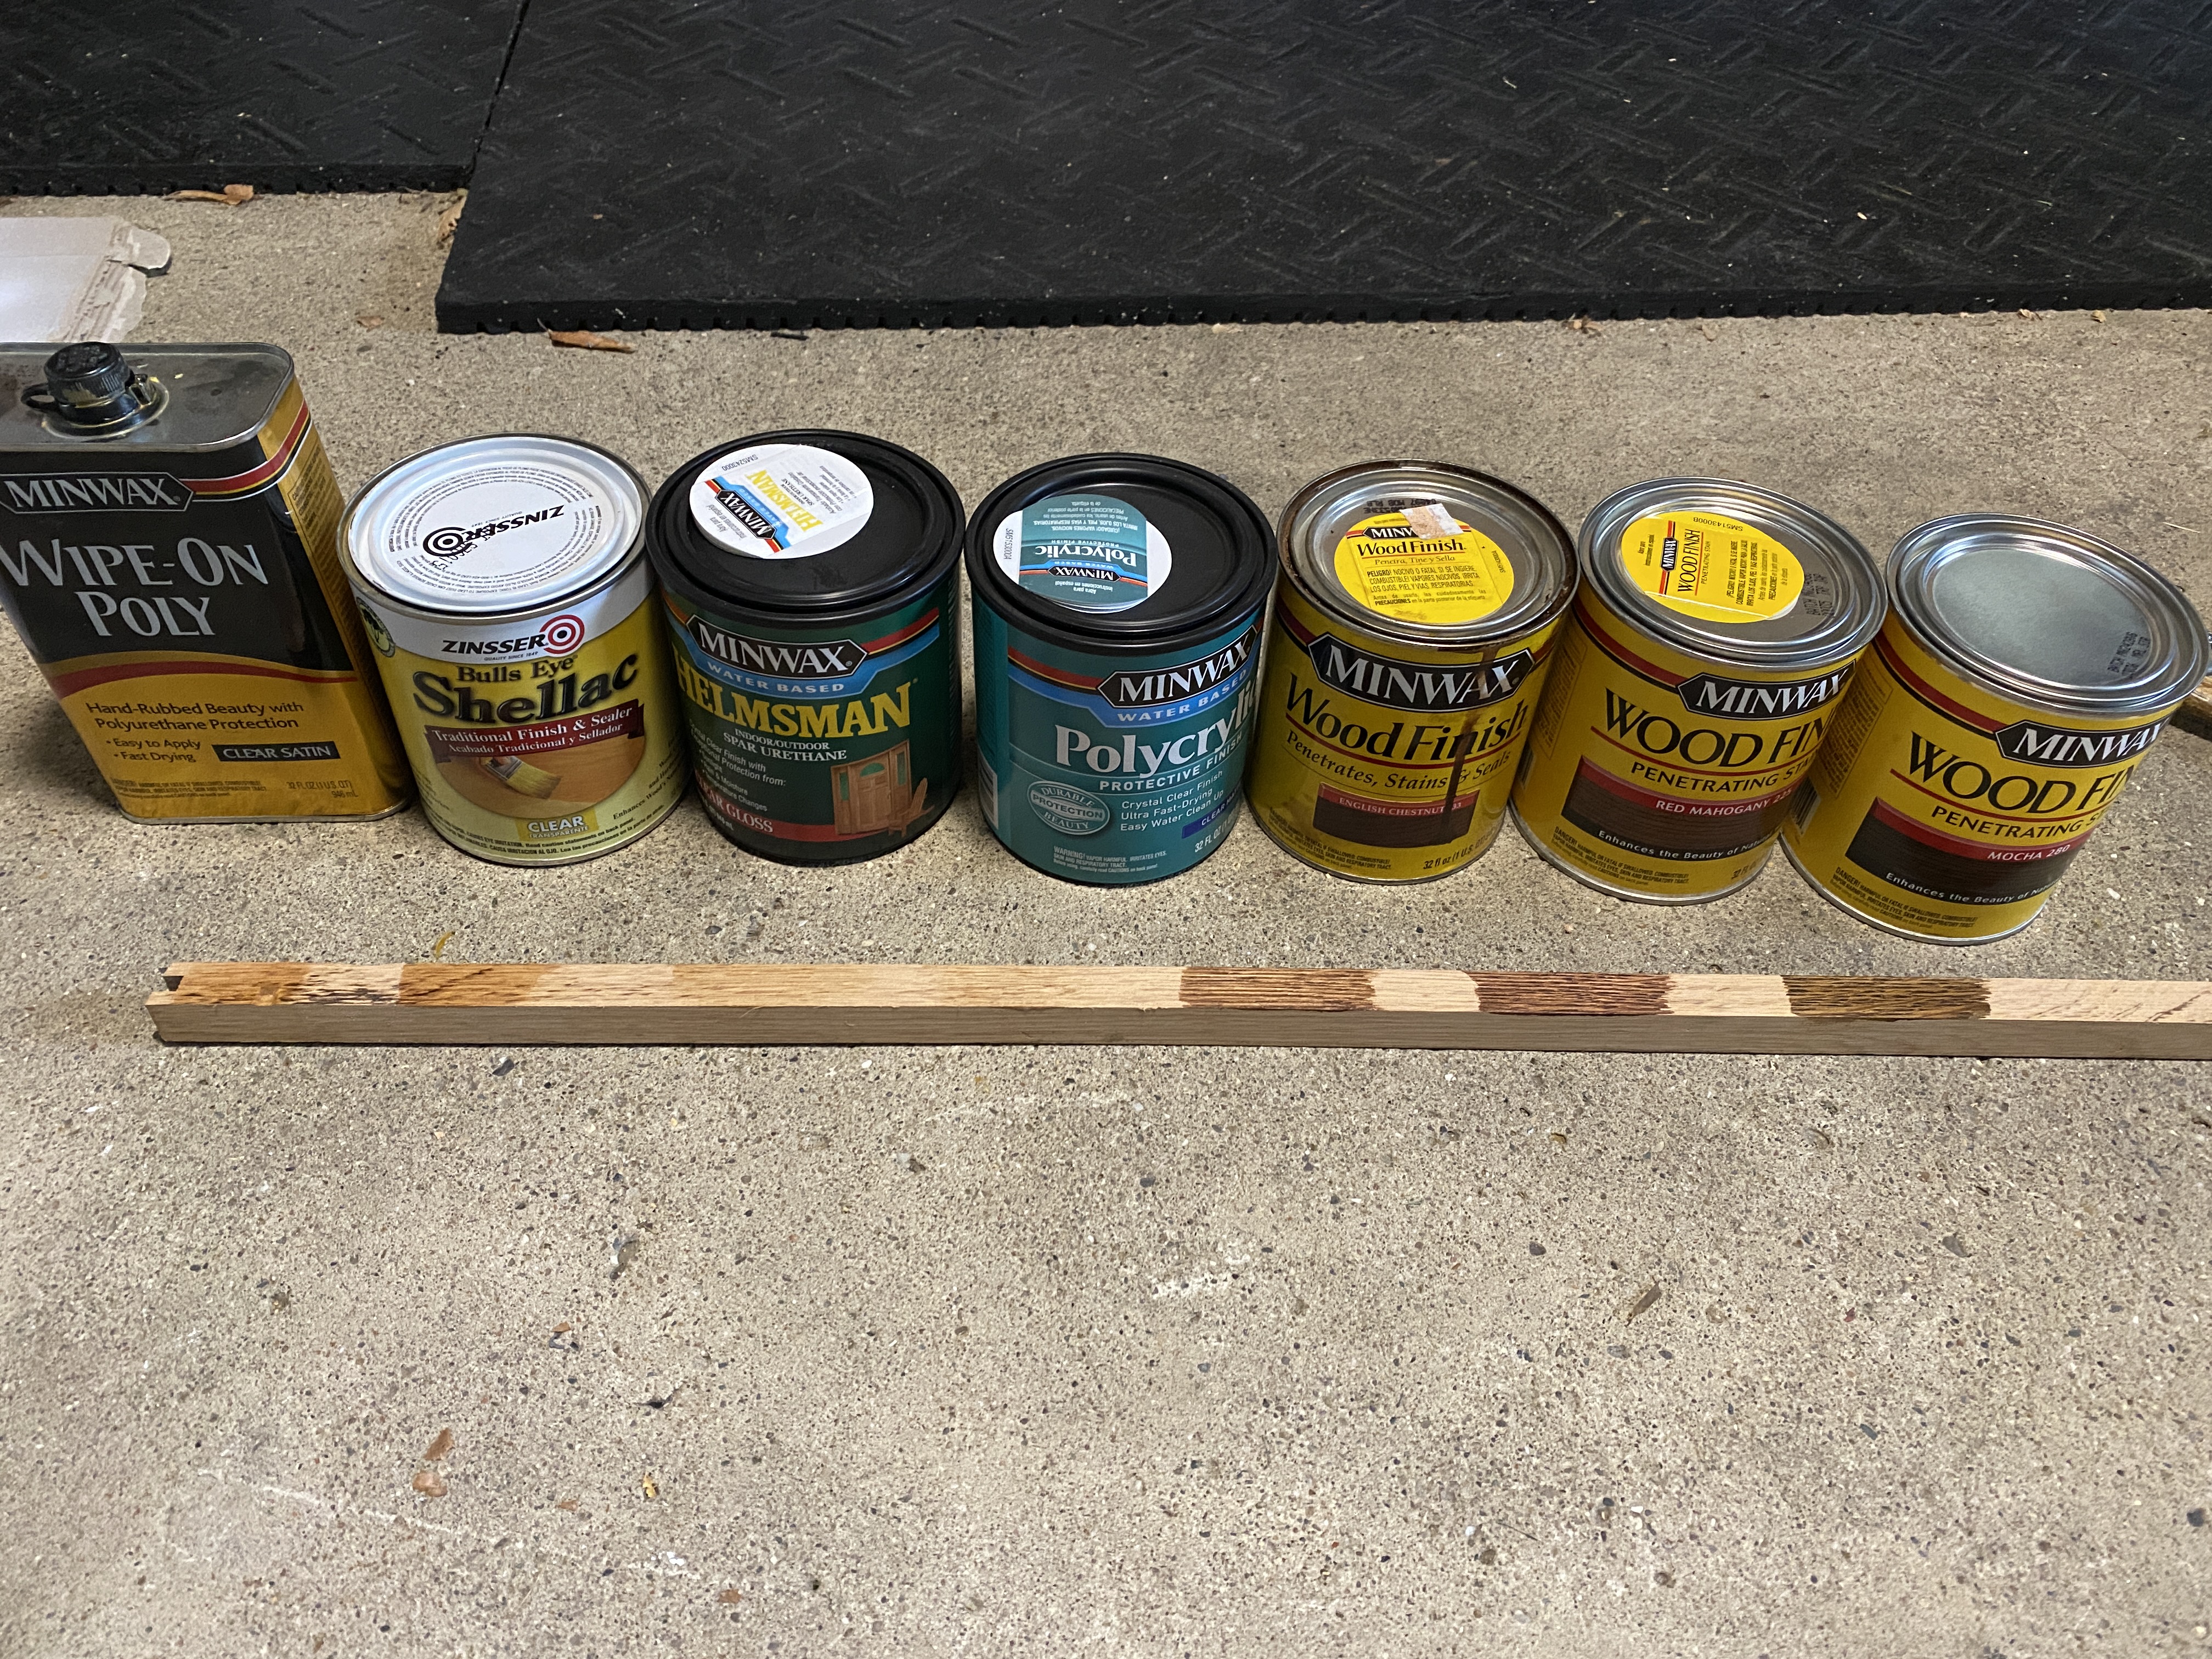
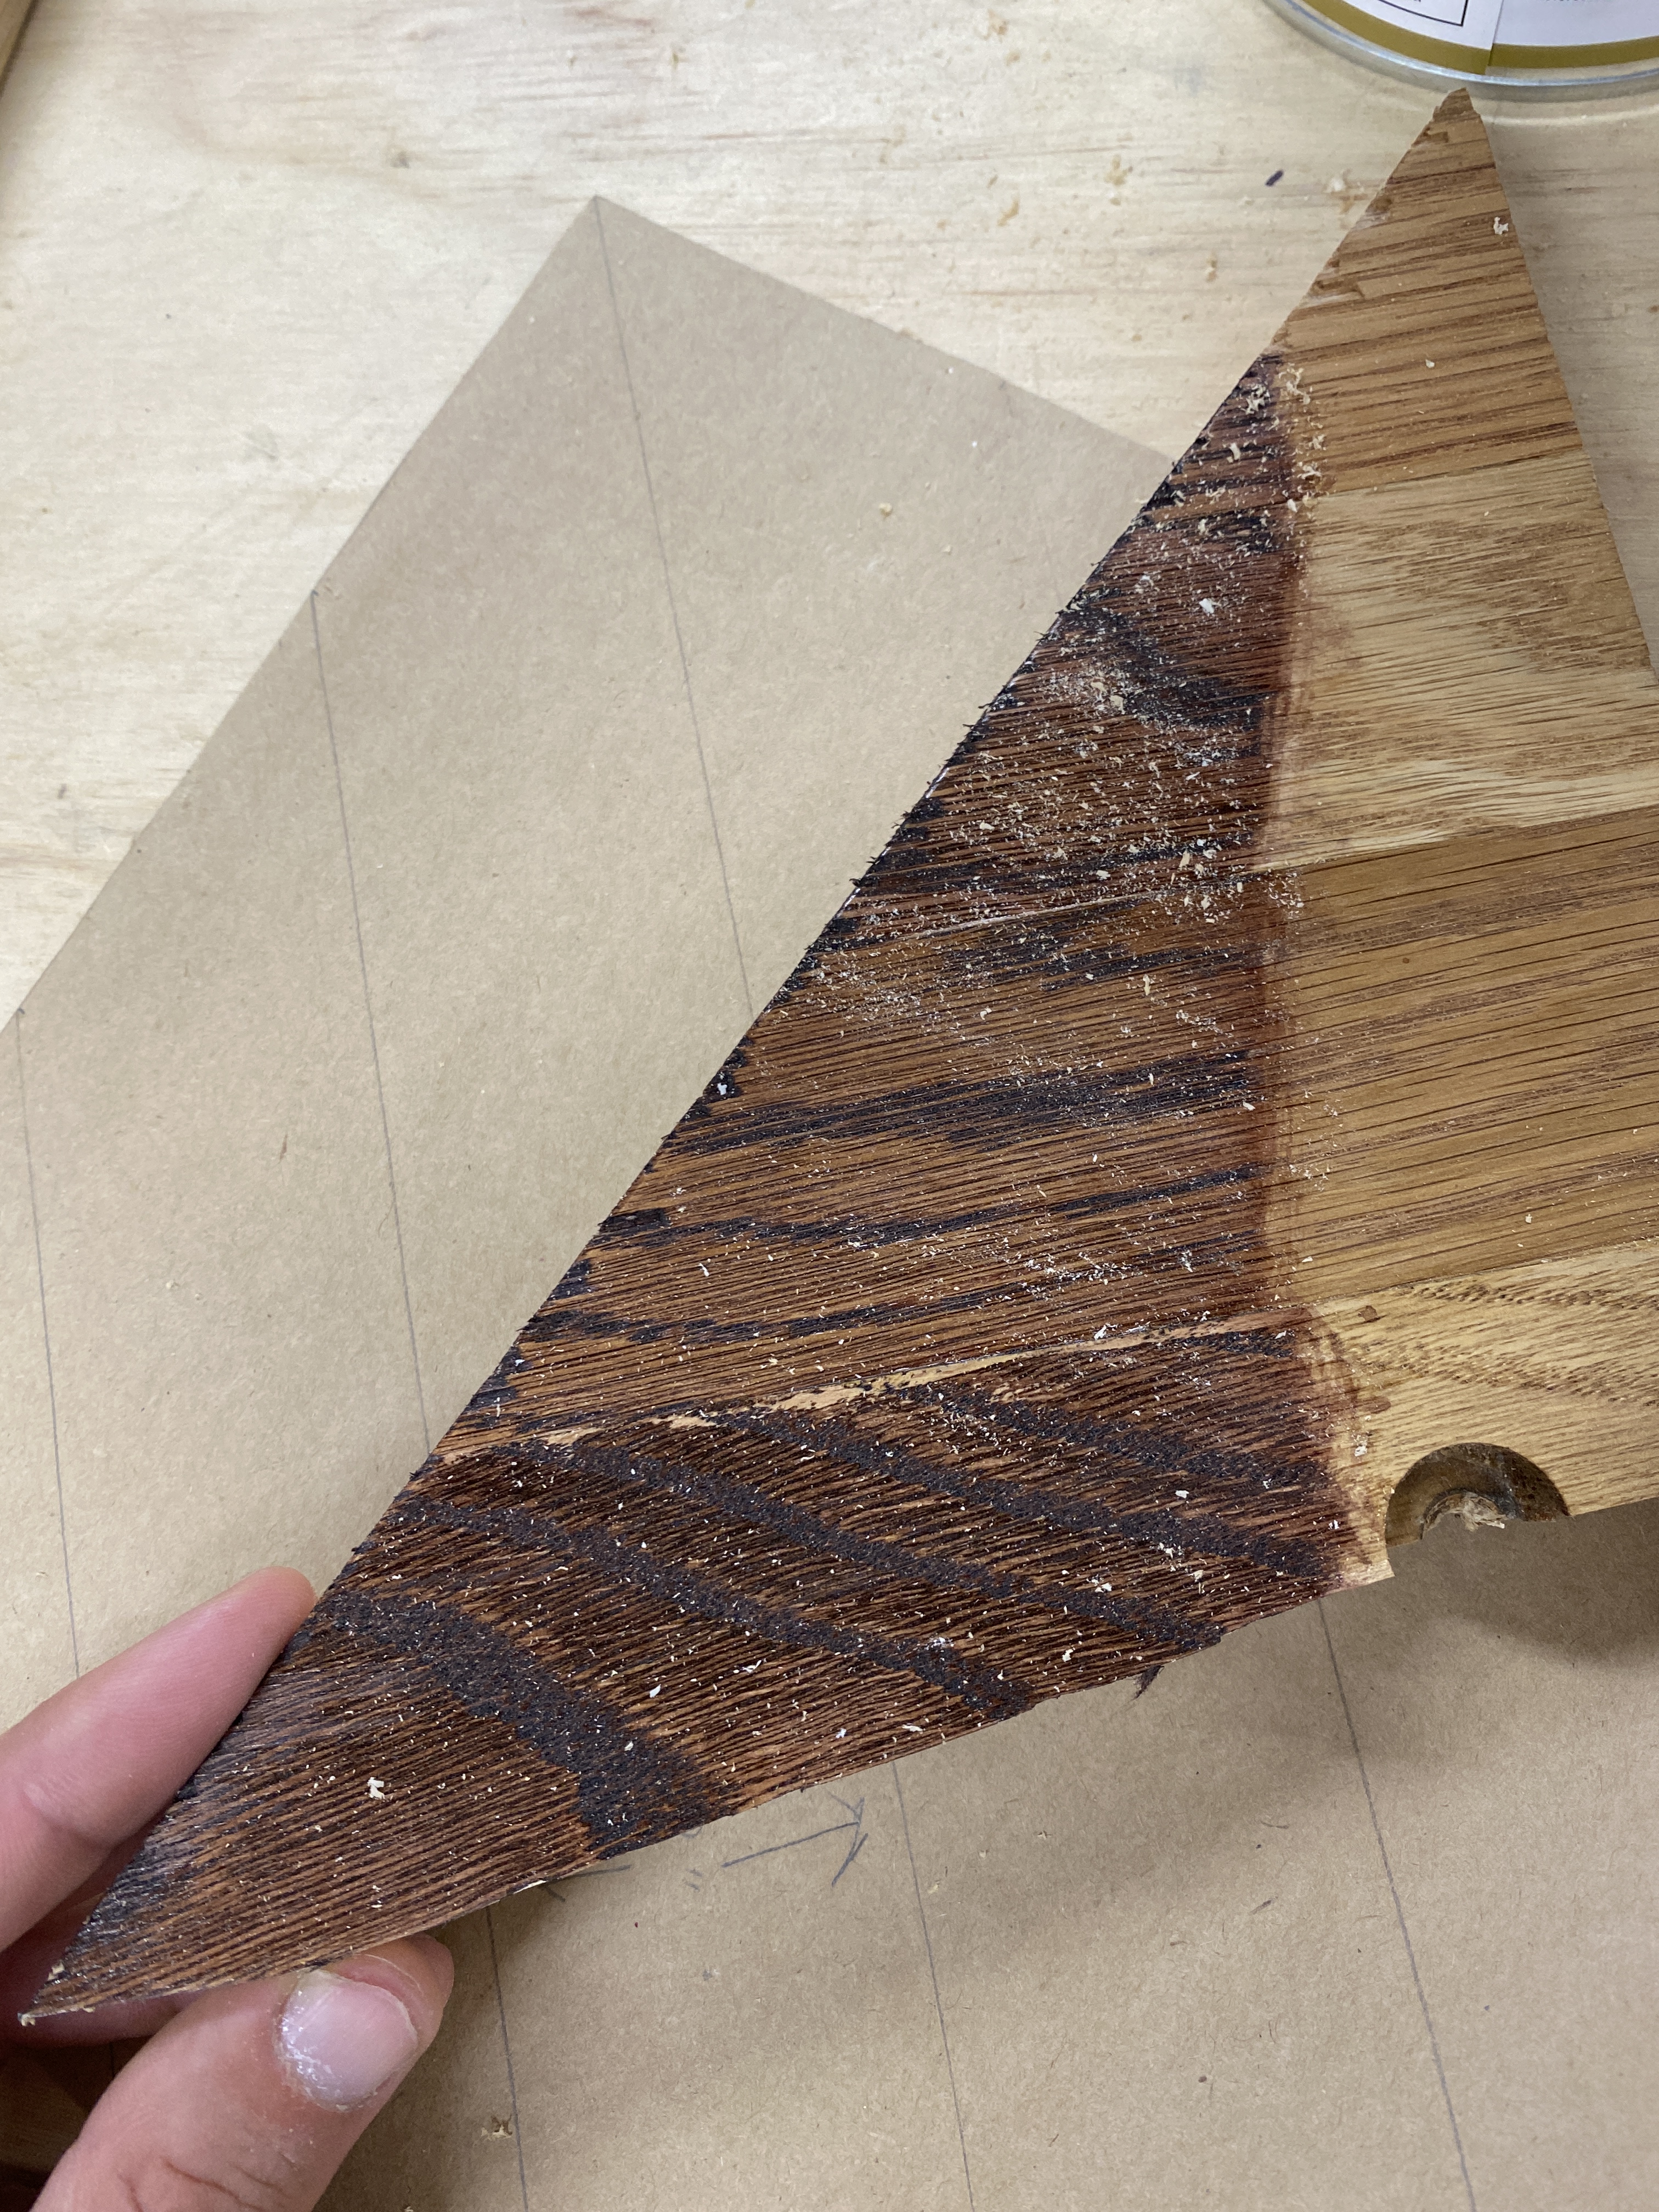
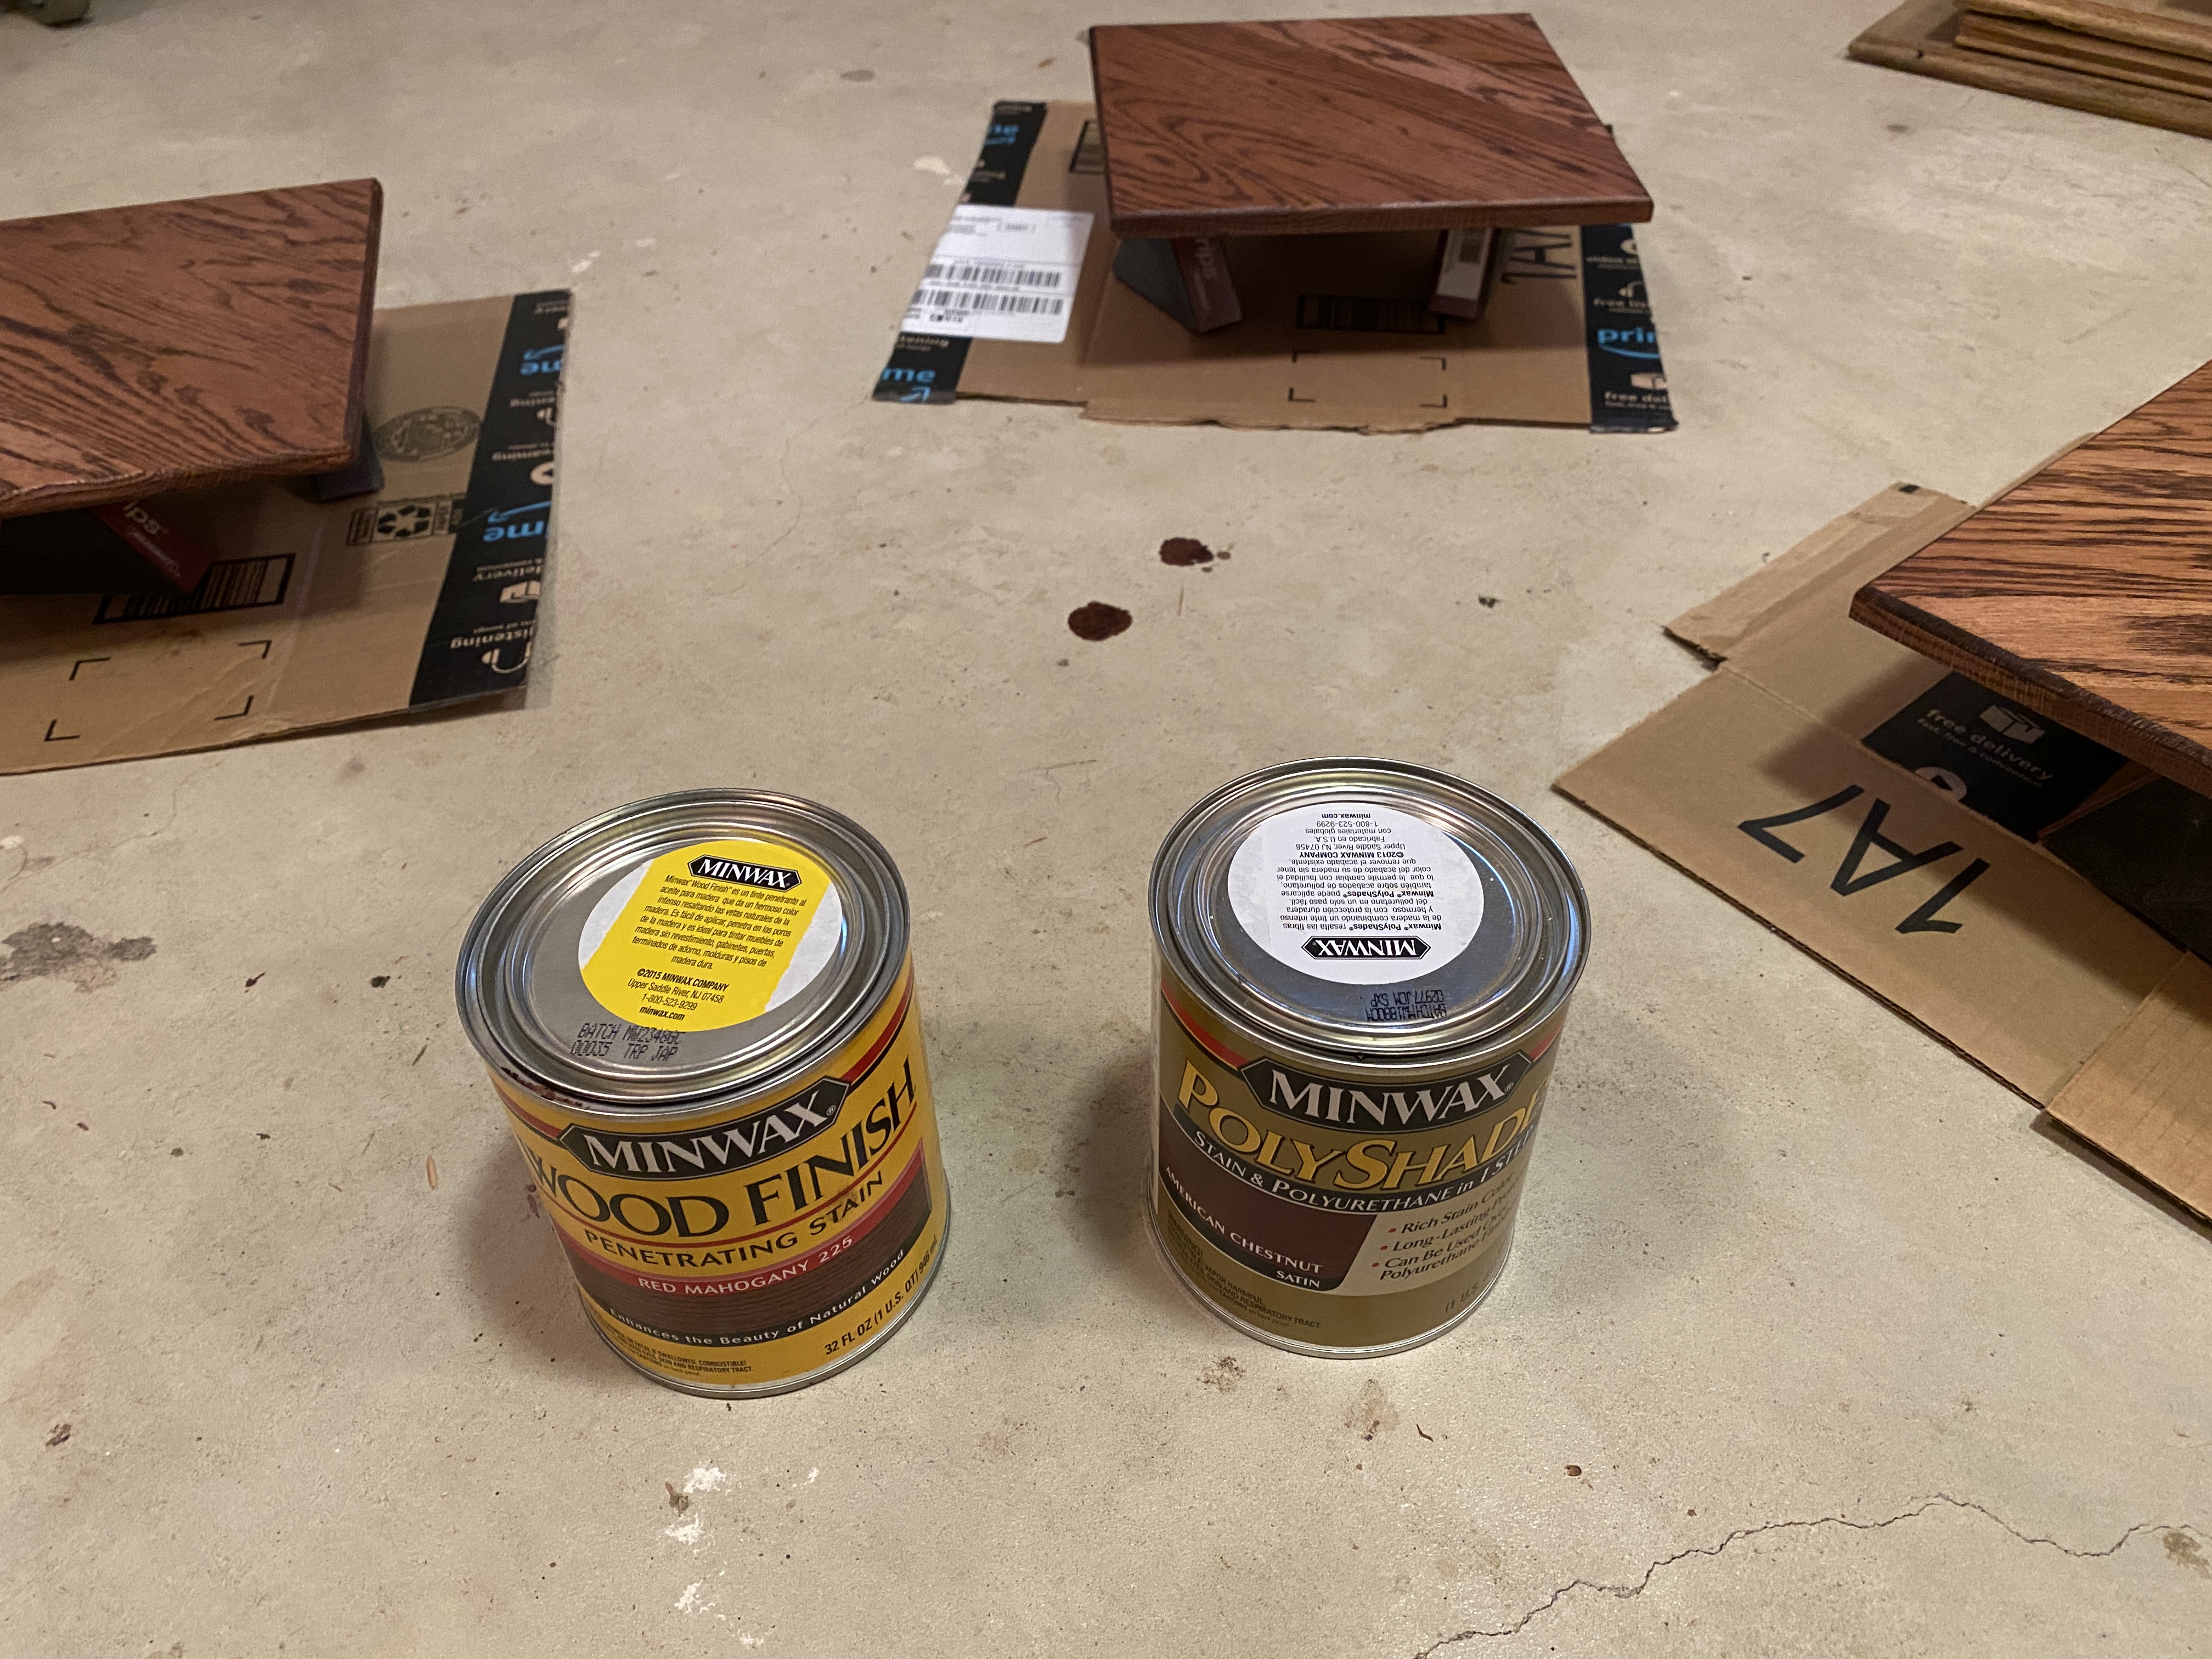
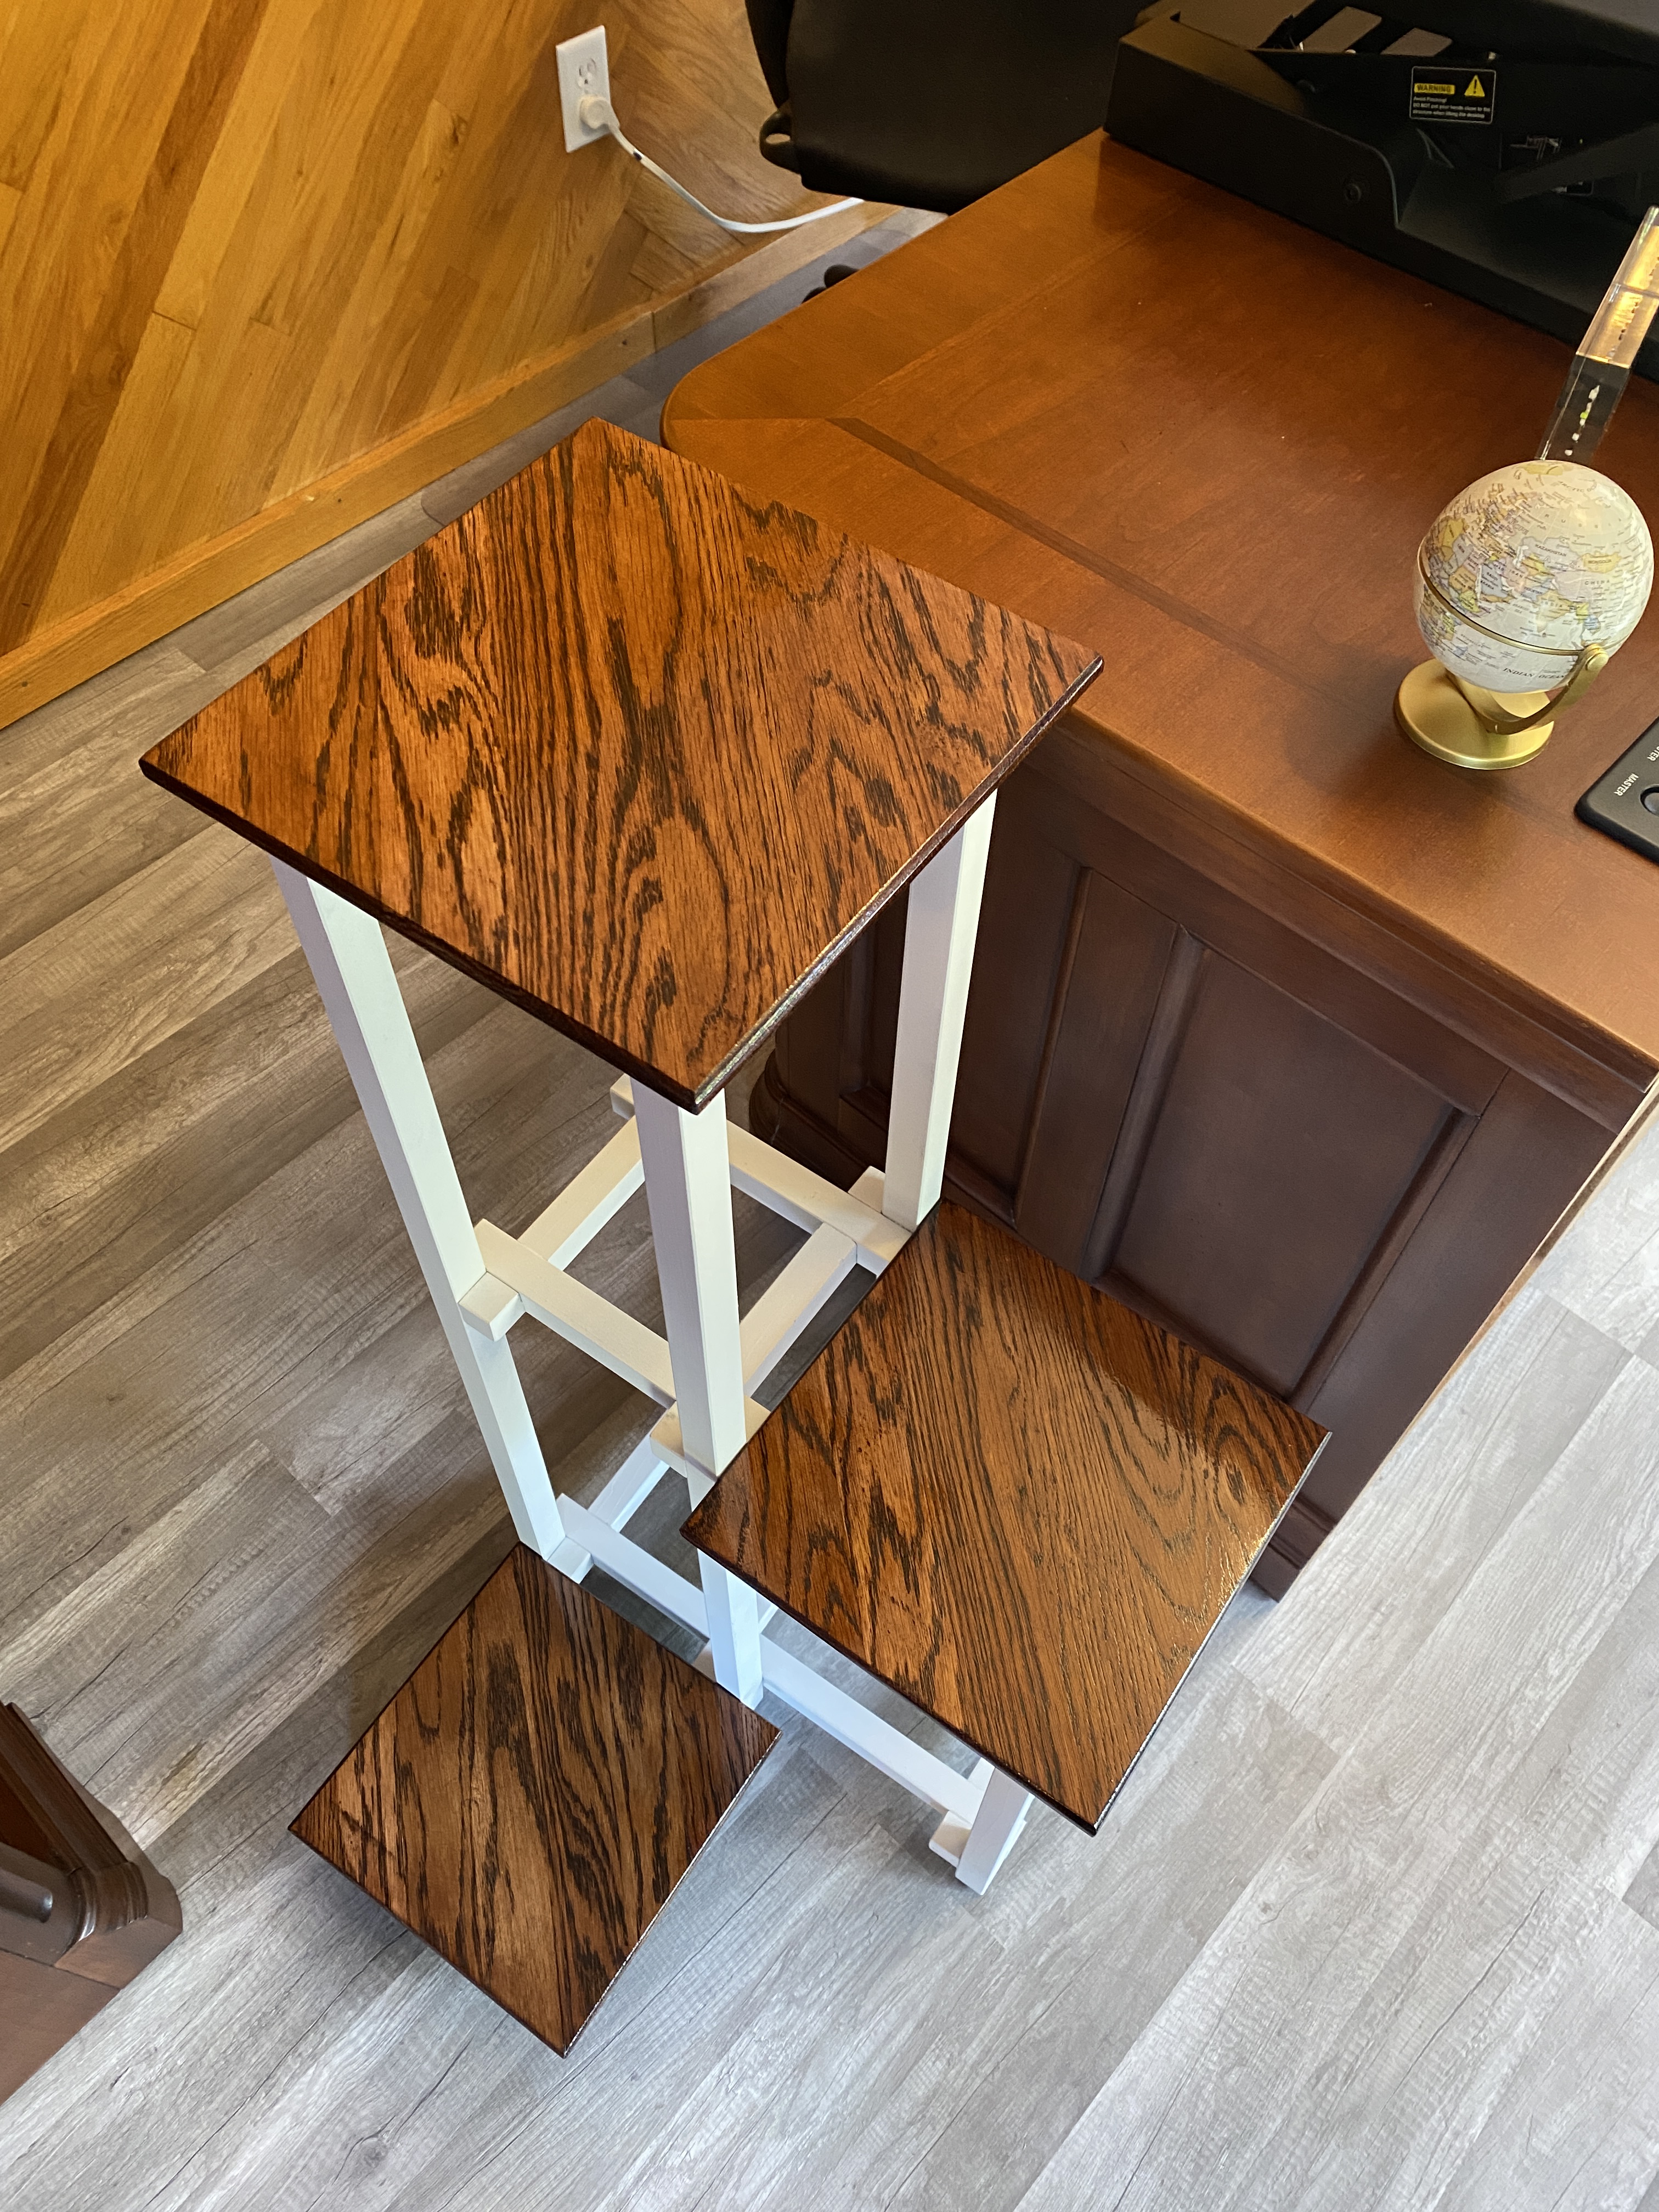
So I whipped one up for Mother’s Day. Very similar process and dimensions. I used pieces of old oak flooring and stained it.
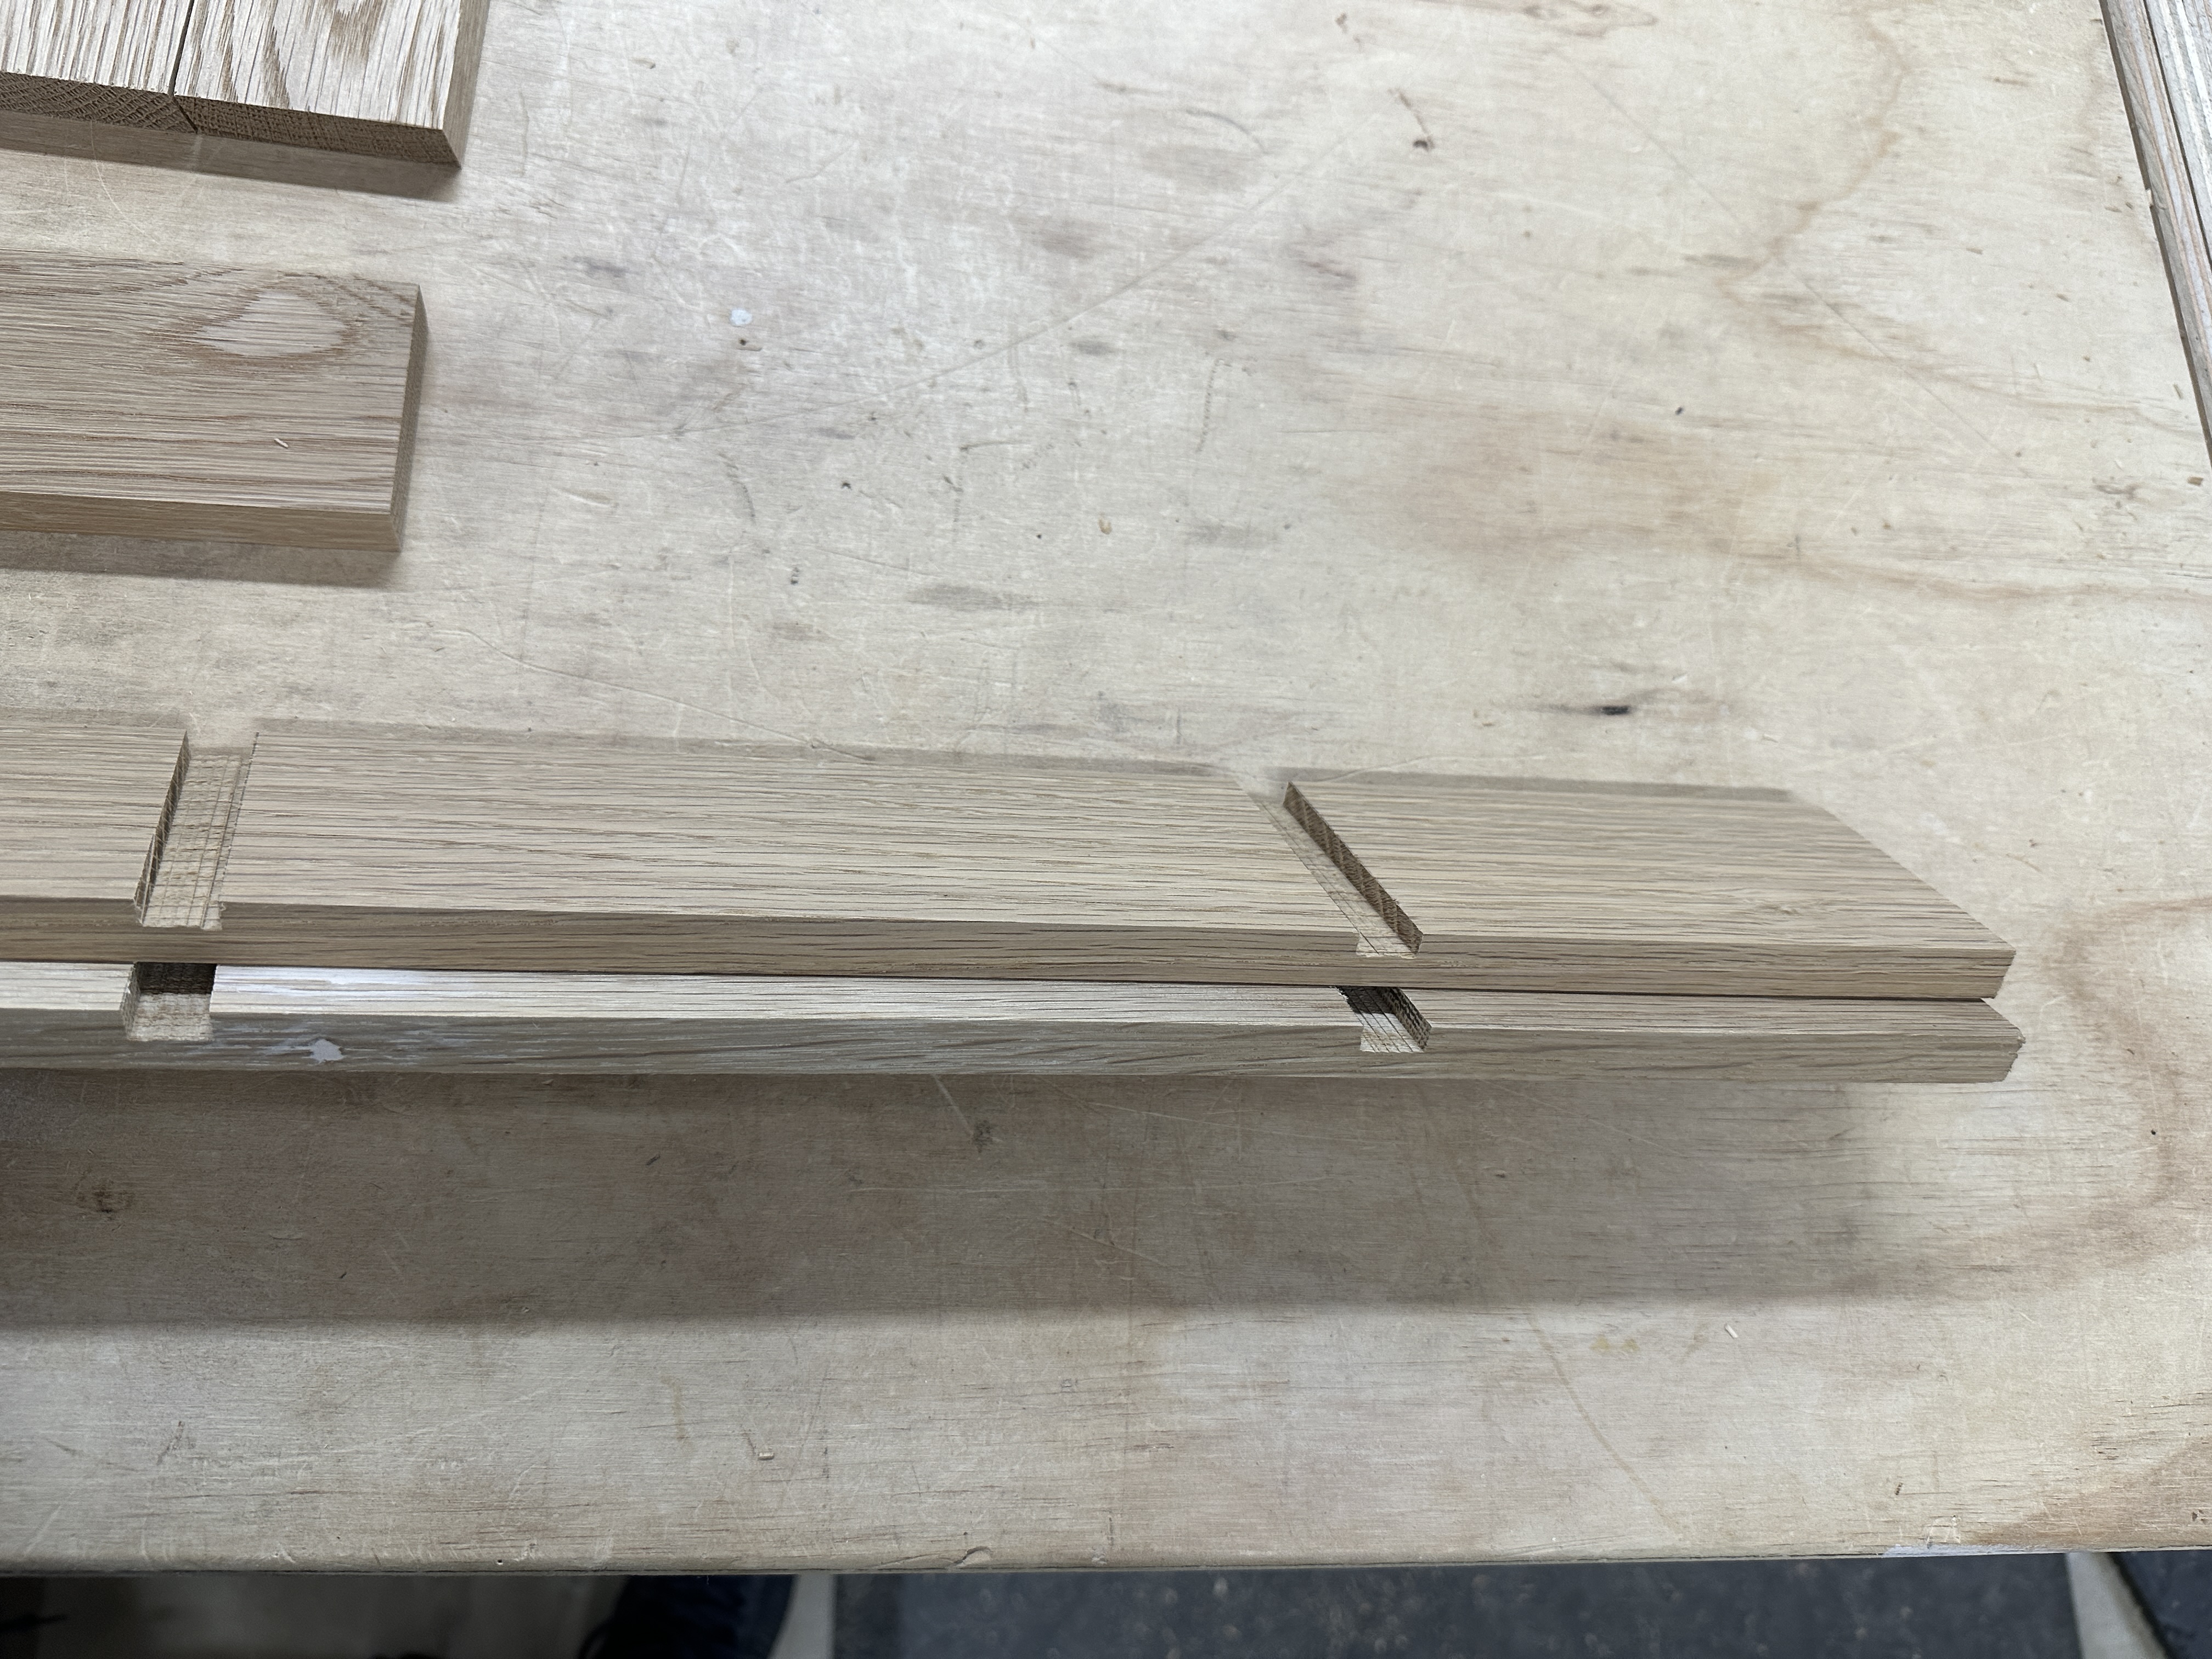
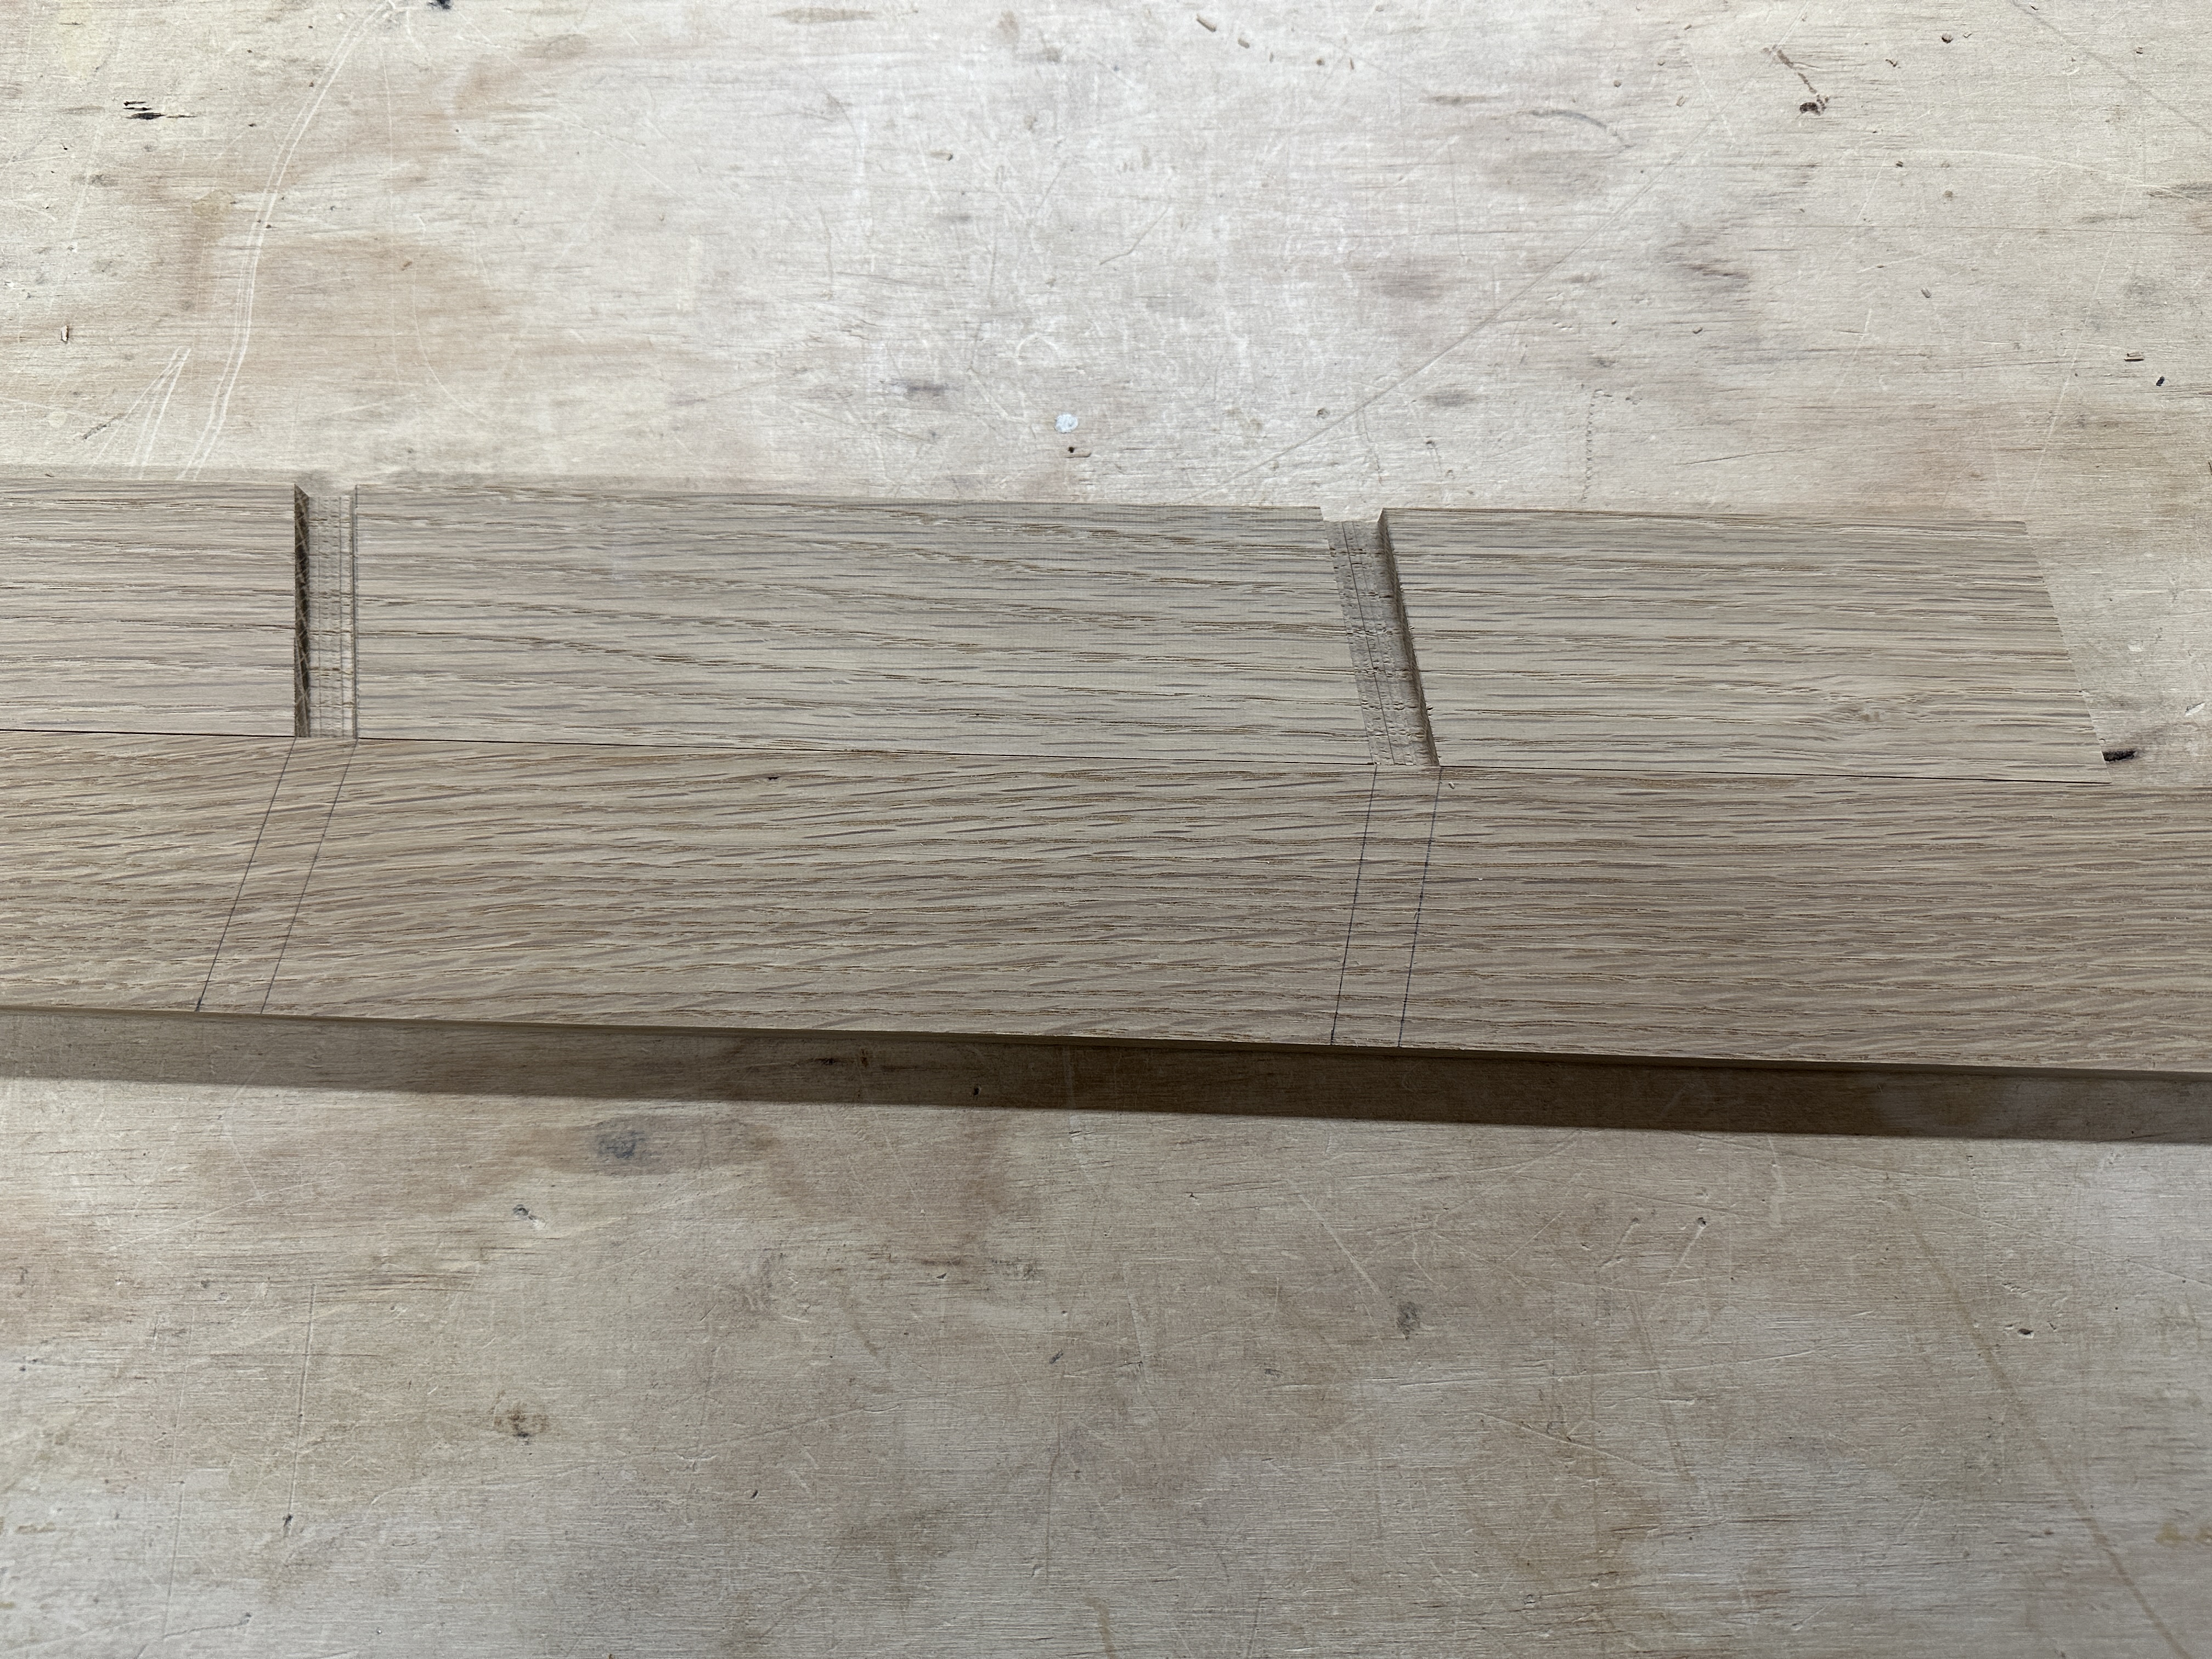
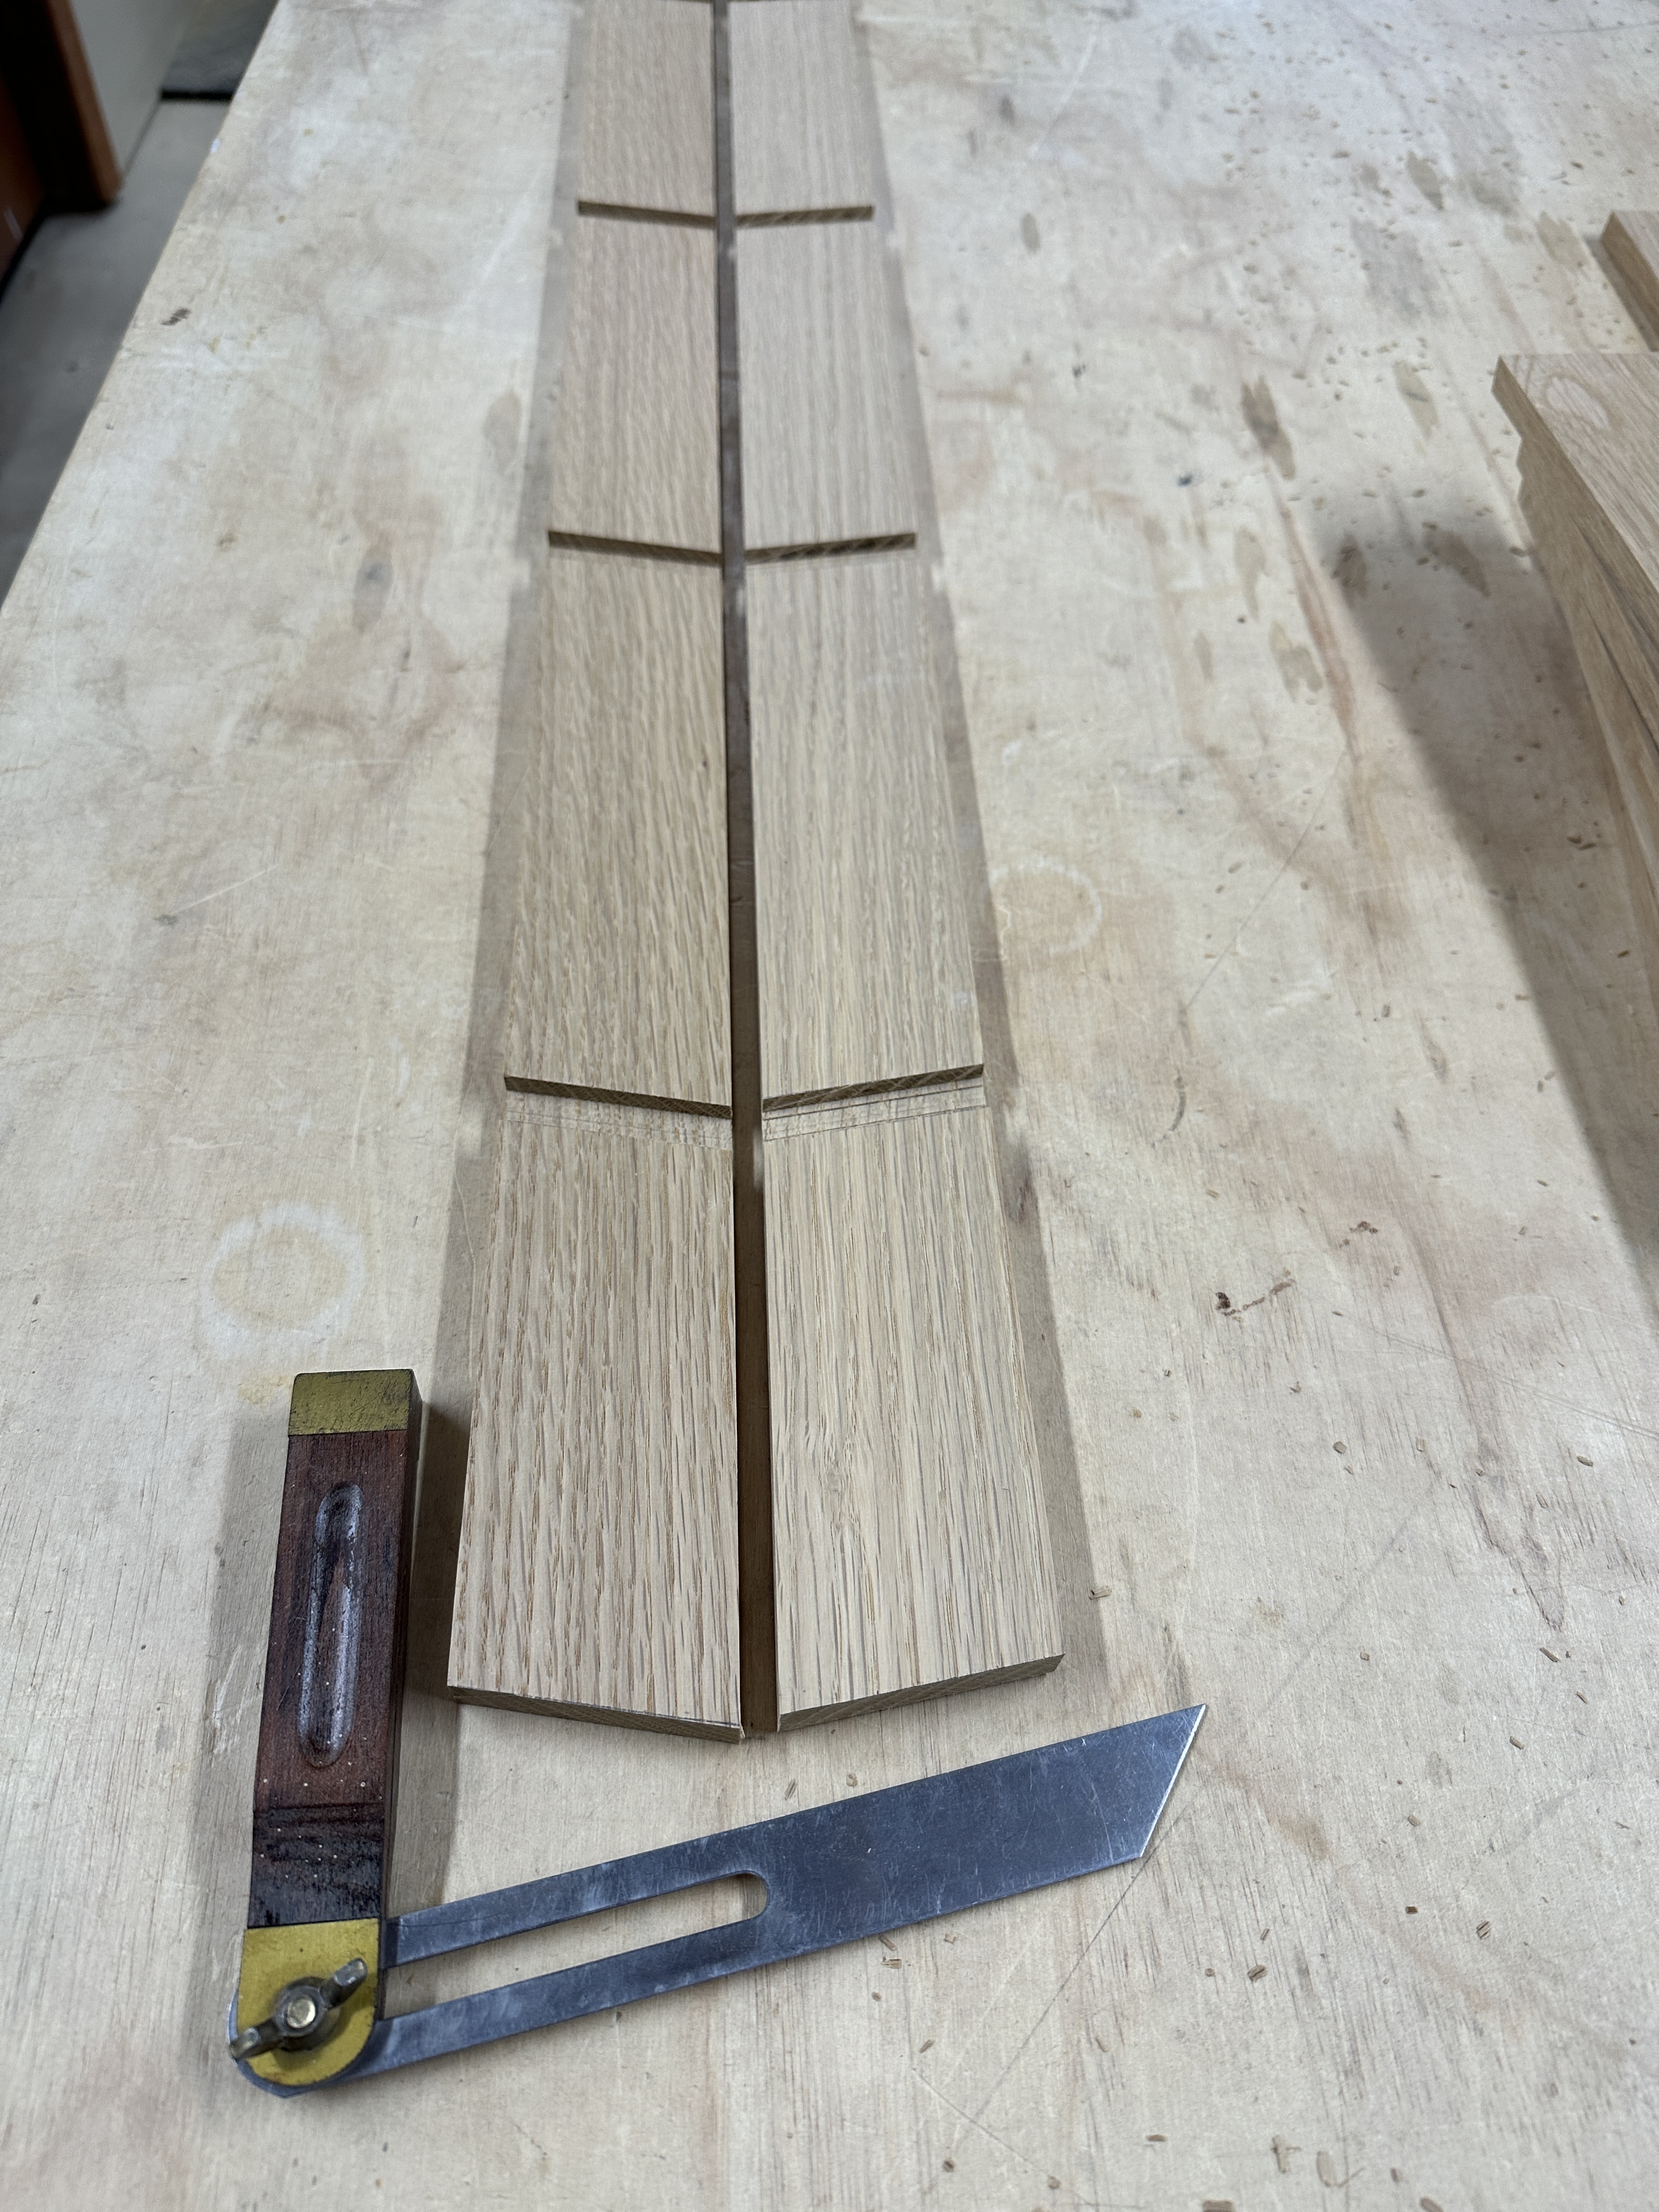
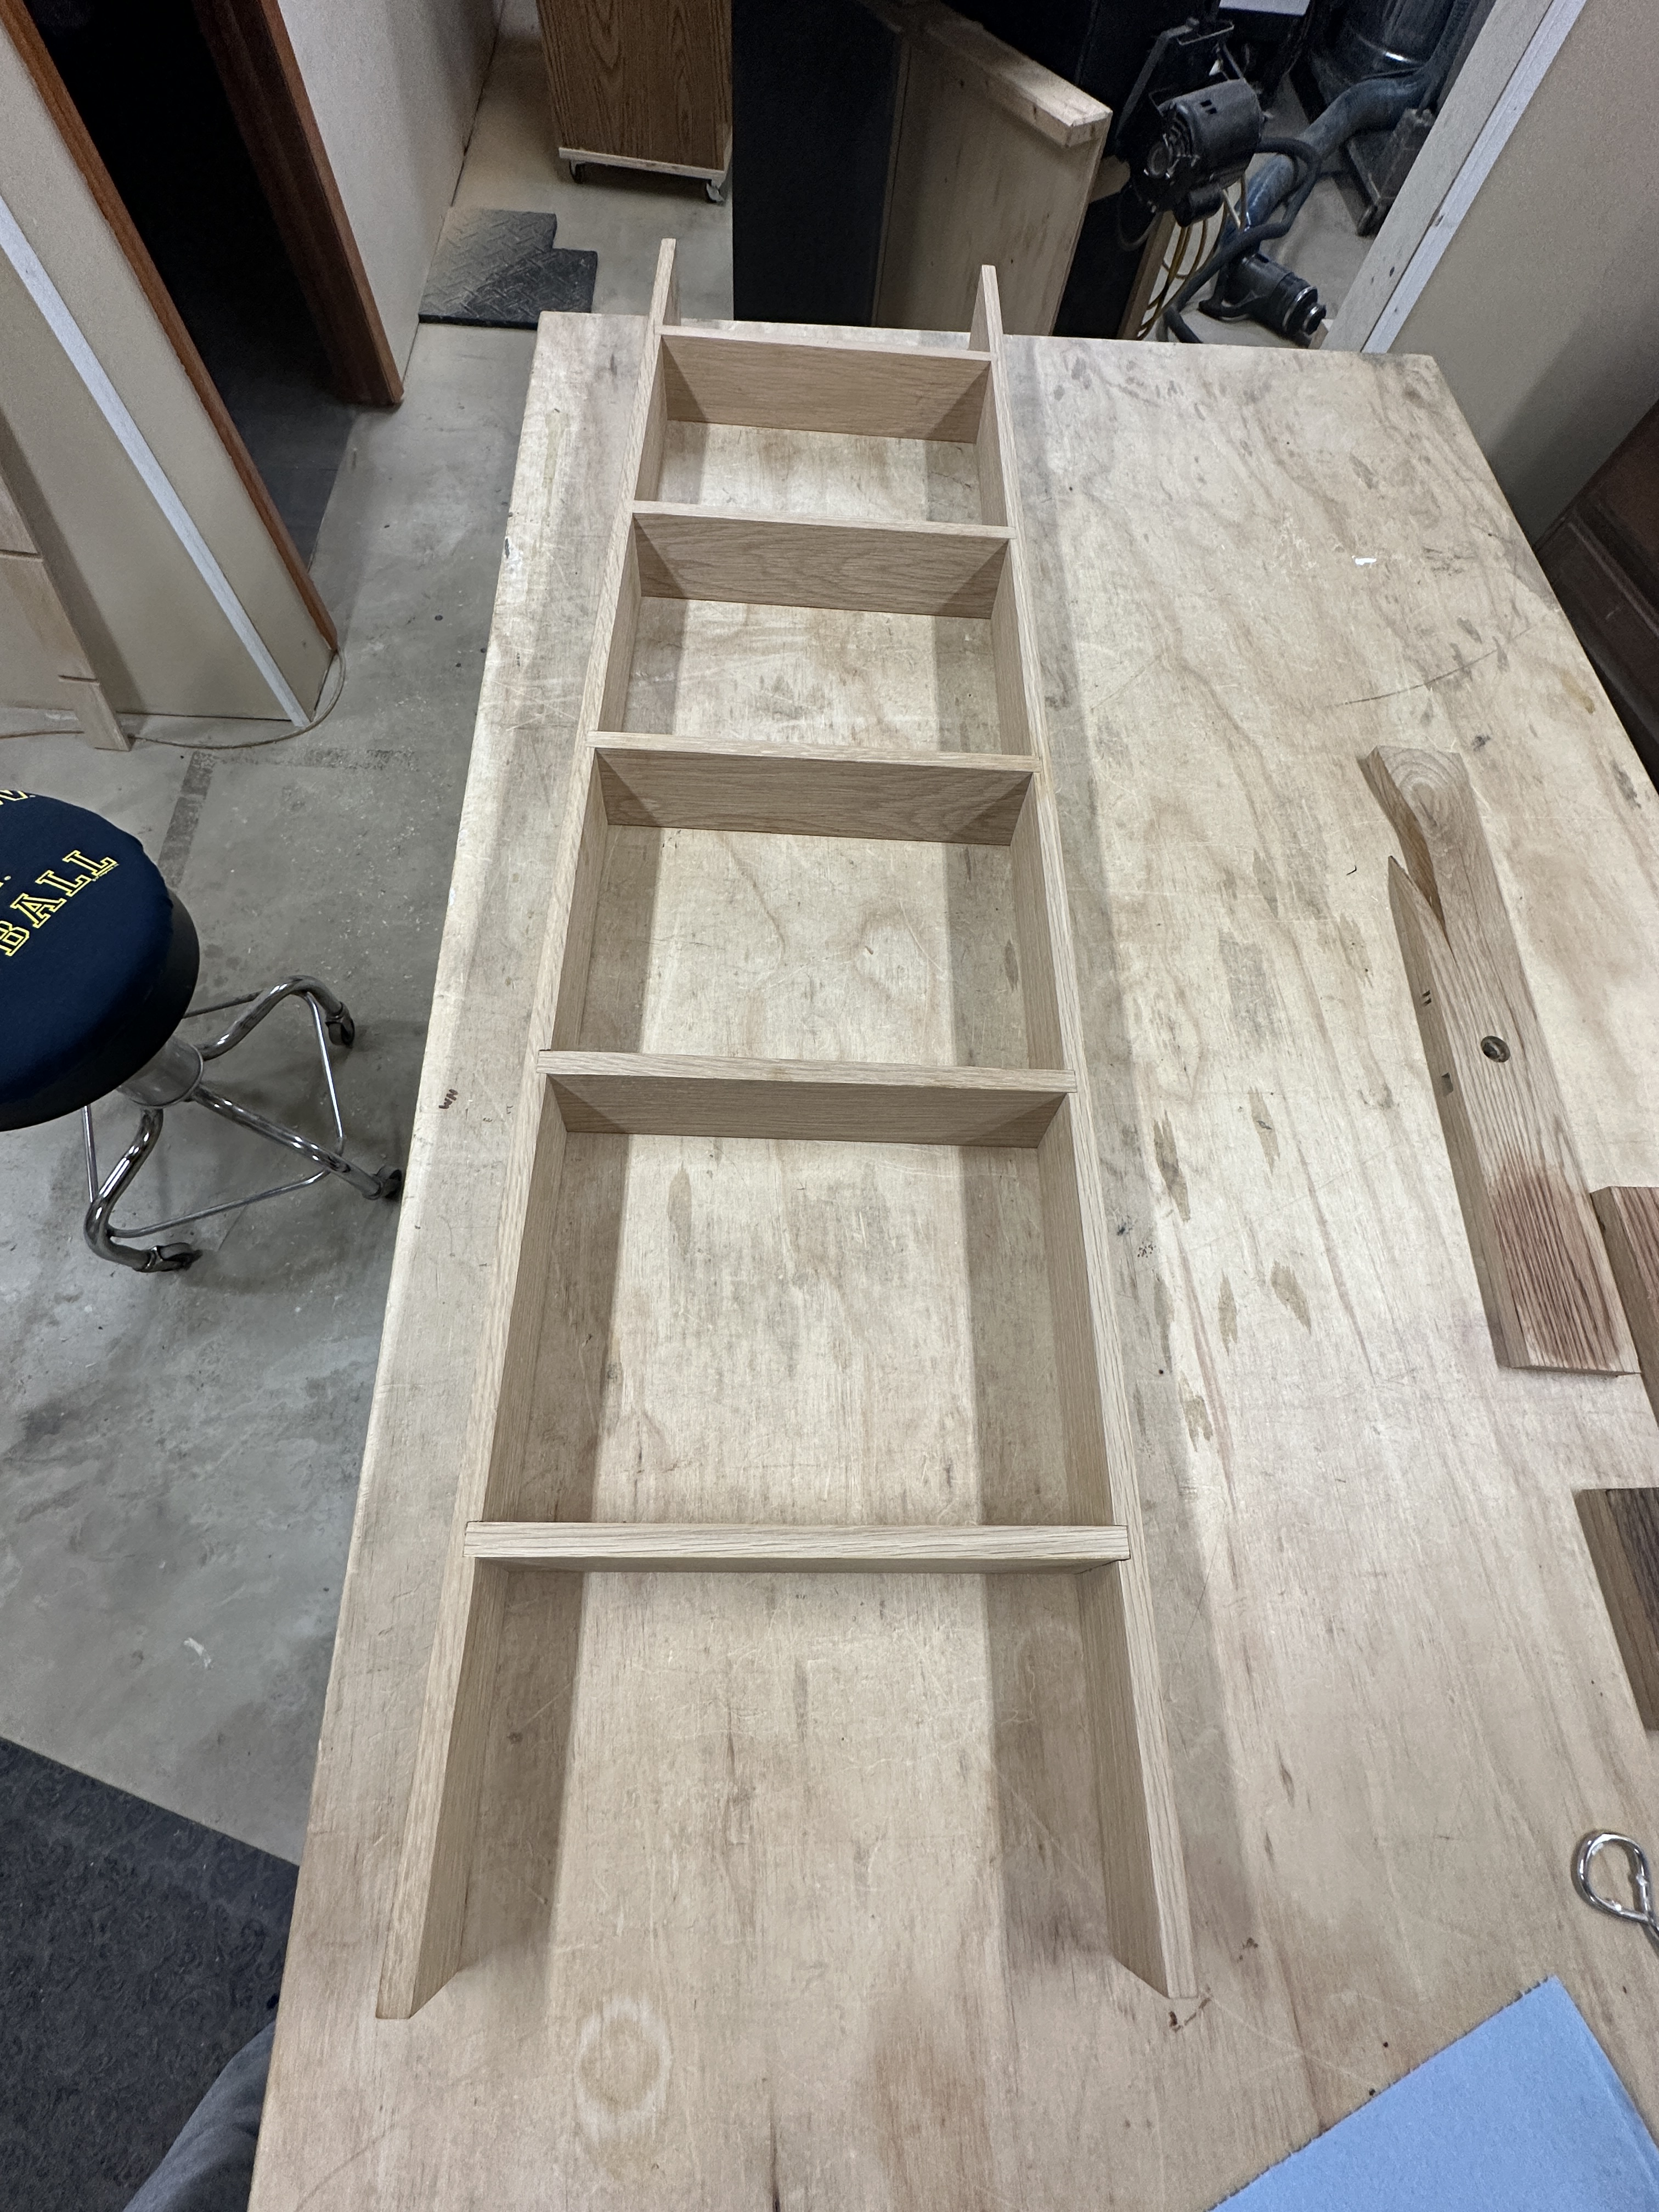
My new sliding miter saw has a depth stop, so I used that to the dados and cleaned them up with a chisel. Can you spot the huge mistake though? I marked and cut the dados the same way in both sides of the ladder. Since everything is on a 10° angle, I couldn’t rotate the pieces to work, and ended up with two left sides. Milled up a board for a new right side, which went much quicker.