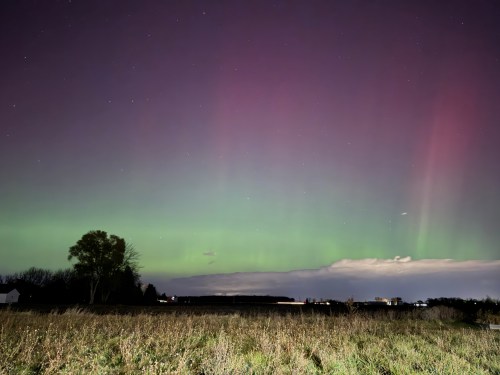
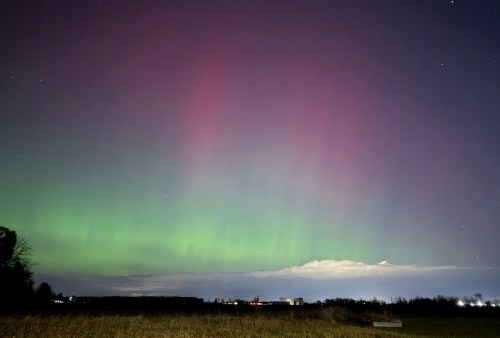
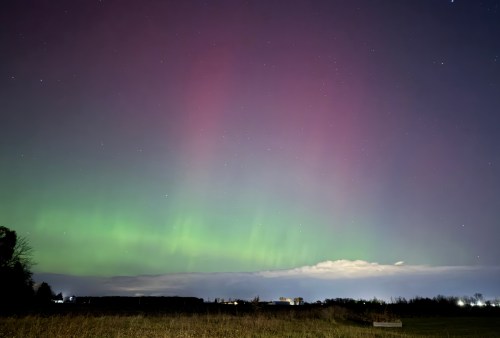
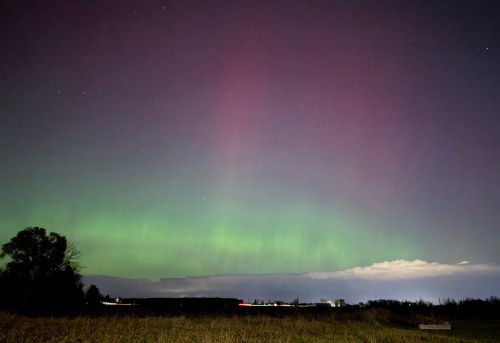
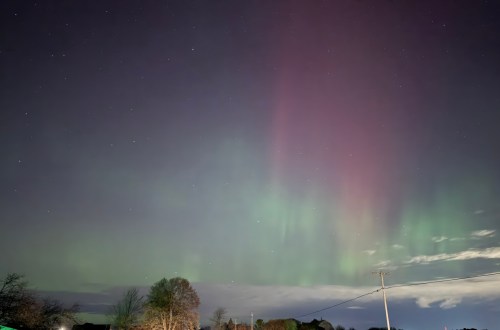
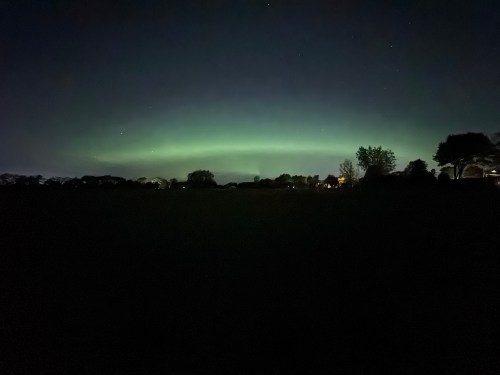
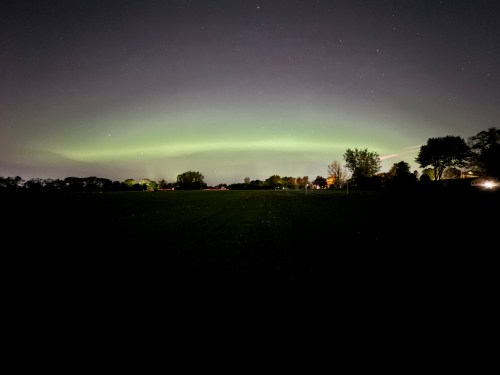
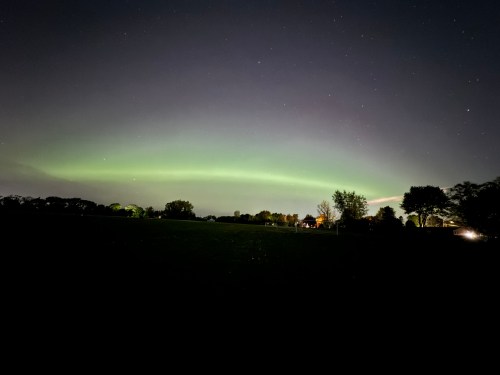
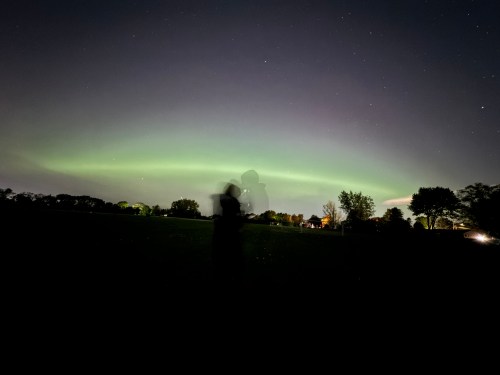
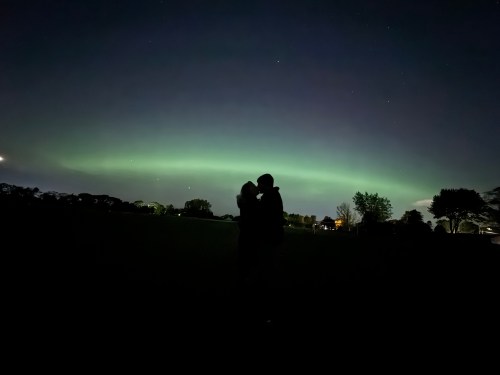
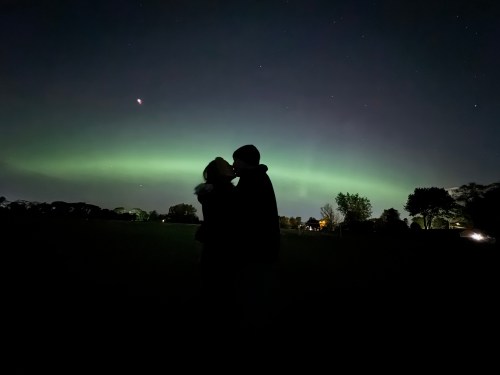
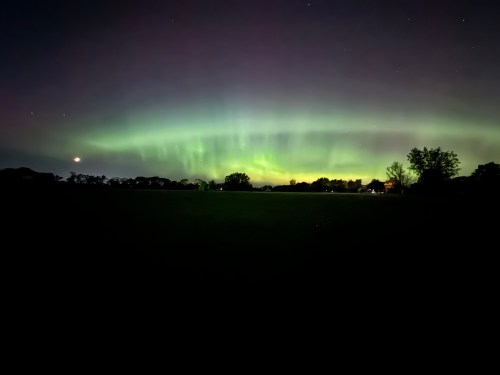
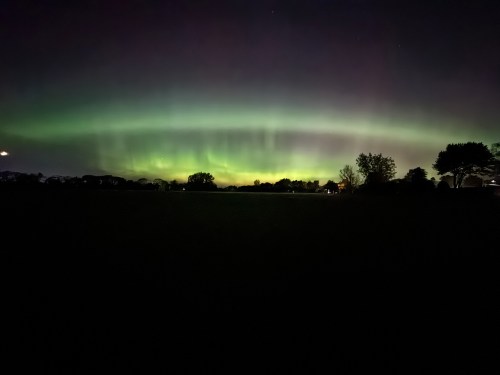
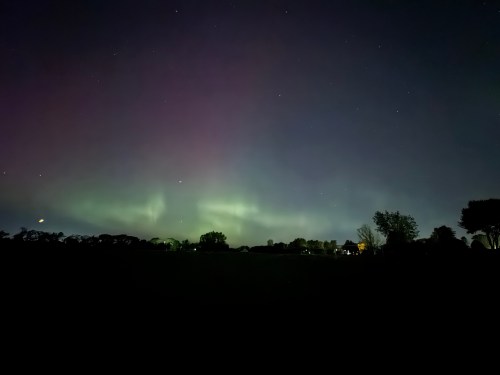
While tonight’s show wasn’t as good as originally predicted, I could faintly see a bit with the naked eye. Without the iPhone camera to show me where they were, I wouldn’t have noticed though. We think I got outside at the tail end of peak viewing.
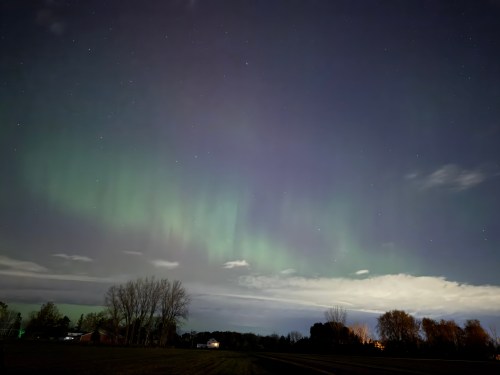
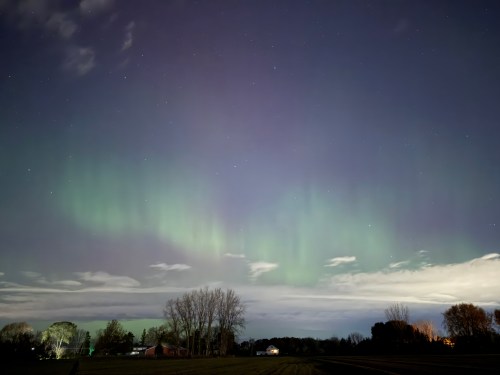
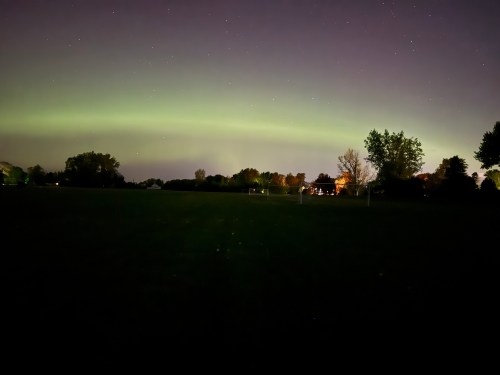
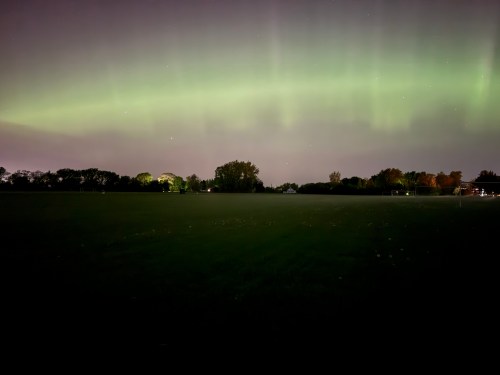
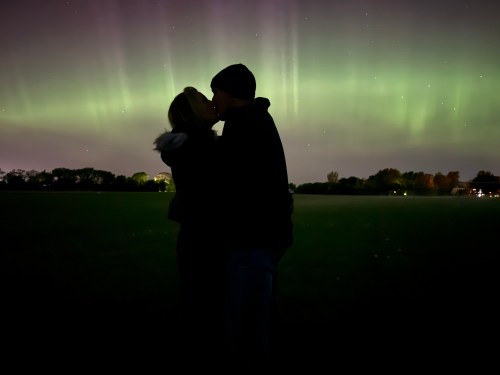
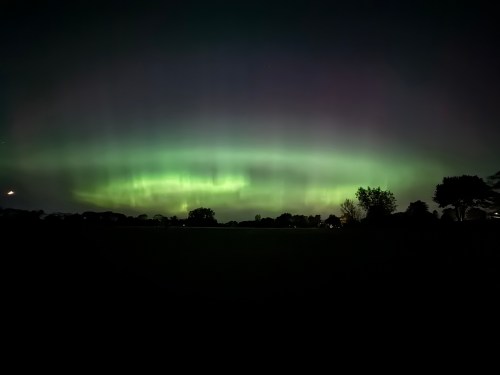
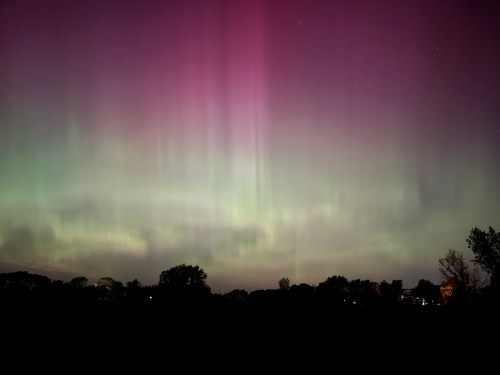
Quite a different show than last year. I never posted the photos from May 11-12, 2024 around midnight, so those are below. We timed that night much better.
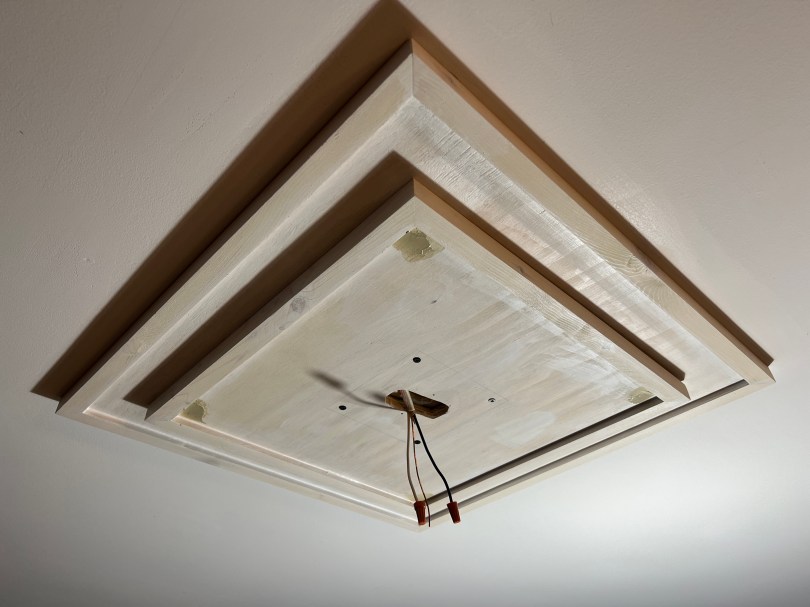
After making a custom wall sconce for the kitchen, it was time to tackle the ceiling. When I removed the light above the island I learned the hole and circuit box wasn’t centered and there were a lot of screw holes to patch. Nothing is ever easy is it?
I thought I’d build some type of box attached to the stud to cover everything up. Then the light fixture’s mount would attach to the box. It turns out this is actually a thing, called a ceiling medallion.
At its most basic, a ceiling medallion is a decorative element that dresses-up and enhances the area around the ceiling canopy, where the wiring for a chandelier or other fixture enters the ceiling junction box.
I didn’t have time to wait for an online order to arrive, so I came up with a plan to make my own. It’s purpose would be functional, but I’d add a bit of design. It would be square to cover the holes in my ceiling and match the shape of my light fixture’s mount.
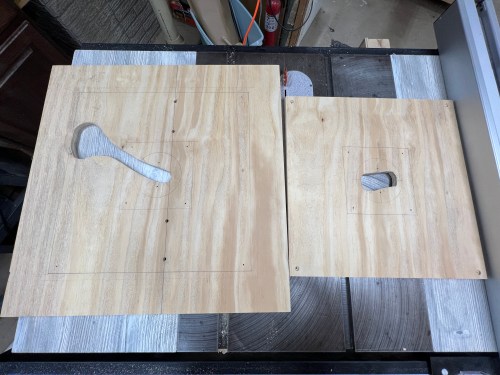
I cut two pieces of plywood. Then I made a bunch of layout marks for the stud, center of the light, section overlaps, etc. I also cut out areas for wiring. Next I drilled holes for lag screws to mount to the ceiling (and recesses in the back of the smaller piece for the heads of those lag screws and washers) and for screws to attach the two pieces together. I also determined where the mounting bracket would go.
After that I cut a bunch of strips of scrap wood for the outside trim with mitred corners and then glued and pin nailed the pieces to the plywood layers. I used wood filler on any holes and caulked the seams.
Then I did a rough sanding, applied a coat of primer, and attached to the ceiling. With four lag screws and washers holding it to the ceiling and 8 screws attaching the two layers, this thing won’t be coming down!
I caulked the seams at the ceiling and between the two layers. I also used wood filler on the four screw holes that would be seen. Some light sanding, another coat of primer, and then I painted when I did the ceiling. The final step was installing the new light.
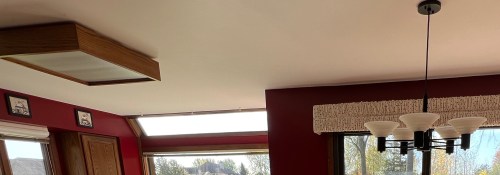
We also replaced the dining table light and have a replacement of the same style for above the sink, but I need to fix the lower ceiling area there and paint first. The 60 watt bulbs that came with these lights were not bright enough and had too much of an amber tint (original bulbs in the picture above). I bought 100W equivalent LED bulbs, which are much better. Note that the walls will be getting painted.
My last HackerBox, #0030: Lightforms, came with an 8x8x8 LED cube kit. I started building it in May, when I assembled the PCB and made a jig for assembling the grids.
I got busy over the summer and the thought of soldering 512 LEDs didn’t excite me. After catching up on all of my other kits, it was finally time to dive back in.
I thought I took some video of assembling the board, but I must have deleted it. So I didn’t bother with any video while assembling the grids either. The repetition would have been quite boring. I thought I’d do a gallery with captions for a change.
Assembled circuit board.
Simple circuit used to test the LEDs and compare brightness.
3D printed jigs. I ended up not using the grid one because my plywood jig fit much better.
My friend Kevin printed this awesome jig, which made bending the legs much easier.
Over 500 LEDs before and after being bent. It took over 90 minutes to test and bend them all.
One 8×8 grid all soldered in the jig.
All 8 grids completed without burning a single LED. I can’t believe I didn’t swap the leads when I bent them all.
Complete! Only had to rewire the cathode connections to the board because the instructions were actually wrong.
While assembling the 8×8 grids I settled on a pretty good system, so I recorded myself doing a couple of rows to show my method.
This is definitely my longest electronics kit in terms of hours spent and it had so much repetition. Pretty cool result. Here is someone’s demo showing what can be done with the cube.
I’ll need to upgrade the firmware so I can program the board with my own animations.
The lights in my basement were pretty bad. If you’ve watched any of the videos I’ve done in the workshop you’ve probably noticed. The area pictured below was lit by 2 light bulbs.
Time to fix this so I ordered two sets of 4 LED lights off Amazon. At $20/light I didn’t expect much in terms of quality, but the reviews were solid. They are made with really cheap materials, but function fine. I put 3 of the new lights in this area. Incredible difference!
Each light has a plug instead of wiring and the cord has a switch built-in, which is really nice. I won’t be stuck with my lighting placements if I change my mind and it’s easy to turn individual lights on and off as needed.
The other area of the shop was almost as bad, with some dark corners. It was lit with 3 of the typical tube lights you find in drop ceilings. Here are before pictures…
I wanted to remove the drop ceiling while I was at it so I’d get back about 8 inches of vertical space. I made a time-lapse of this part of the project. Over 6 hours of video at 80x speed to get it down to 5 minutes.
I used the other 5 LED lights in this larger area. When I showed pictures to my buddy he said, “Looks like you painted but it’s only lights.” He’s right! I’m really happy with the results.
I’ve already ordered another batch of lights for the laundry room and bathroom, though I’ll be keeping the ceiling in those locations.
Last weekend I went to see iLuminate at Saginaw’s Temple Theatre with some friends. It’s not something I’d ever pay to see (we had free tickets), but it was something different to do and a neat performance. The act was on America’s Got Talent in 2011.