With the days getting shorter, the garage needed a lighting upgrade for fall and winter workouts. I installed four of the same LED lights I had put in my basement workshop. Huge difference!

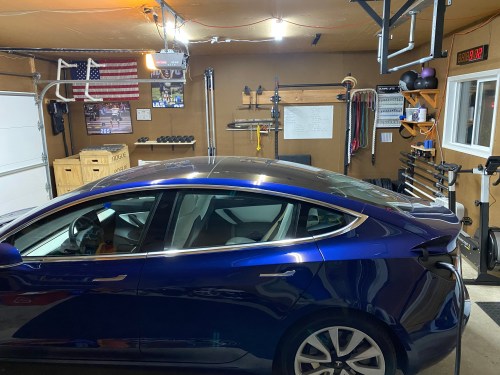
With the days getting shorter, the garage needed a lighting upgrade for fall and winter workouts. I installed four of the same LED lights I had put in my basement workshop. Huge difference!
A couple of years ago I did a big reorganization of the garage before I moved all of my tools to the basement and created a workshop down there. The high shelves on the front wall of the garage turned out to be a terrible idea because I couldn’t reach anything; I’d have to move a bunch of shit out of the way and use a ladder. I finally had enough and moved everything around. Here’s a before and after.
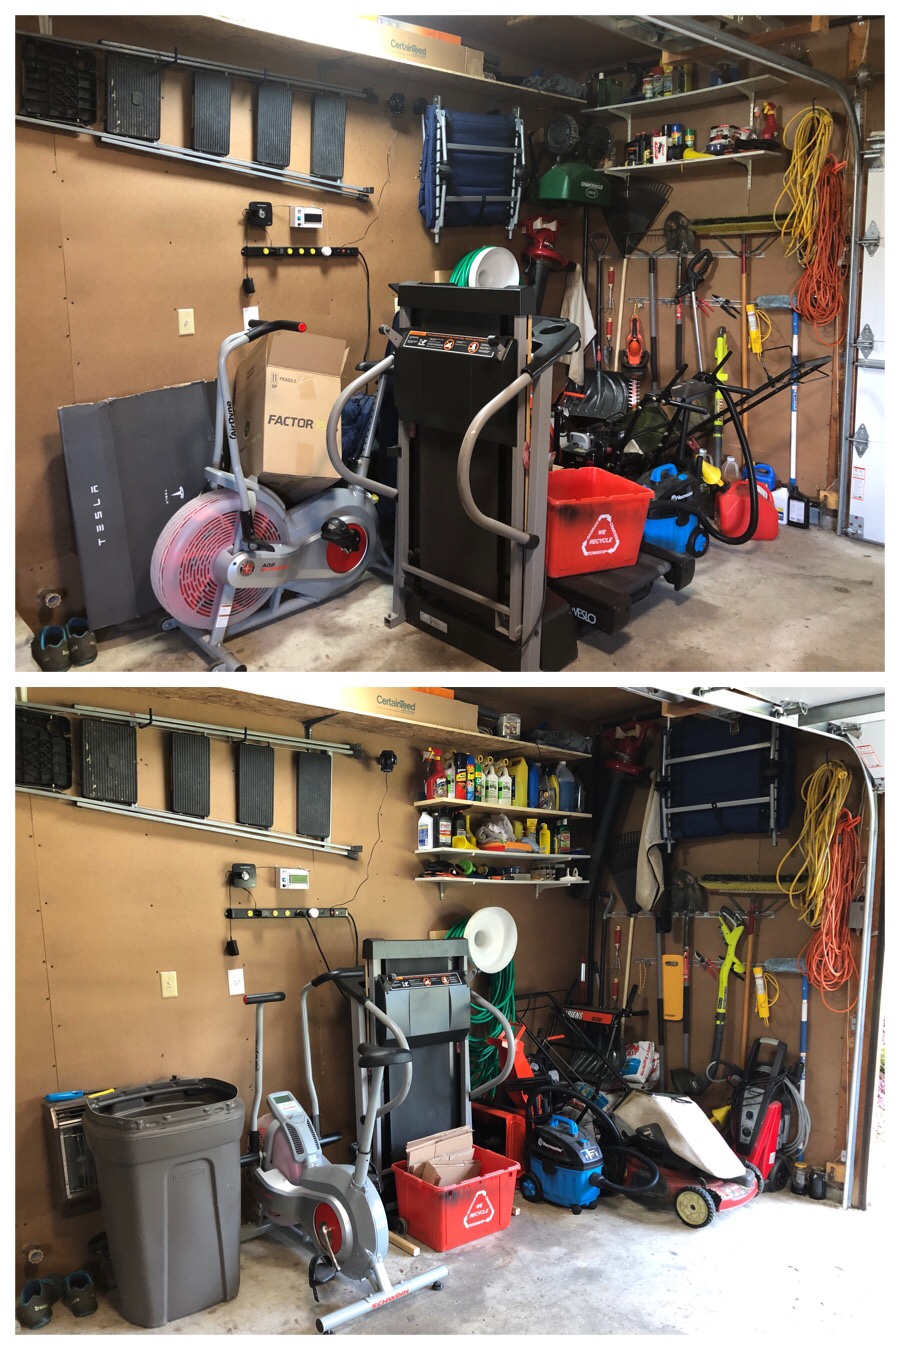
A lot of the room I got back was due to removing the treadmill (both were free!) that didn’t fold up. I disassembled it last week to salvage the motor, speed controller, and a lot of other parts. I can easily access the shelves by moving the lawn mower out of the way and it won’t seem like I’m going to slam my car door into something (I back in so the charge port is next to the charger).
I finished the inside of the garage window. I wish I had leveled the side framing with some shims before getting to the trim because the hole in the wall isn’t square. I already had the framing nailed in when I noticed, so I didn’t want to mess with it. I made sure to put the trim on square though. Learned a good lesson and it looks fine for a garage window.

The blind no longer fits, but I’ve been enjoying the extra light in the garage, so maybe I’ll keep it as is.
Long overdue.
Last weekend I started cleaning my garage and came up with an idea of how to rearrange things so that the lawn mower wasn’t blocking access to my workbench.
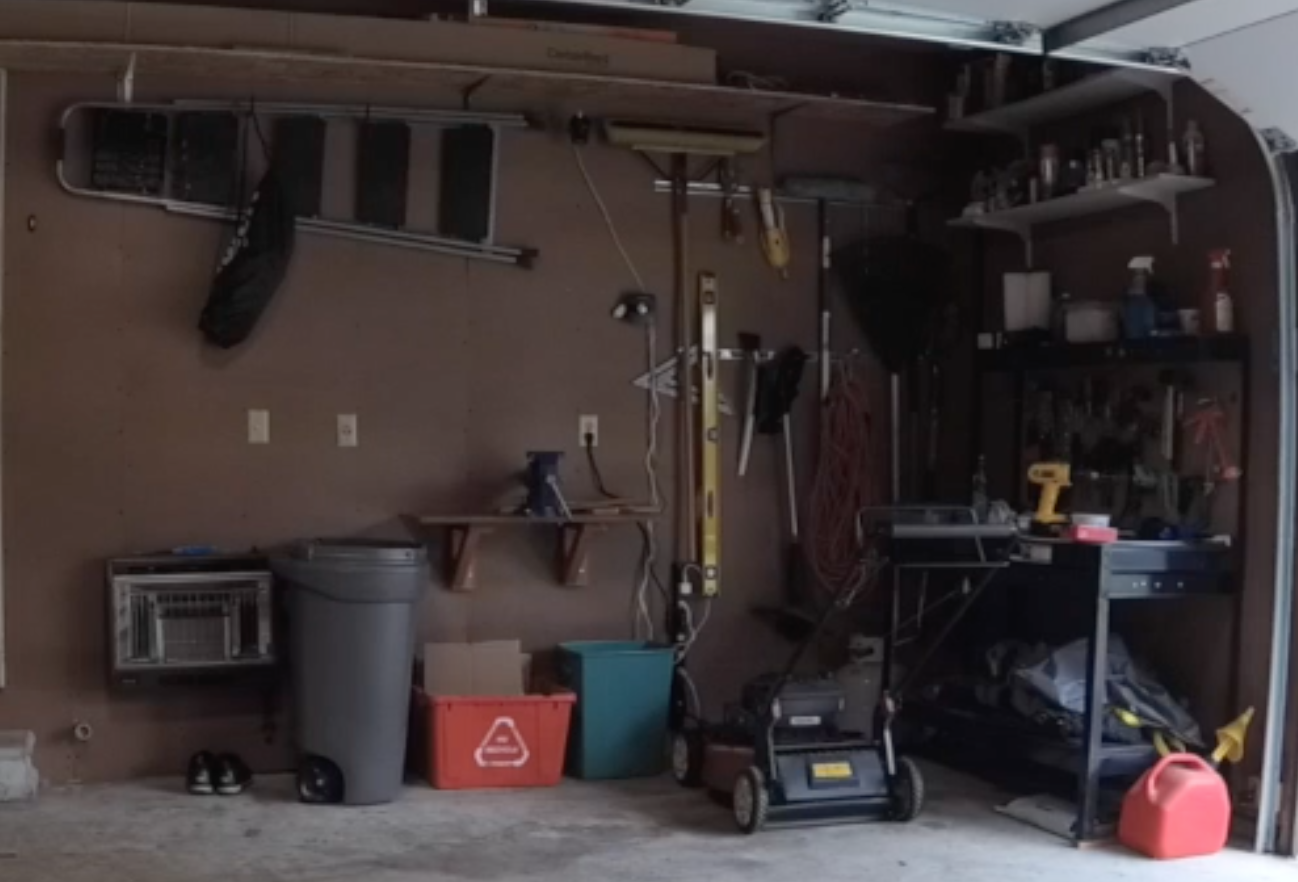
Yesterday I continued the cleaning, but started with a couple of moves. I had to shift the vise over one stud to make room for the workbench on the same wall. I also had to move the wall tool hangers over to the front wall of the garage.
This project was a good opportunity to try out the time-lapse feature on my new YI Action Camera, which I think was configured to take a picture every 0.5 second. I didn’t realize until I’d already processed the video in iMovie and uploaded it that I forgot to add some audio. I wasn’t going to start over though.
This morning I continued with a few more improvements. I put up an additional 2×4′ pegboard to the right of the workbench. I’m using it for the less frequently used tools and accessories. It also allowed me to get some things out of the drawers. I bought a couple of brackets so I could put up another shelf I had in the basement.

I really like how the reorg turned out; the area is more functional. I was really getting sick of climbing over the mower to access my tools. I’m sure I’ll move things around and reorganize the shelves as I go to make sure the common stuff is within easy reach. This also puts the workbench underneath a light, which I hadn’t even thought about.
Always be iterating!
I’ve been working on this project here and there for a few weeks, with most of the early work being experimentation. Everything is now up and running and it’s “deployed to production” so to speak. This was my prototyping setup…

After wiring everything together and repurposing a cardboard box, here is a short video to show the final product.
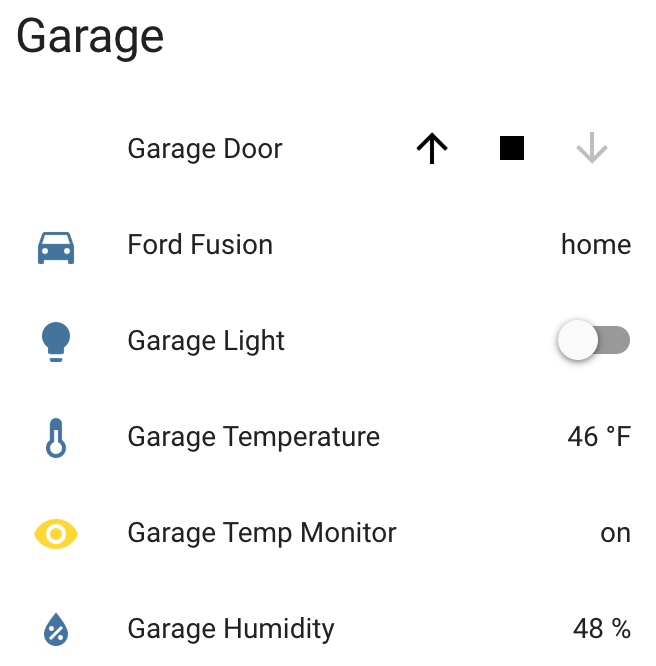
A few notes on how it works:

Really happy with how things turned out. The Pi I wrote this in Python and it’s all available as home-assistant-temperature-monitor on GitHub if you want to make your own or use some of the code for your own project. There is also a list of all the components used.
Here are some pictures I took while assembling the enclosure/box.


Update: Adafruit released a new Learn guide that does some similar stuff to this project.
I’m usually very good at keeping parts, but for some reason, a couple of months ago, I threw away all of the mounting brackets for an old Dropcam. Sure enough, I moved the camera to the garage and had no way to mount it. It had been sitting on my vise shelf ever since.
While cleaning out the closet in my office this weekend I came across an old cell phone car mount. Took apart one of the elbow joints, removed the big suction cup from the bottom, and screwed the whole thing directly into the wall using a longer screw and an anchor. It squeeze around the camera for a solid hold, but I looped the cable around the bracket just in case the arm springs fail at some point, so it won’t go crashing to the floor.
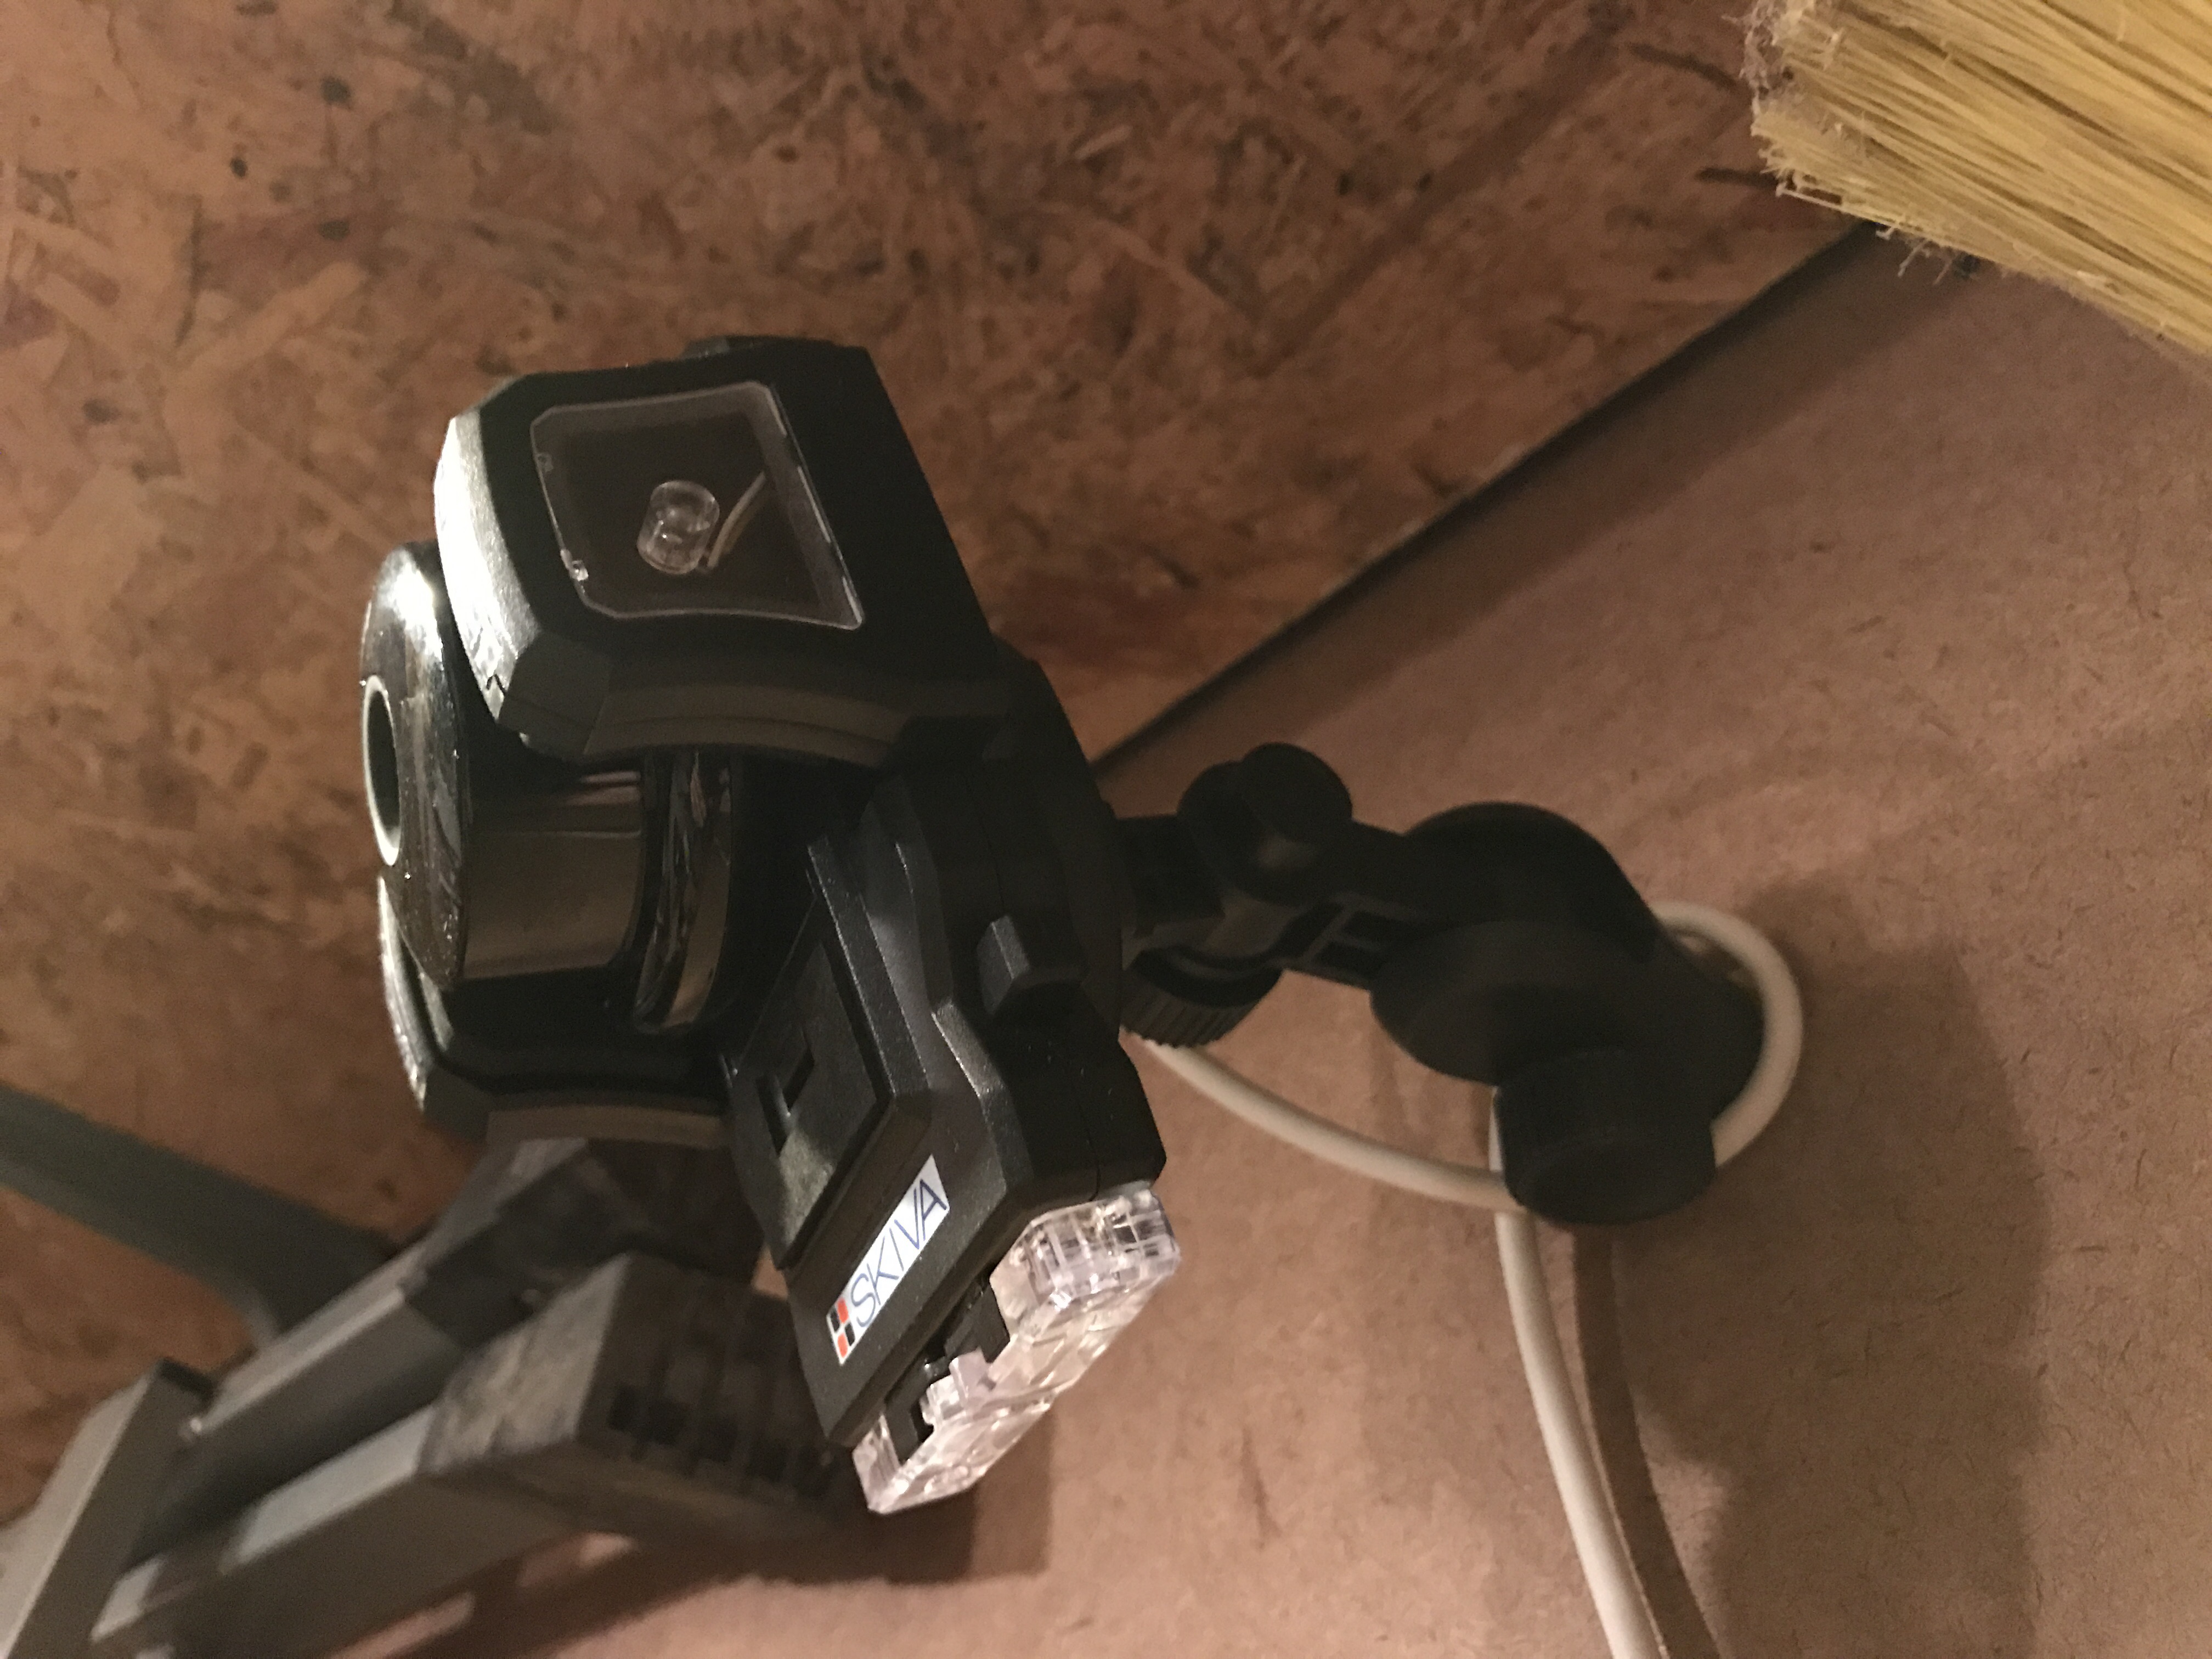
Getting it up high provides a better view as well.


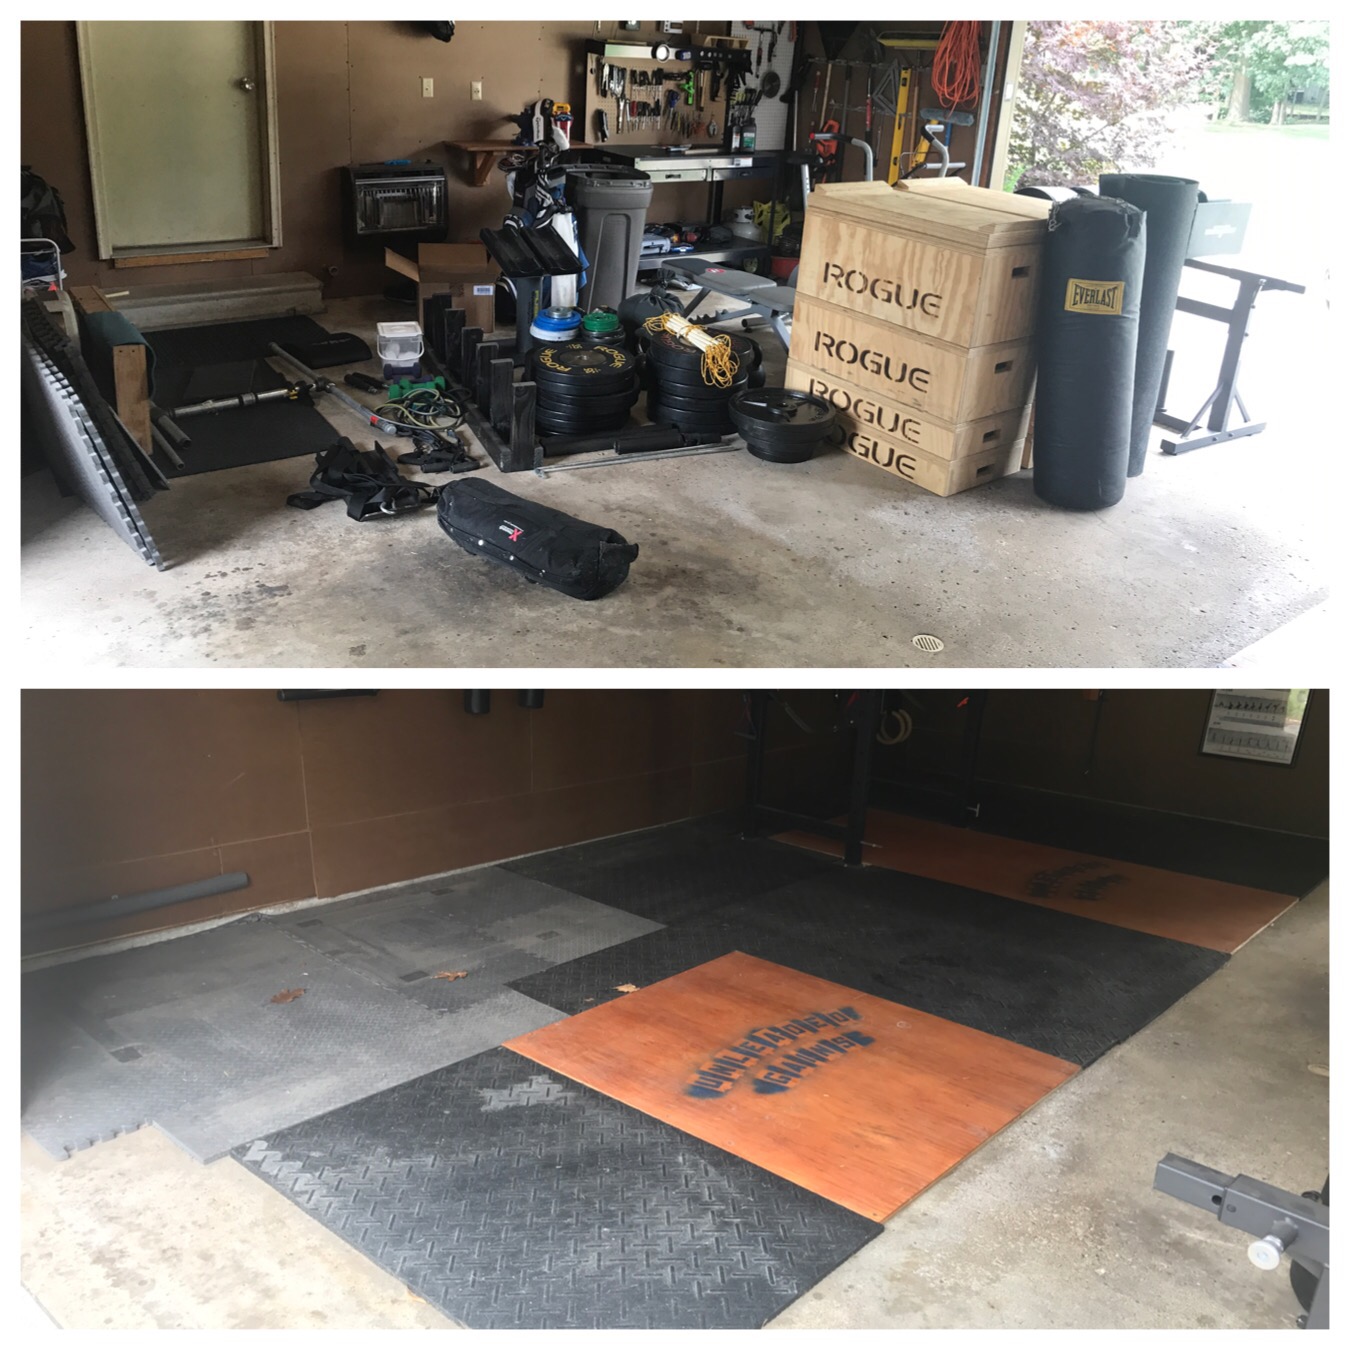
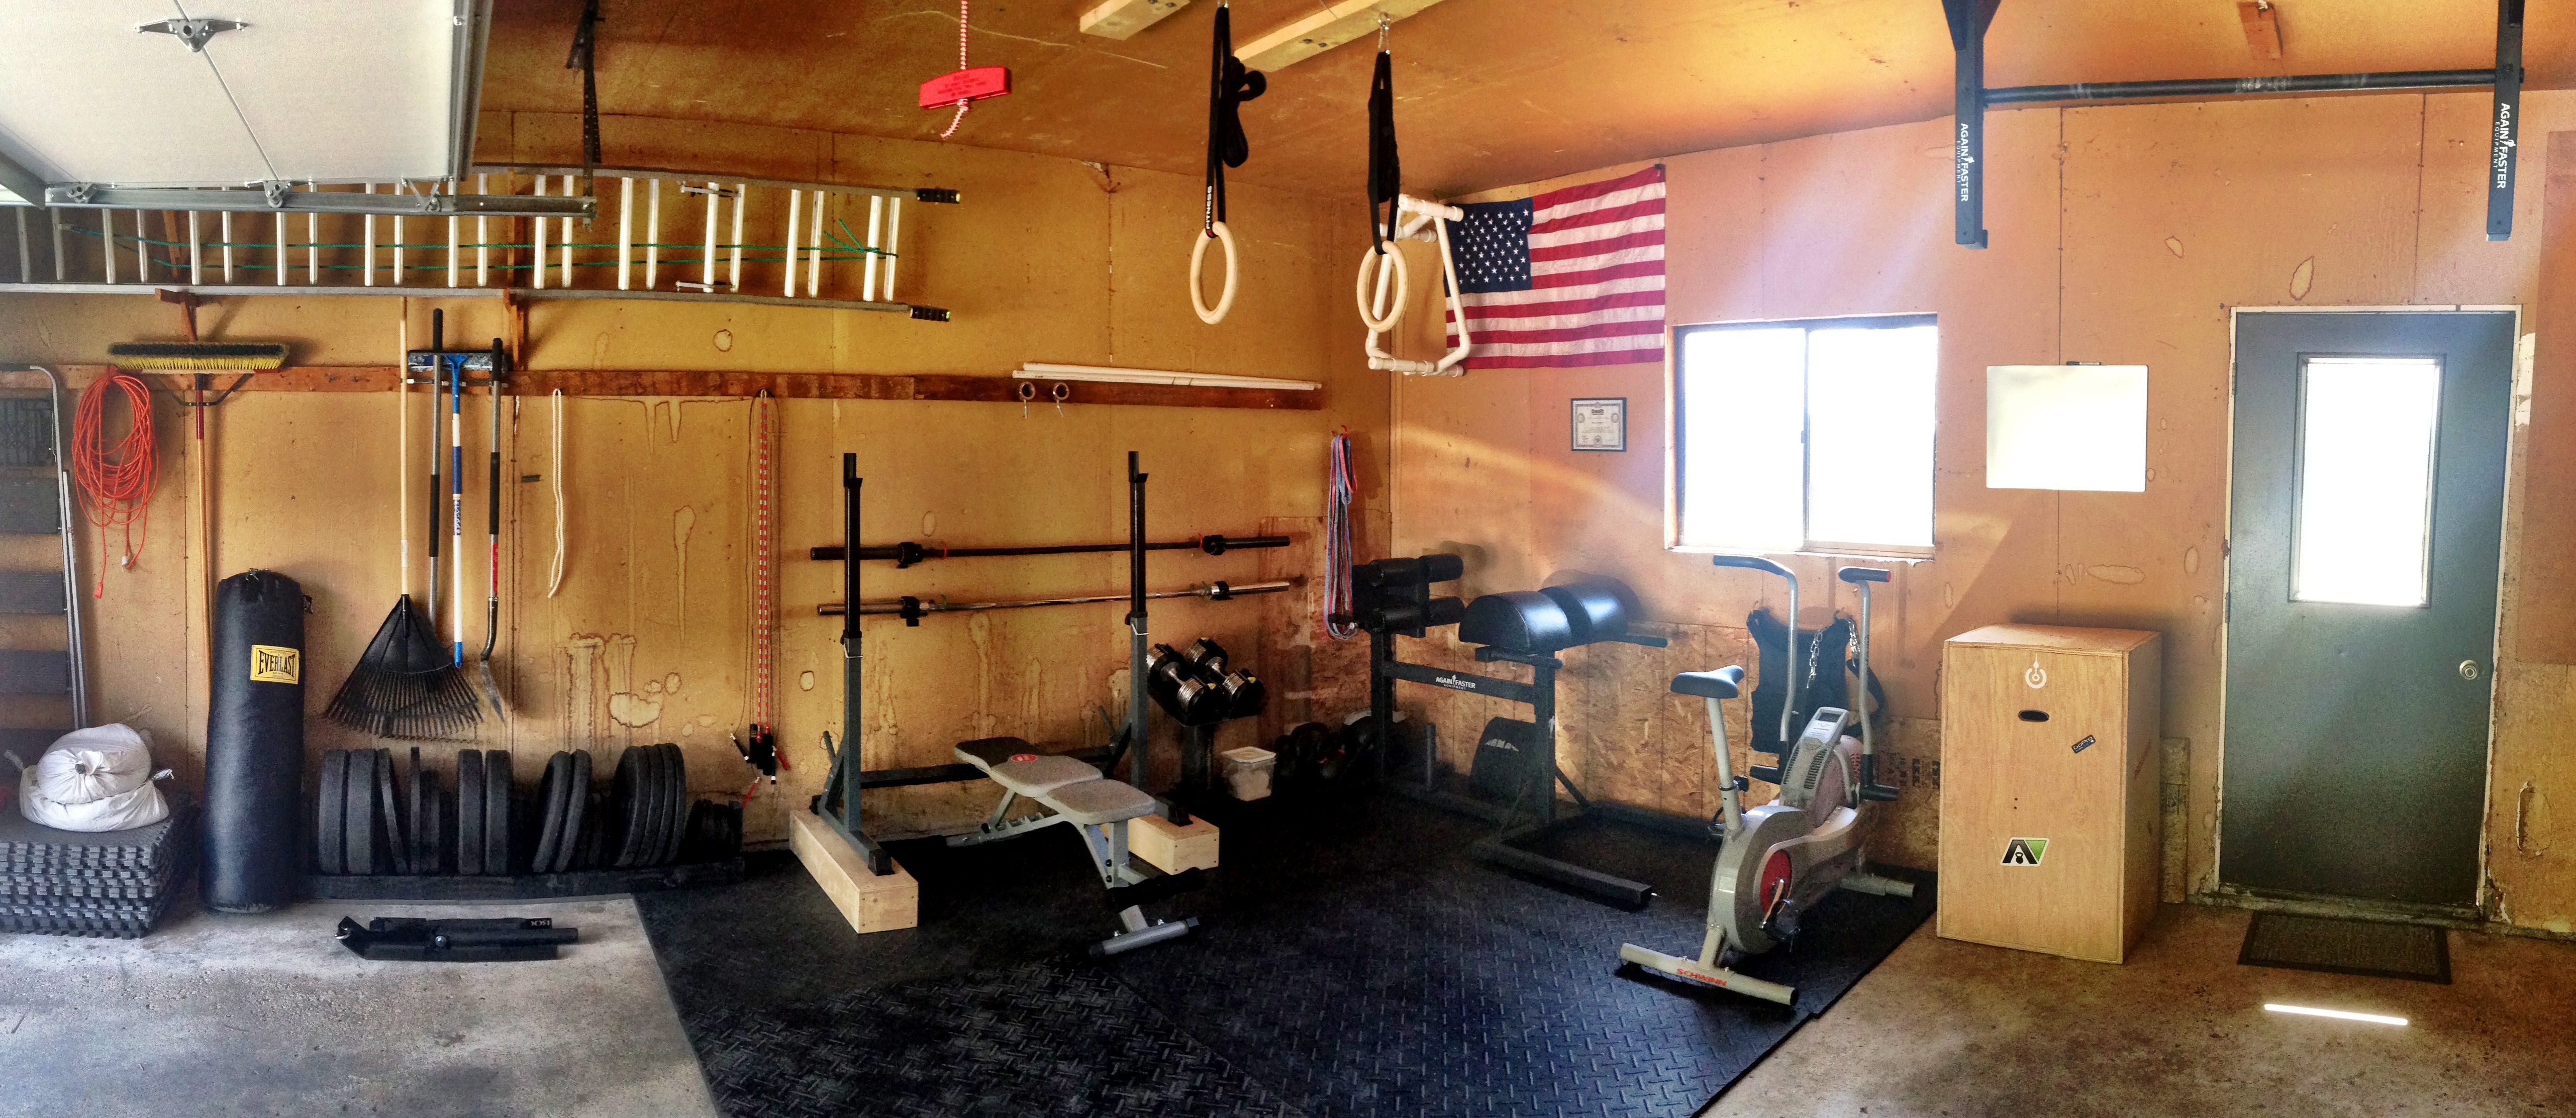
I’ve been hard at work renovating the garage for the last week and a half. I used to call it “Momrik’s Garage Gym” but it will now be known as “Unleaded Gains” and I even stenciled it on the lifting platform. Want to come over for a workout?
While renovating the garage to make one side entirely a garage gym, I needed a way to store the ladder out of the way. Fun Friday night project!
From left to right (as much as possible):
If you have questions about anything, let me know.
Update: I’ve updated my garage gym quite a bit since this was posted.
