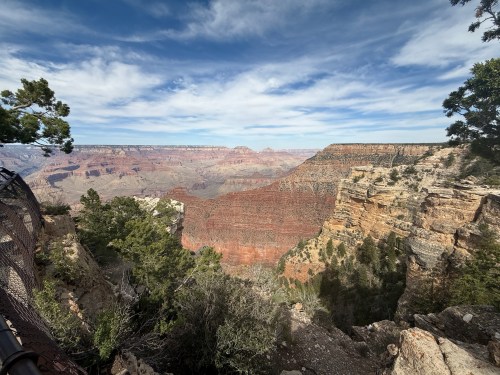
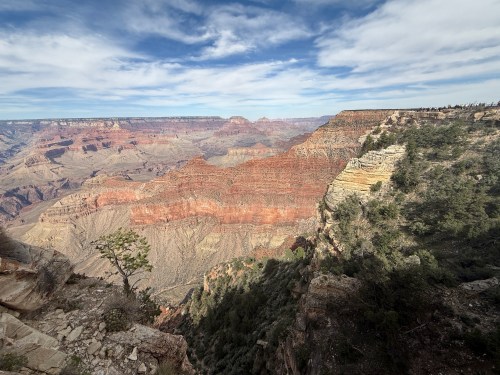
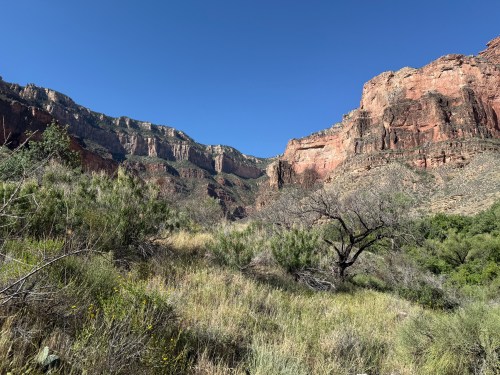
After a couple of days in Phoenix, we drove up to stay in Tusayan and visit the Grand Canyon’s South Rim. In the afternoon we went by visitor center and walked some of the south rim trail. I’ve probably seen thousands of pictures of the Grand Canyon over my life, but nothing prepares you for seeing it in person.
The first views of the Canyon obviously take your breath away, but it’s so much more than that. You feel dizzy, weak, and disoriented. I don’t know how to explain it. The vast width, length, and especially the depth are unlike anything else your brain has ever processed. It is absolutely incredible!


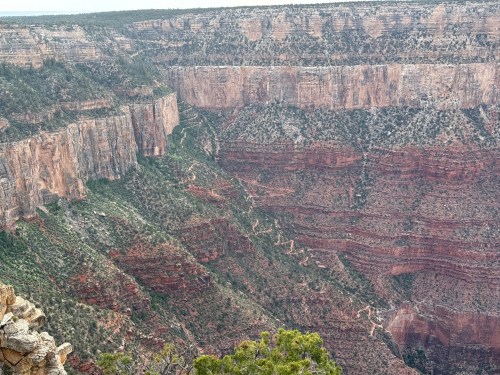
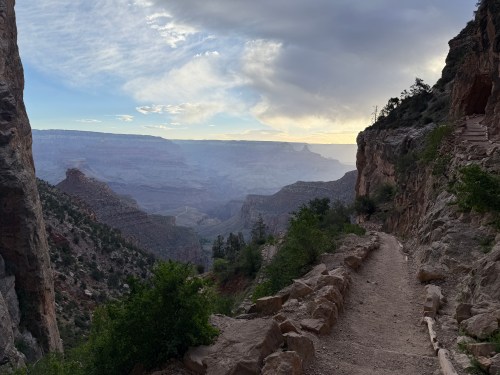
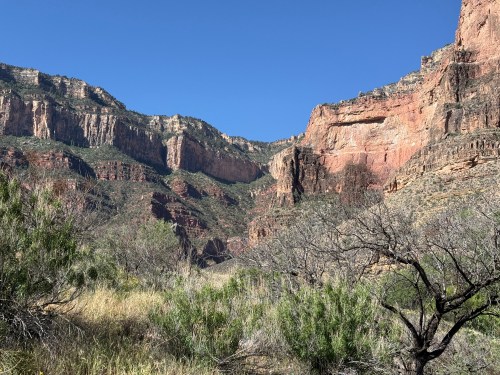
We walked the south rim trail out towards the Bright Angel Trail, which we would hike on day two. We got far enough where we could actually see the trail.

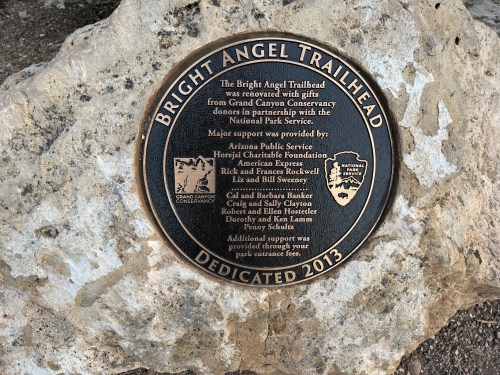
The Grand Canyon National Park does a good job of letting you know what you’ll be getting in to.

The resthouses and water stations along the trail were all open, which is invaluable on a hike like this. We woke up early and were at McDonald’s shortly after they opened at 5am. With Tusayan only being a few miles from the South Rim entrance, we were parking at the trailhead and on our way around 5:30.

It was windy and a bit chilly at the rim, so we started off with too many shirts, which of course meant we had to carry them for the rest of the hike. In our backpack we had:
- 4 liters of water
- Sandwiches
- Protein Granola bars
- Protein Granola
- Electrolyte packets
- Sunscreen
- Chapstick
- Shorts, which we didn’t wear
Within a minute of heading down the trail, a dear was coming our way. We stopped and let it decide where to go. They’re pretty good climbers!

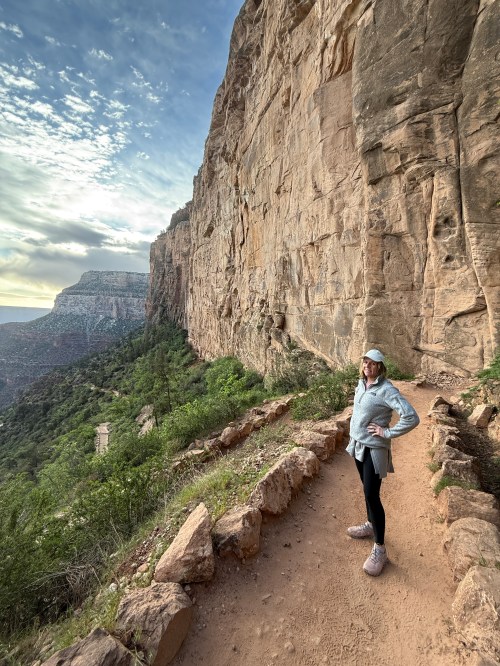
After getting away from the rim, we could barely feel any wind and extra shirts came off. We were off on a great hike!

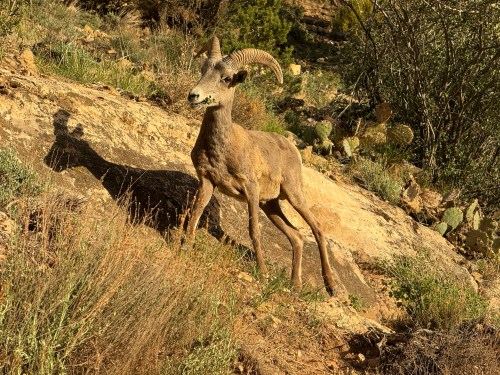
Then we started catching up to a couple who had started their hike just before us. They were pointing to something just above the trail. It was a longhorn sheep that came within 15 feet of us, while eating it’s breakfast!


We only saw a handful of people on the trail during the first hour, and after that we starting seeing a few here and there on their ascent, who had camped overnight in the canyon.


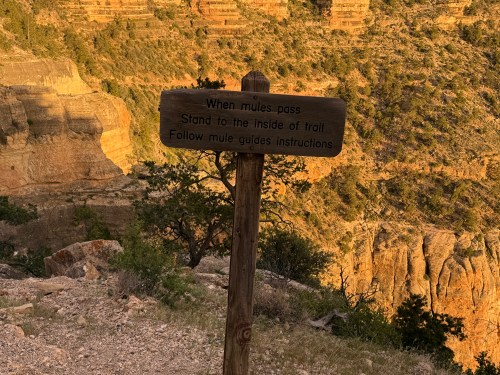
Each 1.5 mile section down took us about 50-55 minutes to travel, plus stops for the bathroom and refilling water. At the 3 mile resthouse, where I believe a lot of people stop and head back up to the rim, was this important sign.

It’s a good reminder that going down is easier on the cardio and it’s the first part of the hike. Going back up later, keeps increasing elevation where the air is thinner, and you’re more and more tired as the long hike continues. Near the end of our descent we did get passed by a pack of mules led by a ranger.


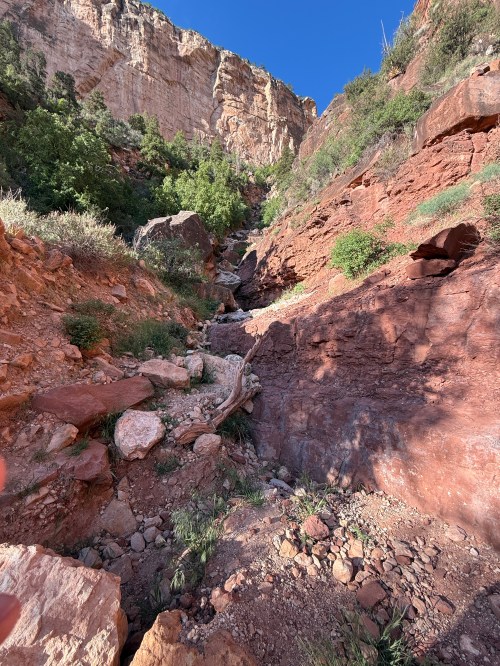
When you get down to Havasupai Gardens and look up, it’s pretty incredible to see how far you’ve hiked. The pictures don’t do it justice, but here are some.


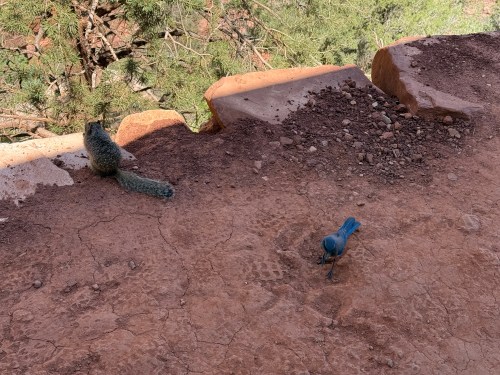
We rested longer and ate some granola at that third resthouse, before starting our journey back up. It took us a little bit more than an hour to get up to the 3 mile resthouse, which was much quicker than the posted estimation saying to plan for twice as long. At this point we took a longer break and ate our sandwiches. We got to the next resthouse in barely over an hour again and saw these two friends. That middle section of the hike felt really good.

The final 1.5 miles were extremely hard and our pace slowed significantly. It’s the steepest part of the trail, at the highest elevation, and you’re exhausted from going over 7.5 miles. It still didn’t take us twice as long as the descent and we took a couple of rests throughout the section, which we never took earlier in the day.
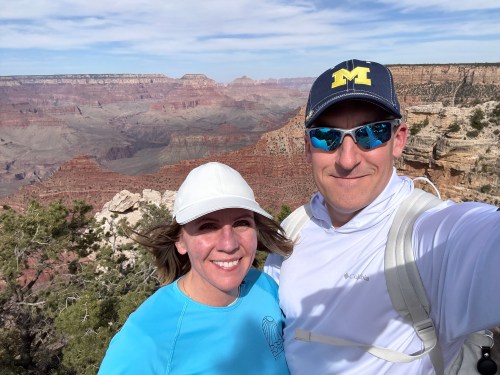
According to Runkeeper, we hiked 9.37 miles with an elevation drop (and climb) of 3,090 feet, in 6:43:55, which includes all of our rest time. Nearly 7 hours! Not bad for a couple in their 40s. This would have been so much easier five years ago, when we were well conditioned.


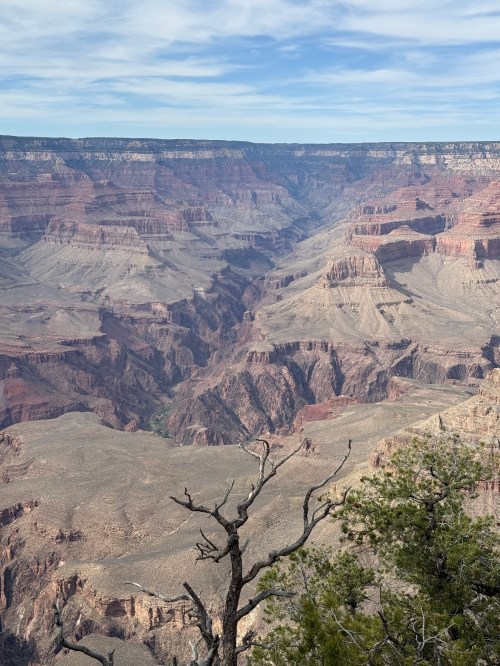
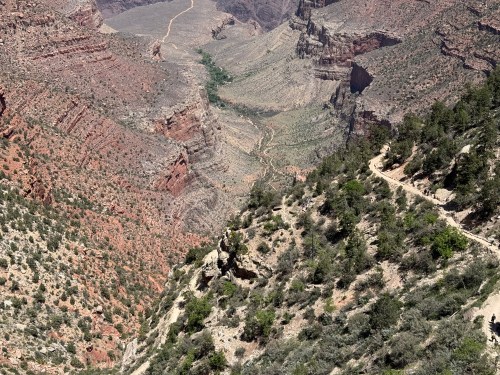
These next two photos were taken 20 minutes before reaching the rim and you can see more of the middle sections of the trail.


The view from the top puts the accomplishment in to perspective. You can barely see the grouping of trees (the long, thin, winding green section down the middle), which is where we went to.

Nearly seven hours out in the Grand Canyon. That is by far the hardest thing either of us have ever done. We were exhausted and could barely walk for a couple of days, but it was worth it.
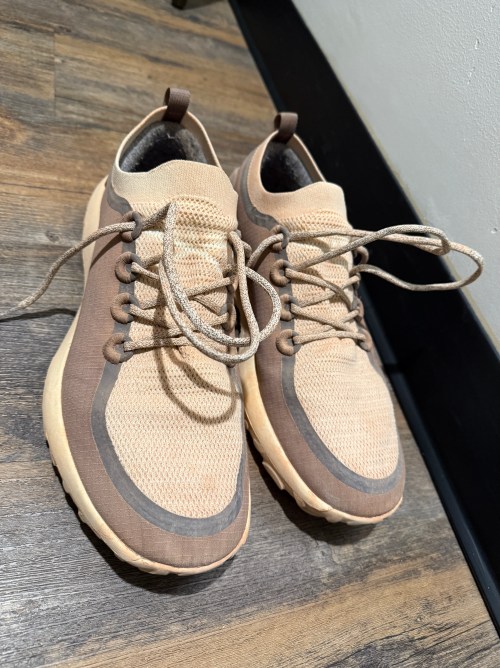
Here’s a neat picture where you can see the lace lines after I took my shoes off because your lower body gets caked with rock dust. These need to be hosed off and thoroughly cleaned.
Even though it was our first hike of this magnitude I have some tips for anyone giving this a try:
- Start at sunrise. It’s a long hike and you don’t want to be on the trail during the peak of the day. Even starting this early, your shade is quite limited on the ascent.
- Take a backpack. One for every two people is probably good, so you can alternate carrying. A lot of the time we actually each carried a water bottle in a hand to keep weight off our back.
- Don’t pick your clothing based on the weather at the rim, especially if it’s really windy (like it was for us). As soon as you’re on the trail for 5-10 minutes you’re stripping off shirts, which you then have to carry. The further you descend, the warmer the temperature is as well; they estimate it can get 10-20° different from the rim.
- Get a SPF 50 long sleeve shirt. We got ours from Sam’s Club. Wear a hat, pants, and sunglasses.
- Wear good trail/hiking shoes/boots. Make sure you’re not going to get blisters.
- Apply sunscreen to your face, neck, ears, and hands every hour or two.
- Carry about 2L of water per person, especially for the ascending sections. Refill at each station. Get electrolyte packets (I like the Gatorade ones from Sam’s Club) to mix with water. Keep drinking!
- Have enough snacks and a packaged sandwich. Eat before you feel like you need it.
- Enjoy the view and take pictures! You’re hiking the Grand Canyon!