When I setup the new shop, I decided to finally put my planer on a cart and took over the one used by the bandsaw. Then the bandsaw needed somewhere to go, so I scooted the drill press over, added a piece of plywood to support the overhang, and screwed it down. It did not fit and had been terrible since day one. The sharp edges of the bandsaw table were an accident waiting to happen.

I did this because I’d been wanting a new cart for the old Homier Distributing Company BDM 5 Drill Press. It was too high and I needed more drawers so I could organize everything better. This move would surely force my hand, though it ended up taking over a year.
I’ll get to the cart in a minute, but there’s more to this story. For years, to change speeds on a drill press has required opening the top housing and moving belts. I restored that Homier over eight years ago and can’t ever remember changing the speeds, which isn’t good. Different materials and bits should be drilled at various speeds. The problem is almost always spinning too fast, which can dull bits and produce poor results. I saw the Nova Voyager drill press in a YouTube video and wanted one because of the digital features.

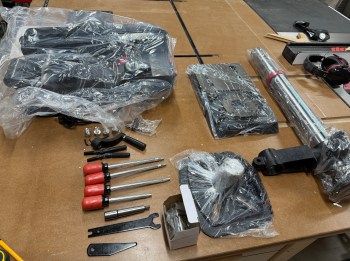
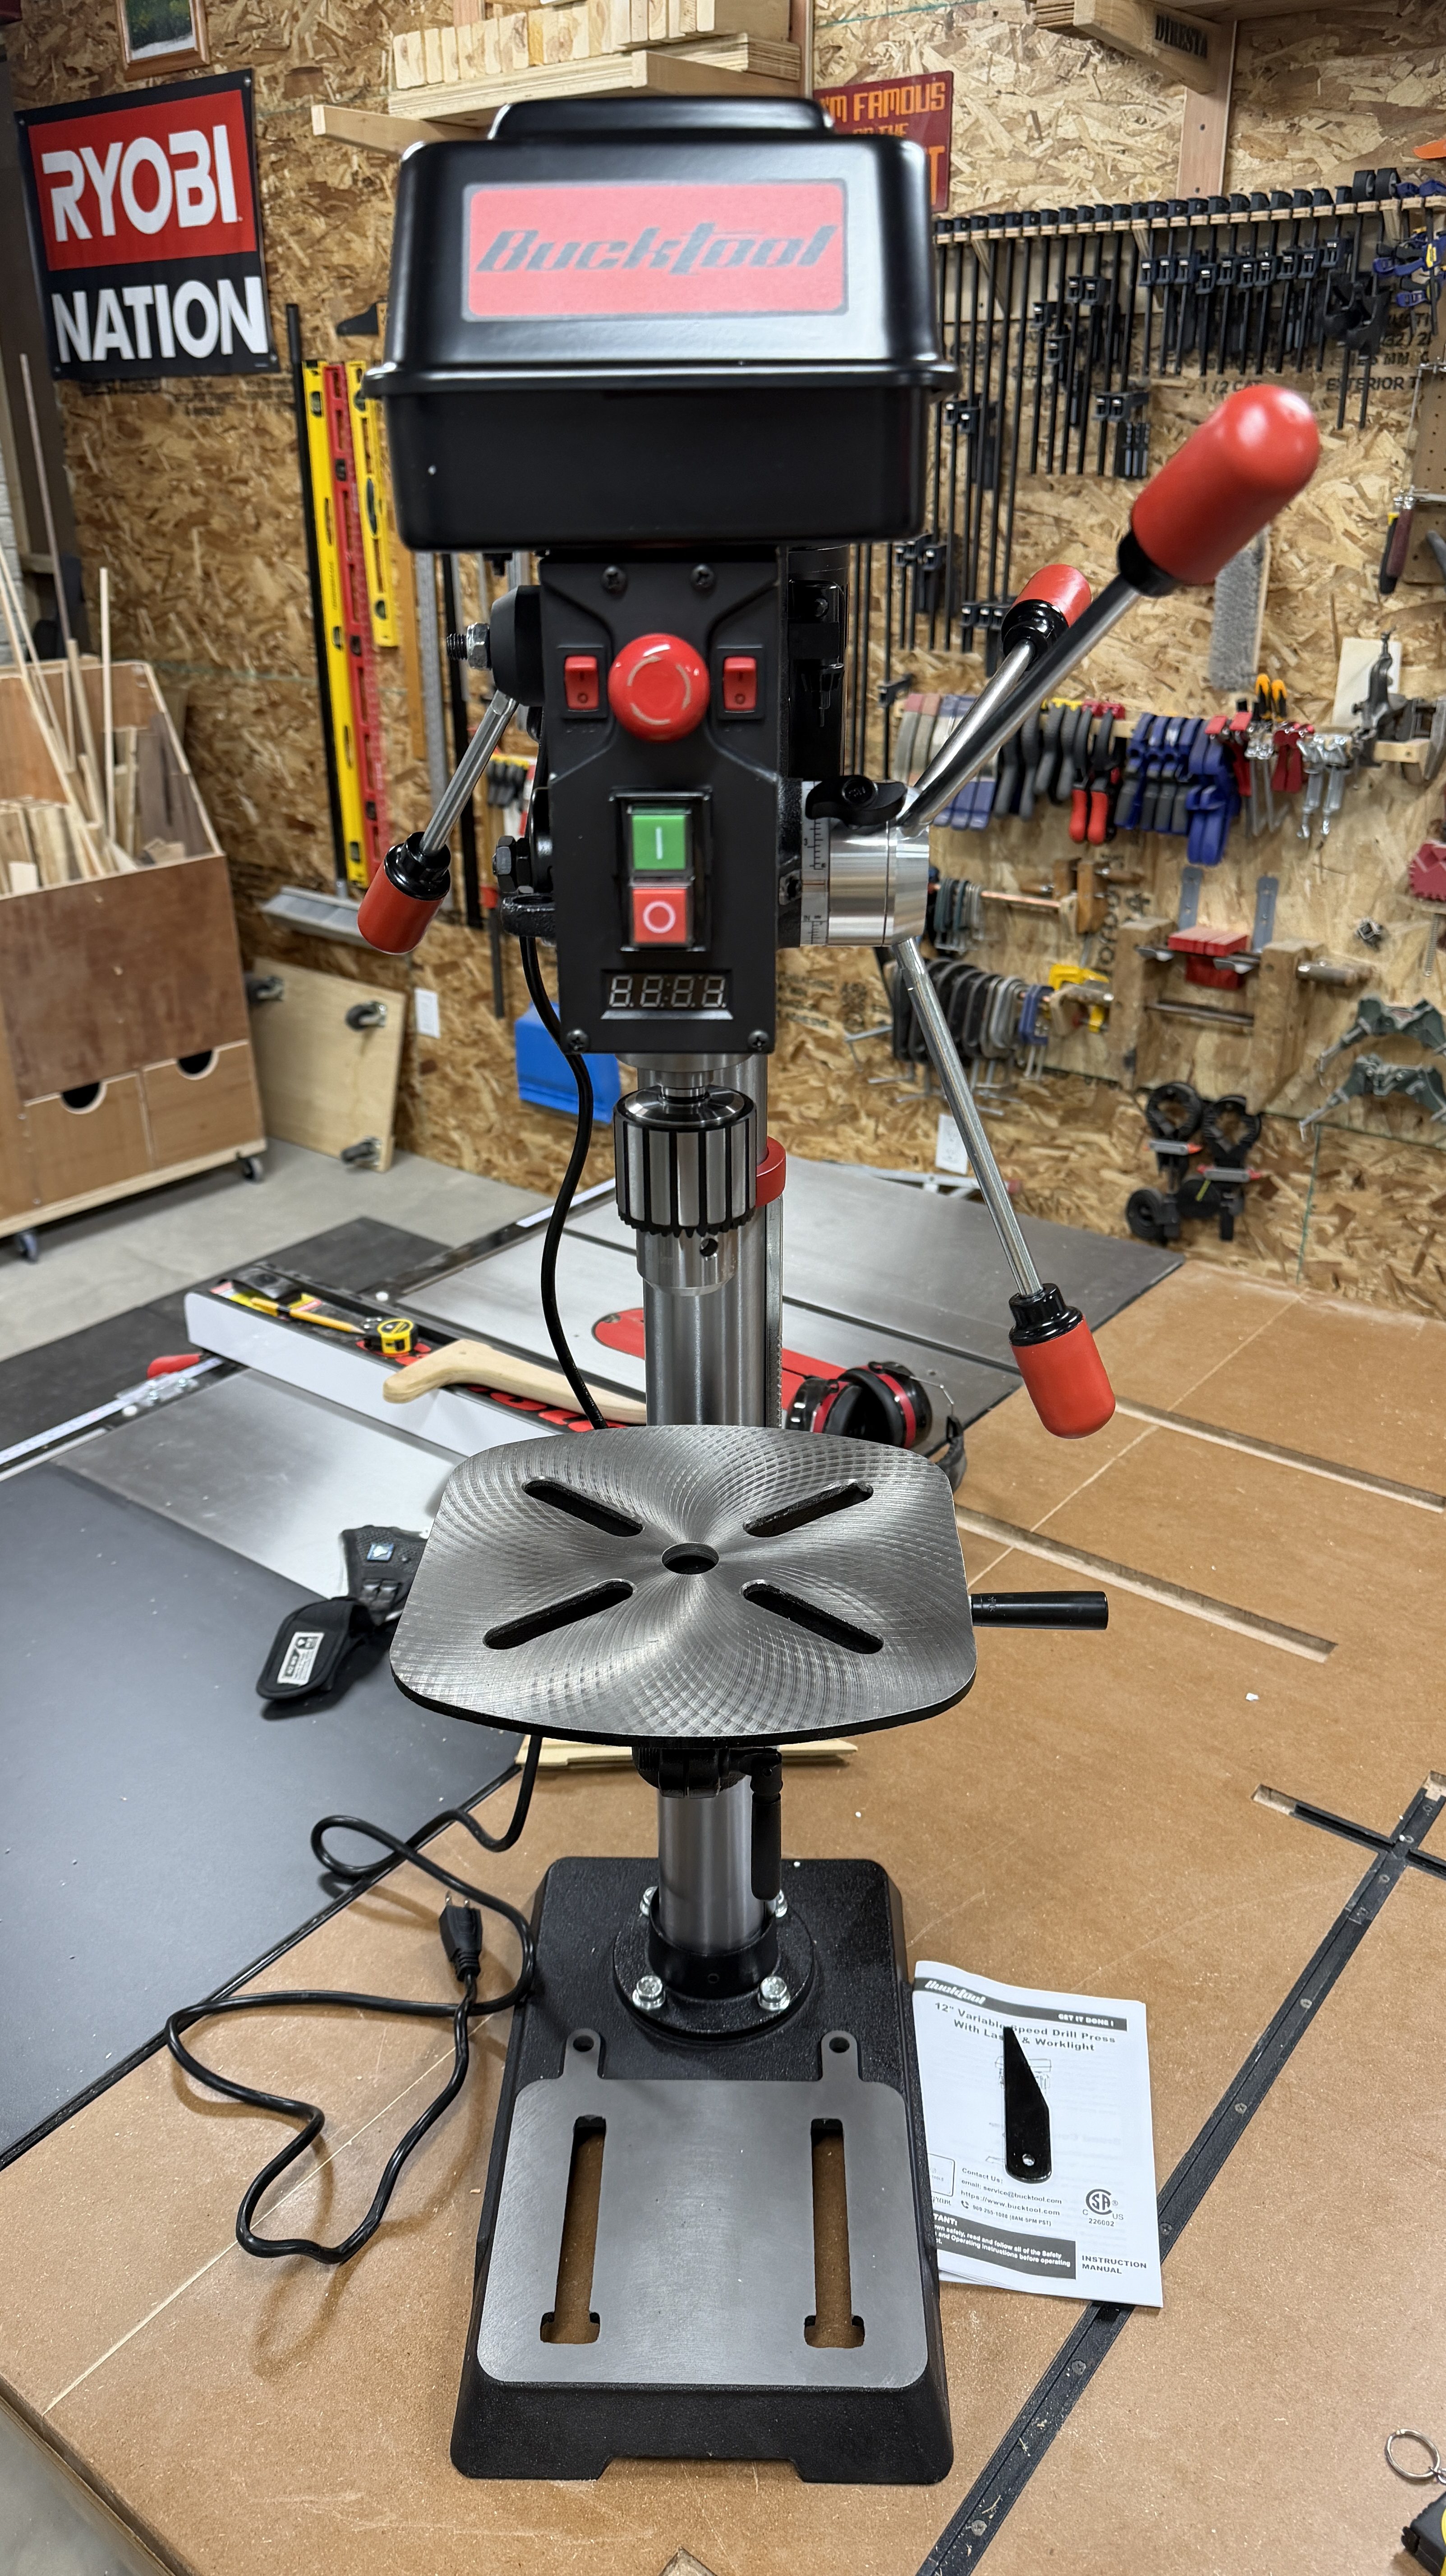
For what I do, I could never justify the cost. About two months ago I started searching for other options and found models where variable speed is adjusted by a handle. The popular budget version seemed to be the WEN 4214T (or the 6.2-amp WEN DP1263V). After more research I decided, when I was ready, I’d get the Bauer 12″ from Harbor Freight. Then on Christmas Eve morning a deal for the Bucktool DP12 popped up. I threw it in my cart and it was half off after discounts. Sold!
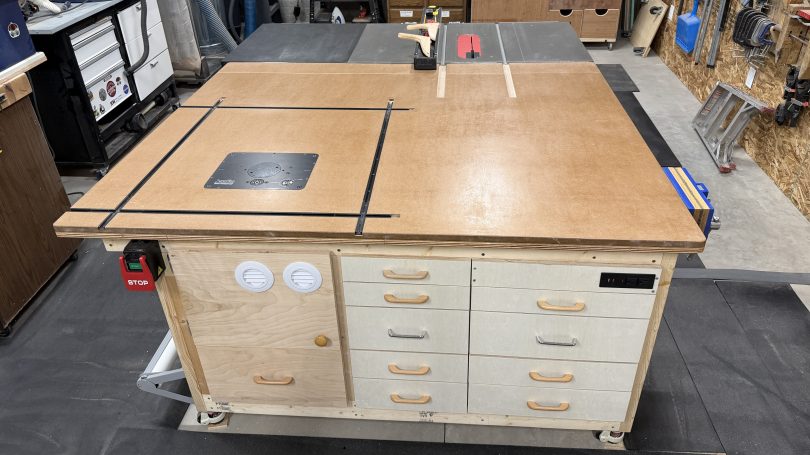
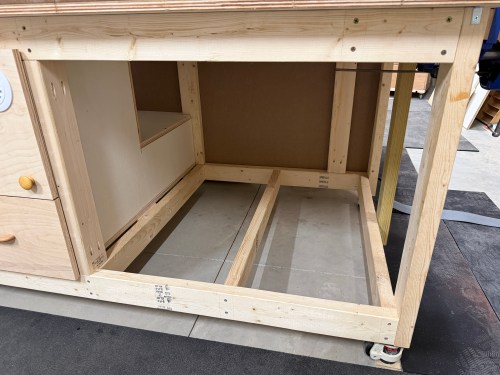
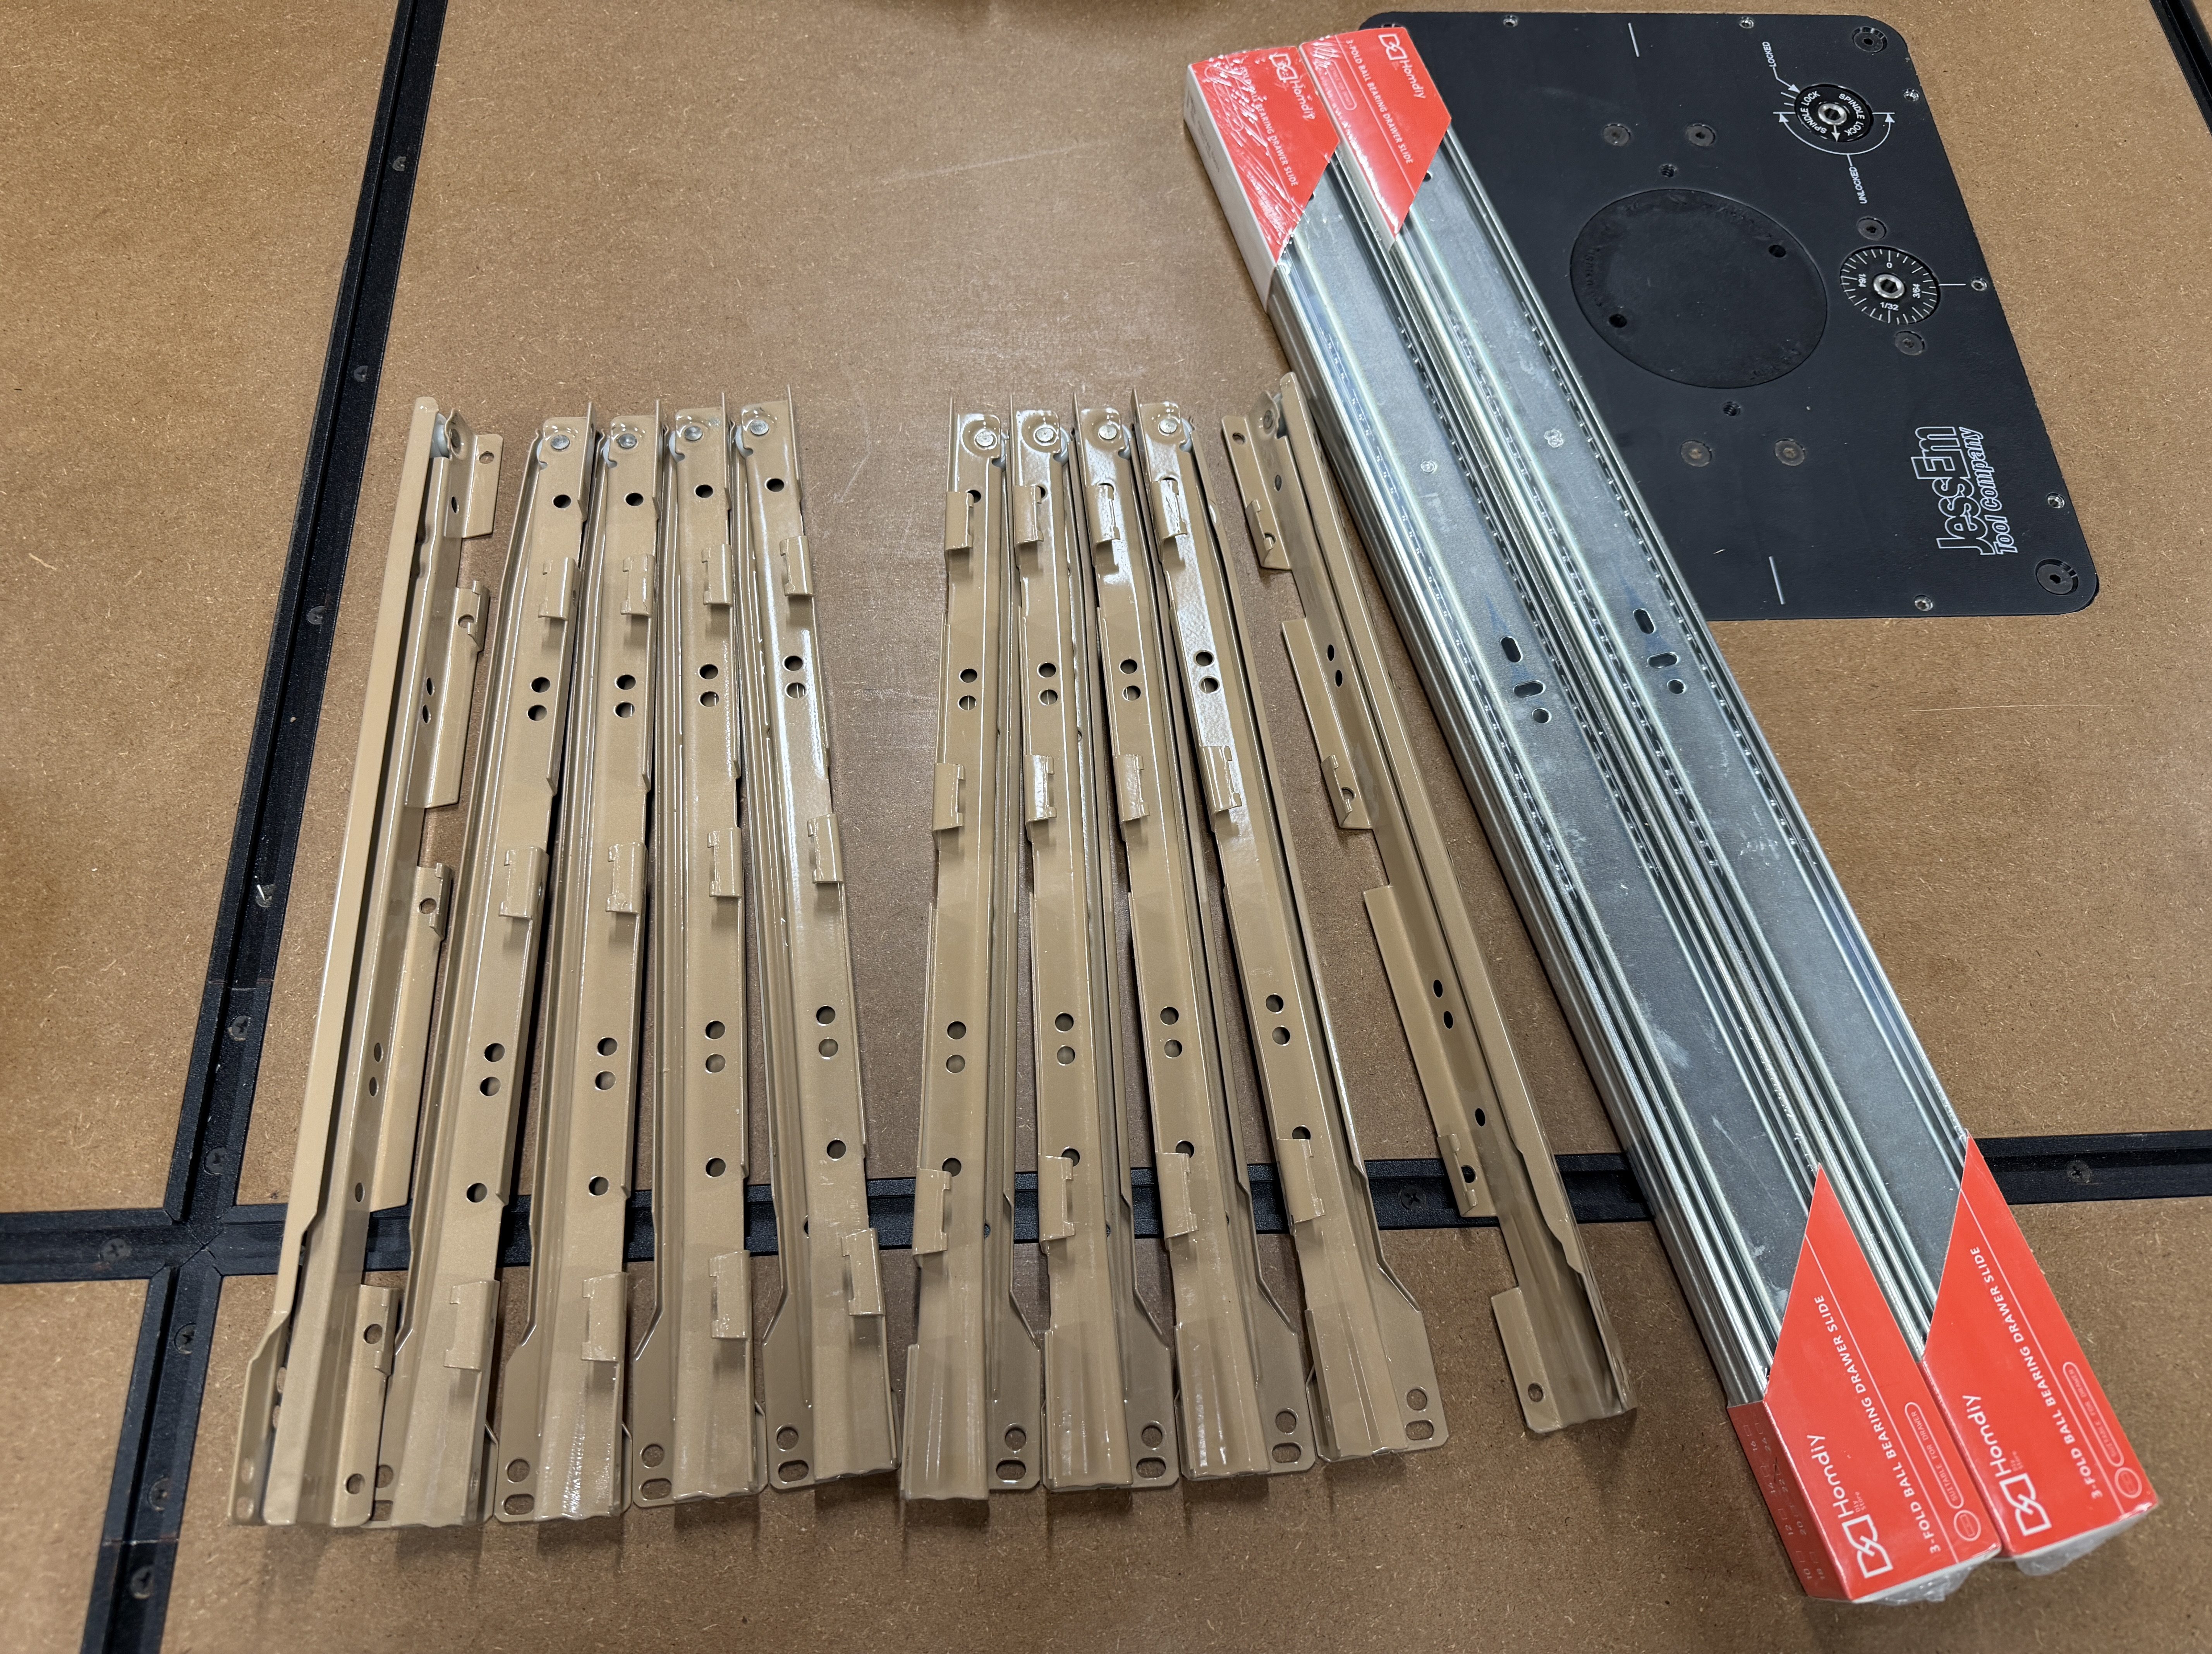
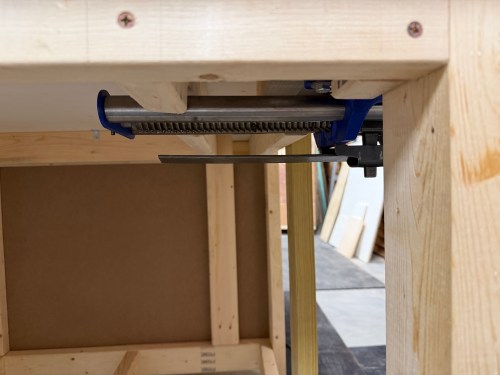
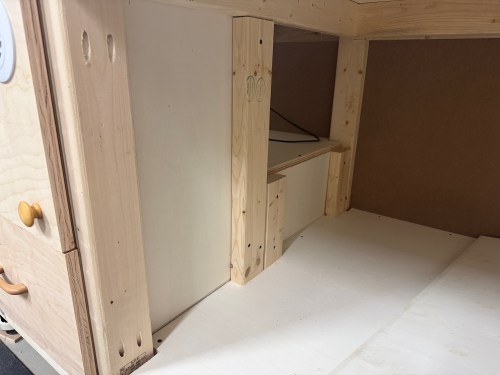
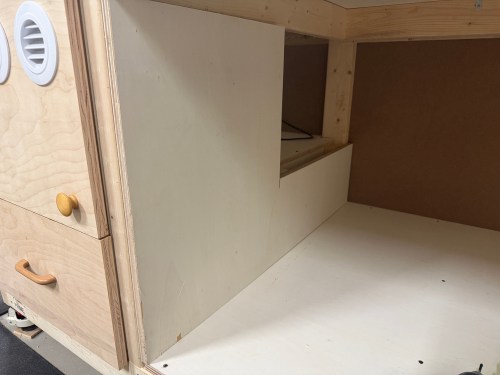
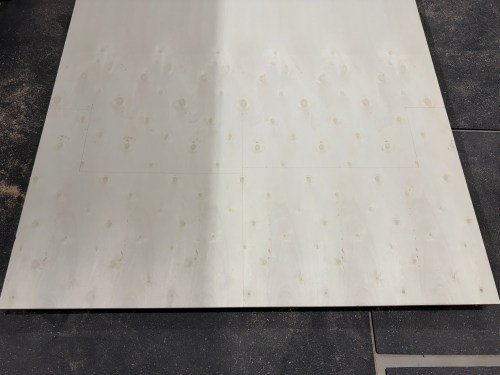
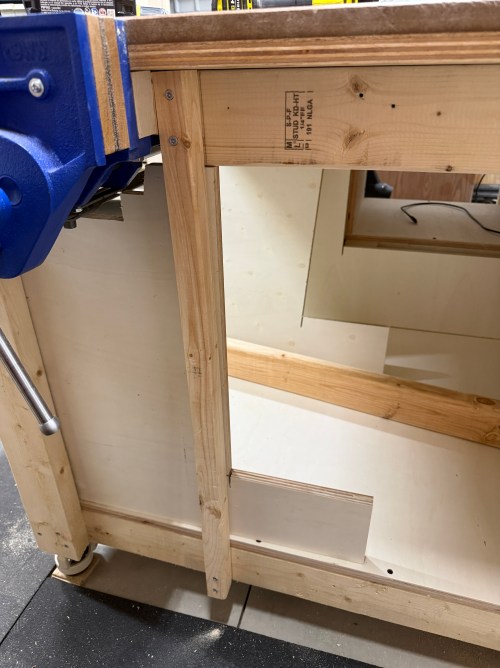
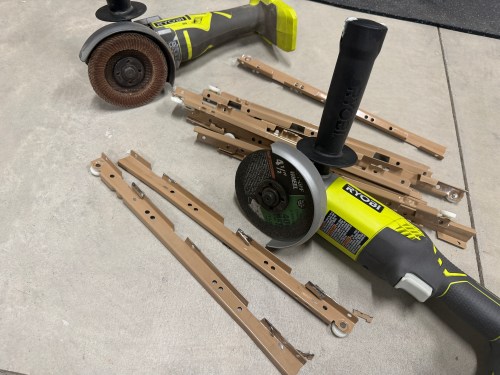
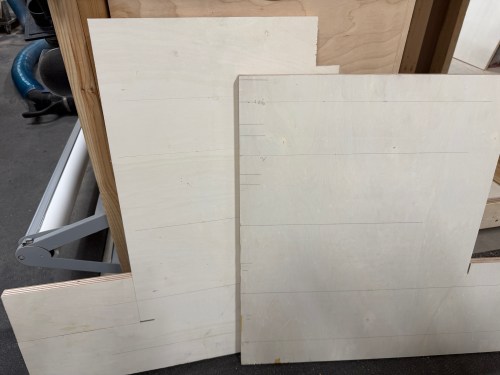
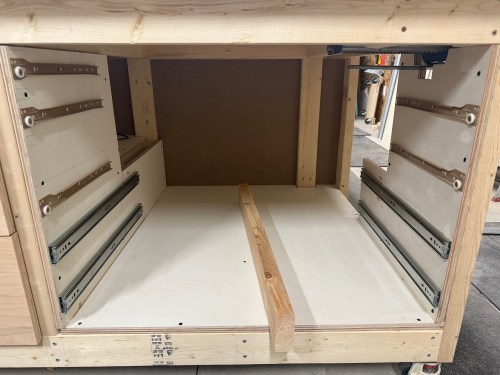
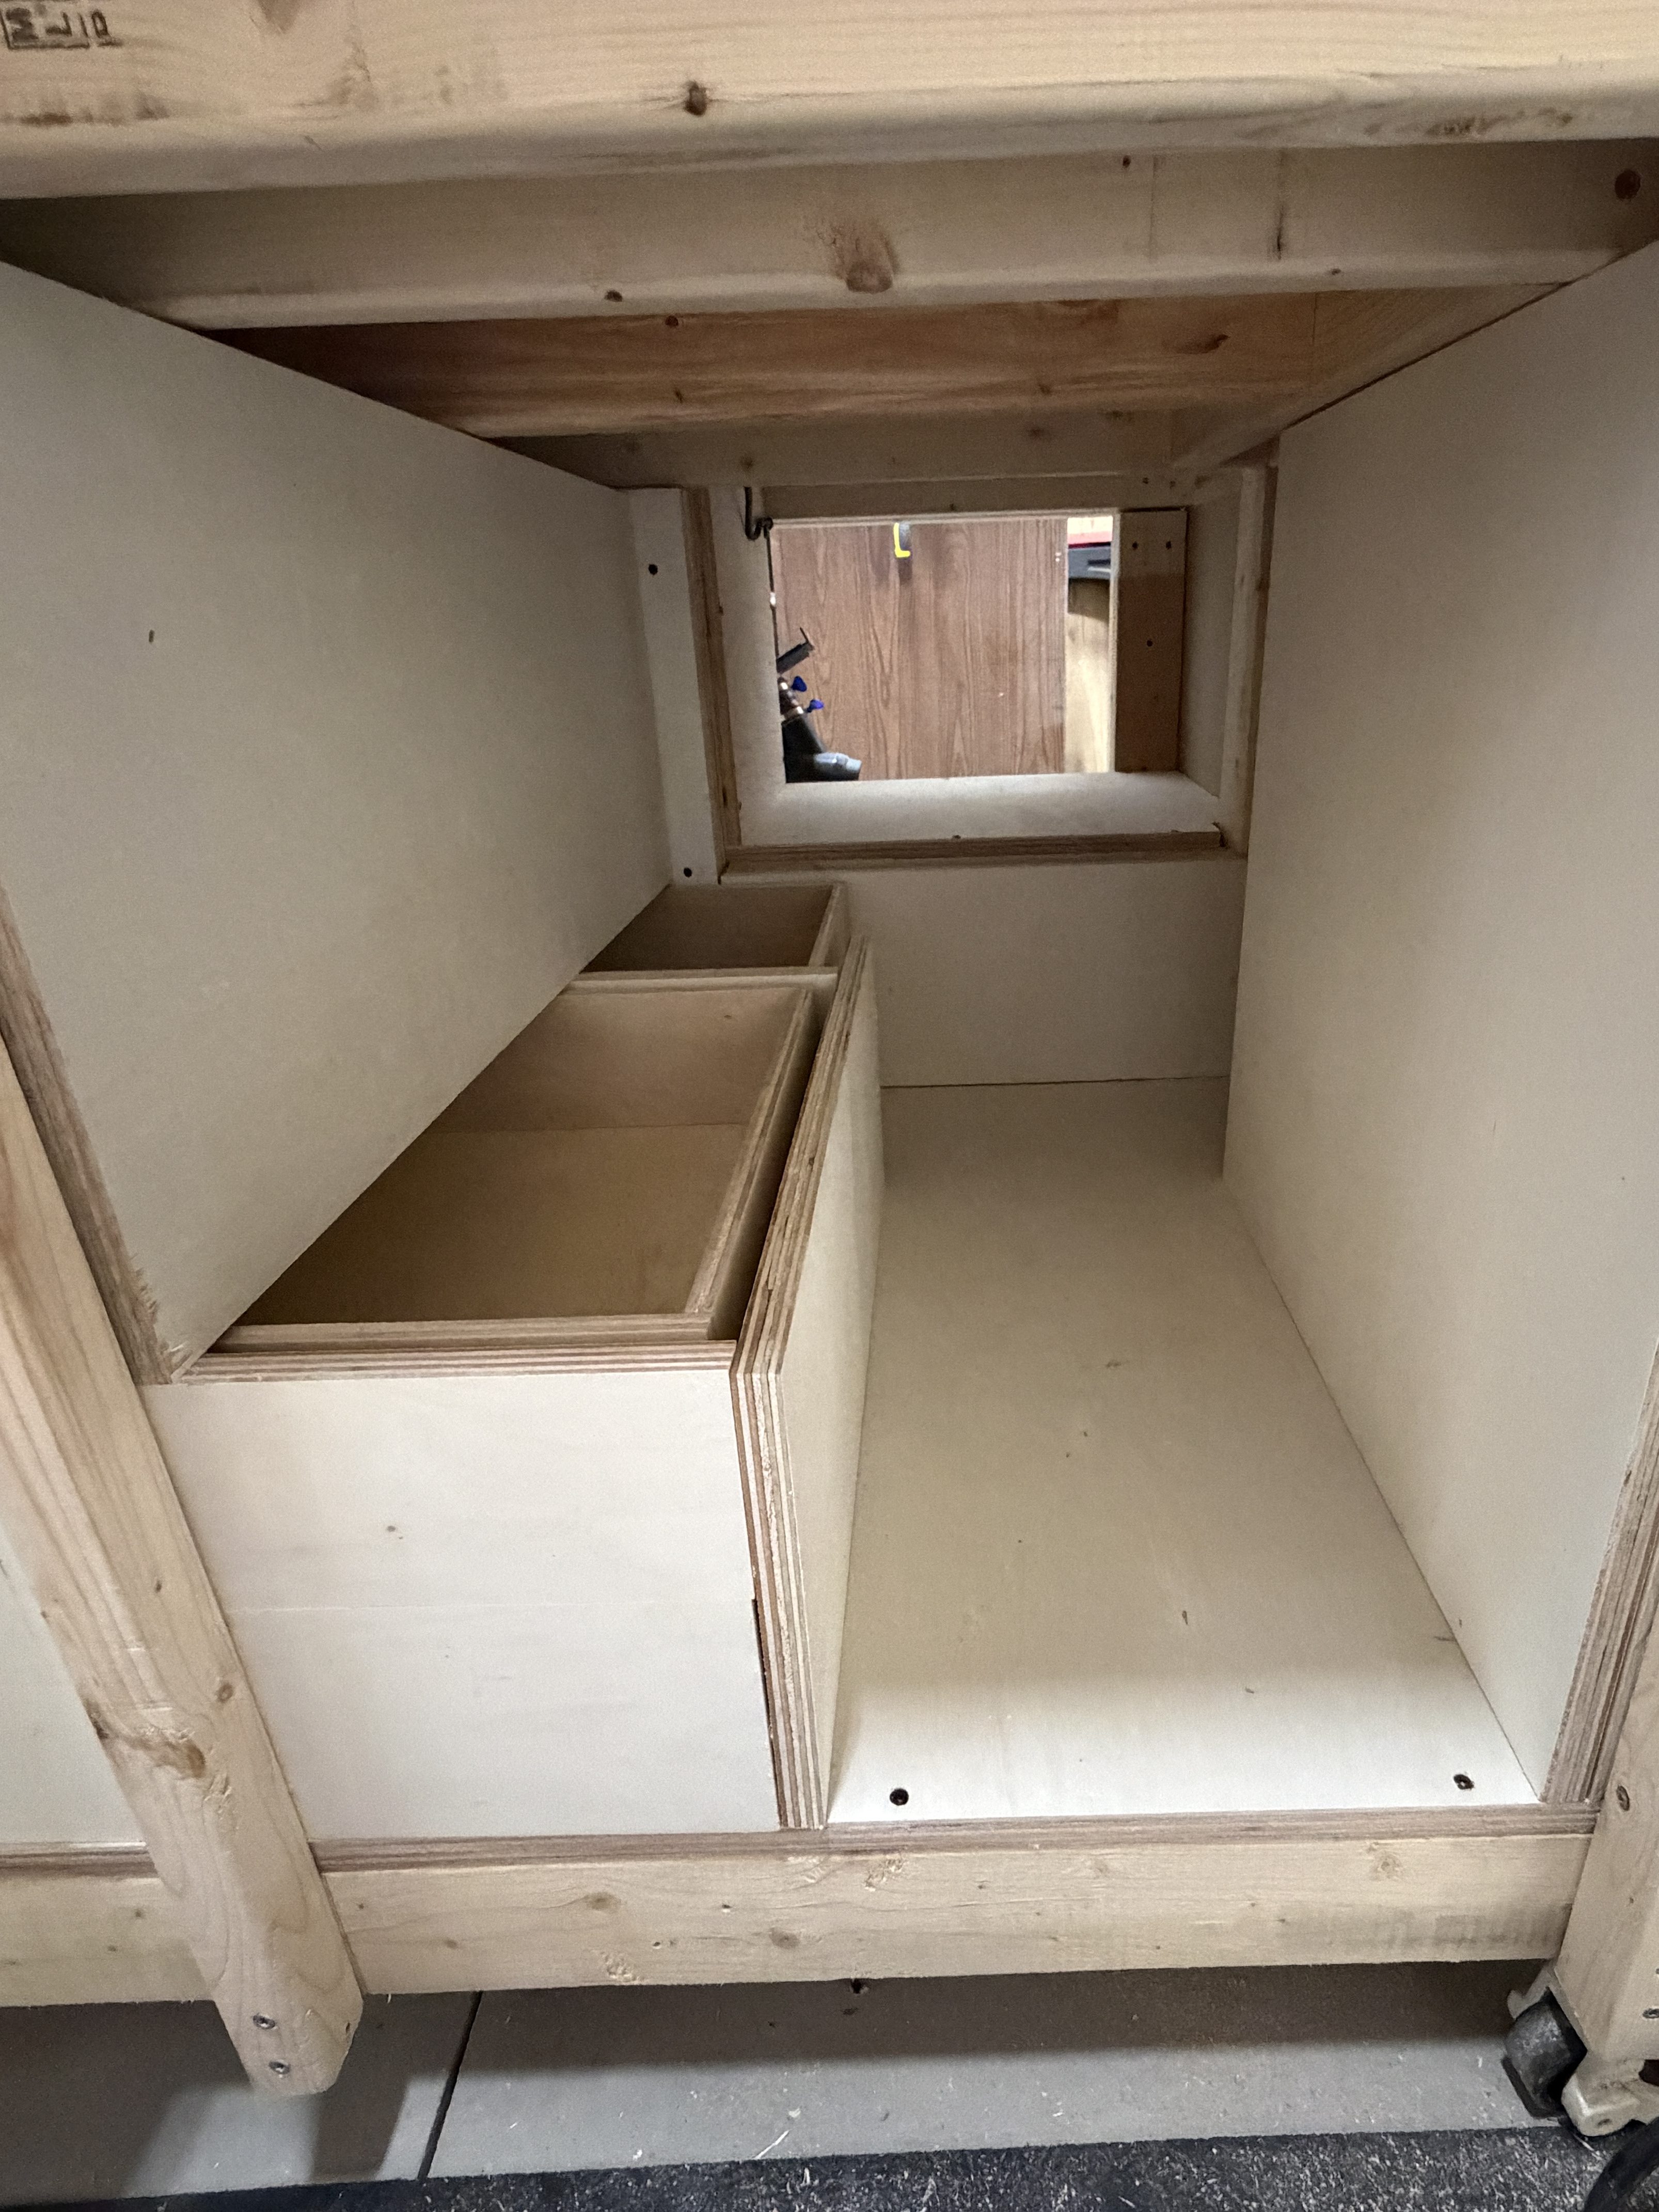
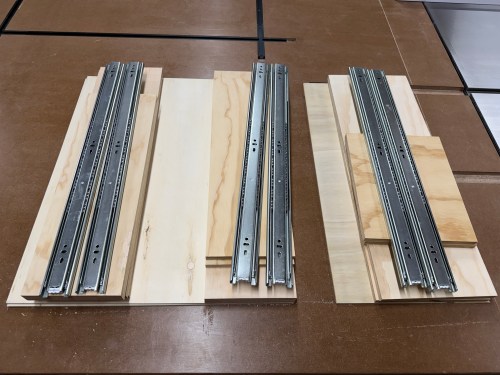
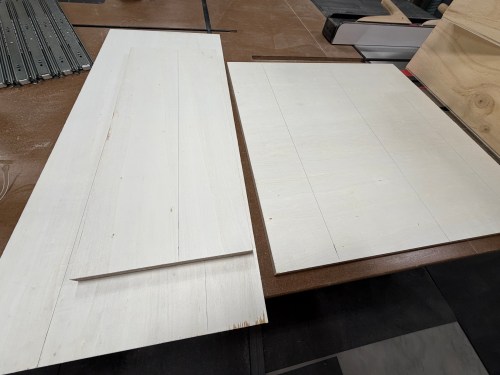
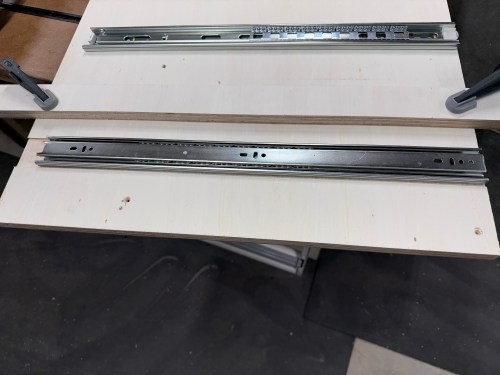
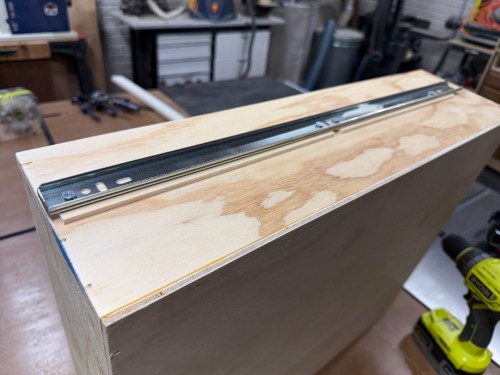
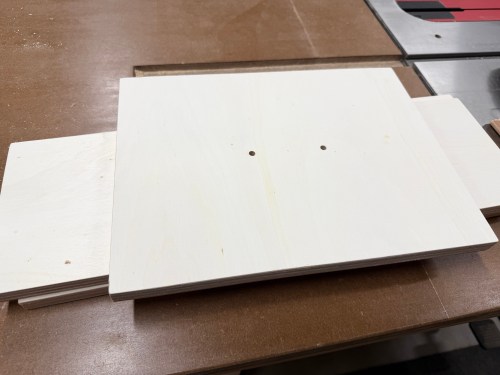
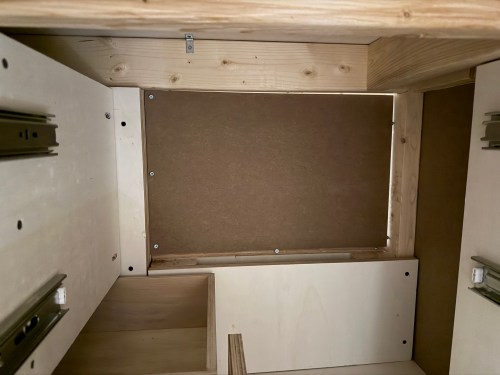
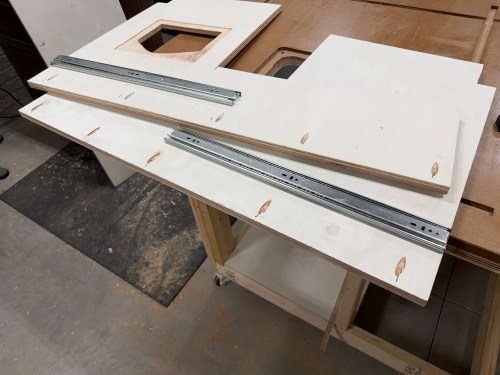
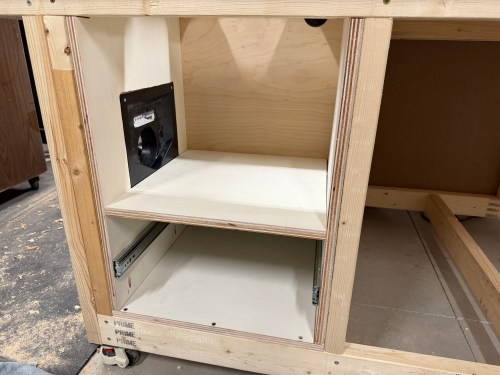
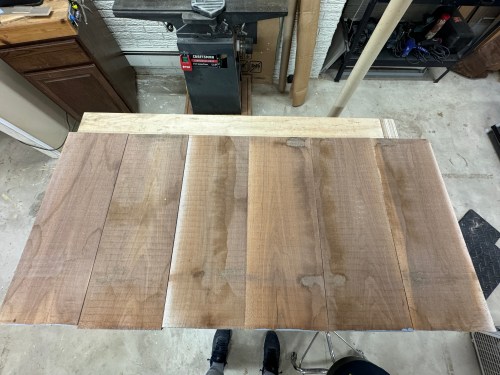
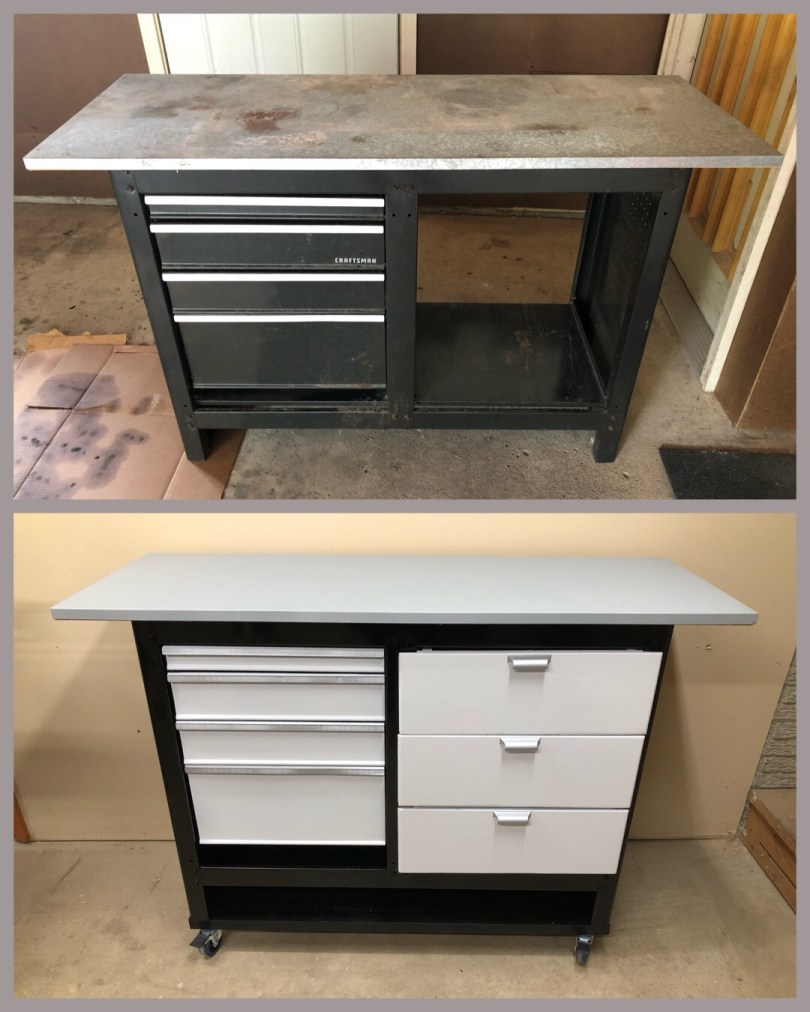
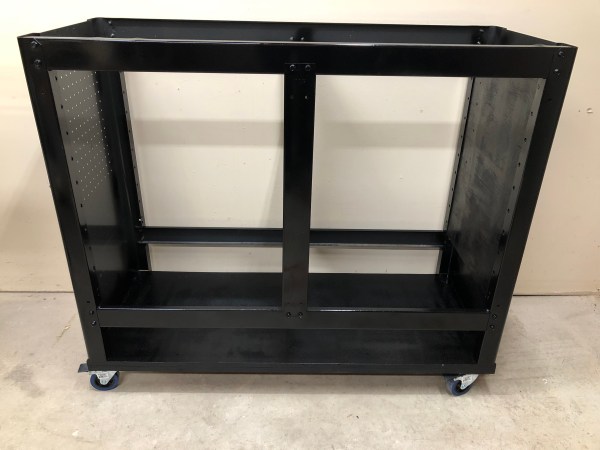
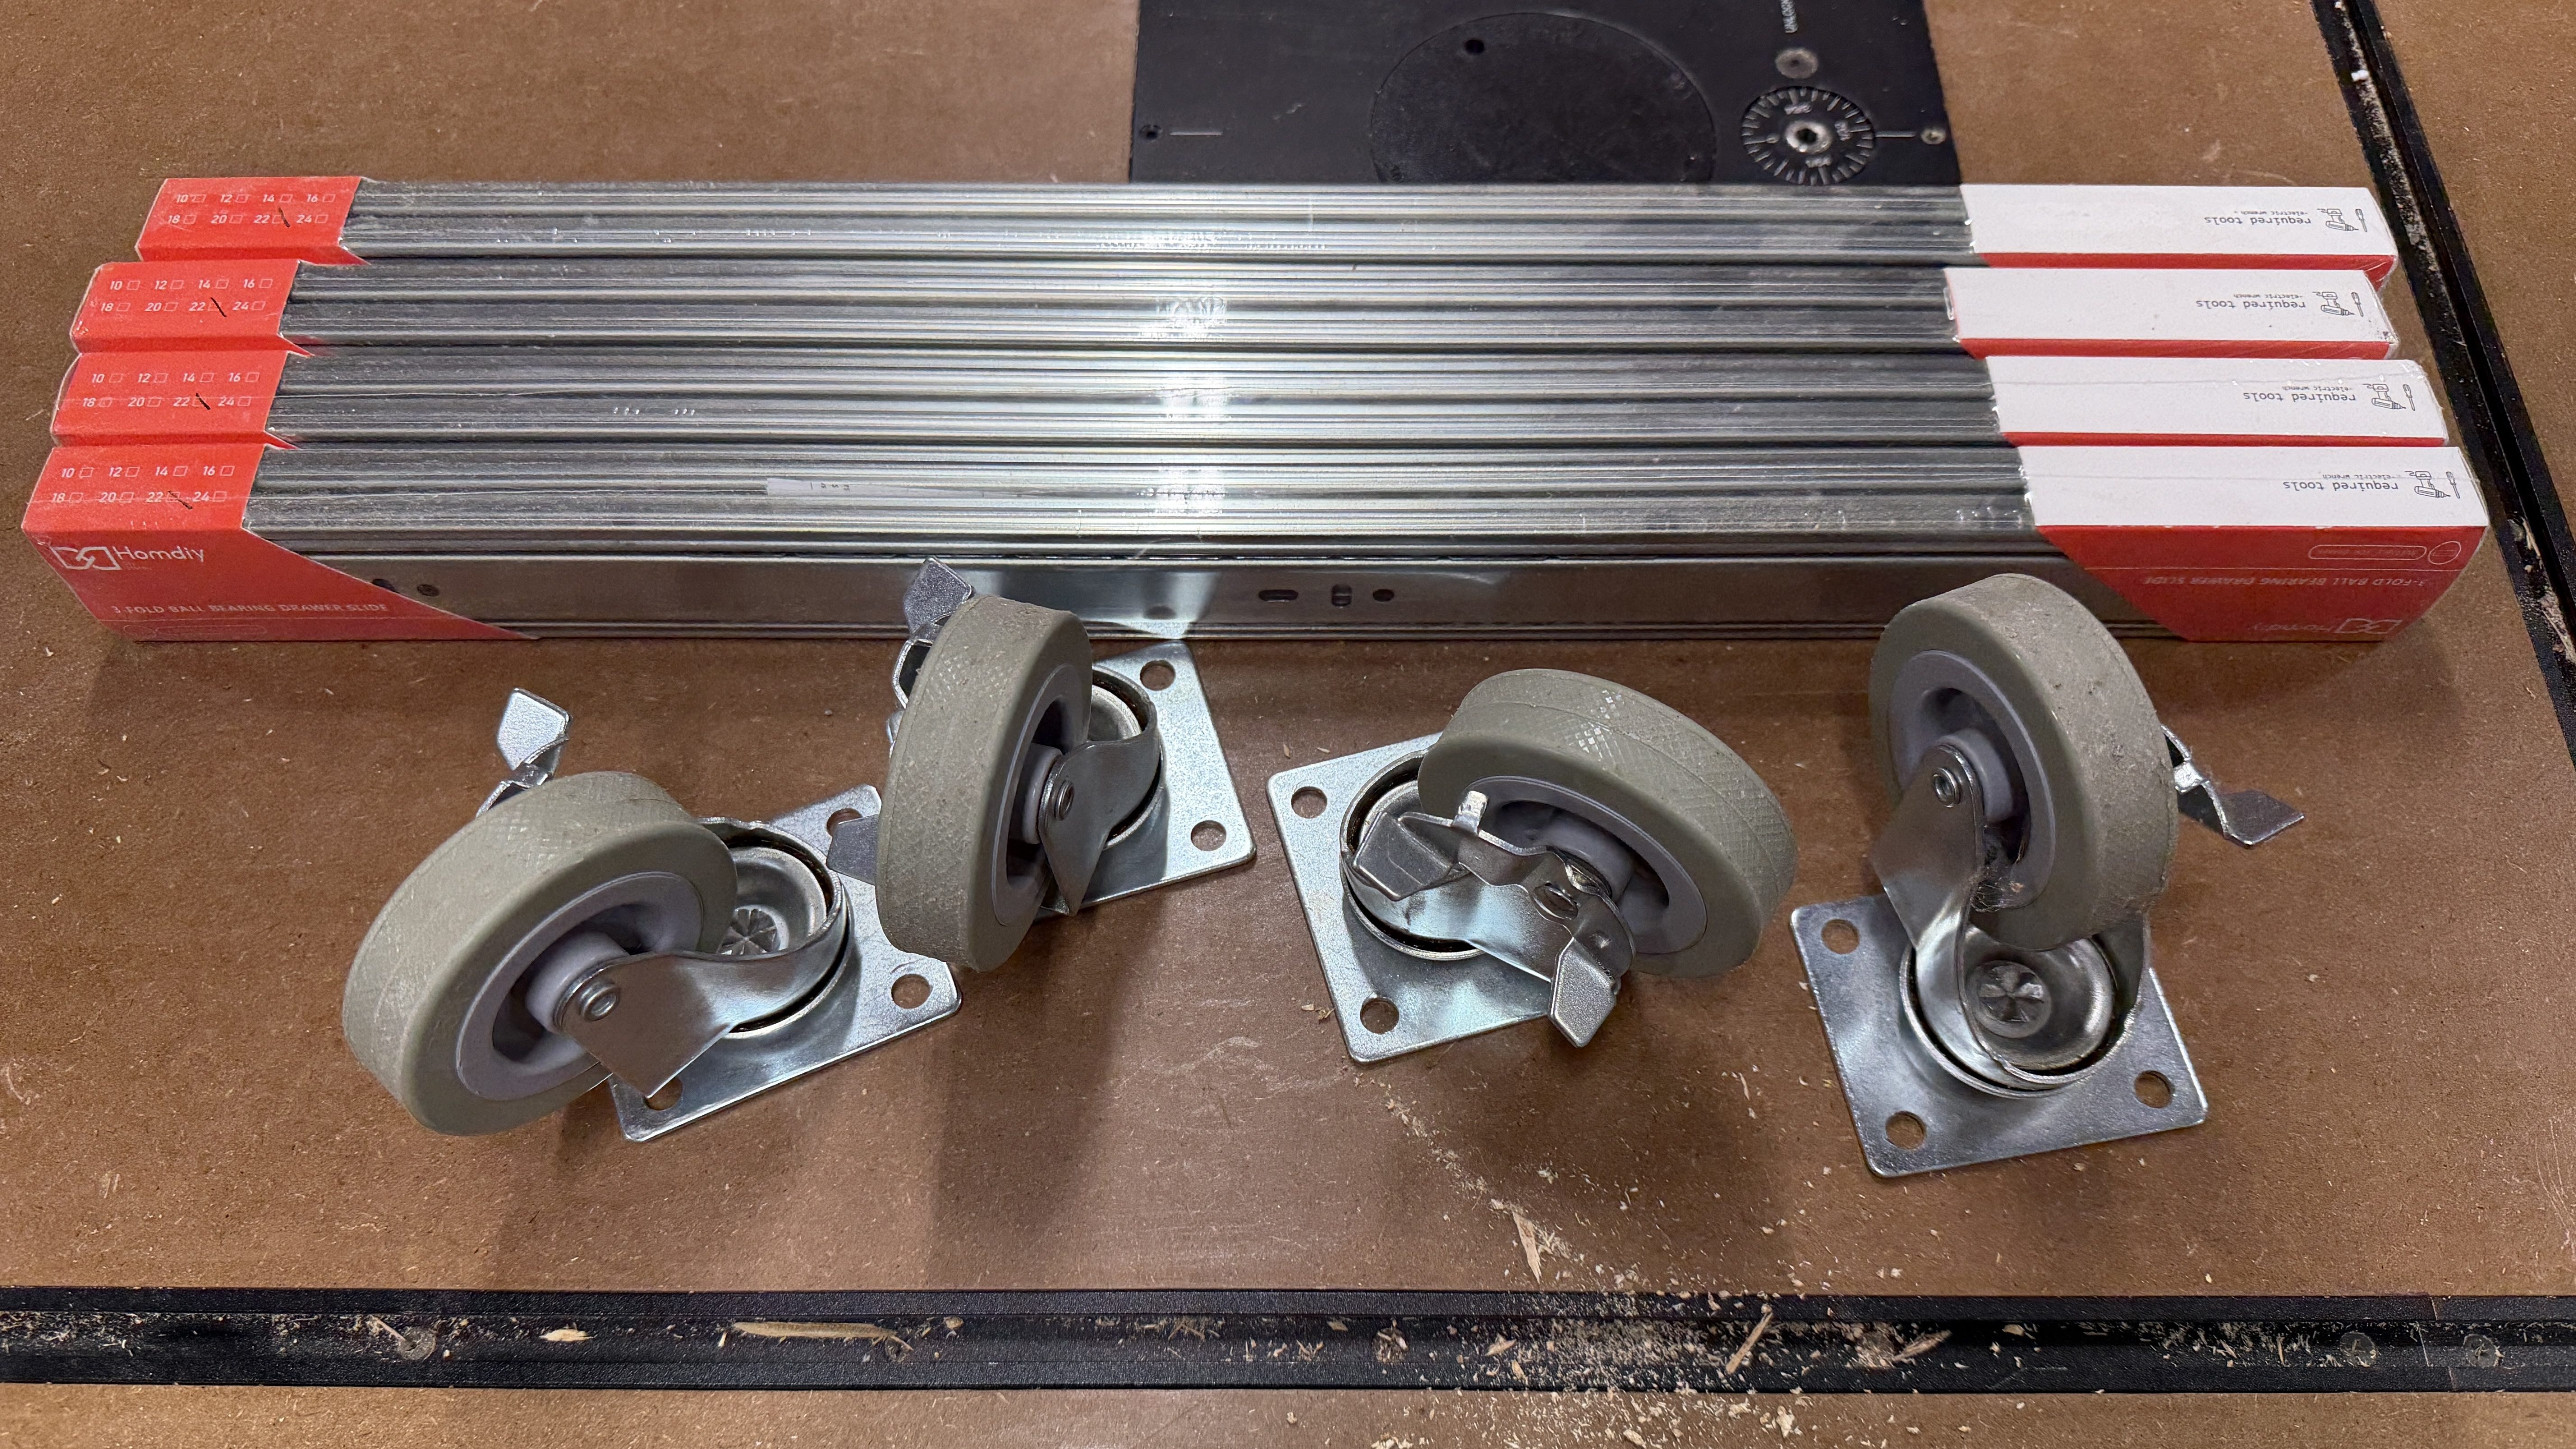
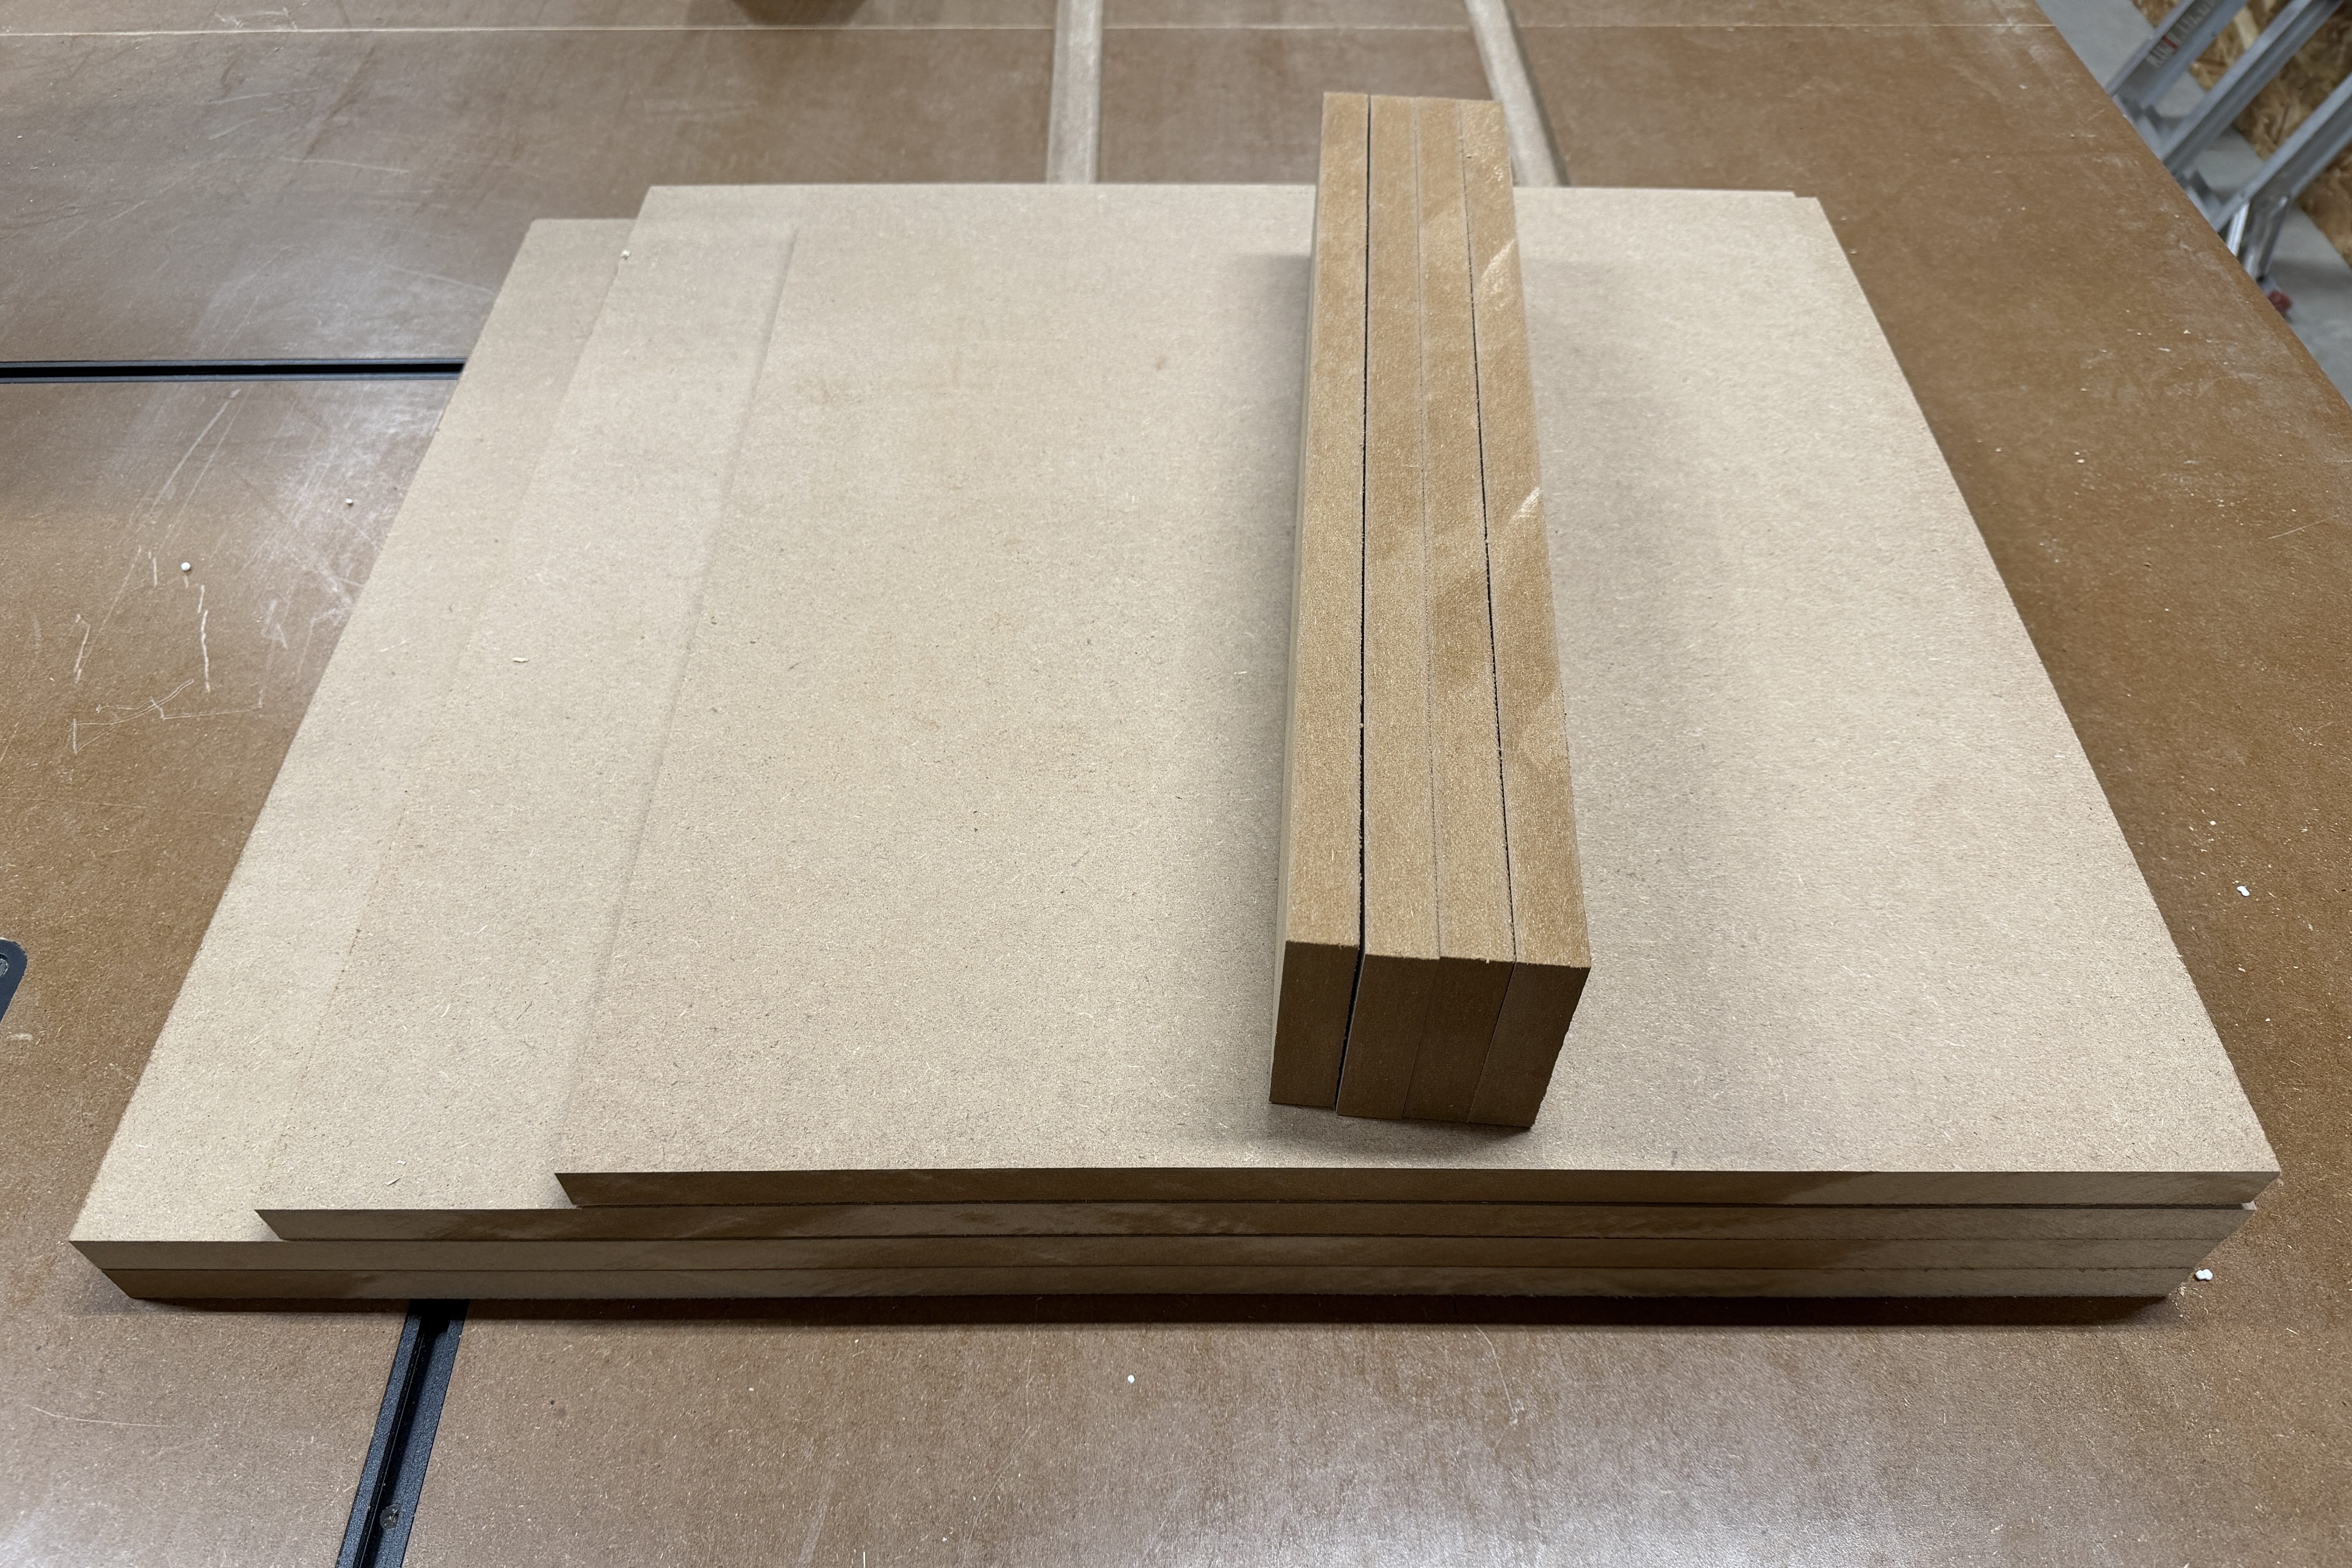
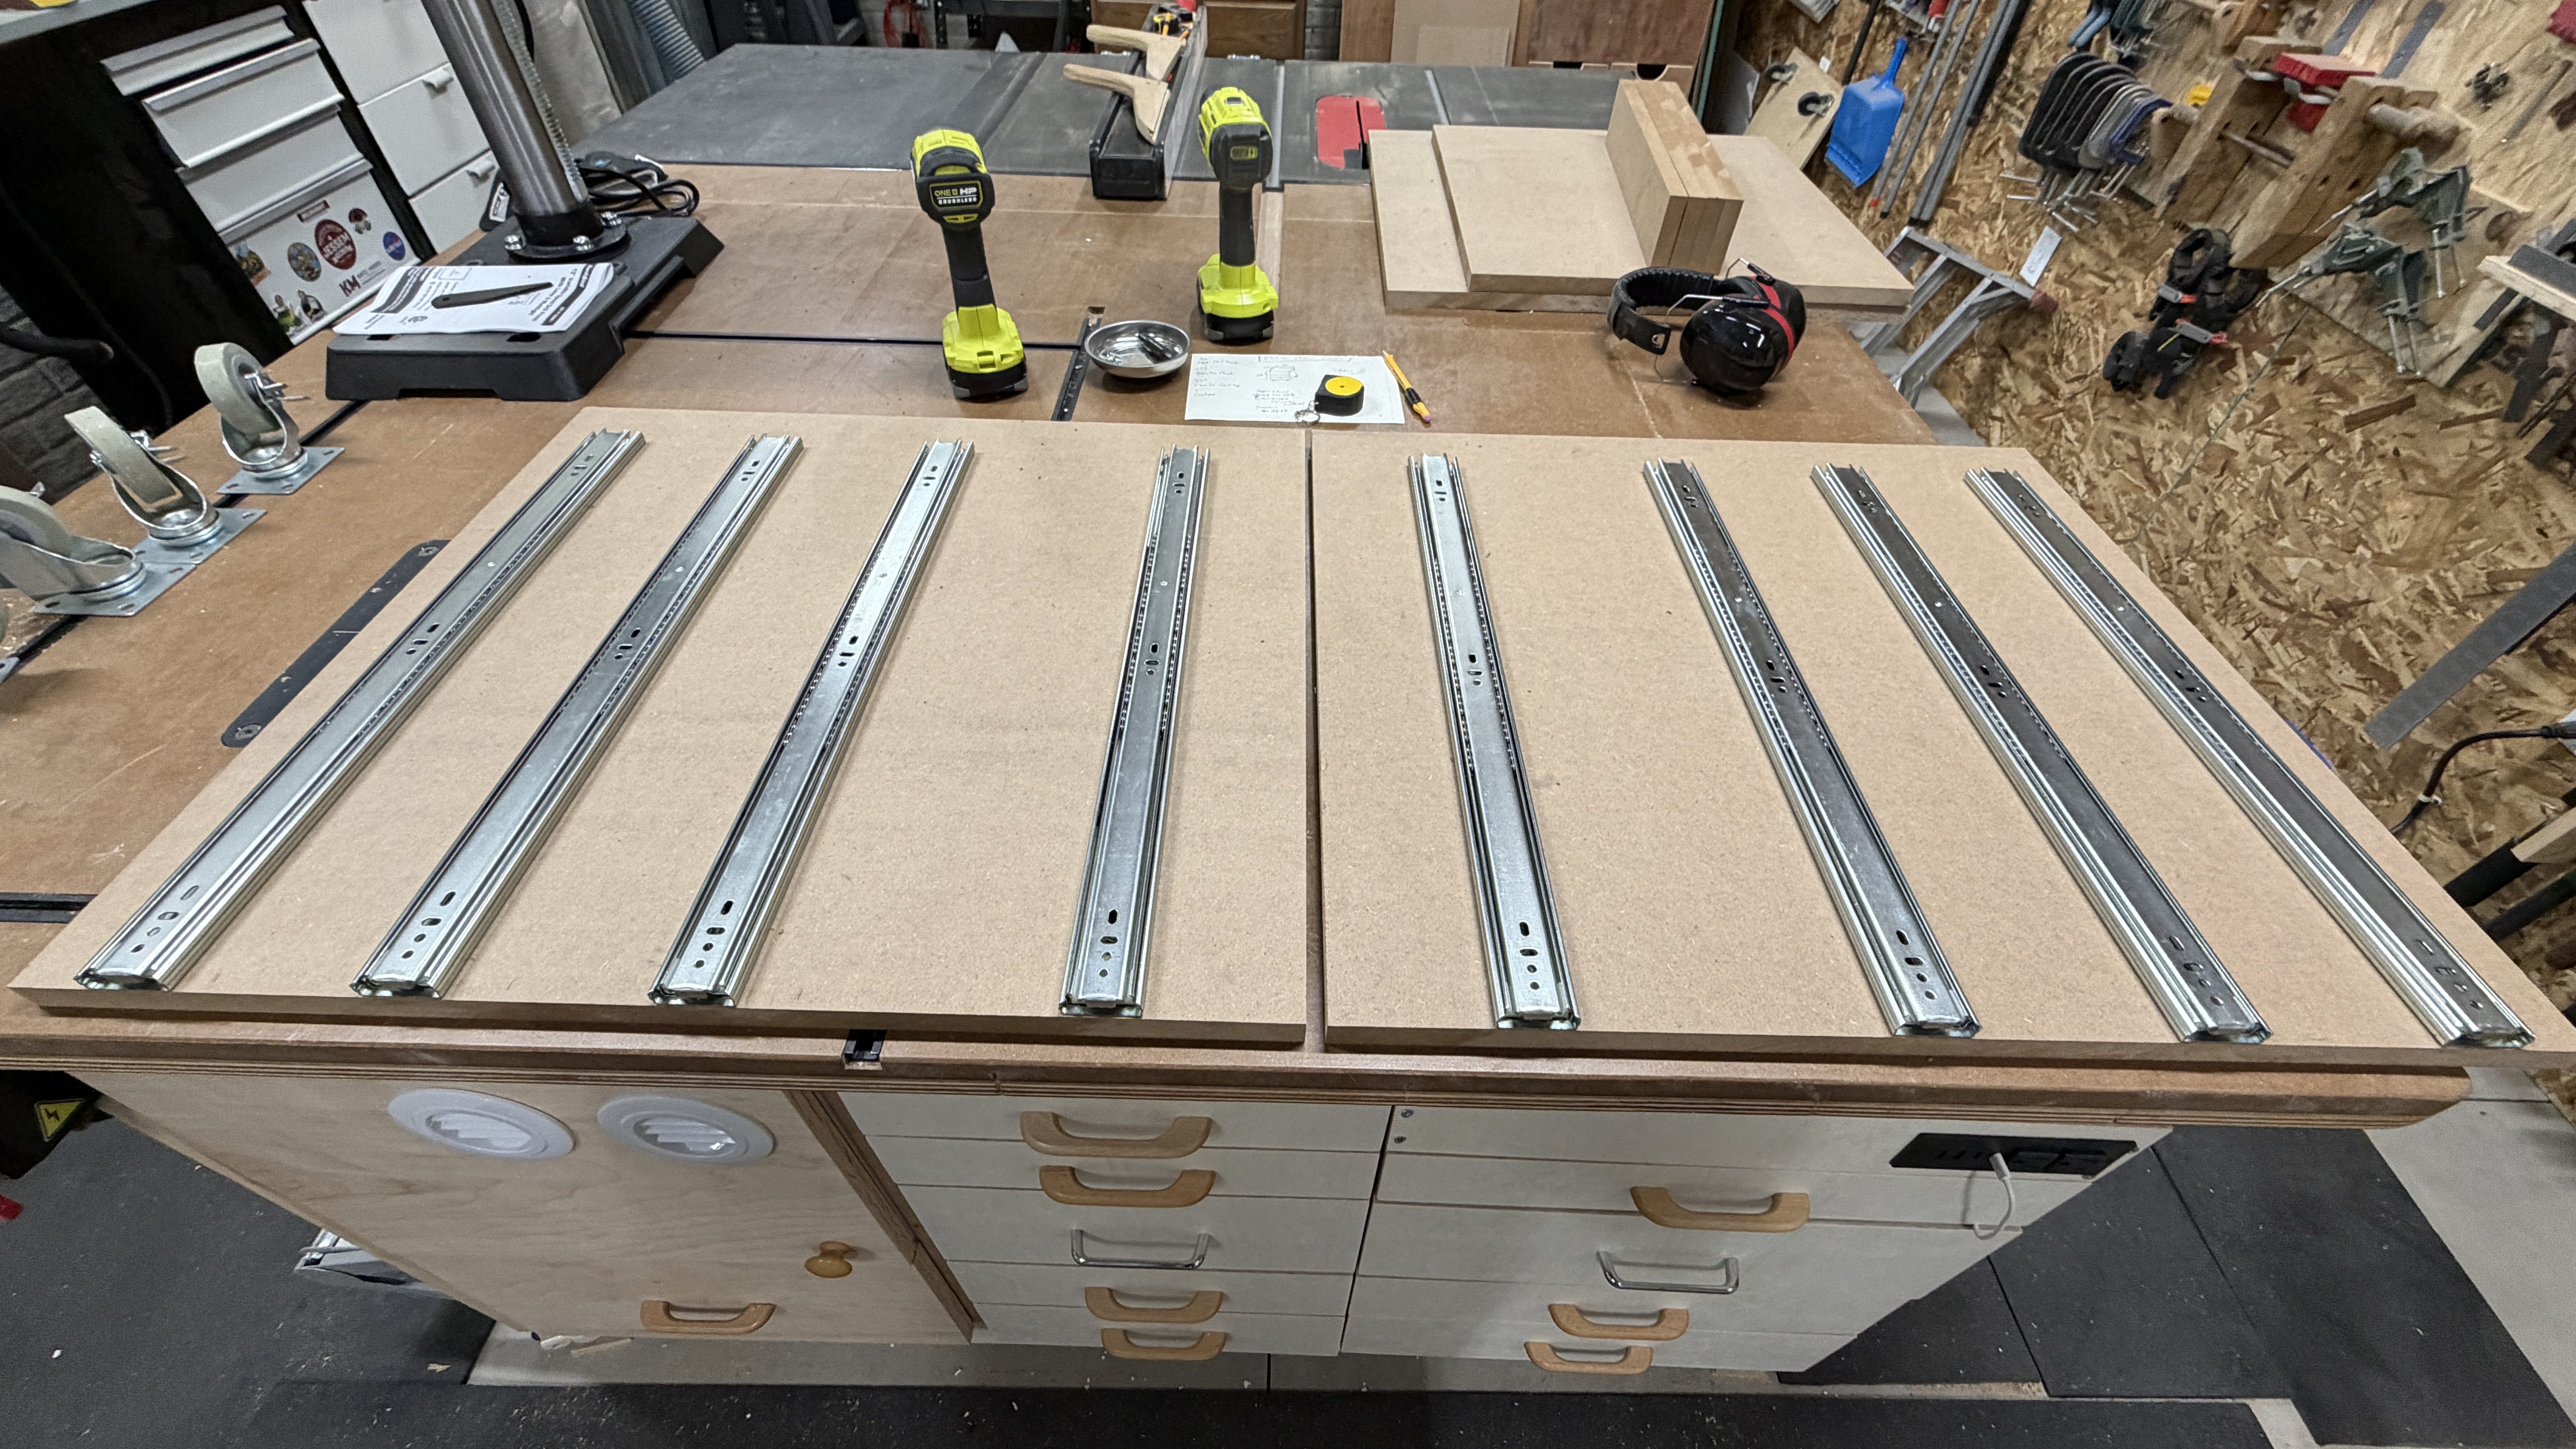
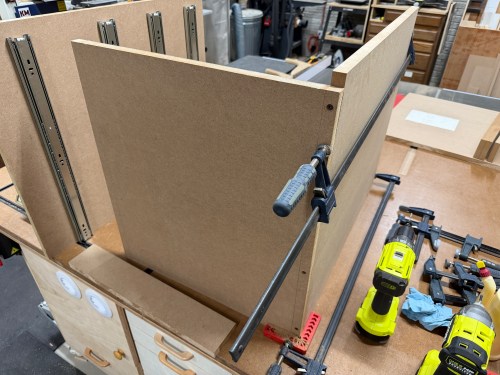
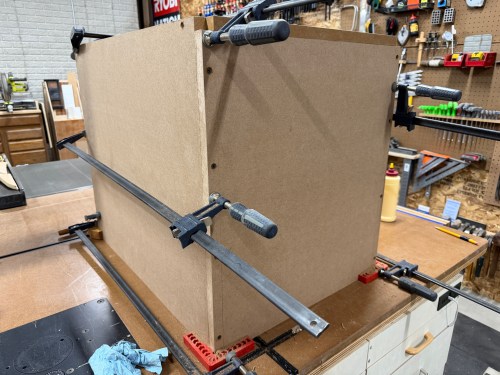
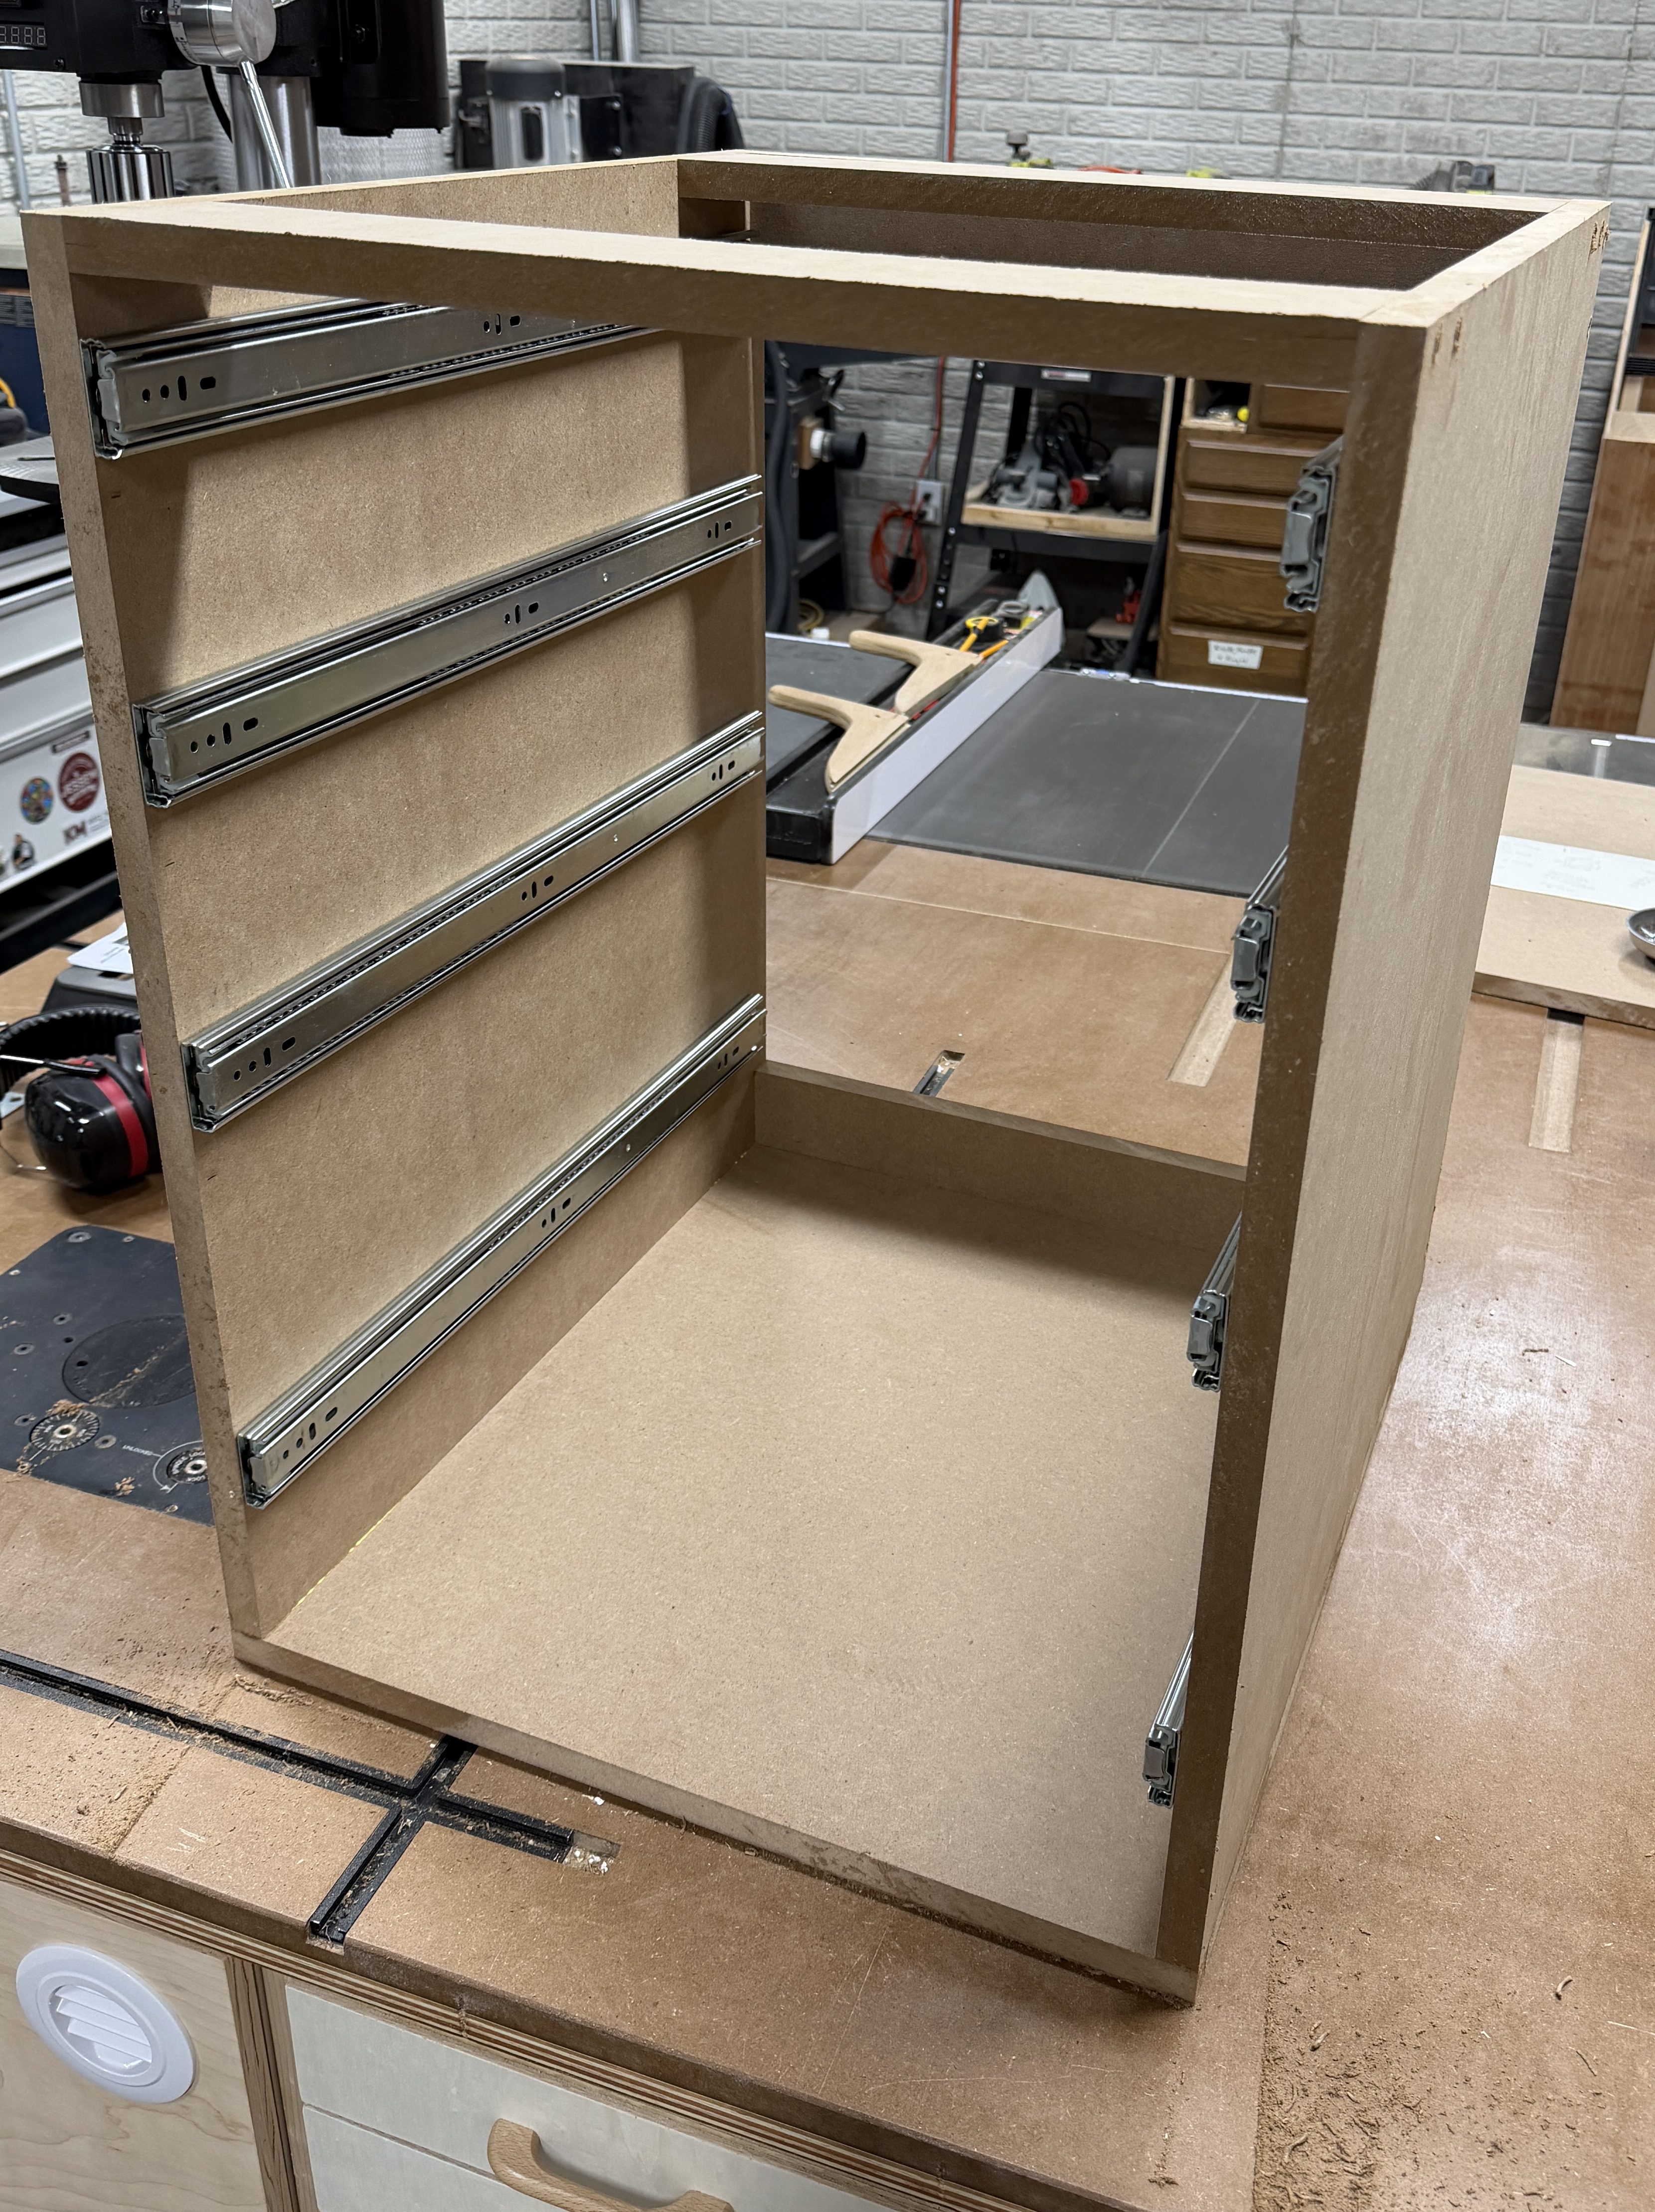
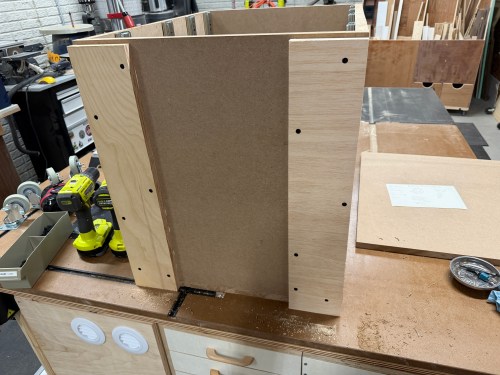
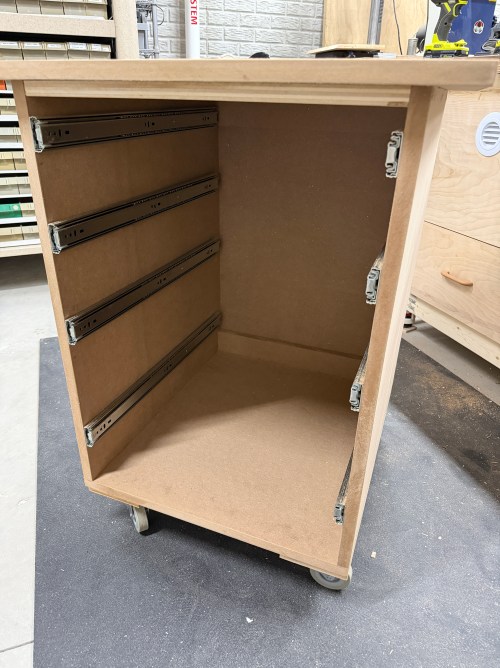
That new cart became a priority, so I determined a much lower height and the dimensions. I got out 4″ castors and 22″ drawer slides. I didn’t have enough 3/4″ plywood, so cut up MDF leftover from the outfeed table. Assembly was quick and attaching the slides to the cabinet before putting it together makes it so much easier.

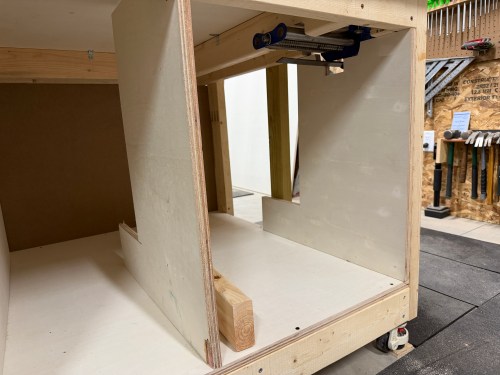
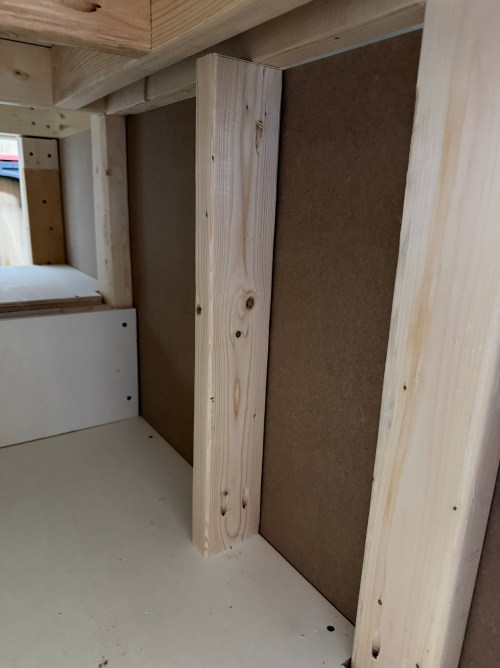
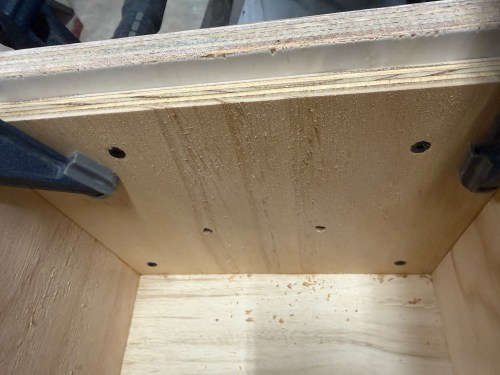
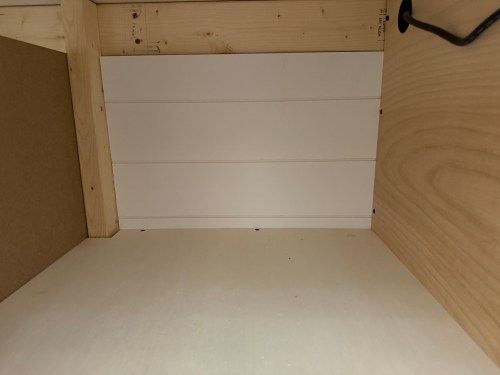
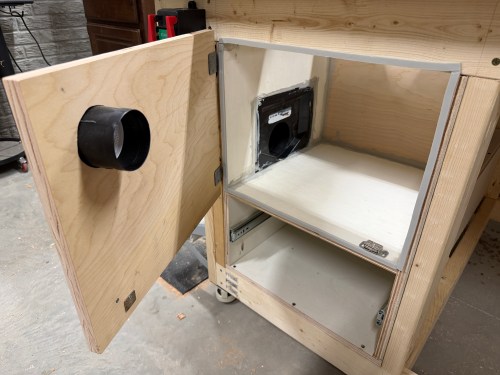
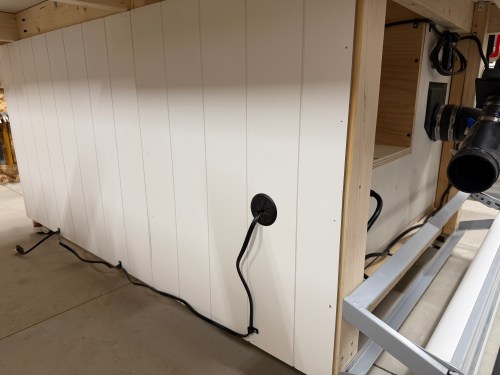
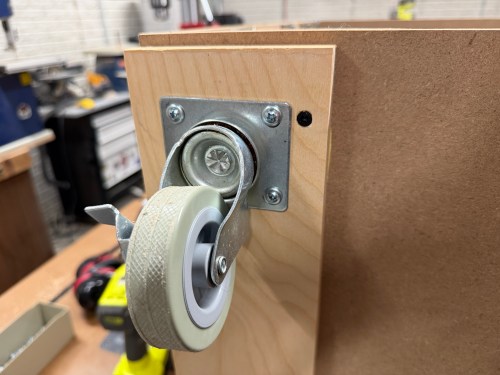
I was worried about the castor screws pulling out of the MDF, so I glued and screwed pieces of 3/4″ plywood to the bottom of the cart and then the castors. I also added more support across the middle of the top, where the bulk of the machine’s weight will be. Then attached the top and a shiplap paneling back.

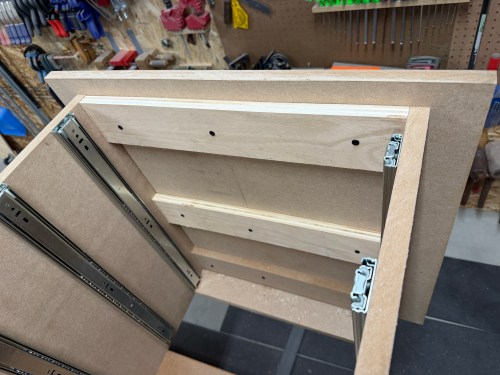
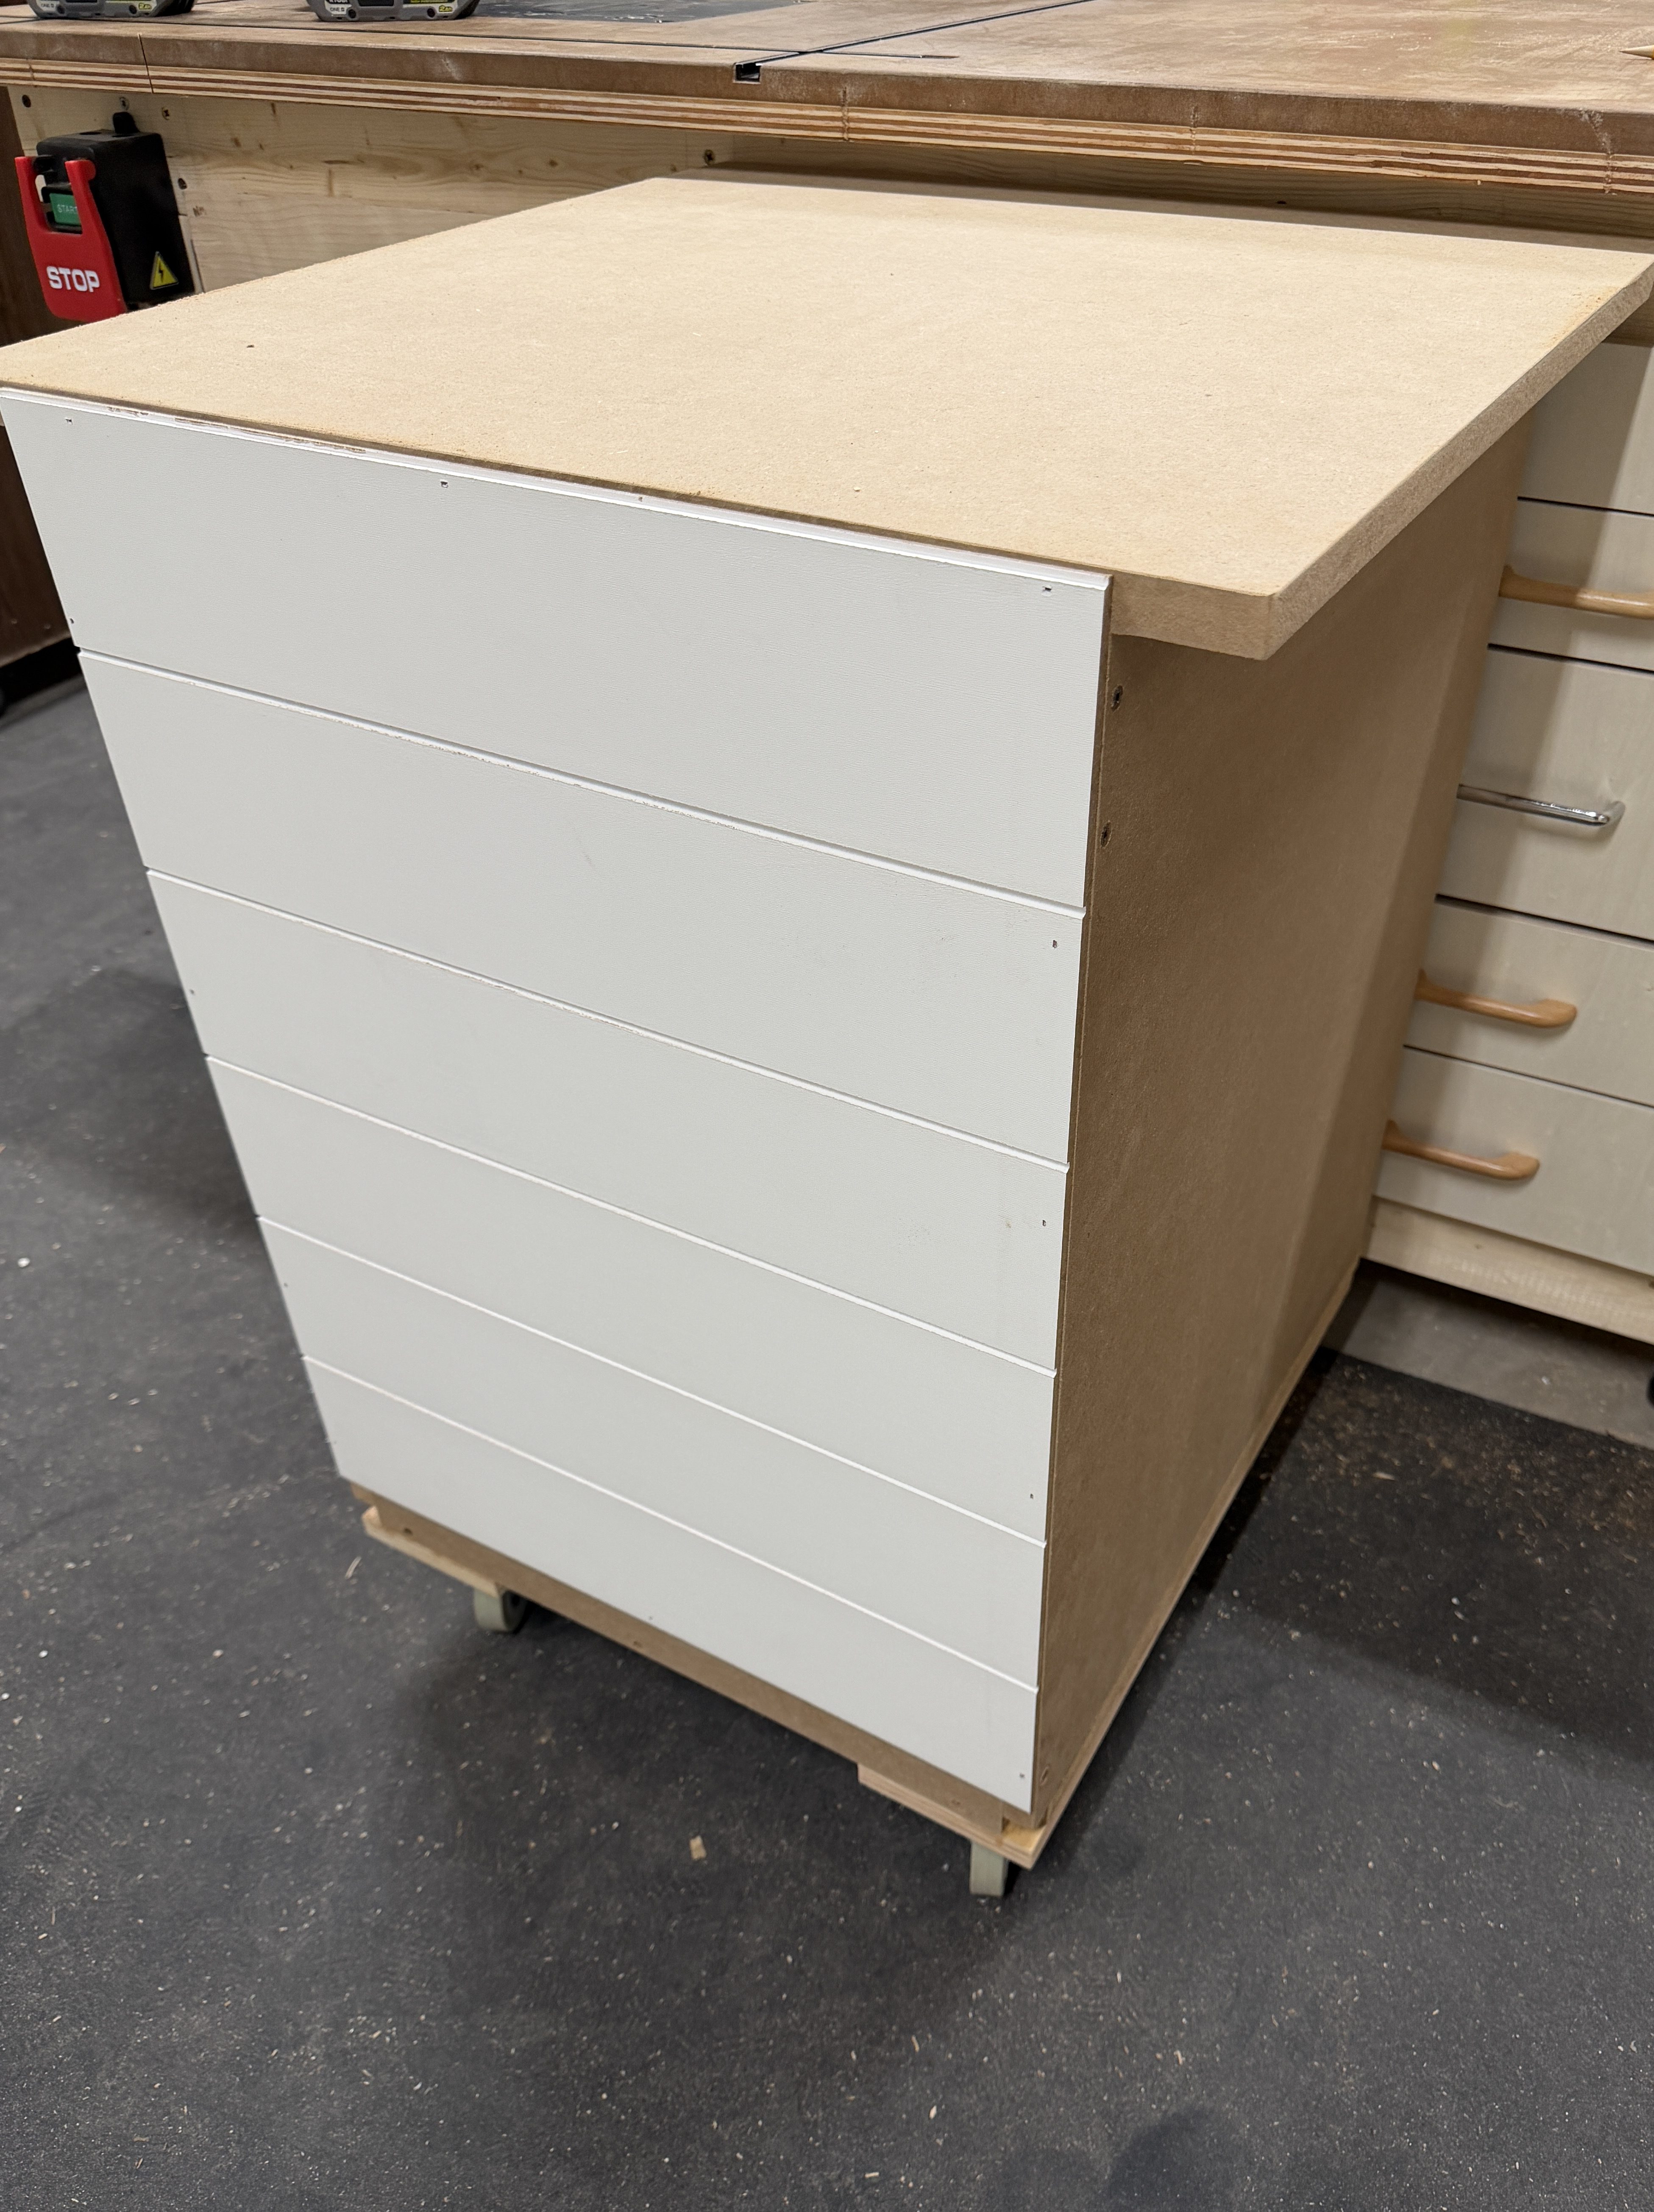
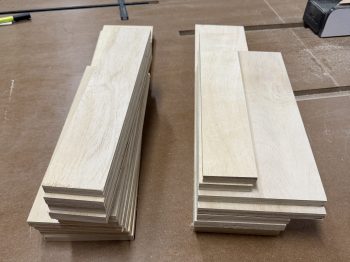
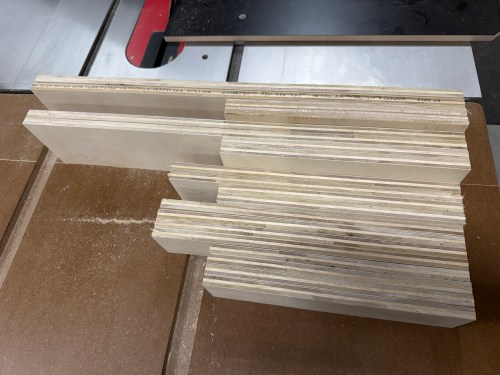
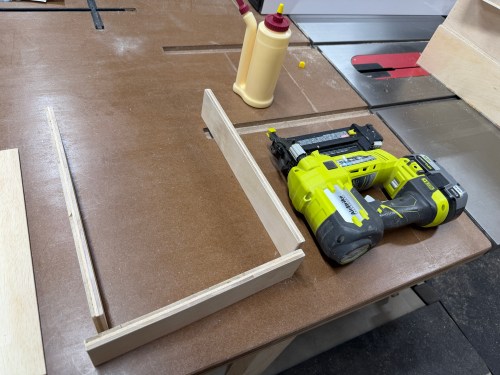
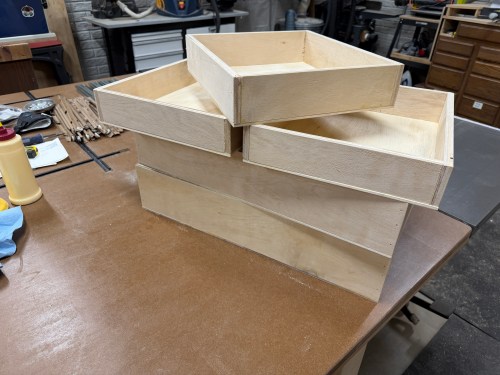
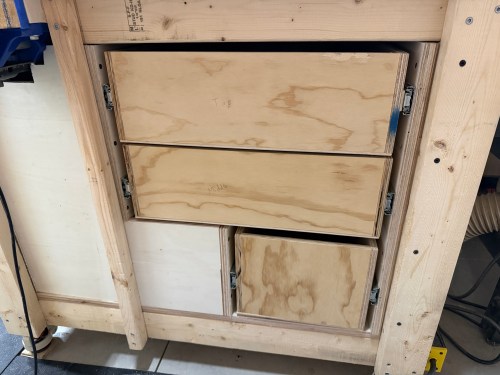
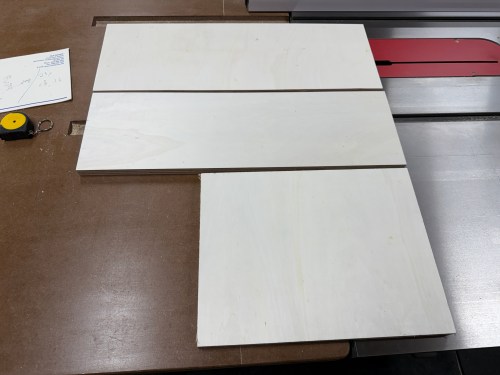
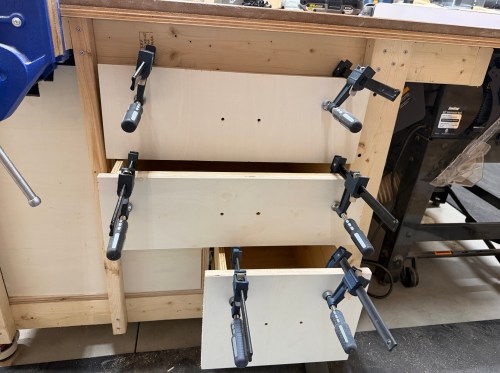
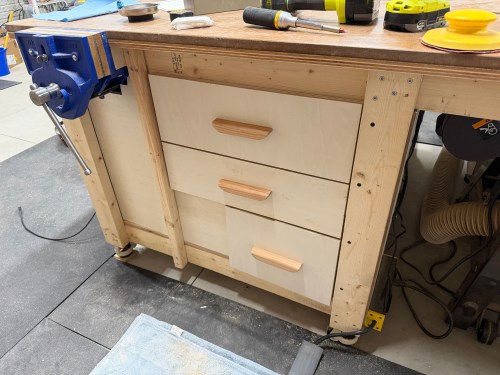
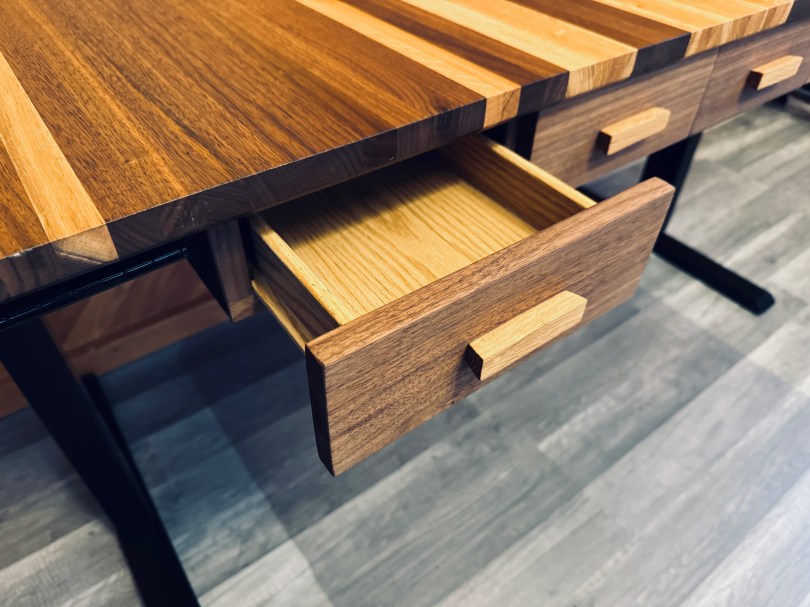
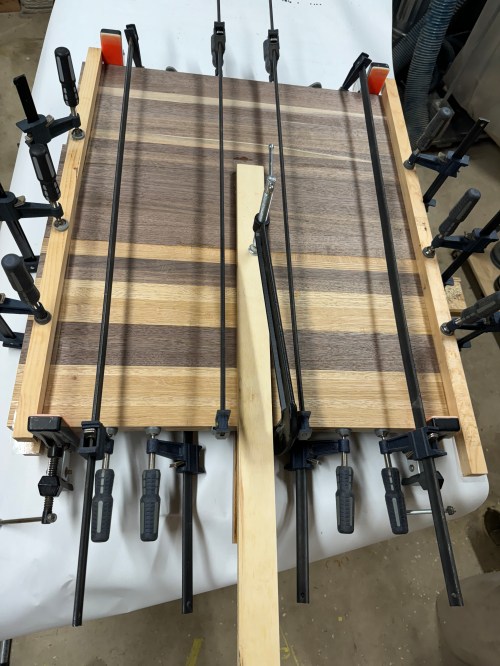
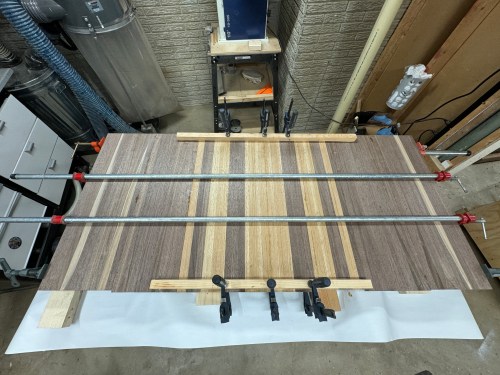
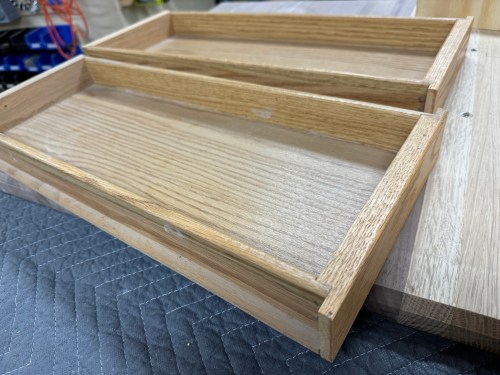
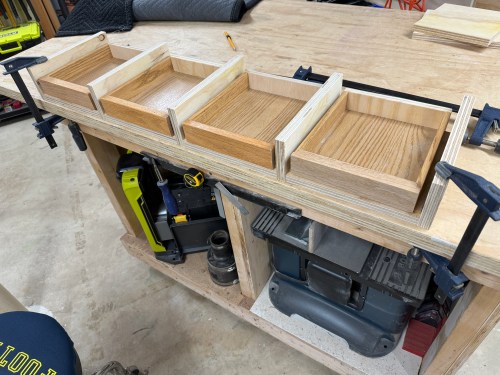
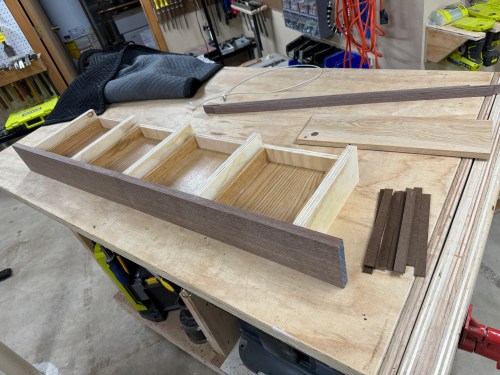
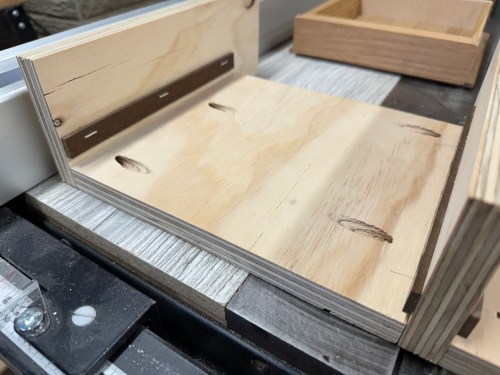
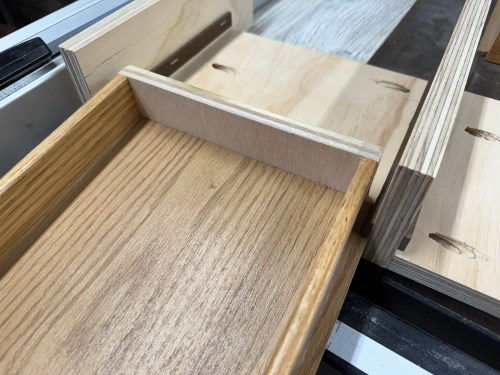
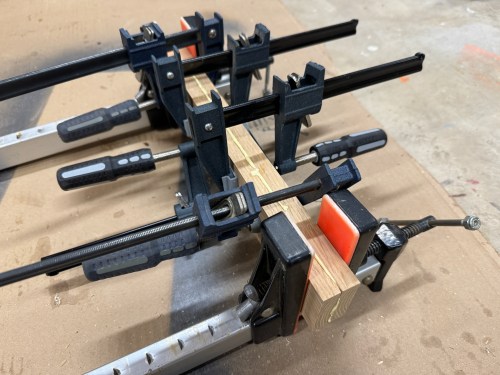
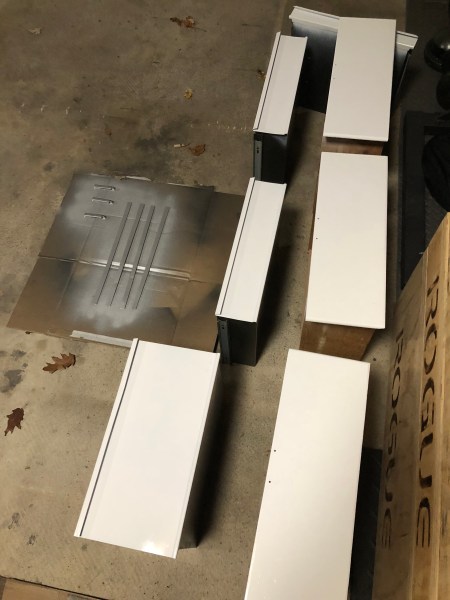
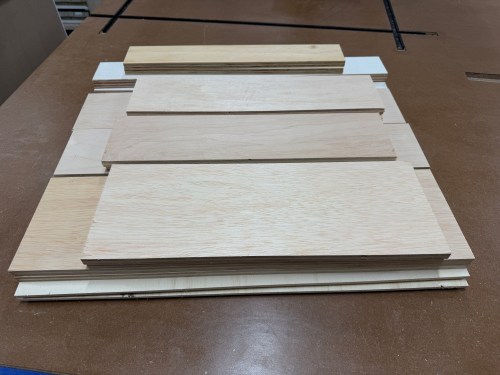
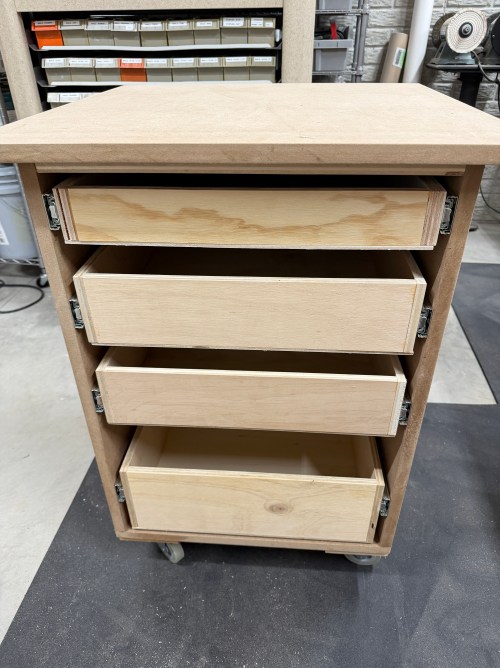
Next, I made four drawers.


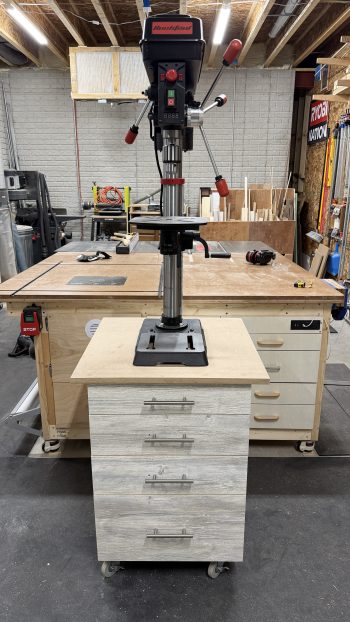
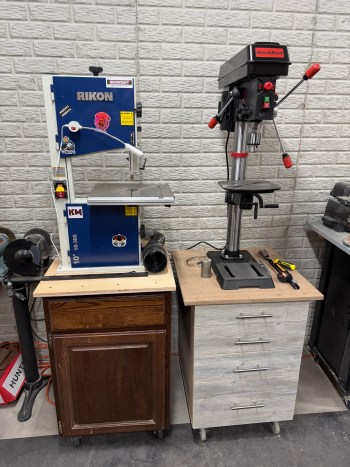
The final step was to mount the drill press. The height of this cart is a huge improvement!
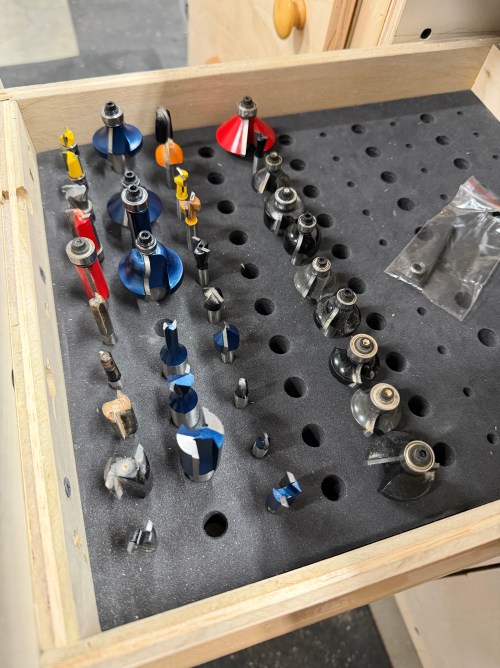
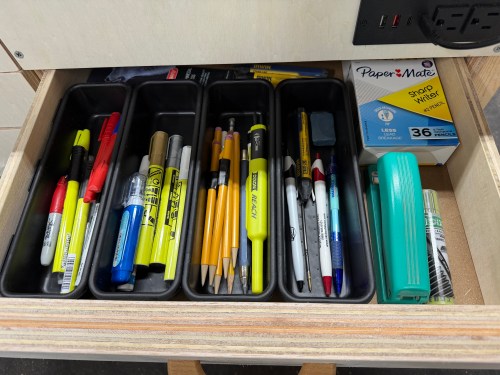
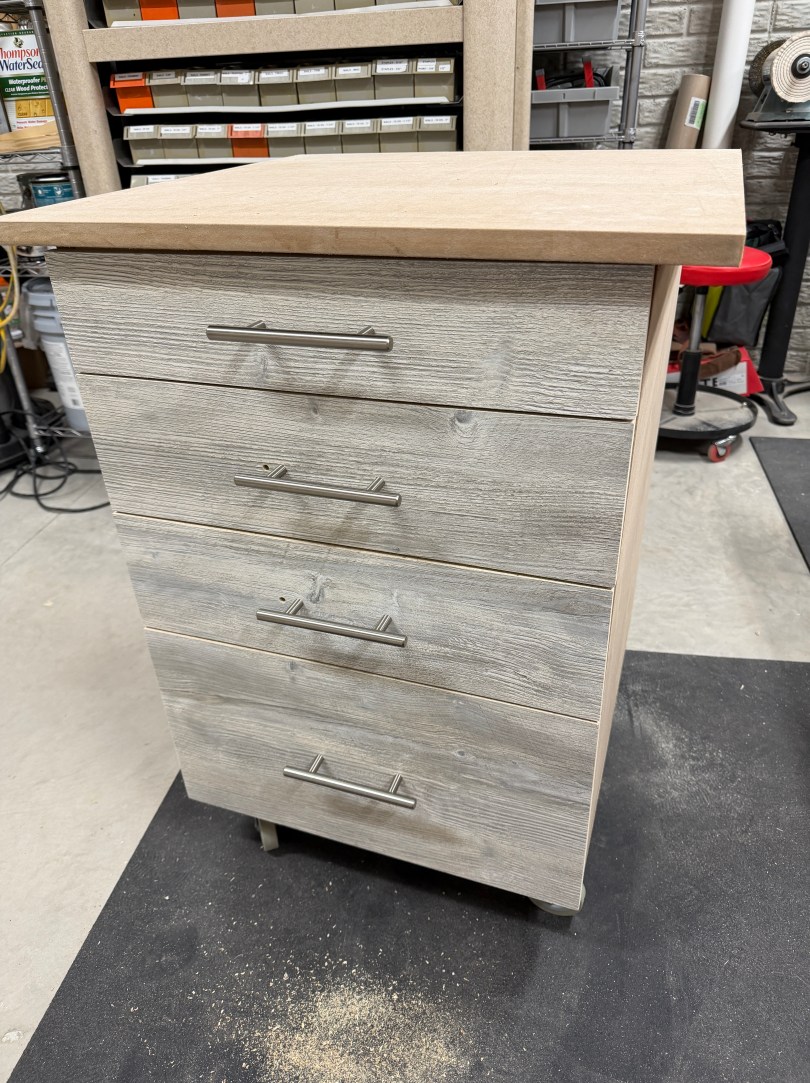
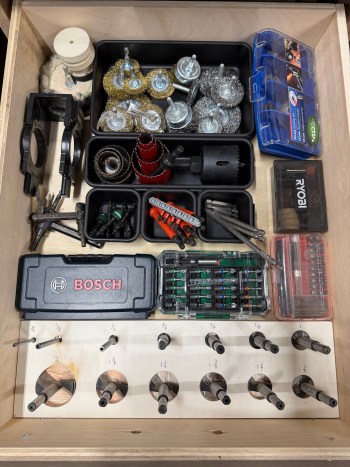
With everything done I organized the drawers and made a custom holder for my Forstner bits. I think I’ll eventually make a something for all the drill bits and everything that goes with the rotary tool.


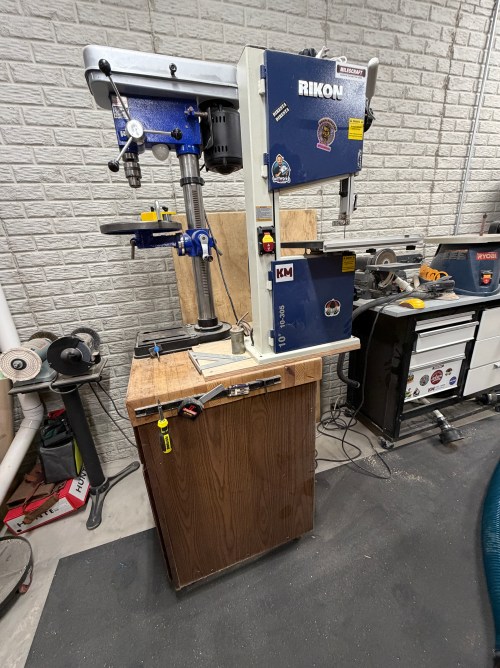
Now the bandsaw could live by itself on the old cart. I removed the butcher block and replaced it with 3/4″ plywood to lower it as well. There isn’t much to go with it, so I was able to store other various plastic and metal materials in the cabinet. Those were the last boxes to unpack after the move!

Stay tuned for other cool drill press upgrades. Ideas are baking and parts have been ordered.