Decorative Ladder with Shelves for Rungs

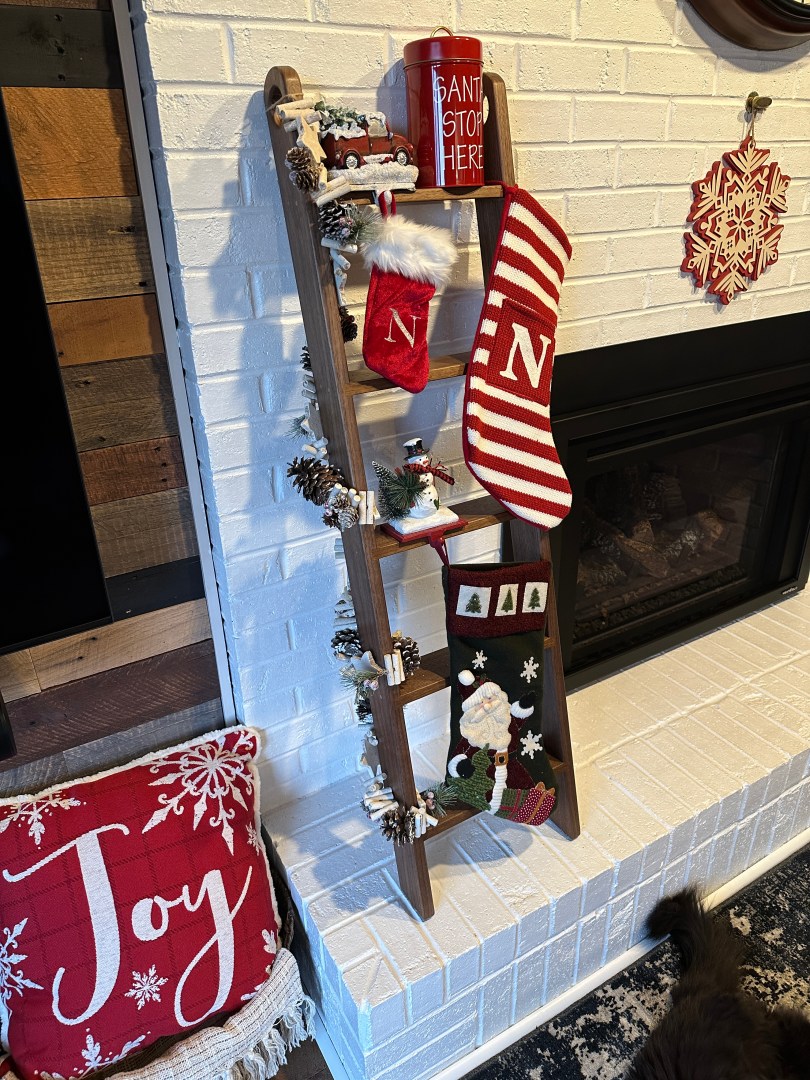
Several years ago I thought about making a ladder to hang blankets on next to the fireplace. Then last month Brandi asked if I would make a ladder she could also hang our Christmas stockings on. I’ve had some black walnut on my lumber rack for a couple of years and this seemed like a perfect project to use some. I hadn’t done much woodworking this year, so it was also a great project to over-engineer the design and try some new things. Here are some pictures taking during the build.

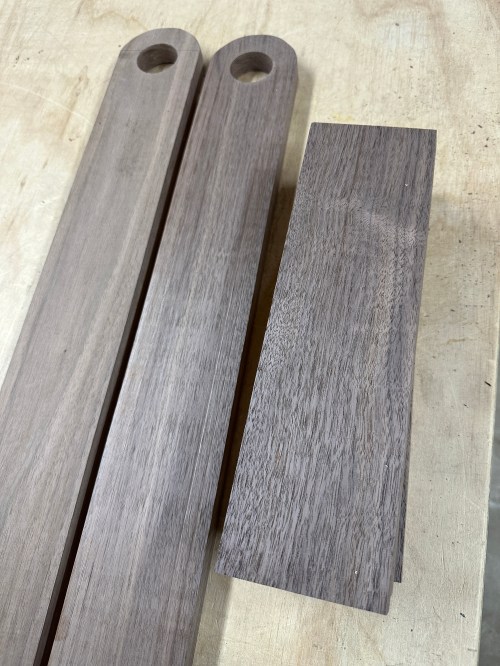
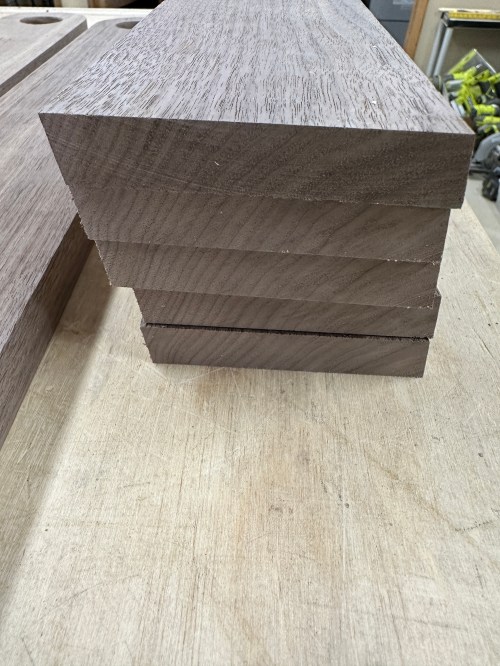
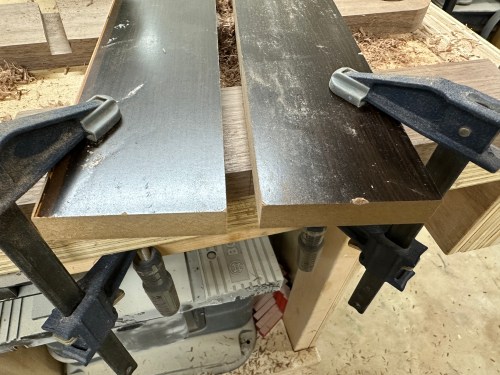
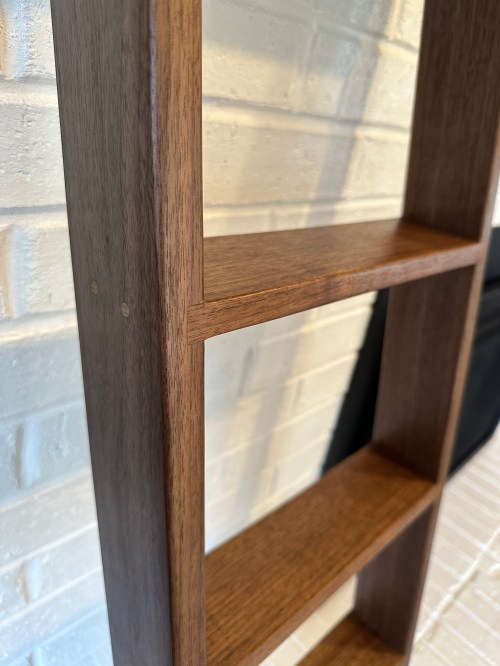
The feet of the ladder are cut at a 10° angle, which provided the opportunity to experiment. In order for the rungs to have the option of also being shelves, they needed to be attached to the sides at this same angle as well as have the long edges cut at a bevel. For strength and ease of assembly I decided to cut dados in the sides of the ladder at that 10°. This was all new to me and the method I used produced amazing results.

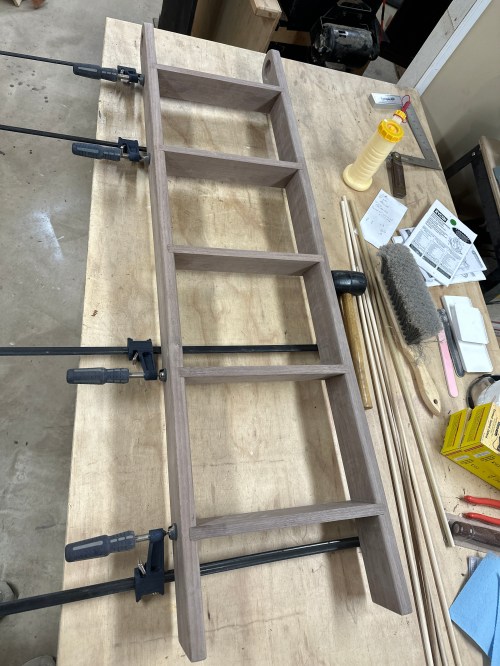
First I used an angle gauge to mark lines on each side for the top of each rung. Then I clamped a straight board down, put the rung up against it, and clamped another board snugly against the rung. From there I was able to pull the rung out and use a router with a pattern bit to hog out the dado. All 10 ended up so perfect that I had to use a rubber mallet to disassemble it after my dry-fit.

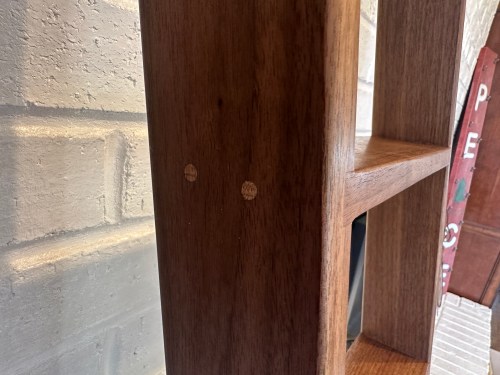
After a ton of sanding and the glue up, the ladder was plenty strong enough, since it would never be used as an actual ladder. I knew I didn’t want to add screws to the joints and even though I didn’t need to, I decided to add dowels for the practice and the look of the contrasting oak. I made a little jig to line up and drill out holes in to the edge of each rung. Everything got finished with three coats of Minwax Wipe-on Poly and a coat of Linseed Oil & Beeswax Polish.

This turned out to be one of the nicest pieces I’ve ever made.

Pallet Wood Bedroom Art: It Was All a Dream

For years I’ve wanted something to hang above my bed. I always thought a large black and white photo would be cool, but never looked for something. A couple of weeks ago I got an idea to make an art piece, so I went through my wood rack and picked out some pallet wood.

I swapped out some pieces and then sanded off most of the dirt and rough edges.

Testing whitewash during the bathroom shelf project paid off on this one. I knew I wanted a backing of gray primer before applying white paint with the scraping method. I went real light with the gray.

Below are the pieces after the first coat of white.

I think I applied three coats to get the look I wanted. I used wood glue and pin nails to attach the horizontal pieces to the verticals.

My original plan was to have my 10-year-old niece write lowercase cursive letters that I’d paint on, but she couldn’t get the proportions right with big letters. I found this cool stencil at Michael’s for $8.

I did a bunch of measuring and used blue tape to map out the word placement.

Then I did a quick test with pencil on kraft paper to get a feel for the letter spacing.

I painted 3 different letter widths (A, I, and M) on a piece of cardboard and cut them out. This was the mask I used over the top of the stencil to prevent overspray.

Finally it was time for the nerve-wracking part of actually painting on the words. In order to limit the possibility of smearingn I did one letter, hit it with a blow dryer, and moved to a letter on the next row.

All that was left was to drive some screws in to the back, wrap wire between the screws, and hang it on the wall.

I love it.

Bathroom Shelves with Towel Hooks

Several weeks ago Brandi repainted her bathroom. When we were searching online for new towel racks these shelves caught her eye.

I offered to make a version of those and we had the idea to do a whitewash to match some of the other new decor around the house. We both thought the white would look really good with the deep blue color she had painted. On a shopping trip at Menards we saw this toiler paper holder, which I said could be sanded down and whitewashed to go with the shelves.

Since it was a smaller piece it would be a good test for the whitewashing techniques. I helped her out, but Brandi did most of the work and we both liked the result, especially for our first attempt. It was done by scuffing up the wood with a wire brush and then applying thinned out paint with a small chip brush. We took it back to her house and hung it up.

In the mean time, I had started on the shelves. Since we were going for a weathered whitewash look, I milled some reclaimed lumber to 1″ thick, cut everything to size, did a rough sanding, glued, and screwed.

Some of the pieces had cool characteristics to them that would look good with the whitewash. I did some testing of paint and stain to roughly apply to the wood before whitewashing. I wanted to be able to create more of a dirty/weathered look than what we ended up with for the toilet paper holder.

Going in, I thought a gray or one of the blackish stains would be the winner. We both preferred this dark walnut.

Next, we tested with a different whitewash technique, which involved pouring thinned out paint on the wood and spreading it with a scraper. The results looked really cool.

You can see the scraper at the top of the picture below. I gave the shelves a quick coat stain, since it was going to be painted over.

When Brandi saw the stained shelves in person, she loved how the grain and imperfections of the wood were highlighted, thinking it would be a nice contrast to have some wood grain in the bathroom. So she redid the toilet paper holder and we gave it two coats of spray lacquer.

We also finished the shelves with two coats of spray lacquer. Since the plan was a weathered and whitewashed look I had only done a sanding with 40 grit and you could feel the roughness of the wood. So I did 6 coats of a wipe-on poly as well, which gave things a much better feel. Then I attached the hooks for towels and we hung them up.

Notice the mini crate I posted about the other day? Not sure what she’s going to fill it with. The stained look was definitely the right decision and looks great with the towels and decorations.