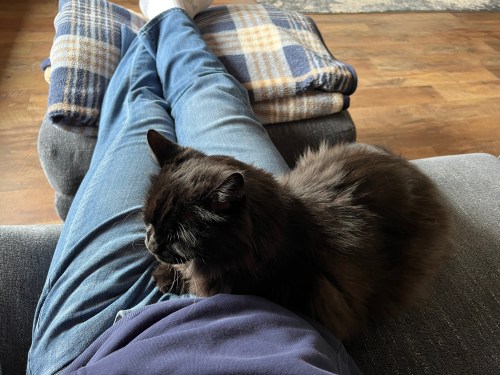
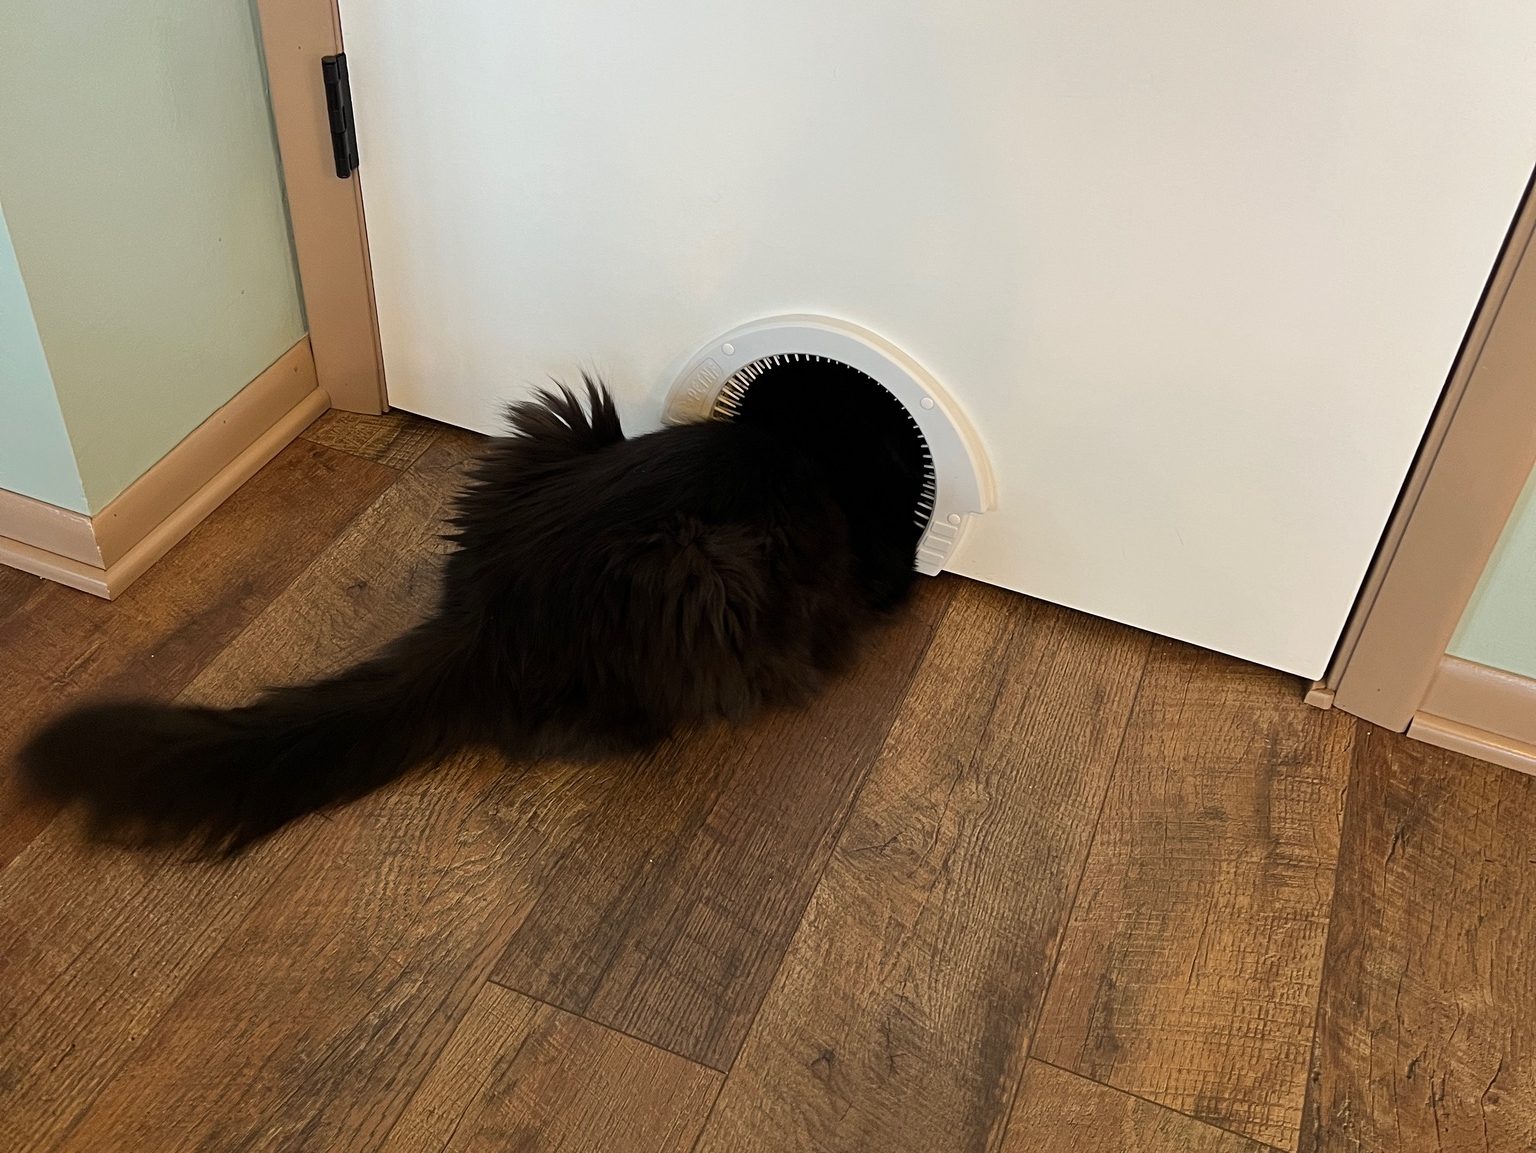
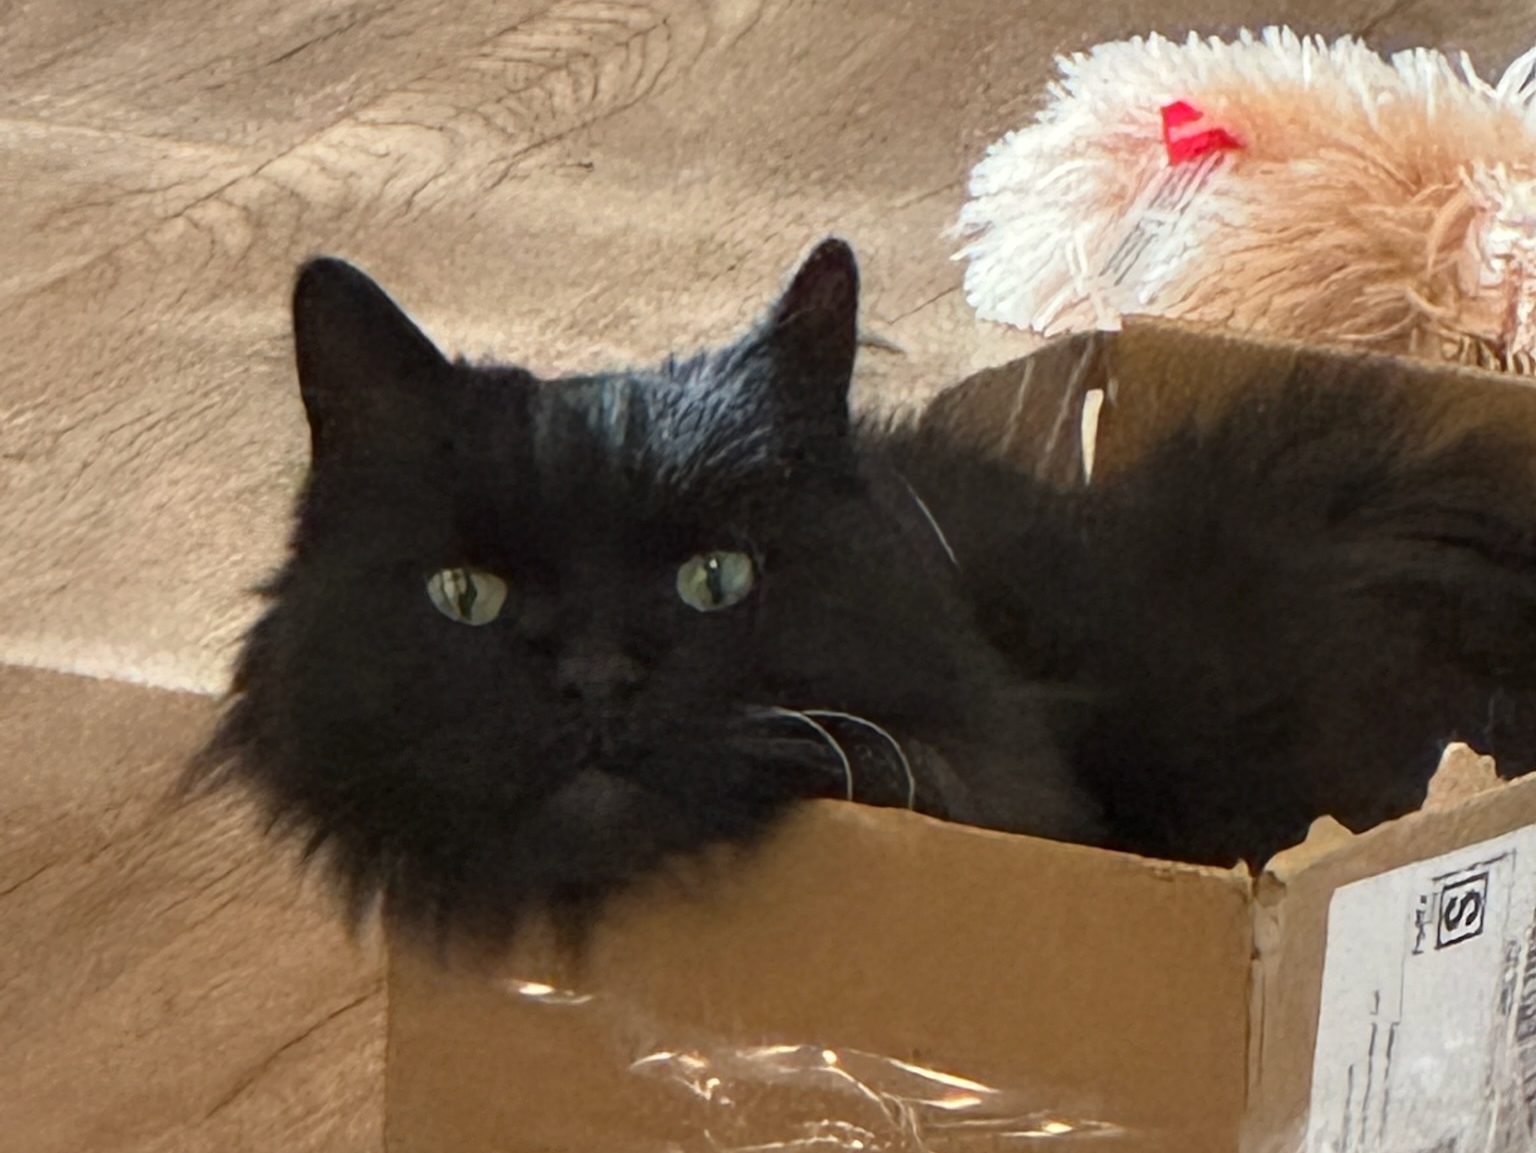
When Brandi moved in she brought her black cat, Ninja, with her. I wasn’t too sure about him because I’d never liked cats. With my job working from home, he quickly became my little buddy and turned me in to a cat guy.
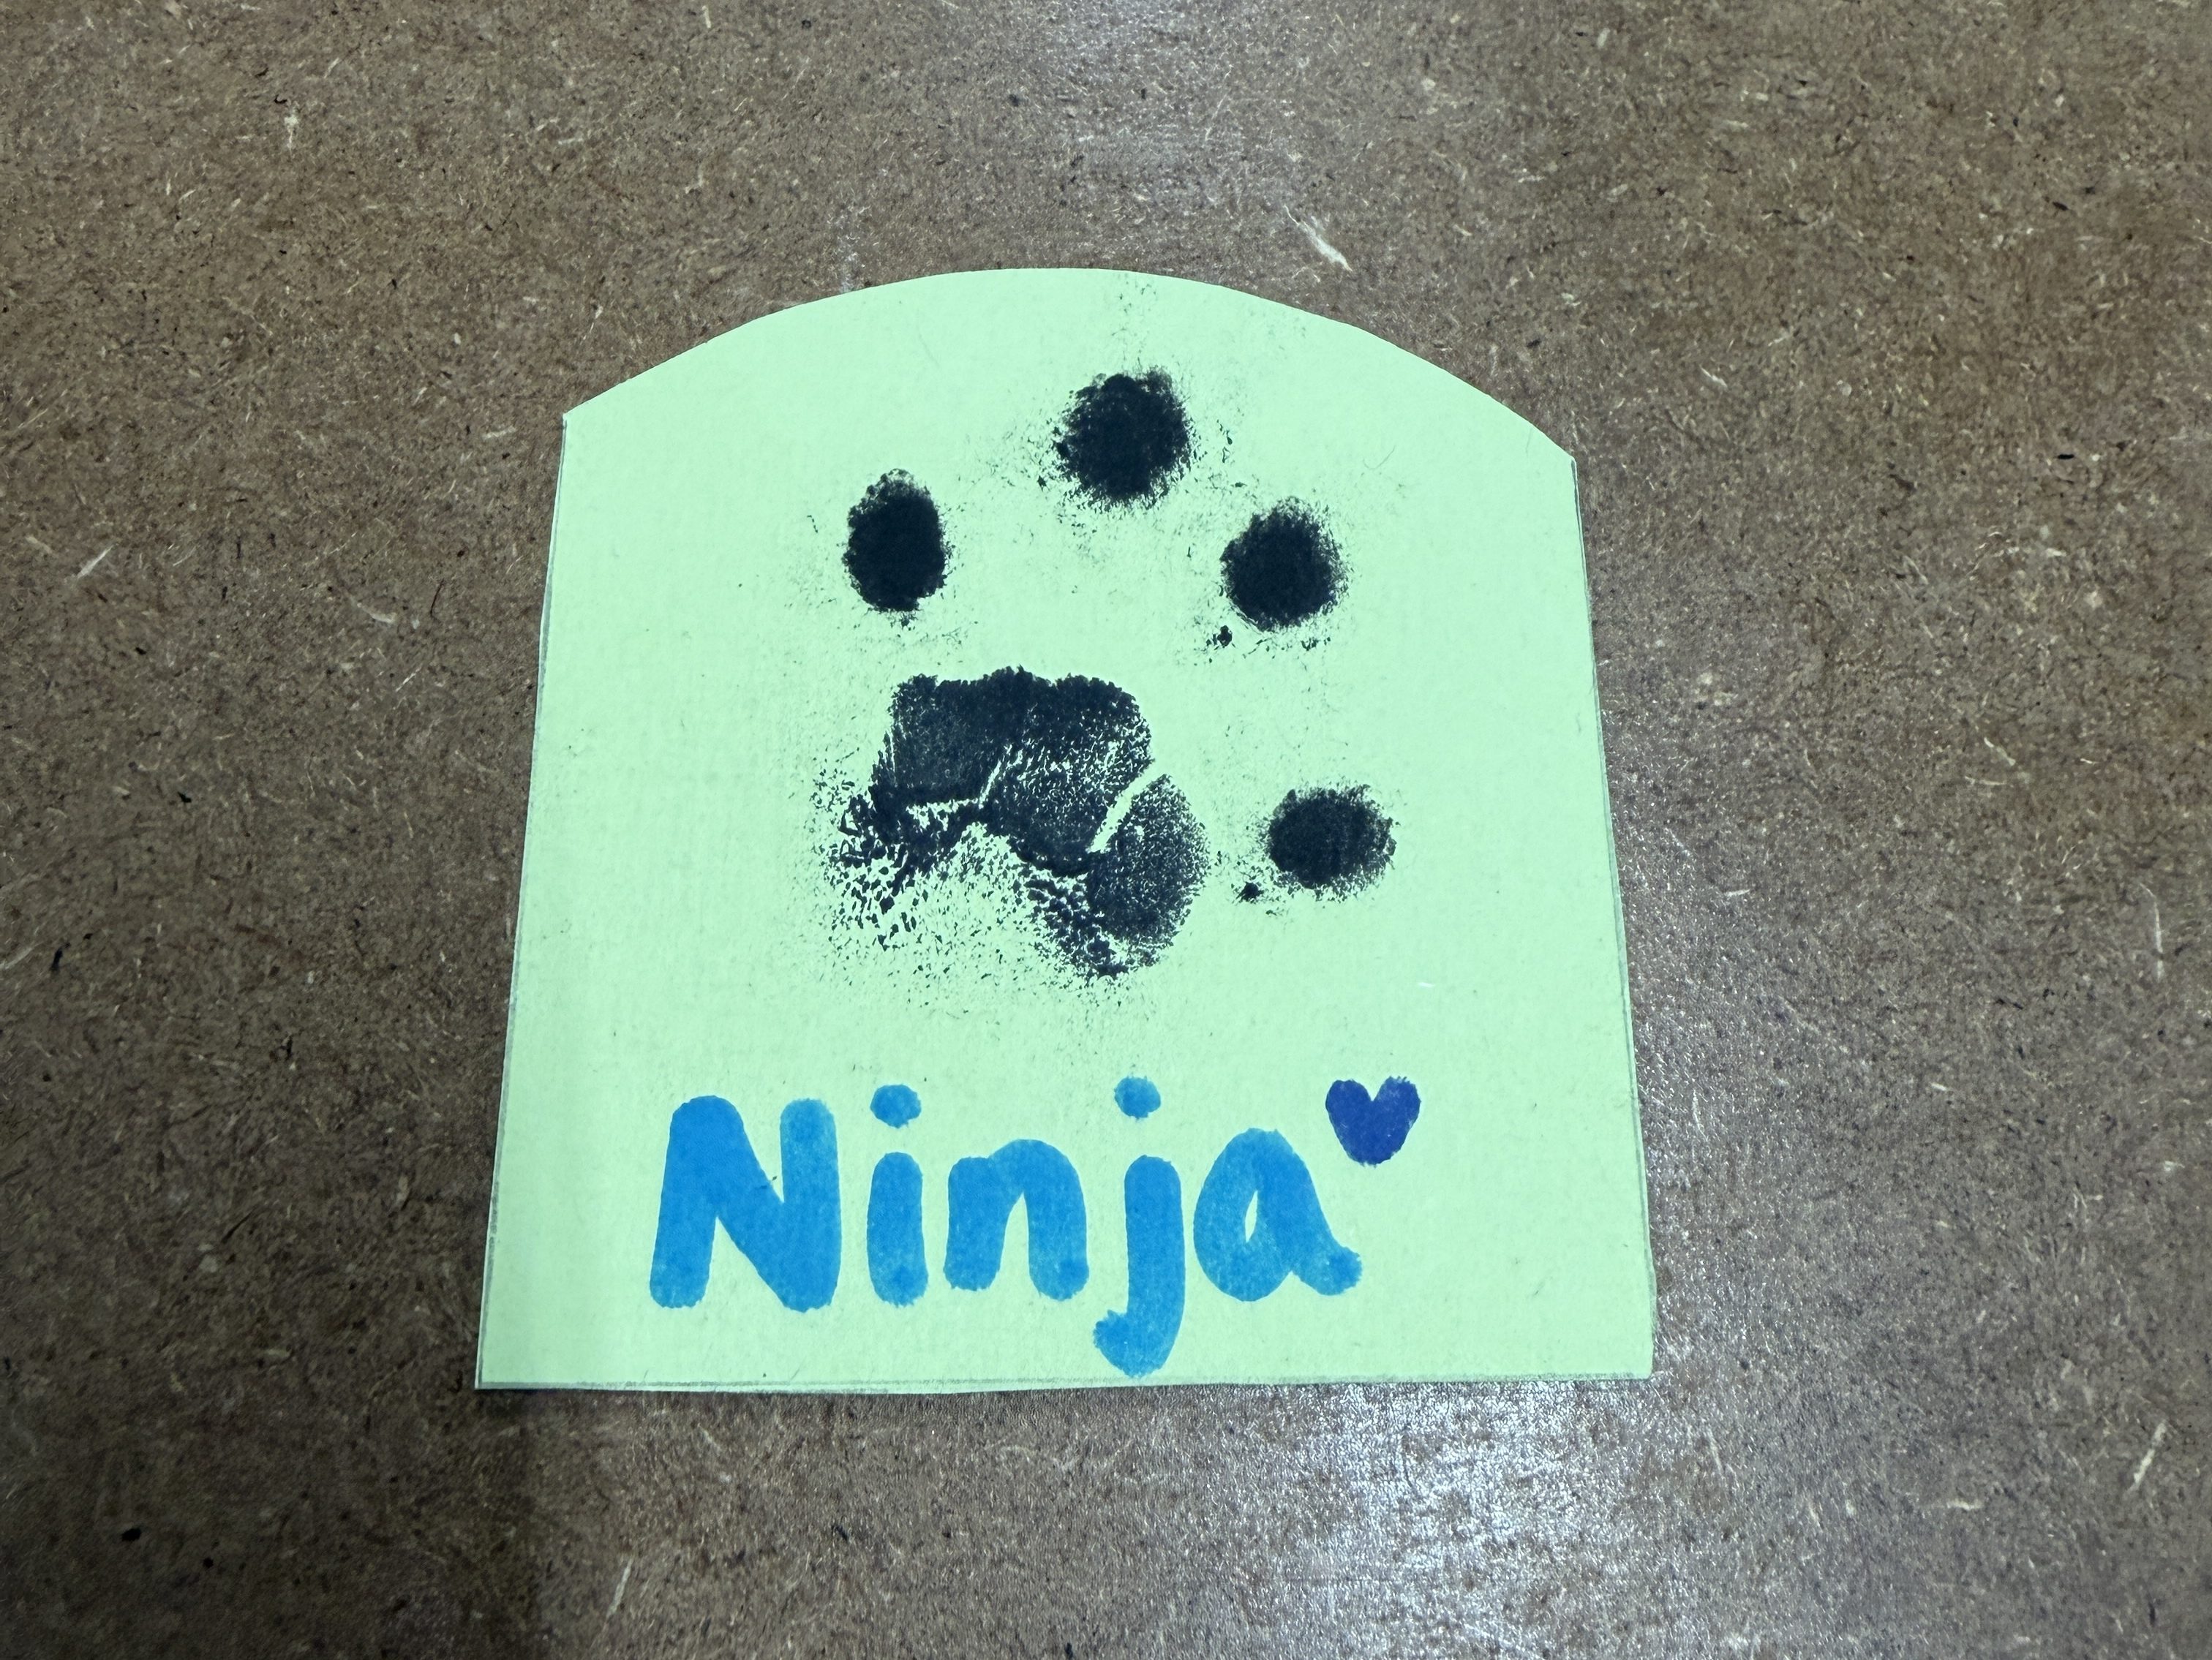
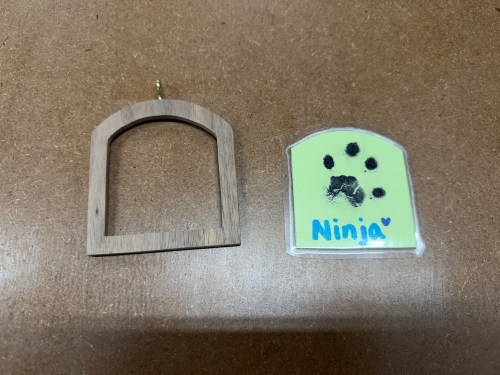
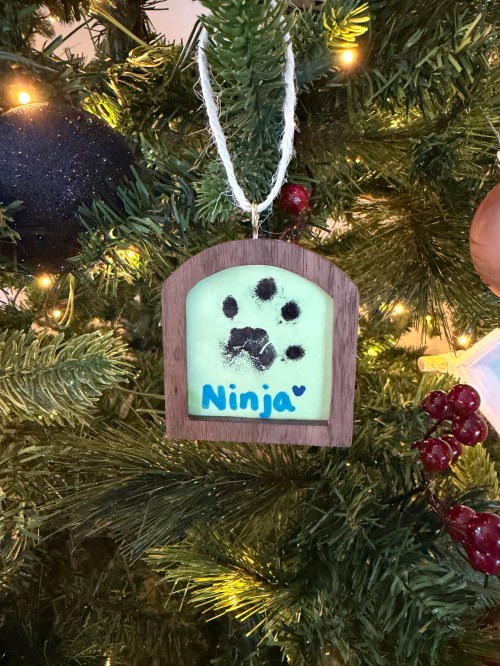
Ninja got sick and we lost him at the end of August, which was really hard. 😿 He was such a good kitty! The vet sent us a sympathy card with his paw print.
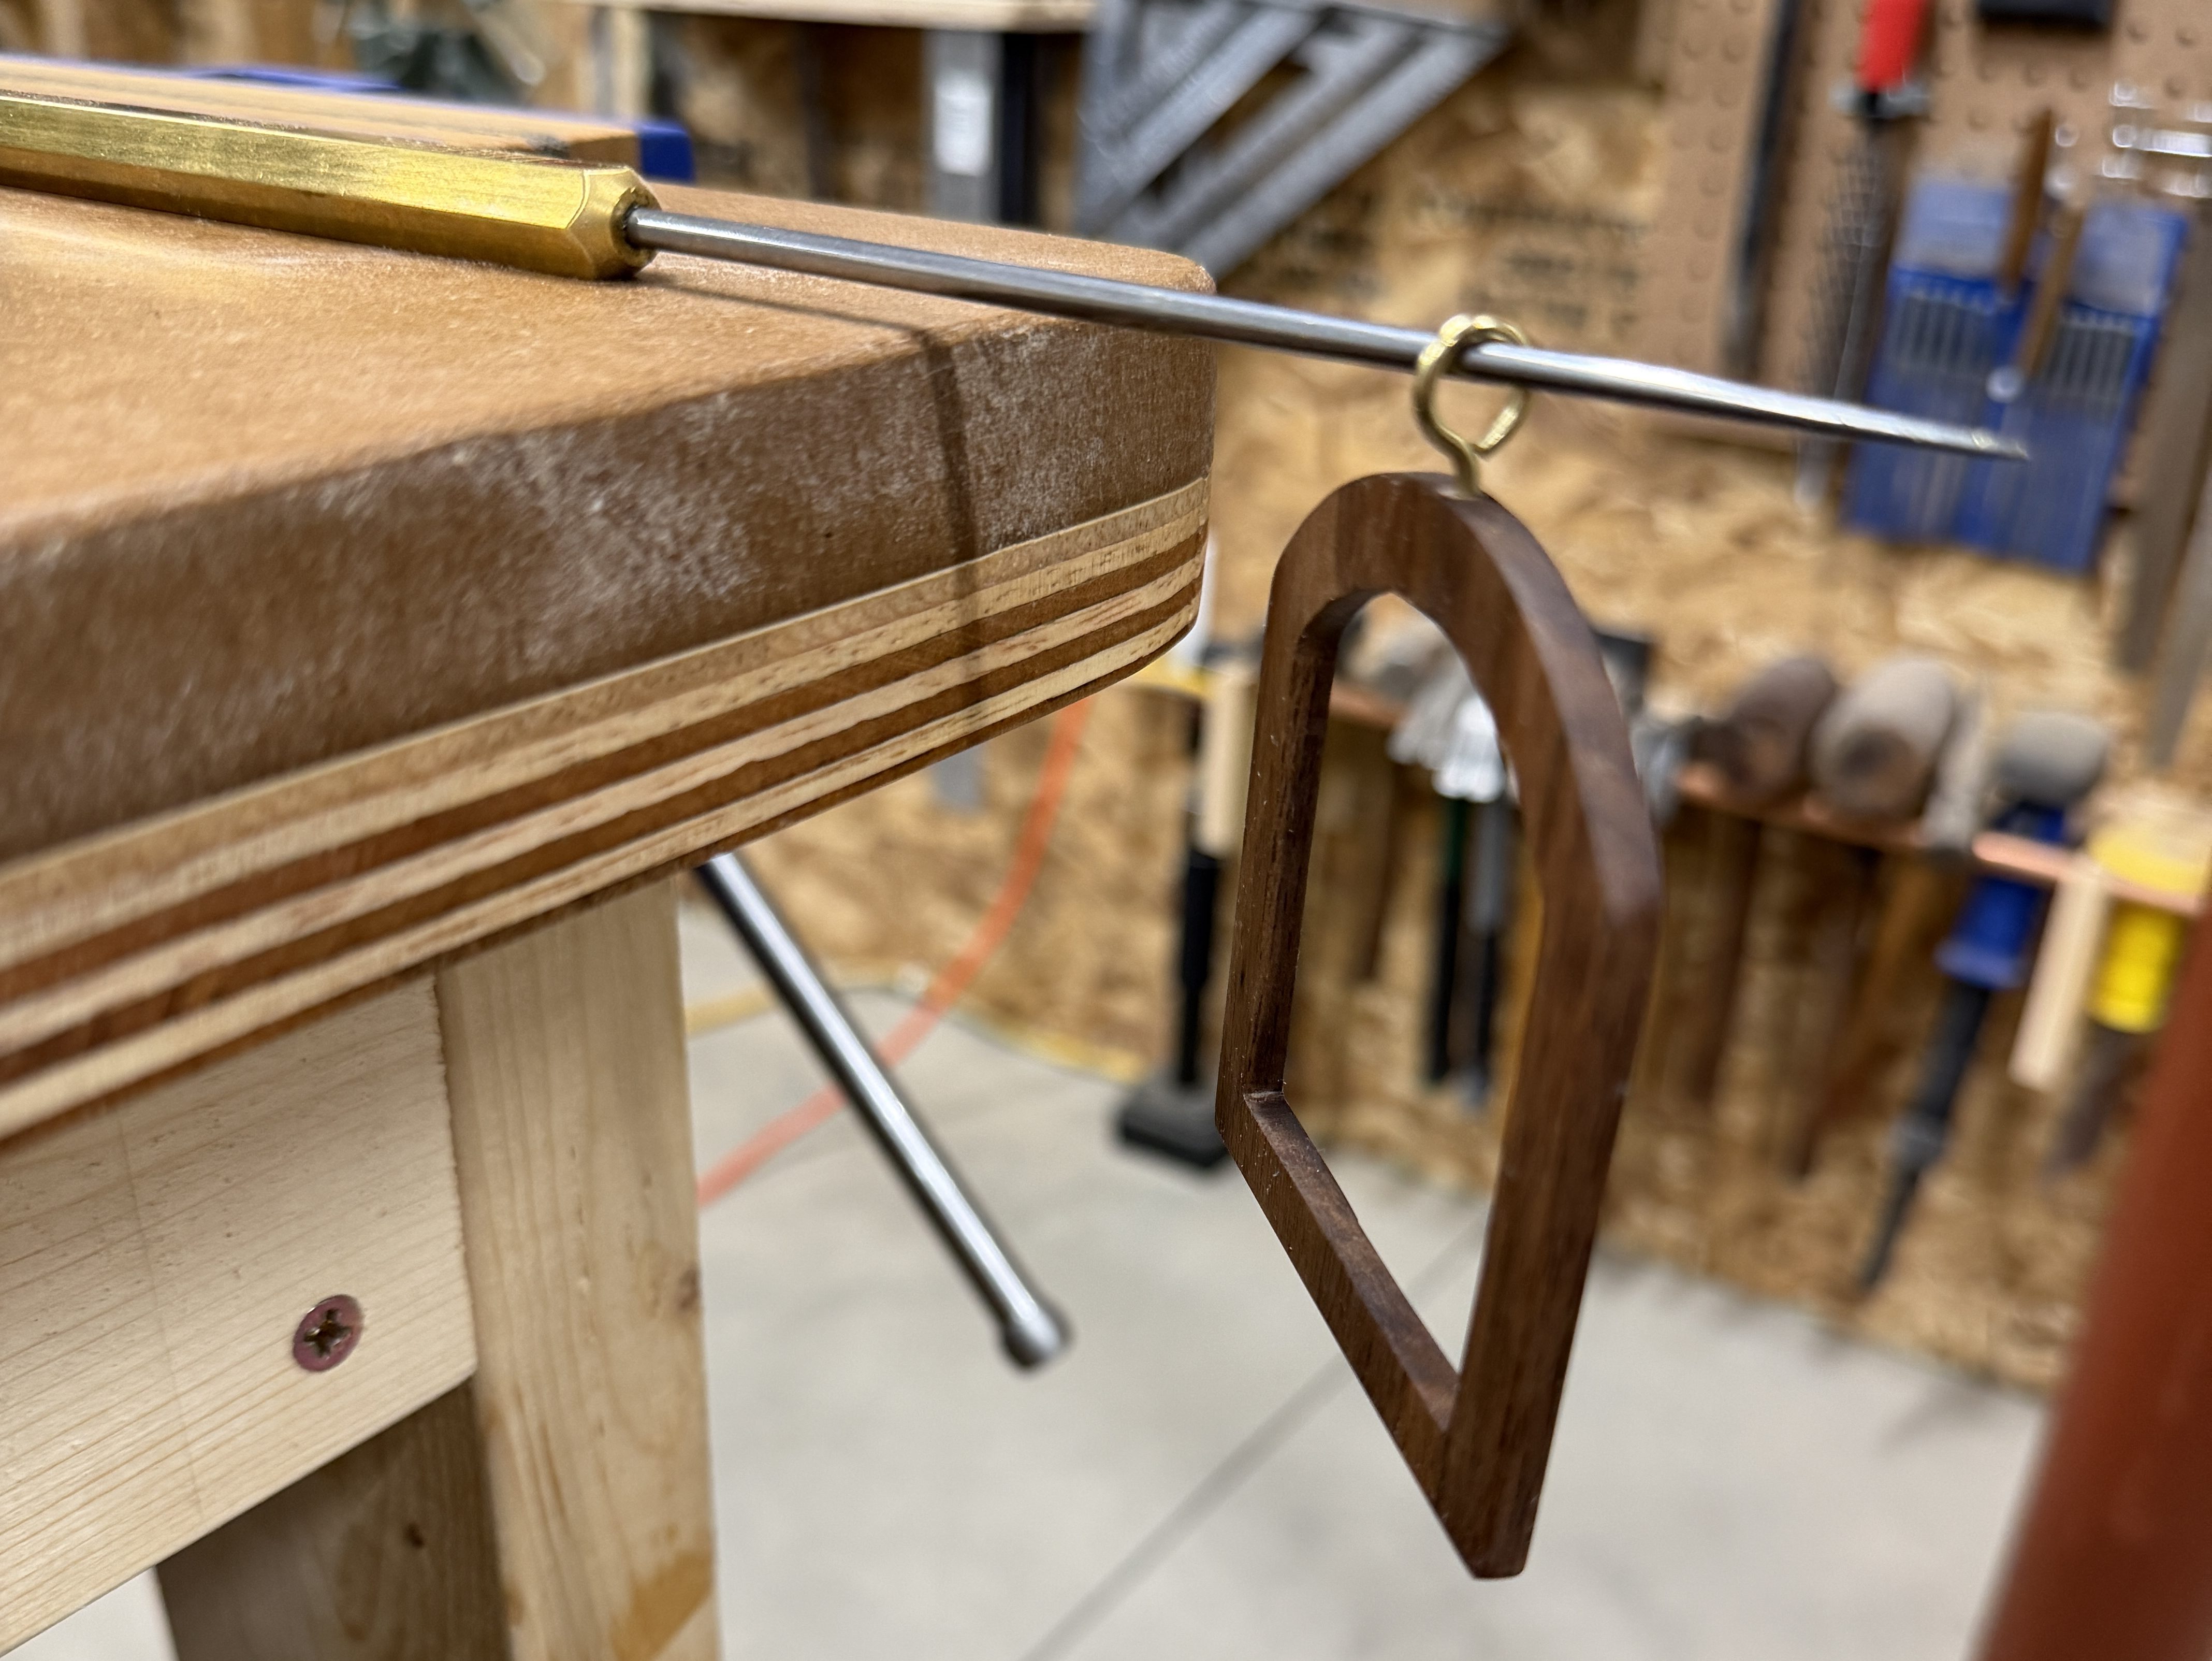
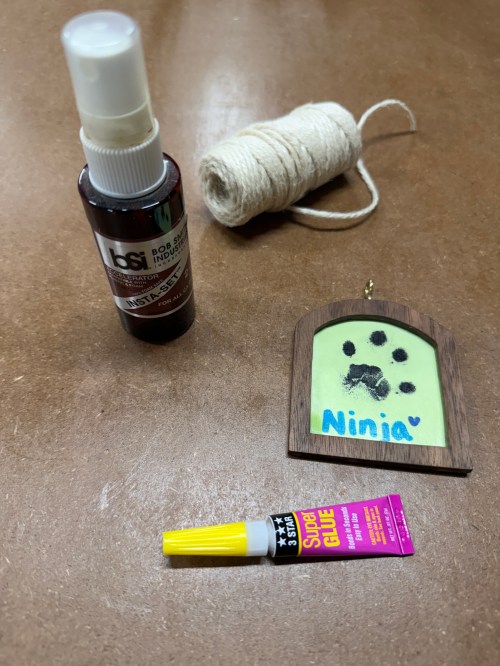
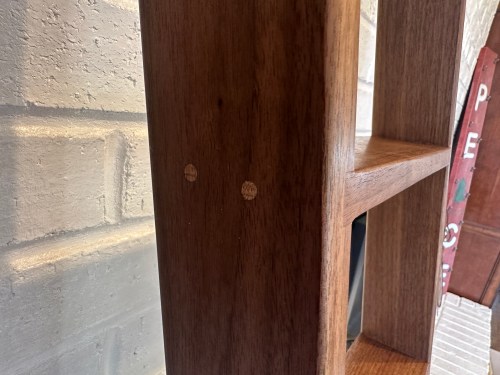
Since holidays are always a good time to remember, we decided to preserve the card in this year’s Christmas ornament and we’ll always have it. Brandi wants to start learning to use some of the tools in the shop, and she got to use the band saw, scroll saw, and sanders while helping to make the frame.
Check out our previous ornaments from 2021, 2022, 2023, and 2024.
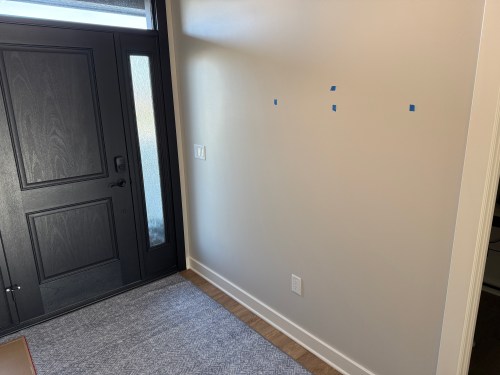
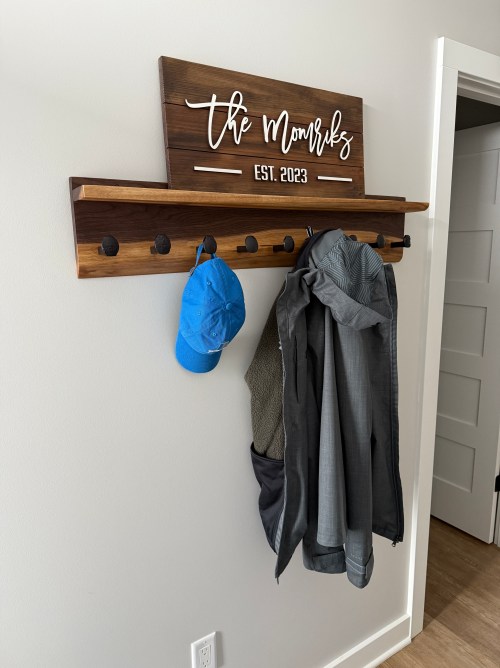
We left our foyer empty in the house design so I could build some things for it.
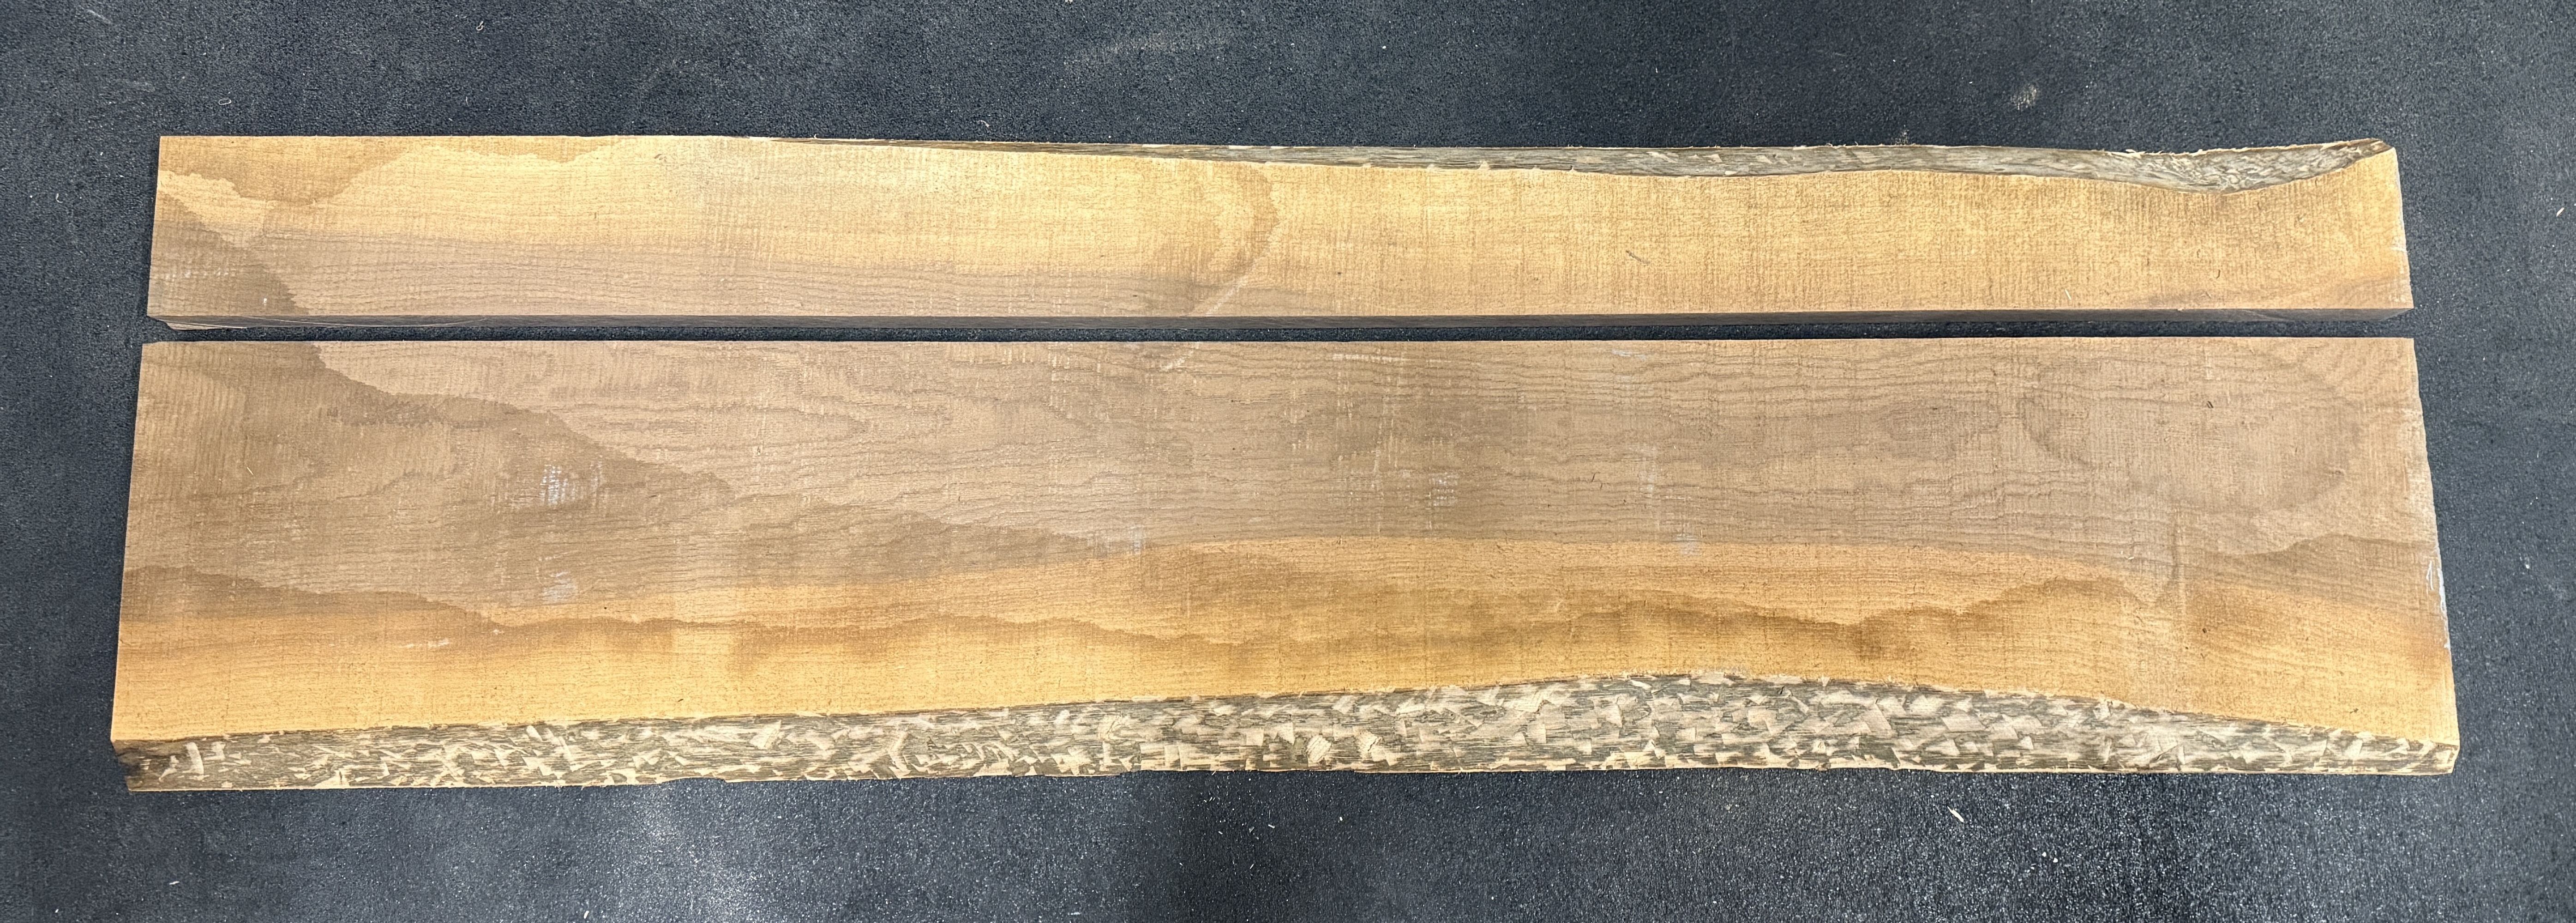
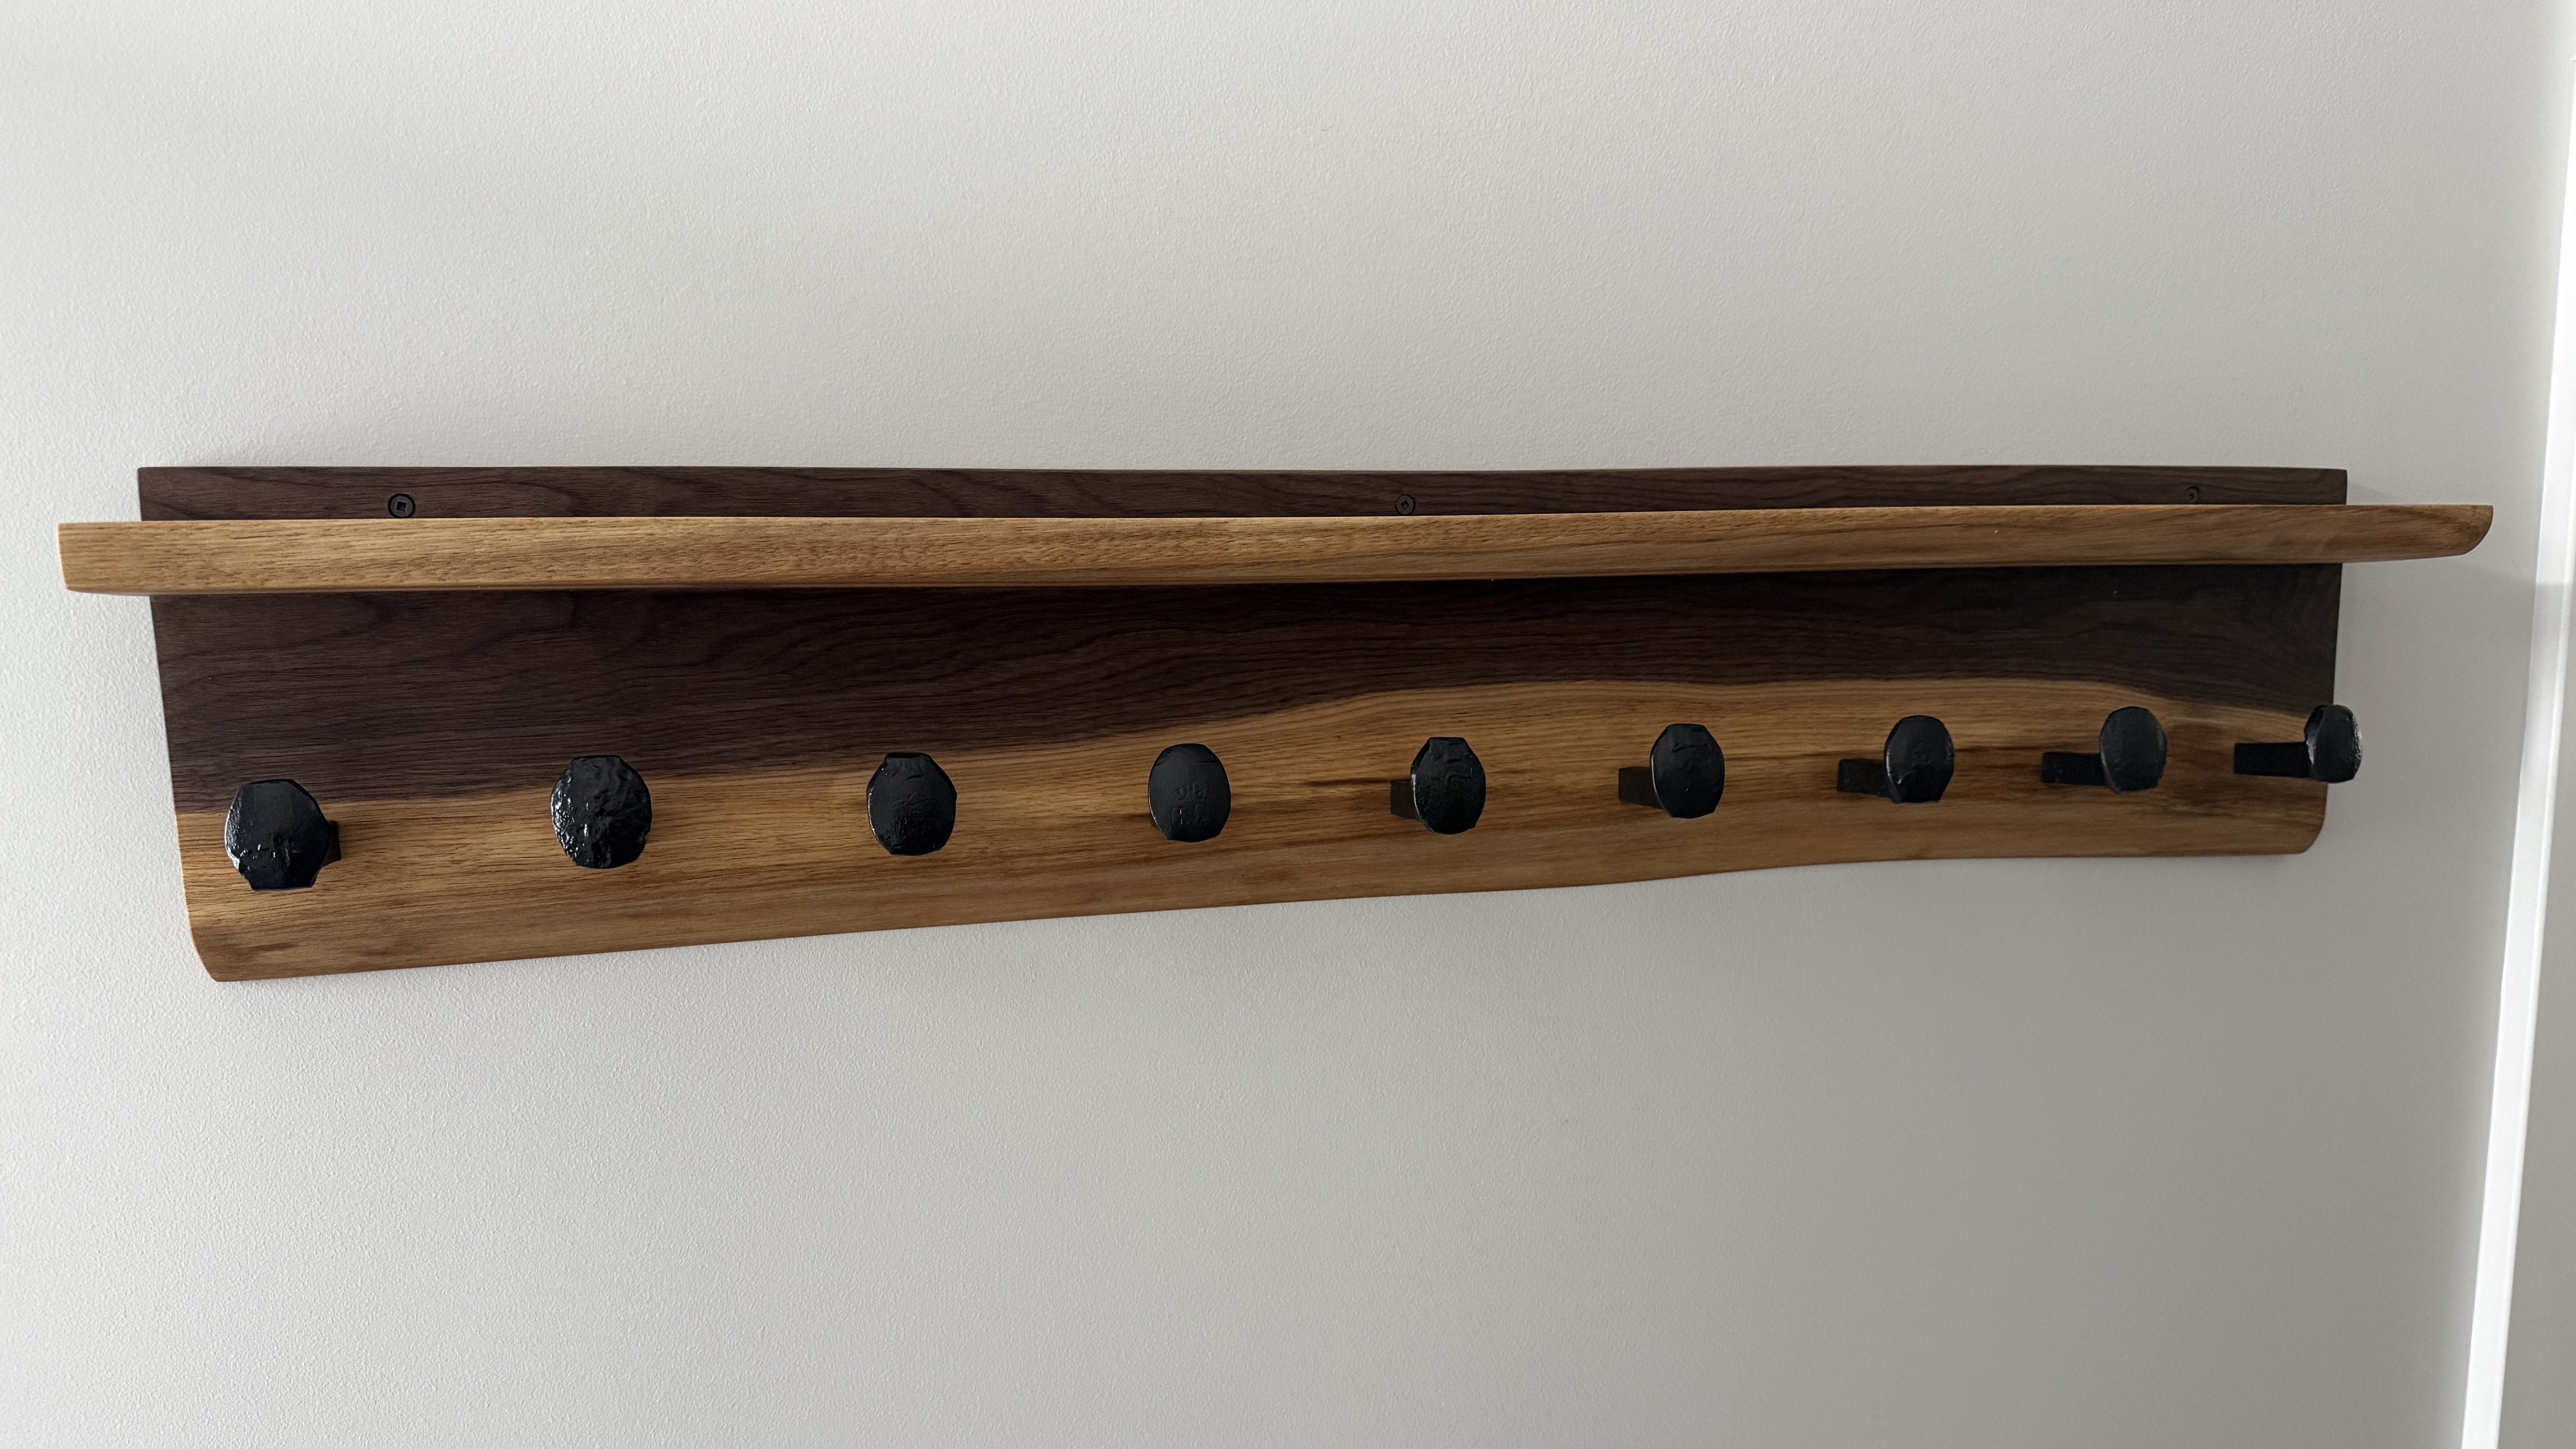
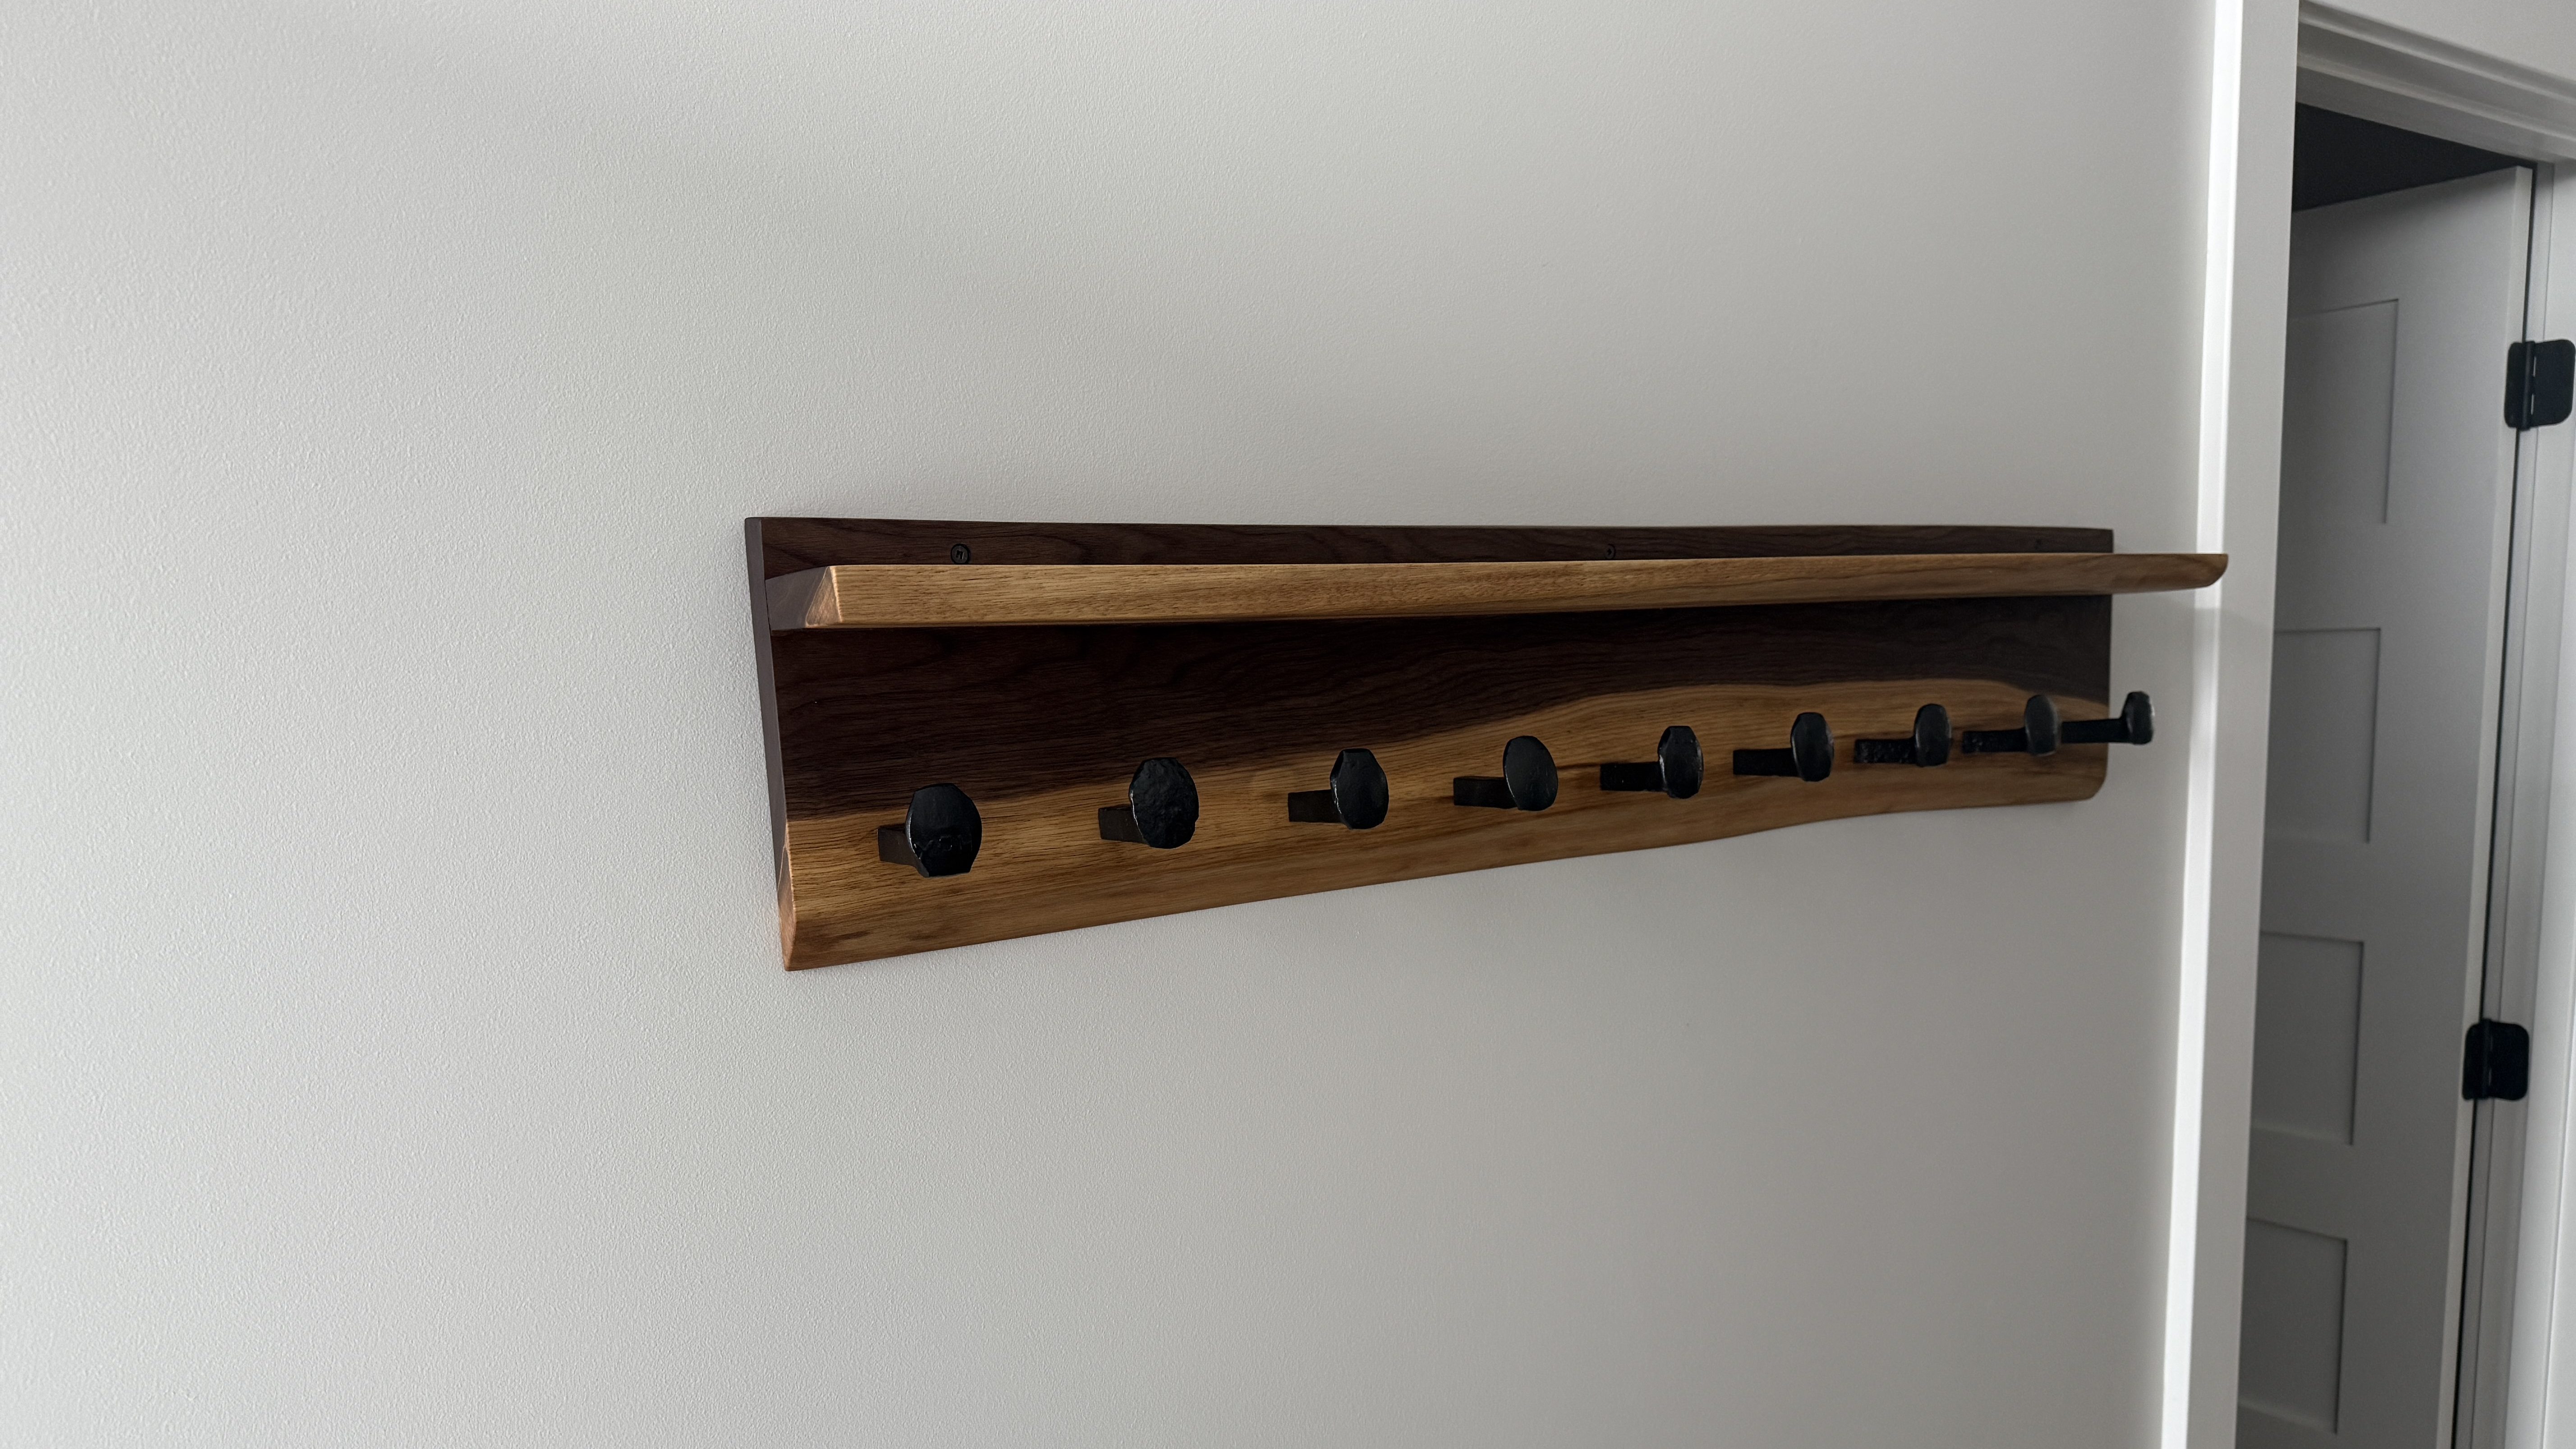
First up was a coat rack. I pulled out a piece of walnut and got the bulk of the bark off the live edge. This piece has a lot of sapwood, which should turn out sweet.
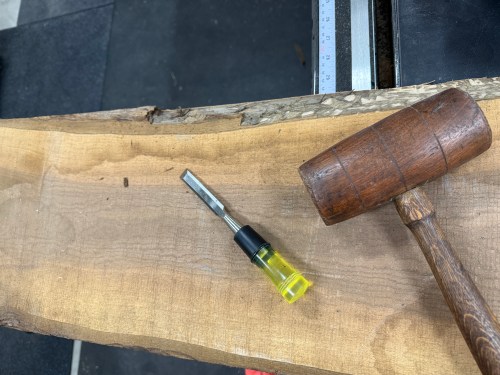
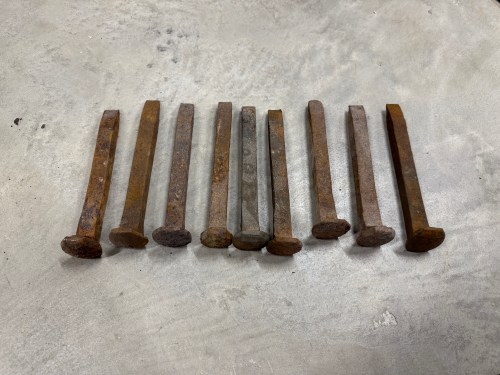
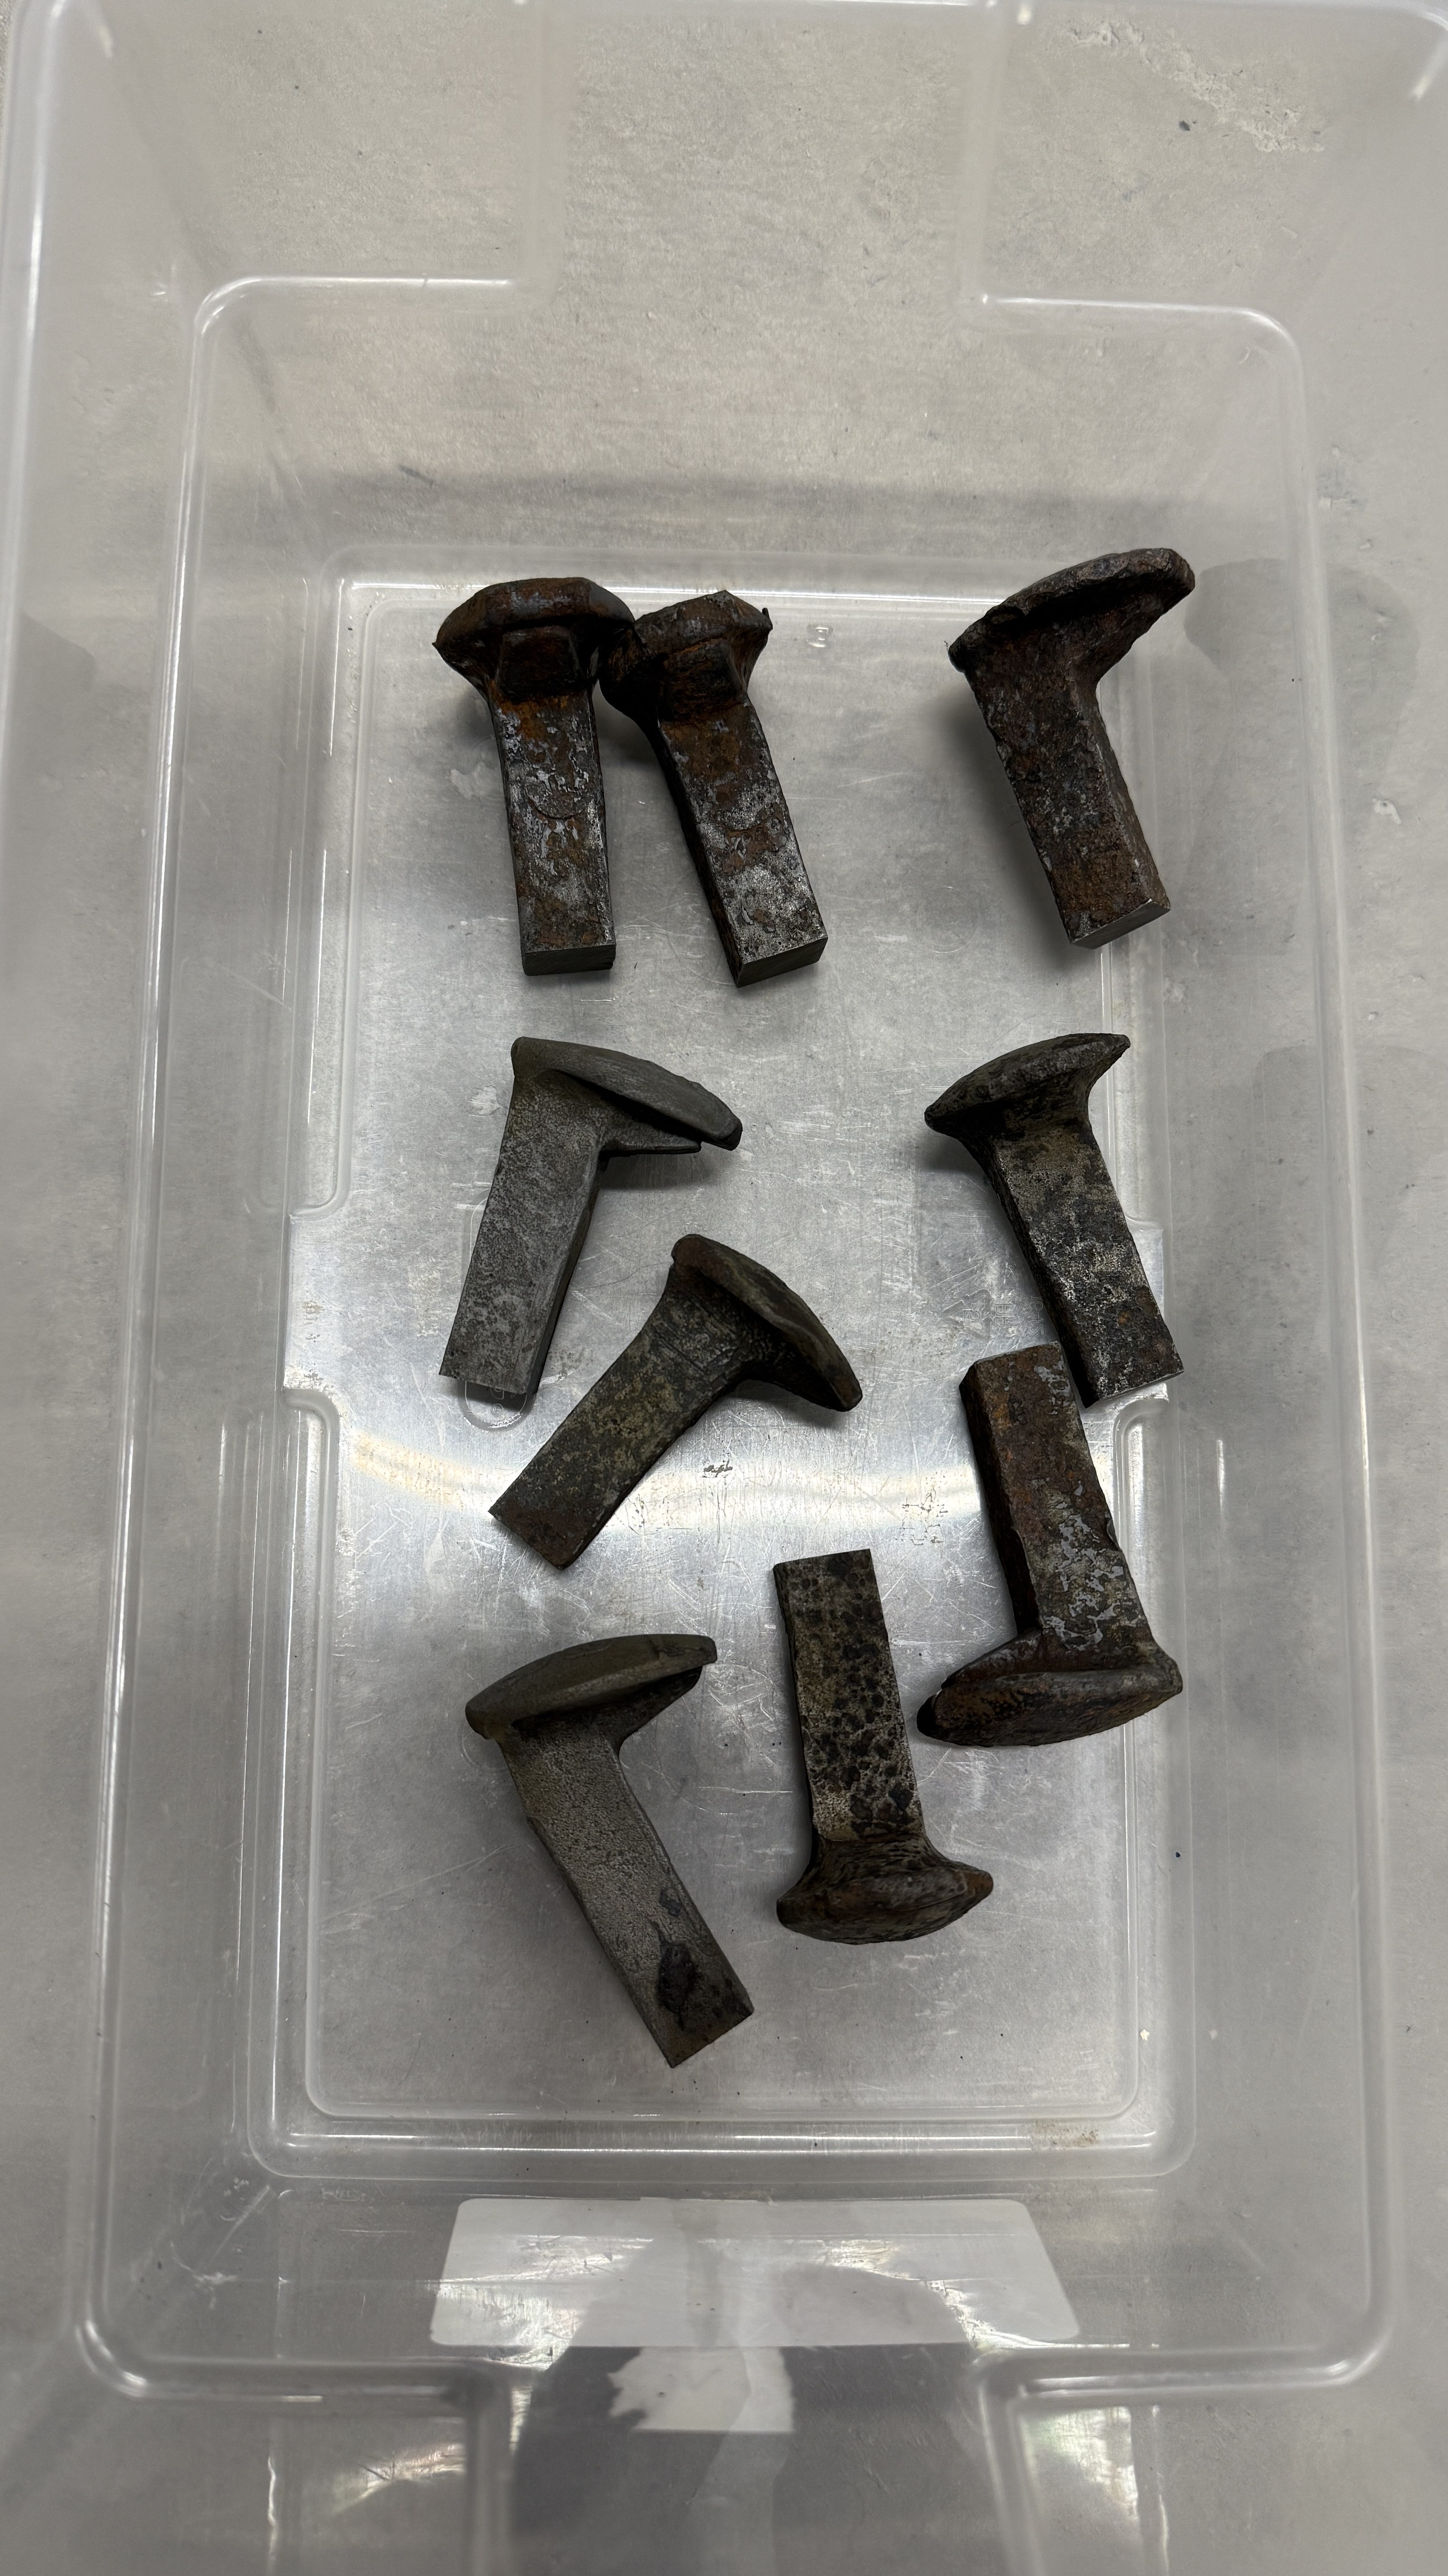
Before getting ahead of myself by sizing the board in any way, I wanted to make the hooks from railroad spikes so I could see how much space they’d need. I bought about 20 of these on Facebook Marketplace a few years ago and still have a bunch.
I don’t have much for metal working tools, so I knew I wouldn’t be able to get consistent length by cutting with an angle grinder. In order to give myself a decent chance at success, I screwed a couple pieces of plywood to my drill press vise and drew a reference line. Then I cut all nine spikes.
At the disc sander I flattened the ends. For the spikes to lay square to the sanding surface I propped them up on some wood.
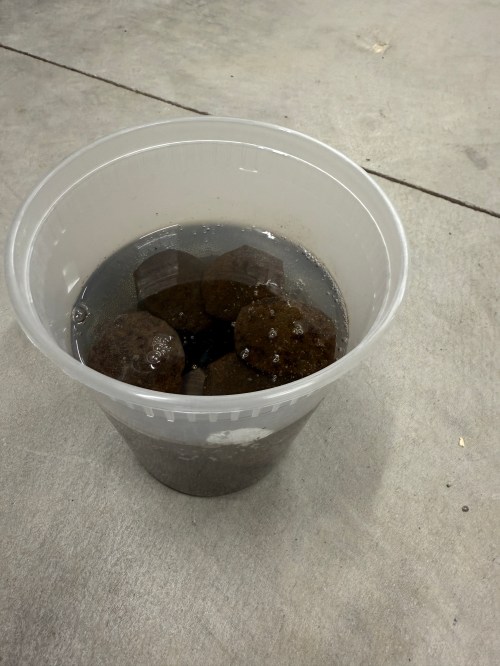
I soaked the pieces in a 50/50 mix of white vinegar and water overnight.
Rinsed and wiped them off.
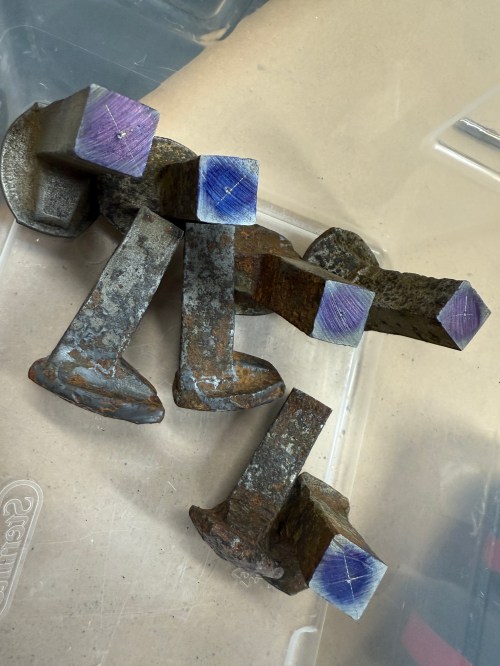
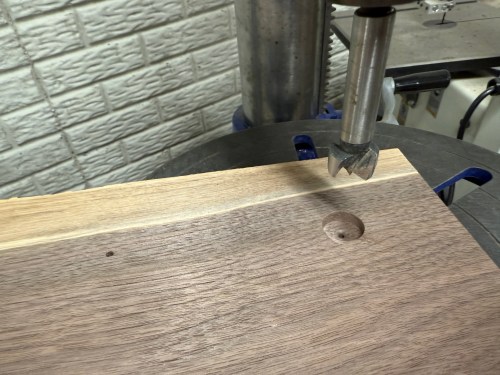
Marked the centers as best I could. Then I stepped through 3/32, 5/32, and 13/64 drill bits on each part. I broke one 3/32 bit and luckily it was deep enough in the hole where it wouldn’t matter.
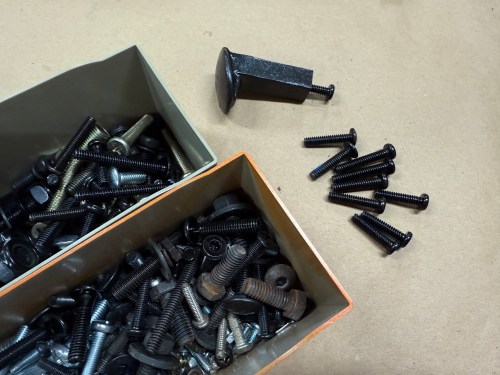
Then came my favorite part, adding threads in the holes. I used a 1/4-20 tap.
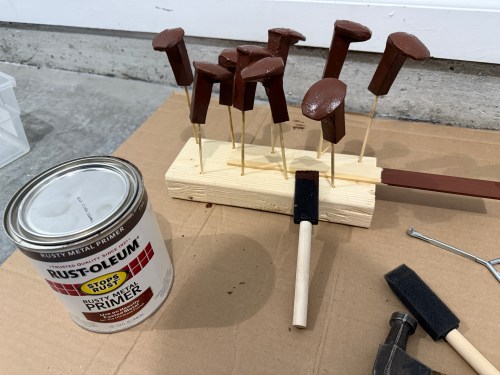
I cleaned up the rest of the rust on a bench grinder wire wheel. Then primer and paint.
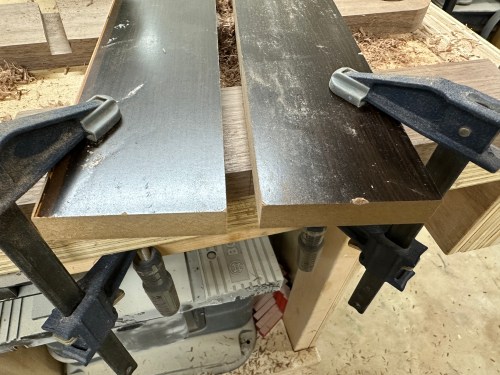
Back to the wood. After doing a rough mockup, I cut a length of the larger board and ripped it to create pieces for the shelf and main.
Then they went through the planer.
Drilled a bunch of holes, found some bolts in my collection, and did a dry fit.
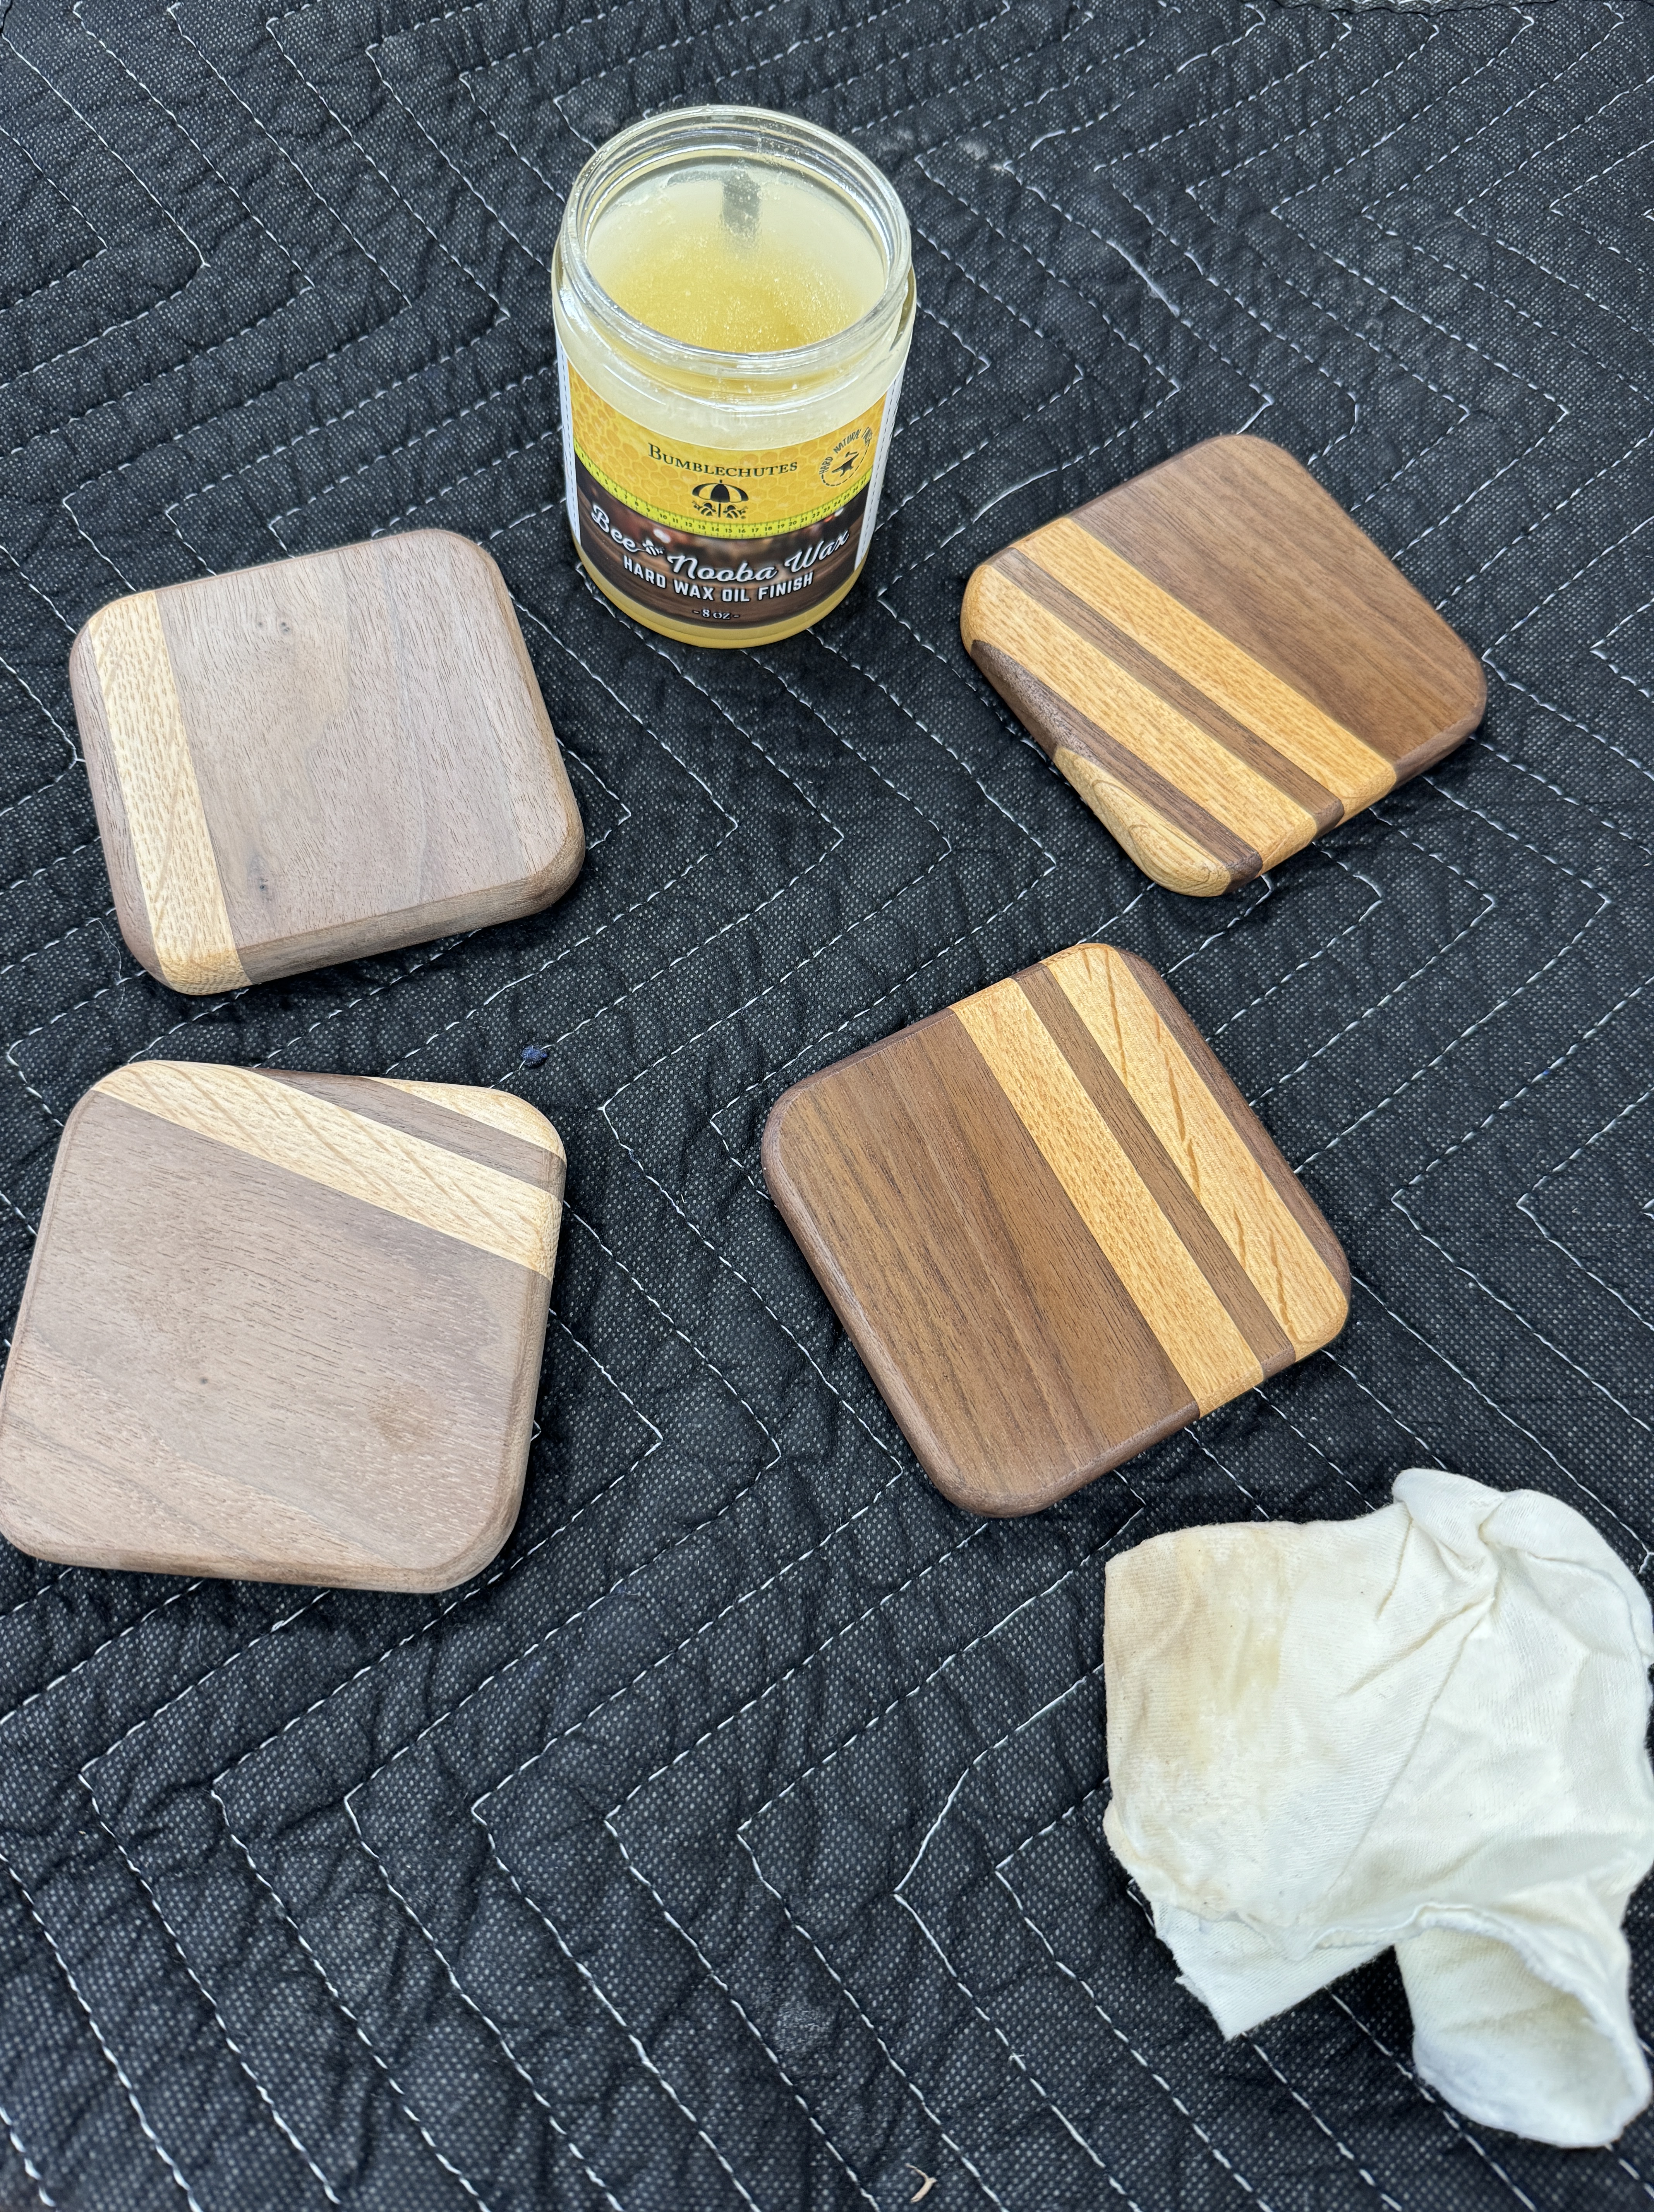
I applied three coats of the All-Natural Wood Finish from Bumblechutes mixed 1:1 with Citrus Solvent. It was the first time I’d used this on a project and I’ll definitely be using it more. It went on easy with a foam brush and light sanding with 400 grit between coats. Then to finish it off, one coat of their Bee’Nooba Wax, which I’ve used before.
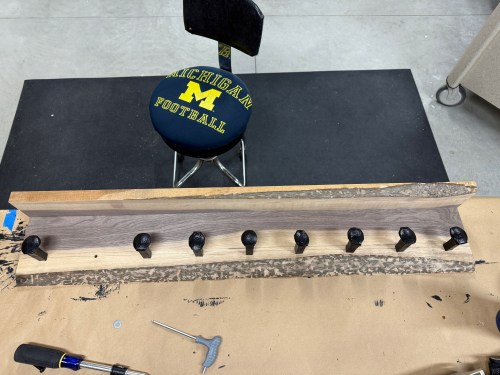
When bolting on the railroad spikes I applied a little thread locker. I mounted it to the wall and put up a sign my sister gave us.
Now I need to figure out what kind of bench to build.
With our new house having a big walk-in closet we won’t need dressers, so we’ll be selling our bedroom set, which meant it was a good time for new nightstands. Here’s a photo dump of the build.
These will be floating on the wall in the new house, with about five inches of space under them. I did a lot of things in this build I’ve never tried before, so I learned a lot. I love how the decorative grooves turned out on the drawer fronts, which was inspired by something Michael Alm did on his kitchen cupboards. The oak handles were made with inspiration from a couple we liked on Etsy (1 & 2).
I can’t wait to get moved in this summer and mount these on the wall!
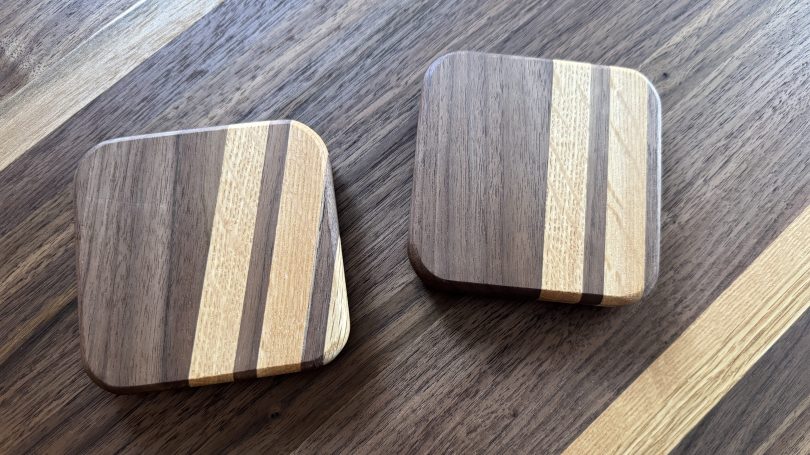
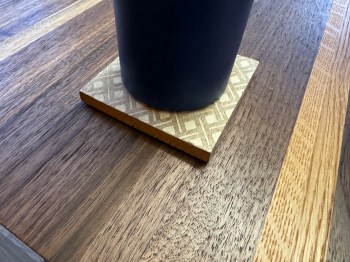
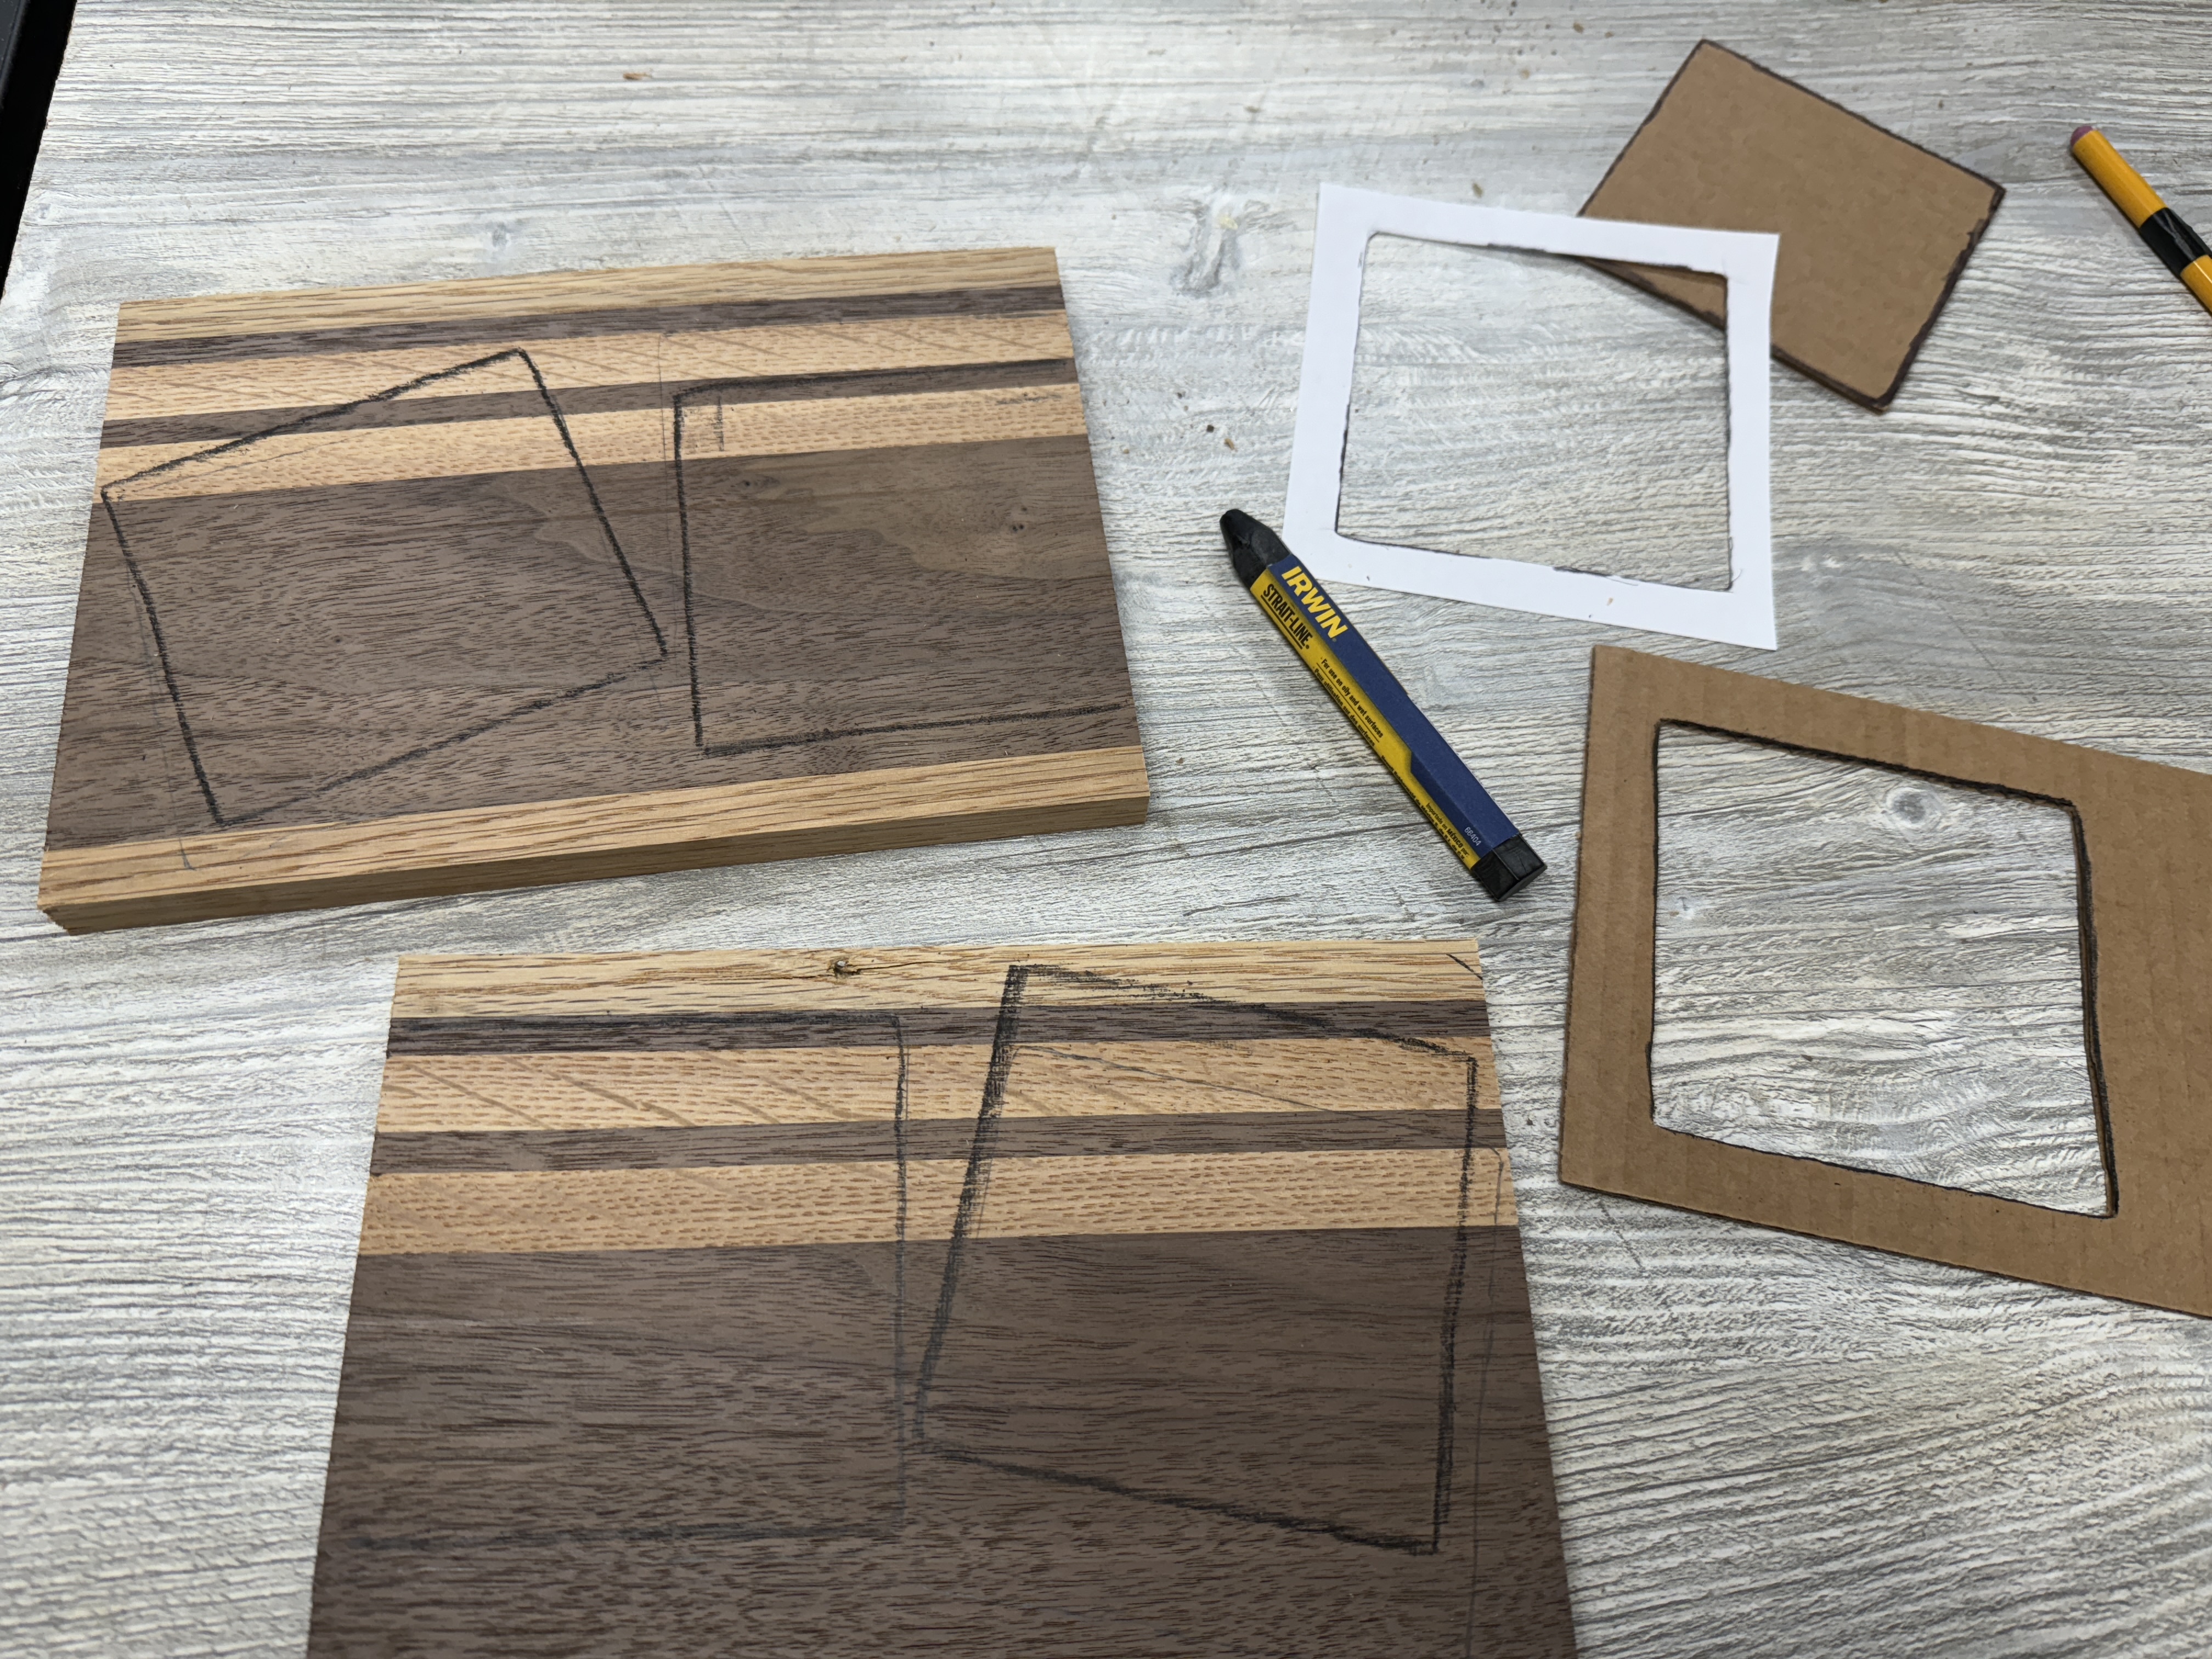
I’m loving my new desk. There are a couple of needed improvements though. First, I always have a water bottle, coffee, pop, or several on my desk when working, so I had grabbed this coaster from the living room. It bugged me all week.
Can you believe I’d never made a set of coasters? Time to fix that.
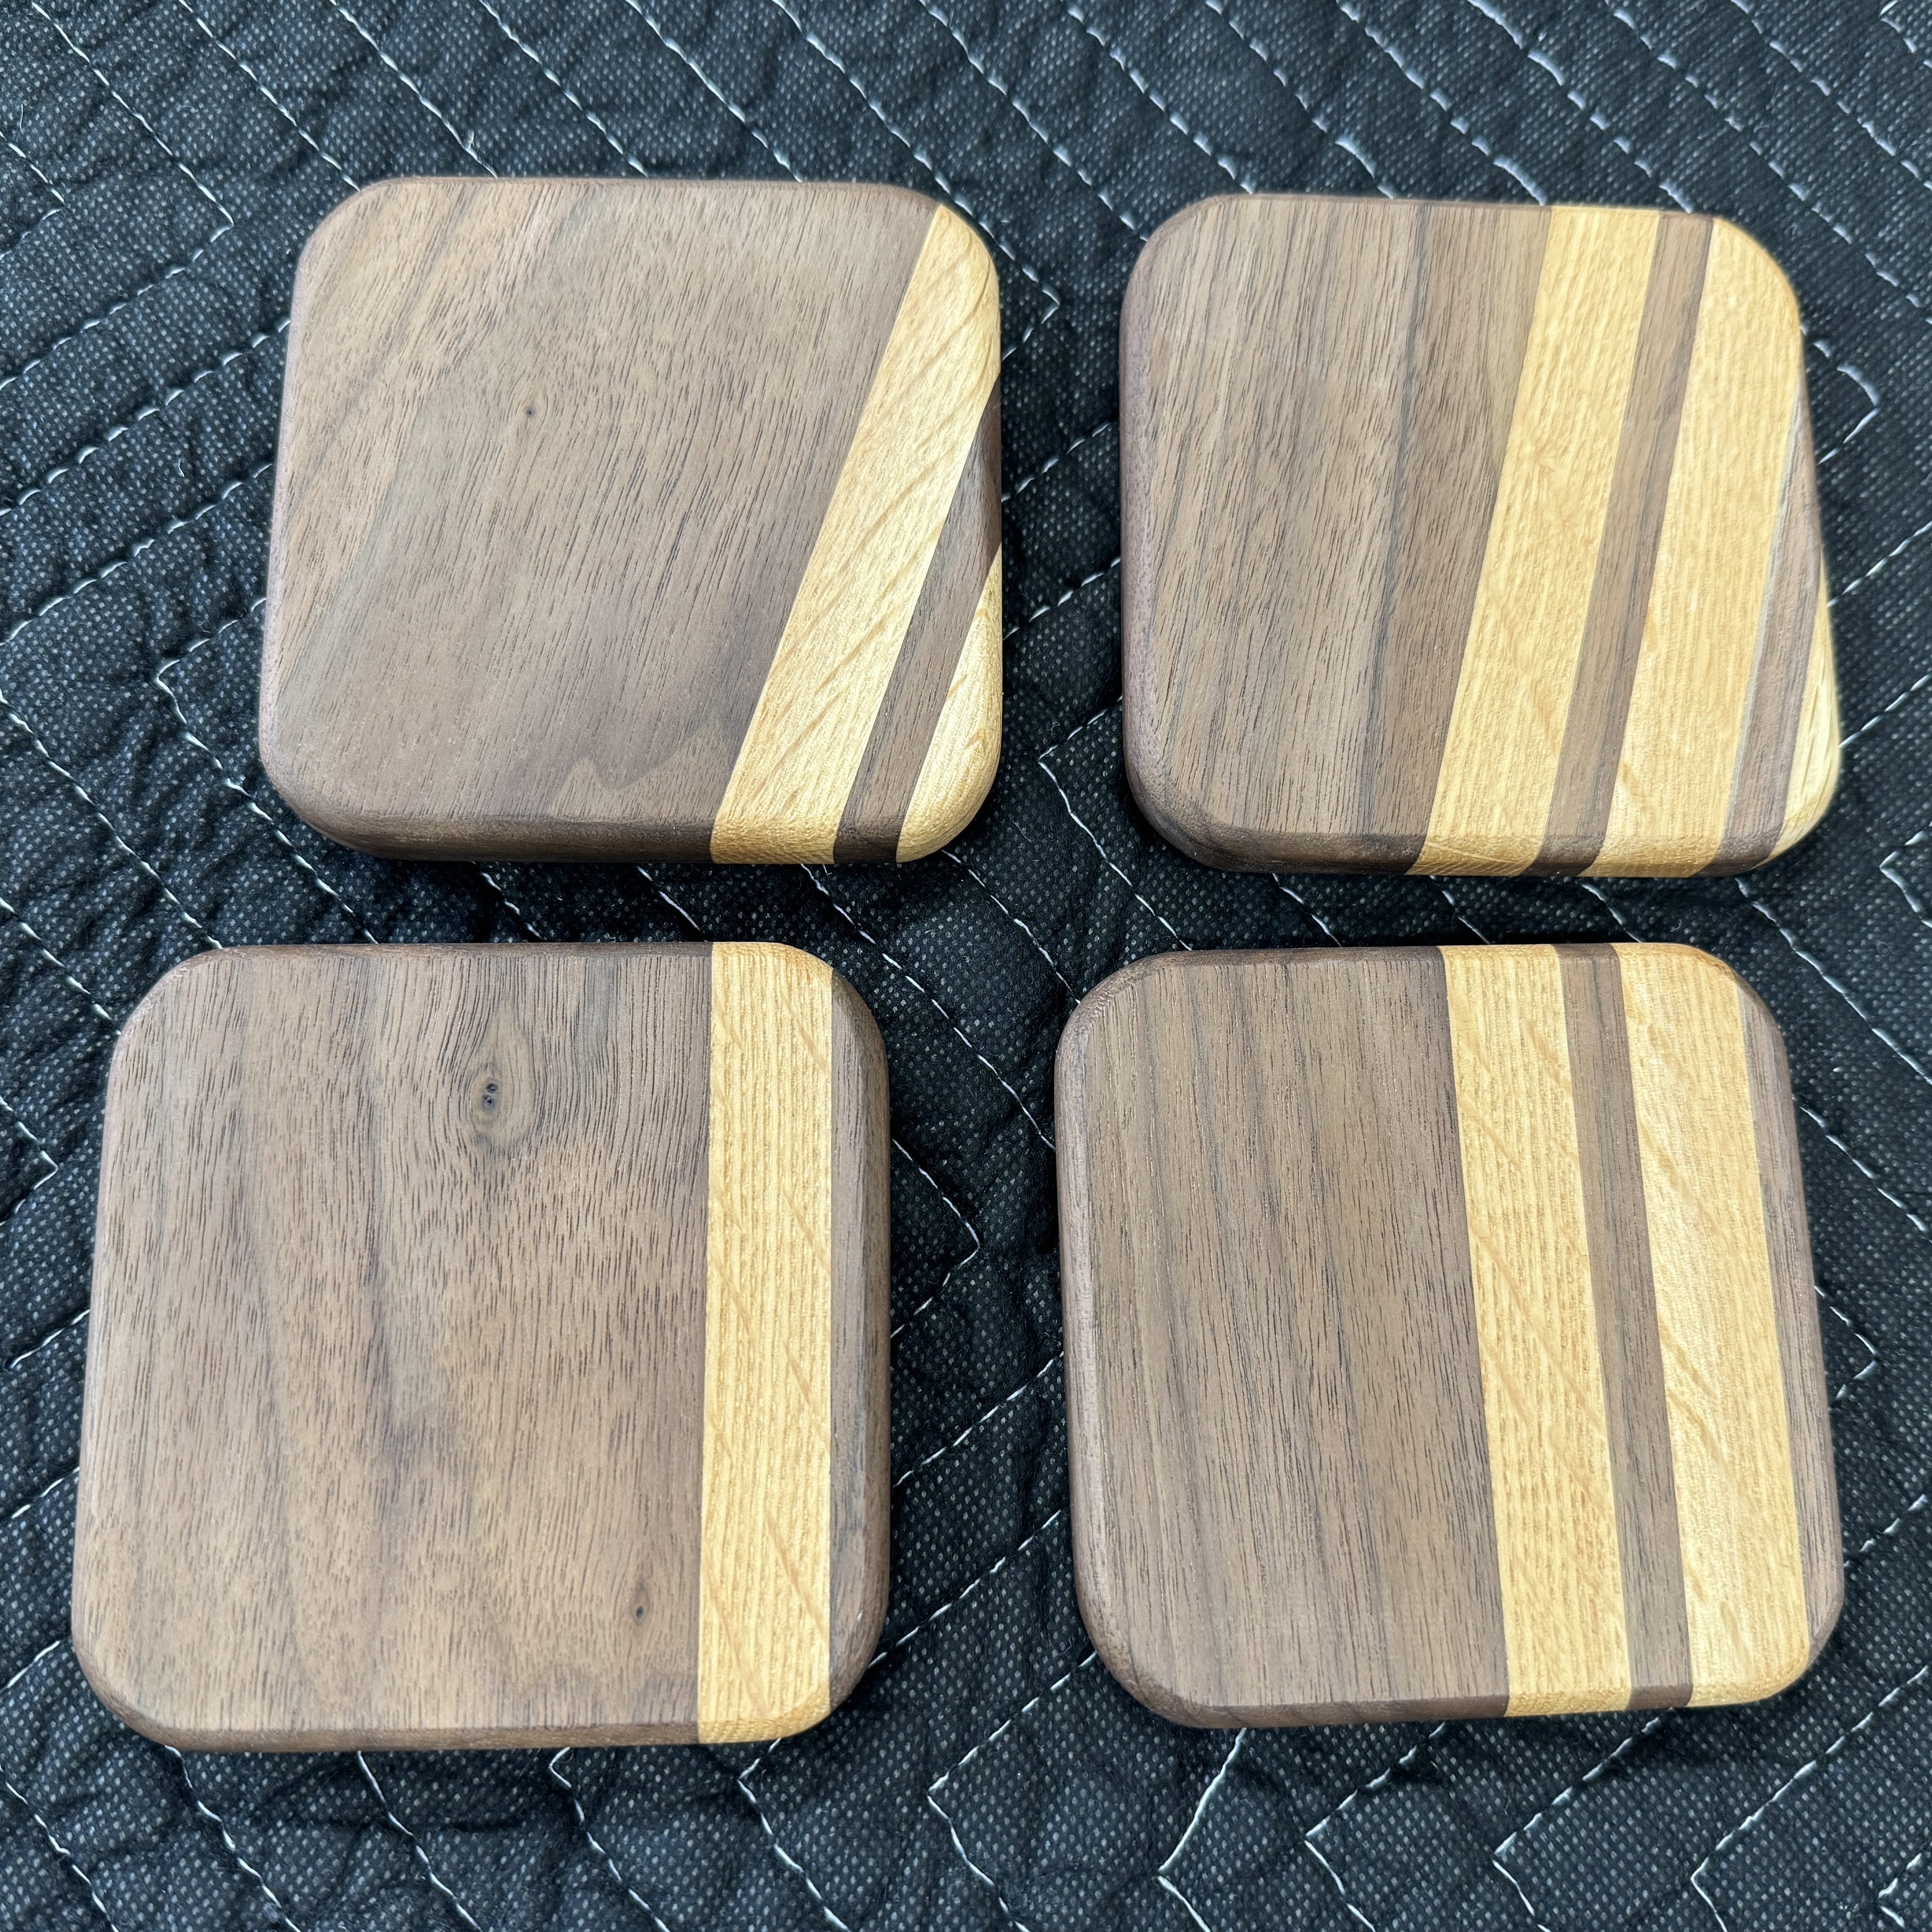
This was a simple project and a lot of fun to knock out something small. I’ll keep two of the coasters in the office and put the other two in the living room.
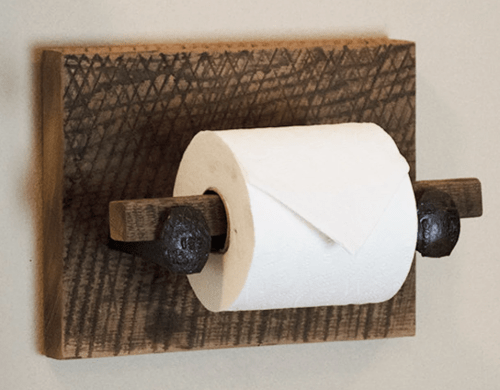
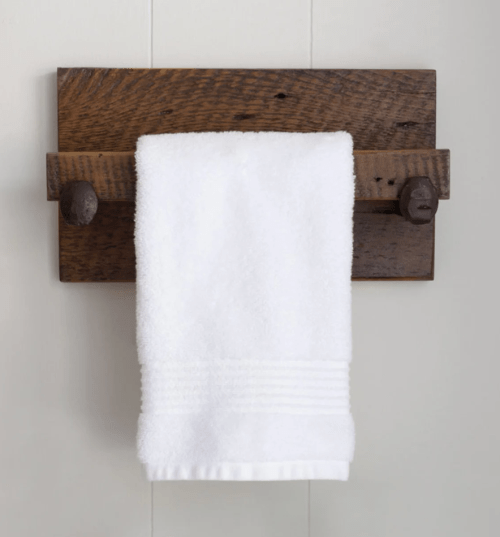
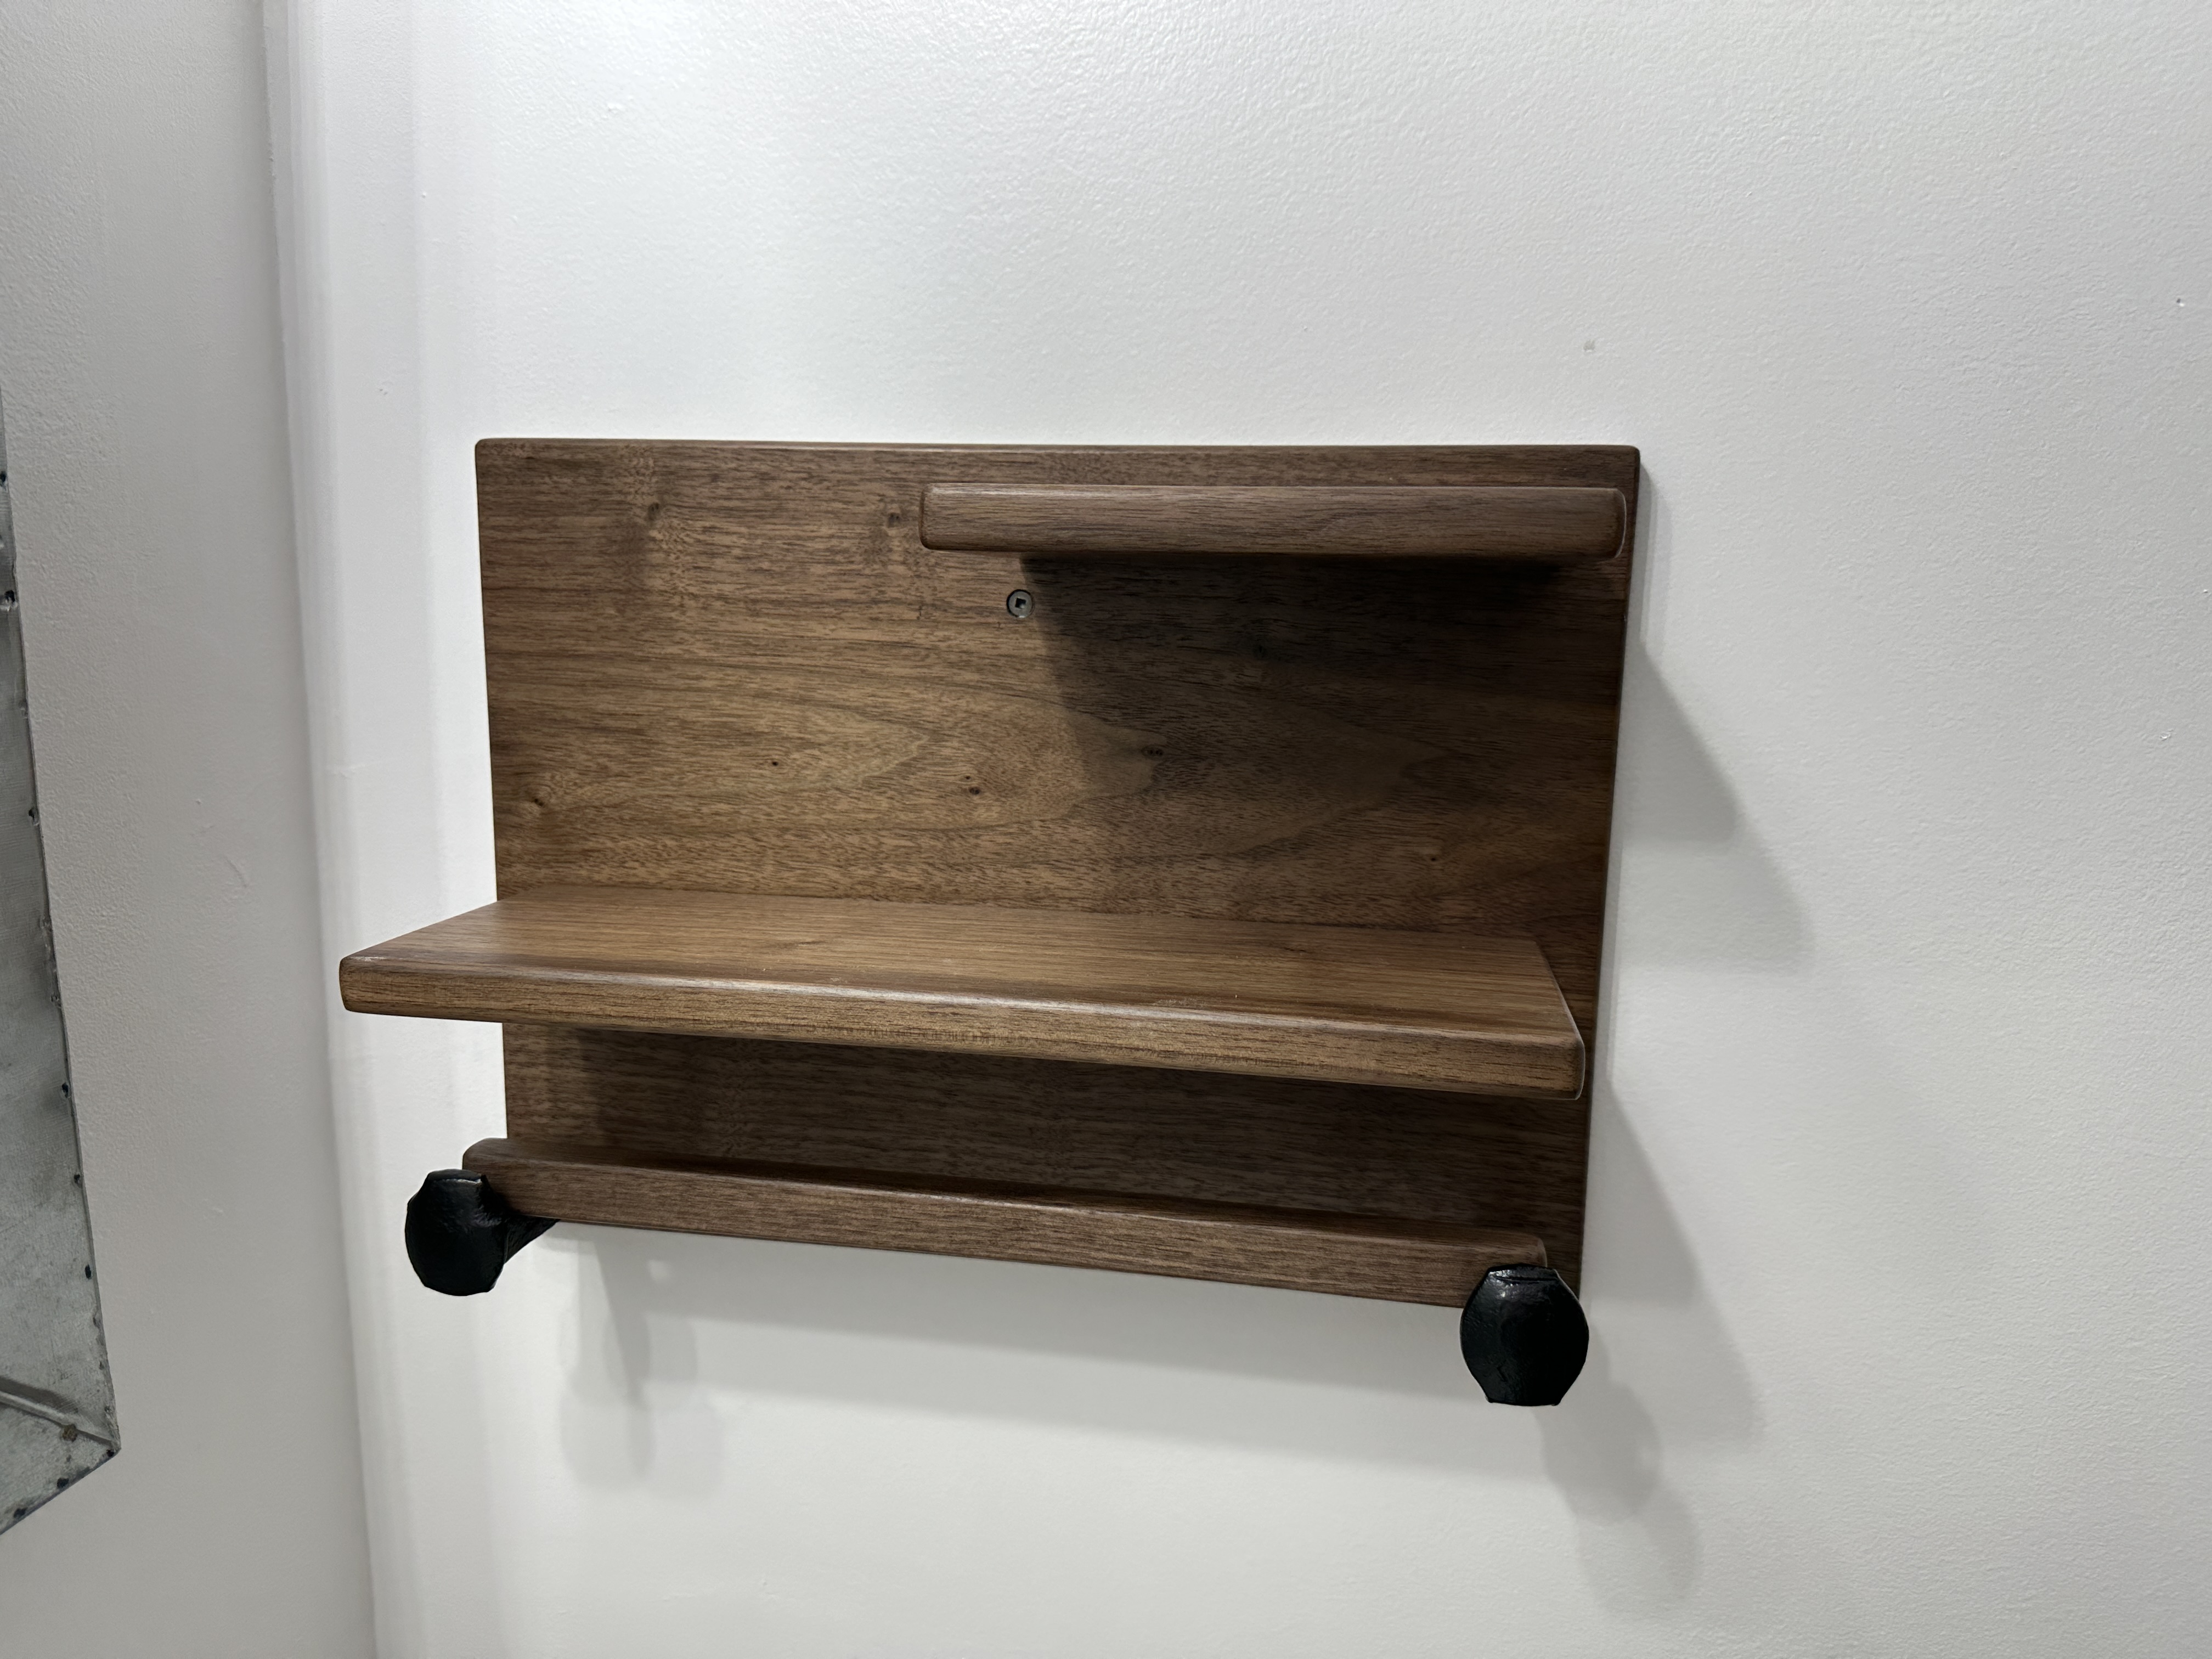
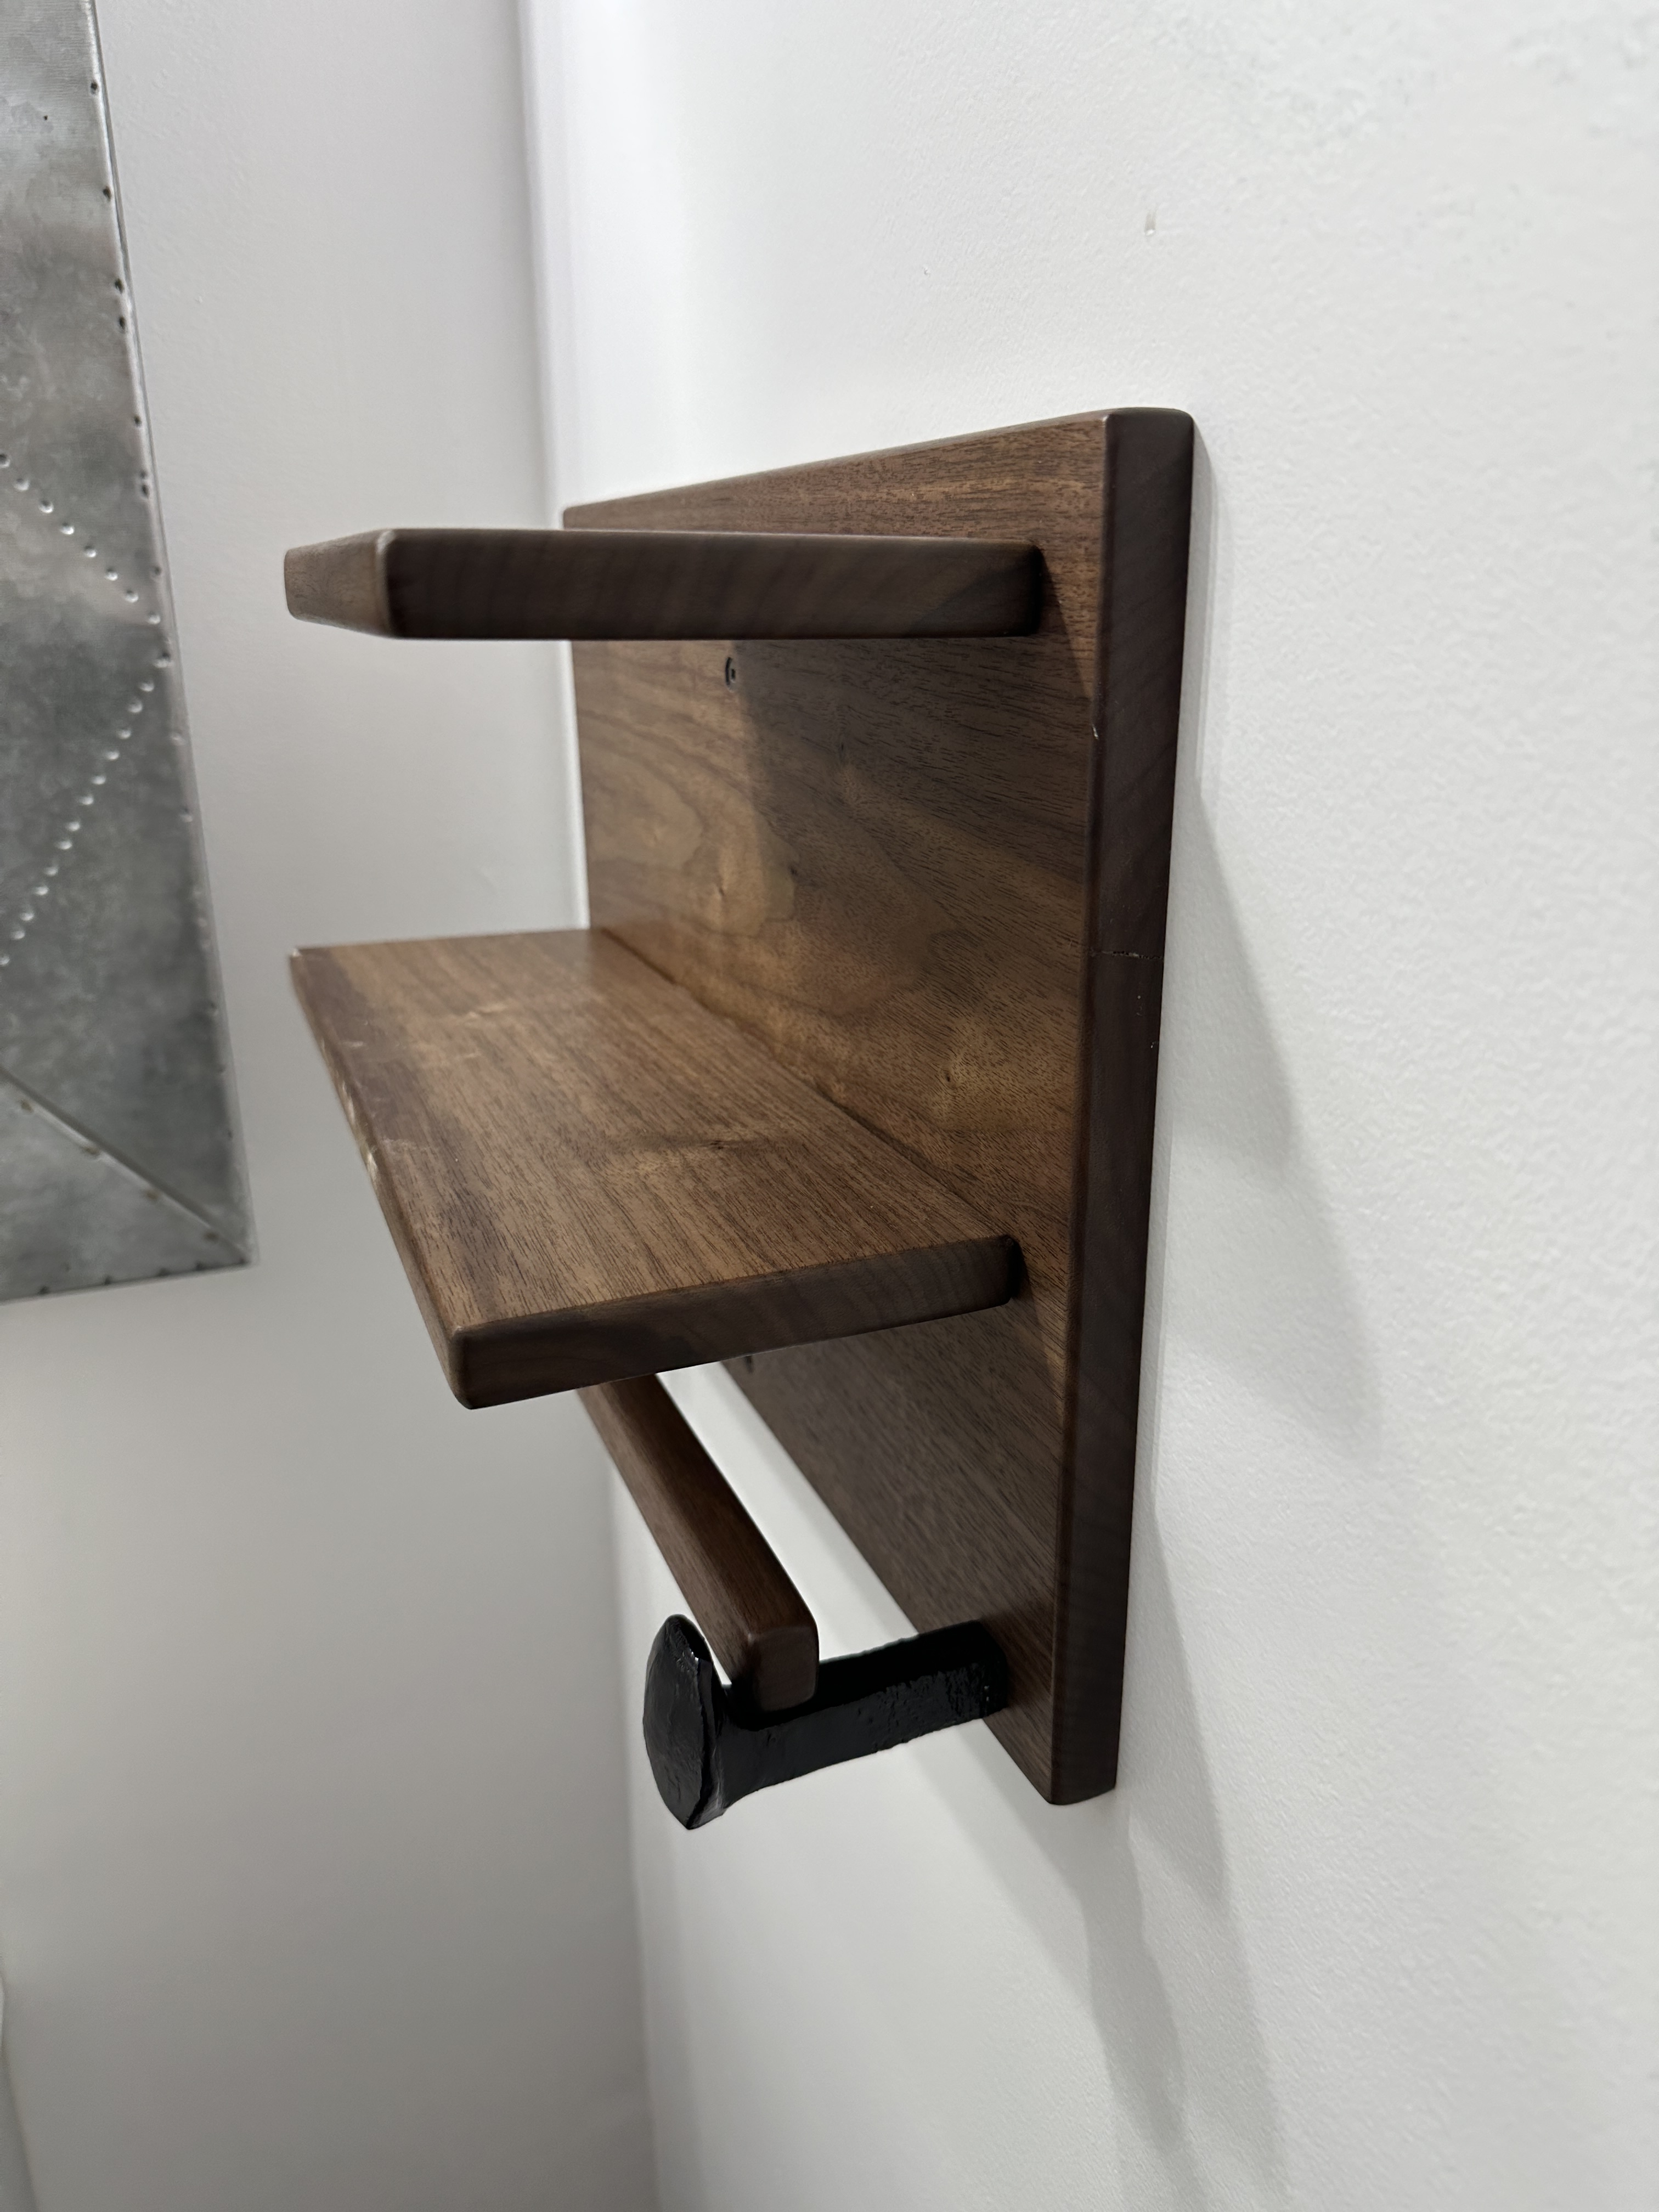
Last month we remodeled the small bathroom on our main floor and we’ve been living without some important things in the room, toilet paper and towel holders. The roll of TP has been sitting on the floor and a towel has been draped over the edge of the sink. Time to change that.
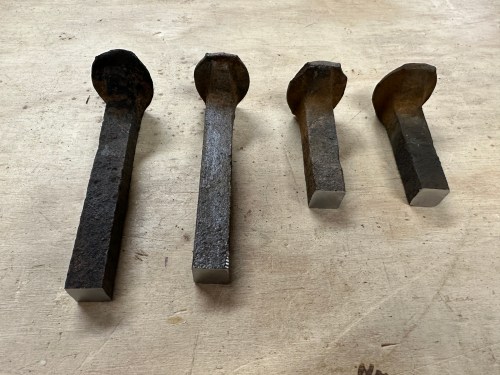
When I remodeled the living room, I bought some railroad spikes with the plan to incorporate them in to some designs. I didn’t use one. As we talked about ideas for the bathroom we thought it might be neat to use some of the spikes. Brandi found these examples on Pinterest for inspiration.
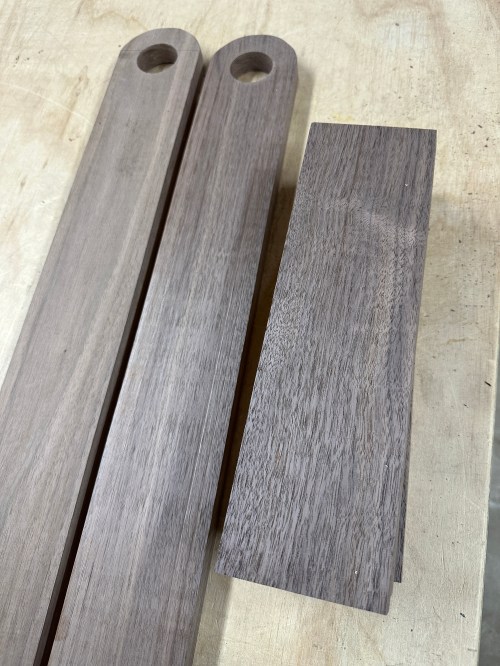
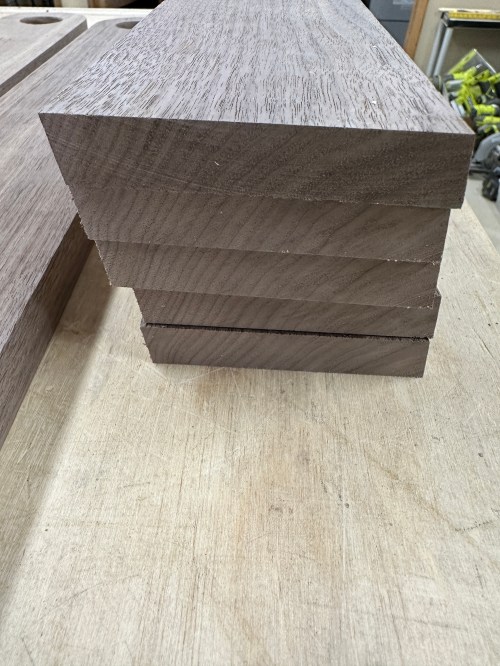
Of course I would make my own versions, especially since these cost $98 and $104 respectively! When I milled up the black walnut for the ladder, I did a second board to make these holders. To see the grain I had rubbed some water on the pieces.
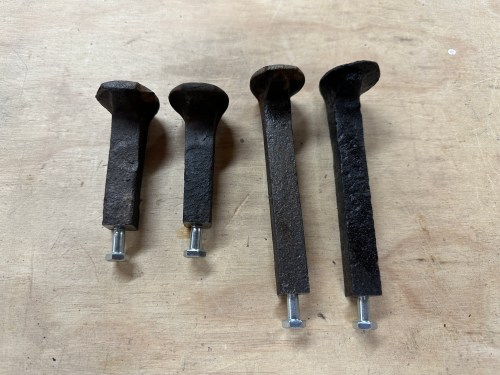
The big challenge was attaching the spikes to the wood. Since I like to learn new skills I wanted to see if I could bolt them together. I cut the spikes to length and sanded the ends square-ish. Then it was over to the drill press to put a 13/64 hole in each end. Things weren’t perfectly straight, but the spikes are far from straight anyway, so it was fine. I finally got to use the tap wrench I received for Christmas a few years ago, which was just big enough to fit a 1/4-20 tap. It worked and I was so excited!
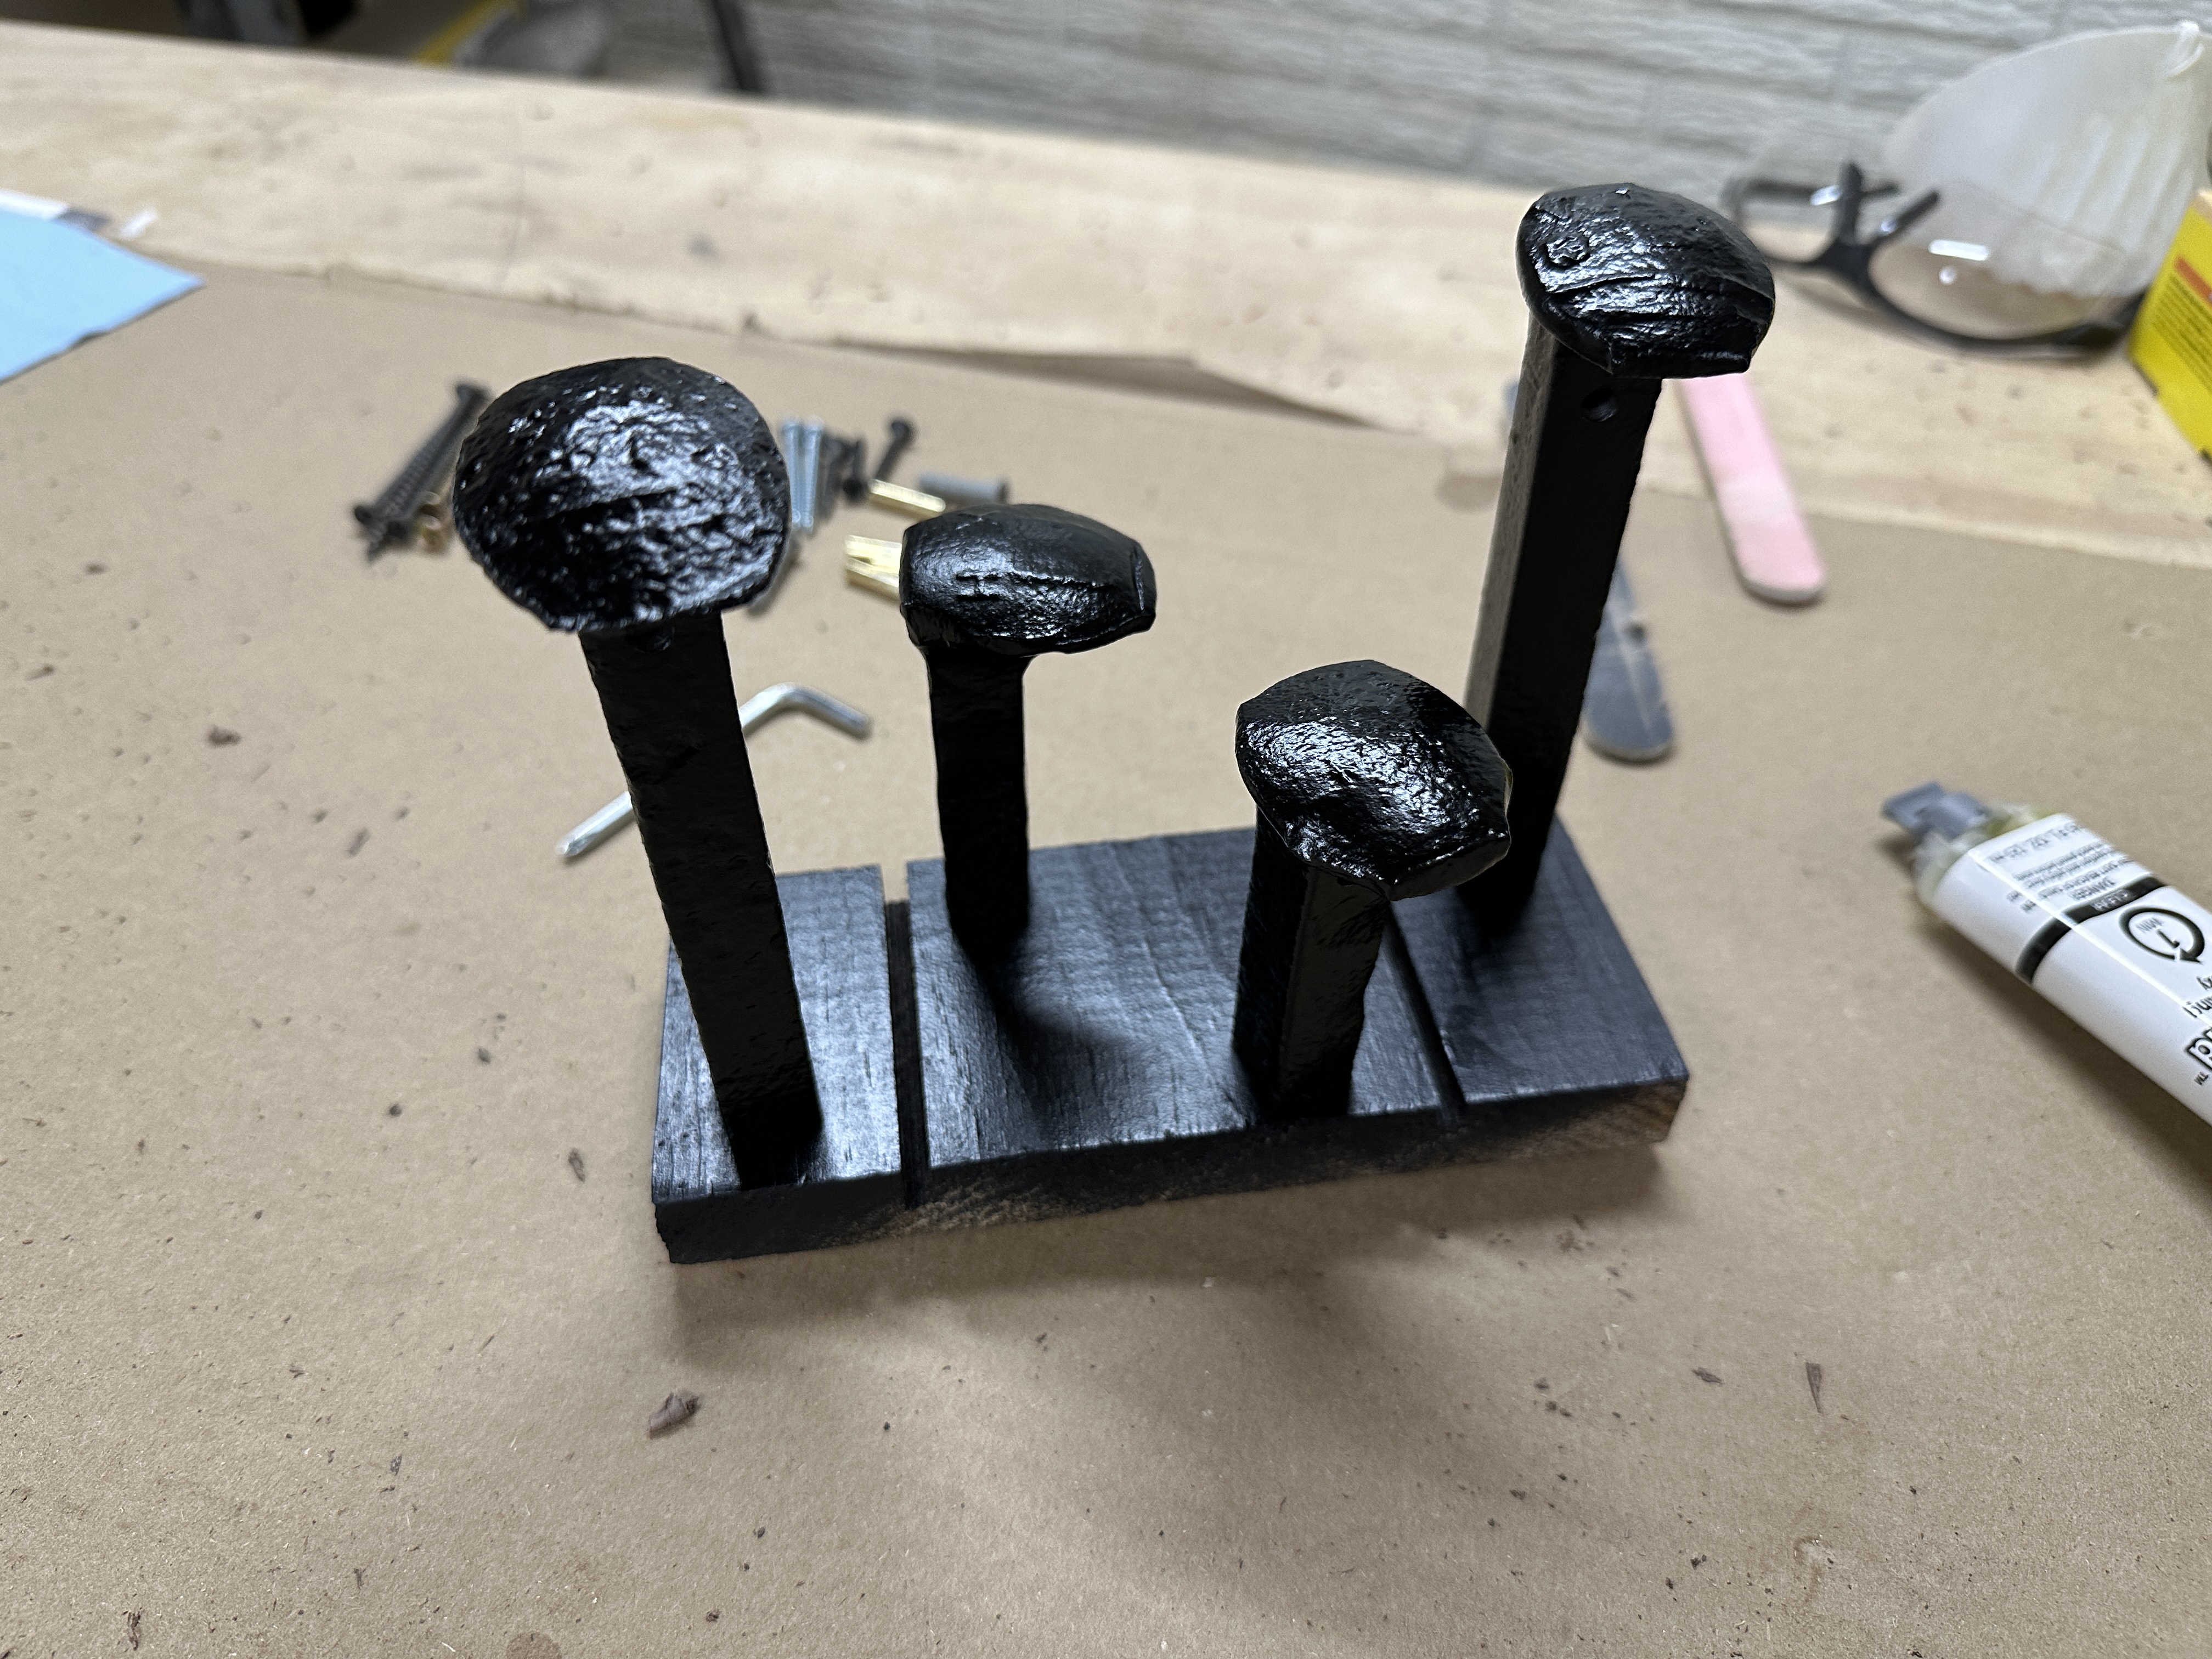
I used different bolts with washers in the final assembly but didn’t get a picture. After cleaning them up the spikes with a wire wheel on a bench grinder, I drilled some holes in a scrap piece of wood, mounted them, and spray painted them black.
I drilled a hole near the heads where I used epoxy to put in a pin which would keep the rail in place. I didn’t get a picture of this, but I do have one at the end of the post to show how the TP holder works. Meanwhile, I had cut all of my pieces of walnut, drilled holes for mounting and assembly, rounded the edges on my router table, and sanded through the grits.
To keep the finishing stage simple I sprayed on 4 coats of lacquer from a rattle can and applied a coat of Linseed Oil & Beeswax Polish.
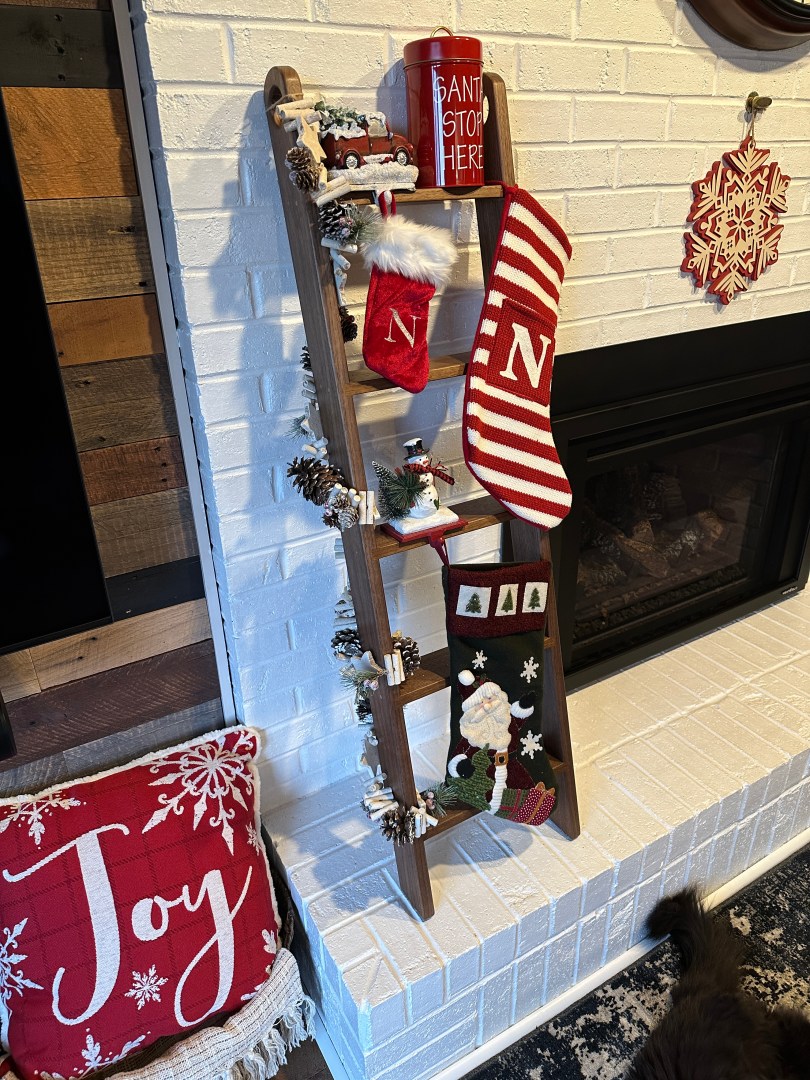
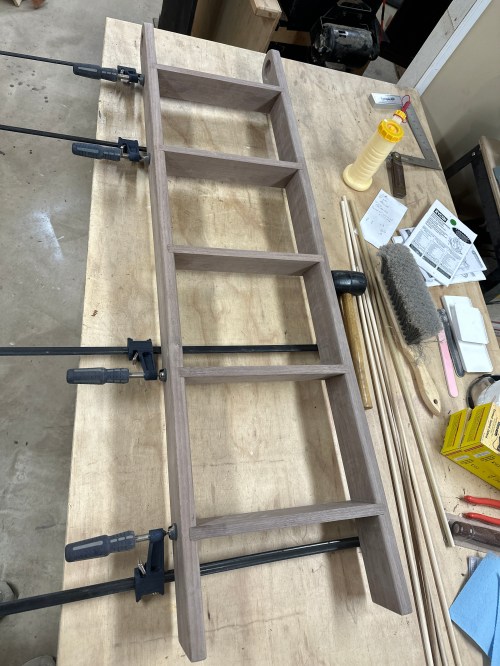
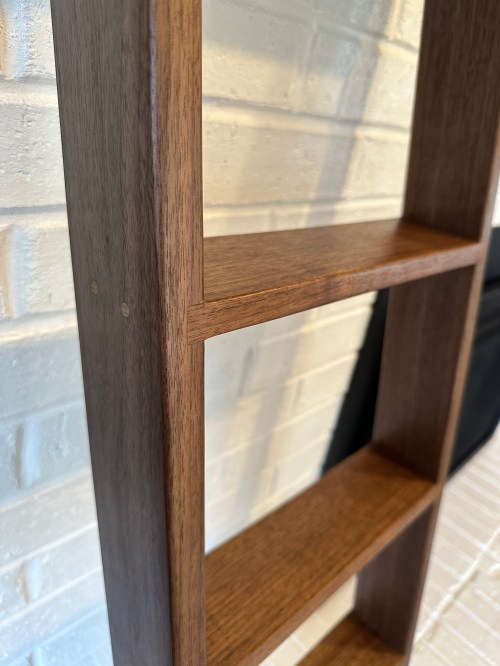
Several years ago I thought about making a ladder to hang blankets on next to the fireplace. Then last month Brandi asked if I would make a ladder she could also hang our Christmas stockings on. I’ve had some black walnut on my lumber rack for a couple of years and this seemed like a perfect project to use some. I hadn’t done much woodworking this year, so it was also a great project to over-engineer the design and try some new things. Here are some pictures taking during the build.
The feet of the ladder are cut at a 10° angle, which provided the opportunity to experiment. In order for the rungs to have the option of also being shelves, they needed to be attached to the sides at this same angle as well as have the long edges cut at a bevel. For strength and ease of assembly I decided to cut dados in the sides of the ladder at that 10°. This was all new to me and the method I used produced amazing results.
First I used an angle gauge to mark lines on each side for the top of each rung. Then I clamped a straight board down, put the rung up against it, and clamped another board snugly against the rung. From there I was able to pull the rung out and use a router with a pattern bit to hog out the dado. All 10 ended up so perfect that I had to use a rubber mallet to disassemble it after my dry-fit.
After a ton of sanding and the glue up, the ladder was plenty strong enough, since it would never be used as an actual ladder. I knew I didn’t want to add screws to the joints and even though I didn’t need to, I decided to add dowels for the practice and the look of the contrasting oak. I made a little jig to line up and drill out holes in to the edge of each rung. Everything got finished with three coats of Minwax Wipe-on Poly and a coat of Linseed Oil & Beeswax Polish.
This turned out to be one of the nicest pieces I’ve ever made.
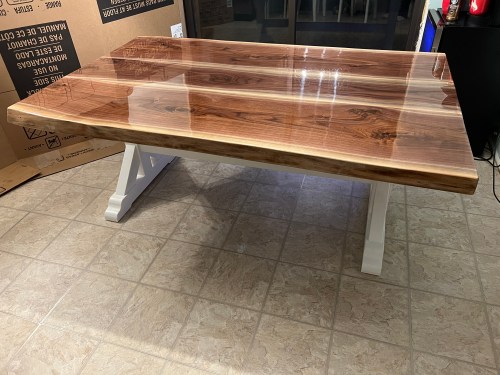
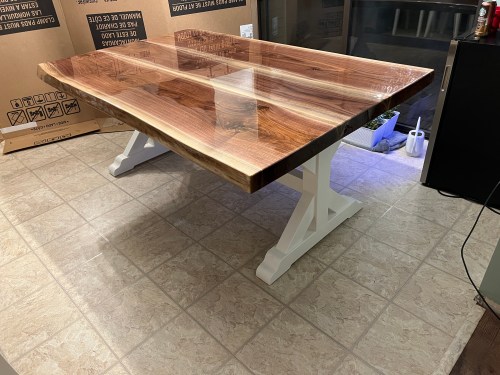
When I bought my house I eventually got a tall dining table and I’ve hated it for years. It was a bitch to get in and out of the chairs and my legs bumped up against the apron when I sat down. It was definitely getting replaced during the kitchen remodel. After selling the table, we used a card table for a few weeks.
I don’t remember the first time I saw a live edge table, but I’ve wanted one for a long time. I would have loved to build one but as I started working on the kitchen, it was clear time wasn’t going to be on my side. Since the table would be the showcase of the space, I decided to have the top built for me. I found a local maker on Facebook Marketplace (business name removed because I can no longer recommend him), which showed some awesome work. I give him a call, visited his shop, and gave him the job. I love black walnut, especially with some of the sapwood, so that’s what I went with. A few weeks later he delivered this beauty!
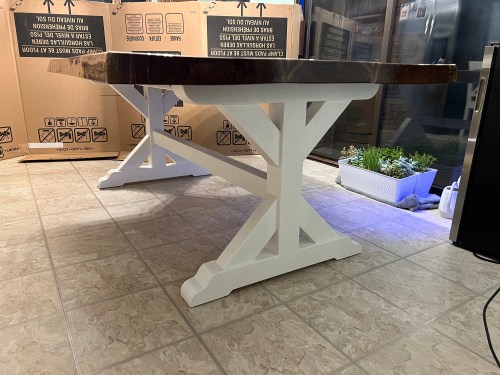
It’s 2.5 inches thick, 73 inches long, and averages about 45 inches wide. It’s fucking heavy!
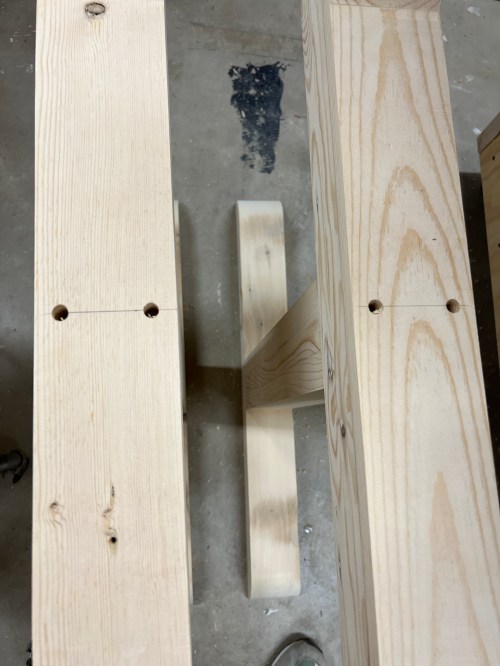
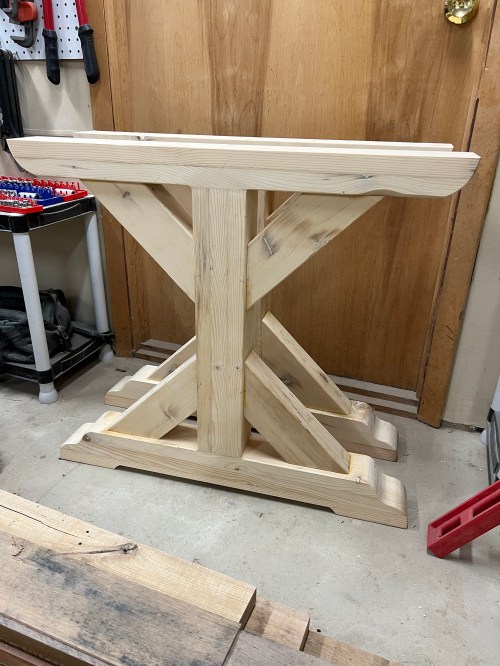
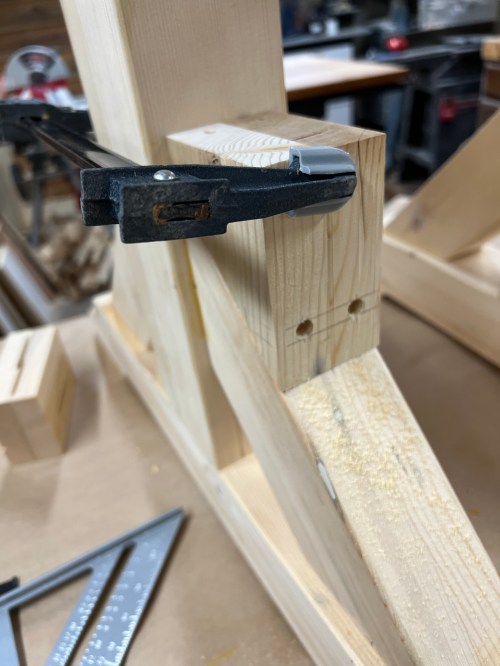
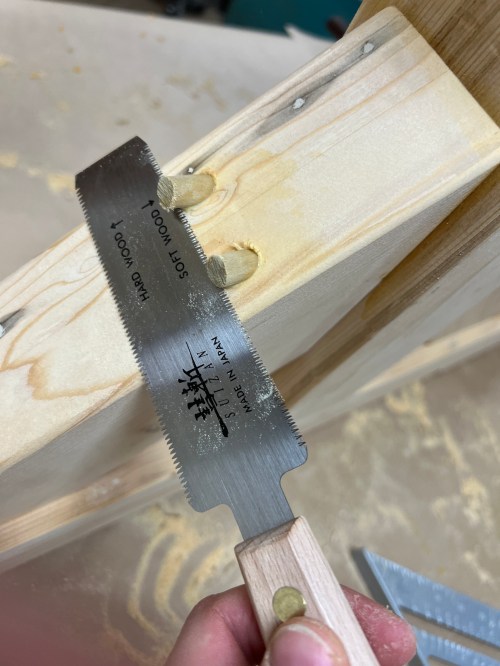
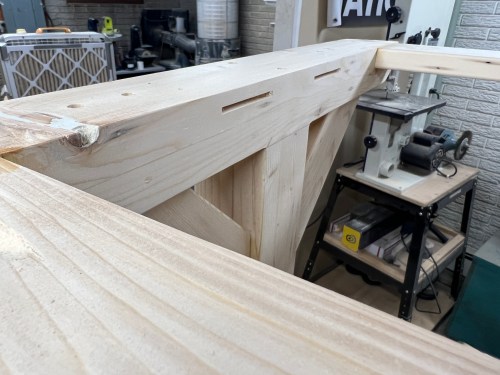
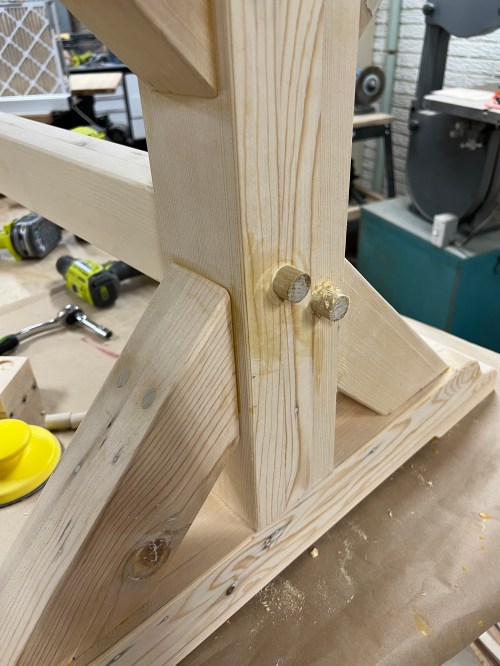
I thought about buying a table base kit online or having one made. We should have this table for a very long time and I wanted some part in it, so I decided to make the base. We’re going for a bit of a farmhouse kitchen vibe, so I went with a trestle base. I took ideas from these free plans as well as some custom tables I found on Etsy and Marketplace and I put my own twist on everything. For chairs we picked up four INGOLF from IKEA.
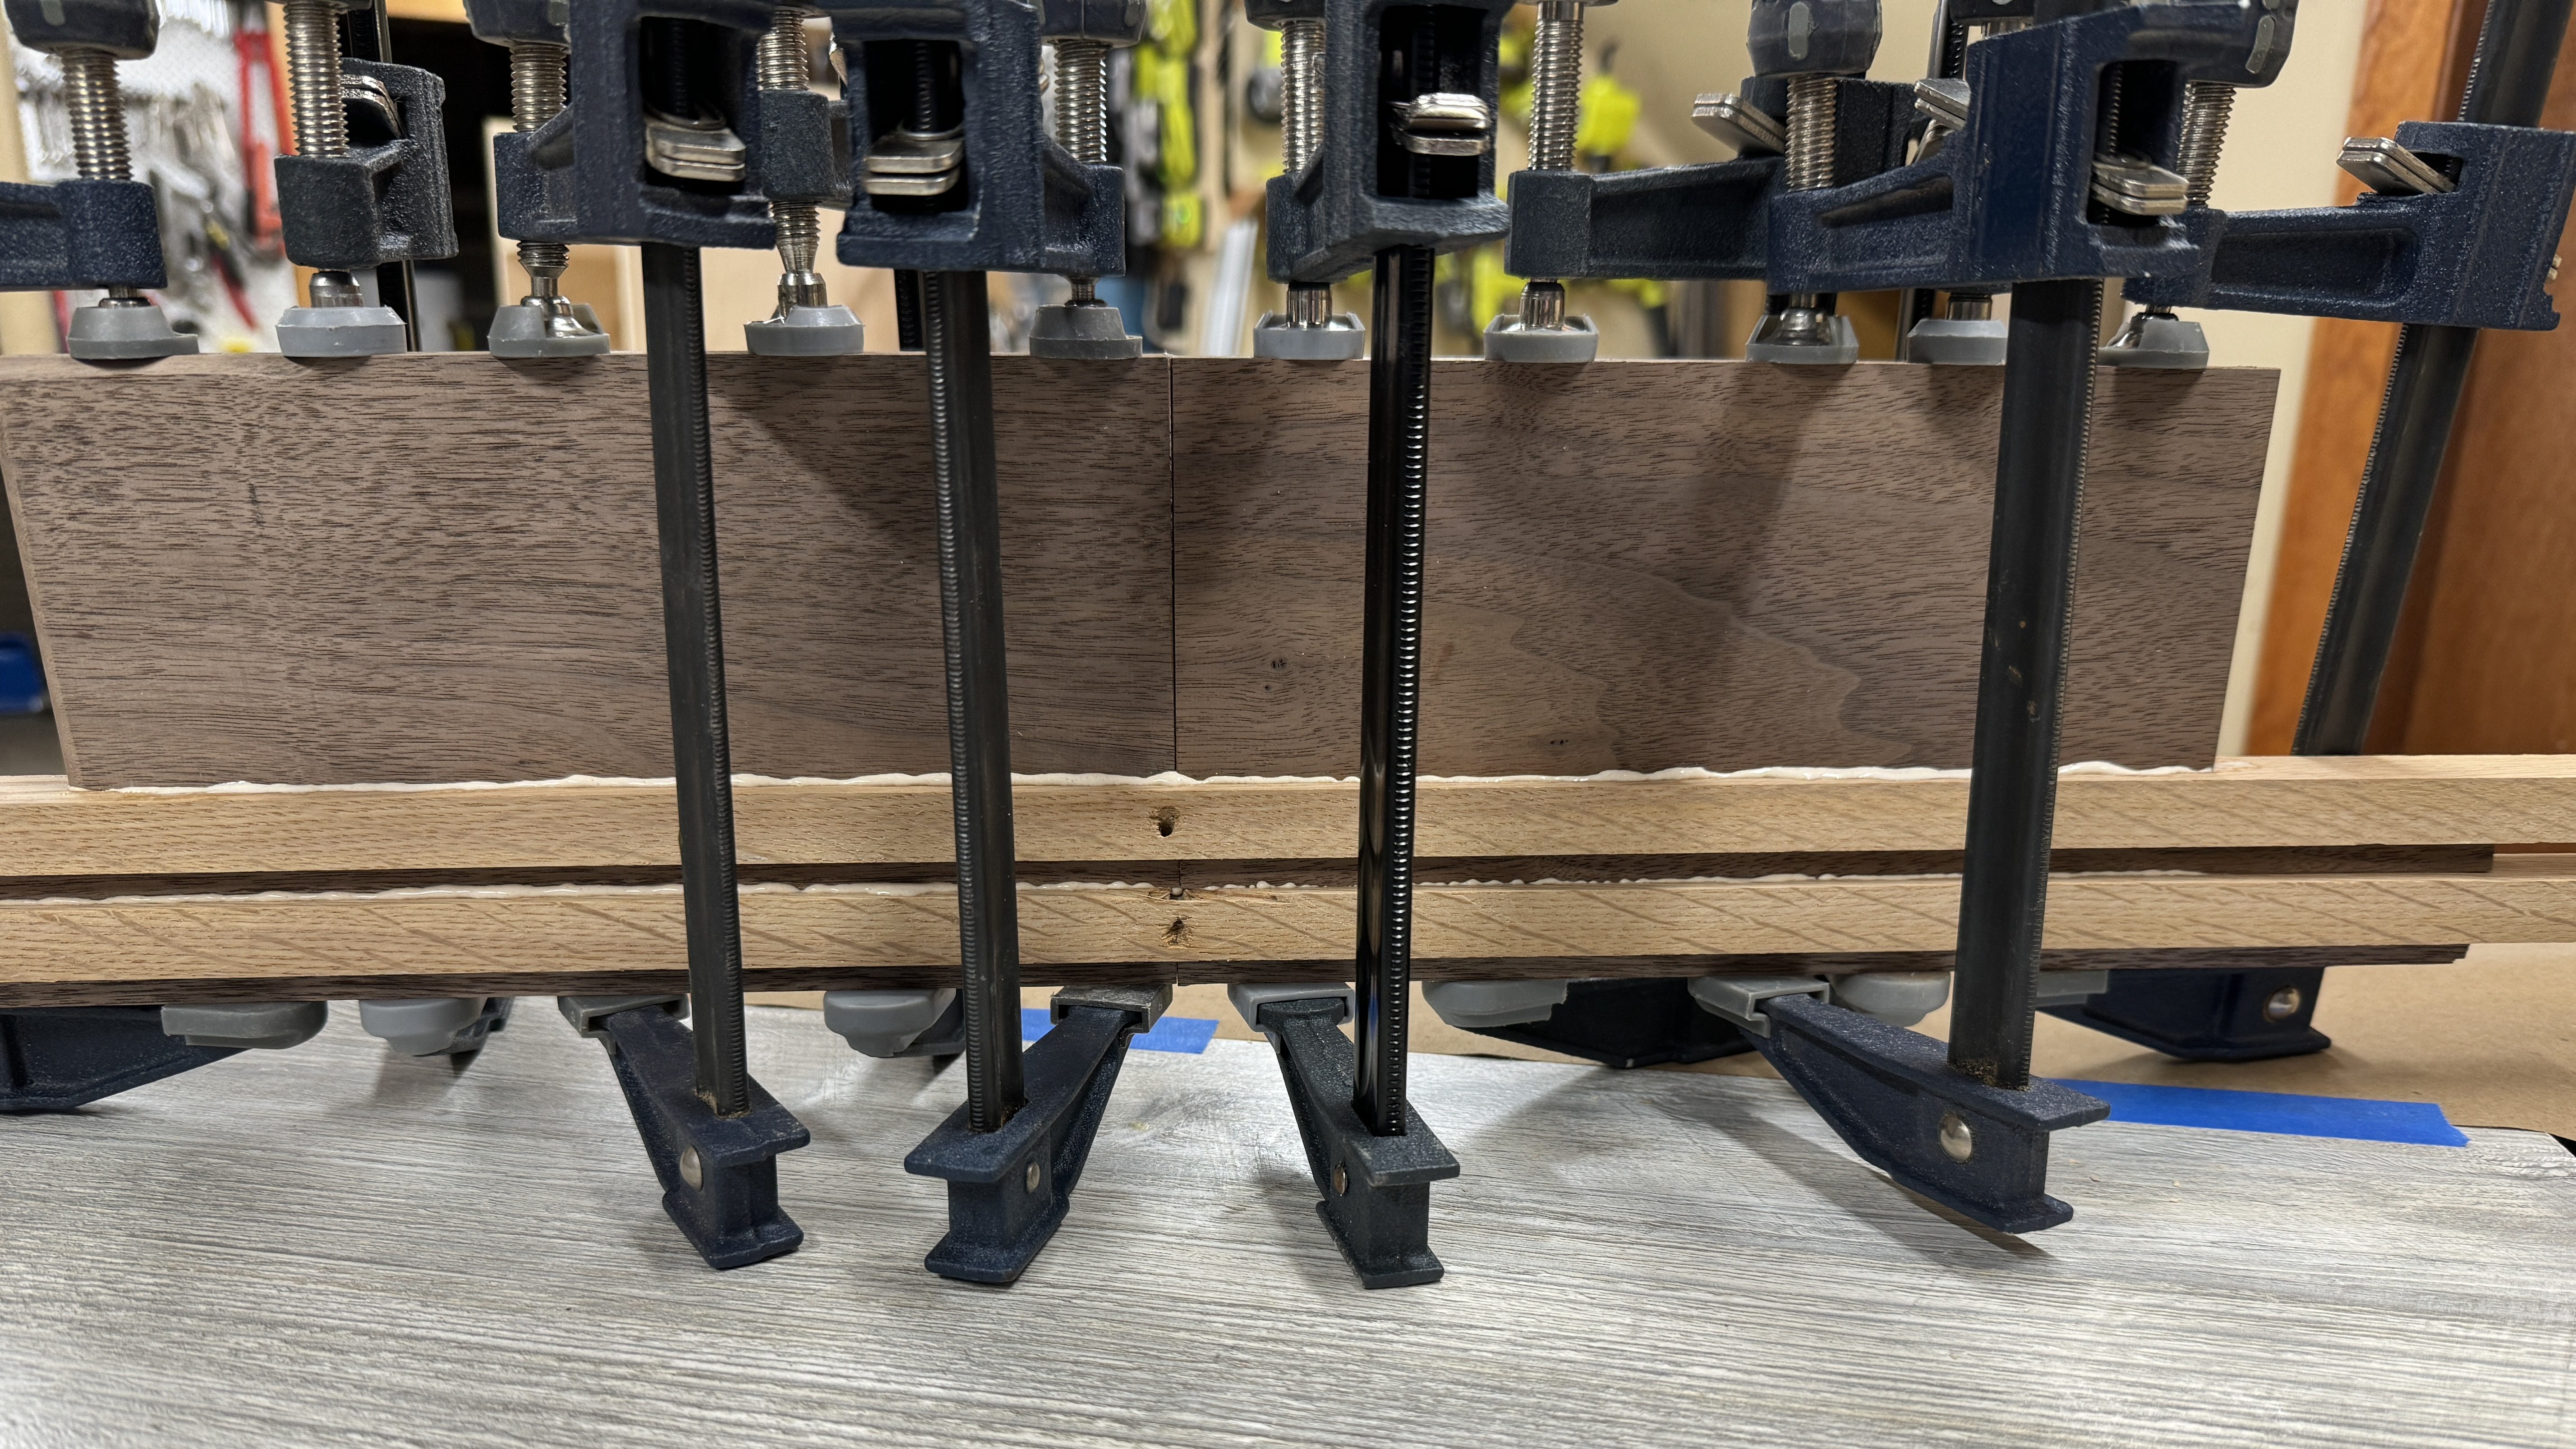
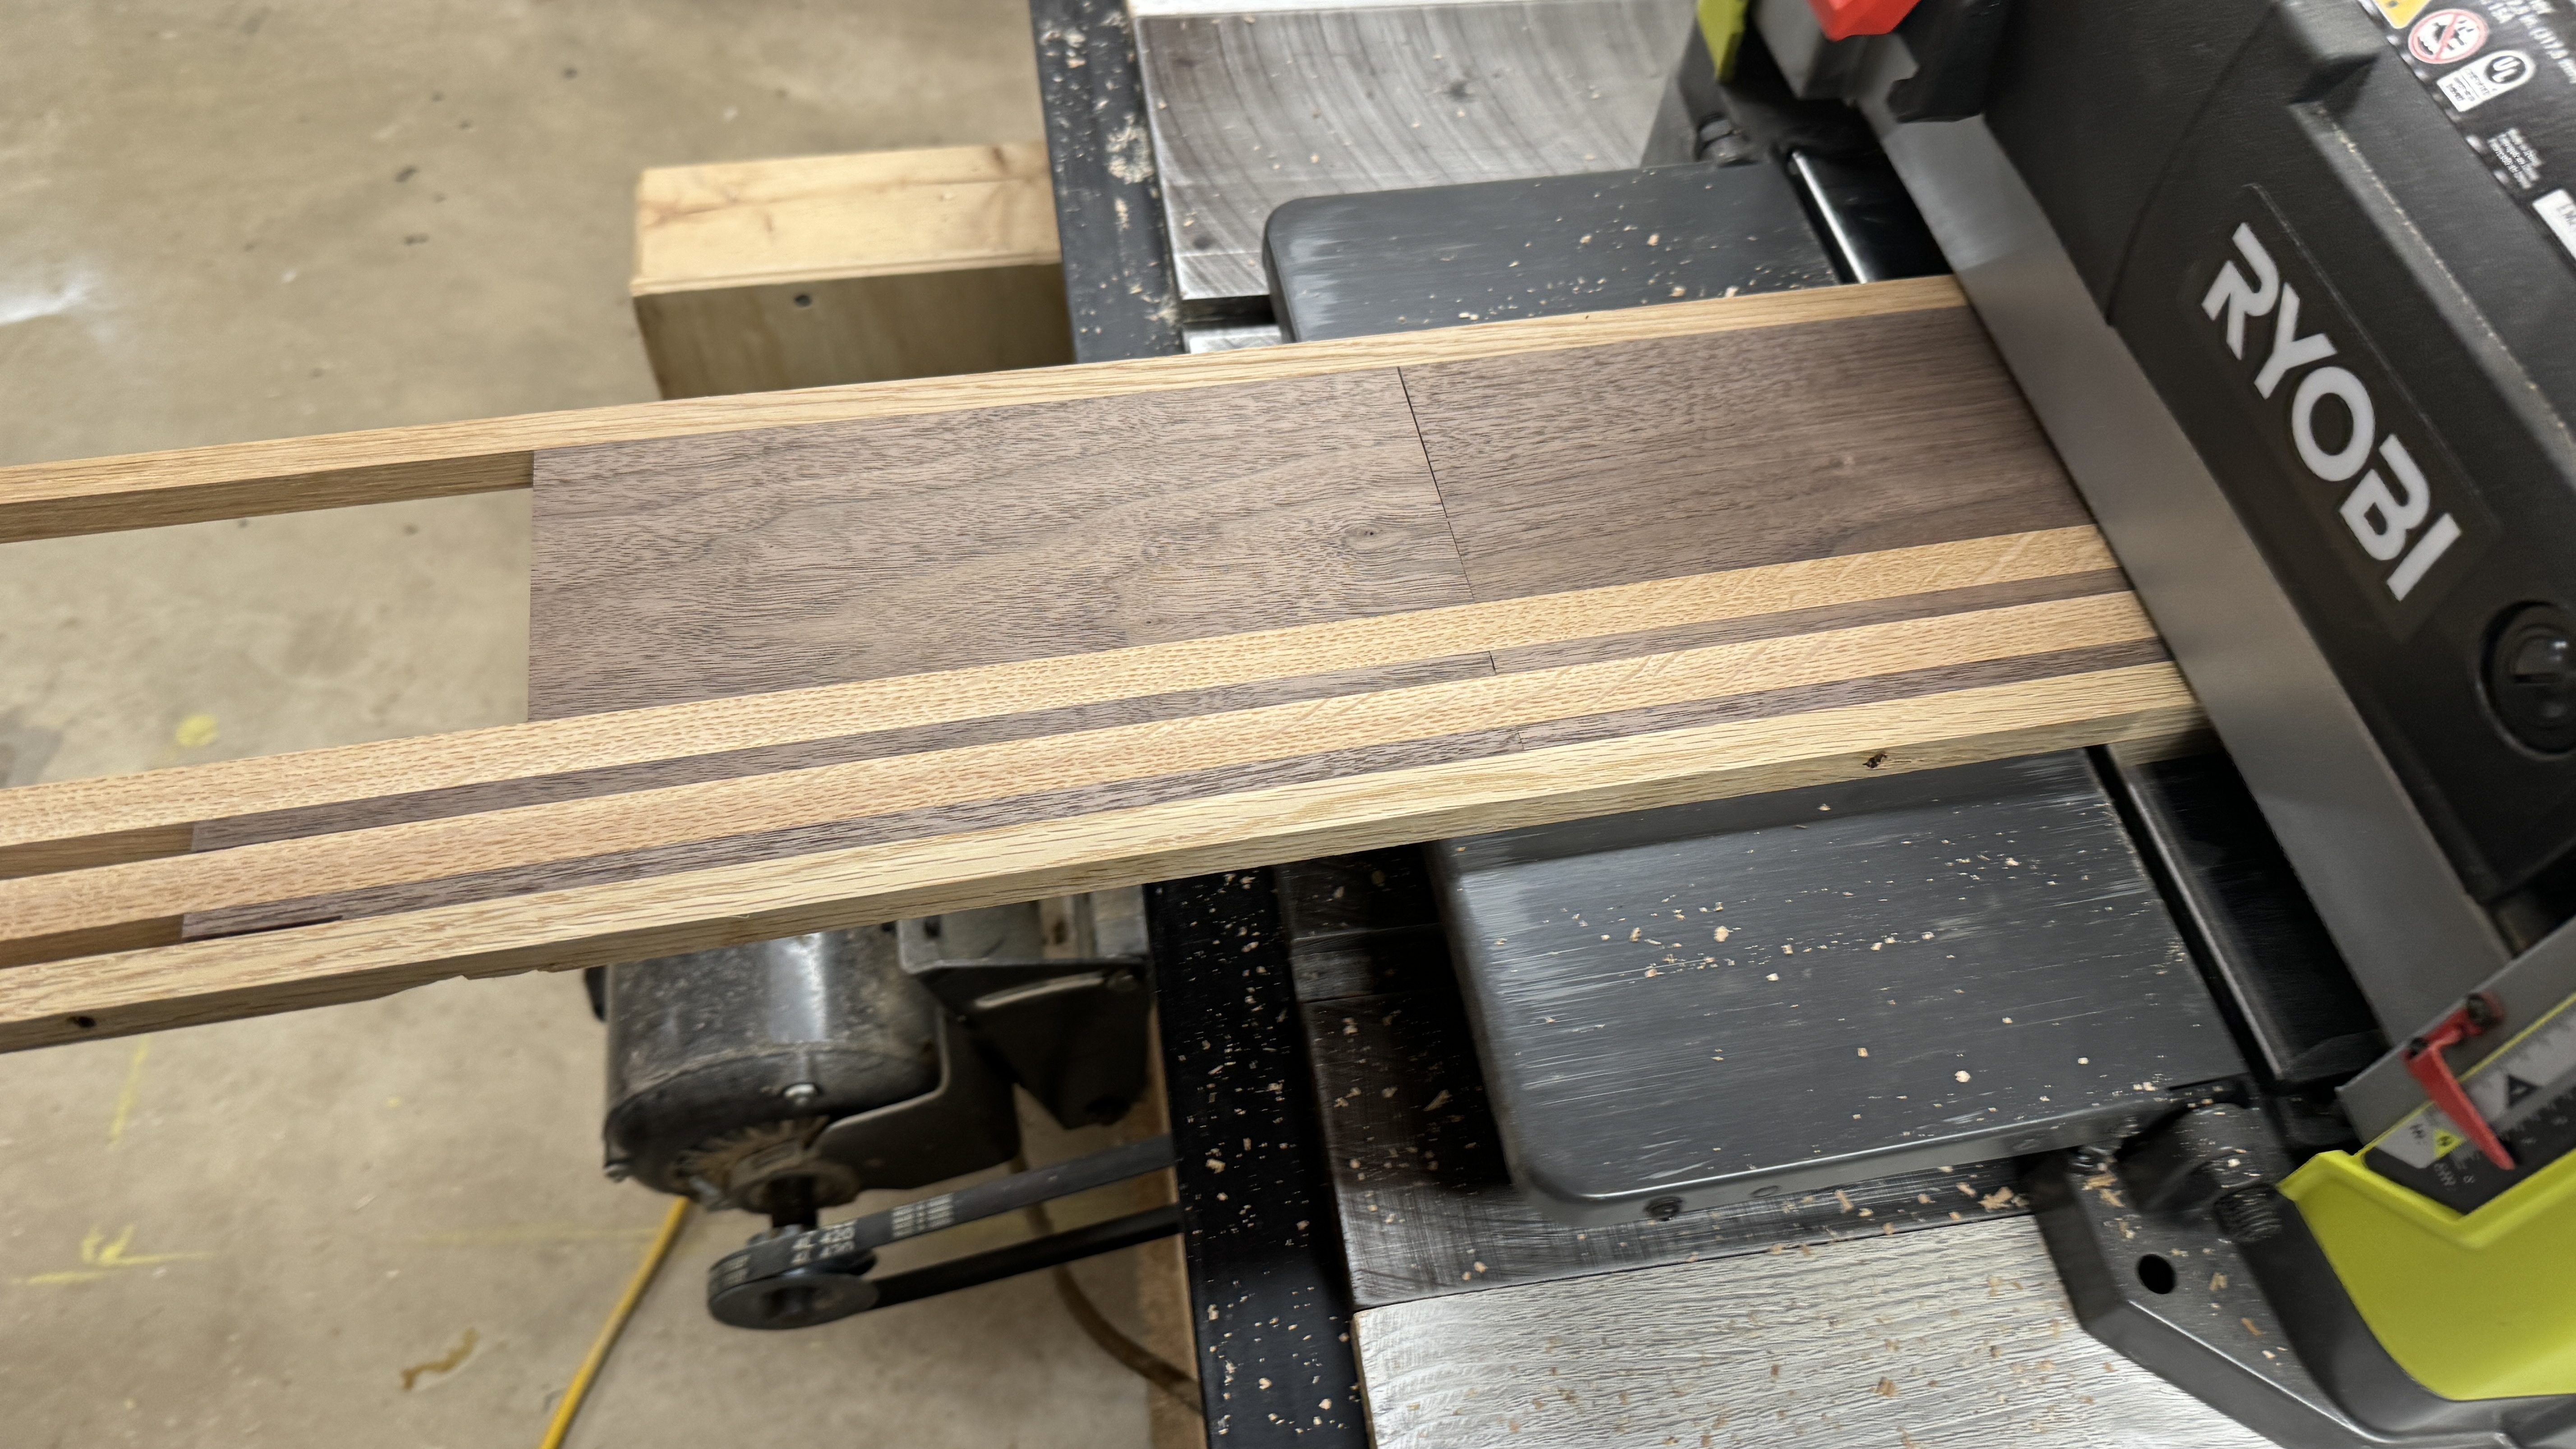
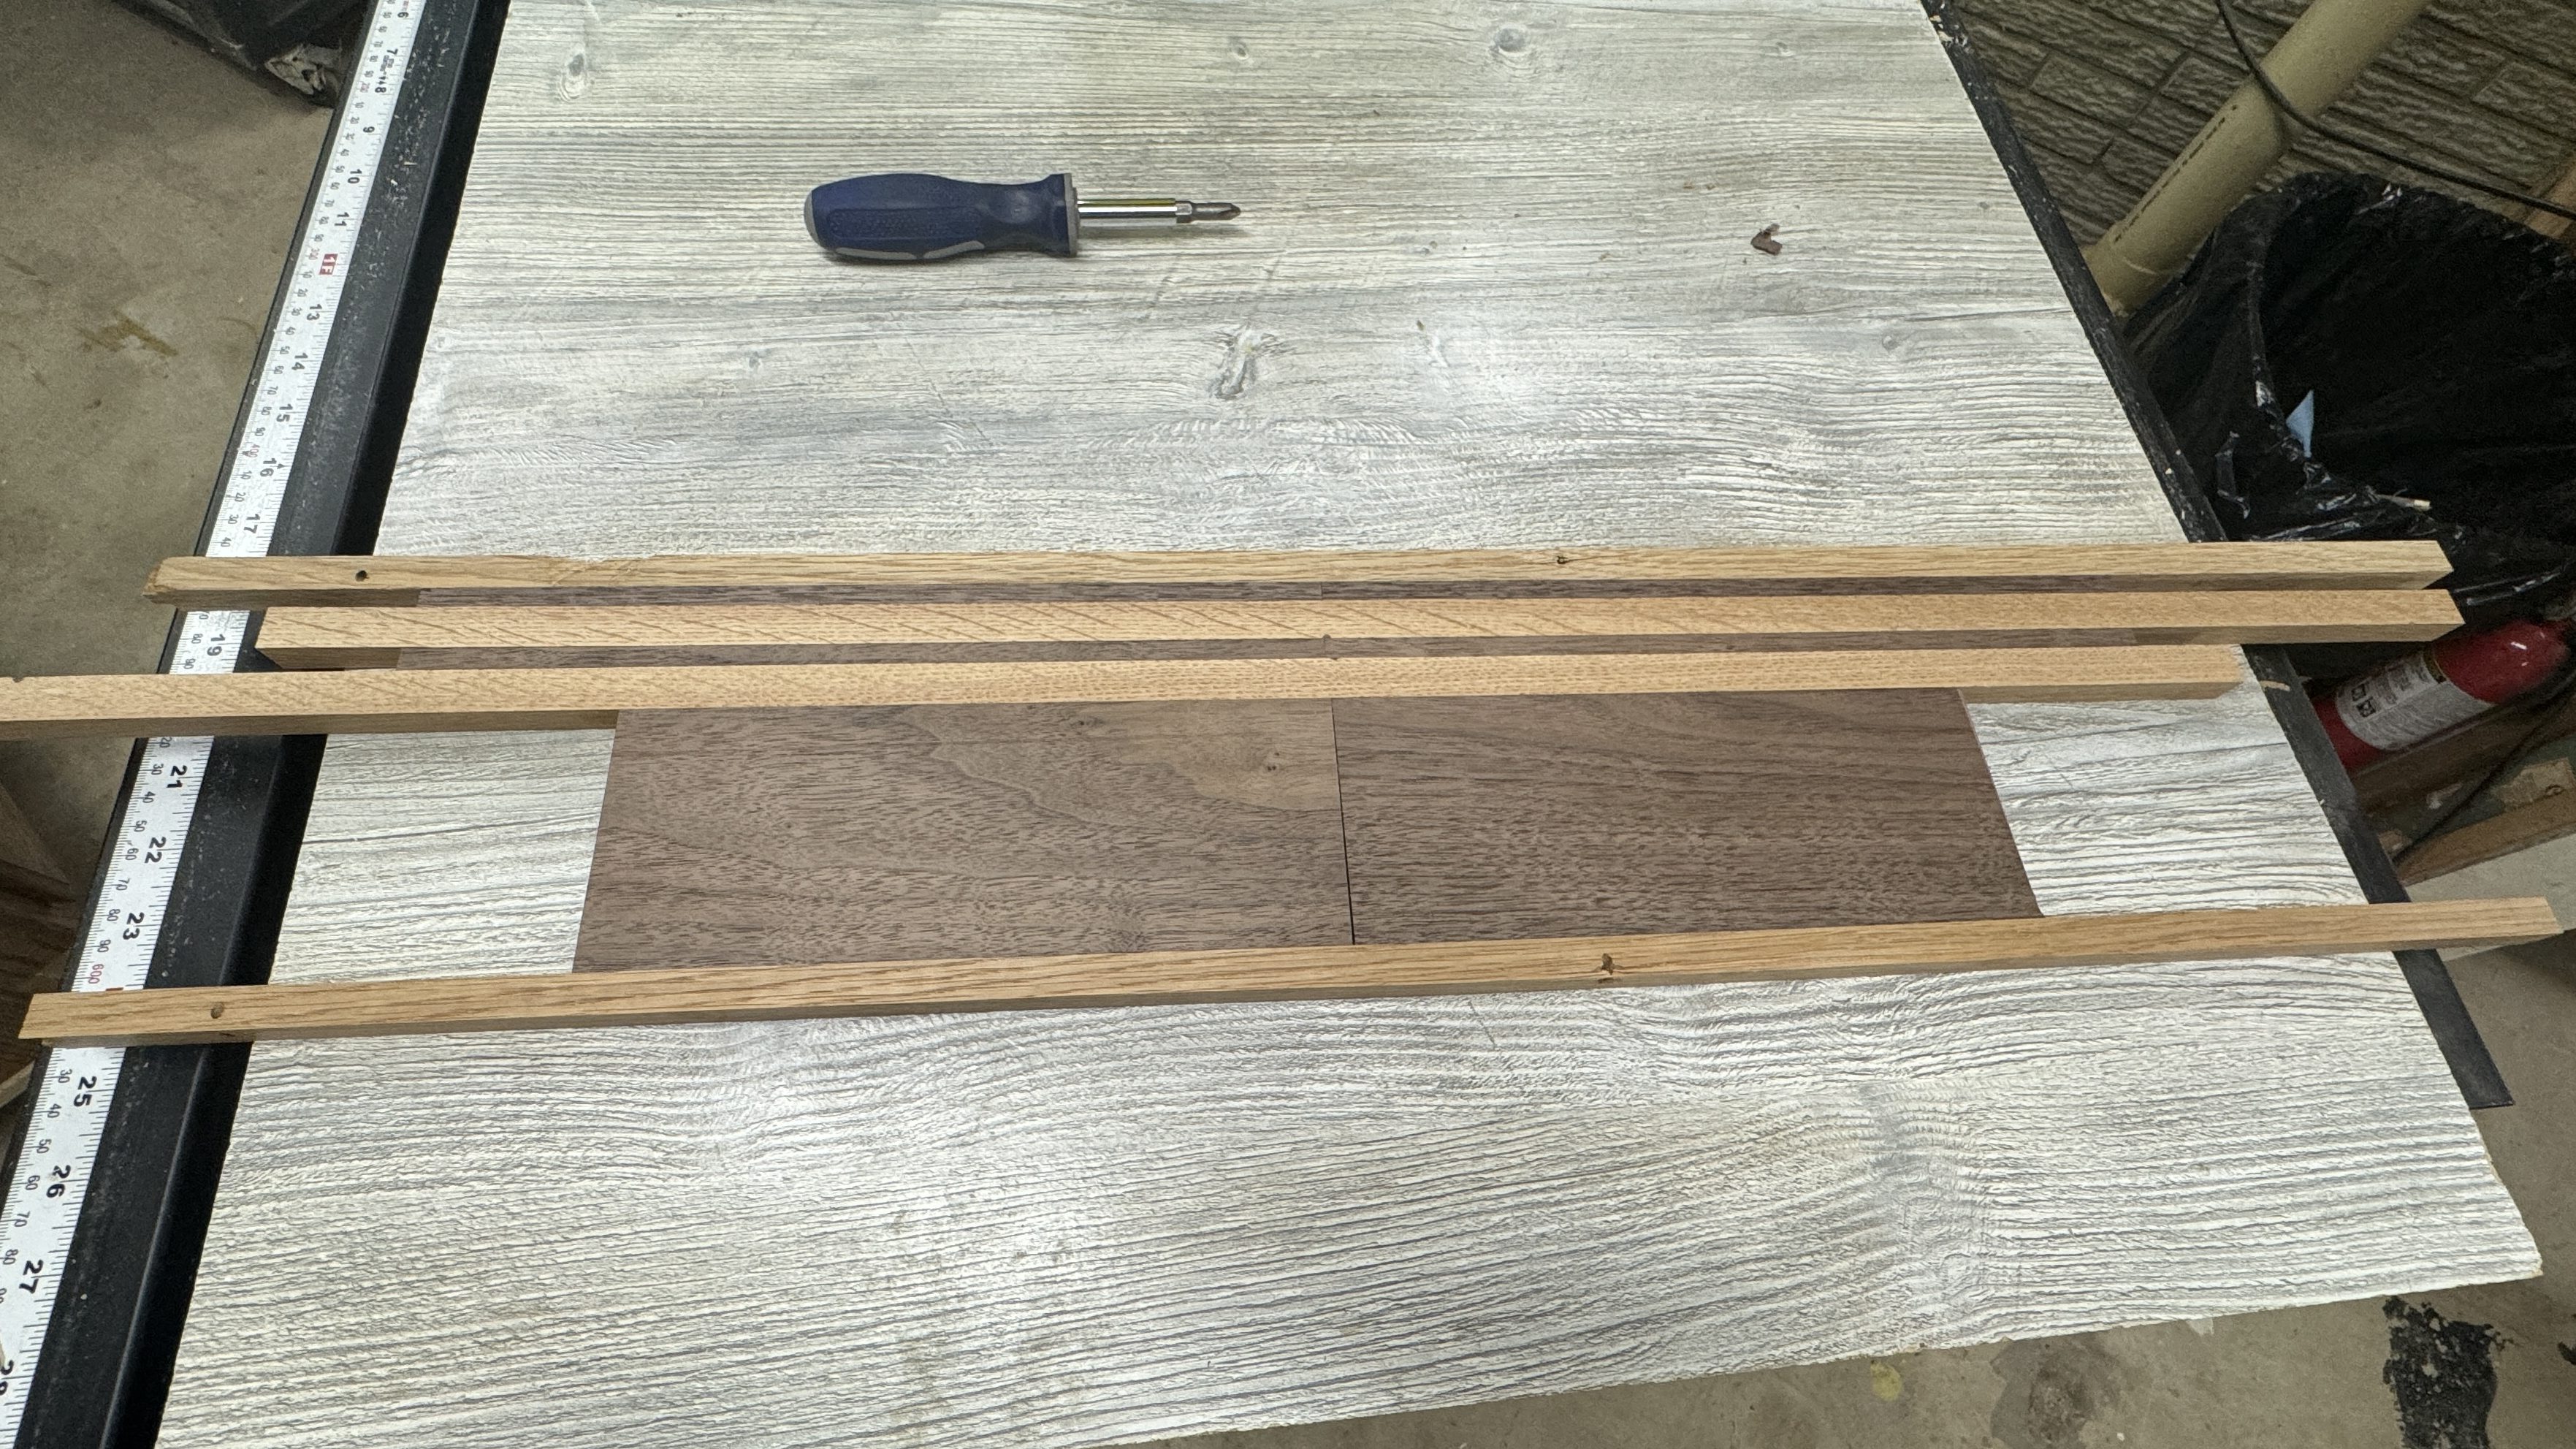
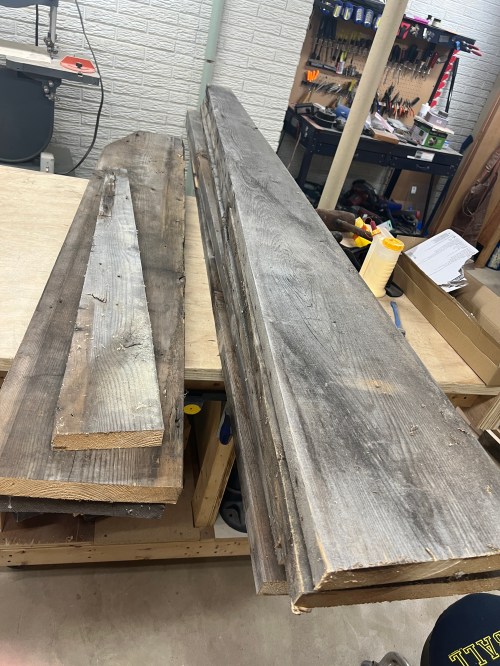
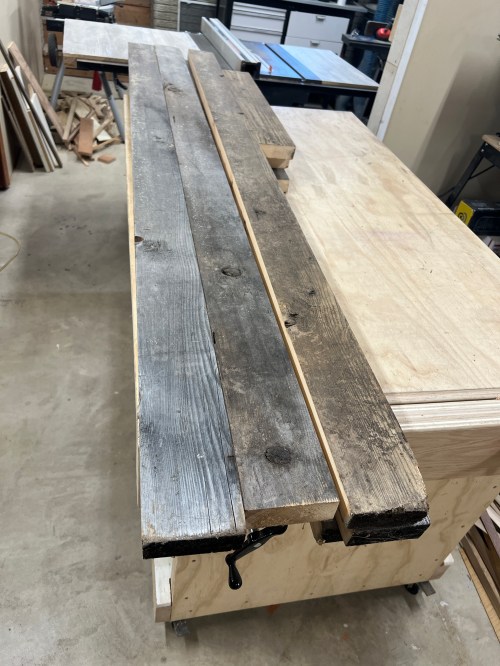
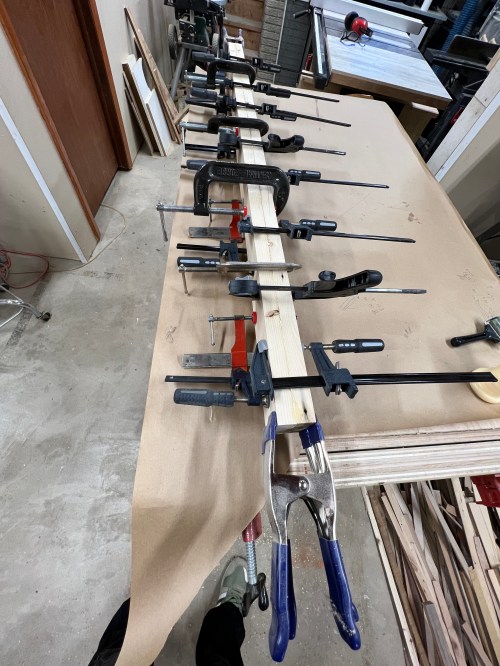
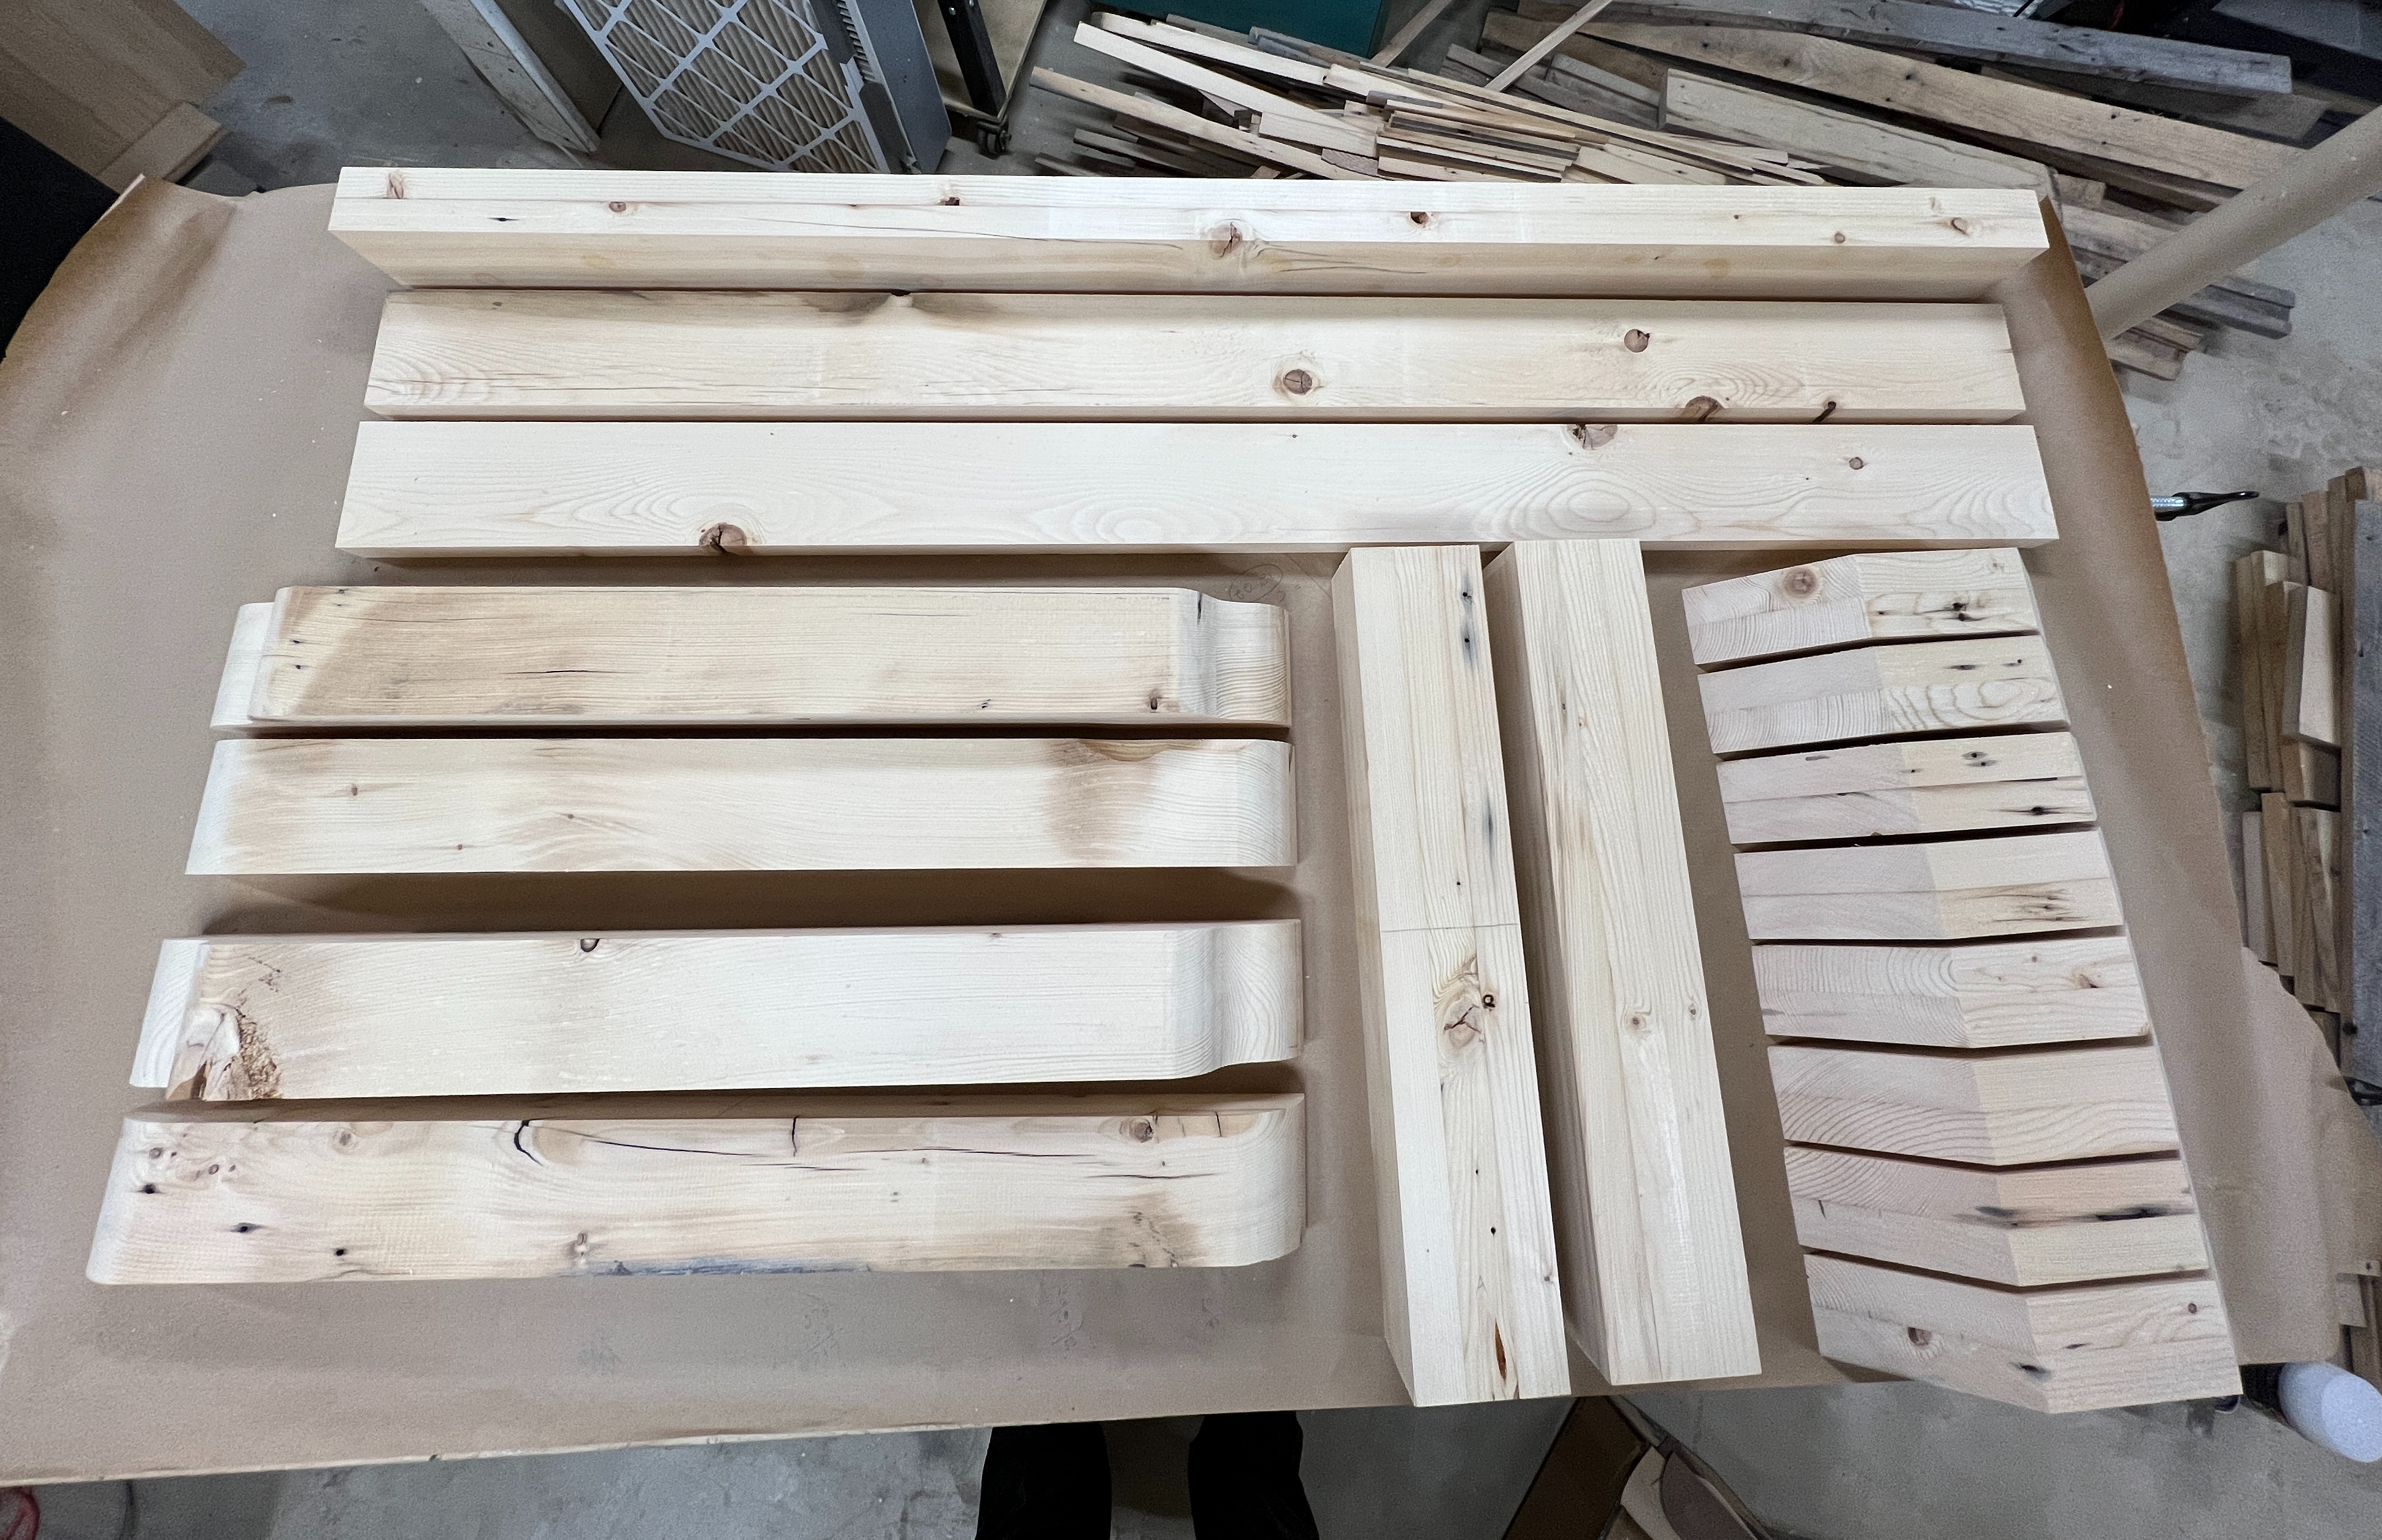
I still had a stack of the free reclaimed wood I picked up over three years ago and used up most of it for this project. Since there are so many different ways to do a build like this I’m not going to explain everything I did. Here’s a timeline of photos instead.
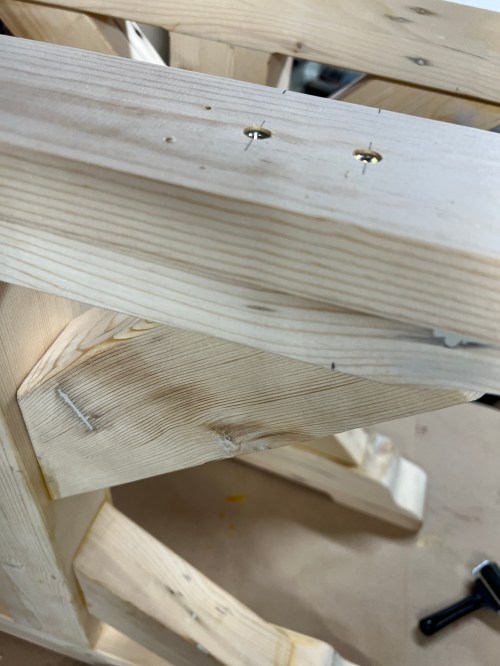
I bought a biscuit joiner, which I’d been thinking about getting for a couple of years anyway. It was my first time using one and it definitely got broken in. This was a fun project with a lot of challenges, so there were plenty of mistakes, solutions, and learnings. I’m glad I decided to do it myself.