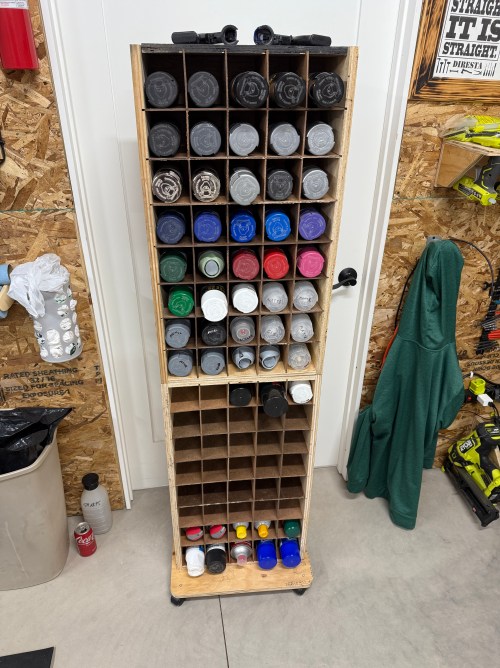
A little over a year and a half ago I made a box with dividers for storing spray paint.
It was built to slide in a shelf at the old house. I was able to get it out and moved to the new house. The 16″ depth was wasted space though. Look at how deep the cans were when laying with the back on the ground (those higher ones are actually a tall can on top of a standard can).

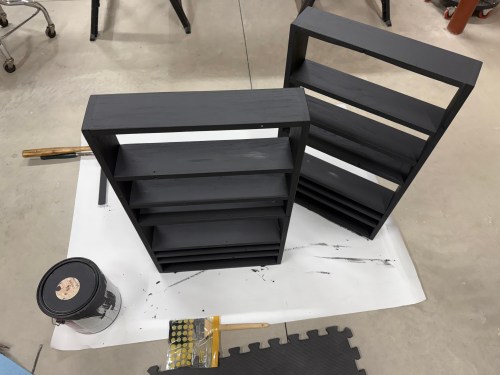
It turns out, a great size for spray cans is about eight inches, so I split it down the middle and wrestled out all of the dividers, which were partially glued in place.
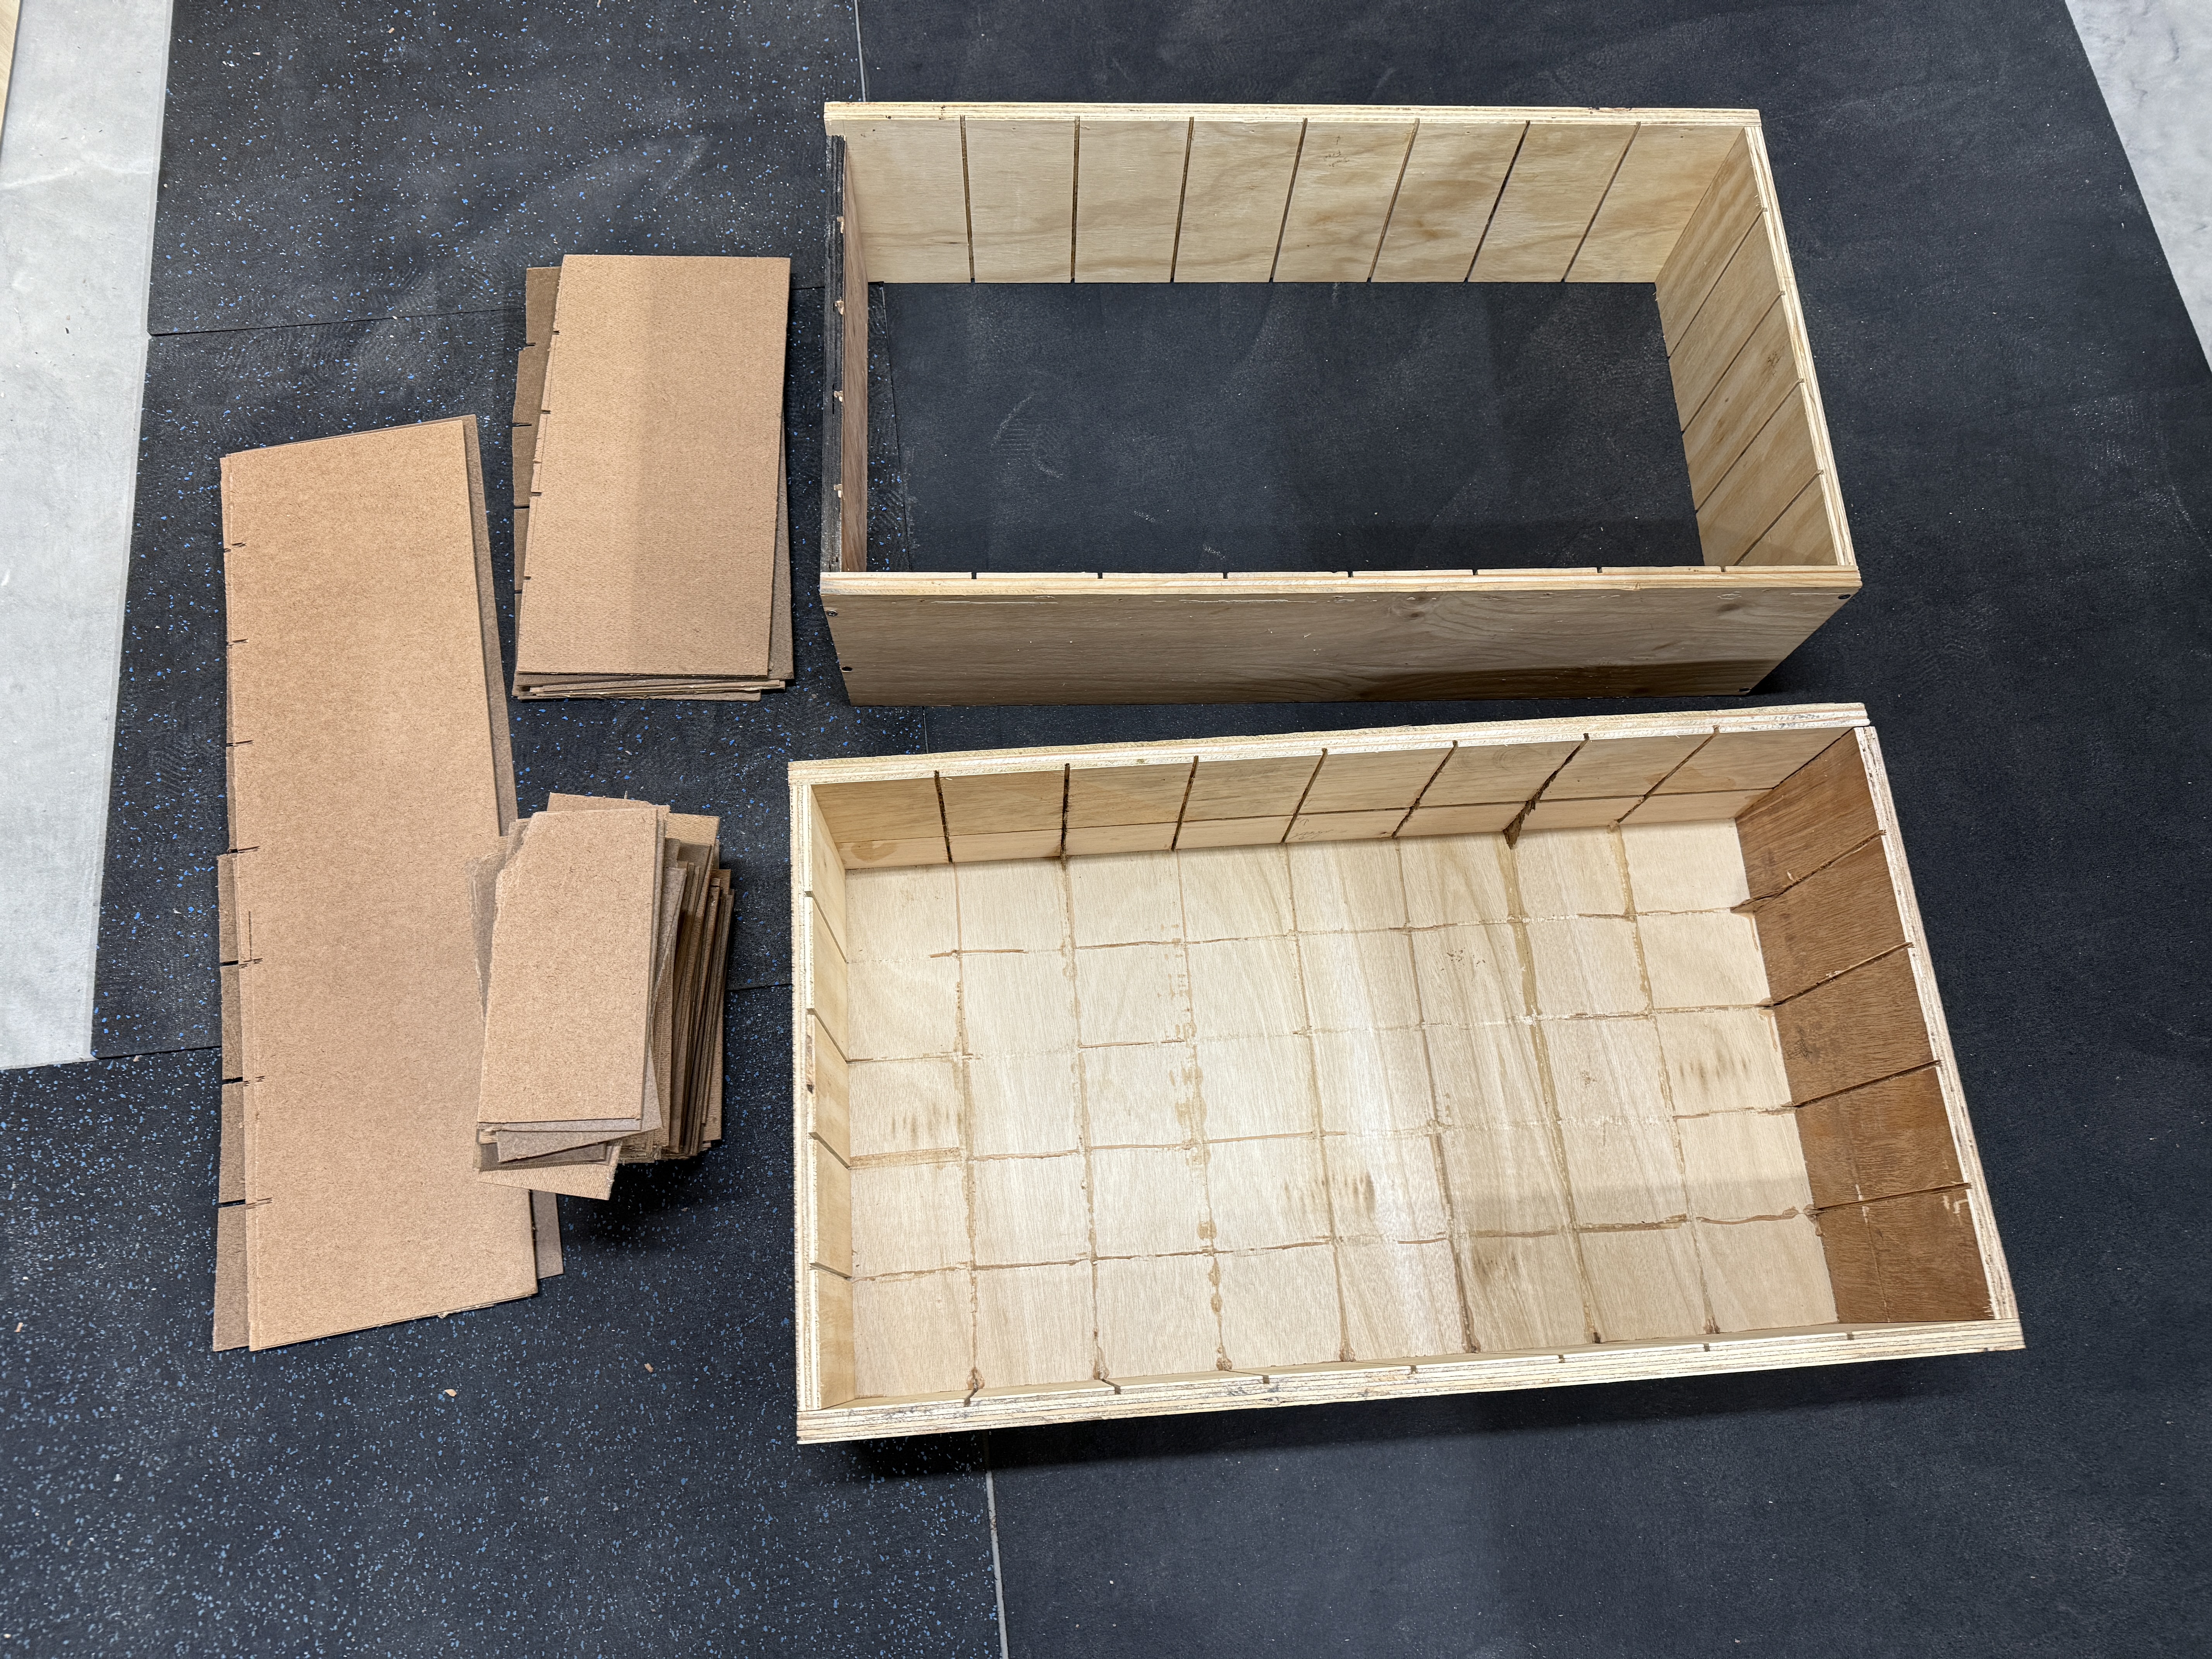
Stack ’em, screw ’em together, and nail a back on the new half.

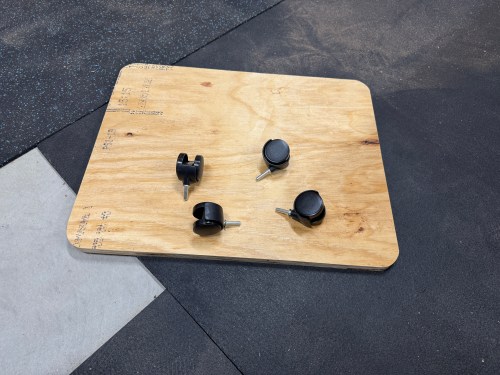
It was very tippy, so I rounded the corners on a larger piece of plywood to make a more stable base and pulled out office chair casters. The casters wouldn’t be great for any heavy shop furniture, so this was the perfect project to use them.

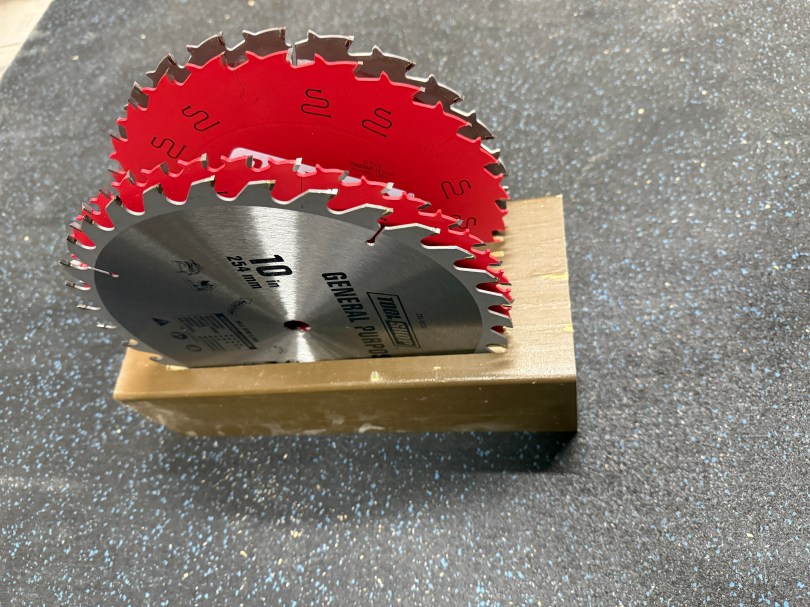
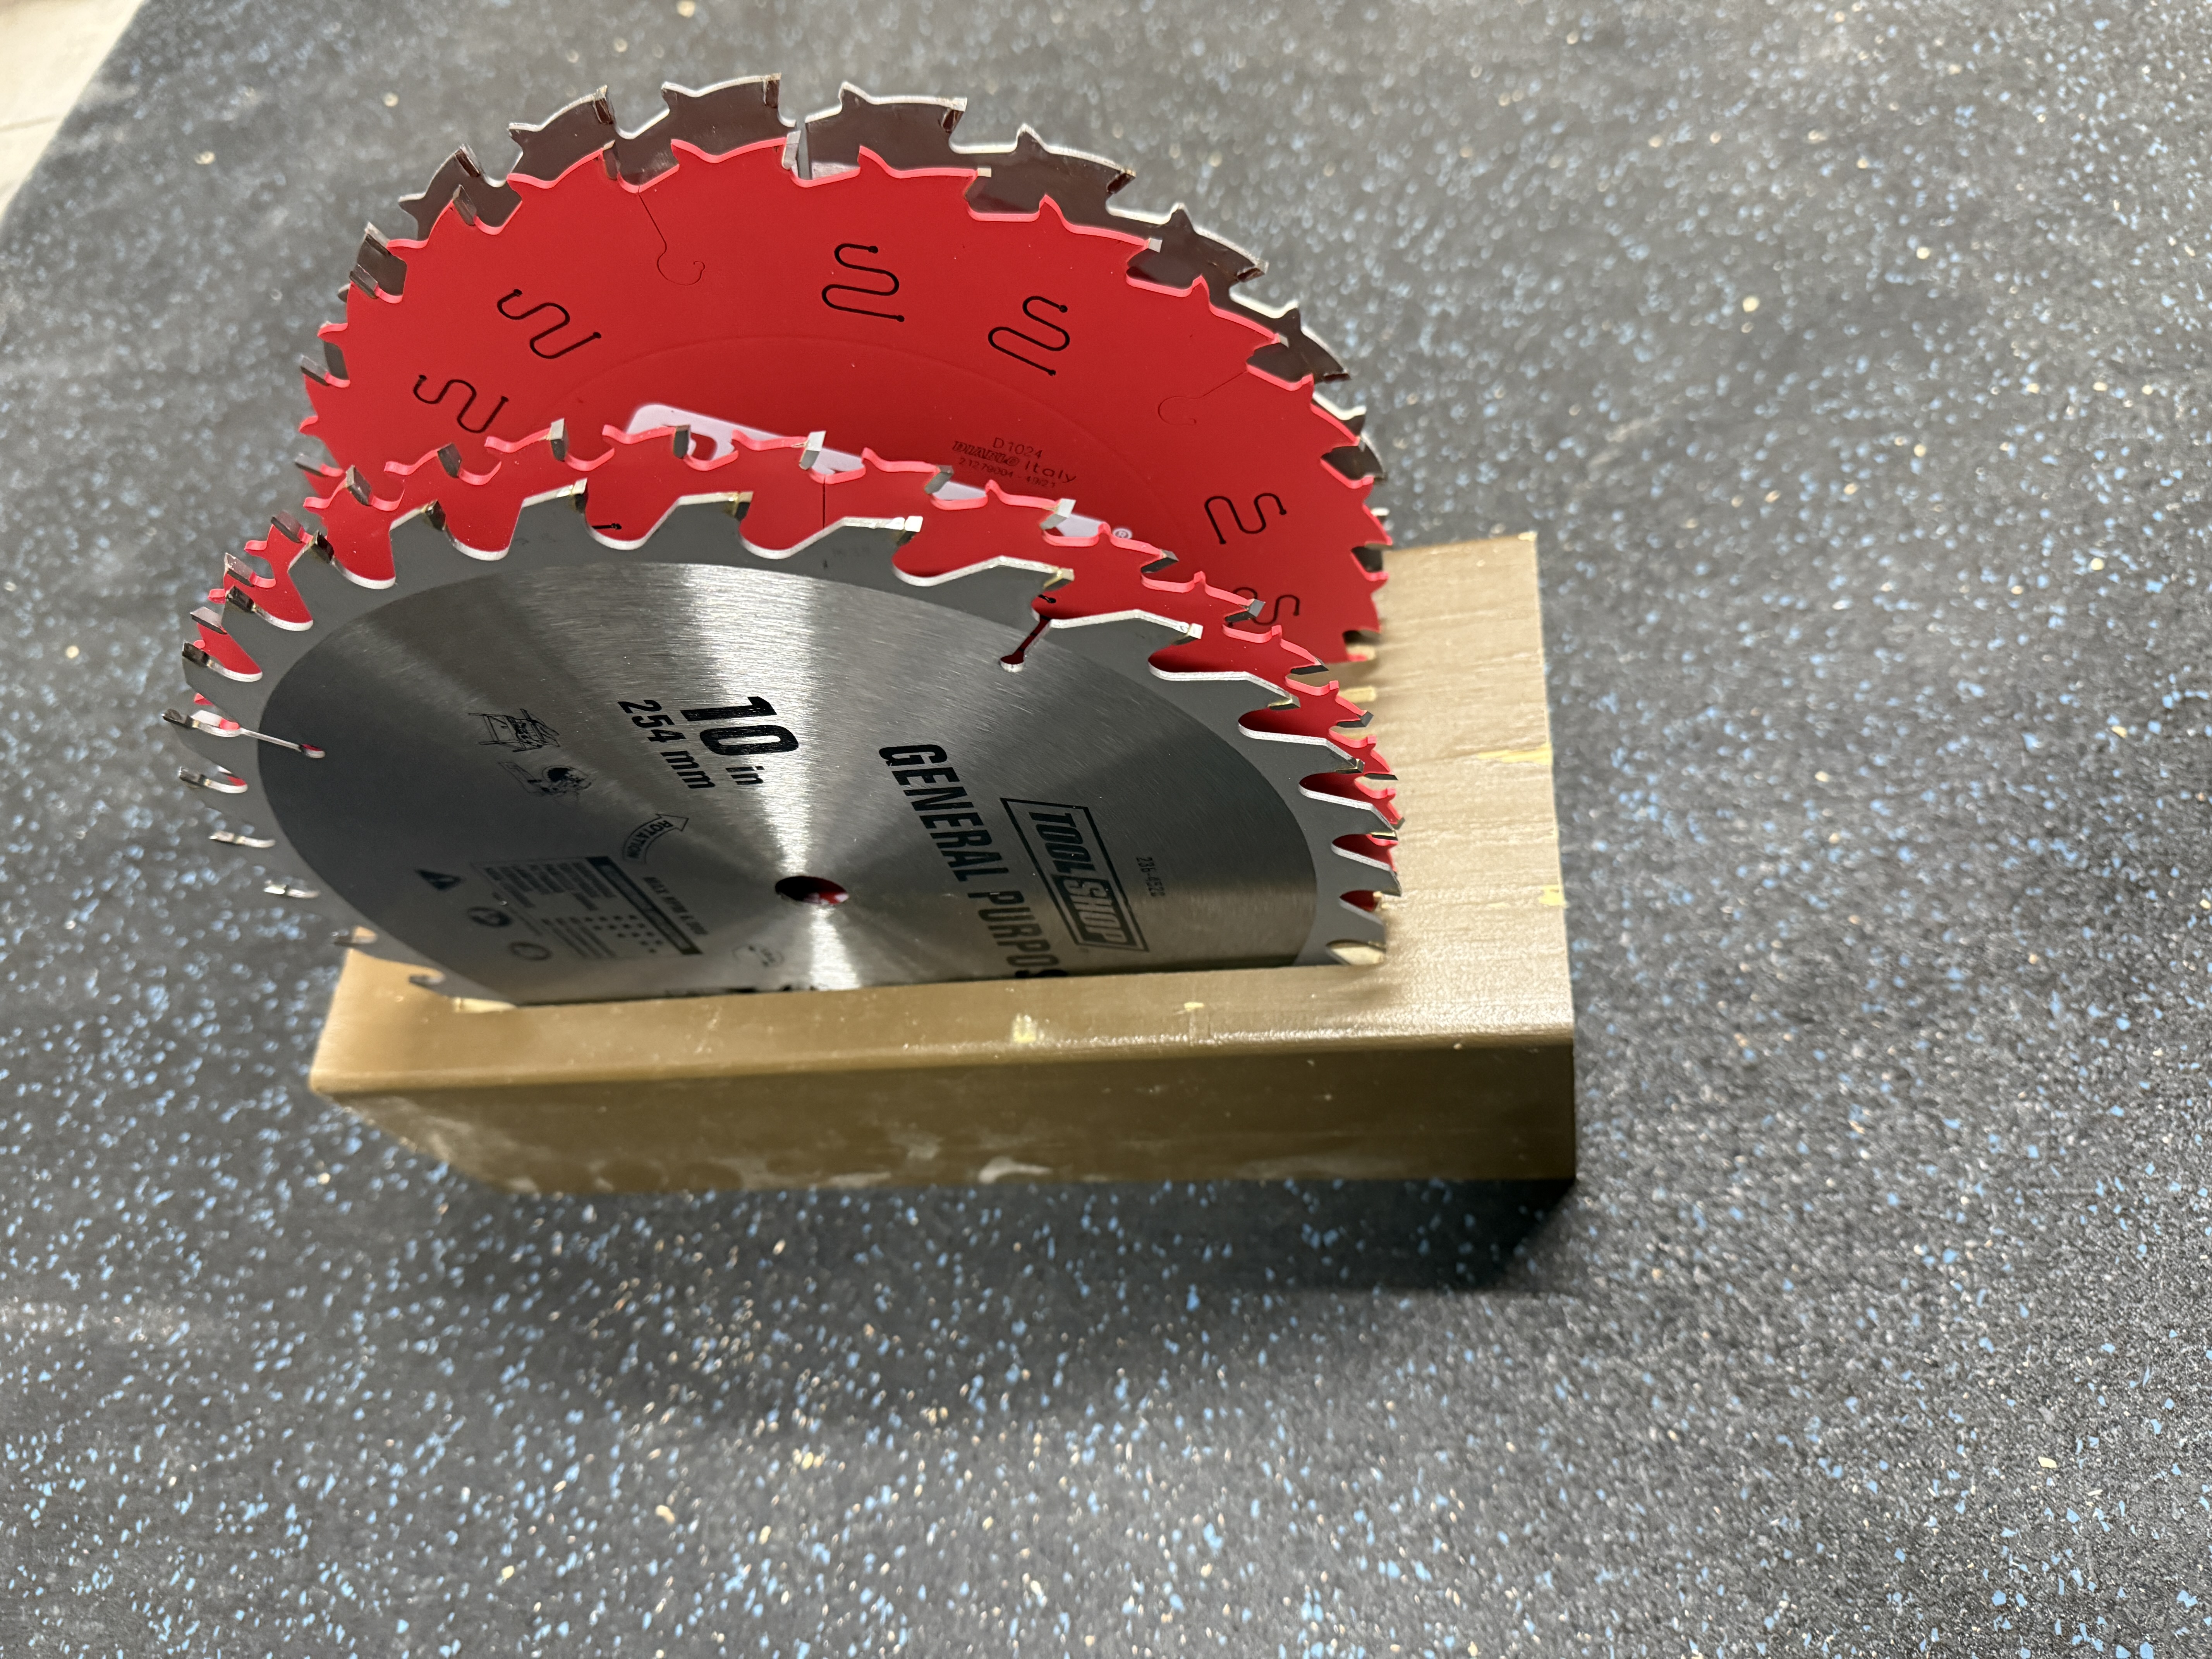
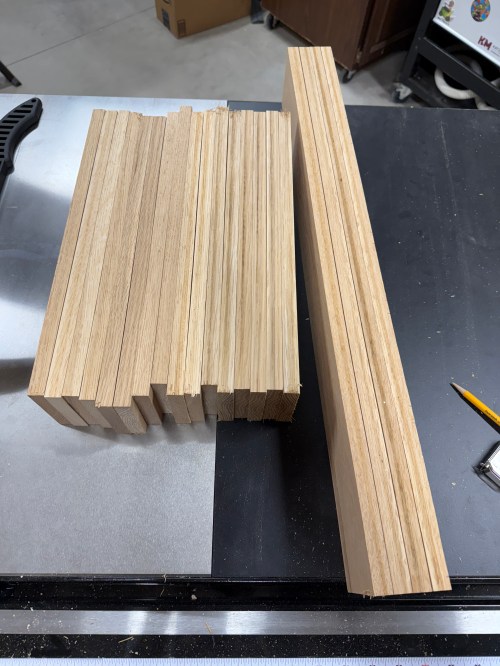
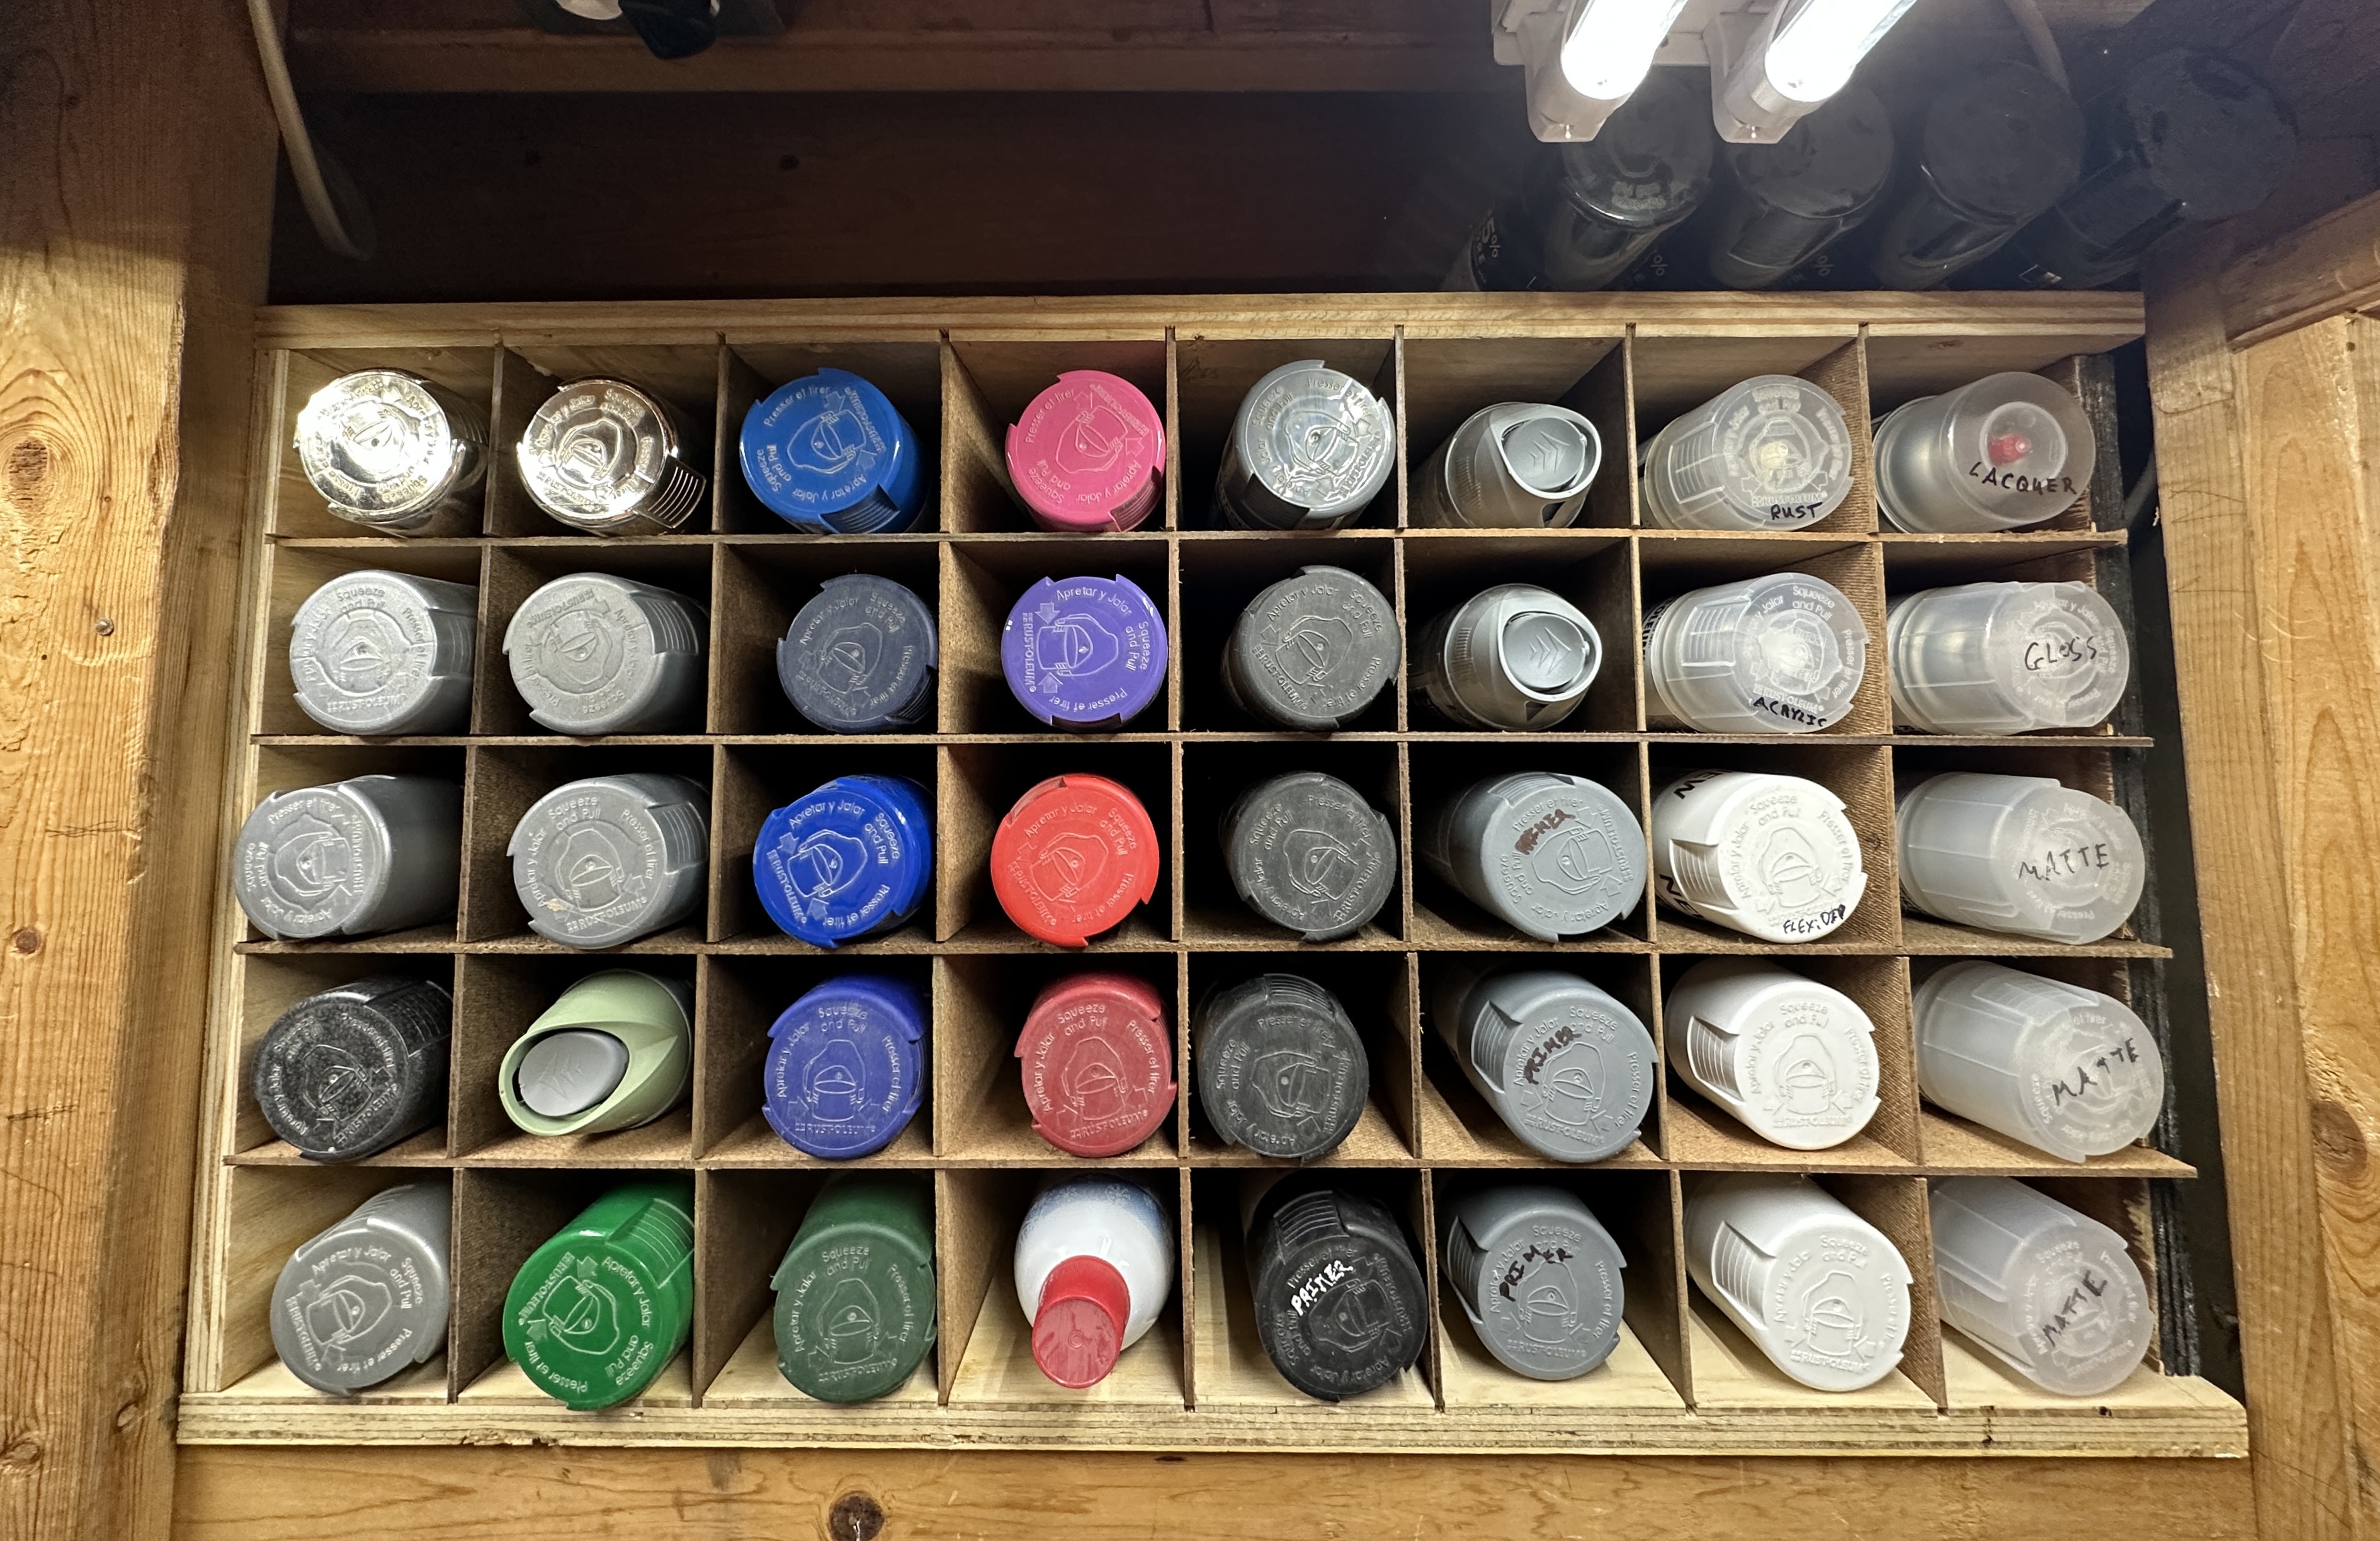
Cutting more dividers and then redoing all of the slots was the worst part of this project. It took well over 250 cuts on the table saw.

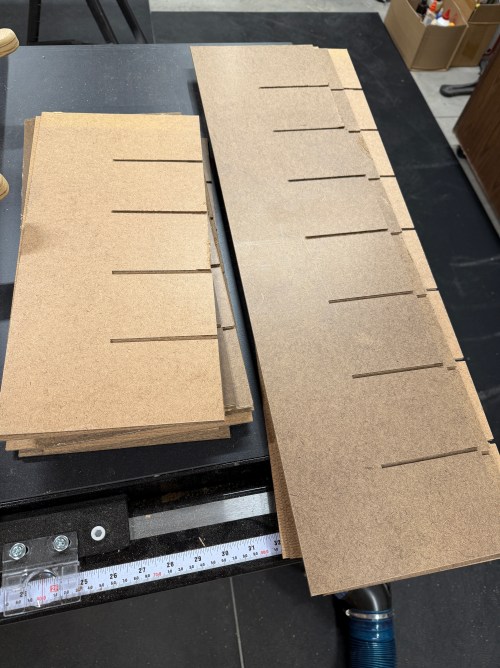
A handful of the new hardboard pieces were too long and needed to be trimmed. Other than that, the assembly went much smoother than I expected, with a little persuasion from a dead blow hammer. I have no idea why I used glue on that first iteration. Maybe it was needed with the deeper box, but this one is very stable without a drop of glue.

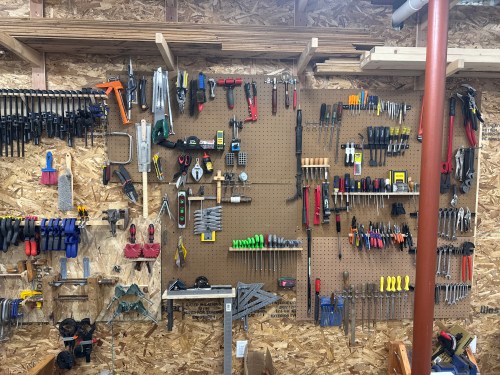
This is another great upgrade to the shop. After adding all of my spray paint, lubricants, spray adhesives, and other oddball cans there is plenty of room for more.