Finally made a trip to the driving range. Resurrecting an old pre-shot routine seemed to bring consistent ball striking back. Hopefully it translates to the course.

Finally made a trip to the driving range. Resurrecting an old pre-shot routine seemed to bring consistent ball striking back. Hopefully it translates to the course.


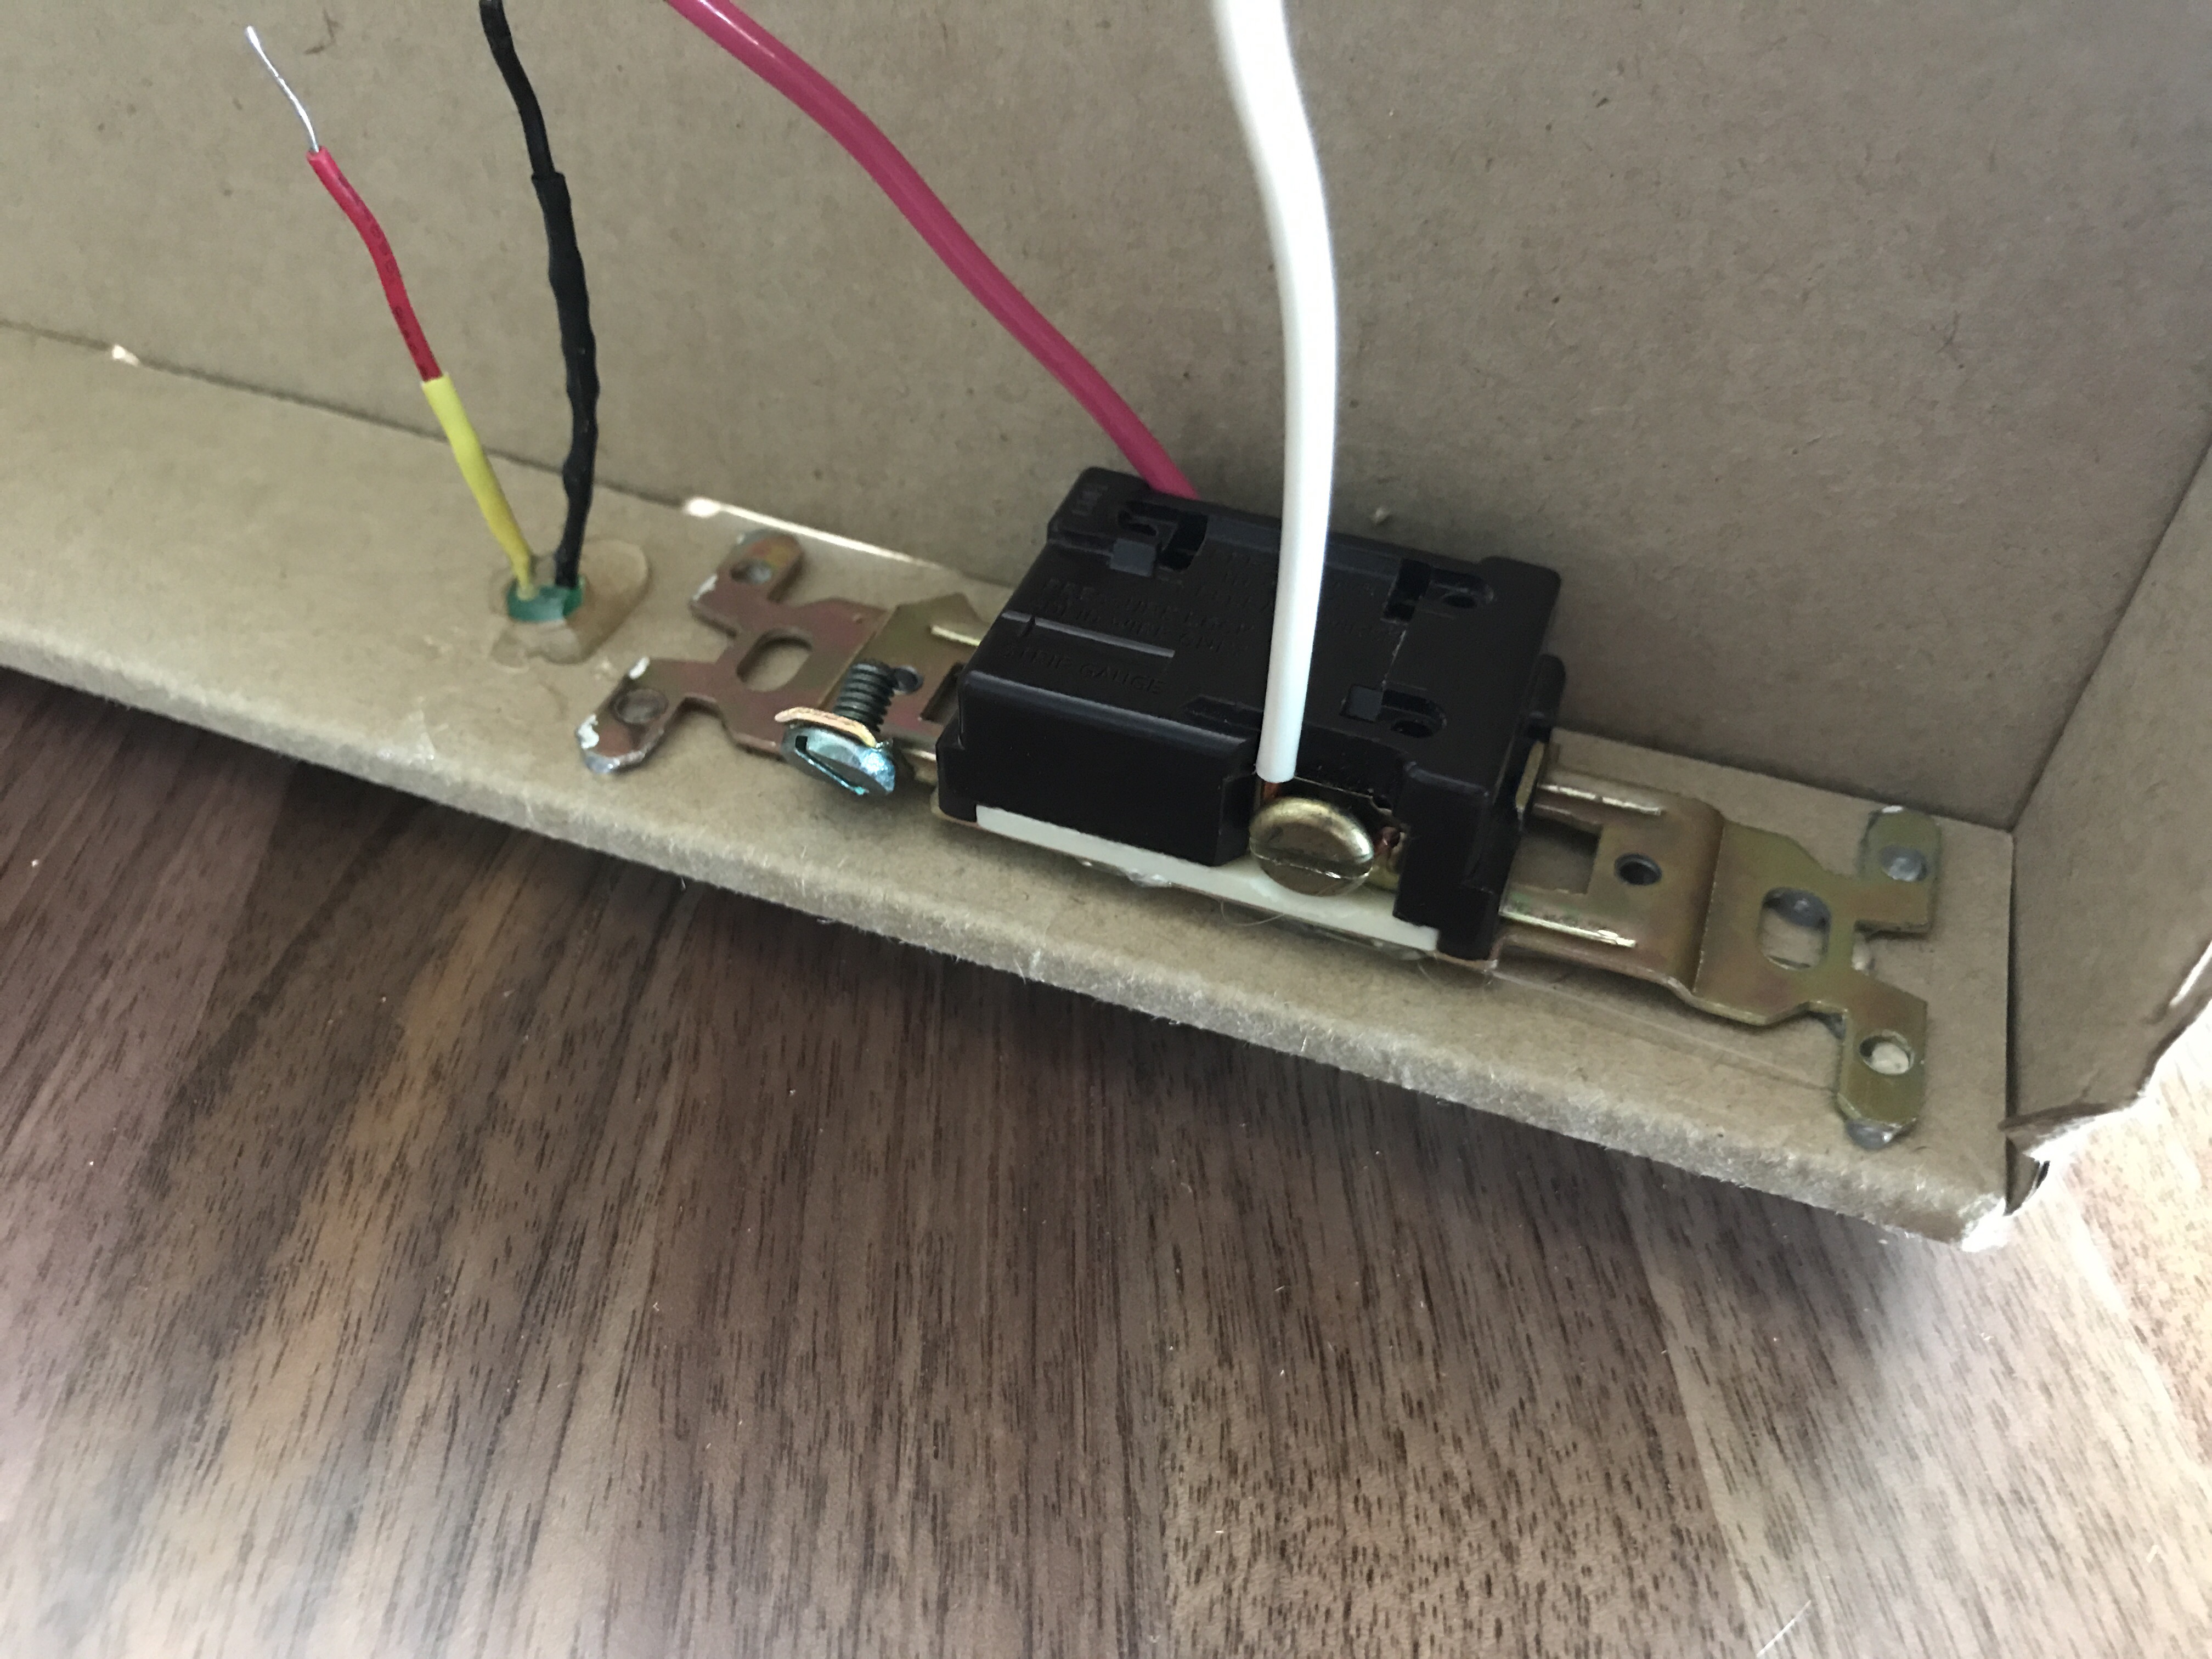
A couple of weeks ago I built a 5v relay module, but realized the relay wasn’t sufficient for my needs. So I had to order a heftier one that could handle more than 0.5 amps of current.
I was under a time crunch and couldn’t wait for a 5 or 10 pack, which had longer shipping times, so I had to go with a set of 2 for $5.99. These are basically the same relays used in all of the manufactured modules you can buy for less than $5, especially if you buy multiple units.
I set up my GoPro overhead and talked through the build process of my new relay module. It was not a smooth process, because I finally messed up my wiring, which I’d been so proud of hitting a 100% success rate on first attempts when putting together circuit boards. I not only messed up, but I realized my mistake, and then fucked it back up after thinking I was right the first time.
I forgot to take any good pictures of the completed relay module this time around, so here is a blurry screenshot I grabbed from the video, showing the original relay module, the non-working version (which I’ll eventually fix up), and my final version. Similar to whenever I screw up and lose a bunch of code, I made it a personal challenge to turn out my best work on the redo. As you can see, my final version saved a lot of space.

Now that I’ve created my own relay modules, I won’t do it again unless I have specific requirements. Buying the same thing already made is a lot more time effective. It was fun and a great learning experience though. Here’s what the wiring diagram looks like spaced out on a breadboard. There isn’t much to it.

You can grab Fritzing files over on GitHub. Two things that helped me out a lot with this build were a video Homemade 5V Single Channel Relay Module Shield For Arduino, PIC, AVR and an article Turn Any Appliance into a Smart Device with an Arduino Controlled Power Outlet. Between finishing my build and writing this post, I also came across Arduino Controlled Power Outlet on Electronics Hub, which is a neat site with a lot of great circuits and tutorials.
There also ended up being a part 3 to this.

I couldn’t tell you the last time I bought a case of beer, but I didn’t even know they made a Watermelon Shandy, so I couldn’t resist this sampler. I’ve never actually eaten a grapefruit, which makes me curious what the Grapefruit Shandy will be like as well.
Each time I watch something with Chris Hinshaw of Aerobic Capacity I learn something new. Brute Strength had him on their podcast again for a great episode. There is some good stuff about lactate in this one.
You may recall that my Thruster Attack program is based on Chris’s work.
The girls were having some problems with the LEDs in a couple of stuffed bears. Mom thought there might be a short in the wiring because they’d work for 10-15 seconds and then the LED sequence would freeze up or turn off. Before tearing into the bears I got out my multimeter (has become quite the handy dandy tool for me) and tested the batteries, which had been straight out of a package when they were used in the bears.
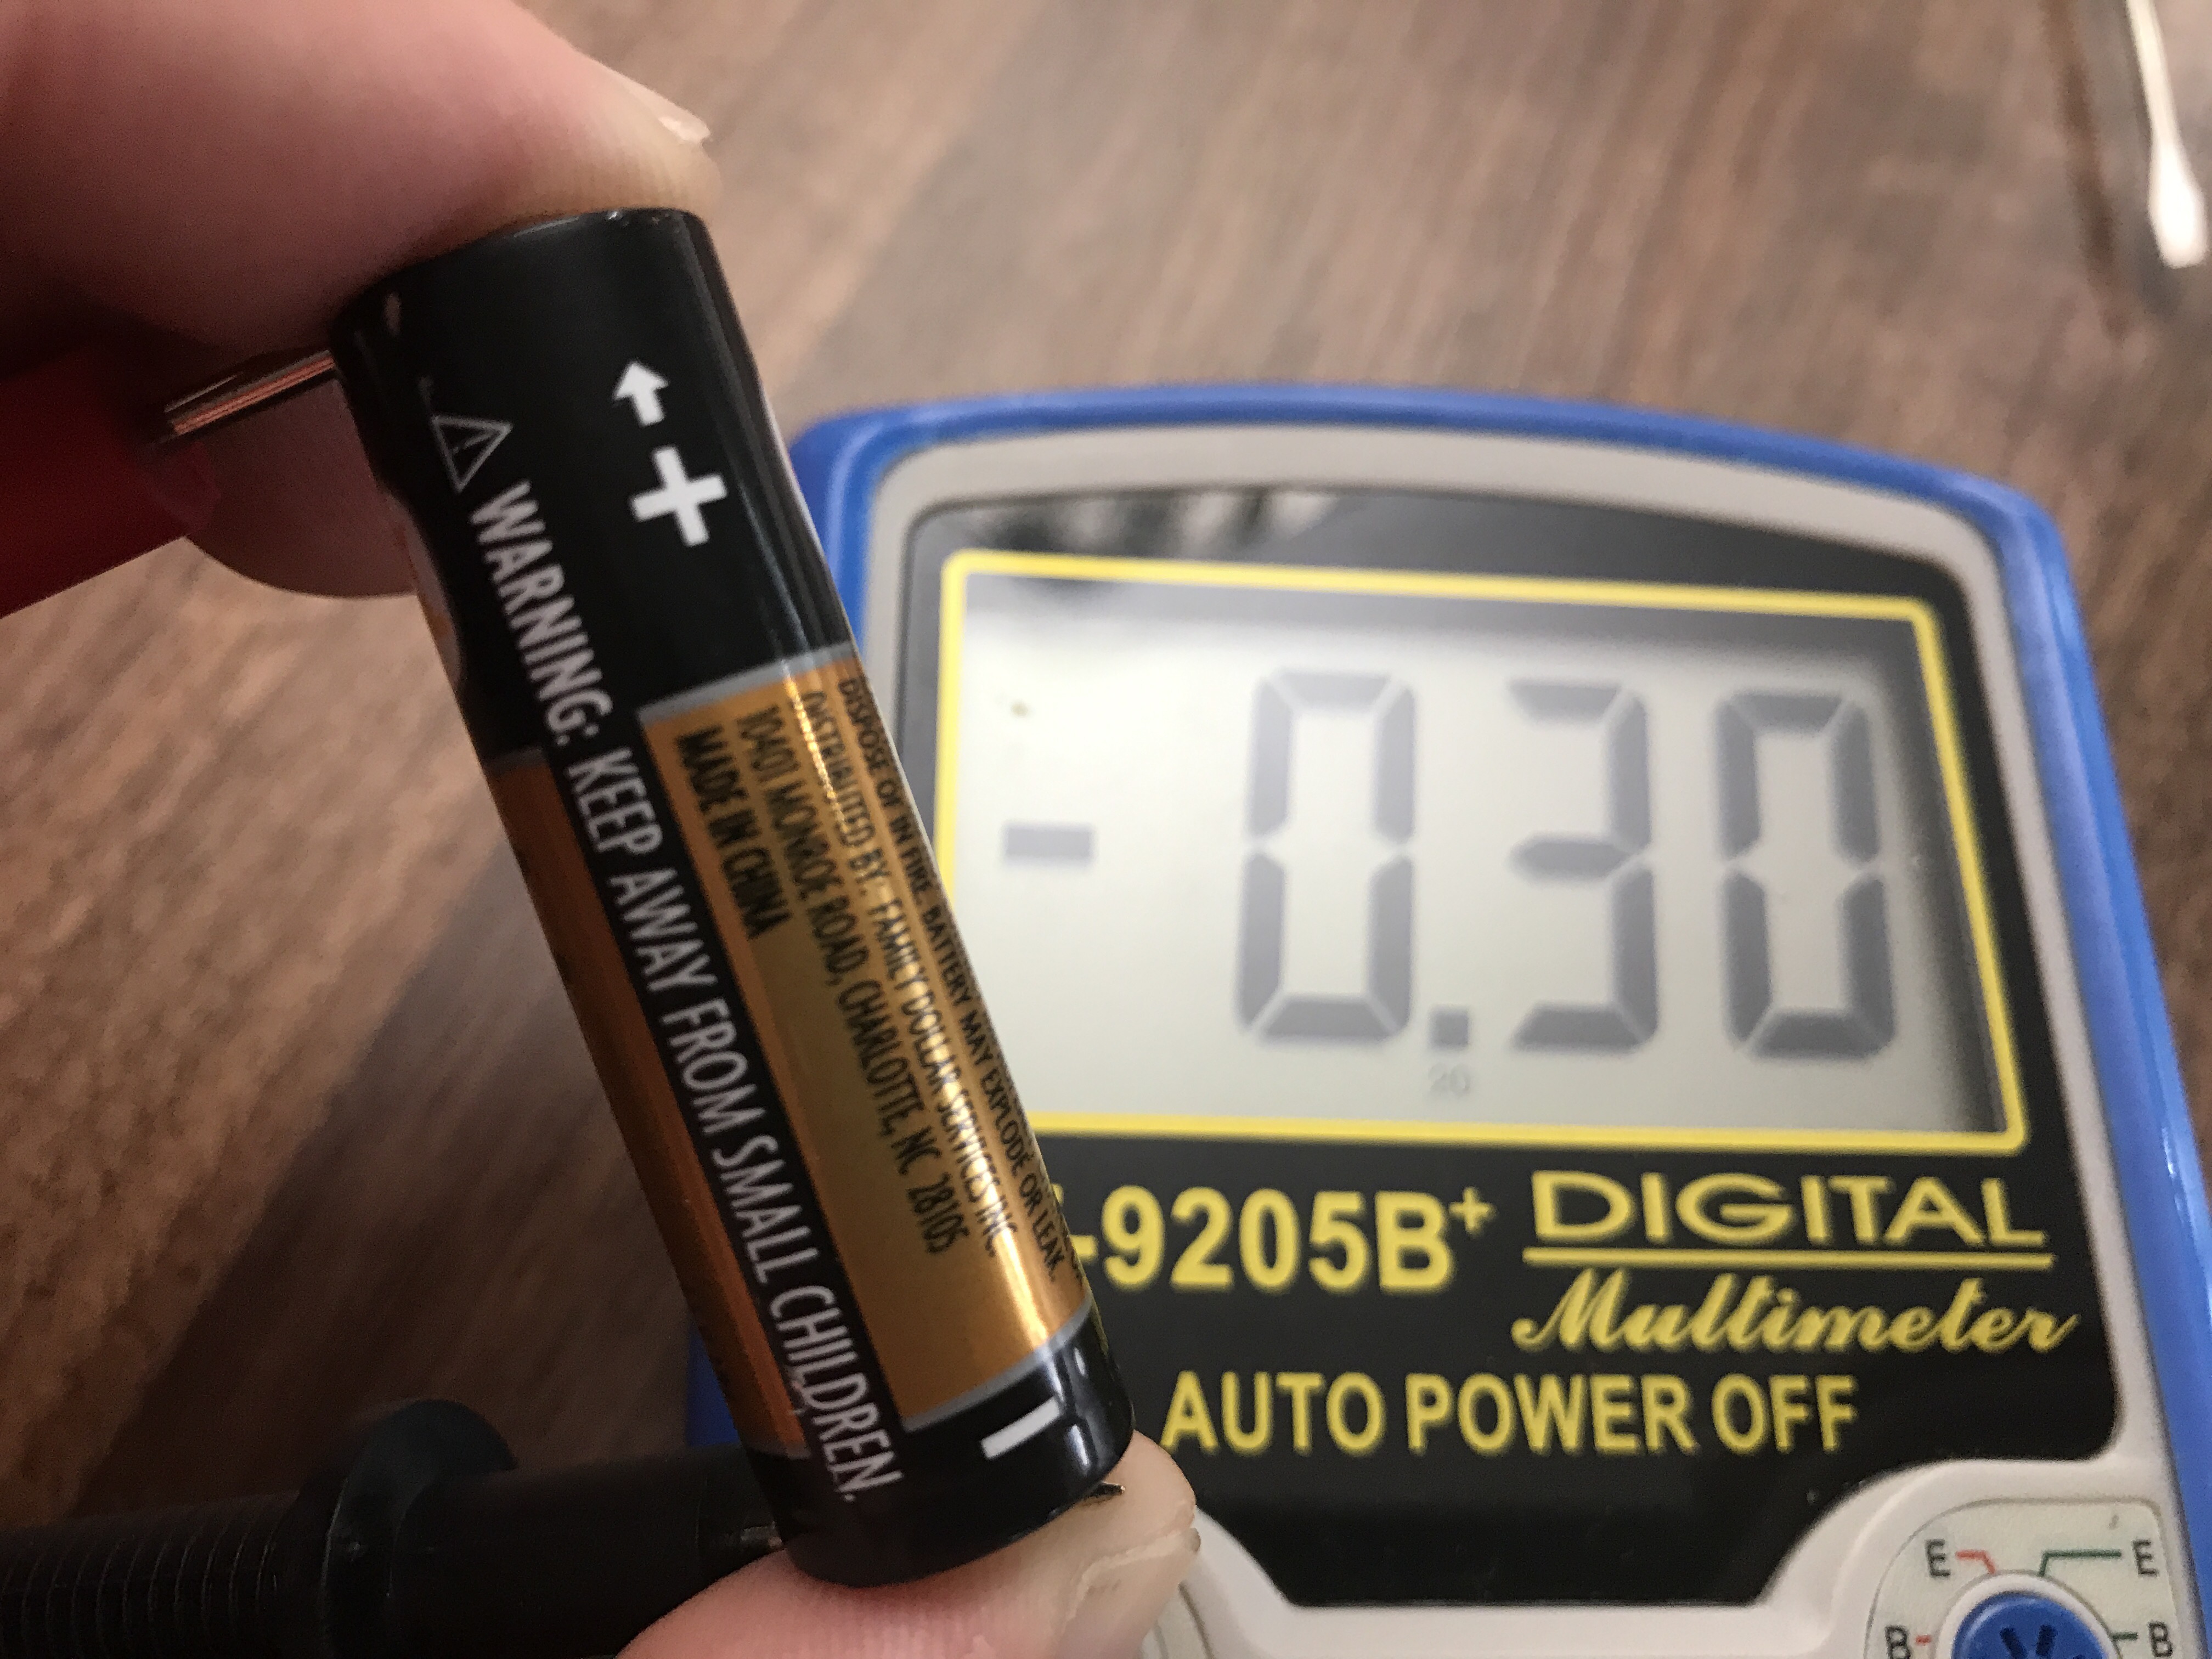
Two of the AA batteries were reading right around the expected 1.5v, but the other was -0.3v, as shown above. I’ve never seen that before, so I did some Googling.
Any type of battery can and will begin to charge a dead cell in reverse if you keep trying to draw current out of it. Remember, a battery is a series connection of cells, so in any pack regardless of chemistry, a dead cell once depleted is going to be subjected to voltage reversal.
– Source
It looks like something happened to reverse the polarity during manufacturing or the battery was DOA and got charged in reverse from the other two AAs.
After replacing the batteries all of the bears work again. It’s a good reminder to check your power source when things don’t work.

 My 6-year-old niece Kennedy got me hooked on this game. She plays it all the time on my Mom’s iPad. All it took was her beating me for me to install it on my phone. I wish there was an upgrade for me to pay to get rid of ads though.

My Mom, my sister, and I worked on it over the course of 4 days.
Kennedy and I made a wire loop game, using some basic cheap electronics.
The initial wiring and cutting of the box took more time than I figured and she started to lose interest until we got around to the top. We did this all on-the-fly, but there are plenty of tutorials (like one on Instructables) you can follow.