DIY Overhead Camera Rig

I’ve been recording more videos at my hobby desk and hanging a GoPro from my LED desk lamp via a Gorillapod wasn’t cutting it. Having to run GoPro’s Capture app on my iPhone connected over a WiFi network broadcast by the GoPro in order to see a preview of the camera view was also a pain point in my setup. I think I’ve even mentioned wanting to get a new camera in other posts.

My friend Casey was looking for a GoPro for his 5-year-old son, so it was perfect timing to get rid of my GoPro HERO3 Black Edition. I figured I’d just upgrade to the HERO5 Black, but it’s $400 for just the camera. After doing a little reading, I decided to get a YI 4K Action Camera with Selfie Stick, 2 spare batteries + charger, and an accessory kit. All of that ended up being $100+ cheaper than the GoPro HERO5 Black itself!

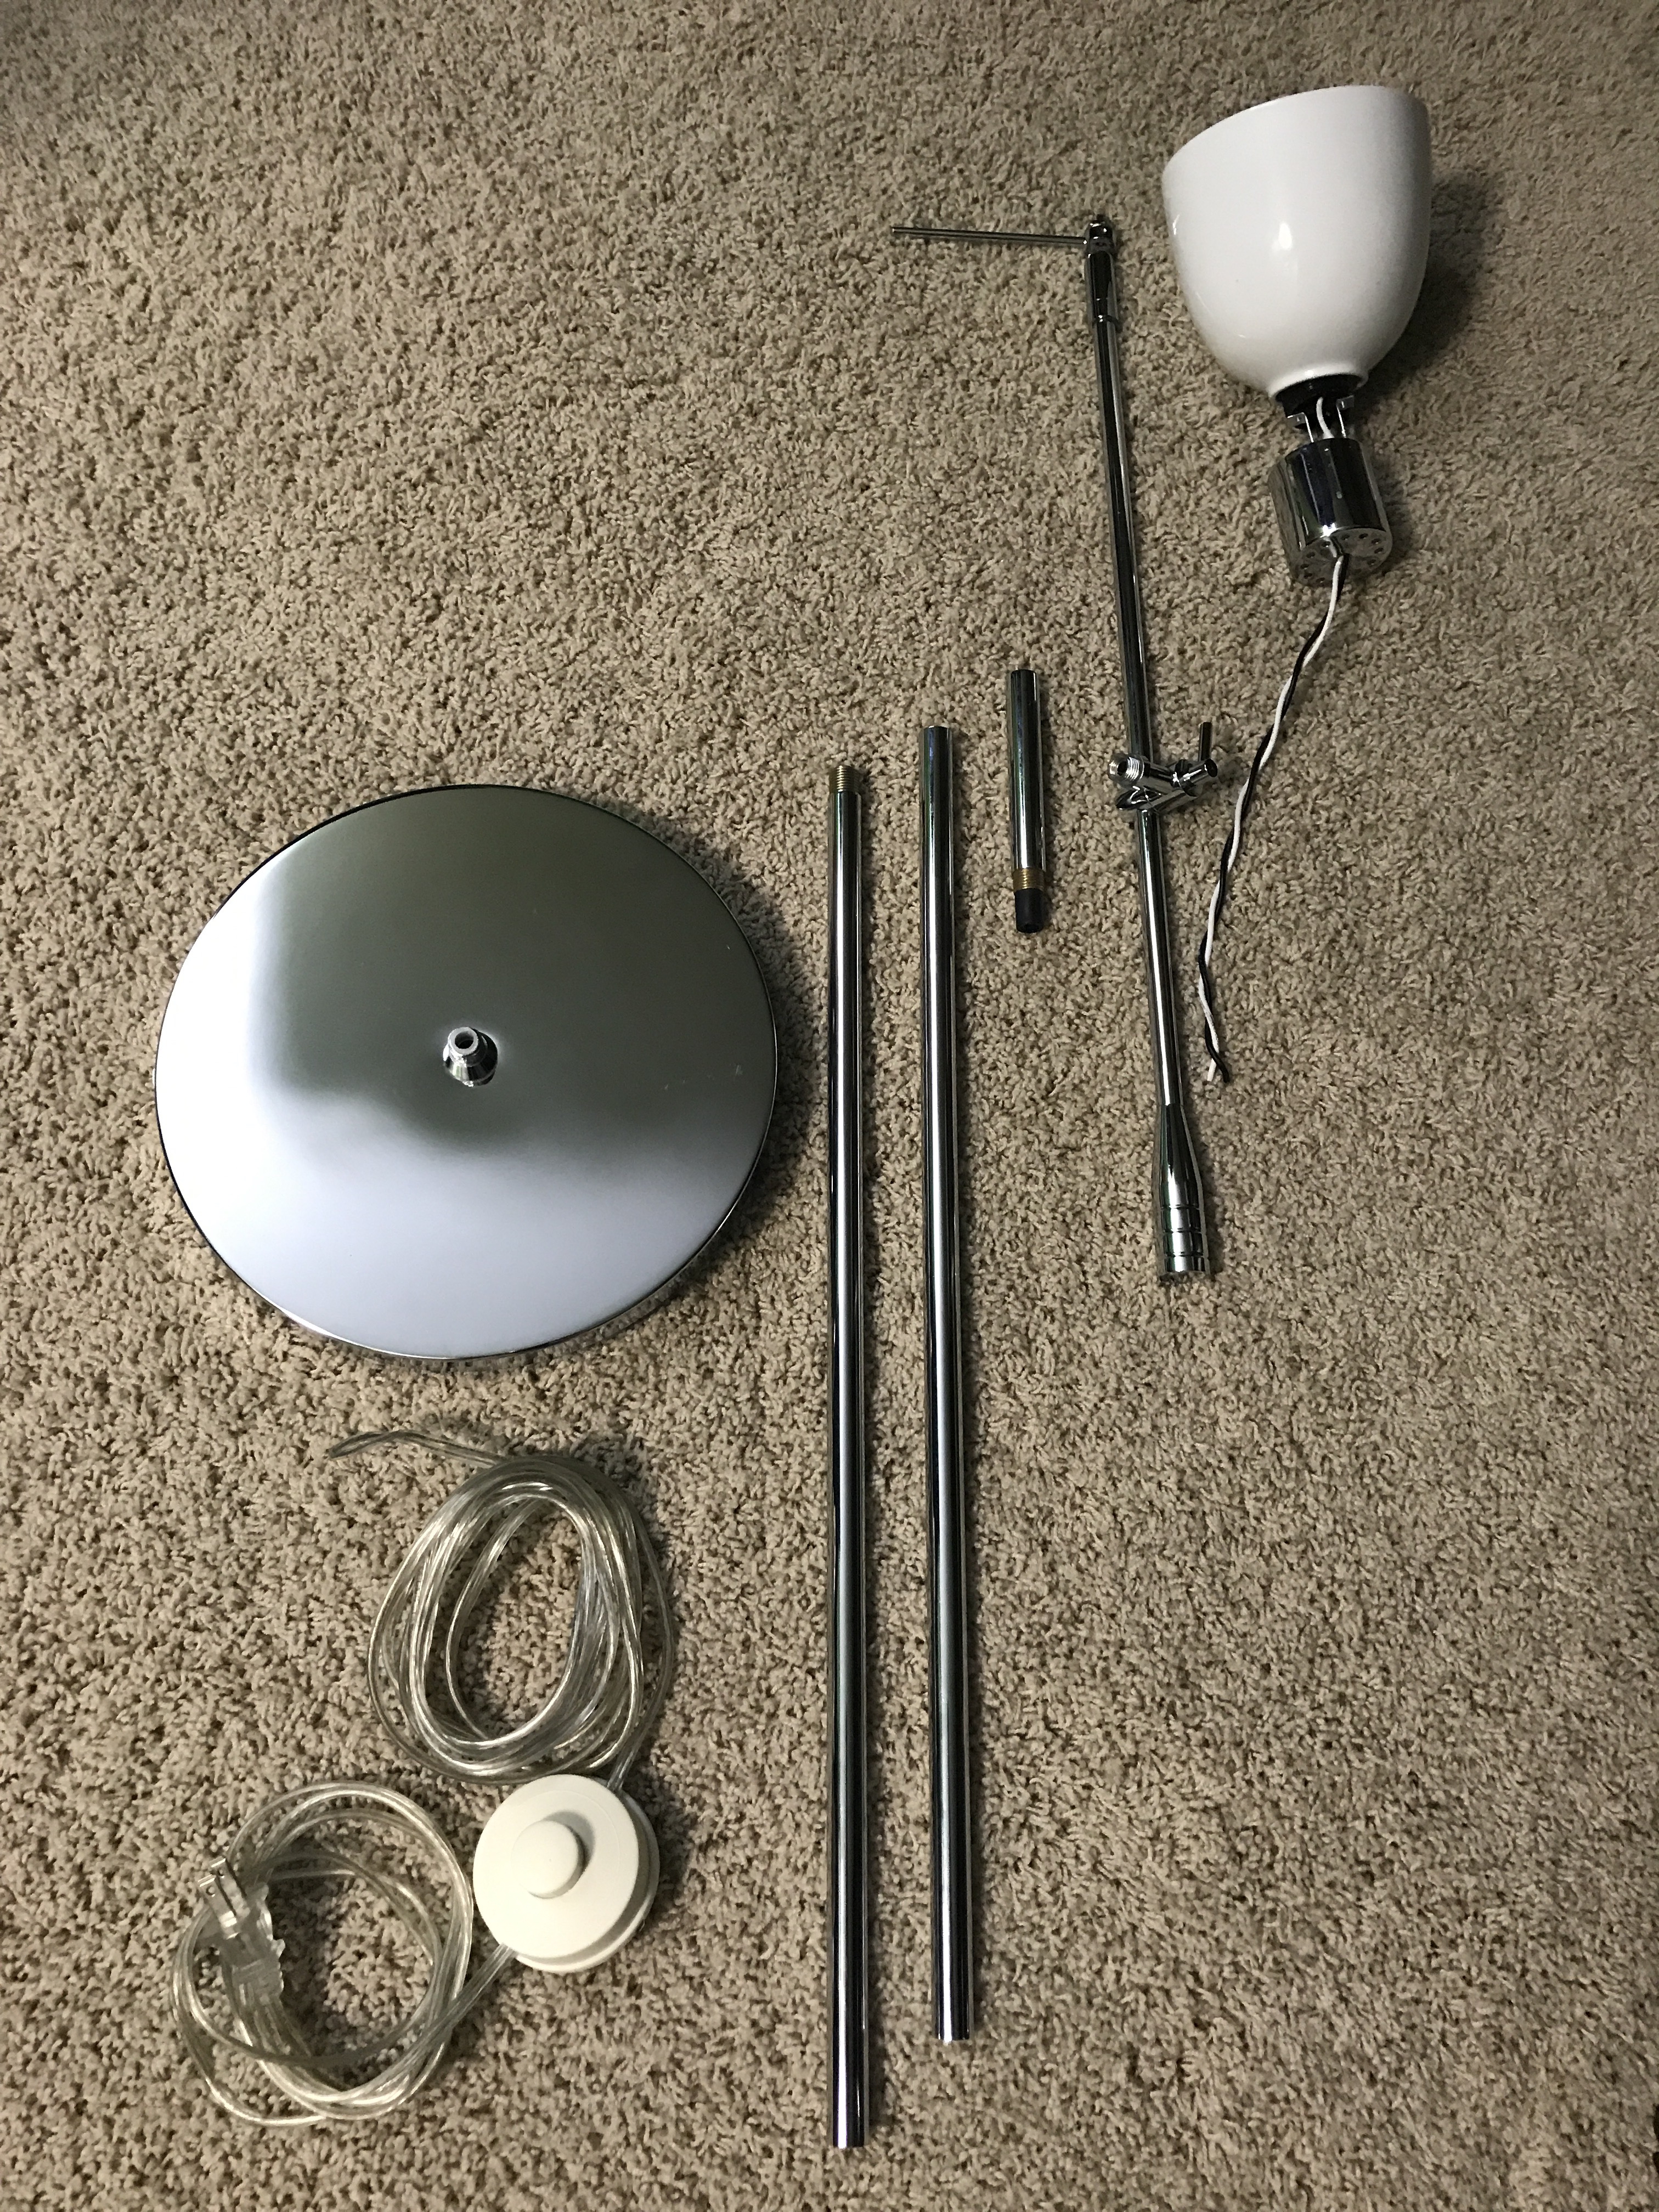
I had also been looking at a lot of videos and tutorials for building my own overhead camera rig. Then I remembered I had this lamp stashed away in a storage closet…

img_9566

I took the whole thing apart.

img_9567

I started putting things back together, using only the pieces I needed. I immediately noticed an issue. The swing arm would go up to about 20 degrees shy of vertical, but it wouldn’t go down more than this…

img_9568

I tried to get a decent picture showing how this joint works, but it’s hard to see in the photo below. There is a slot carved out of the edge and then a screw that hits the edges of the slot.
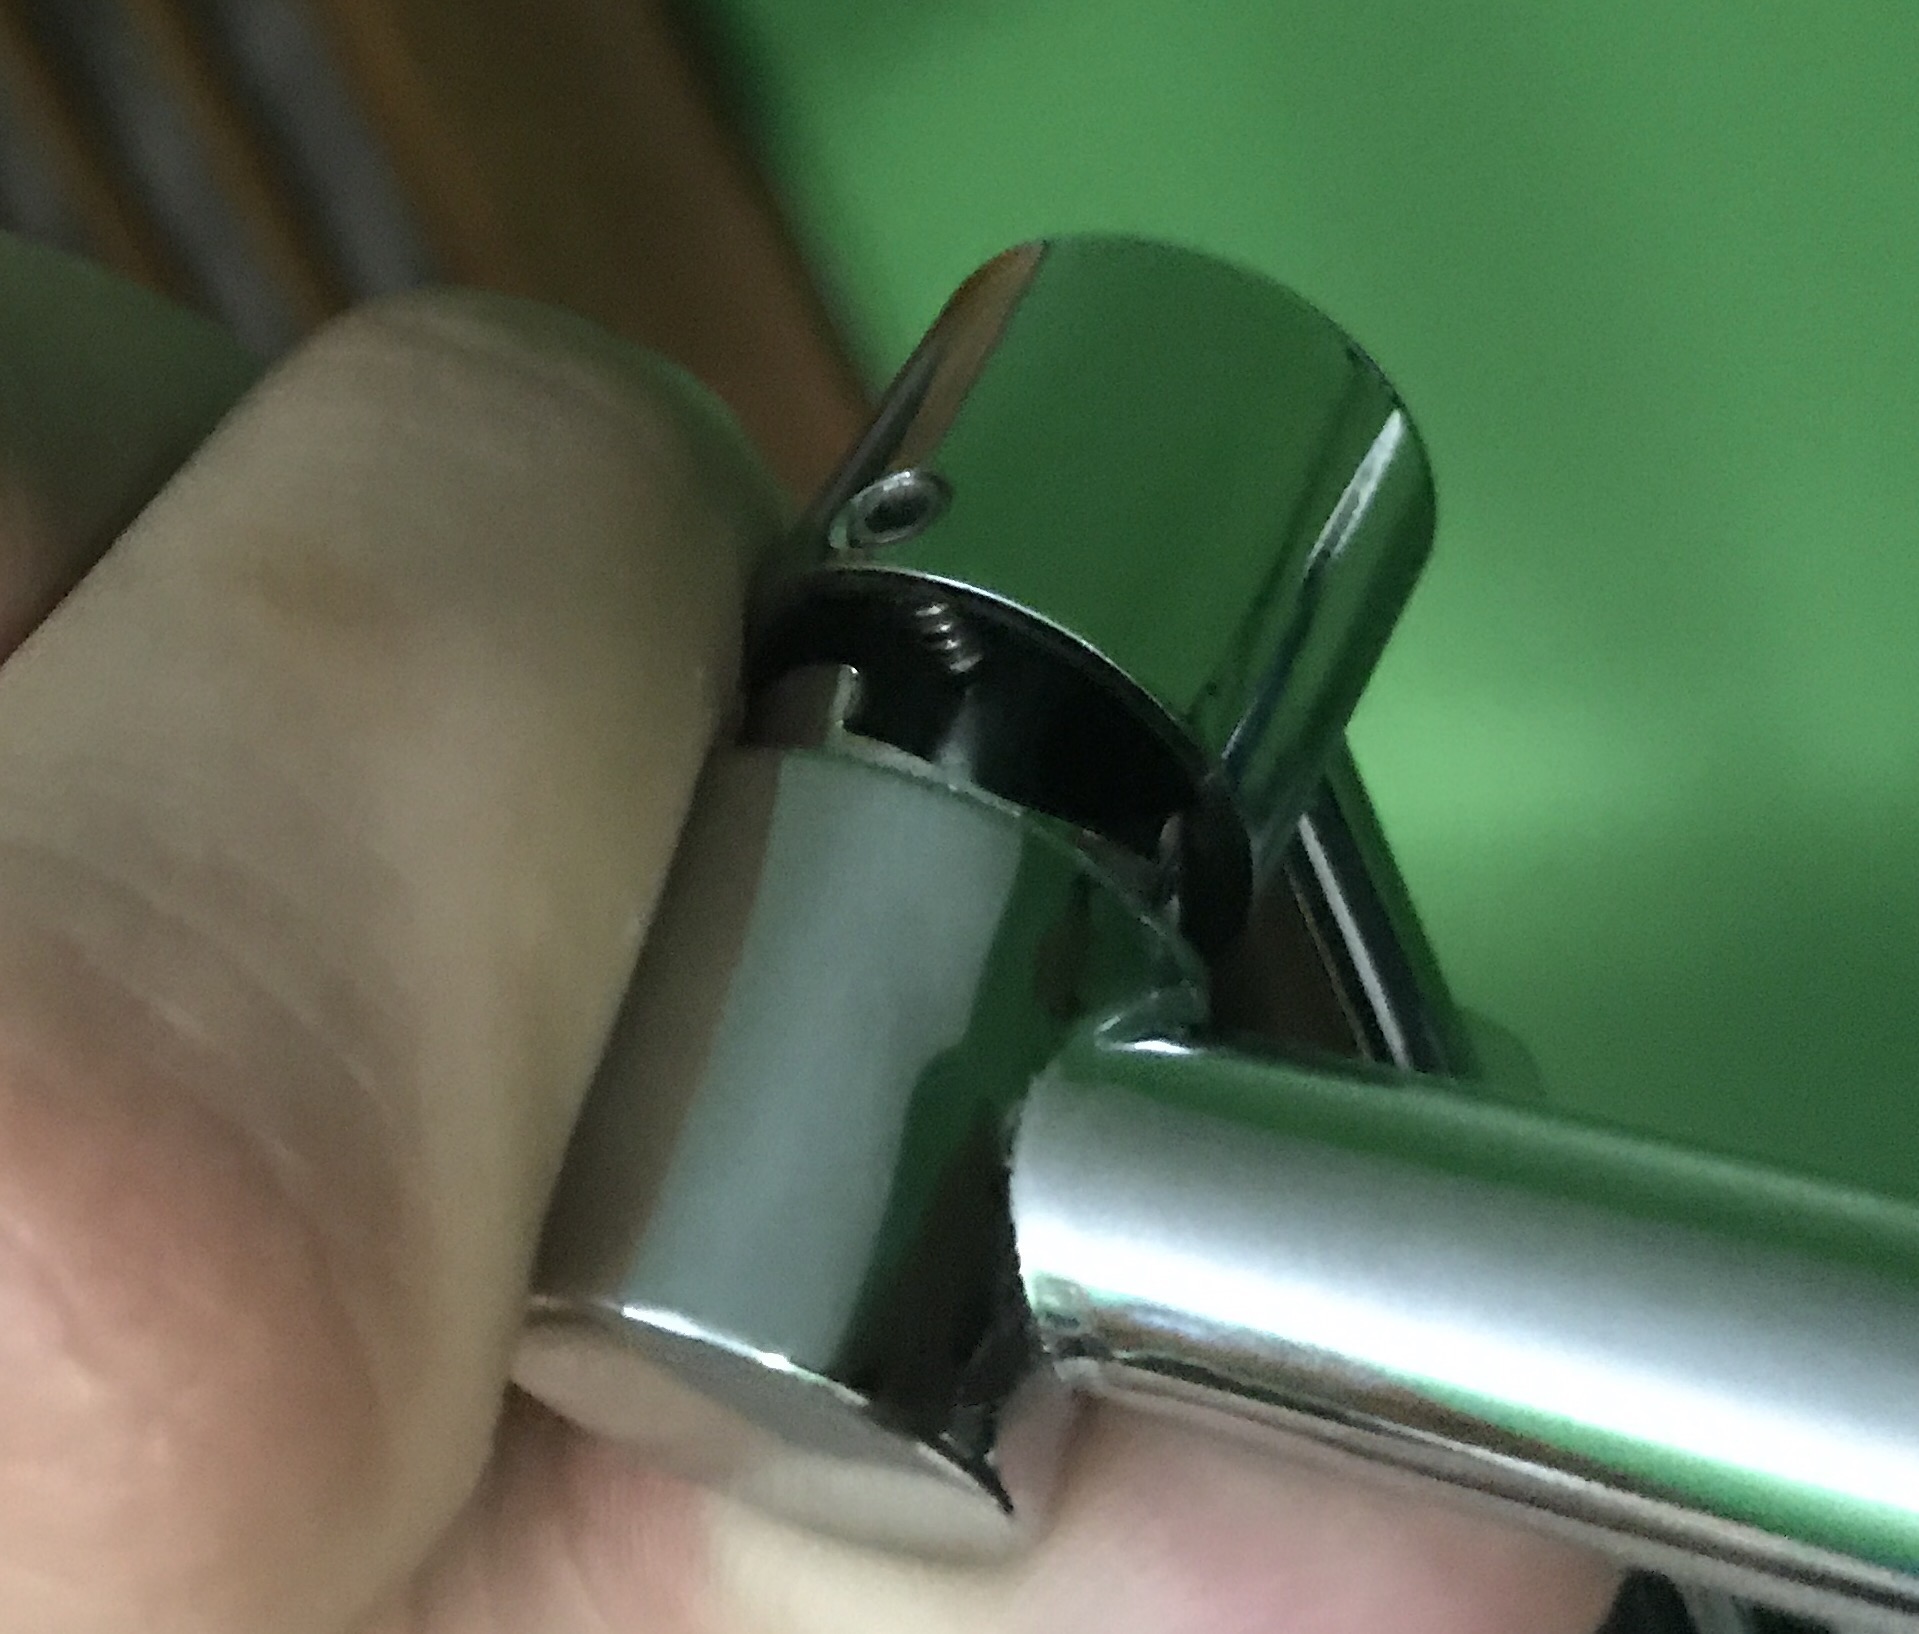
Here’s a better picture at just the notch…

img_9575

I needed to extend one side of the notch, which was quick work for my Dremel.

img_9576

After the adjustment, the arm can swing down to about 45 degrees.

The next problem I faced was needing some type of bracket where the light bulb used to be connected so I could attach the camera. I found this old ceiling light fixture bracket in my box of goodies. The threaded hole in the middle was a perfect match to the bolt on the end of the stand.

img_9573

I didn’t need the entire thing so I cut off one side with my Dremel.
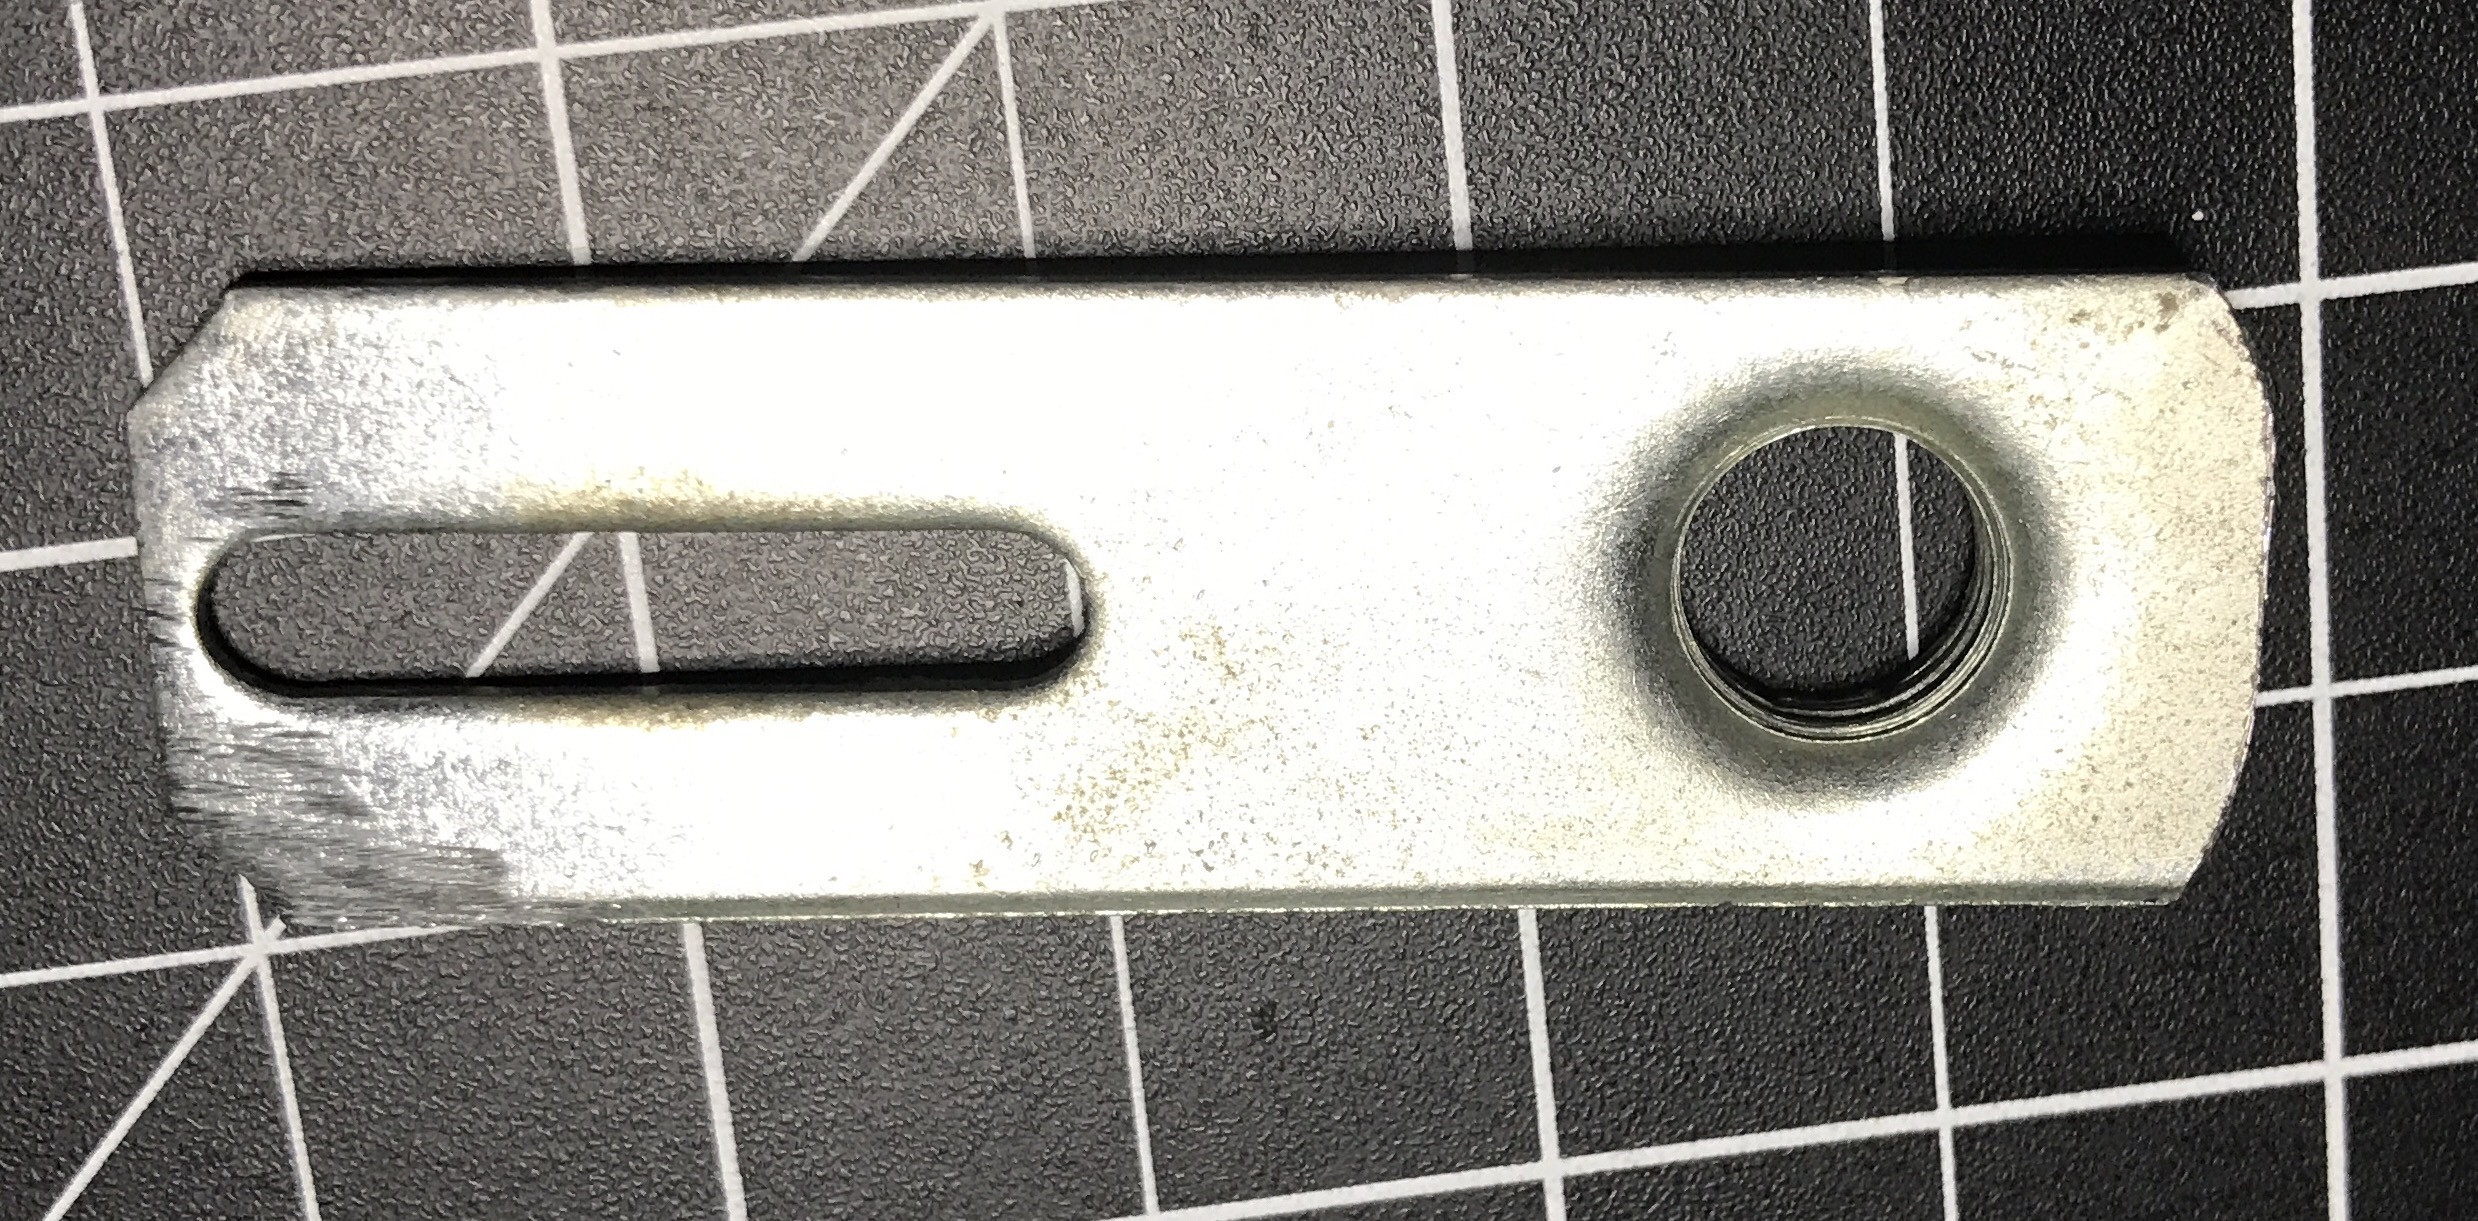
img_9577

I found another part (the long arm type piece you see below) in my goodie box, which fit perfectly in the camera mount pieces. I had to use a couple of mount pieces from the accessory kit to get the camera oriented in the correct position relative to the stand. There was one trip to Home Depot for the wingnut, thumb screw, and small washers (definitely needed a few for spaces with the camera bracket at the bottom). Here is everything laid out before assembly.

Of course I had to test it out right away, especially since I hadn’t even turned on my new camera yet. I grabbed a couple of fidget spinners and adjusted the rig.
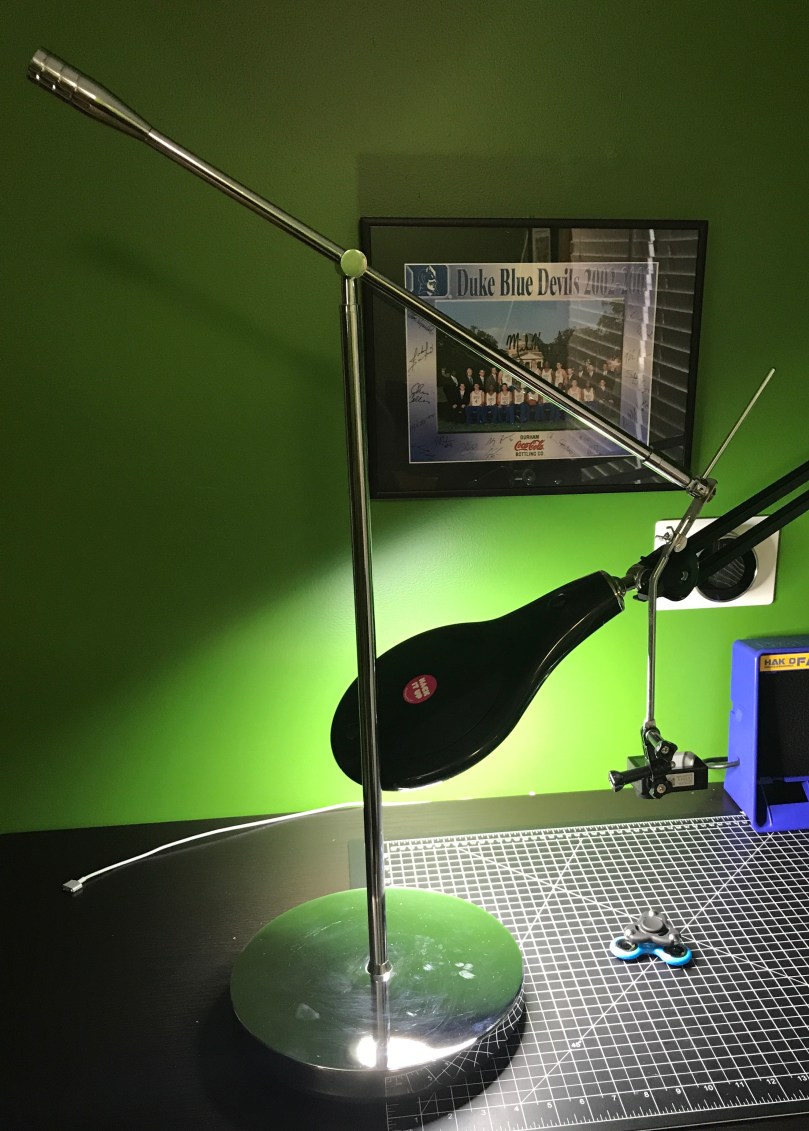
img_9579
I may need to create a cover or paint the base due to the reflection, which won’t be ideal for lighting.

Being able to frame the shot immediately with the camera LCD is amazing compared to the shit show I used to do with the GoPro.

Check out the video…

In case you weren’t keeping track, blue spun for 1:38 and black went 4:58!

Did you notice the shaking at the beginning of the video when I started up the spinners? Not good. I thought it would be super stable because the base of the stand is quite heavy (reminds me of the sand filled base of a moveable basketball hoop). Most of the movement seemed to be coming from the bracket I cut. An unused dead bolt bracket from my goodie box matched up well enough in size after making one of the holes bigger. This allowed me to double up the thickness, which does seem to help.

img_9581-1

I’ll have to do some testing while working on a project on the desk, because if this rig shakes the camera every time the desk moves a little bit it won’t be good.

As a bonus, there are some really useful parts of the lamp left. Maybe I can come up with a neat DIY lamp some day. The foot switch is also neat and could be used for a lot of things.

img_9572

How Do You Pour A Bowl Of Cereal?

2 Kinds of People is a site I’ve enjoyed for at least a couple of years. Usually it’s pretty clear which side I belong on, but this image about pouring a bowl of cereal puts me on both sides. I always start by pouring cereal into my bowl and then I add milk, otherwise your cereal floats on top and you need to smash it down into the milk. My second (and often 3rd) bowl starts with the leftover milk already in the bowl though.

What method do you use?

My First Amazon Purchase

In 2004, the first thing I bought with my Amazon account was the book, Every Second Counts about Lance Armstrong, which I still have on my bookshelf. It was $2.50 and $3.49 for shipping.

2004 Amazon Orders
2004 Amazon Orders

What’s the first thing you purchased on Amazon?

I love how Amazon alerts you of a previous order when visiting a product page. It came in handy the other day when I was looking at cameras.

every-second-counts-previous-order.png

Home Fixes

Yesterday I set out to fix a couple of things around the house.

Garbage Disposal

It stopped working several weeks ago when the cleaning lady was using it. I was out golfing at the time so have no idea what happened. There was no sound or anything when the switch was flipped. My first step was to make sure the outlet worked.

test-socket

So then I moved everything out from under the sink, got a bucket to catch the water, and removed the unit. I noticed a red button on the bottom.

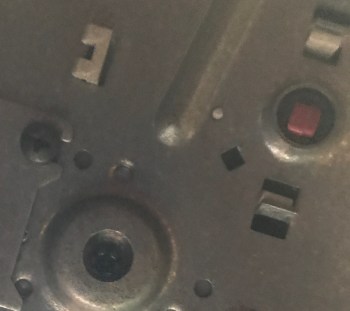
disposal-button

It responded like the button on a GFI outlet. Then I plugged the disposal back in. There was a humming sound for a few seconds and then it stopped. The red button had popped out. Must be some kind of safety mechanism so the unit doesn’t burn up the motor. While cleaning out the cupboard I had come across an allen wrench.

disposal-allen-wrench

There was also a hole in the bottom of the disposal where this fit. Gave it a bunch of turns and it started to feel pretty smooth. Pushed in the button, started plugging it in, and holy shit! The torque on that thing nearly sent it flying across the room. Glad I had barely touched the plug to power because my hand was able to jerk it away from the outlet.

I put the garbage disposal back in place, reconnected all the pipes, and I was back in business. No leaks either. Something must have been jammed inside.

As a bonus it turned out to be a good reason to clean the cupboards under the sink, which had accumulated a bunch of junk.

Garage Door Opener Light

It’s been flaky for several years. I had tried replacing bulbs and sometimes they would work for a bit or flicker here and there, but eventually stop working. With my new knowledge and confidence with electricity and circuits I figured there had to be something going on with the connection. After unplugging the garage door opener, I took off the face plate and disconnected the wires from the back of the light socket.

garage-door-old-light-socket.jpg

Looking at this socket, 2 things stood out to me: 1) seems like both contact points were corroded and 2) unlike a lot of light bulb sockets where the sides are metal, this only had the contact pad which is at about 1:00 if this were a clock face. I grabbed my favorite tool, the digital multimeter…

I may have been able to clean up the contacts on the socket, but I figured it was better to replace it. The only thing at Home Depot that looked like it would work was this waterproof light socket for $3.47.

waterproof-light-socket.jpg

I carved off some of the rubber with an X-ACTO knife for a better angled fit and applied a bunch of hot glue. Here are views of the front and back…

garage-door-opener-light-socket-frontgarage-door-opener-light-socket-back

It ended up working much better than expected. I reassembled everything, plugged in the garage door opener, and voila!

garage-door-opener-light-on.jpg

I also replaced a 3-way light switch I could hear shorting out, but it was an ordinary replacement job.

HackerBox #0020: Summer Camp

I managed not to look at any spoilers before HackerBox #0020 arrived, so I recorded a video when I opened it and talked through the items, trying to figure out what the theme was.


So, yep, it’s a badge inspired by the badges for Def Con (I had seen this story a week or two before, which HB shared as a hint on their Facebook page). Due to vacation, it was a couple of weeks before I was able to put this thing together. Hope you enjoy all of my mistakes in the assembly video. 🙂

There is a lot more to think about when recording what you’re doing and trying to keep talking throughout. I think it was an improvement over the video I did for the 5v relay module though. I really need to build a tripod or overhead mount of some kind so the GoPro is more stable. I may look into a newer GoPro as well with better battery life and a screen.

More details about the badge and demo code provided by HackerBoxes can be found on the Instructable page for this box. My customized demo code is in a hackerbox0020-demo repo on GitHub.

Update: I’ve updated my demo code to have examples of how to use the SD card that is on the back of the TFT.