
I’m putting a golf simulator in our basement, so this will be part of a series of posts about different aspects of the build and process.
When planning out the project, my first thought was to buy a gaming laptop for ease and portability. I have no need to move the computer around the house though and they’re very expensive. So I briefly looked at buying a pre-built gaming desktop, which can still be expensive. Building my own would save a ton of money. I hadn’t built a computer or even owned a Windows machine in close to 20 years and I was eager to dive in.
I found a starting parts list Reddit and swapped out a few things. Here’s what I ended up getting:
- Case: CORSAIR 4000D AIRFLOW Tempered Glass Mid-Tower ATX
- Power Supply: Corsair RM750e Low-Noise
- Motherboard: ASRock Intel 1700 B760 PRO RS/D4 WiFi
- CPU: Intel Core i5-12600KF
- CPU Cooler: Noctua NH-D15S chromax.Black
- Memory: Silicon DDR4 RAM 32GB (2x16GB) 3200MHz (PC4 25600)
- Storage (SSD): Silicon Power 1TB – NVMe
- Graphics Card: MSI RTX 4070 Ti Super 16G Ventus 2X
- Operating System: Windows 11 Home – 64 bit
- Monitor: Samsung 27″ T35F
- Keyboard: Logitech K120
- Mouse: Logitech M317
- Stand: EUREKA
Total cost, with Black Friday sales, was just shy of $1,850.


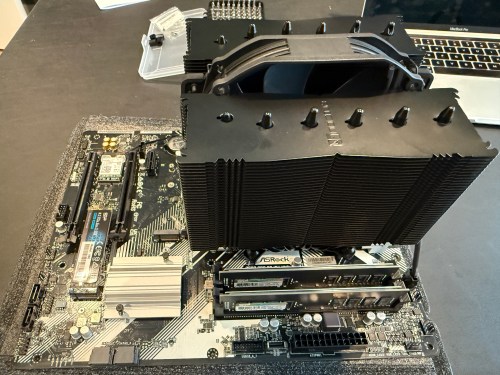


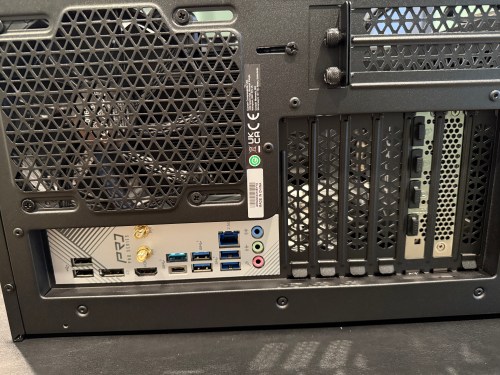
I actually managed to put together a working computer! The only mistake I made was not connecting an extra cable from the power supply to the motherboard, which provides more juice for the CPU and memory. It may have been easier to connect all of the cables before installing the graphics card, but it may have caused other issues.
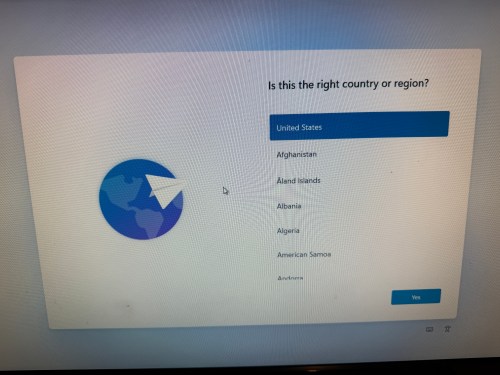
Then it was time to install the operating system. I downloaded an ISO of Windows 11 Home from Microsoft and created a boot drive on a USB stick with balenaEtcher on a Mac. I’ve used balena many times to create boot drives for installing Raspberry Pi operating systems, but Windows was not happy. During installation it was giving the error “A media driver your computer needs is missing.” I turned to Google and found out a Windows boot device is special and balena doesn’t do whatever is required. I used WinDiskWriter to create a new boot drive, which then launched a working Windows install.


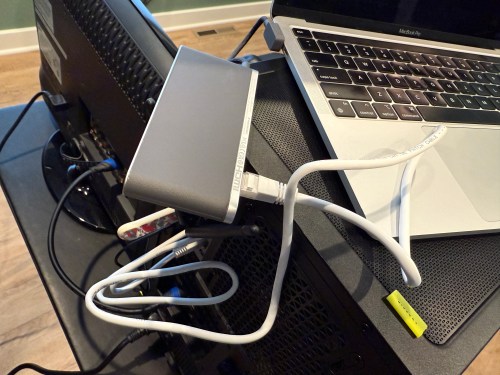
At one point an Internet connection was required and the drivers for the WiFi adapter weren’t installed yet. I still don’t have the Ethernet in our house connected, so I had to share my MacBook’s Internet connection from WiFi through a USB Ethernet device.
After several reboots and various Windows updates, it’s a working PC. I’m pretty happy with how it went. The stand came in a few days later and was easy to assemble.

Time to get everything else setup and get some golf balls!
The second post in this series covers my sim environment and the third post covers the other electronics and everything else.

[…] I wrote the first post in this series about putting a golf sim in our basement, which focused on the PC. This post will focus on the […]
LikeLike
[…] is the third post in this series about putting a golf simulator in our basement. Part one covered the PC build and part two was all about the environment. This one will cover all of the other electronics and […]
LikeLike
[…] Building a Basement Golf Simulator: The PC […]
LikeLike
[…] I was building the PC for the golf sim, I had a temporary table in my office and I was turning my chair from my desk to the table and back […]
LikeLike
[…] order to automate the processes of getting the golf sim ready to play and shutting it all down when finished I needed to create a remote control device. […]
LikeLike
[…] The PC […]
LikeLike