
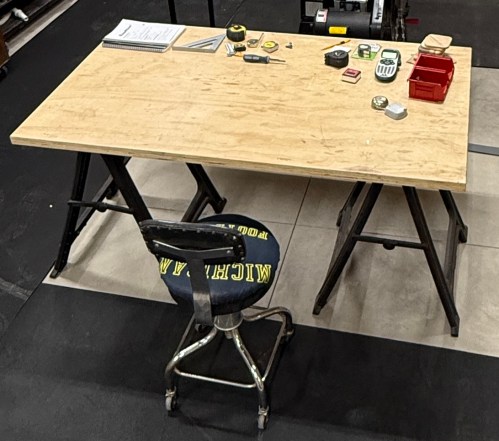
When we moved to the new house, I disassembled my workbench with the plan to build one for the new workshop. More than a year later I was still using the old top on sawhorses and everything I bought for the build was piled up in the corner.
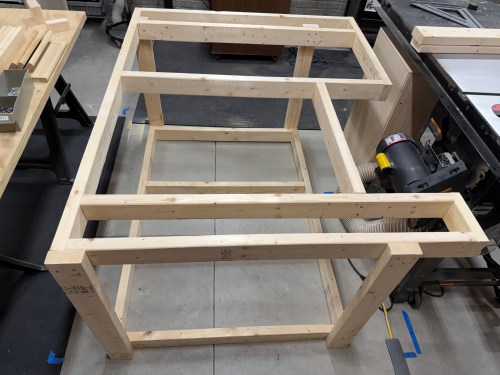
The planning notes and ideas I made last year were a good starting point. I took a bunch of measurements, adjusted to account for the motor when tilting the table saw blade, and mapped it out with blue tape. Made more adjustments, cut all of the pieces from 2x4s, and assembled the frame with 3″ screws. I’ve learned my lesson about not using glue for shop furniture because it’ll likely get taken apart in the future. By only using screws I can reuse the materials when an improved replacement gets made.


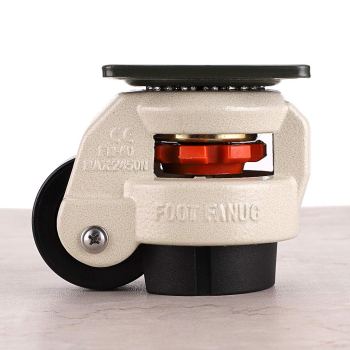
The castors I bought double as adjustment feet, making it easy to raise the height up to the table saw and will make the table stationary 99% of the time.
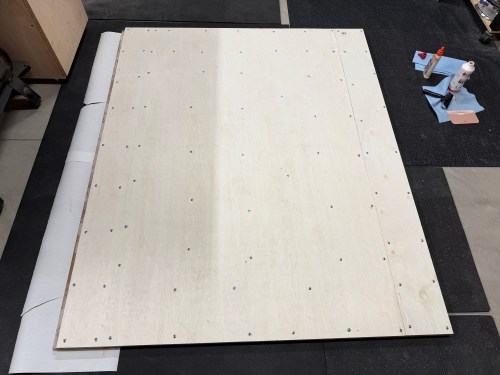
I cut plywood and MDF, then laminated them together, using screws for clamps. Since my top was going to be 66×54″ I had to splice in a six inch strip of each.

After the glue dried I removed all the of screws and got it up on the frame. Then I checked the height of my table compared to the table saw and it was going to work out well. With the blade at 45° and all the way down it was extremely close to the table top though.
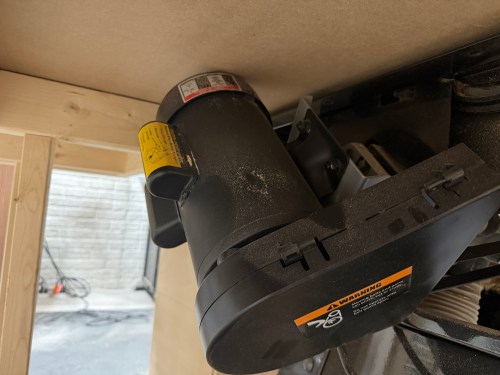
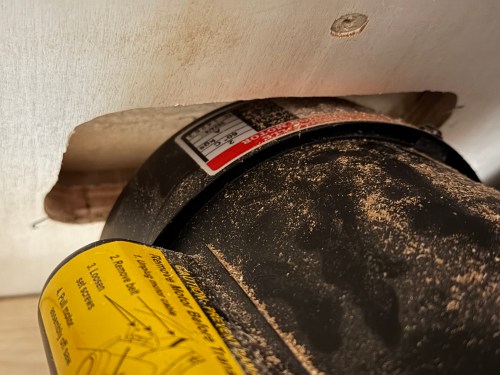
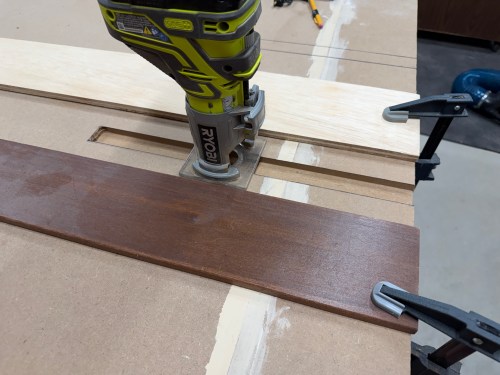
When maxing out the blade height the motor raised about an inch. So I created a clearance pocket with the router.


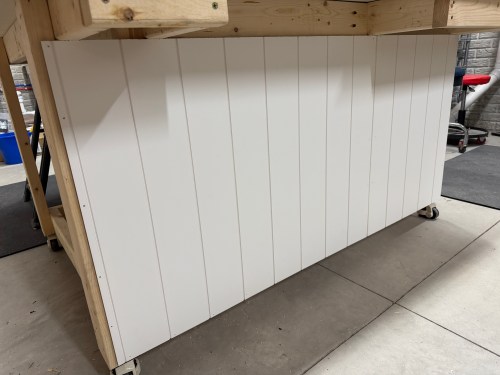
I added a couple more vertical supports along the back of the frame and cut scrap shiplap panelling to rigidify it and close it up.
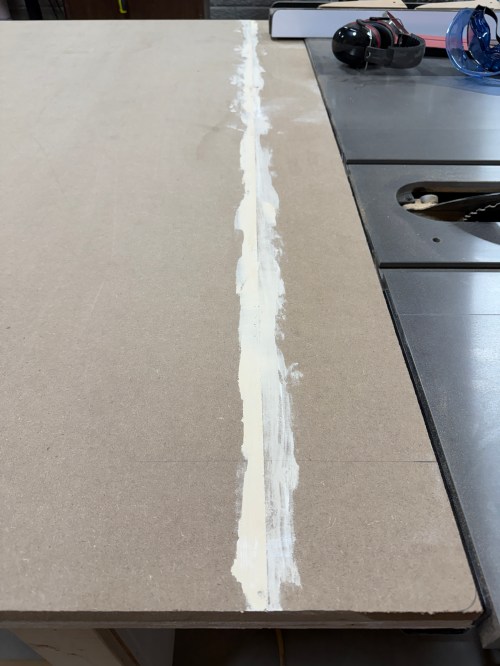
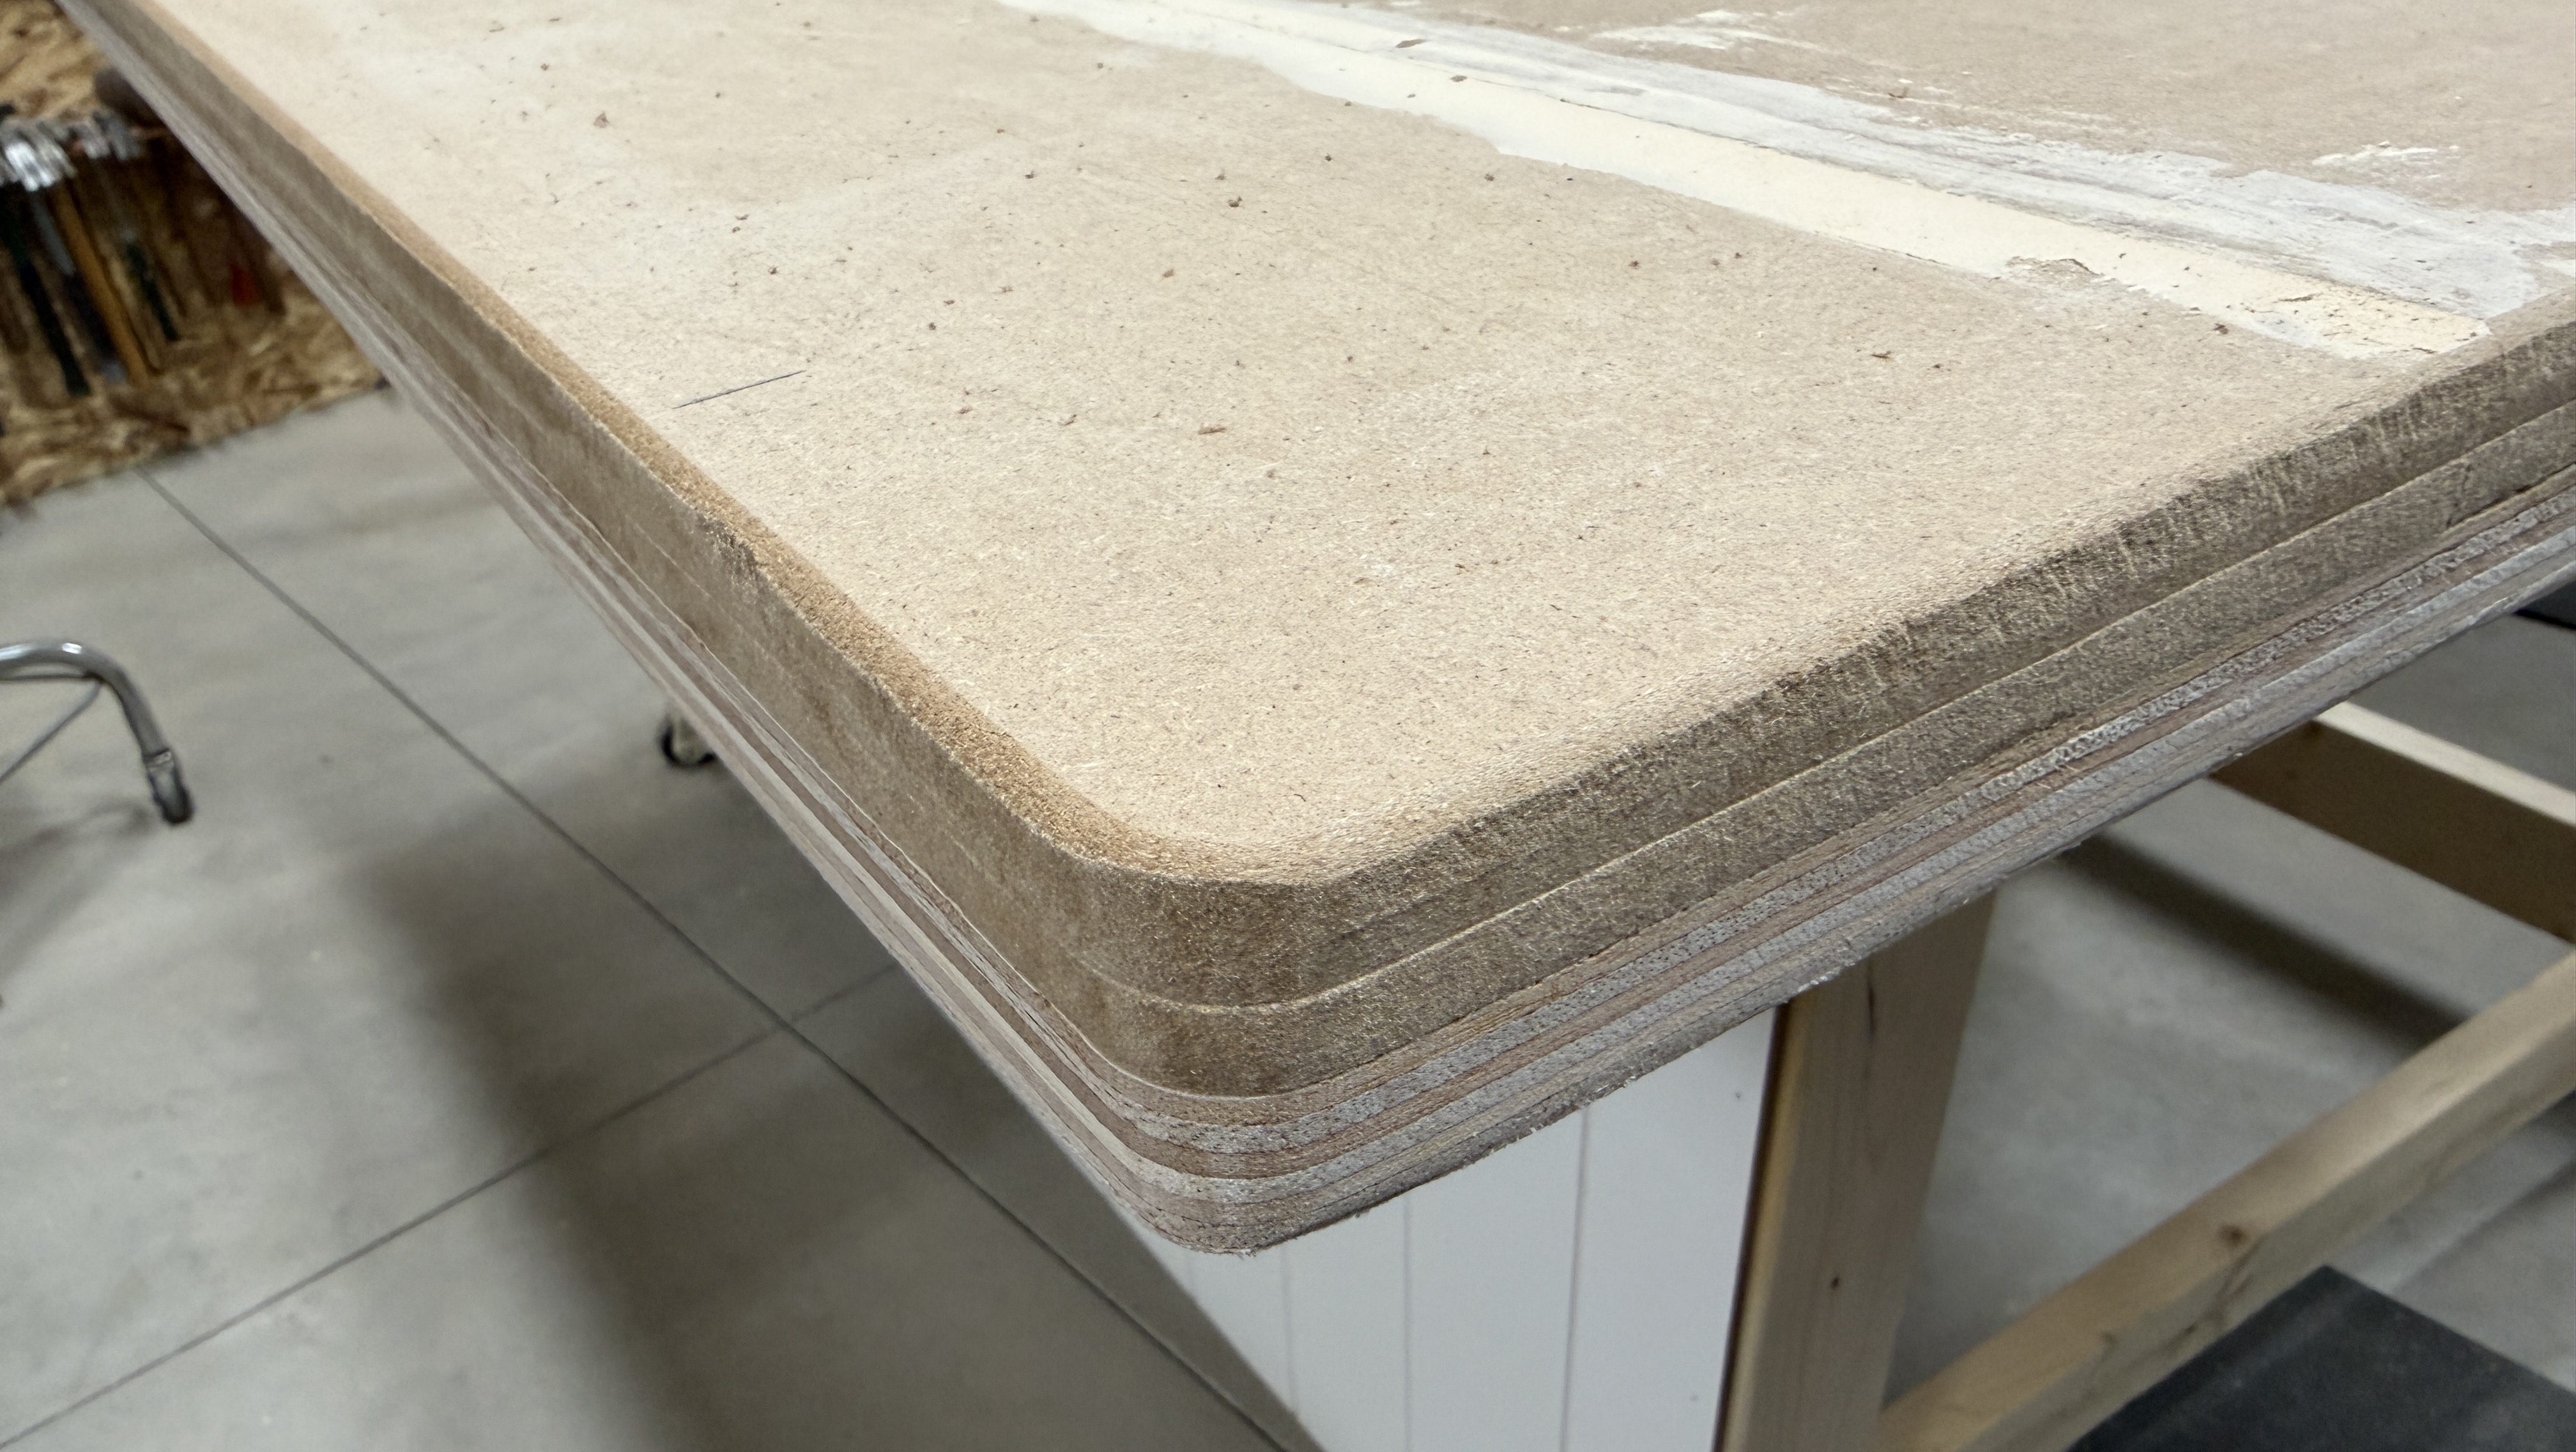
I trimmed all of the edges to size. There was a small gap between the spiced sections of MDF, so I used wood filler.
One inch corner braces with 1/2″ screws were used to attach the top to the frame.


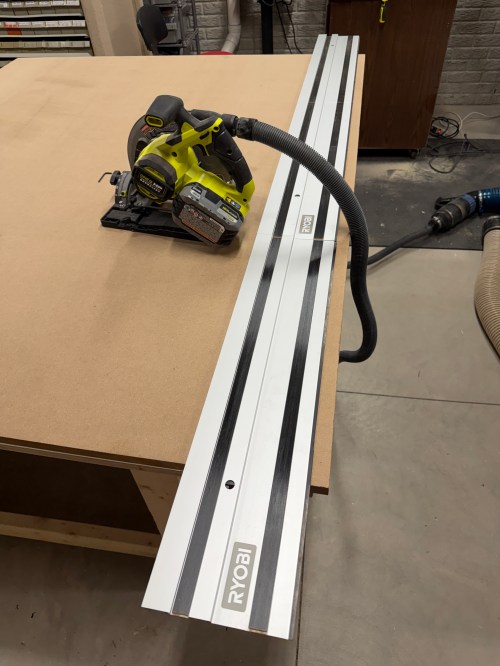
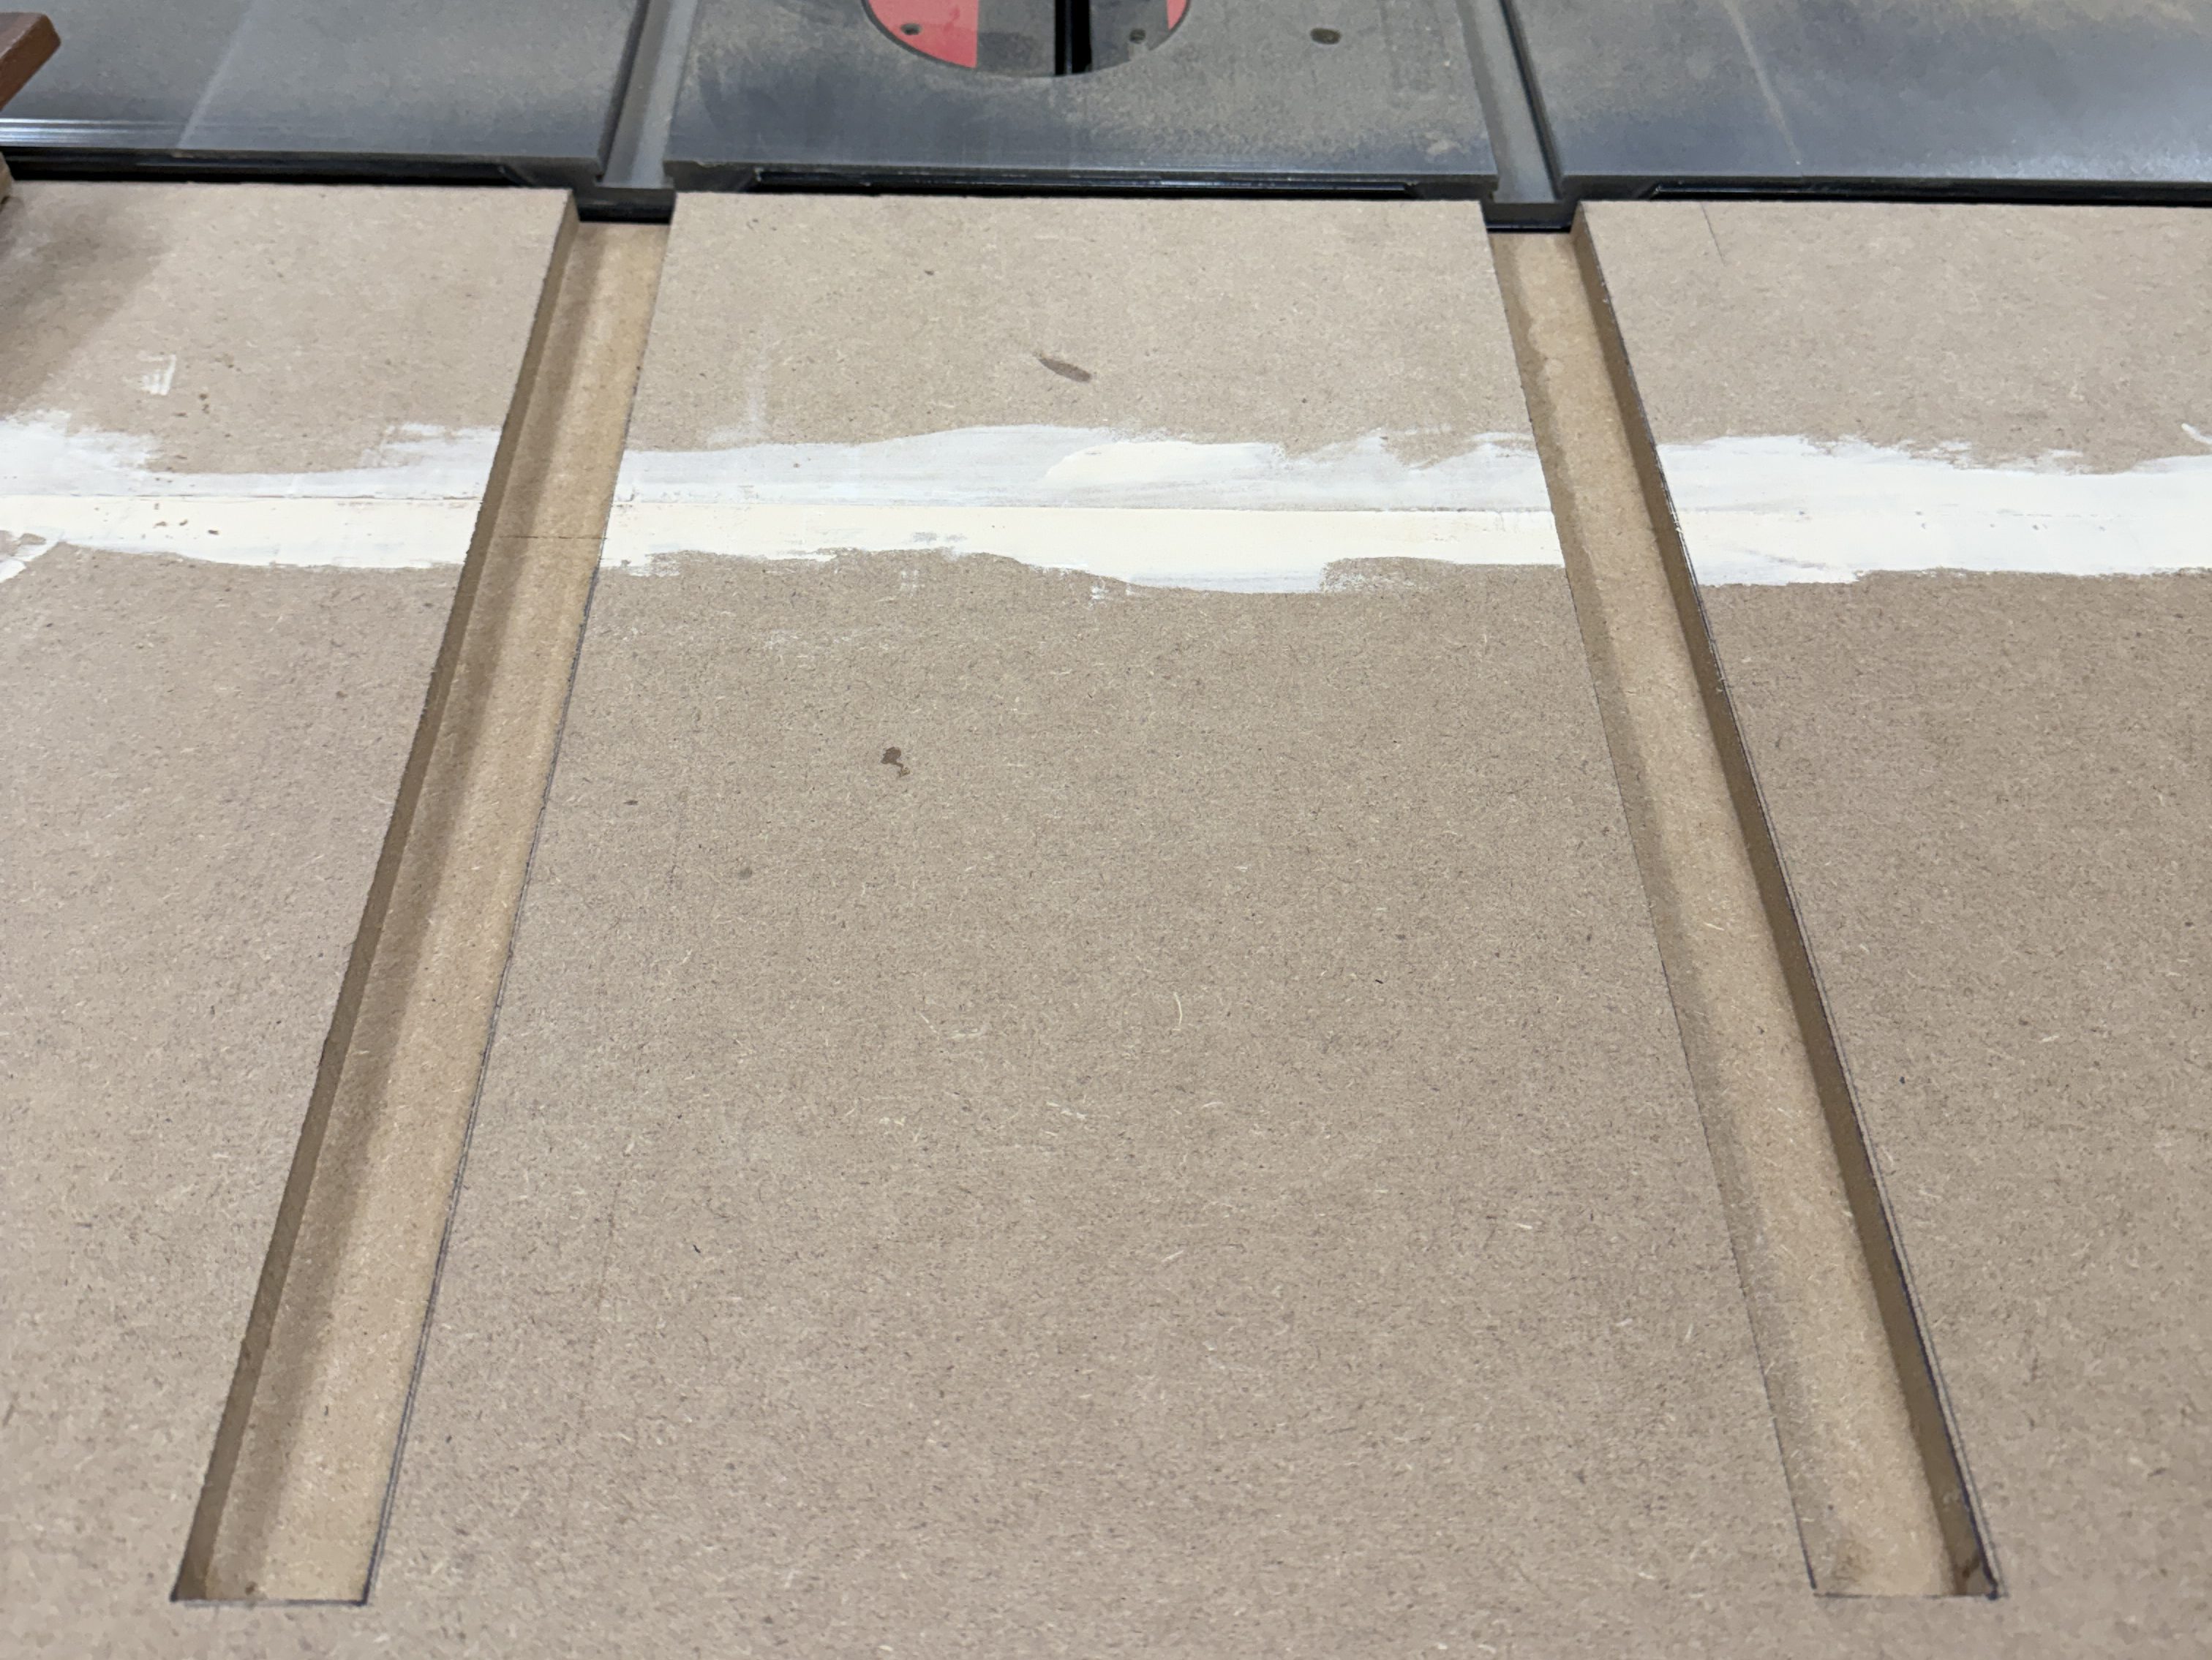
The miter slots were extended from the table saw. I made them wider and slightly deeper, so the outfeed table placement won’t need to be too exact.
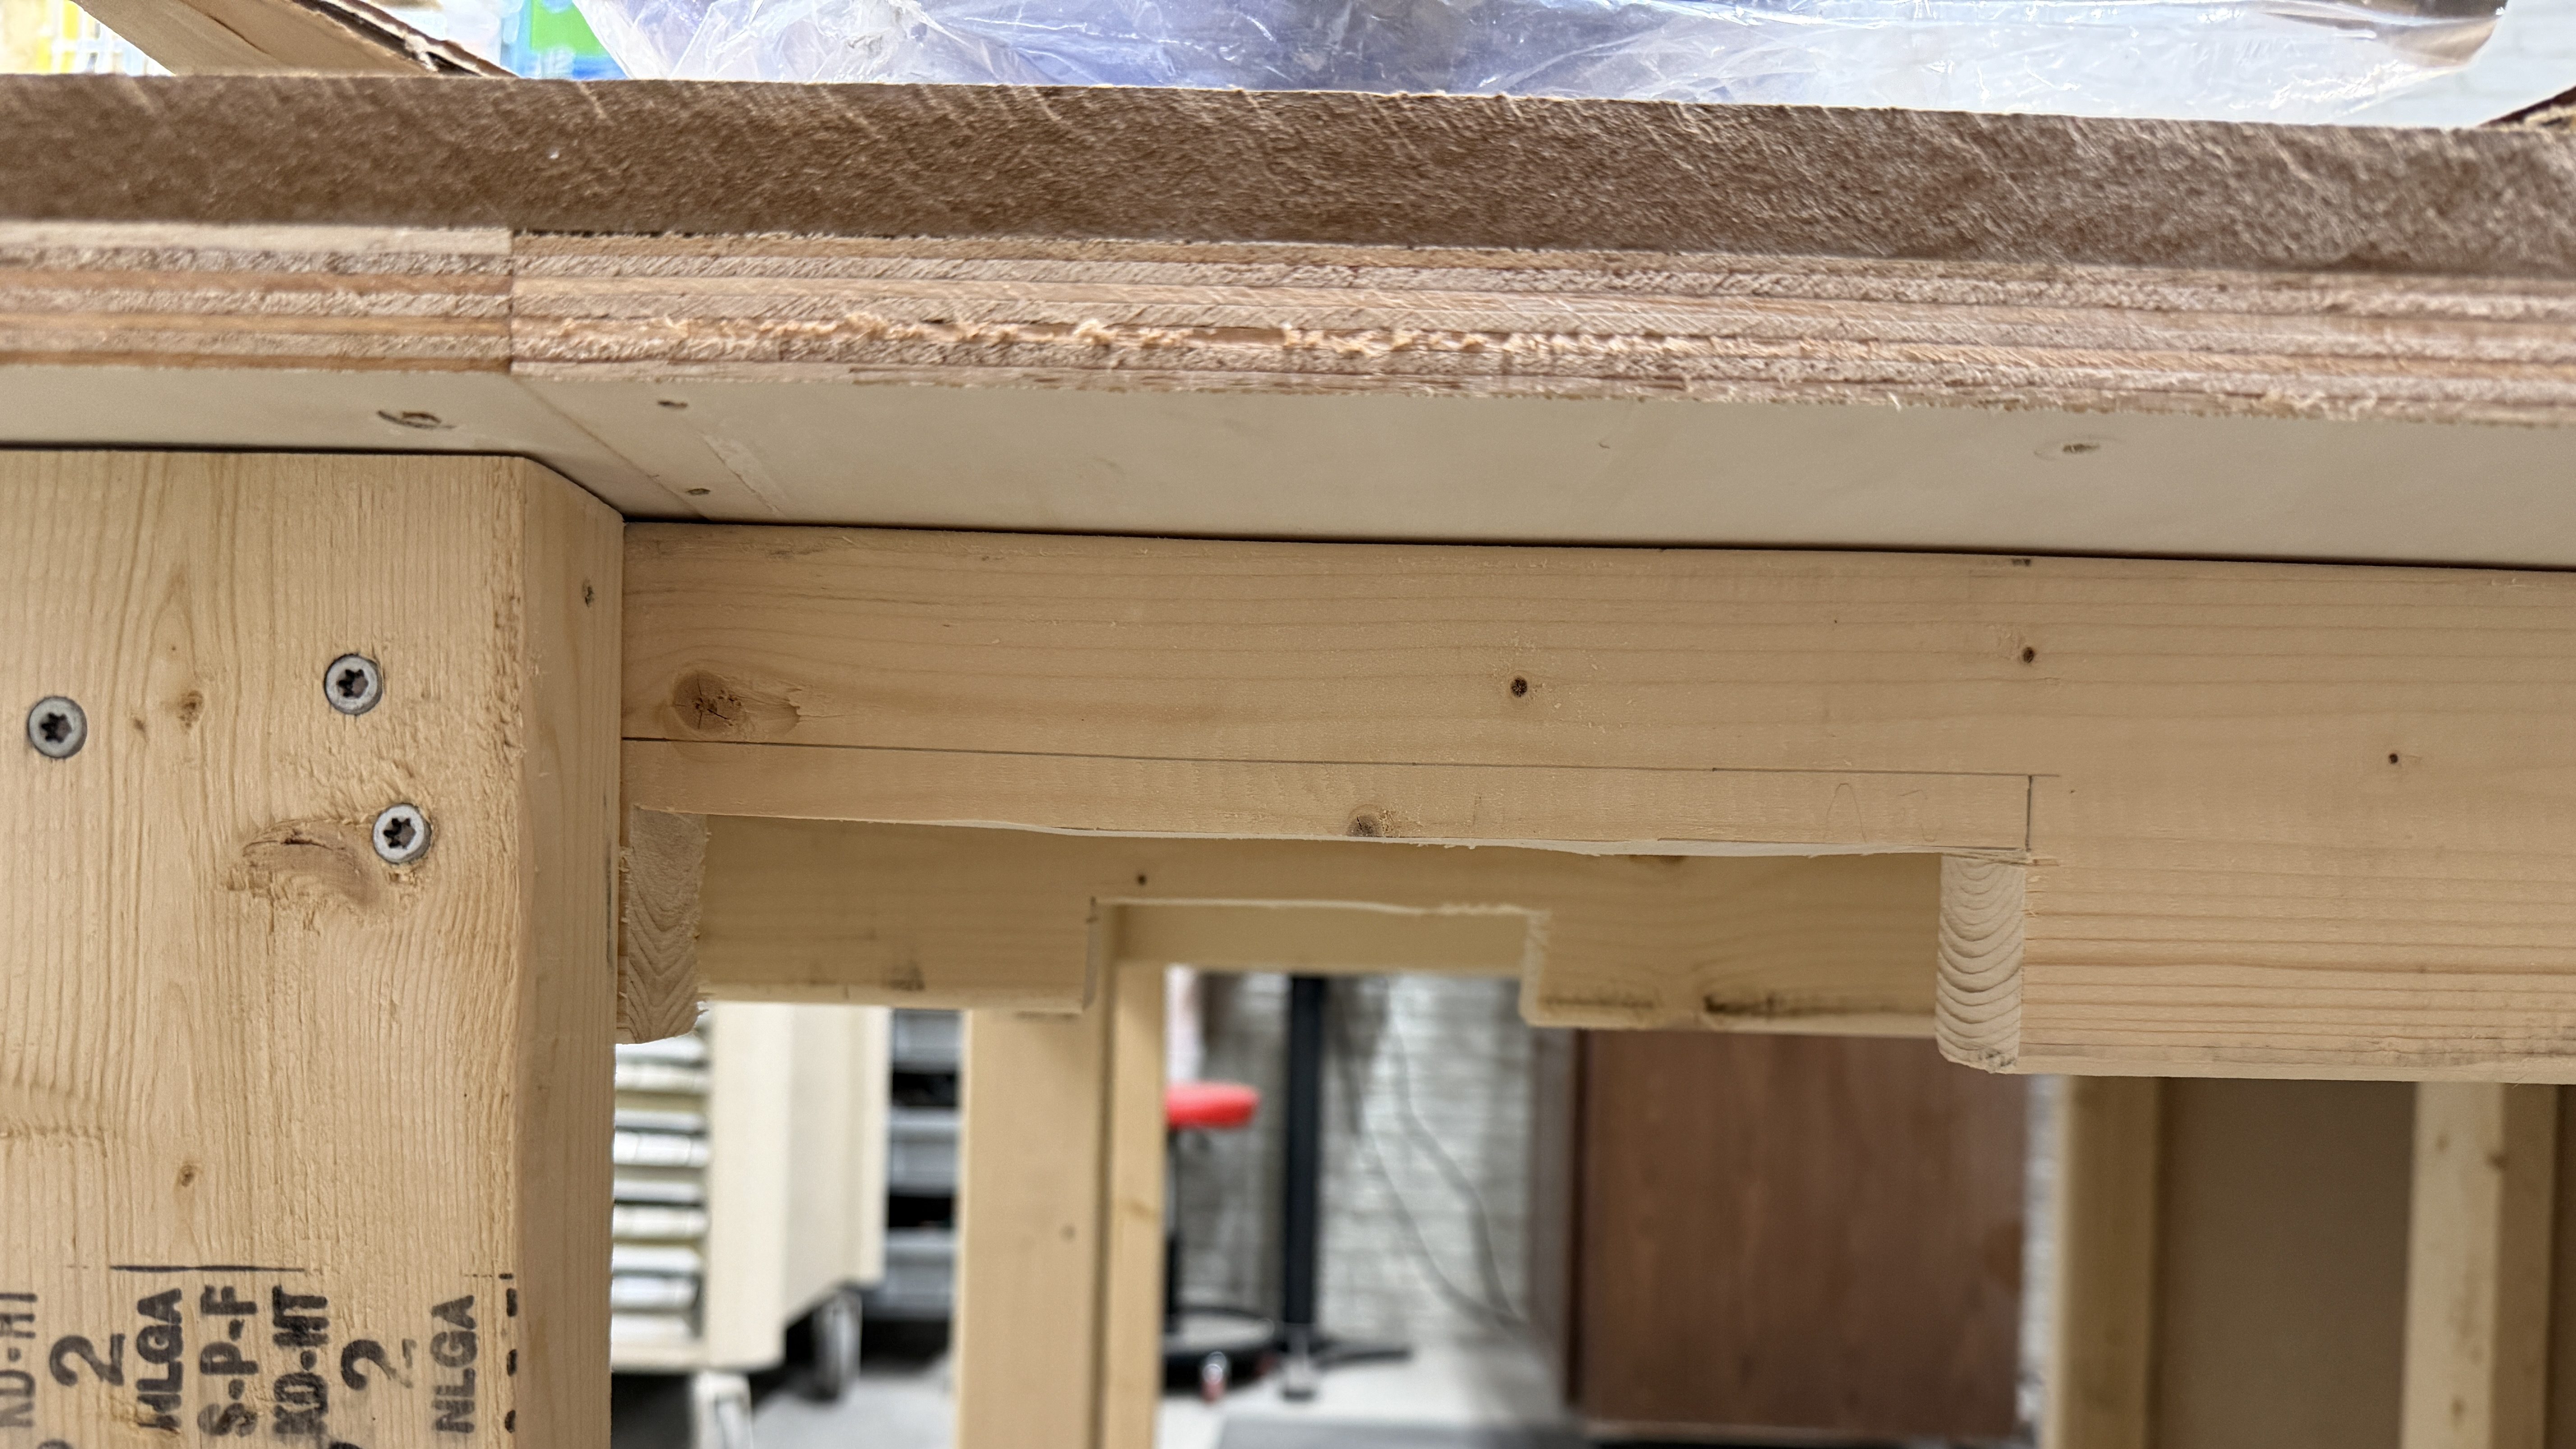
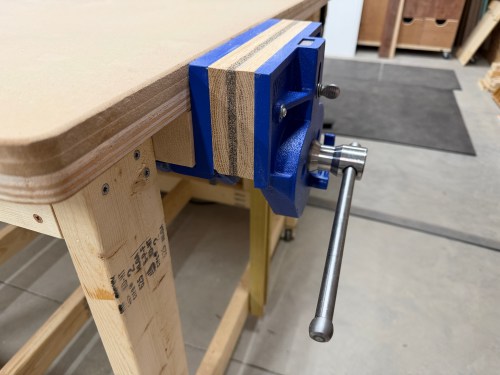
For my vice, I bought a Yost 9″ quick release vice. To mount it I had to remove part of the frame and add blocking.

I realized I should finish up the edges of the table, so I quickly rounded the corners, sanded the edges, and added a roundover.
Then I mounted the vice and cut oak for the jaws. To finish it I attached cork rubber with 3M Hi-Strength 90 spray adhesive.


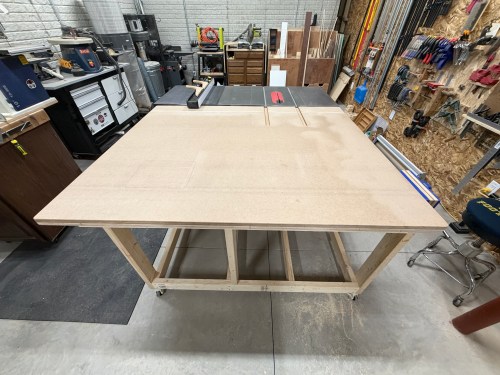
Look at this beauty! So much room for projects and a space underneath for storage.


Continue to Outfeed Assembly Table – Part 2, which is where I add a router station, complete with dust collection. Then Part 3, where I add a bunch of drawers for storage and organization.
