Custom Belt Guards for a Craftsman 12 Inch Wood Lathe (113.23800)

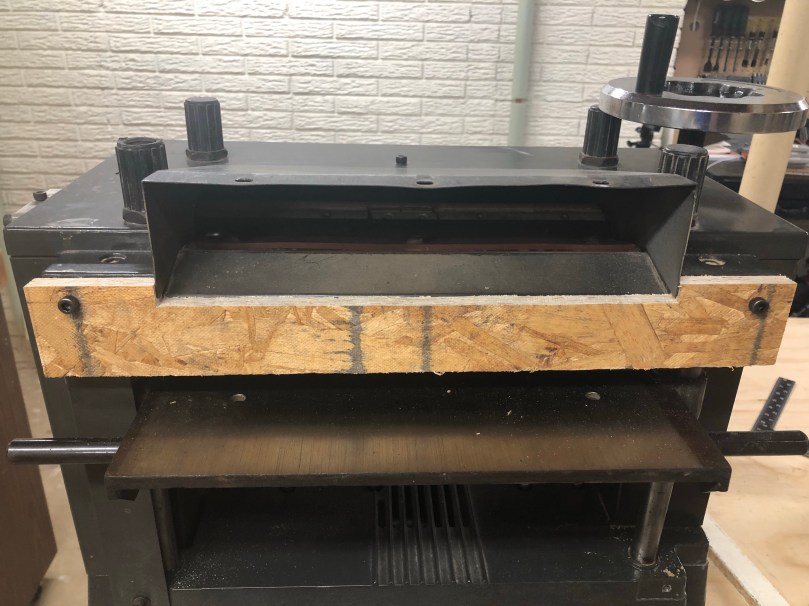
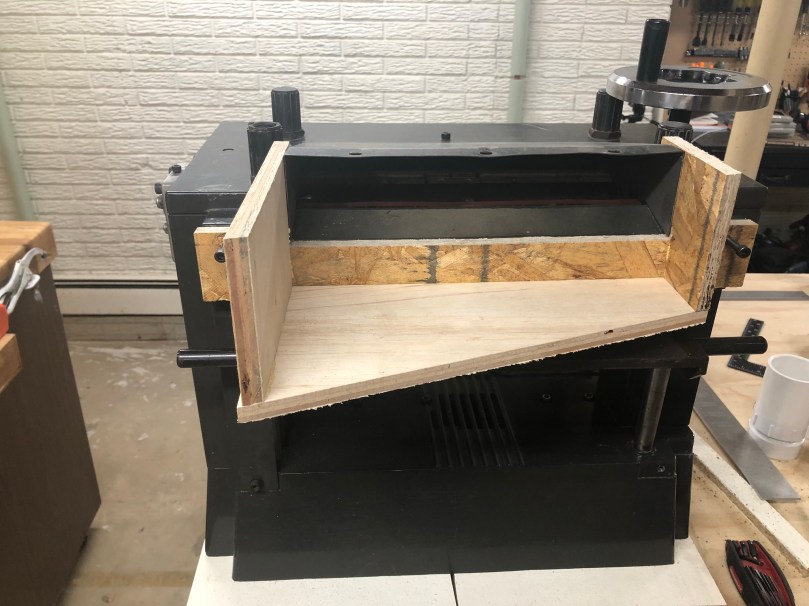
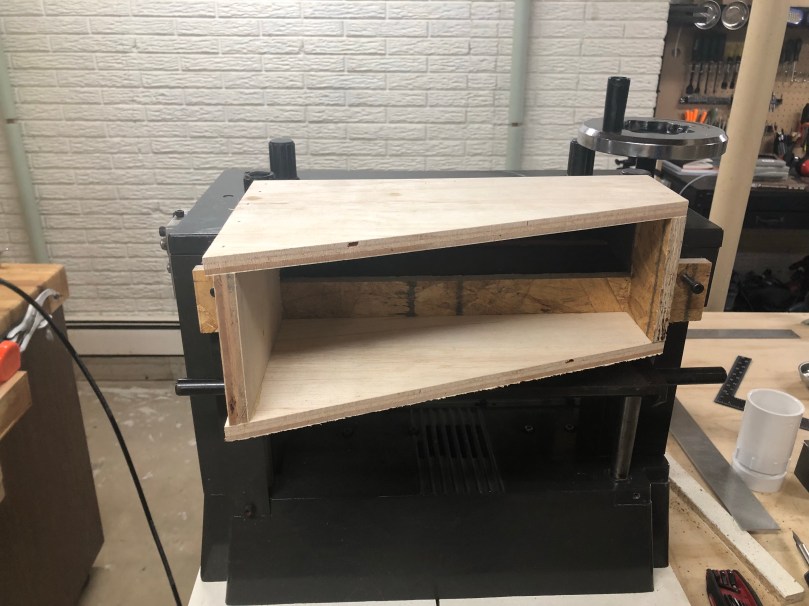
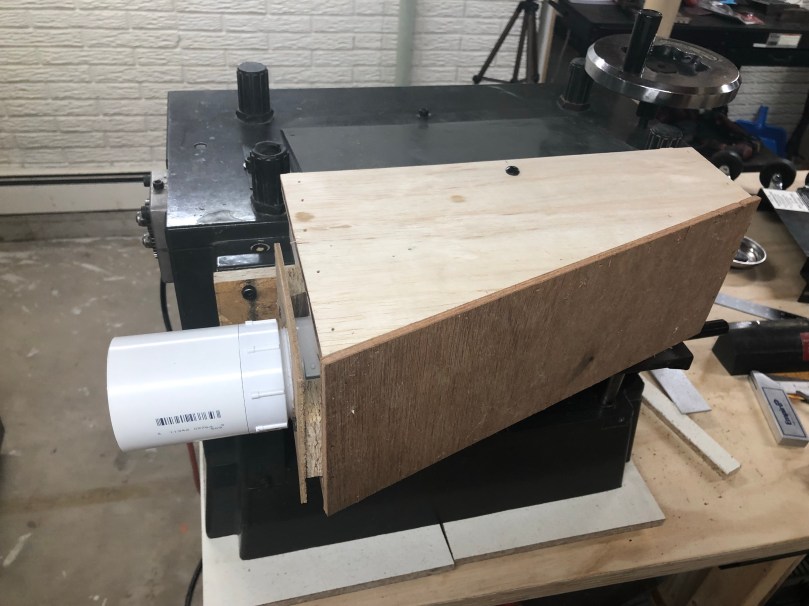
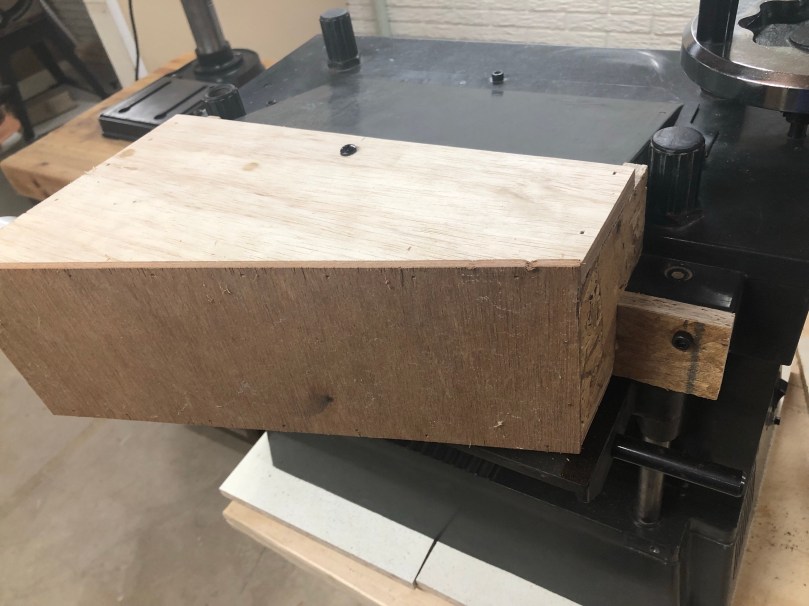
After I improved the lathe table in September I actually did start on a belt guard for about 15 minutes and then didn’t touch it for weeks. Happy to say I finally got back to the project and ended up making a guard for each belt.

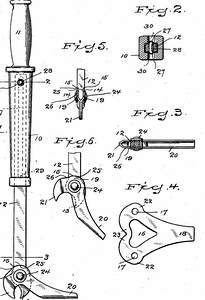
According to the product manual, here’s a sketch of the main belt guard.

lathe-original-belt-cover

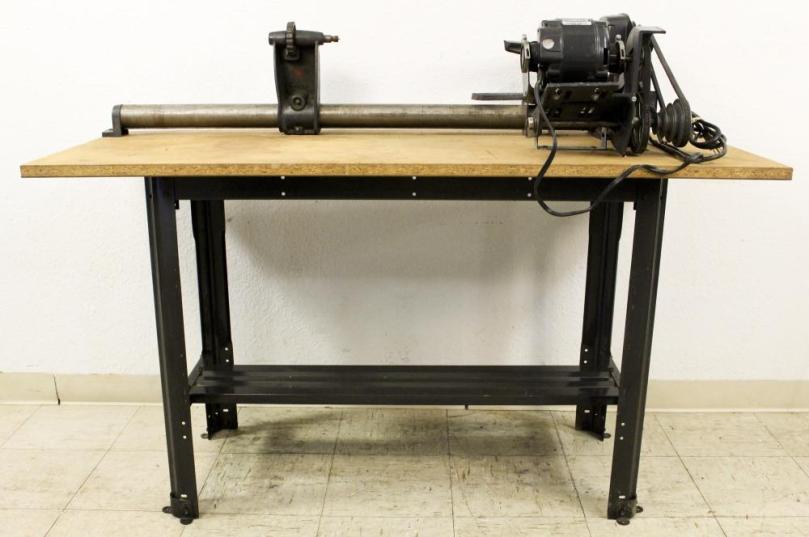
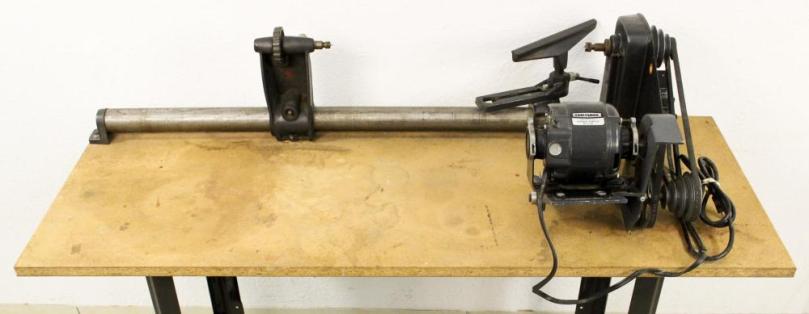
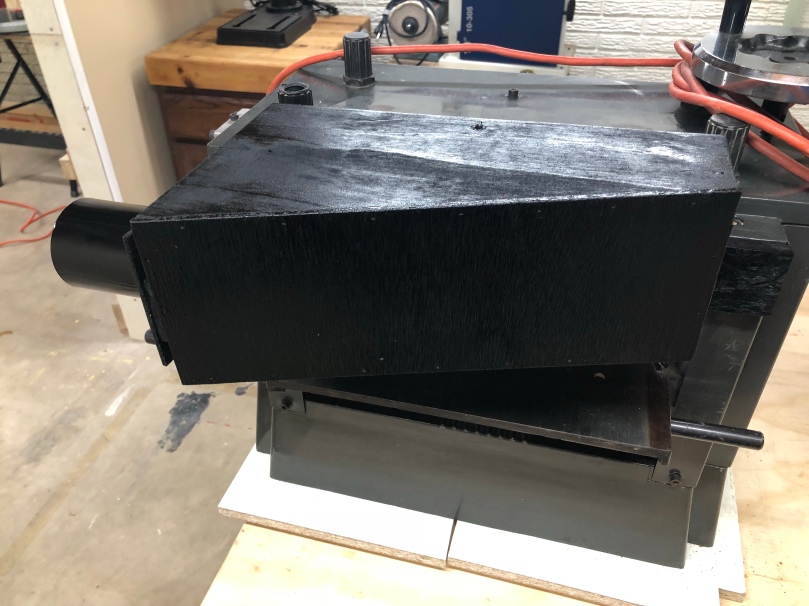
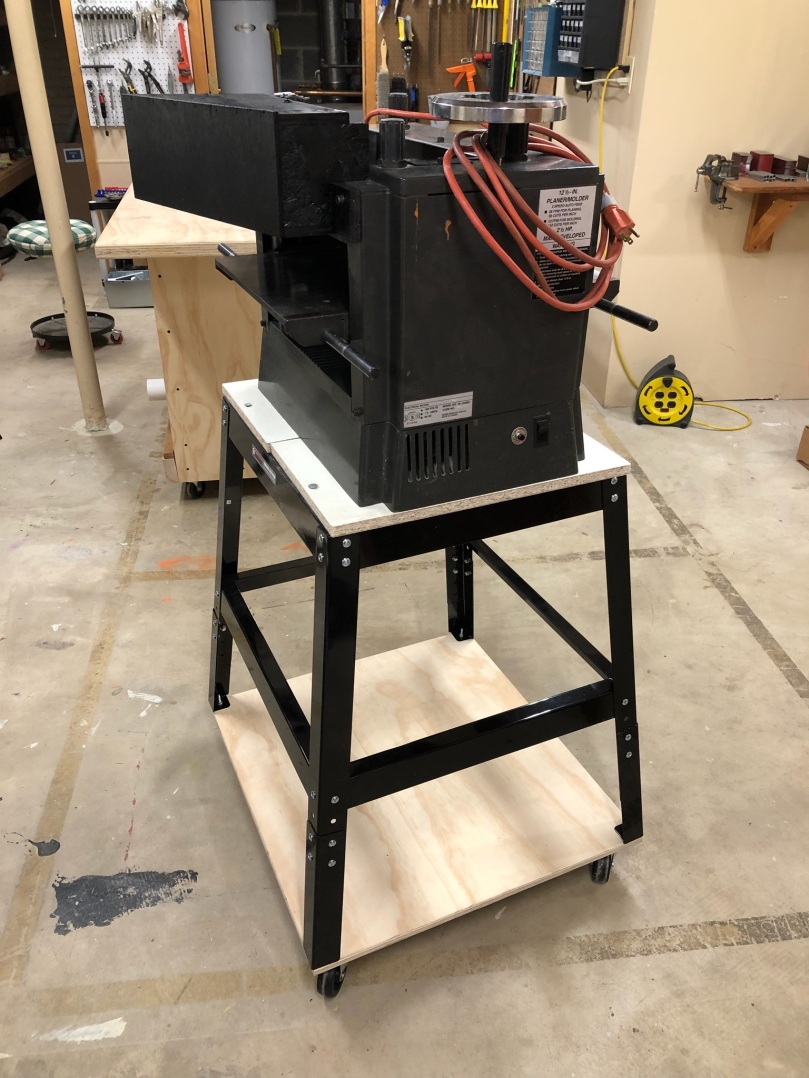
I actually found one for sale on eBay and here are pics from that listing.

The pictures of the speed chart turned out to be especially useful because I was able to manipulate them in a graphics app to create my label.

lathe-belt-covers

This was a fun build where I got to try a lot of new things. I hadn’t created a video in a long time and it showed because there were several times when I forgot to turn the camera on or off. I tried some new editing stuff too, like sequences for repetitive build actions.

I need a simple project to learn how to use the lathe. Any suggestions?

Switching to Ryobi Cordless Tools

I haven’t seen a cordless system with the variety of cordless tools available from Ryobi. They’re also really affordable and Home Depot runs a lot of specials on them. I found a great deal on a used set of six tools, so I’m making the switch.

Judging by the saw dust on this shelf I think it’s time to clean my entire shop and get some kind of air filtration system.

Craftsman 12 Inch Wood Lathe

796d5e0d-a64b-4b34-bedd-4c90de7a10c2-3139-000002cc0aa2d9d6_fileEarlier this summer, I came across an auction online with a bunch of tools. The items were located up in Alpena and I was heading up to Long Lake for our family vacation in a few days. That’s only 10 miles north of town, so if I won anything I could pick it up locally instead of paying for shipping or needing to have my Dad pick it up. I bid on a few items, not really expecting anything, so I was surprised when I got an email telling me I “won” a lathe.

It is a Craftsman 12 Inch Wood Lathe (Model 113.23800) and was about $93 after fees and the auction house took their cut.

Here are a couple of pictures that were taken for the listing. It seemed to be in really good condition.

lathe2

lathe

The lathe had been sitting in my garage for over a month and I needed to start clearing some space, so I finally put some time into it. I unbolted everything from the table top and cleaned it up. Then I painted the stand and table top. I cut a base out of some 1/2″ plywood and attached four casters to make it mobile in my shop. I also picked up a new belt from Autozone. When I was assembling everything I noticed the pulleys weren’t aligned, so I drilled new mounting holes for the motor.

Between the belt, spray paint, and casters I put about $20 into it. It cleaned up well and I think the paint makes the stand look a lot better.

One thing it’s missing is the original belt guard so I’m building one. I’ll post details when it’s ready.

Bridgeport Sure Grip 56 Nail Puller

On the ride home from Rogers City yesterday I stopped at the Mio Flea Market for the first time. I needed a break because I knew traffic would be picking up soon and the truck’s bench seat isn’t made for long trips.

I couldn’t believe it when I spotted this nail puller for $15. Several months ago Isaac told me to keep my eyes open for one. Now that I’m tearing apart pallets I needed one, so I guess I’m still on the hunt to find him one.

The patent (708841) was registered in 1902, so I’m curious when this one was manufactured. It was made in the U.S.A.

nail-puller-patent.jpg

Scroll Sawing

Last night was the first time I’ve done a lot of work with the scroll saw. I used the foot switch I’d made earlier this year and I can’t imagine using this saw without one. If you do any scroll sawing, get yourself one. The wood on the table of the saw is a piece of thin scrap plywood stuck down with tape to act as a zero clearance insert.

Replacement Feed Rollers for a Craftsman 351.233831 Planer

While cleaning up the feed rollers on my Dad’s Craftsman 351.233831 Planer I noticed there were really beat up.

old-feed-roller
Old infeed roller

Unfortunately the part (#8520) is discontinued and I couldn’t find an aftermarket one anywhere online. I stumbled across some forum posts discussing roller resurfacing, so I got some quotes.

Mid American Rubber, which is actually here in Michigan, wanted $137 for each roller!

J. J. Short Associates, Inc. quoted $92.50 for one or $85 each if I did both.

These first two had big forms on their website with diagrams showing how to get all of the measurements they requested.

I had to call Feedrollers.com and provide some info. A day later they got back to me with a price of $57 each.

Western Roller Corporation had an online form but it was very basic so I only provided the model of the planer and the part number. I got an email saying, “most of these small table-top type planers we recover your existing shafts for $65.00 to $100.00 each.” That’s a pretty wide range, so I sent over the measurements provided to the other companies and they quoted $68.88 each.

I went with the cheapest one since these aren’t for a production shop of any kind. I shipped out the rollers and got them back exactly 3 weeks later.

I’m really impressed with these. Hopefully they hold up well for my Dad. After installing the rollers I swapped out and aligned all of the cutter knives. With this and all of the previous work, the planer runs like a brand new machine.


DIY Dust Collector Chute for a Craftsman 351.233831 Planer

My Dad got an old Craftsman 351.233831 Planer (manual) from one of his friends for $75 after it stopped working.

When turning it on the motor would hum for a second and then the breaker (or power strip) would trip. He left the machine with me to fix. The motor shaft wouldn’t turn at all so I had to take a bunch of the machine apart (and cut the belt off) to get the motor out. I ended up using a screwdriver and hammer against the fan to free up the motor. It didn’t want to move, but slowly some hardened gunk broke up and the shaft was spinning. Since I had it in pieces I cleaned out the gear box and applied new grease to the gears.

That’s not what the title of this post is about. Since I had the machine I thought it would be nice to build some dust collection for it; these machines create one hell of a mess. Here’s a step by step of the dust collection build.


img_0897
Murdered Out!

I think it turned out pretty good and the paint is a nice touch. I might have to paint the one on my Delta dust collector.

After putting the new belt on and testing it out I noticed the feed rollers were in really bad shape so ordered a new set. The machine is an absolute beast, so I mounted it on one of the Harbor Freight stands, made a plywood base for the bottom, and put on some castors.

craftsman-planer-stand-wheels.jpeg

I still need to figure out how to replace the feed rollers and will swap out some of the knives that are nicked up. Then it should be running like a brand new planer! It’s cool to see my Dad getting excited about a new hobby; he already has a bunch of pallets collected to tear apart.