Repairing a Ryobi P117 Intelliport Charger

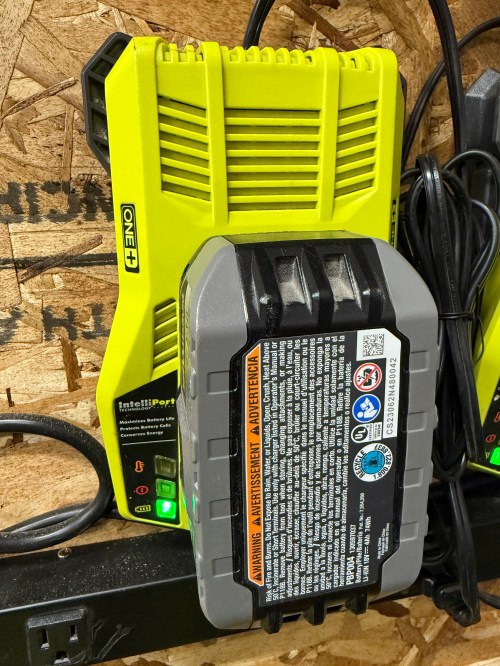
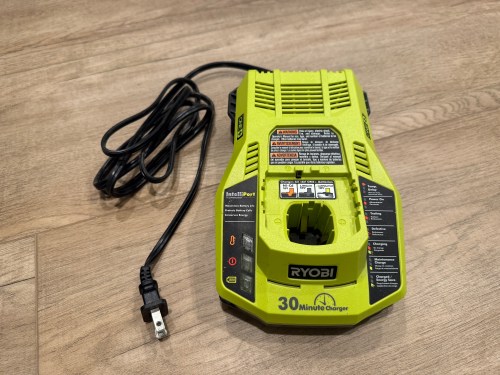
Last week while cutting some walnut with my Ryobi track saw, it kept stalling on me. Turns out the battery was nearly dead because the charger stopped working and the status LEDs weren’t lighting up at all when plugged in.

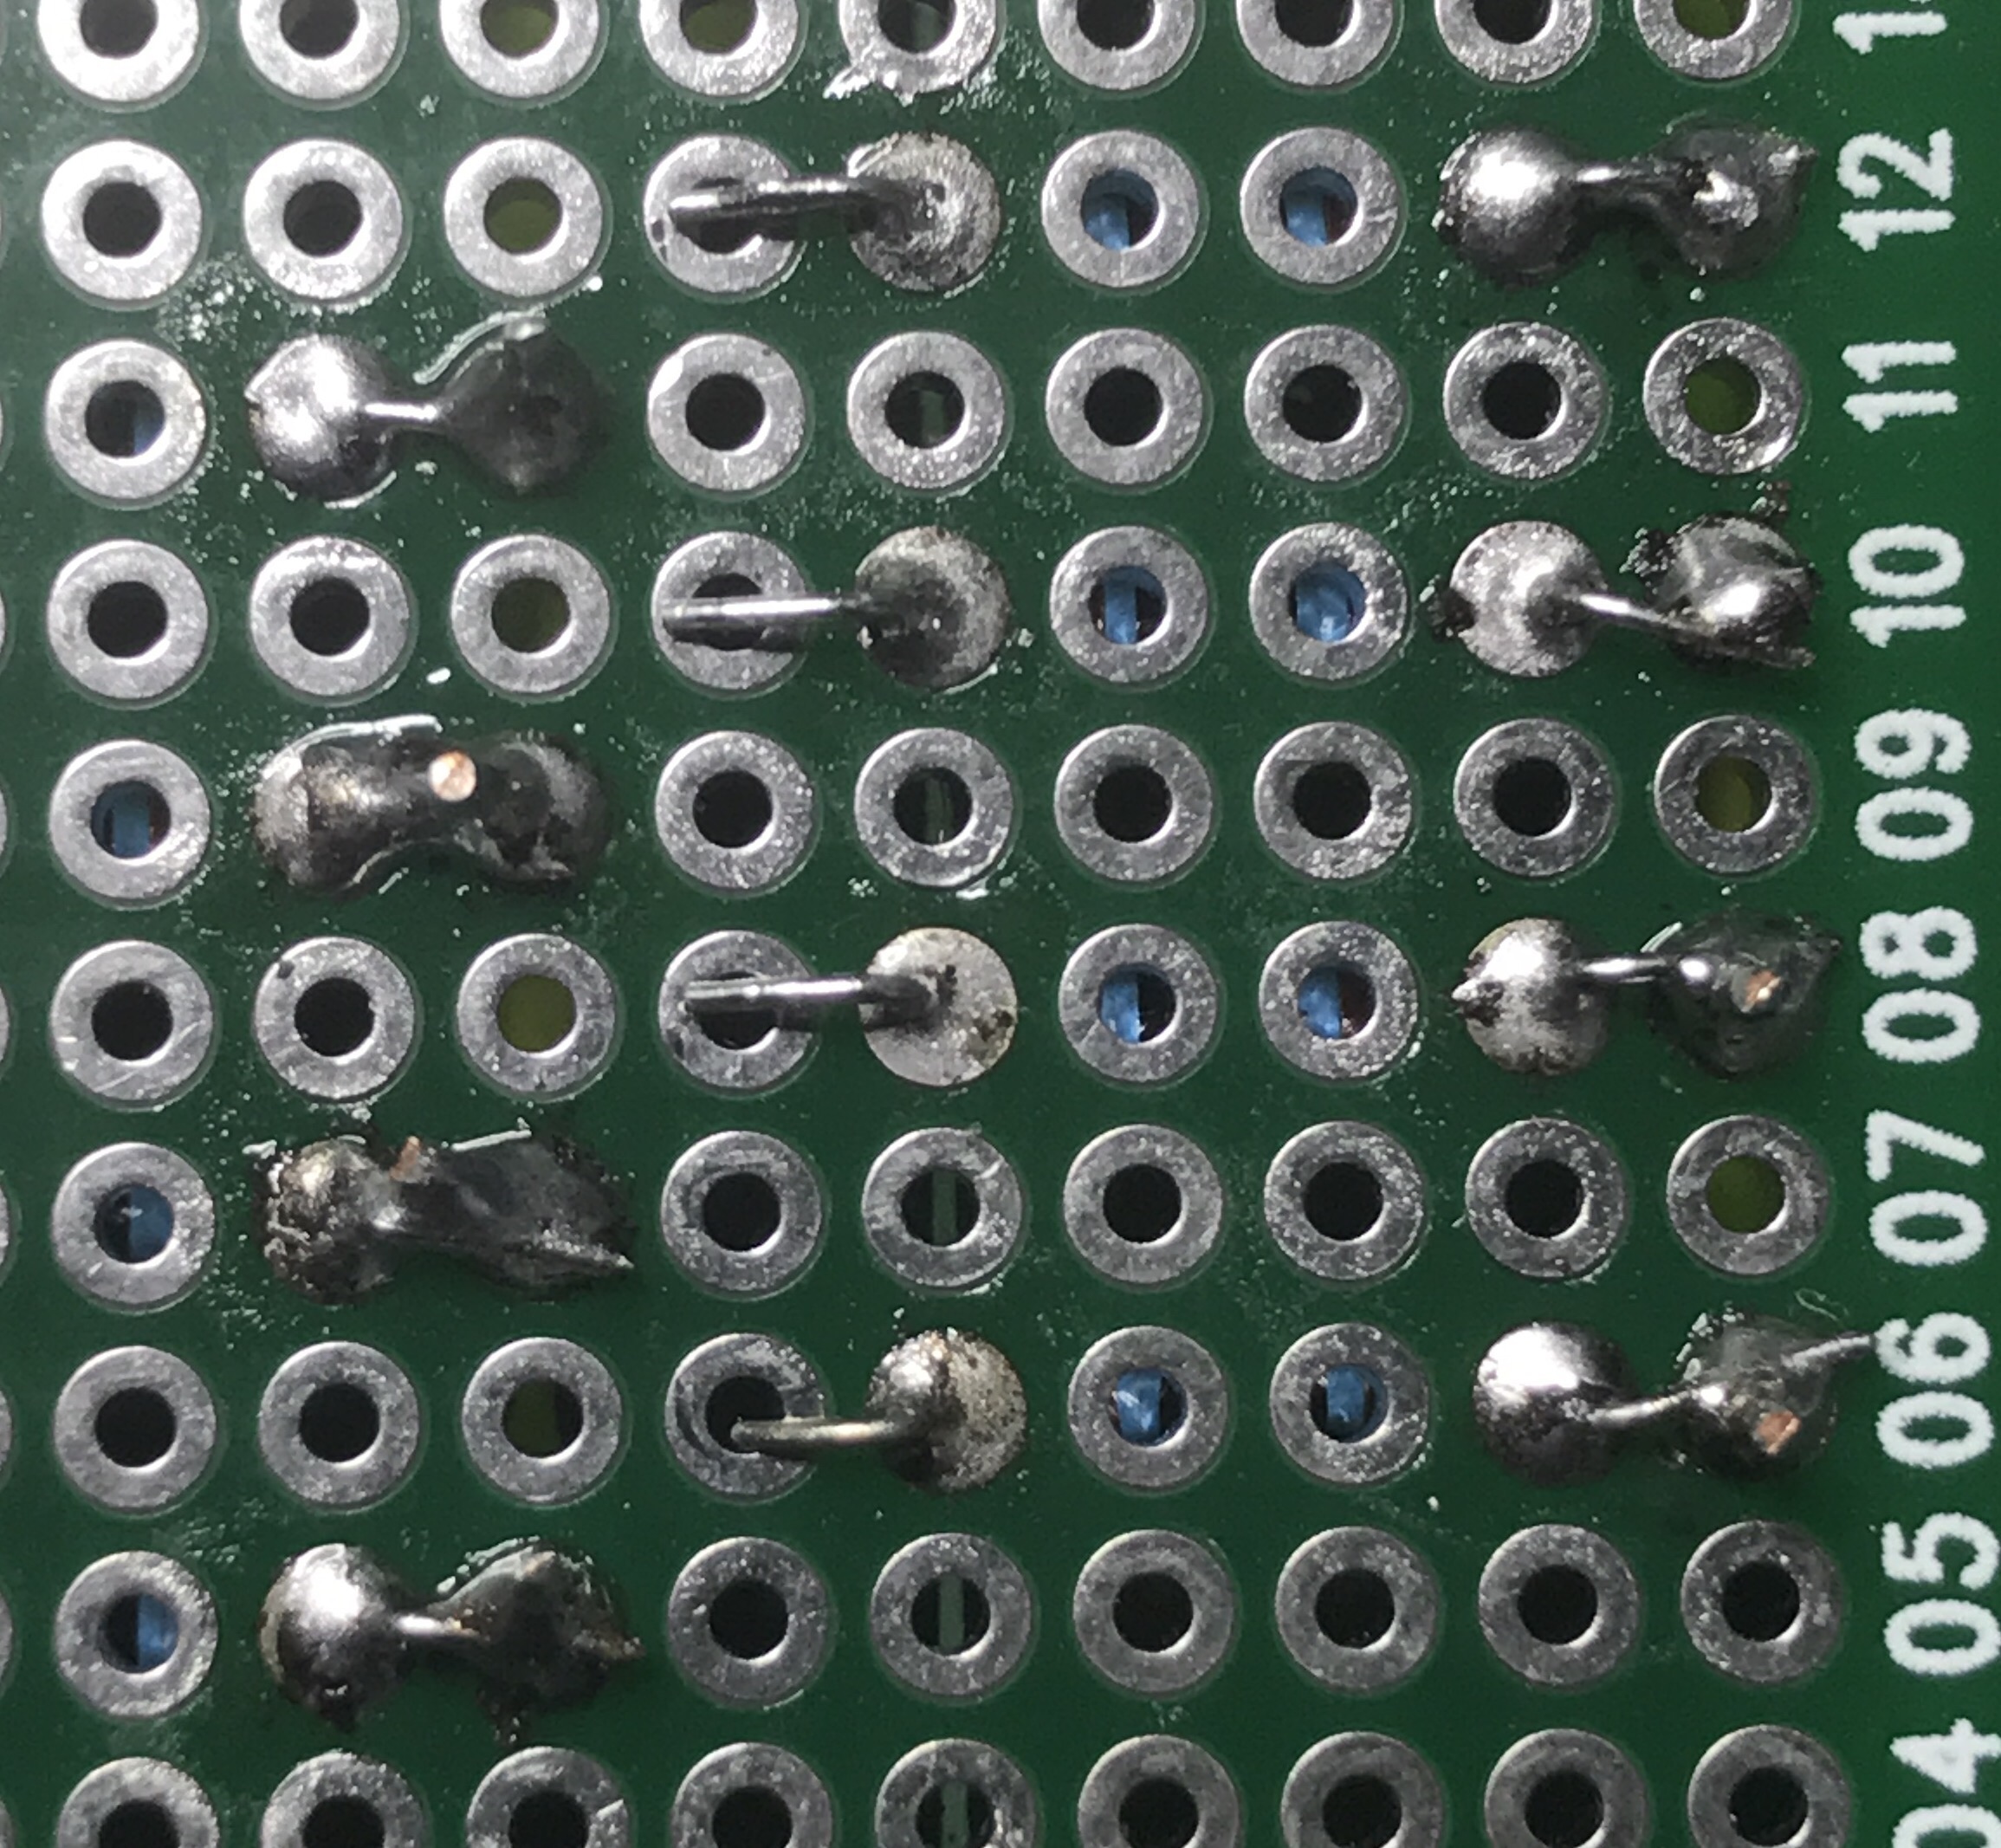
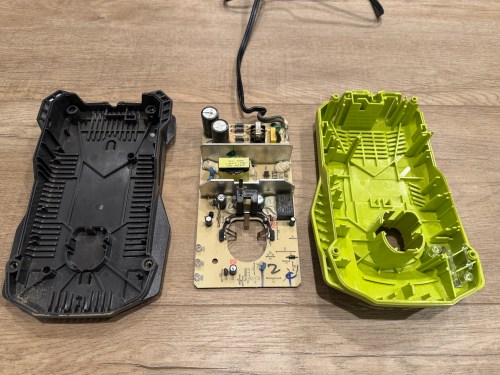
I opened up the charger and didn’t see burn marks or swollen capacitors anywhere.

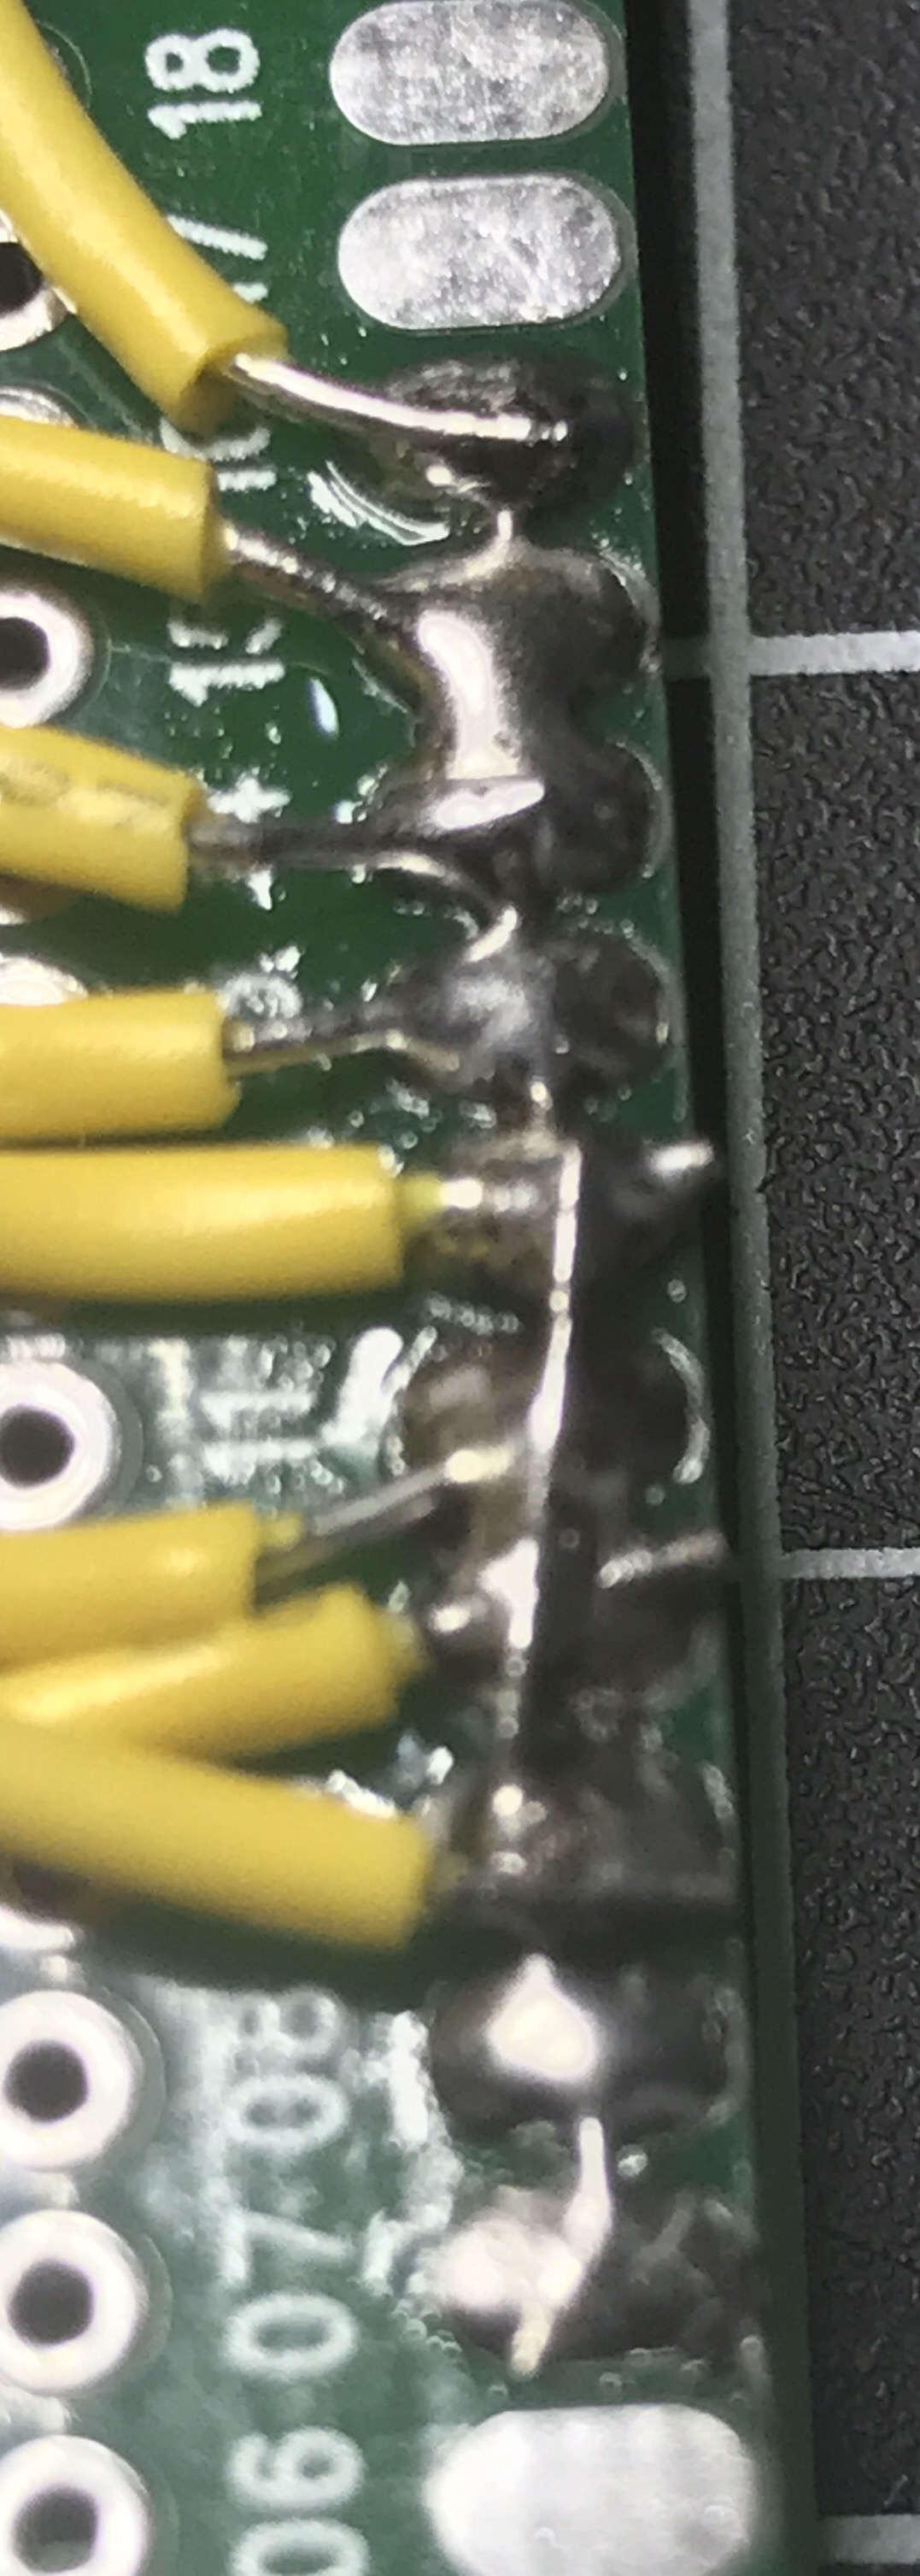
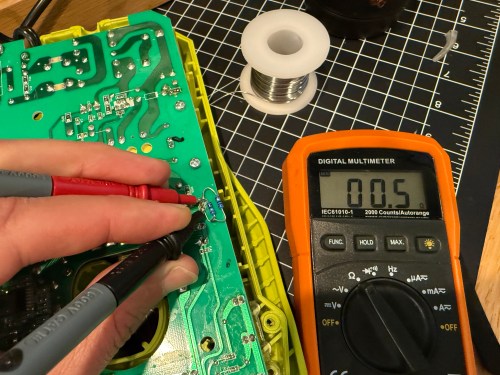
Then I found a video on YouTube and sure enough, the resistor at R71 was wide open, reading 152 kΩ on the multimeter.

It’s a surface mount resistor labeled R500, which means 0.5 Ω. I don’t have any resistors that size, so I soldered in a couple of 1 Ω resistors in parallel.

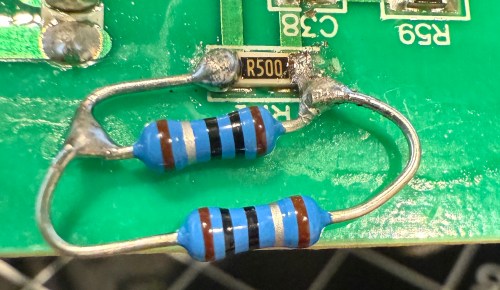
It’s not pretty, but it properly read 0.5 Ω on the multimeter.

I put it back together, plugged it in, and the red LED lit up. Took it down to the shop, put a battery in, and the charger is back in the rotation!

Photo Challenge: Growth

As part of my daily posting, I’m going to complete The Daily Post Photo Challenge each week.

Whether you take photos with an iPhone or a full-frame DSLR, you’re welcome to participate in our photo challenges. A new theme is announced every Wednesday.

I’ll give myself 2 weeks for each challenge in case I need to come up with an idea for the theme. To keep me on track, I use a repeating reminder.

photo-challenge-reminder.png

The first theme for 2018 is growth. I don’t do New Year’s resolutions, so I’ll share a little journey.

The other night, as I was soldering the project HackerBox #0026 I kept thinking back to my first attempt at soldering, when I put headers on a Raspberry Pi Zero. I remember being hesitant and scared, because I was teaching myself how to solder. I was worried I’d either fry the board or burn myself. It felt like it took forever. Everything worked though.

That was only 13 months ago, but it feels like years. I’ve gained a lot of experience with the soldering iron and now know I had nothing to be afraid of. Learning new skills can be scary.

“What if I screw up?”

“What if I’m no good?”

Don’t let the voices of fear prevent you from trying, especially if it’s something you’ve always wanted to do. Do some prep work, read up on the topic, and dive in. Or find someone with experience to help and teach you.

Here’s the back of the circuit board I soldered this week. A lot more complex, but it was second nature.

Is there something you’ve always wanted to learn? What’s stopping you?

Solder Bridges

Yesterday I posted about multiplexing 7 segment displays, but it’s actually been weeks since I got that circuit working. After 2 weeks of travel and a busy weekend, I finally got some time on Wednesday night to start moving the circuit from the breadboard to a more permanent home. I stocked up on a variety of different sized circuit boards, but unlike a breadboard each hole on these is independent. It was time to learn how to make solder bridges. After fumbling through about 10 bridges I started to get the hang of it. They won’t win any beauty contests, but they’re functional, which is what matters.

img_9368

In round 2 last night I tried a couple of tricks. The first method is using a small wire or the discarded end of a lead (this happened to come from trimming off the ends of a resistor) to bridge pads together.

img_9372
These will be connected to ground.

Another trick is to bend over the ends of leads to create a bridge. In the left and right columns you can see this type of bridge used. The middle column shows bent leads I’ll use when I connect more wires.

img_9373

Both methods worked a lot better than trying to use mountains of solder to jump the connection pads.

By the way, I find soldering (no matter what it’s for) to be extremely relaxing. Maybe it’s something to do with the order of the entire process; physically connecting things to make a circuit work. I typically do it late at night with some music and a cold beer.

I’m glad I decided to upgrade my soldering iron, by getting a Hakko FX888D. It works much better than the entry-level iron I’ve been using.

HackerBox #0018 – Circuit Circus

It’s not often an online ad catches my eye, but when I saw one for HackerBoxes, I clicked through. I’ve enjoyed Adafruit’s quarterly subscription service AdaBox and wondered if this was similar.

The HackerBoxes look lower quality, but are cheaper ($44 compared to $60, both with free shipping) and ship monthly instead of quarterly. The previous boxes listed on the site looked neat and sell for $59 before shipping so it seemed like a pretty good deal. I really like the idea of having something new to tinker with each month instead of only 4 times a year. I signed up and was surprised to get a shipment notification for the most recent box.

img_9068

This box is based around a little Transistor Tester kit you build. It also comes with a variety of extra electronic components that help go through a series of tutorials and aid in experimenting with circuits and the tester. If this box is any indication, I’m going to enjoy these each month.

It took me a couple of hours to assemble and solder the tester kit. I recorded it (had to stop twice to recharge the GoPro battery) and ended up with over 100 minutes of video! Nobody wants to watch all of that, so I cut out some empty space and sped it up to 20x.

Now I have a cool test device built by hand…

DIY Spliced USB Cable

Even better than soldering the ends of a spliced USB cable is tearing apart an old cable to salvage the connectors and soldering your own wires. I only need power so skipped the 2 data wires. Hopefully using my own 22 AWG instead of the cheap stranded wires will be less resistant to a voltage drop as well.