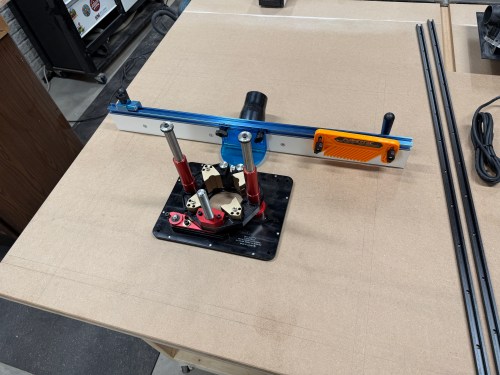
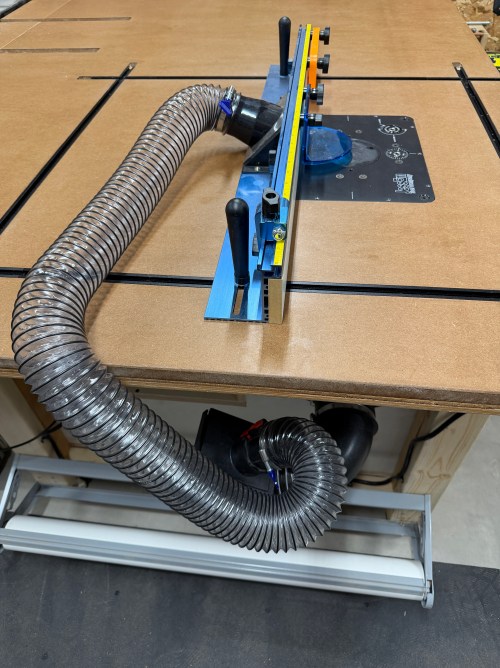
To keep the momentum going from part 1, I started the next phase of the build. This phase is the router station. I bought the Bosch 1617EVS router to use in a JessEm Mast-R-Lift II, with a POWERTEC 32″ fence. I also bought 2×48″ of T-track with four hold down clamps and a four pack of intersection kits.
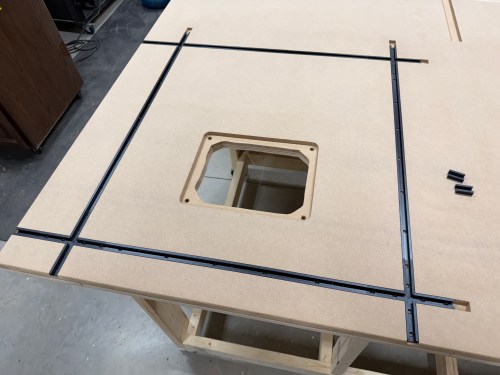
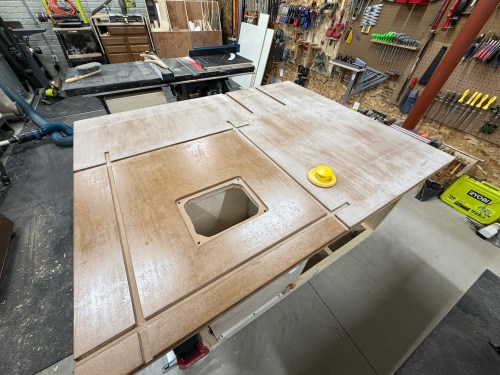
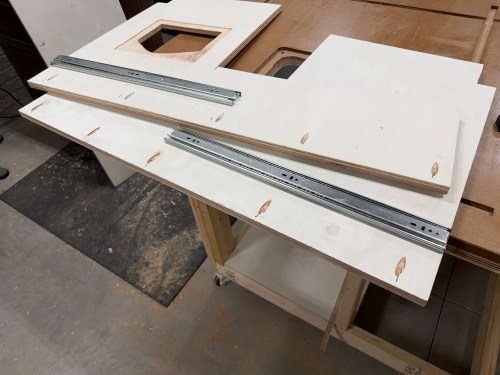
First, I had to figure out exactly where to install everything. I placed the fence and lift (upside down) on the table to get a feel for it. Then I outlined the lift and drew in the T-tracks.
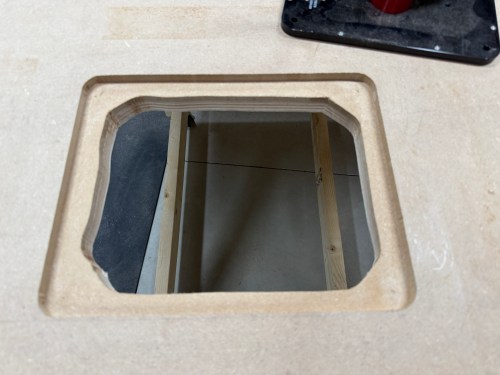
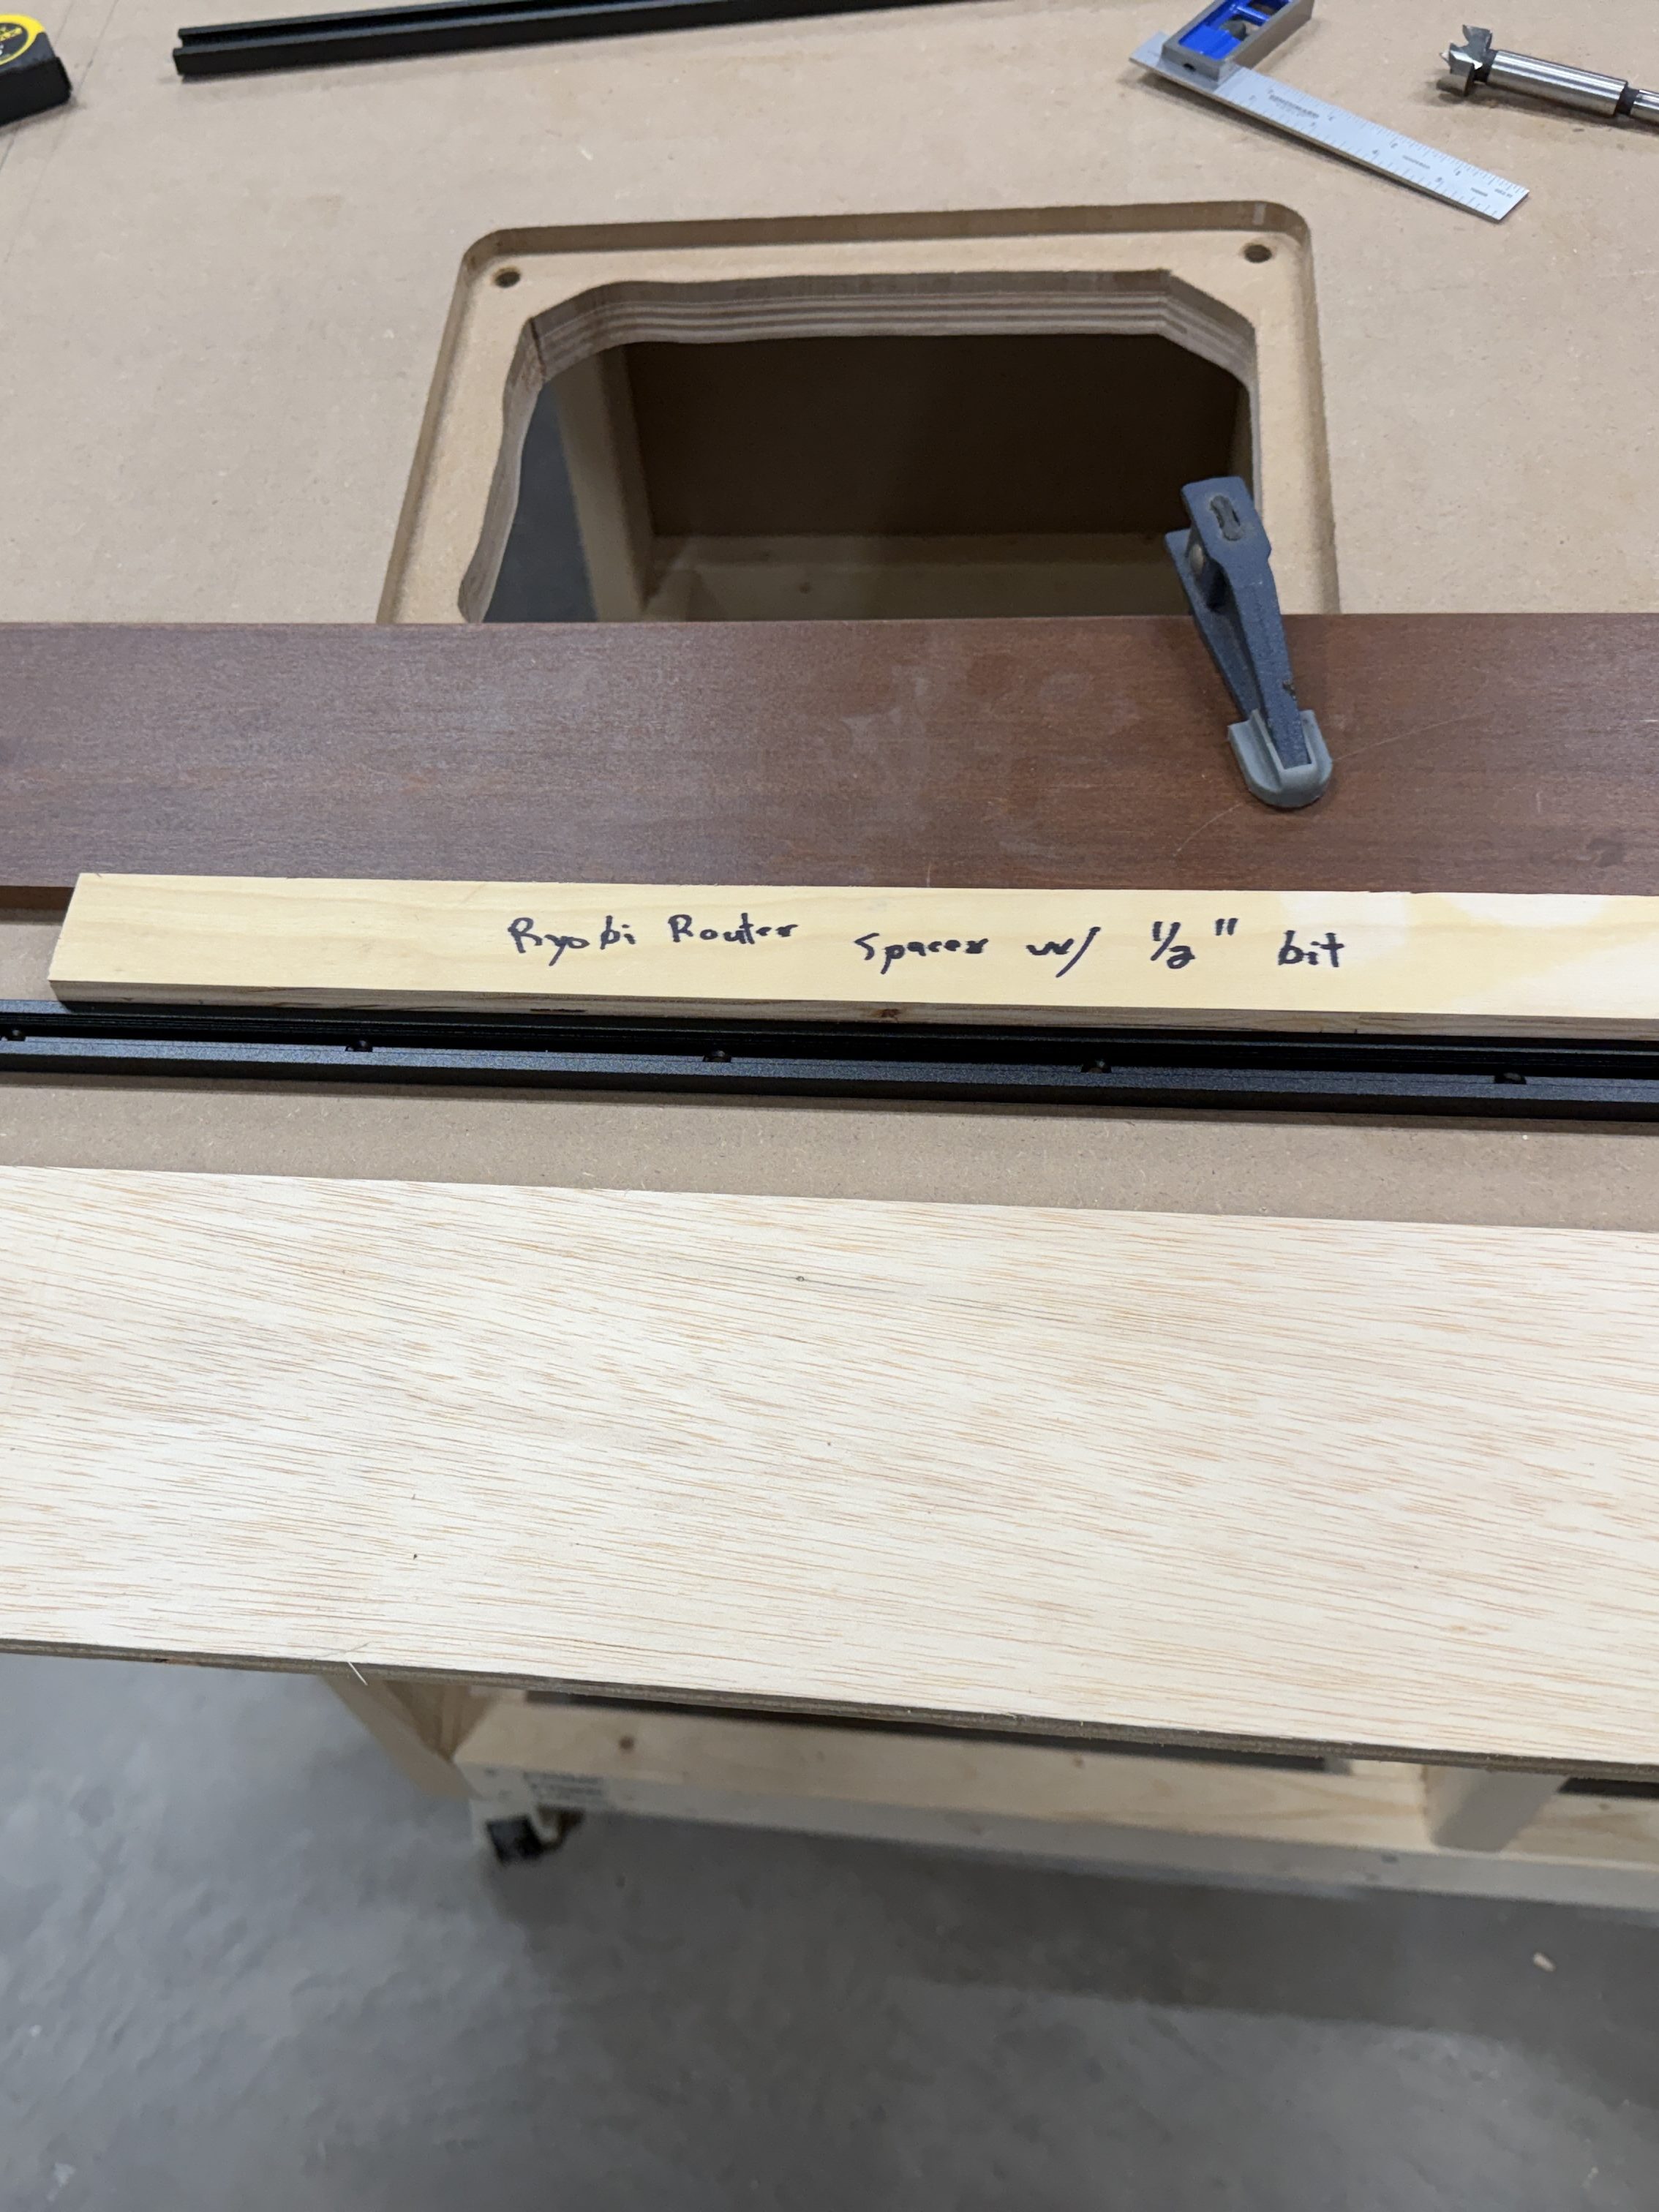
I cut a spacer equal to the distance from my router base to a 3/8″ straight bit. Then I used double-sided tape to secure the border pieces. I removed the material in two passes and cut out the middle with a jig saw. The radius on the corners was much larger than the router bit, so I free-handed those up to the pencil marks.


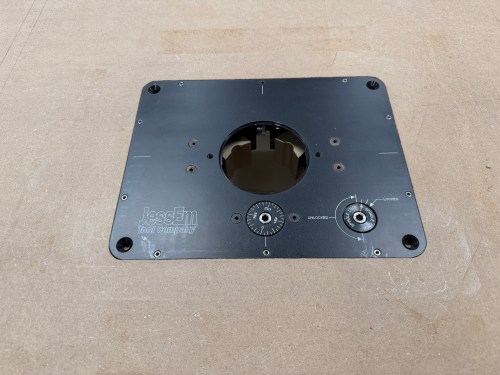
I installed threaded inserts for the four bolts that secure the lift. Yet my centering was off, so it didn’t work out. I removed the inserts and drilled through to use longer bolts with a washer and nut under the table. I had to drill a recess in the bottom because I couldn’t find long enough bolts.
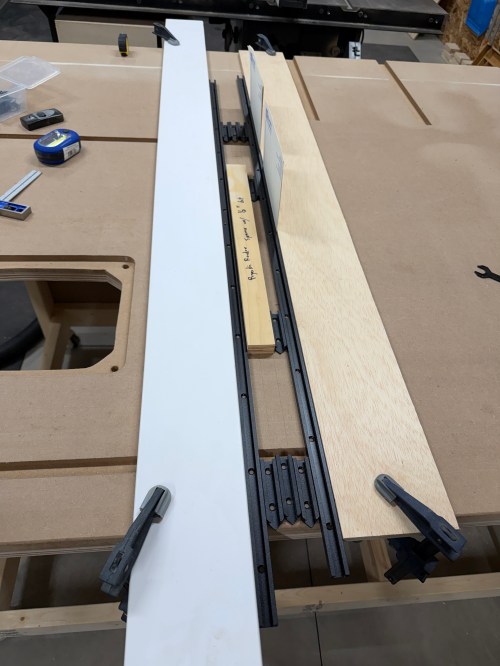
Setting up to route the first T-track took a long time, like when I did the miter slot extensions. I got faster with each one, as I figured out a process and all of the spacing. That same spacer came in handy, as well as pieces of the T-tracks. I measured and cut all of the T-tracks.

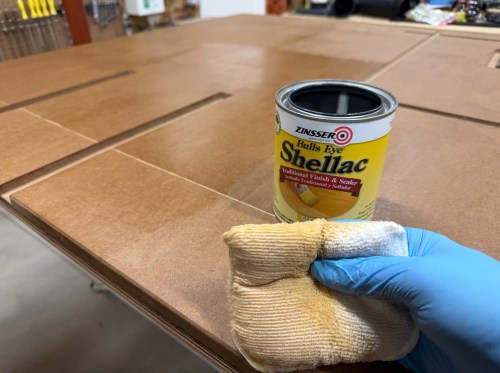
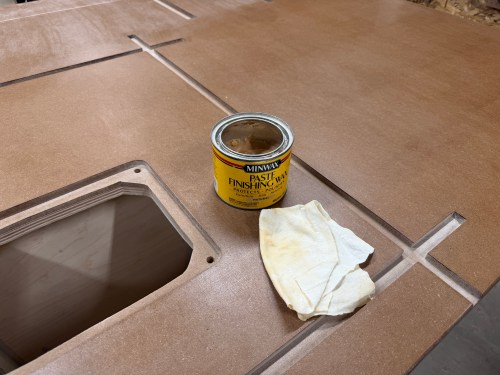
I sanded the top and edges with 80 grit using my random orbital sander .Then I applied four coats of Zinsser Bulls Eye Shellac. A day later I did a light hand sanding with 220 grit and applied paste wax.
A good router table needs dust collection and here are the parts I used for mine:
- POWERTEC 4″ 90 Degree Elbow
- Dust Collection Hose 2.5″ x 10′
- Dust Collection Hose 4″ x 10′
- POWERTEC 2.5″ Blast Gate
- POWERTEC 4″ by 2.5″ Y-Fitting
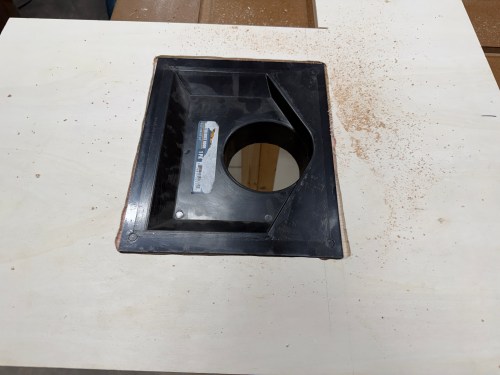
- POWERTEC 8.5″ x 10.25″ Dust Hood for 4″
- 3″ Vent Covers
I had to build a cabinet to enclose the router lift, plus a drawer underneath. Due to the table’s frame and a need for the left side, I sketched out a plan. I was making a big version of the L-shaped Tetris piece.

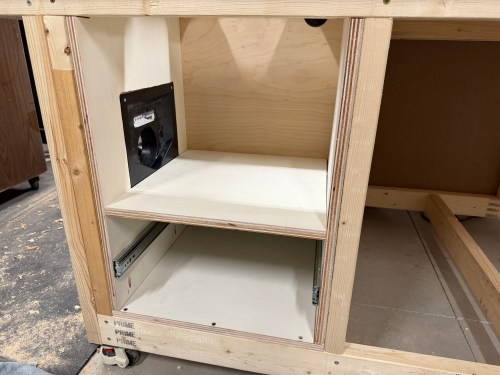
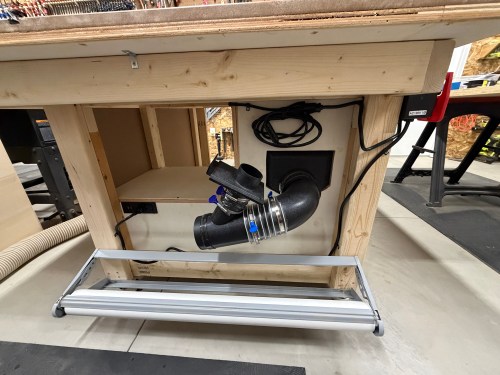
The assembly had to be done inside the frame, due to the cabinet nesting up through the frame. After getting plywood to size, I cut various holes, attached 22″ drawer slides, routed a recess for the dust hood, and drilled pocket holes. It all screwed together quickly.


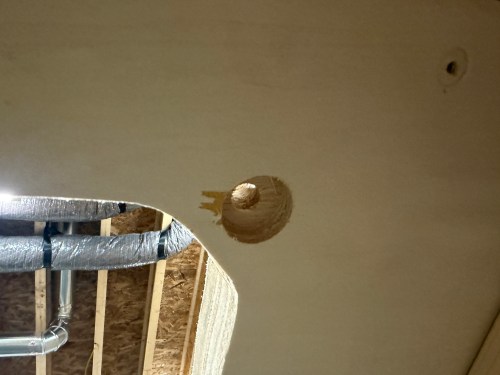
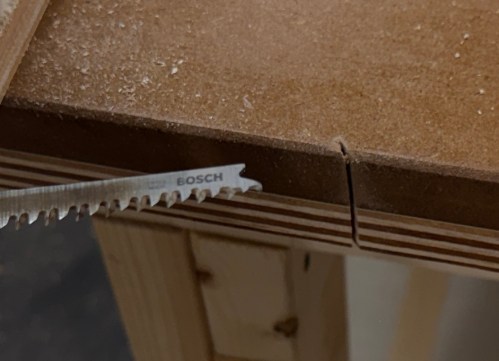
Of course, when using the jig saw, I accidentally cut in to the new table top! I’m the only one who does this, right?
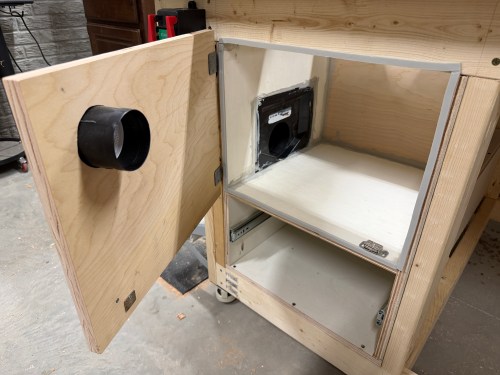
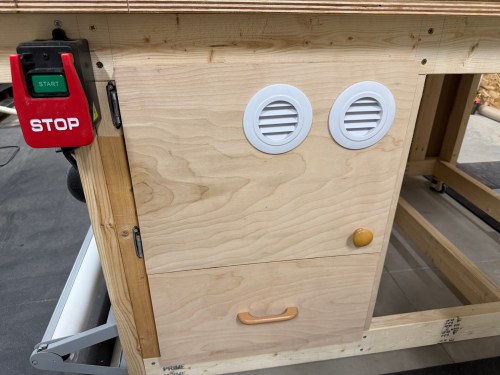
I caulked everywhere inside the dust box. Then I cut a door, mounted hinges, added a magnet close, and used weather stripping to seal it. The door got a hole with a vent cover to supply fresh air to the router and dust collection system. After some use I’ll see if I need to add a second vent. I mounted the lift, leveled it to the table, and bolted it in. The lift doesn’t came with a blank insert, so I bought one from an Etsy store.


Update: I did end up adding a second vent.
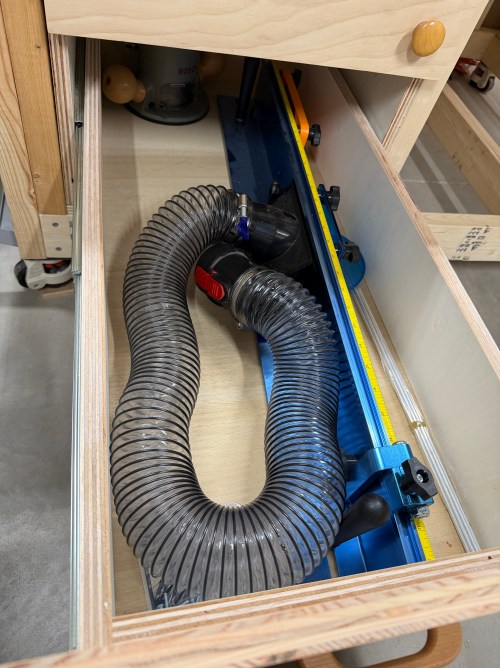
I cut all the pieces for the drawer, cut a rabbet where the bottom would slide in, and drilled pocket holes. Then I glued and screwed it together. Attached a drawer face and mounted a handle.


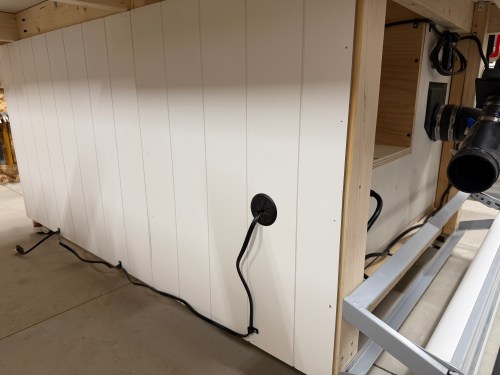
Along the left side of the table, I installed my paper roll dispenser. A 90° and then a Y-fitting connect to the dust hood. A 2.5″ blast gate is attached to the other side of the Y, for a hose up to the fence. The power cord went through a 2″ Desk Grommet on the back side. I screwed a POWERTEC Paddle Switch to the front. These switches makes it quick and easy to turn off the machine with my knee. I put in a recessed power strip with USB ports. Then I clipped in the wires and mounted a heavy duty surge protector power strip. This allows me to plug in the table saw as well.


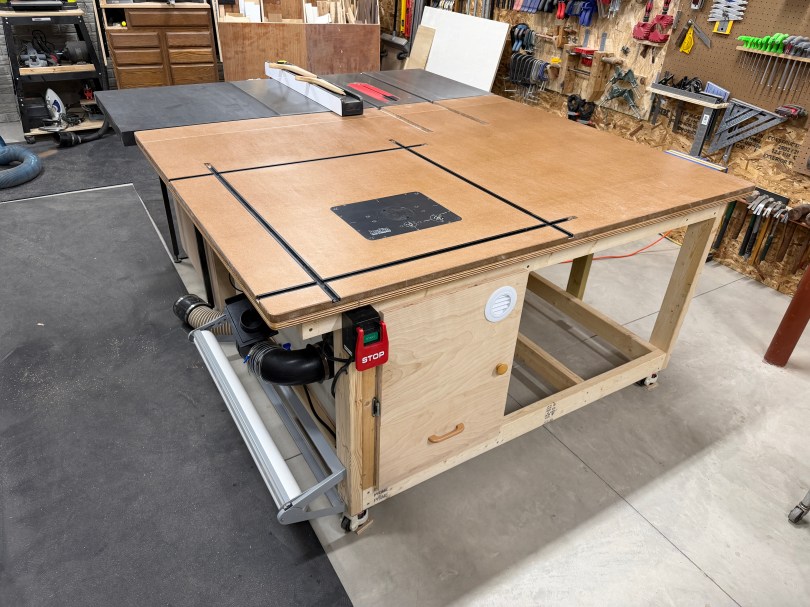
The final thing was to lower the castor feet to raise the table up to the saw.
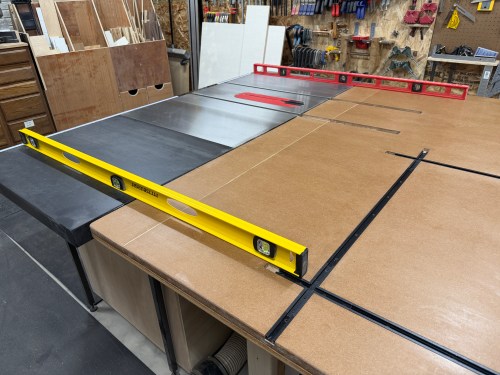
It’s so nice to have a large table table in the shop and I’m excited for the router, where it’s easy to use and always ready. Here are some more pictures.


There are the other accessories I bought for the router station, some of which can also be used at the table saw:
- BOW Products FeatherPRO
- Milescraft GrabberPRO
- Router Template Bushing Guide Set
- Setup Blocks
- POWERTEC Adjustable Roller Stock Guides
- BOSCH 10-Piece Router Bit Set
Head to Part 3, where I finish the table with a bunch of drawers for storage and organization.