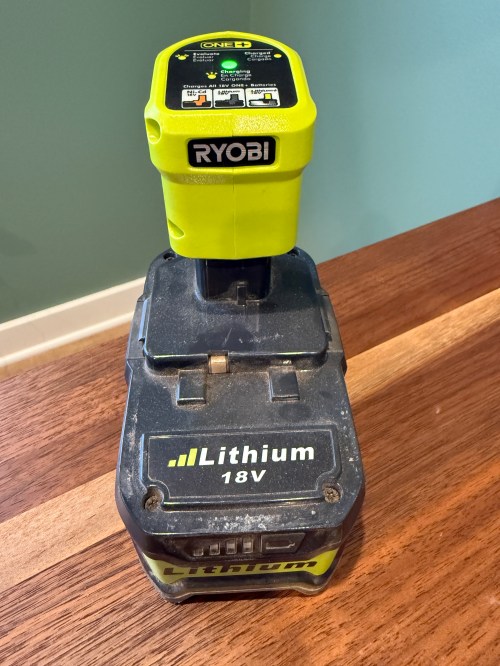
I have a couple of 5 Ah batteries and both of them stopped charging. They knockoffs from Amazon, with a brand name of Biswaye on them.

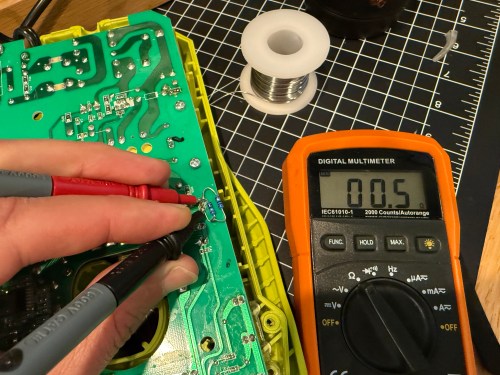
One was completely dead and wouldn’t even register on a usual charger. The other showed a defective status. When I put the multimeter on, it read about 15 volts.

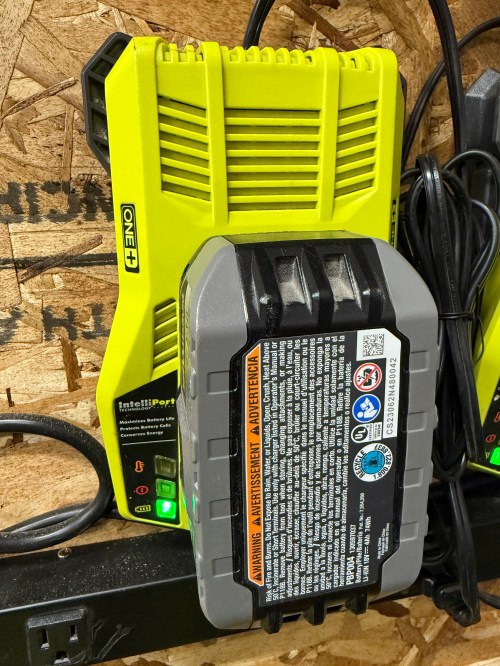
This often means some of the individual cells are bad. Before opening it up, I threw it on a Ryobi P119 slow charger, which can sometimes revive cells that are too low for the more complex battery chargers.
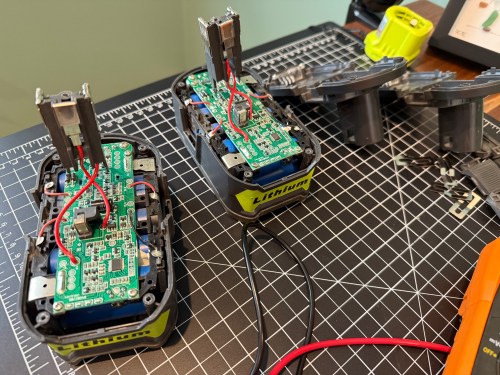
After a couple of hours I tried the battery on a regular charger again, but it still showed as defective. So I tore into both batteries, hoping I might be able to get one working battery out of the two.


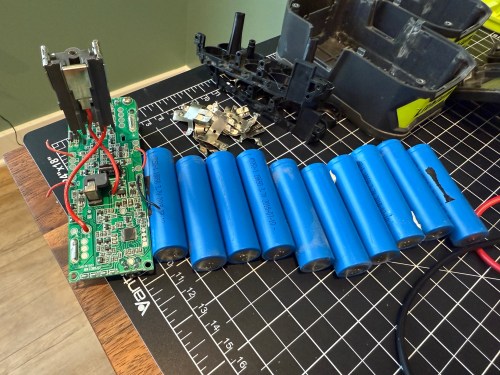
On the dead battery all 10 cells read zero volts on the multimeter. I wouldn’t be swapping any of those in to the other battery. It’s not safe to try pumping anything into cells depleted that much, so I recycled them at Batteries Plus.
Two of the cells on the defective battery read very low voltages. I don’t have any spare 18650 lithium ion cells and it’s not worth it to buy some since I have enough working Ryobi batteries in my rotation. As a last resort, I put the battery on the little charger to see if it would slowly charge the depleted cells. I had nothing to lose.

I let it go over 6 hours and unfortunately the voltage didn’t jump up on those bad cells, so I still can’t use the battery pack.
Attempts like this don’t always end in success, but it’s a fun opportunity to learn. This battery pack has plenty of good cells, so I’ll save it in case another battery needs replacement cells.