Building a Better Interface for the Airdyne AD2 with a Raspberry Pi (Part 3)

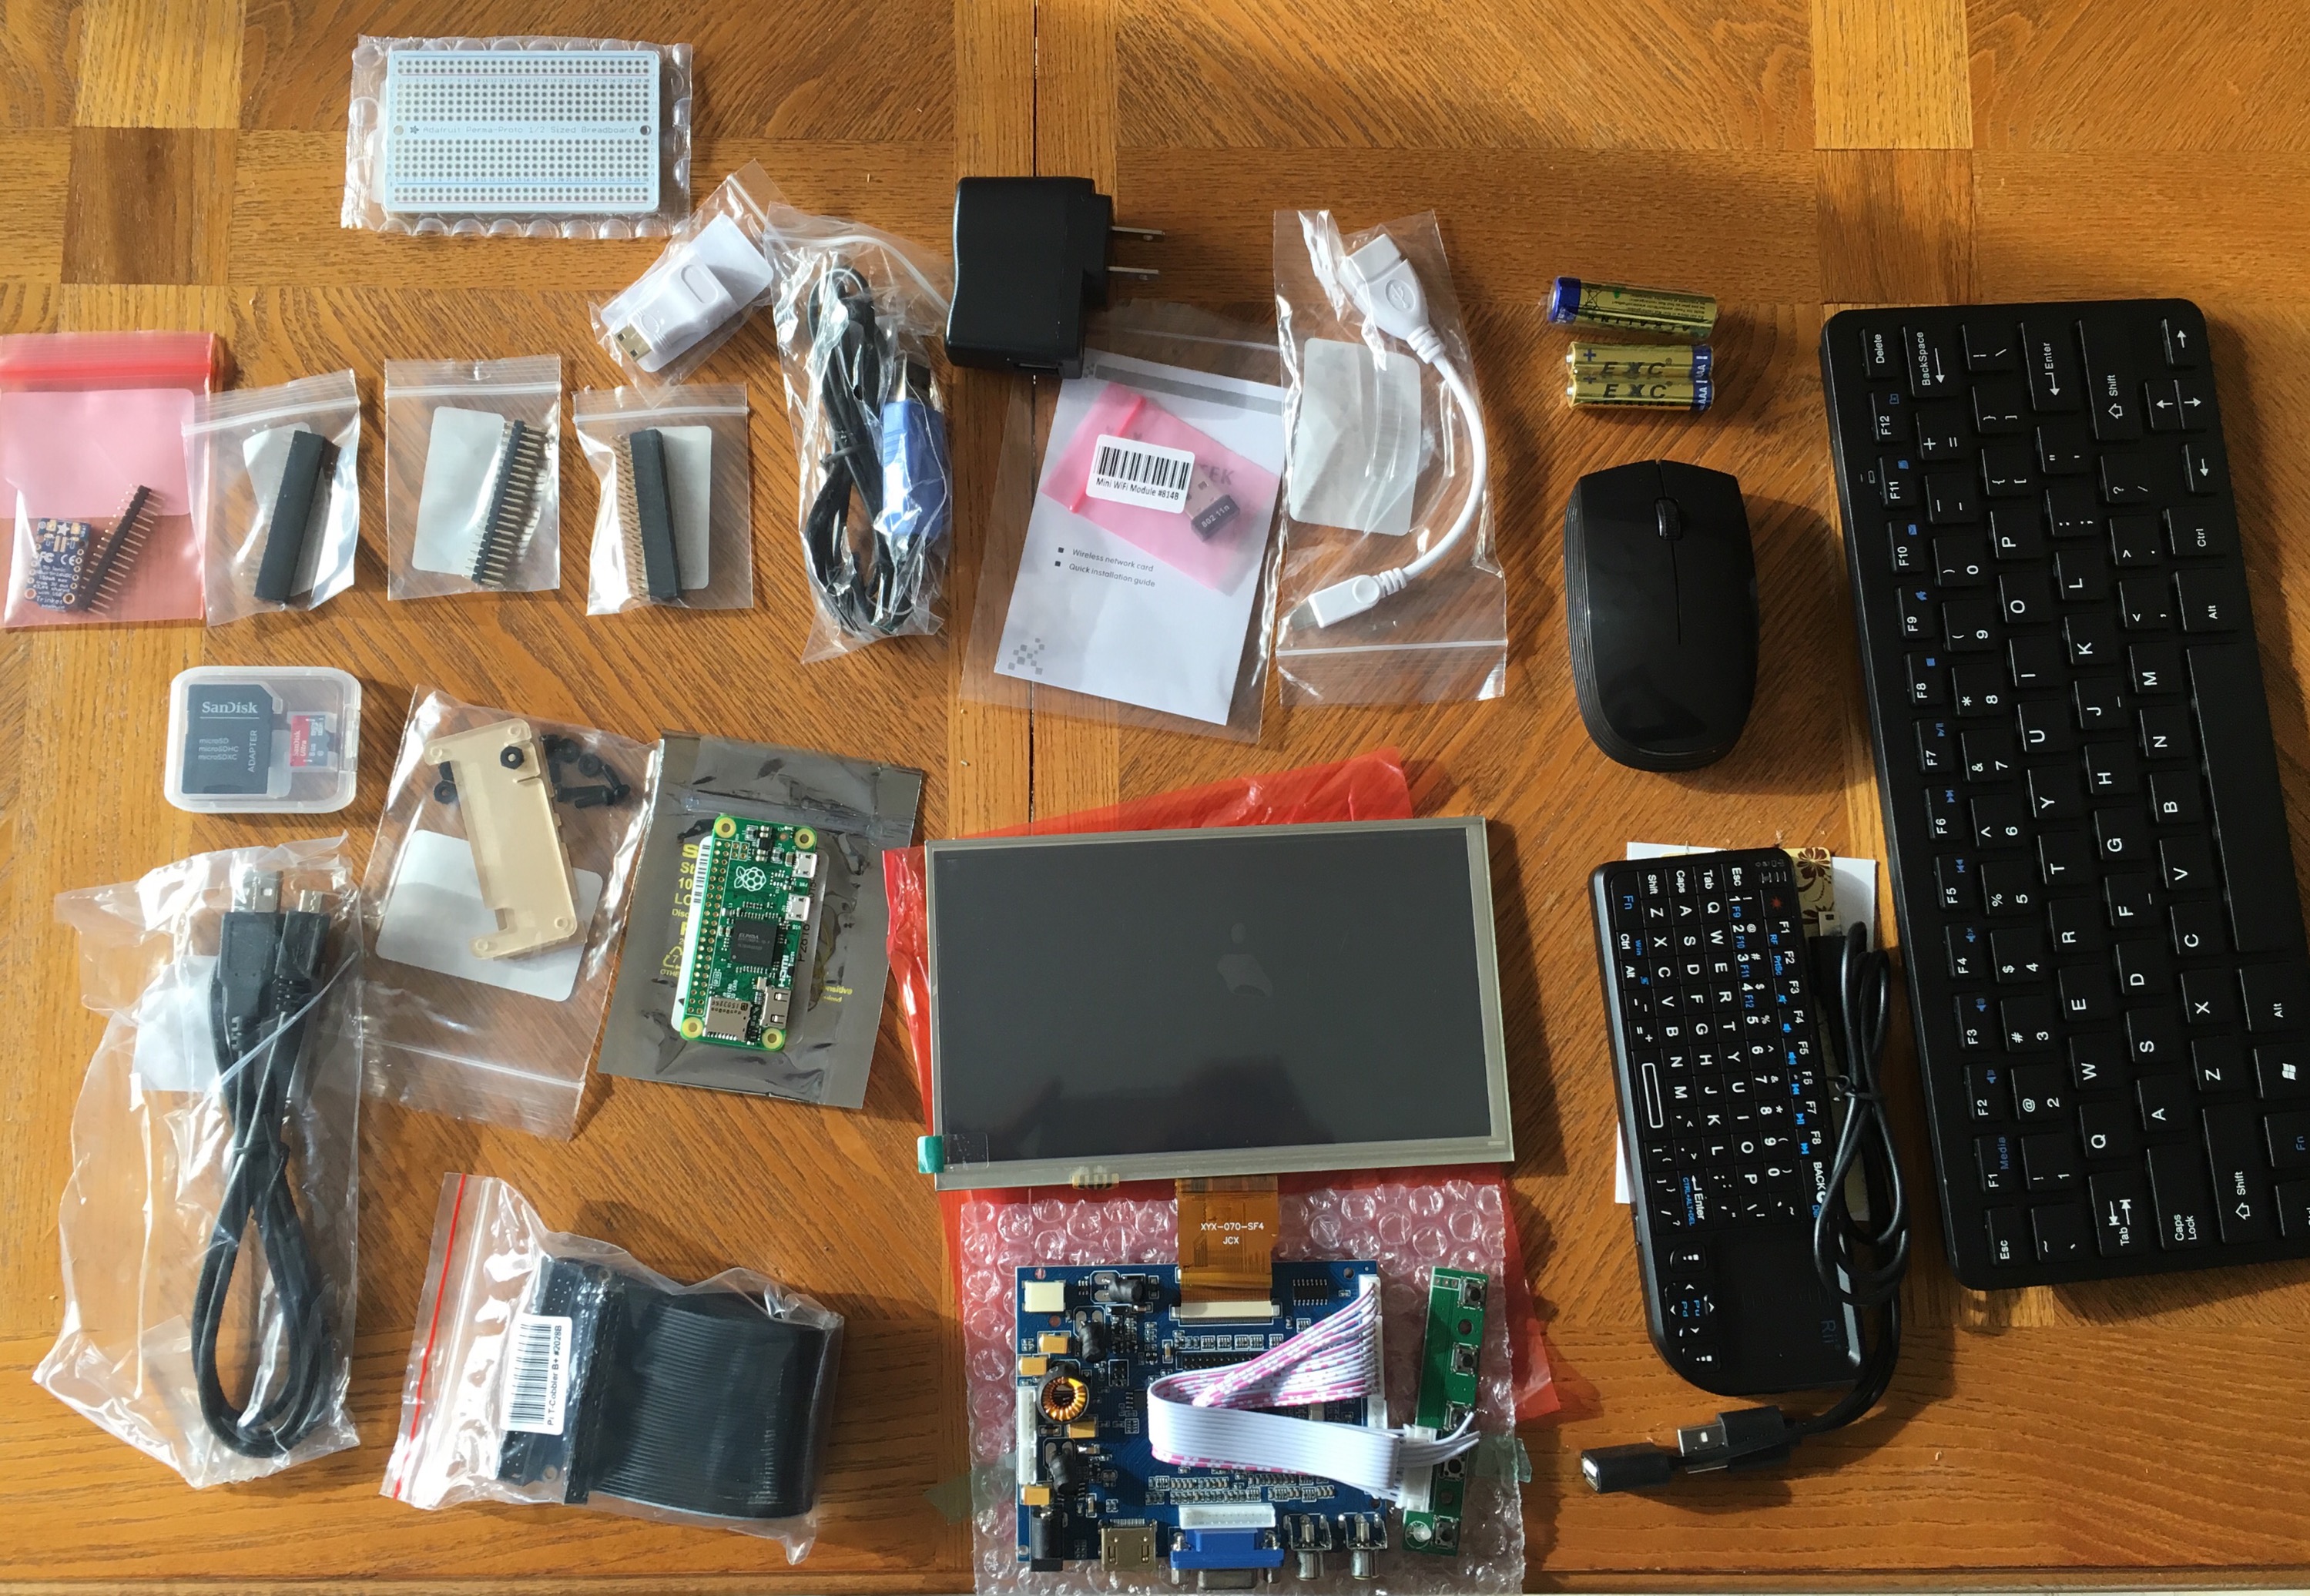
In the previous post of the series, I discussed the plan, which included my shopping list for the project.

Part 3: Getting Started

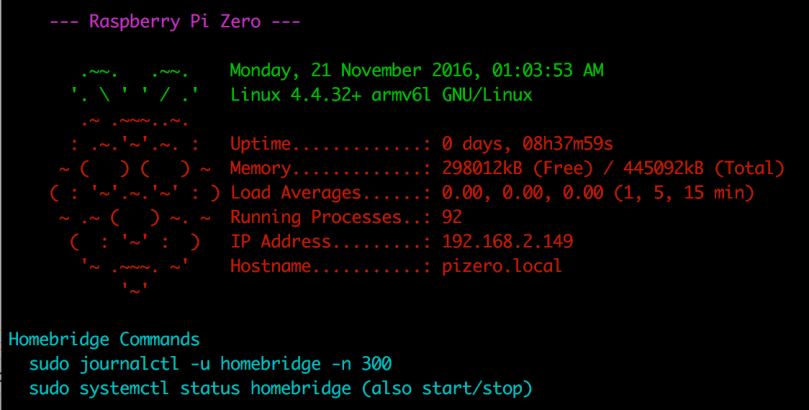
I had gotten pretty excited (yeah, I’m a geek!) while I waited for the parts to arrive. I swore I had some 3.5 mm extension cables, but couldn’t find them, so I had to order them a couple of days after placing my initial order. This gave me a day or two to take my time installing software and setting up the Raspberry Pi. There are countless resources available, so Google or ask if you want to set one up. I did share some tips.

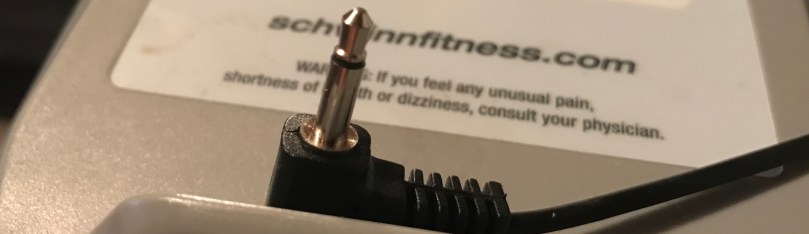
As you may recall, I had tried a really quick test…

At some point I plugged the cable into my iPhone and attempted to record some input using the Voice Memos app, but didn’t get anything. Not encouraging.

I wasn’t satisfied with that, so when a cable came in, the first thing I did was feed the machine into my laptop so I could listen to it “speaking” to me. I was pleasantly surprised with how simple the communication was. Have a listen…

Each time the flywheel goes around, the Airdyne sends a crackle (?) over the line. From here on out, I’m going to call it a beep, because it sounds better. At this point I remember thinking, “This may actually be really easy.” You’d think I would know better after years of programming.

I decided I was going to use Node.js for my app with Express on the server-side and React (eventually) for the interface. With Raspbian and MacOS both built on Linux it would make testing easy and I could get a lot of packages others have already written via npm. A smarter braver man may have chosen C++.

audio-loopbackThe first thing I needed to do was try to read in the data from the microphone over the USB adapter. I wasn’t going to sit in the garage and keep using the Airdyne, so I recorded some of the input to an audio file, which I looped through the speaker out and then back in through the microphone.

I whipped up a very basic app with command line output and starting trying out different USB packages.

I was getting nowhere, other than finding out what didn’t work. While reading comments in a forum or bug tracker, I saw a mention of USB HID. Turns out operating systems make it hard for you to access human input devices in code because the OS wants them to keep working. Even node-hid still didn’t help.

I changed my Google searches from a focus on USB to the actual sound itself. I found a clap-detector package, which analyzed the sound input. Since the Airdyne communication was so simple, I didn’t need to be concerned with what was being said; I only cared about when something was said. Some simple changes to the configuration and I was successfully detecting revolutions. ✔️ ✔️

Getting to this point took a lot longer than I expected. Now that I was getting data in my app, I didn’t know if I’d be able to determine what the AirDyne was doing with rpms. I really like working with numbers, so the next post will be a fun one for me. I’ll share a really cool charting feature (available in some spreadsheets) I learned about and focus on some math.

Building a Better Interface for the Airdyne AD2 with a Raspberry Pi (Part 2)

In part 1 I wrote about the problem, but how would I make something better?

Part 2: The Plan

From the original assembly of the Airdyne, I remembered the cable going from the machine into the display was a simple audio cable. I figured it should be easy enough to read the data being sent over the wire. A quick check of the cable determined it was a 3.5 mm TS jack (TS?), which is very simple.

airdyne-ad2-ts-jack-wide2.jpg

I immediately thought a Raspberry Pi would be a great little computer for the project. I’d been wanting an excuse to play around with version 3 Model B. Some quick research determined microphone input had to be done via USB. I created a shopping list:

I already had a 3.5 mm male to male cable that would prove to be extremely useful. I wanted to splitter so that I’d be able to intercept the signal, while being able to continue using the actual Airdyne AD2 display as well.

While waiting for the Amazon Prime deliveries to show up, I did some Googling to see if anyone else had tried anything like this with an Airdyne. There was one hit. The author went a different route by installing a cycling cadence sensor on the crankshaft and someone in the comments went another route yet, with an optical sensor to measure the fan wheel rotations.

Finding that others had been able to take data in different ways and figure out to do with it gave me hope, but I really had no idea if I was going to waste a bunch of time on this project. At some point I plugged the cable into my iPhone and attempted to record some input using the Voice Memos app, but didn’t get anything. Not encouraging.

I was keeping a bunch of notes and ideas, but my initial scope was very small. Could I read the data from the cable, determine what it was saying, calculate all 5 pieces of information (time, calories, distance, speed, and rpms), and display everything on a single user interface? Now that I write that it doesn’t actually seem very small at all.

Stay tuned for part 3, where I got started.

Building a Better Interface for the Airdyne AD2 with a Raspberry Pi

When I bought the Raspberry Pi 3, I hinted at a project. I spent most of last weekend working on it and thought it was an interesting process to share.

Part 1: The Problem

A few years ago I added a Schwinn Airdyne AD2 to my garage gym. You move your arms and your legs at the same time for more of a full body workout than just a bike.

airdyne-ad2

Here’s an example of the machine’s interface in action.

The screen rotates through 5 pieces of information (time, calories, distance, speed, and rpms), spending 6 seconds on each piece of data. Not shown in the video is the single button below the screen, which can start/reset the display. When not using the machine for a workout, you can reconfigure it to use kilometers instead of miles.

Several things have always troubled me:

  1. With no backlight it’s hard to read, especially in my garage.
  2. You only see one piece of data at a time and have to wait 24 seconds to see that item again. This really limits how I can use the machine in CrossFit workouts, which typically see intervals based on a number of calories or certain distance. I’ve always had to stick to time intervals.
  3. It’s not easy to switch between miles/kilometers and can only be done before starting a workout.
  4. You can’t select/program/save custom workouts.

Not great, right? I thought I could do better.

Part 2 will cover the plan.

Pi Tips

I stuffed myself on Raspberry Pi this weekend, making great progress on my Pi 3 project, getting to a usable basic v1. I’ll share more details on this after Thanksgiving. I also decided to rebuild my Pi Zero Homebridge server by installing Raspbian Jessie Lite (previously installed Raspbian via NOOBS) since it’s a headless system. It’s always fun to mess around with linux, though I couldn’t handle it as a full-time operating system.

While it’s fresh in my mind, here are some things that either tripped me up in the past or I found over the weekend.

  1. If you hide your Wi-Fi network, after you install Raspbian you’ll be scratching your head wondering how to connect. There is no UI for it and you might not even be setting up your Pi to launch into a GUI. Might as well dig into the command line right away by editing a couple of files.
  2. Monitor configurations are a pain in the ass. For the longest time I thought the 7″ display was a piece of shit because it was so blurry. Can’t this stuff be plug-n-play? Then then 3″ display I bought for the Pi 3 seems upside down considering where most of the ports are located. I found a little package of scripts called LCD-show linked off a LCD info page. I’m not even sure if my LCDs are close to the ones sold by this company, but these scripts work great. You can easily reboot in different screen orientations too (the rotation didn’t seem to work properly with the mouse on my 7″, but I didn’t try to troubleshoot at the time).
  3. Use Unclutter to hide your mouse cursor when you don’t need it.
  4. Clone and restore SD cards from the command line, because you’re in the linux spirit already.
  5. Since I only access the Pi Zero via SSH, being welcomed by a bit of color with some info about the machine and reminders helps to increase the sugar content. I made a few modifications (my version is below) to a custom MOTD. The colors are set by $(tput setaf 5) and changing the number (color table). You probably want to add this to .bashrc though and not .bash_profile as instructed.

raspberry-pi-custom-motd

    let upSeconds="$(/usr/bin/cut -d. -f1 /proc/uptime)"
    let secs=$((${upSeconds}%60))
    let mins=$((${upSeconds}/60%60))
    let hours=$((${upSeconds}/3600%24))
    let days=$((${upSeconds}/86400))
    UPTIME=`printf "%d days, %02dh%02dm%02ds" "$days" "$hours" "$mins" "$secs"`

    # get the load averages
    read one five fifteen rest < /proc/loadavg

    echo "$(tput setaf 5)
    --- Raspberry Pi Zero ---
$(tput setaf 2)
       .~~.   .~~.    `date +"%A, %e %B %Y, %r"`
      '. \ ' ' / .'   `uname -srmo`$(tput setaf 1)
       .~ .~~~..~.
      : .~.'~'.~. :   Uptime.............: ${UPTIME}
     ~ (   ) (   ) ~  Memory.............: `cat /proc/meminfo | grep MemFree | awk {'print $2'}`kB (Free) / `cat /proc/meminfo | grep MemTotal | awk {'print $2'}`kB (Total)
    ( : '~'.~.'~' : ) Load Averages......: ${one}, ${five}, ${fifteen} (1, 5, 15 min)
     ~ .~ (   ) ~. ~  Running Processes..: `ps ax | wc -l | tr -d " "`
      (  : '~' :  )   IP Address.........: `/sbin/ifconfig wlan0 | /bin/grep "inet addr" | /usr/bin/cut -d ":" -f 2 | /usr/bin/cut -d " " -f 1`
       '~ .~~~. ~'    Hostname...........: `hostname --long`.local
           '~'
$(tput setaf 6)
Homebridge Commands
  sudo journalctl -u homebridge -n 300
  sudo systemctl status homebridge (also start/stop)
    $(tput sgr0)"

What are your favorite Raspberry Pi tips?