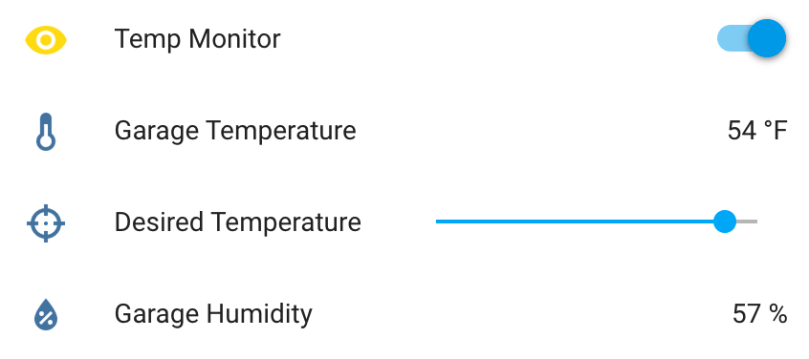
I made some updates to the Garage Temperature Sensor & Monitor. I didn’t like how the desired temperature was set via the app’s configuration file, so I moved it to a slider control in Home Assistant and updated the LCD to always show the value. Only being able to enable/disable monitoring via the device’s button also wasn’t great. I converted the binary sensor I was using to flag monitor mode in HA to a switch control and moved the actual monitoring logic from the Python app to HA automation. Everyhing is updated on GitHub.
Info and controls in Home AssistantCustom temperature and humidity monitor
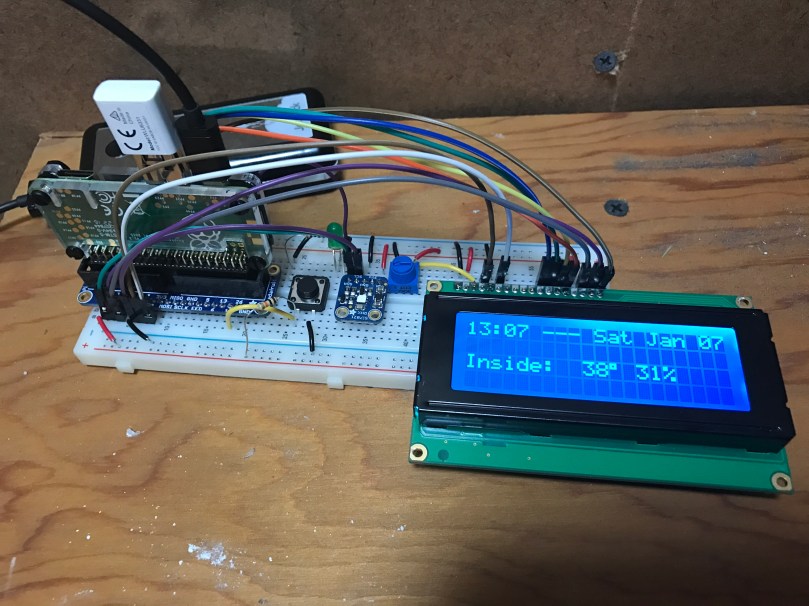
I’ve been working on this project here and there for a few weeks, with most of the early work being experimentation. Everything is now up and running and it’s “deployed to production” so to speak. This was my prototyping setup…
After wiring everything together and repurposing a cardboard box, here is a short video to show the final product.
A few notes on how it works:
The button toggles monitor mode. The LED inside the button indicates if Monitor mode is on/off.
When monitor mode is on and the desired temperature is reached, I get a notification.
I should have shown the knob, but all it does is adjust the LCD’s contrast.
The thing on the top left of the box is the sensor chip for reading temperature and humidity. Originally it was inside the box behind a little window there but it was picking up too much heat from the Pi and LCD in there.
The backlight color of the LCD is based on the measured temperature and updates each time new temperature is read. Anything 32° Farenheit and below is blue, 80° and above is red, and everything in between is based on where it falls within that 32-80 range. As you can see in the example, 48° is a lighter blue. A few degrees warmer and I think it would have started to look more green.
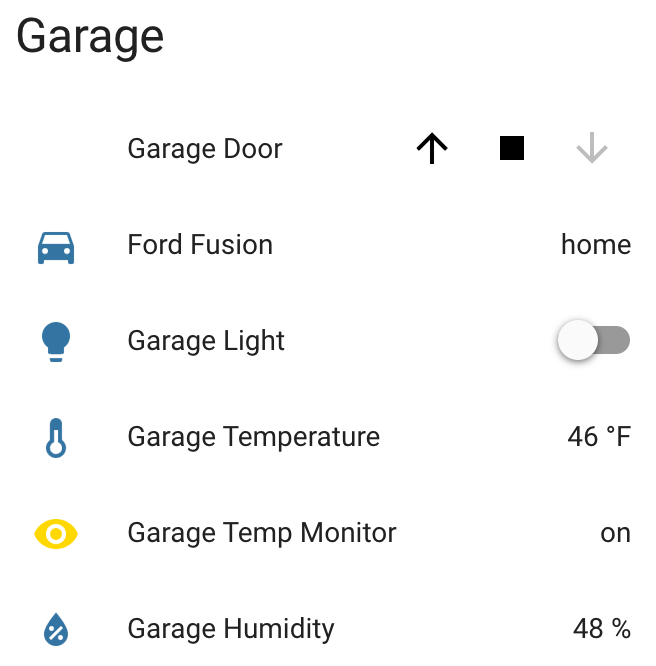
Outside temperature/humidity is pulled in from the Dark Sky data in my Home Assistant setup (which I’ll post about soon).
Really happy with how things turned out. The Pi I wrote this in Python and it’s all available as home-assistant-temperature-monitor on GitHub if you want to make your own or use some of the code for your own project. There is also a list of all the components used.
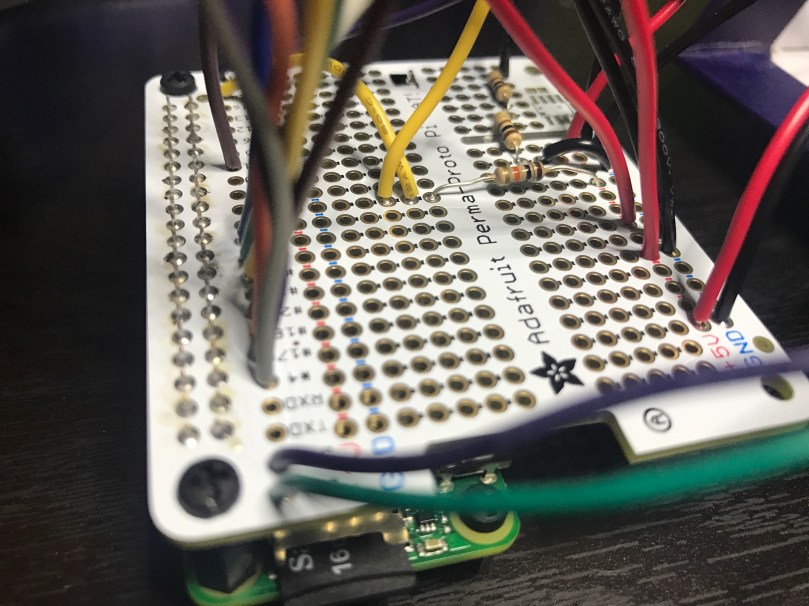
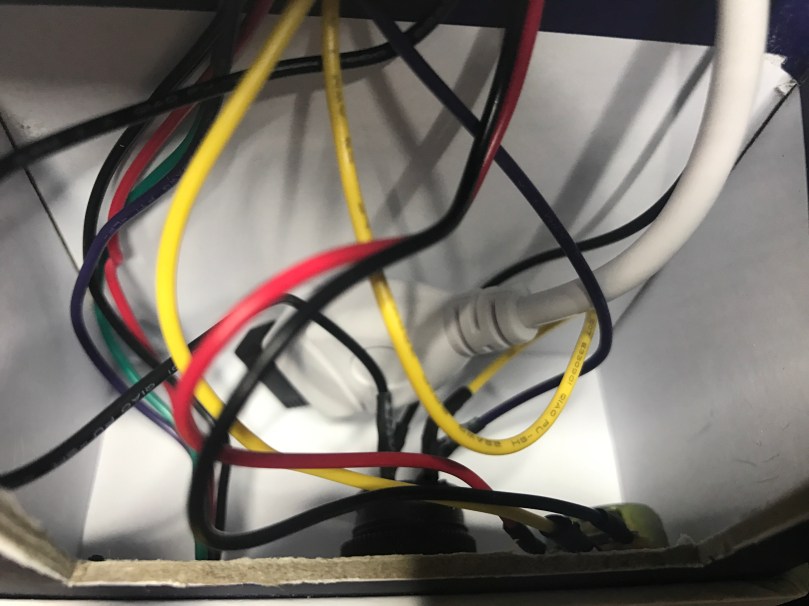
Here are some pictures I took while assembling the enclosure/box.
Making sure the Pi and attached Hat fit right after drilling the holes. Seemed like there was so much room at this point.Everything soldered to the HAT. Amazingly I didn’t make any mistakes and everything worked on the first try. A good prototyping setup, having pictures of my final prototype, and keeping a list of where everything connected was invaluable.The Raspberry Pi, Hat, LCD, USB cables to power and WiFi, and all of the other wiring jammed in! Reaching inside to get things screwed through the box wasn’t easy.There is a lot more room in the other part of the box where the sensor, button, and knob are. Nice for the WiFi adapter and cable to come across and have some room.