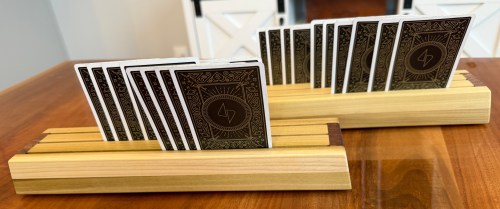
Mom sent this photo and asked me to make a couple racks/holders for playing cards.
Sounded like a fun little project to put my spin on. At first I assumed the slots would need to be angled away from the player. The more I thought about it, the width of the slot should provide enough of a lean. I gave it a test.
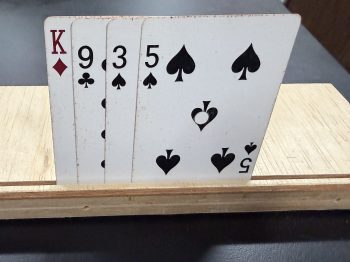
I was right, no angle needed. My next question was if you could see the cards in multiple rows, so I cut slots at several distances apart.
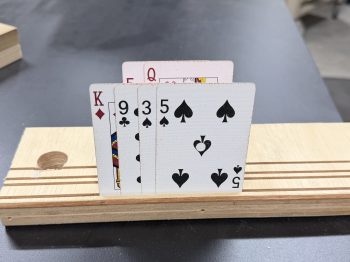
Not great. I had a hunch that differing heights would help and this made me confident. So I cut one slot deeper and tried it as the front row.

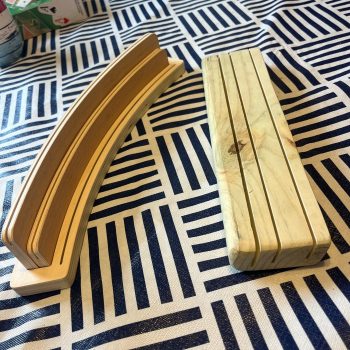
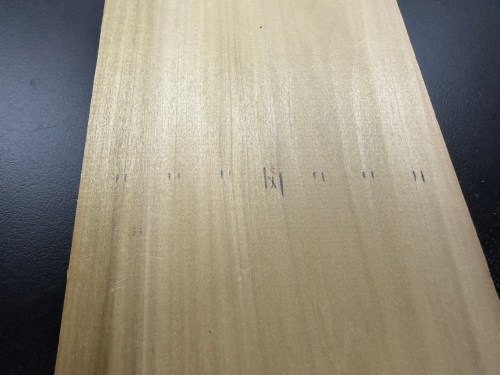
Yep! I grabbed a couple pieces from my lumber rack and marked slot spacing that could get me two racks, each with three slots.
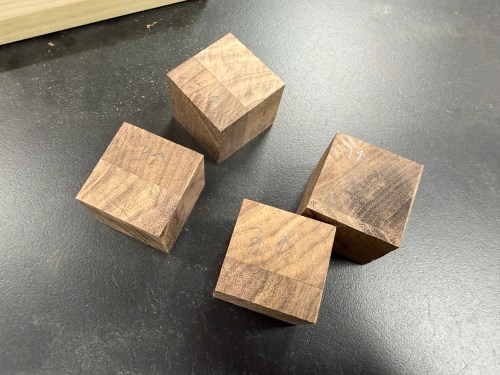
I laminated a couple of boards to give me enough height for the different slot depths.
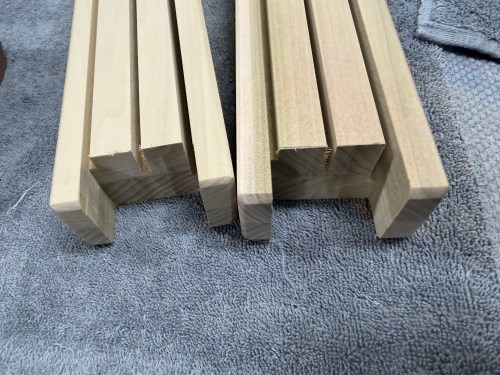
Then I squared up the edges, cut to length, and sliced down the middle. The dimensions are 12 x 2-5/8 x 1-1/2 inches.

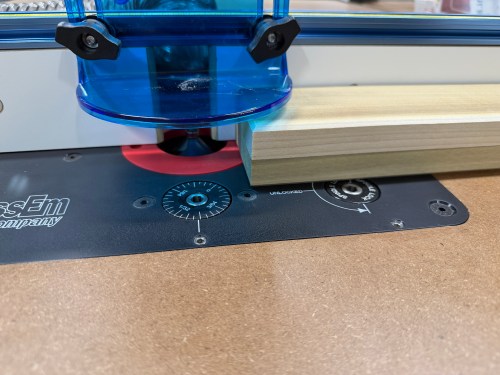
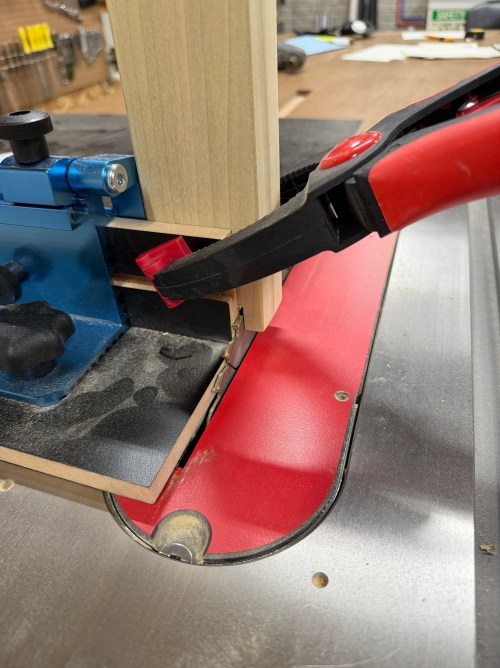
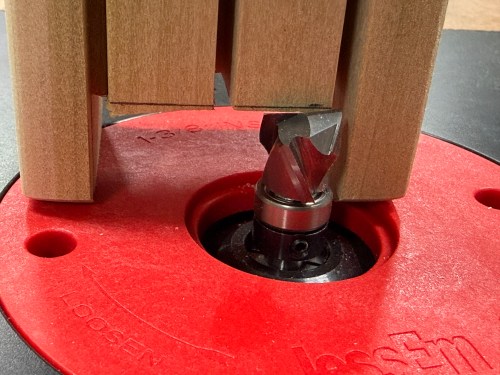
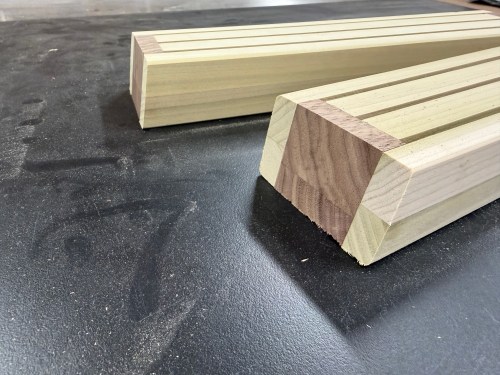
At my fancy new router station, I chamfered the edges.

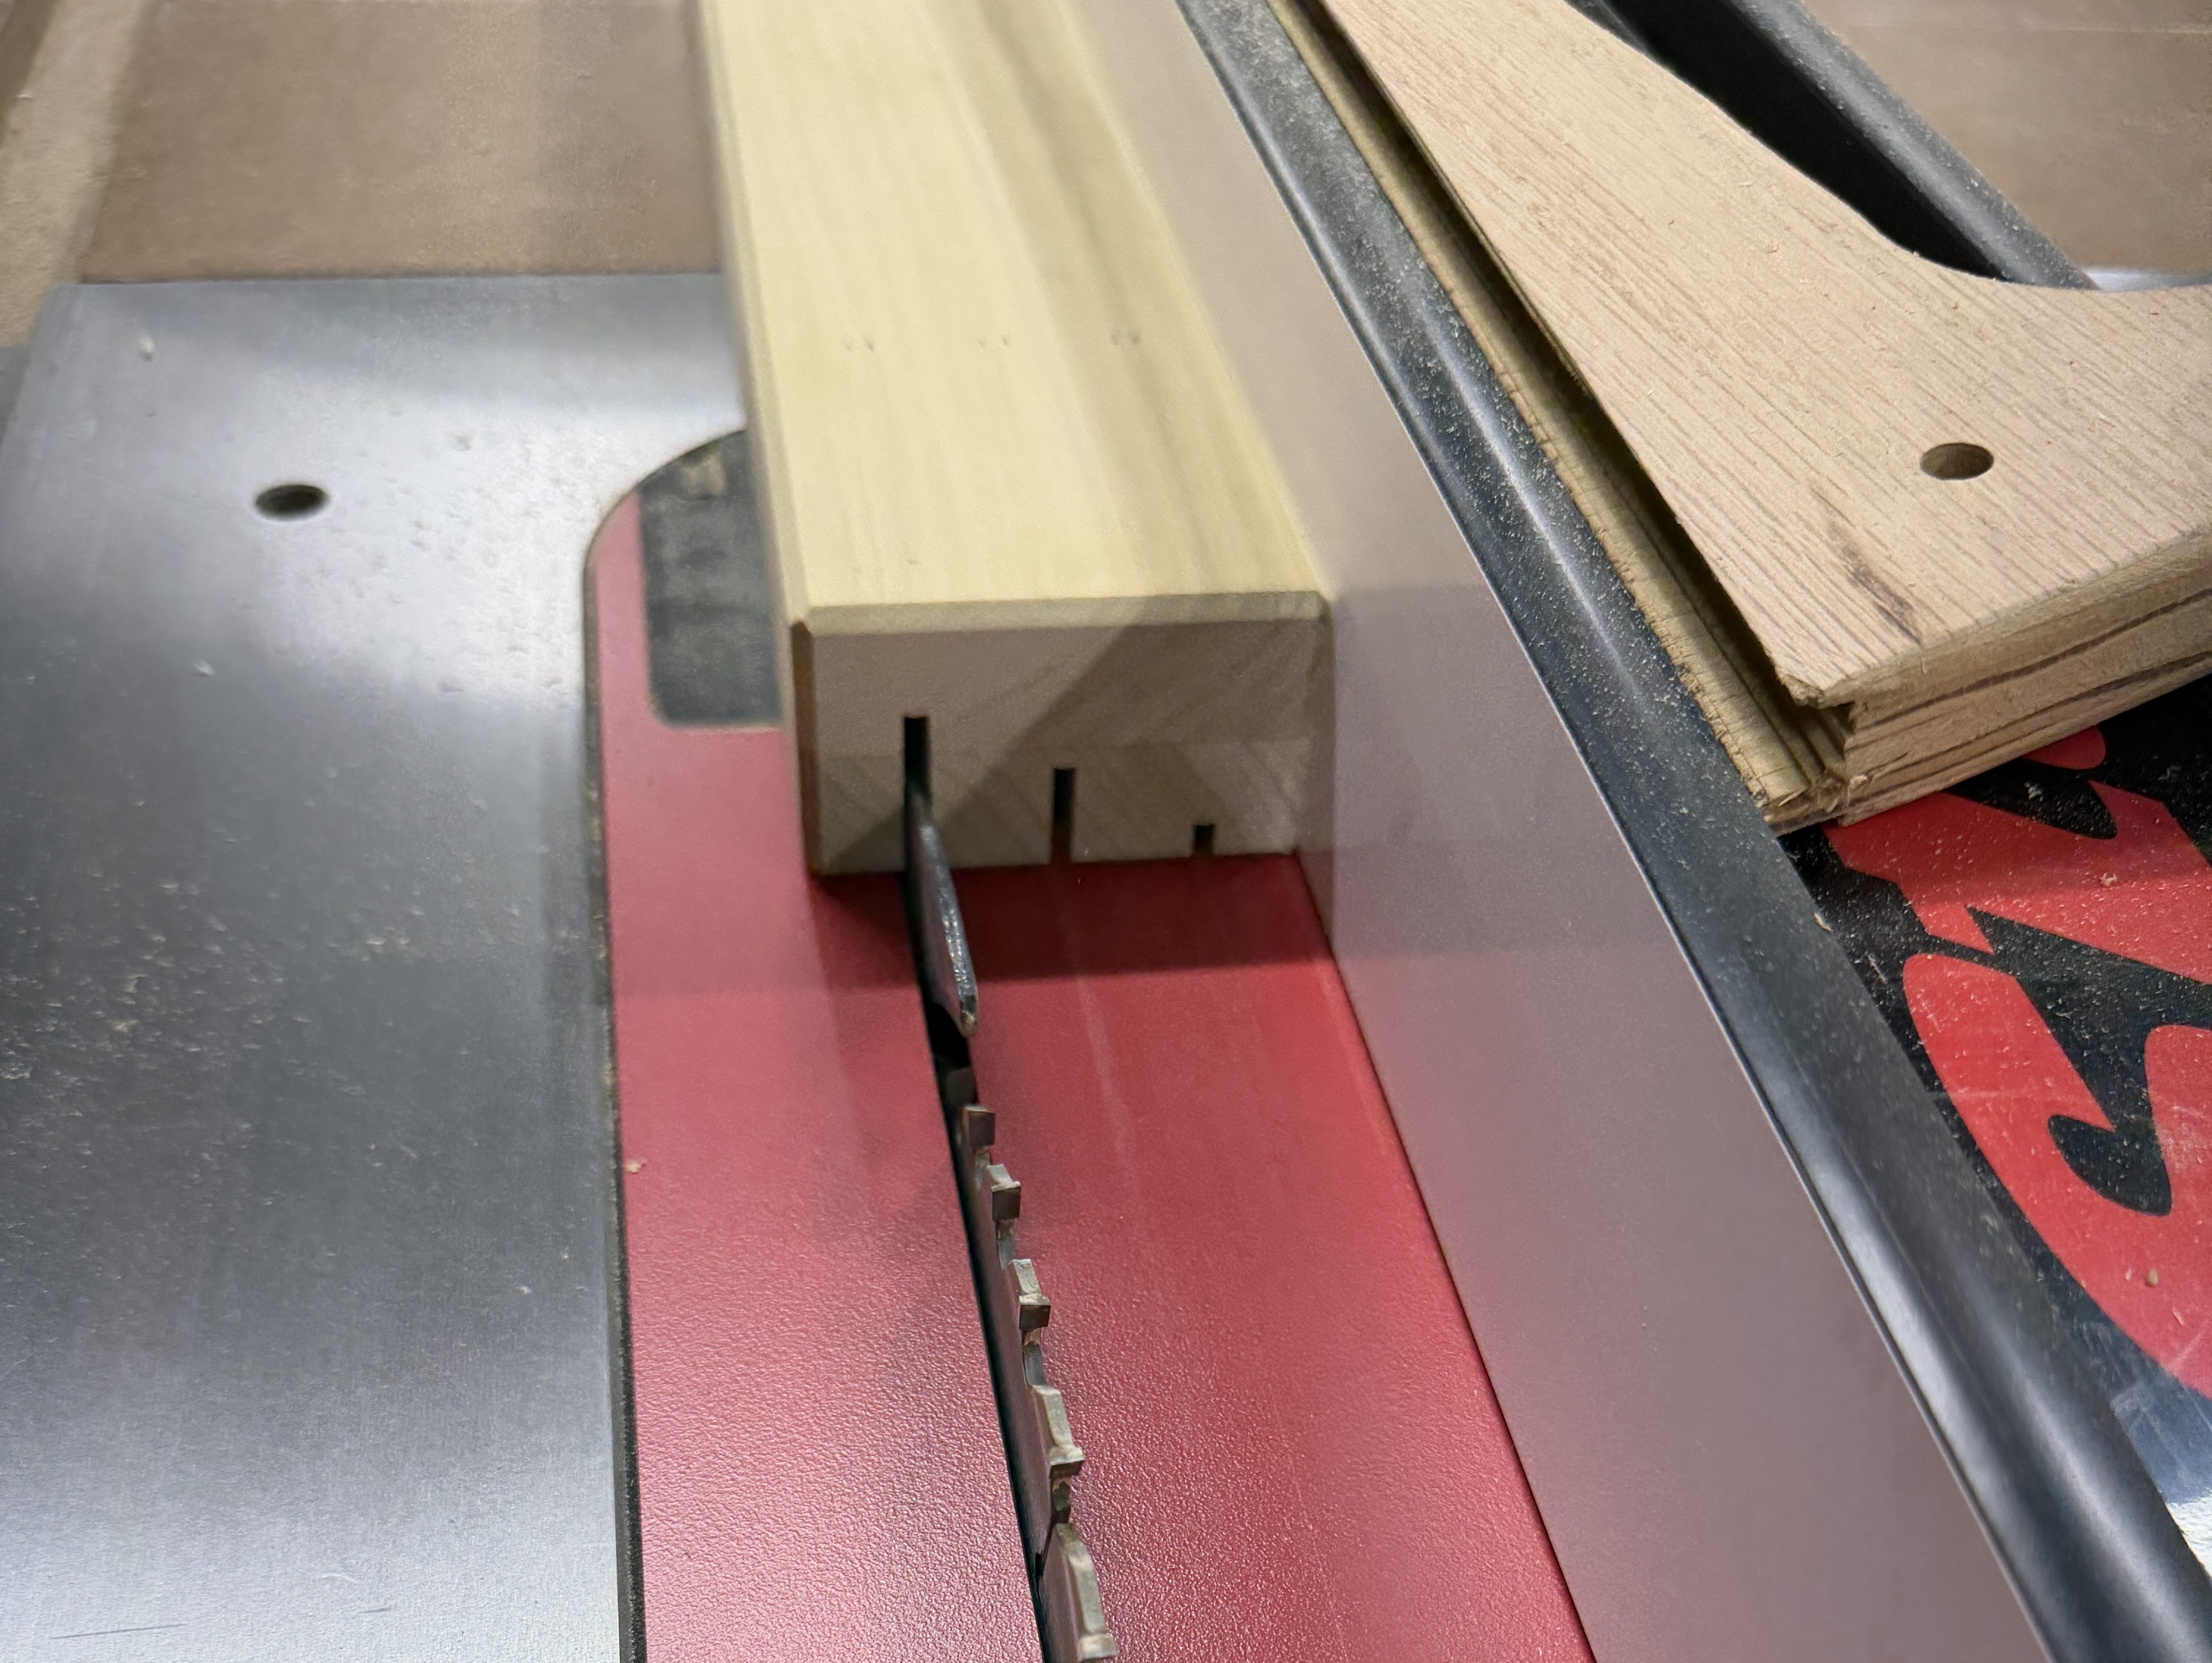
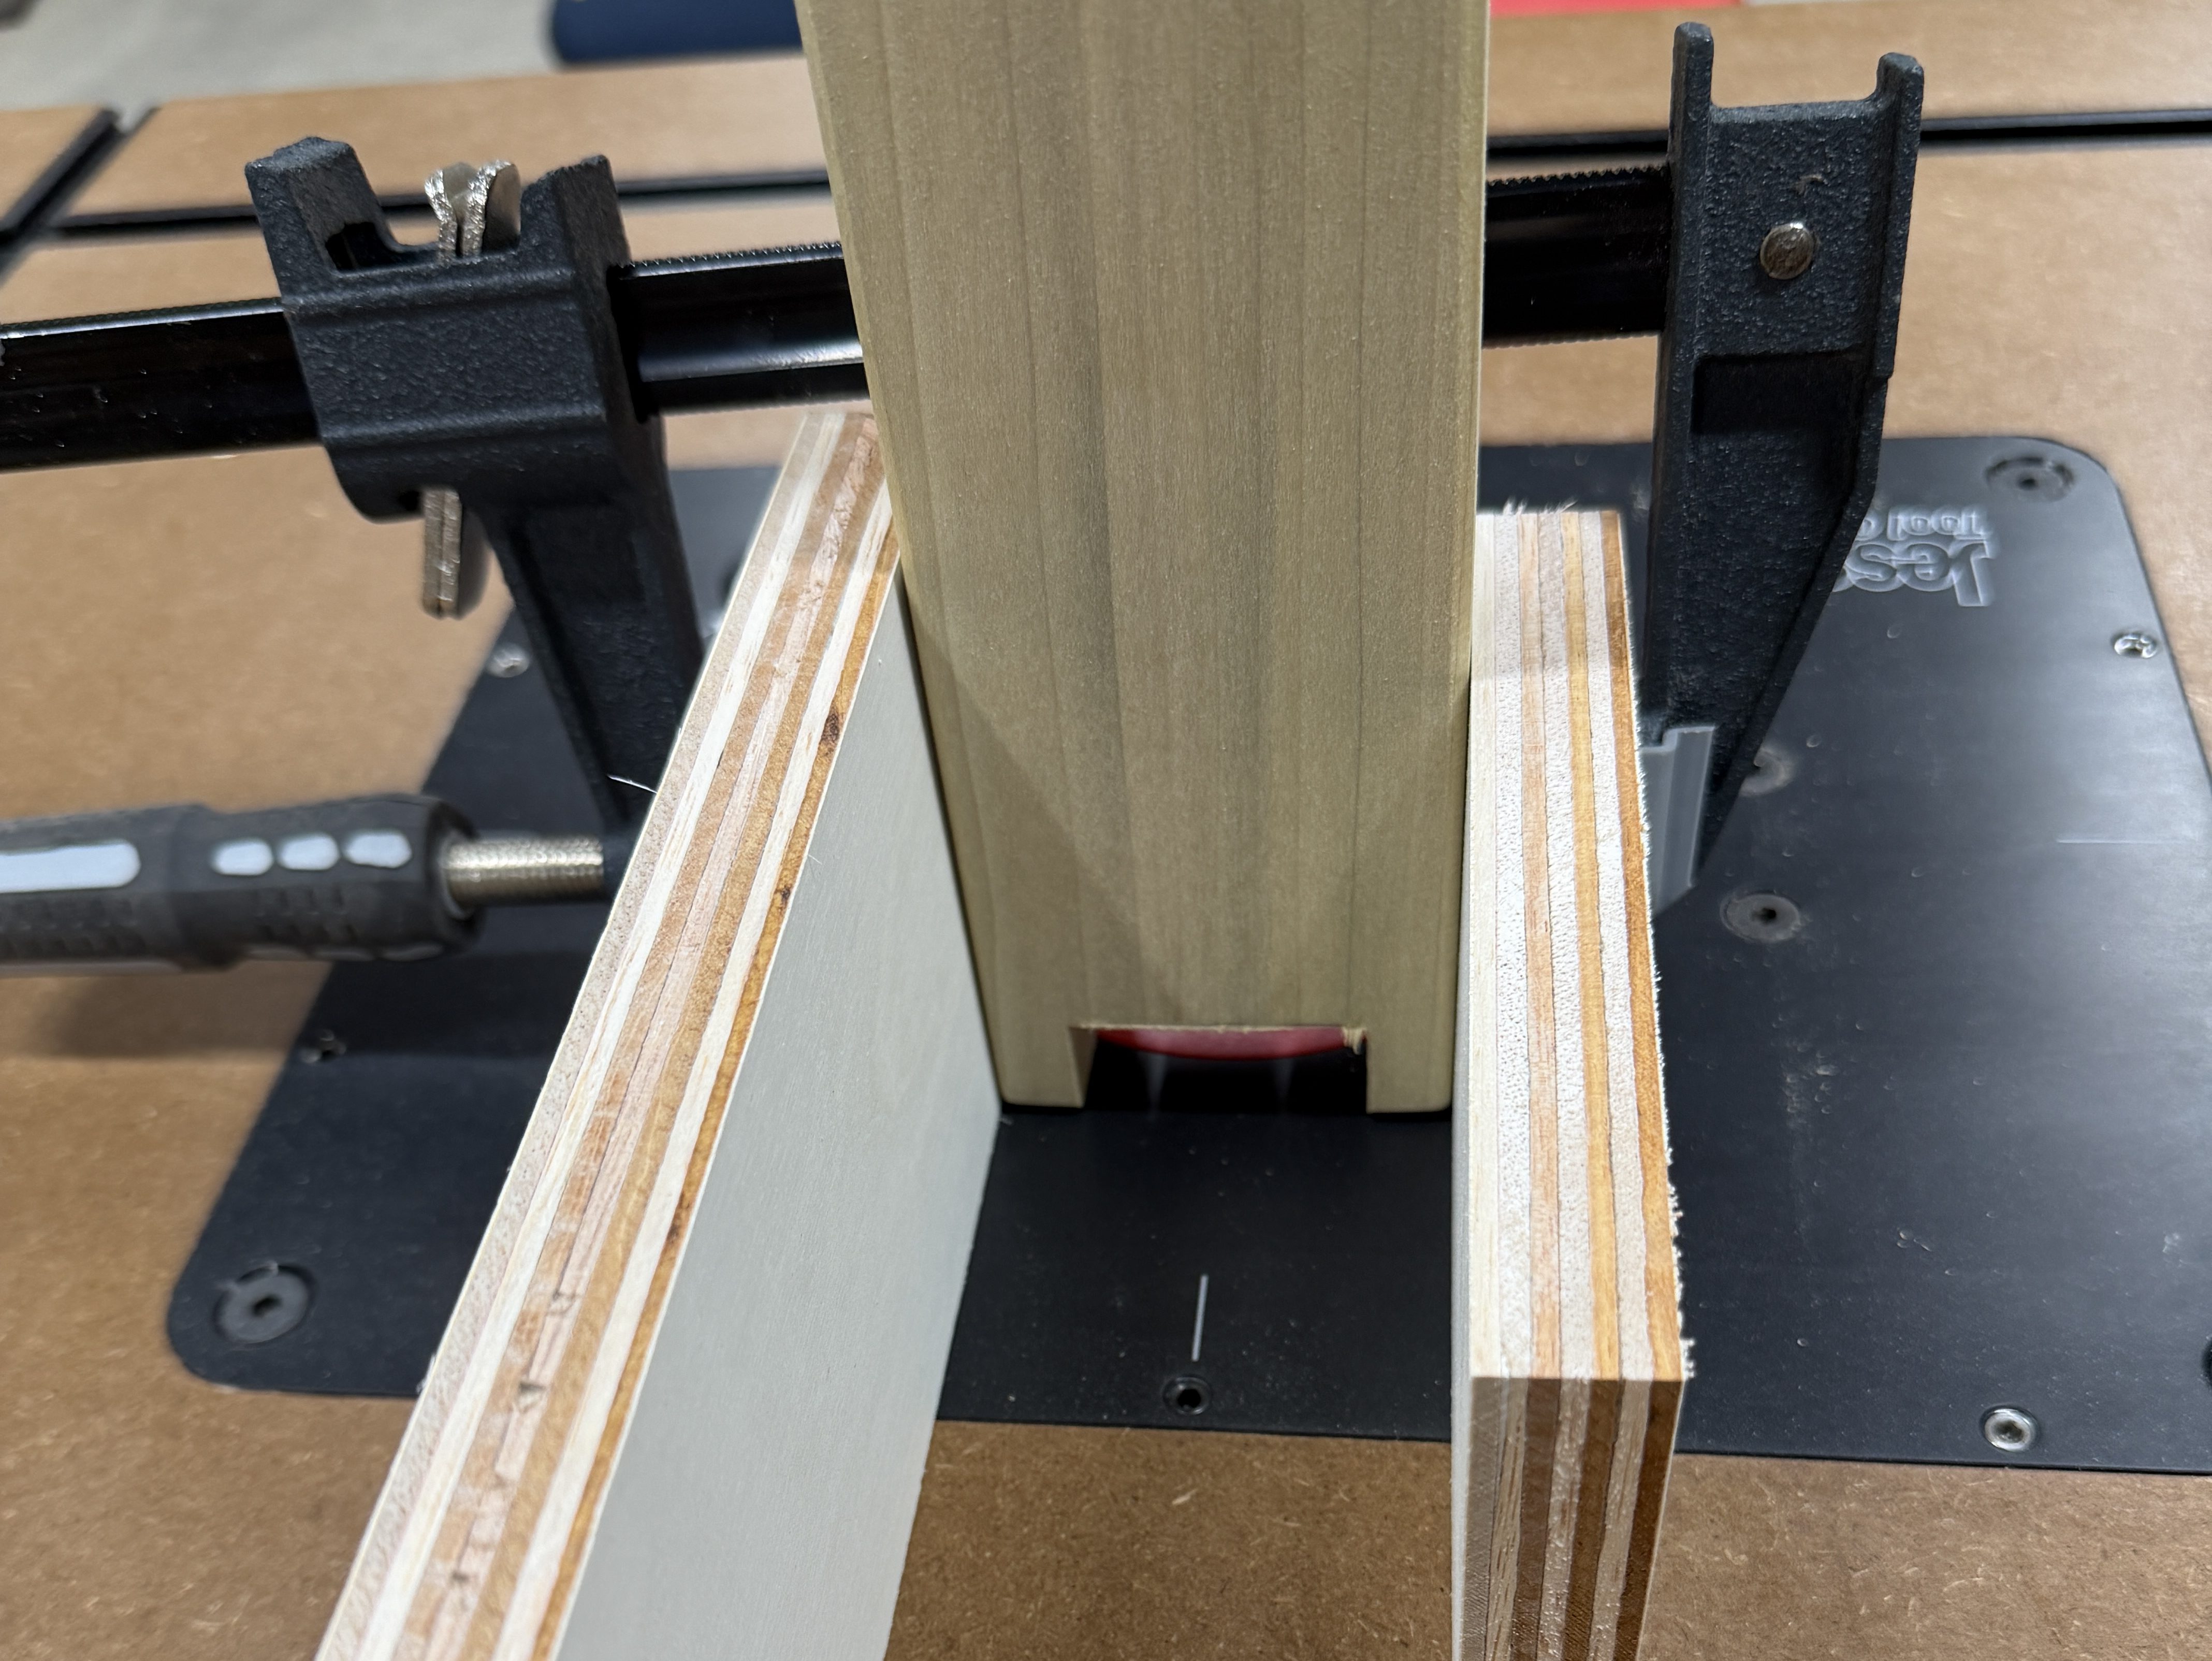
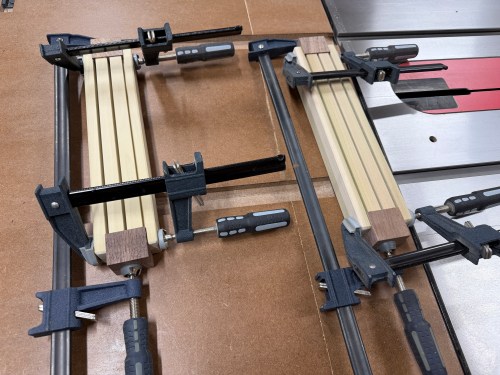
Finally, I cut the slots. The deck of cards I have in the shop are a bad example, since the numbers on most of the cards are lower than they should be. The slots are 1/4, 5/8, and 1″ deep, with 5/8″ of space in between.

I sanded with 80, 120, and 180 grits.

Something was bugging me and it hit me when I watched TWW’s video on making Greeting Card Holders. While his build was a bit different, this gave me an idea.

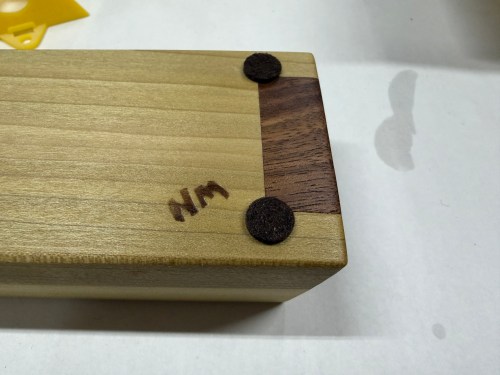
All the chamfers on my ends and the slot depths being visible was a bad look. So I cut out the middle section of each end, made black walnut fillers, glued them in, and trimmed them at a 10° angle to spice up the visual. I also added my NM stamp on the bottoms.


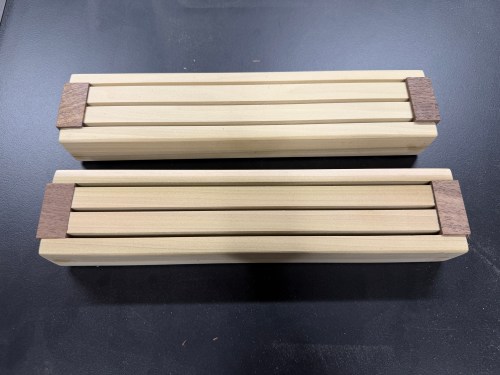

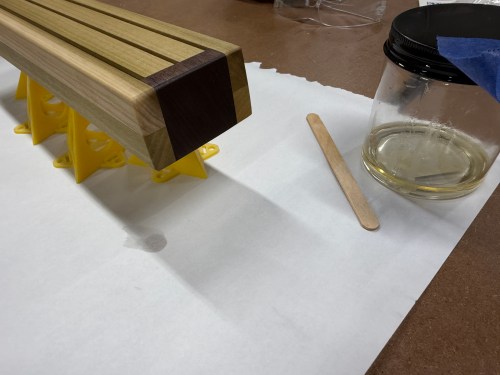
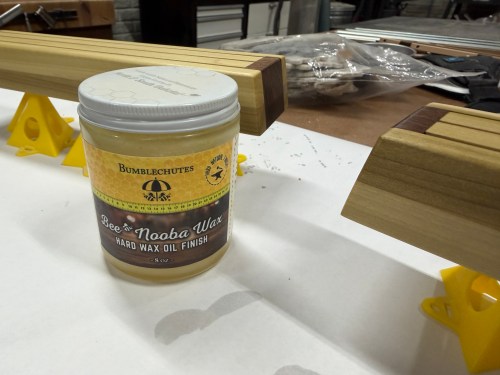
Much better! As a bonus this adds strength and will keep the cards from sliding out if the holder is picked up. I applied two coats of Bumblechutes All Natural Wood Finish and then Bumblechutes Bee’Nooba Wax. To finish them off I added felt pads to the bottom.
They turned out great and Mom is happy!