Replacement Feed Rollers for a Craftsman 351.233831 Planer

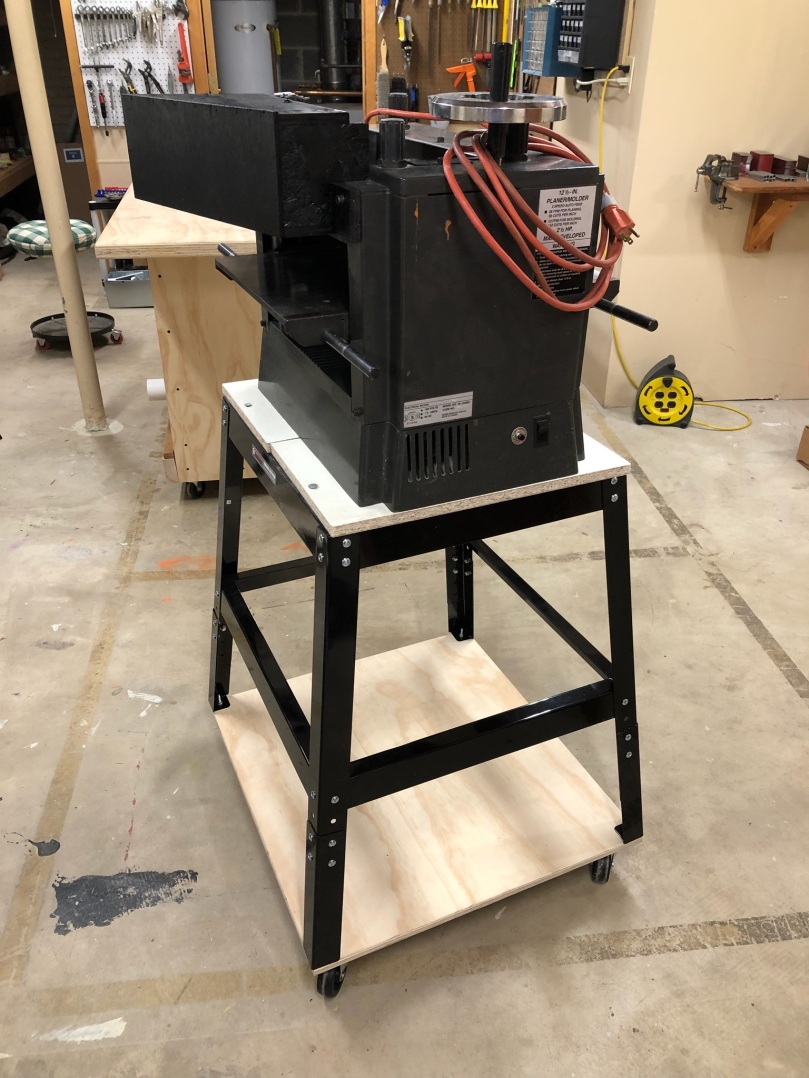
While cleaning up the feed rollers on my Dad’s Craftsman 351.233831 Planer I noticed there were really beat up.

old-feed-roller
Old infeed roller

Unfortunately the part (#8520) is discontinued and I couldn’t find an aftermarket one anywhere online. I stumbled across some forum posts discussing roller resurfacing, so I got some quotes.

Mid American Rubber, which is actually here in Michigan, wanted $137 for each roller!

J. J. Short Associates, Inc. quoted $92.50 for one or $85 each if I did both.

These first two had big forms on their website with diagrams showing how to get all of the measurements they requested.

I had to call Feedrollers.com and provide some info. A day later they got back to me with a price of $57 each.

Western Roller Corporation had an online form but it was very basic so I only provided the model of the planer and the part number. I got an email saying, “most of these small table-top type planers we recover your existing shafts for $65.00 to $100.00 each.” That’s a pretty wide range, so I sent over the measurements provided to the other companies and they quoted $68.88 each.

I went with the cheapest one since these aren’t for a production shop of any kind. I shipped out the rollers and got them back exactly 3 weeks later.

I’m really impressed with these. Hopefully they hold up well for my Dad. After installing the rollers I swapped out and aligned all of the cutter knives. With this and all of the previous work, the planer runs like a brand new machine.


DIY Dust Collector Chute for a Craftsman 351.233831 Planer

My Dad got an old Craftsman 351.233831 Planer (manual) from one of his friends for $75 after it stopped working.

When turning it on the motor would hum for a second and then the breaker (or power strip) would trip. He left the machine with me to fix. The motor shaft wouldn’t turn at all so I had to take a bunch of the machine apart (and cut the belt off) to get the motor out. I ended up using a screwdriver and hammer against the fan to free up the motor. It didn’t want to move, but slowly some hardened gunk broke up and the shaft was spinning. Since I had it in pieces I cleaned out the gear box and applied new grease to the gears.

That’s not what the title of this post is about. Since I had the machine I thought it would be nice to build some dust collection for it; these machines create one hell of a mess. Here’s a step by step of the dust collection build.


img_0897
Murdered Out!

I think it turned out pretty good and the paint is a nice touch. I might have to paint the one on my Delta dust collector.

After putting the new belt on and testing it out I noticed the feed rollers were in really bad shape so ordered a new set. The machine is an absolute beast, so I mounted it on one of the Harbor Freight stands, made a plywood base for the bottom, and put on some castors.

craftsman-planer-stand-wheels.jpeg

I still need to figure out how to replace the feed rollers and will swap out some of the knives that are nicked up. Then it should be running like a brand new planer! It’s cool to see my Dad getting excited about a new hobby; he already has a bunch of pallets collected to tear apart.

Delta TP305 Planer Dust/Chip Collection

Back in early November I found this Delta TP305 planer for $100 on craigslist.

It was obvious the owner took care of his tools, he had just replaced the blades, and also had a set of new blades, so the price was a steal. It didn’t have any type of dust/chip collection though.

delta-planer-dust-chute
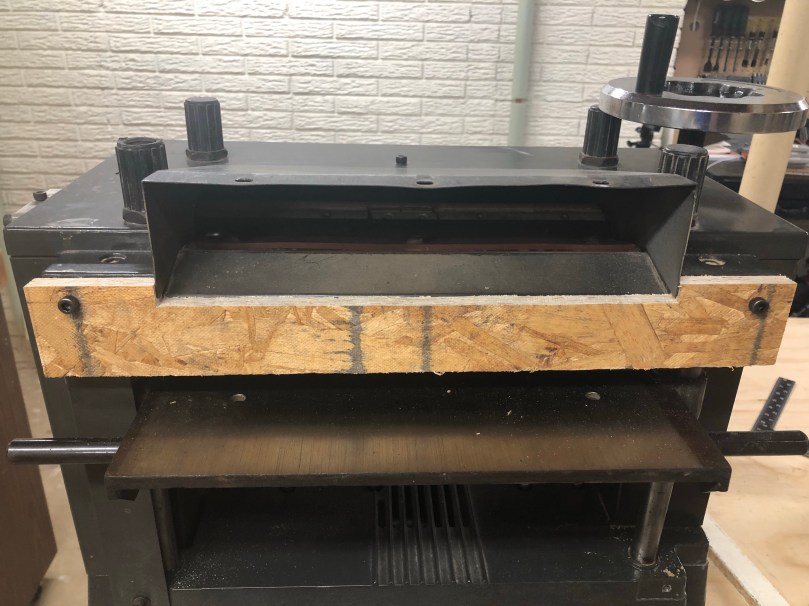
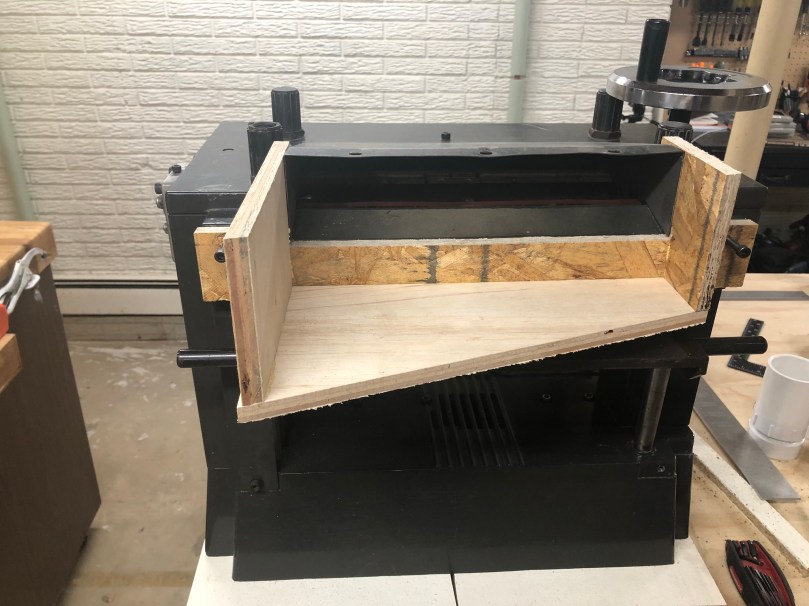
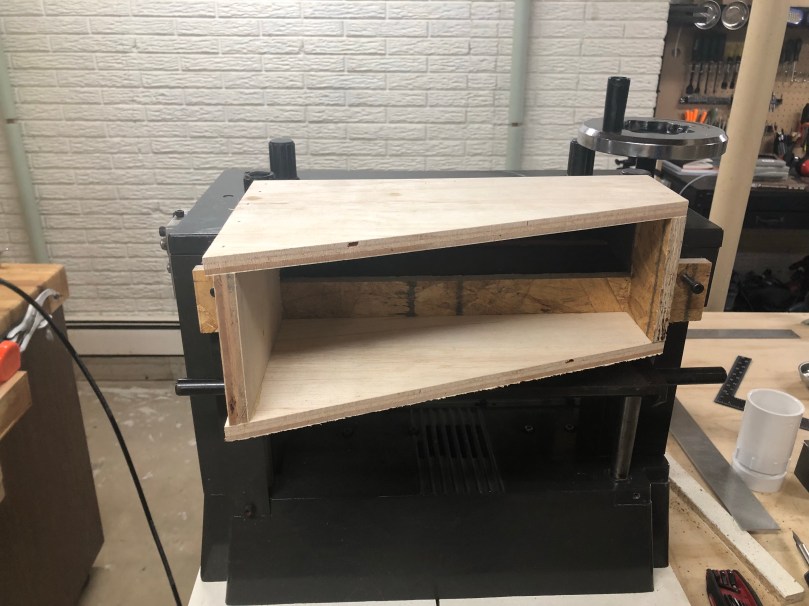
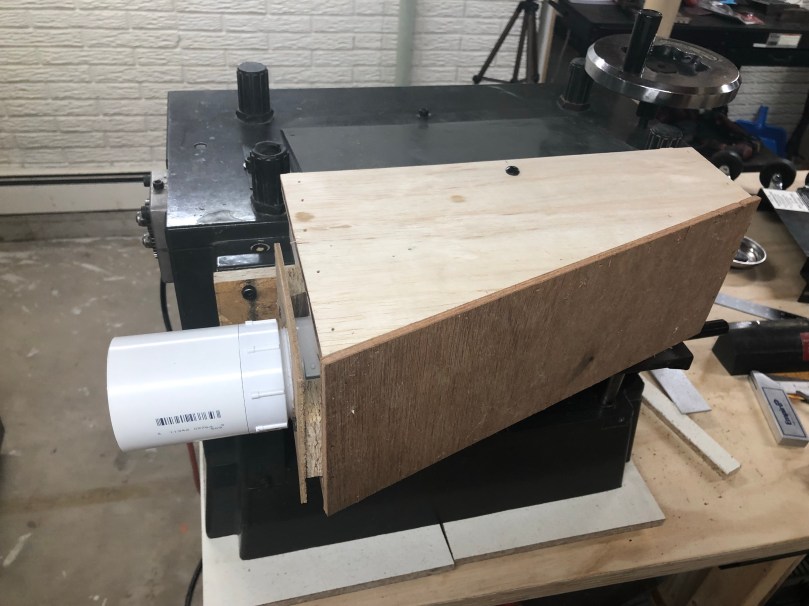
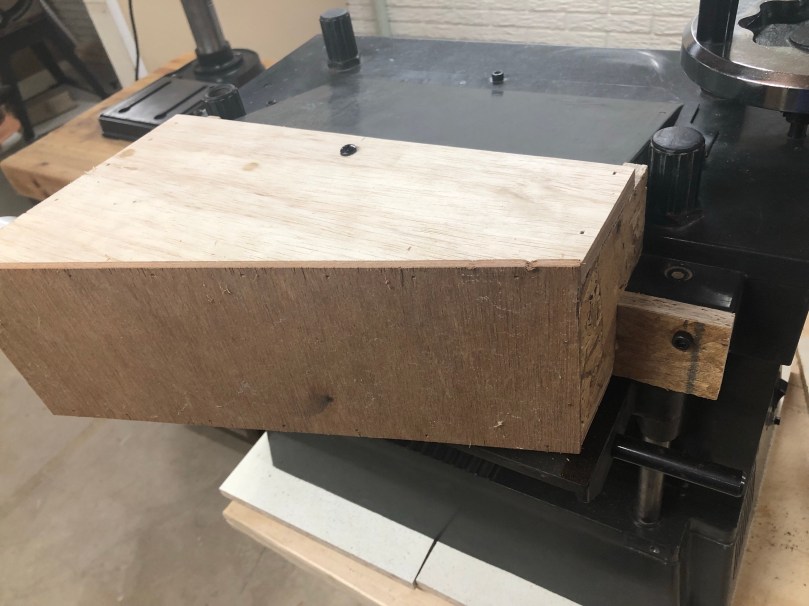
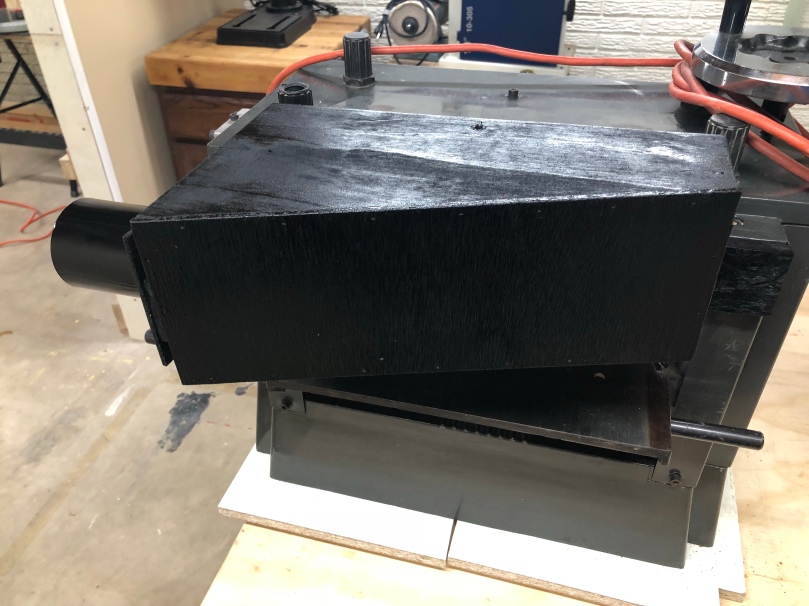
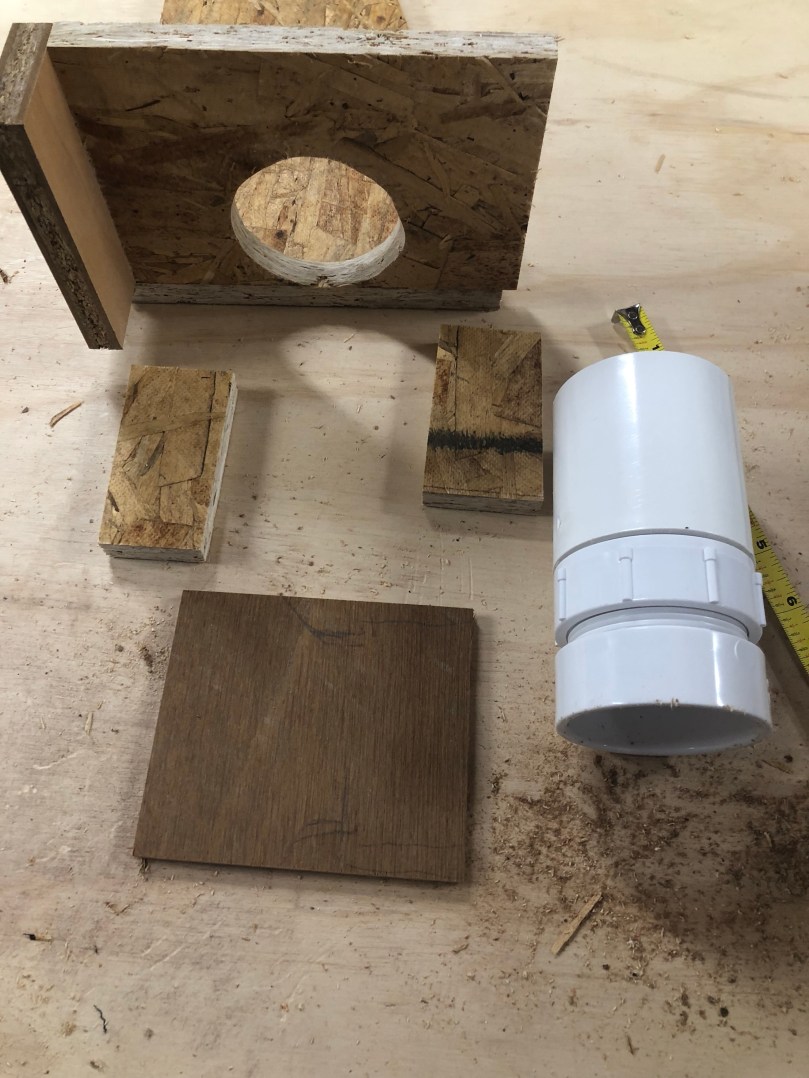
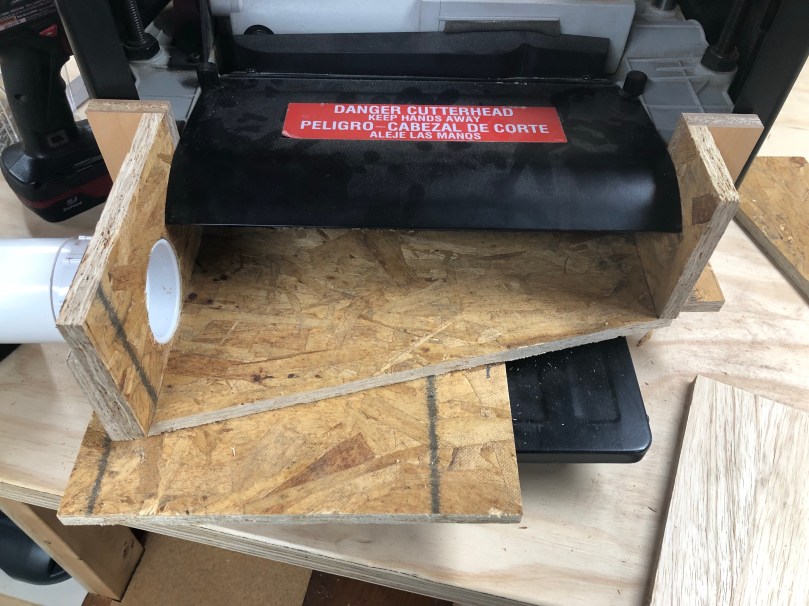
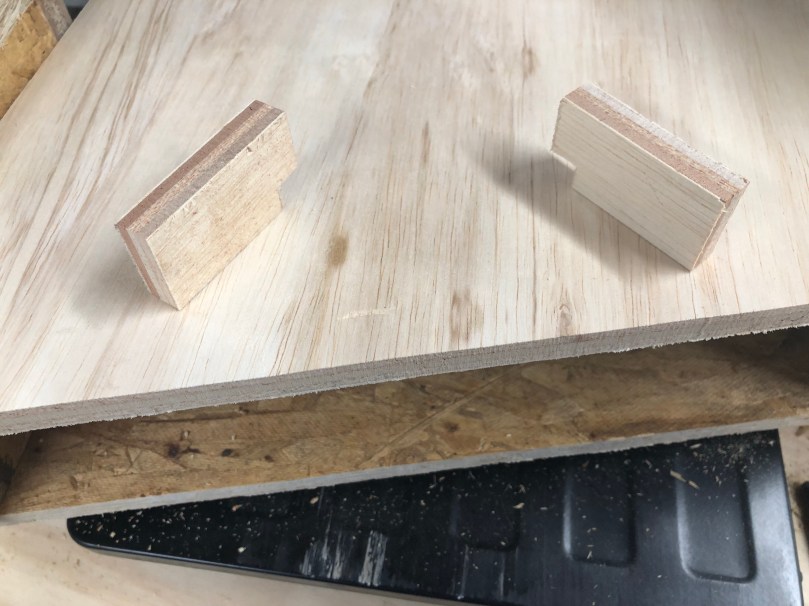
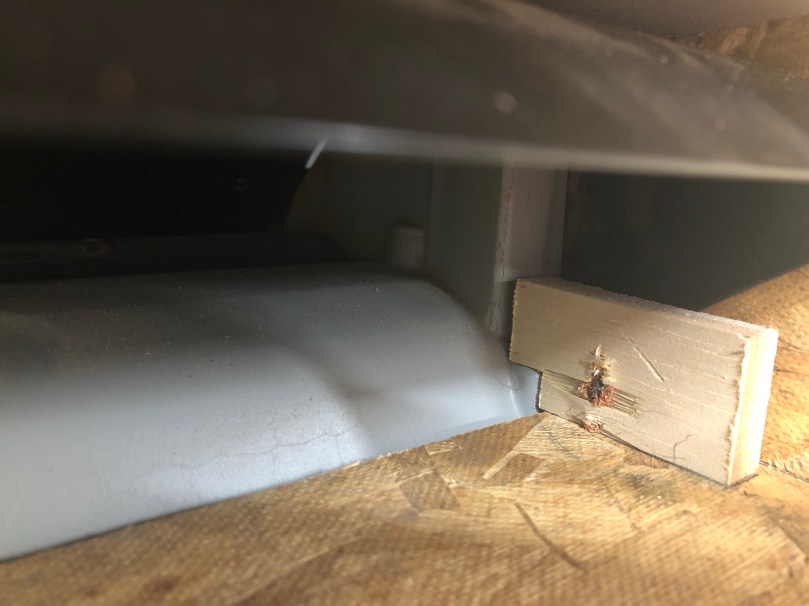
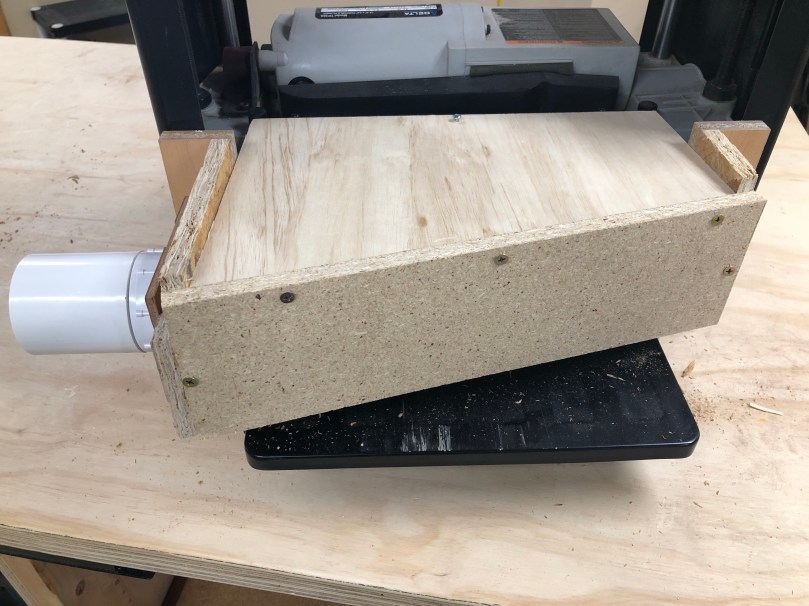
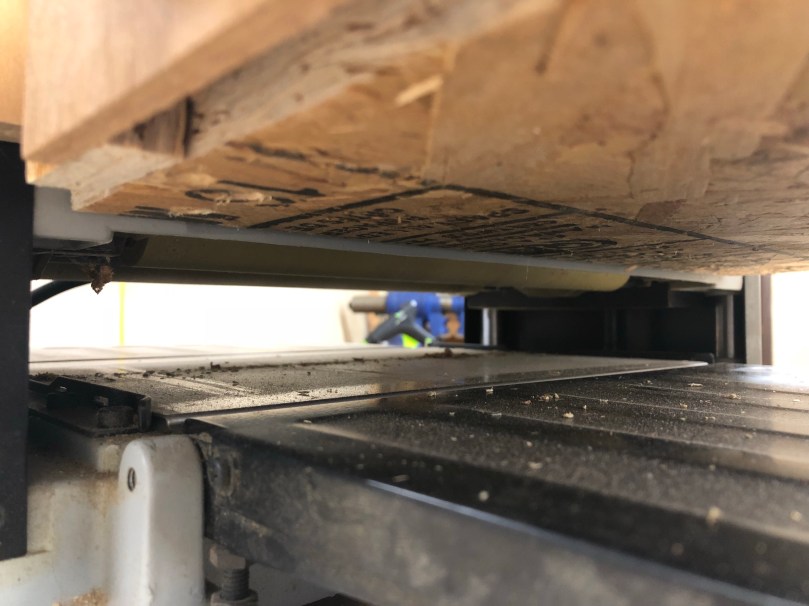
When Delta produced this planer, the dust collection attachment was an extra accessory. I decided to make my own because I don’t understand this design. Why would you want your hose hanging over the outfeed? Too much risk of the work piece getting jammed on the way out, which is extremely dangerous.

I found a neat idea on YouTube and went with a similar plan. Here is what the outfeed looks like normally.

I first cut some pieces to make the sides and bottom of a box.

img_0706.jpg

I screwed the right side together. Then I held it up against the planer to get the exact positioning before screwing in the left side. I wanted a snug fit.

img_0708.jpg

I cut and sanded a hole in the side for some PVC parts.

Grabbed a few scraps that would be used to hold the PVC in place.

Cut a hole in the thin piece, boxed in the male PVC part, and screw it all together.

Then I put a spacer under my in-progress box and adjusted the planer’s height. It was important to use a spacer for these next steps because I don’t want the bottom of the box to have any chance of jamming up the wood coming out of the planer. I gave it about 1/8″ of breathing room.

I cut a piece for the top. Then while putting pressure on the edge that makes contact with the planer dust chute I screwed this piece to the sides. At this point I was able to remove the spacer because the tight fit was able to hold the box in place.

I wanted to prevent the box from sagging or shifting down during use though. So I cut two little pieces.

Screwed them in from the bottom on each side.  Notice how the kind of grab on to some ledges of the planer. This is a simple way to prevent the bottom of the box from going any lower.

I drilled a hole in the top and through the metal chute. Combined with the tight fit and those blocks, now this thing can only shift up and away from the outfeed path.

The final step was to square up the back edges, cut a piece, and screw it in. There are no screws on the bottom of the back face because I used a scrap piece that wasn’t tall enough to have room for screws there. I did use some glue though.

Here you can see the clearance between the box and the outfeed I mentioned earlier.

Due to the materials I skipped using any wood glue except when I put the back face on. I did go back and hot glue all of the joints so it would be sealed for a better vacuum.

This was an easy build. The only modification to the planer was the screw hole and the whole unit can be removed by taking out that screw.

How well does it work though? You be the judge…