I’ll likely turn this into something that interfaces with my Home Assistant server to control different devices around my house.
The PyPortal has been sitting on a shelf ever since. Way back in February, it caught my eye, and I picked it up, not remembering what it’s capabilities were. Then I started upgrading IKEA air quality monitors and even made my own. Since I’m at the desk in my office a large portion of the week I thought I would make that 2019 prediction come true.
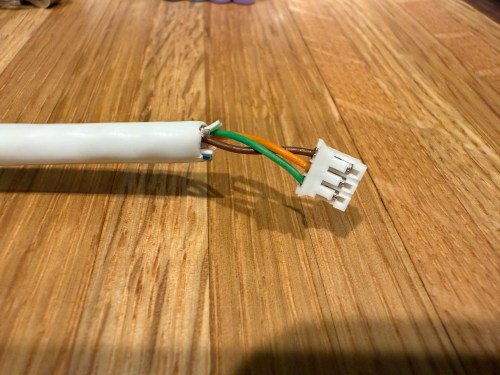
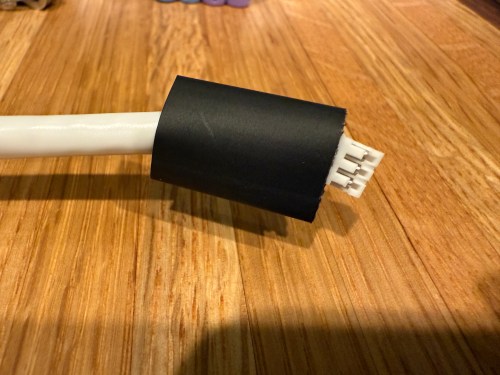
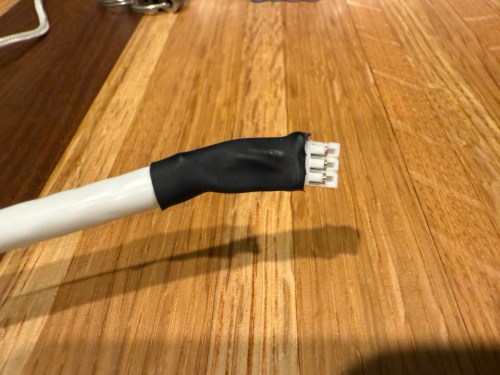
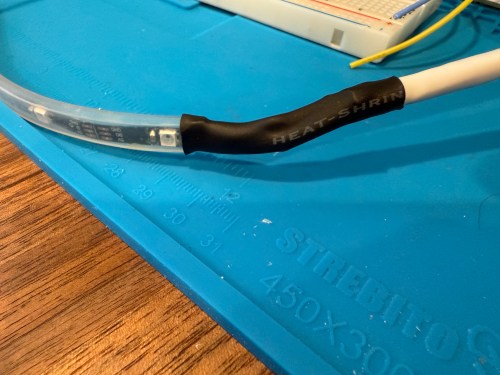
I could show a bunch of data on the screen and the PyPortal has a touchscreen, so I could display buttons for triggering things around the house. The device also has connectors for doing GPIO, so I got the idea of adding an LED strip, which I could use for notifications. I even had a meter long strip of Adafruit Mini Skinny NeoPixels I had bought in 2017 and never touched that would be perfect. I needed to buy a 2.0mm JST PH Connector kit in order to make a wire that would connect to the pack of the PyPortal. I ended up using a piece of Cat6 cable, even though I only needed 3 of the 8 wires inside.
All of this was done back in March. I quickly began having issues with the ethernet cable and the small JST connectors, so I put this post on pause. Figured it was time to finally fix this before the end of the year. While testing, I determined the LED strip got fried up at some point. It was probably some kind of short from the janky wire.
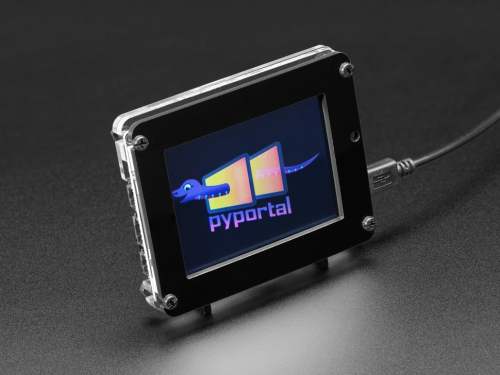
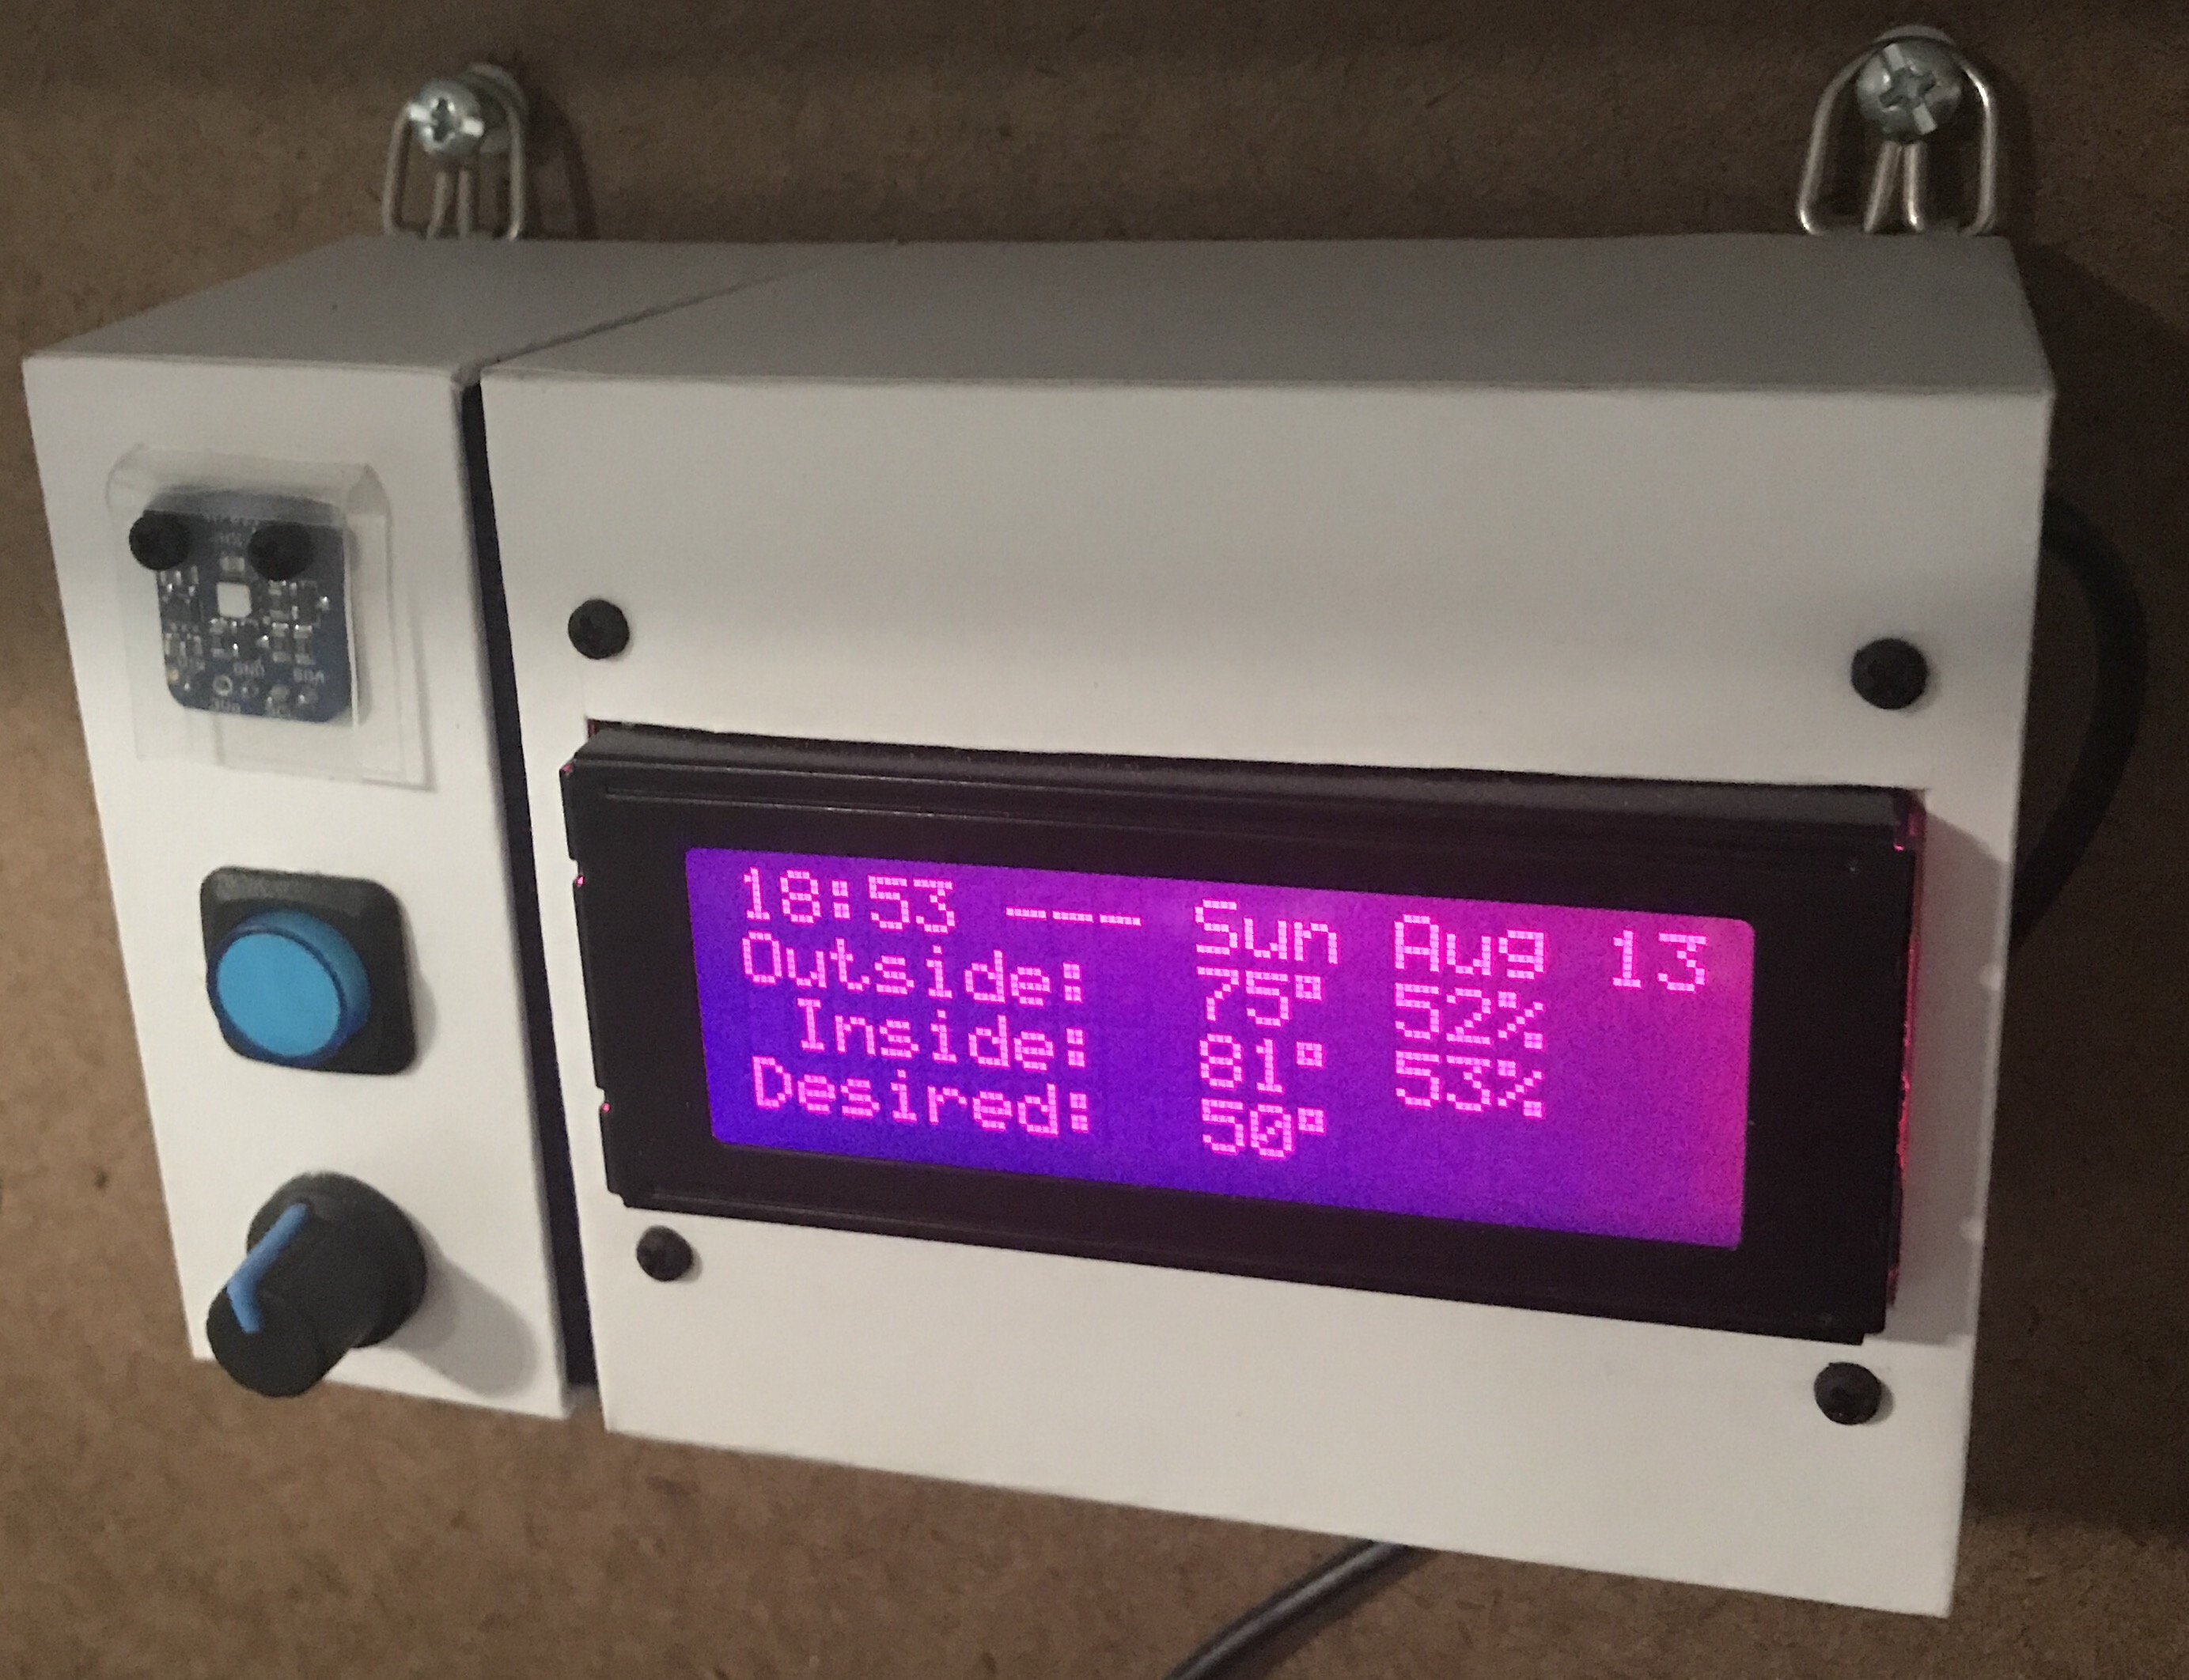
Here’s what my display looks like.
My favorite aspect of the project and code is being able to publish MQTT messages from Home Assistant, which the PyPortal listens for and reacts to. I can send various commands, such as fill:blue, which turns all of the LEDs blue, or whatever color I set. I have commands to chase a color from one side to the other, bounce a color from left to right and back to the left, pulse the entire strip, animate a rainbow, or set the brightness. Since I don’t have another strip of Neopixels, in order to create a demo video, I wired up a 24 LED circle. You’ll have to imagine the effects on the back of my desk, lighting up the wall.
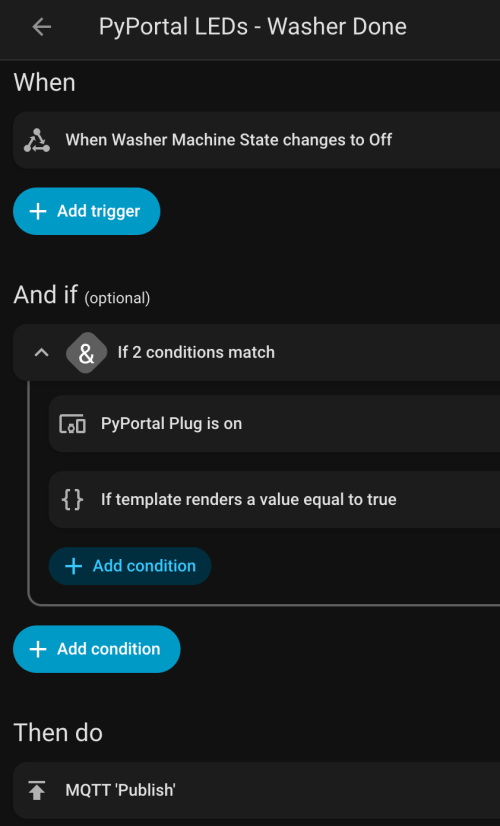
I can manually send these MQTT messages as shown in the demo, but the real power comes from automations. For example, the LEDs automatically pulse blue when the washing machine is done and pink when the dryer is done.
With the different effects and color combinations, the possibilities are endless. What kind of automations would you run?
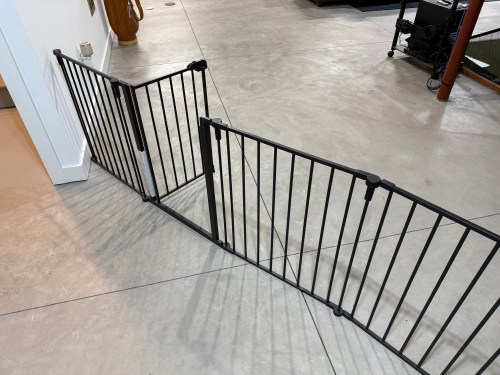
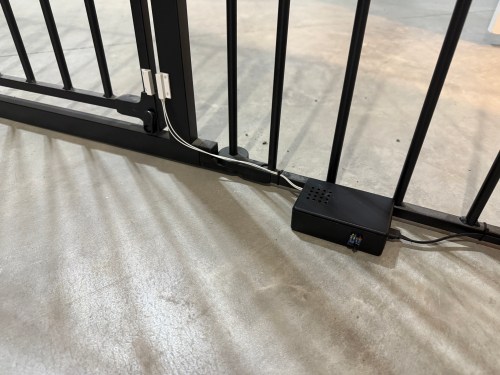
In our basement we have a baby gate, which surprisingly keeps our cat out of the gym and golf sim areas.
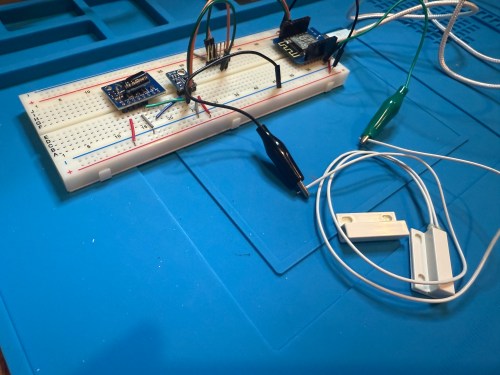
Sometimes we forget to close the gate, so I needed a sensor to monitor its state. I still had the breadboard from the air quality monitor project, so it was quick to add a magnetic door switch and test things out with the D1 Mini clone.
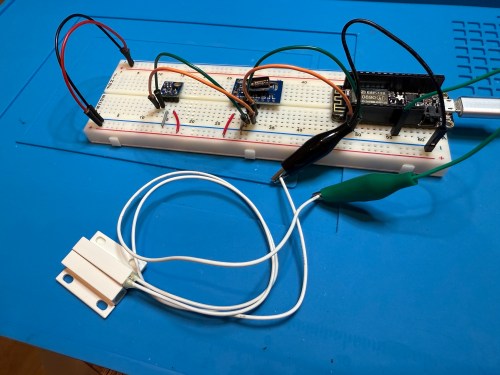
I have extra sensors, so those were kept in the project and allowed me to get rid of the shitty DHT22 I added to the golf remote. Everything worked, but I want to save my last two D1 minis and use them for something with the screens I have for them. So I swapped in an Adafruit Feather HUZZAH ESP8266, which I got with AdaBox 3 or 4 in 2017 and made minor changes to the code.
I figured I might as well use one of the fancy Adafruit Perma-Proto boards I had, which makes soldering all of the connections much easier. As a bonus it was nearly a perfect fit for the case.
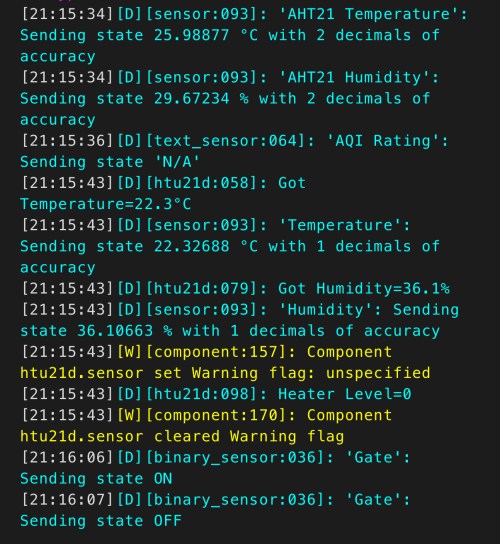
The magnetic switch and Si7021 will live outside the box, so those couldn’t get soldered yet. After connecting power I checked the ESPHome logs to make sure everything was working.
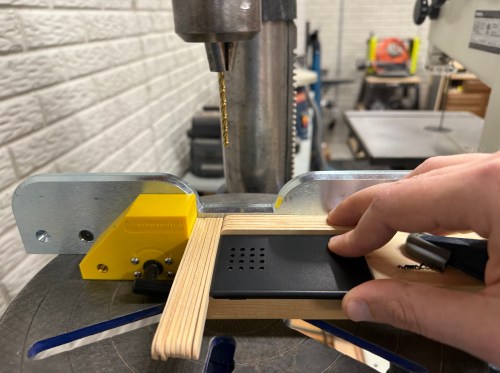
I cut holes in a project box, finished soldering, and used hot glue to secure the board..
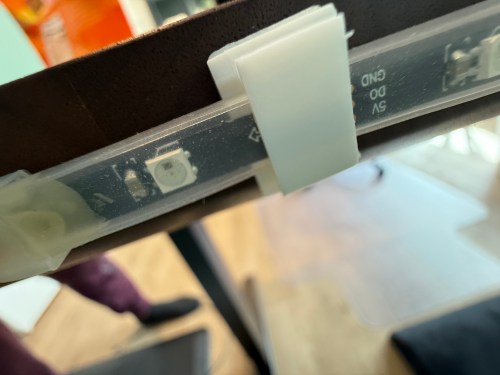
I reversed the swing of the gate, placed my device, and attached the two sides of the magnetic switch to the gate.
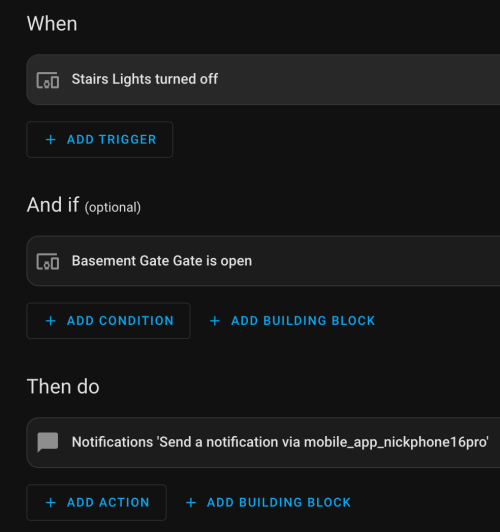
In Home Assistant an automation runs whenever the stairs light is turned off to check the state of the gate. If it’s open, a notification is sent to our phones.
I’m enjoying these little electronics projects, and it feels good to finally put various parts to use.
My garage temp sensor, running home-assistant-temperature-monitor stopped working several months ago. I didn’t have time to figure it out and then summer hit, when it’s not important since I don’t heat up the garage before I workout. This weekend I finally got around to troubleshooting the problem.
Turned out I needed to install Adafruit_Python_GPIO. I must have updated my code at some point without fully testing, otherwise I’m not sure how any of it worked before. I didn’t investigate that though; I was more concerned with fixing it and doing some improvements. I updated the OS and everything on the Raspberry Pi since it hadn’t been turned on in quite some time.
Earlier this year, another Pi on my network, the one running Home Assistant and Pi-hole, ran out of disk space without warning. I’ve wanted to put in a notification system so it never happens again, so I updated home-assistant-pi to report the disk use % to HA. I added an automation to notify me whenever it’s above 90% for one of my Pis. I also reworked all of the automations in home-assistant-pi to make it easier to configure each time I get a new Pi.
That all took much longer than I expected. Most of the trouble was trying to understand the Jinja template system used in HA and where it can be applied to configurations. I think I’m finally getting the hang of it.
While writing this post, I found an old draft with some other updates to home-assistant-pi I never published. Maybe I never finished and that’s why everything stopped working! Here’s a list of some previous updates:
Fixed errors causing program to crash.
It wasn’t reconnecting very well, especially if Home Assistant went away (ex. for a restart after an upgrade). Rewrote how the MQTT connection works.
Switch from PushBullet to iOS notifications.
Changed show/hide Home Assistant group automations.
Now that this stuff is running again and I have a better understanding of the Home Assistant automation capabilities, I need to continue the series of posts I planned on home automation. It’s been five and a half months since I published Part 1!
Twitter is a web service to help answer the question What are you doing? The service was born in March of 2006 and I first used it in November of the same year. After a lot of thought, I’ve decided to say goodbye to Twitter.
Before Twitter existed I started using what most sites call asides as a way to post short little updates to my blog. I call these Quickies. I never stopped posting Quickies and I’ll be using them as my Twitter replacement.
Quick Updates
One of Twitter’s strengths is how easy it is to post updates. Twitter provides ways to post updates through their web site, using SMS text messages, and through instant messages. Through the use of the Twitter API many other services have been created to update your account. PocketTweets and Hahlo are a couple of iPhone web apps I’ve used to interact with my Twitter account, but there are many more.
In order to stop using Twitter, I needed a quick way to post updates. Using the normal post screen in WordPress, I’d have to type a title and select my Quickie category in addition to typing the update and clicking the Publish button. Yesterday I foundWphone, which is a lightweight admin interface designed for phones, and was able to customize it to suit my needs.
As you can see from the screenshot, my Quickie post screen is pretty limited. The title gets automatically filled with date and time appended to “Quickie: “. I can type in the content and any tags and then click the Publish button. The category is automatically set to Quickie and the comment and ping statuses are set to the blog’s default settings. I was even able to get the interface to work with the WordPress bookmarklet, which takes the page title and url of the web page you are browsing and applies them to the appropriate fields. In the current form, I can’t release my customizations for others to use, but if there is interest I will see what I can come up with.
Notifications
Another strength of Twitter is the notification and follow system. Following someone is basically setting them as a friend on Twitter. You will see their updates, choose how you wish to get notified, and can reply to their updates.
I’m not sure why, but I’ve always visited Twitter to read updates from the people I follow. Yesterday I finally subscribed to the RSS feed of the people I follow. Any updates will get shipped to me and I have one less web site to visit. If I want to reply to someone’s update I’ll still use Twitter for that. People can reply to my Quickie posts by posting comments on my web site.
Content Ownership
By using Twitter, you’re at their mercy. If the service goes down, you can’t access your updates. Anyone who has used Twitter, knows that the service goes down quite a bit.
When you use Twitter, your content is stored on their servers and everyone visits twitter.com (or another site through the use of the API) to access your data. By choosing to use my WordPress Quickie category, all of updates are stored in mySQL with the rest of my web site. I’m also in full control of replies (comments). People either visit my site or subscribe to my RSS feeds to access the information.
Will I Miss Twitter?
I honestly don’t think so. My primary use of Twitter was always to post quick updates. I’ve replaced that functionality and made it extremely easy to use. I won’t be limited to 140 character updates and I can use HTML in my updates. I’m in full control of my content and don’t have to rely on a web service.
This won’t be the right choice for most people using Twitter, but I don’t see it being a problem for me.