
The first album I ever remember having was Brothers in Arms by Dire Straits on cassette tape. I have no idea when I got it, but it was released May 1, 1985.
Do you remember your first album?
The first album I ever remember having was Brothers in Arms by Dire Straits on cassette tape. I have no idea when I got it, but it was released May 1, 1985.
Do you remember your first album?

It’s been too long since I posted about designing a speaker in SketchUp, but other projects moved up on my priority list between then and now. Well, over the last few days I finally made the speaker. In the end, the delay was worth it, because several of the steps were a lot easier with tools I’ve acquired over the last few months.
Other than the design, the first step was to get a board. I ordered the INSMA TDA7492P Chip 25W+25W Wireless Bluetooth 4.0 Audio Receiver Digital Amplifier Board on Amazon after watching 2 otherbuilds with the same board. To make sure it was going to work, I hooked up my speakers for a quick test. I salvaged the speakers out of on old set of computer speakers I had in college.
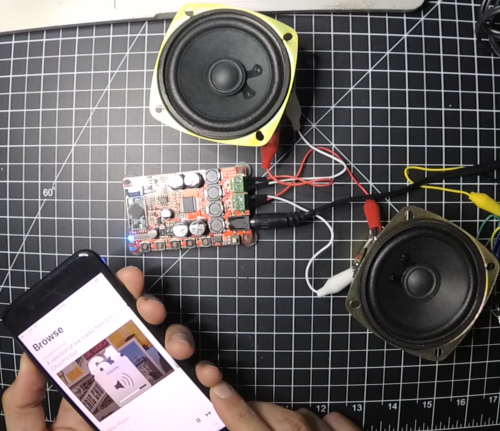

I ordered a couple of different button styles from AliExpress, so I tried both types out, ultimately deciding to use the larger buttons which also had a blue LED ring. The smaller buttons were nice but not right for this project.
I did those tests around the same time I was designing the speaker. Several months passed before I touched any of the components again. Since I wanted to use my own buttons, switch, and LEDs I needed to figure out the best ways to connect in to various points on the board. This involved a lot of poking and prodding with a multimeter. I figured everything out and did all of the soldering and wiring prep work to help with assembly once the box was built.

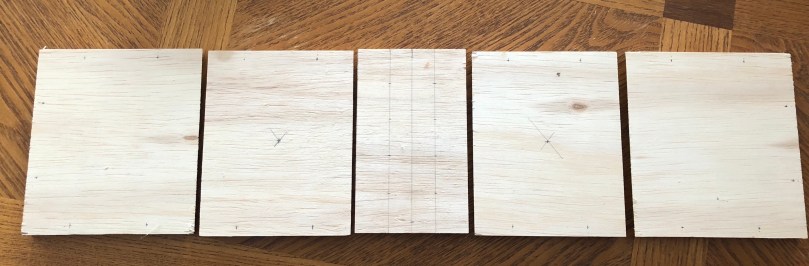
I had taken some general measurements when iterating on the design, but I thought it would be a good idea to create a cardboard model before cutting any wood. This mockup of the walls was an inch too short, but it let me get an idea of what kind of space would be on the inside. Knowing that the 1/2″ plywood would use up a lot more area, I increased several dimensions and changed the angles on the 3 front pieces.

After cutting the 3 front pieces and two sides, I measured and marked all of the spots where I needed to drill holes.
Then I spent a lot of time with the drill press. There was a lot of measuring and calculating because pretty much everything going on the front face needed some kind of recess.

It was looking pretty good!

Since I hadn’t updated my SketchUp plans for the changes, it was tricky getting the correct sizes for the top, bottom, and back pieces. I ended up screwing some parts together in a step-by-step process and then making small cuts on the new pieces to inch up on the fits. At the end I had to do a bunch of sanding on the front face, which was the last piece I screwed together. It was really cool seeing the design come to life.

Time for some finishing work. I sanded edges and cleaned off all of the dust before I did a quick coat of spray paint. I wanted to try a neat technique I’d seen, so I did a bunch of sanding to rough up the paint. Then I coated everything with 2 coats of stain/poly, while doing a light sanding in between. After the first coat of stain, I unscrewed everything to apply the final coat because I wanted to make sure nothing was stuck together on the joints.

After letting everything dry it was time to work on the guts. I used the time-lapse recording option on my YI 4K Action Camera for the first time, which worked well, so here it is with voice-over to explain what I’m doing during the assembly process.
I wanted to give it a coat of Minwax paste finishing wax when I was done, but with all of the buttons and speakers in the way it would have been too hard to work around them. Should have done it before. I’m pretty thrilled with how the paint and stain combo turned out.


The dimensions ending up being 5″ tall, 10″ wide, 4.5″ deep at the sides, and 5.75″ deep in the middle. It weighs just under 4 pounds with most of that coming from the 2 speakers. It’s hard to get a sense for the size in the cropped images above, so for scale here is a comparison with a beer bottle.

I’ve been using an old Jawbone Jambox for music in my garage gym. This is so much more convenient because it plugs in and has a permanent spot. No more worrying about a dead battery or trying to find the Jambox when it’s time for a workout.
Whenever I was using the Airdyne or Ski Erg, it was hard to hear the Jambox. Judging by the test below, I should be able to crank the tunes now. I played 30 seconds of “Welcome to the Jungle” with both speakers, starting at the 1:00 mark, and increasing the volume every 5 seconds.
Went to see The Verve Pipe last night at the State Theatre in Bay City.
Join The Verve Pipe for an exclusive acoustic performance of their album ‘Villains’ at the State Theatre of Bay City on Friday, October 27. Every song, in sequence – reimagined and performed like you’ve never experienced before.
The album was released in 1996 when I was in the middle of high school, so I listened to “The Freshmen” many many times during those years. Hearing it was definitely the highlight of the night.
After playing through the album the band took an intermission and came back to play a bunch of their newer stuff. The State Theatre seats about 500 people so it was a neat atmosphere where the band sounded great.
Adam Savage raved about The Defiant Ones on his podcast. I was subscribed to HBO for Game of Thrones, so I checked it out this weekend before cancelling.
“The Defiant Ones” examines the partnership between Jimmy Iovine and Dr. Dre – one the son of a Brooklyn longshoreman, the other straight out of Compton – and their leading roles in a chain of transformative events in contemporary culture.
IMDb
The series is 4 parts and it was so good I couldn’t stop watching, so I watched all 4 hours in one sitting. I grew up listening to a lot of this music in the ’90s, but never knew most of the stories behind it all. I can’t even imagine the stories that will never be told.
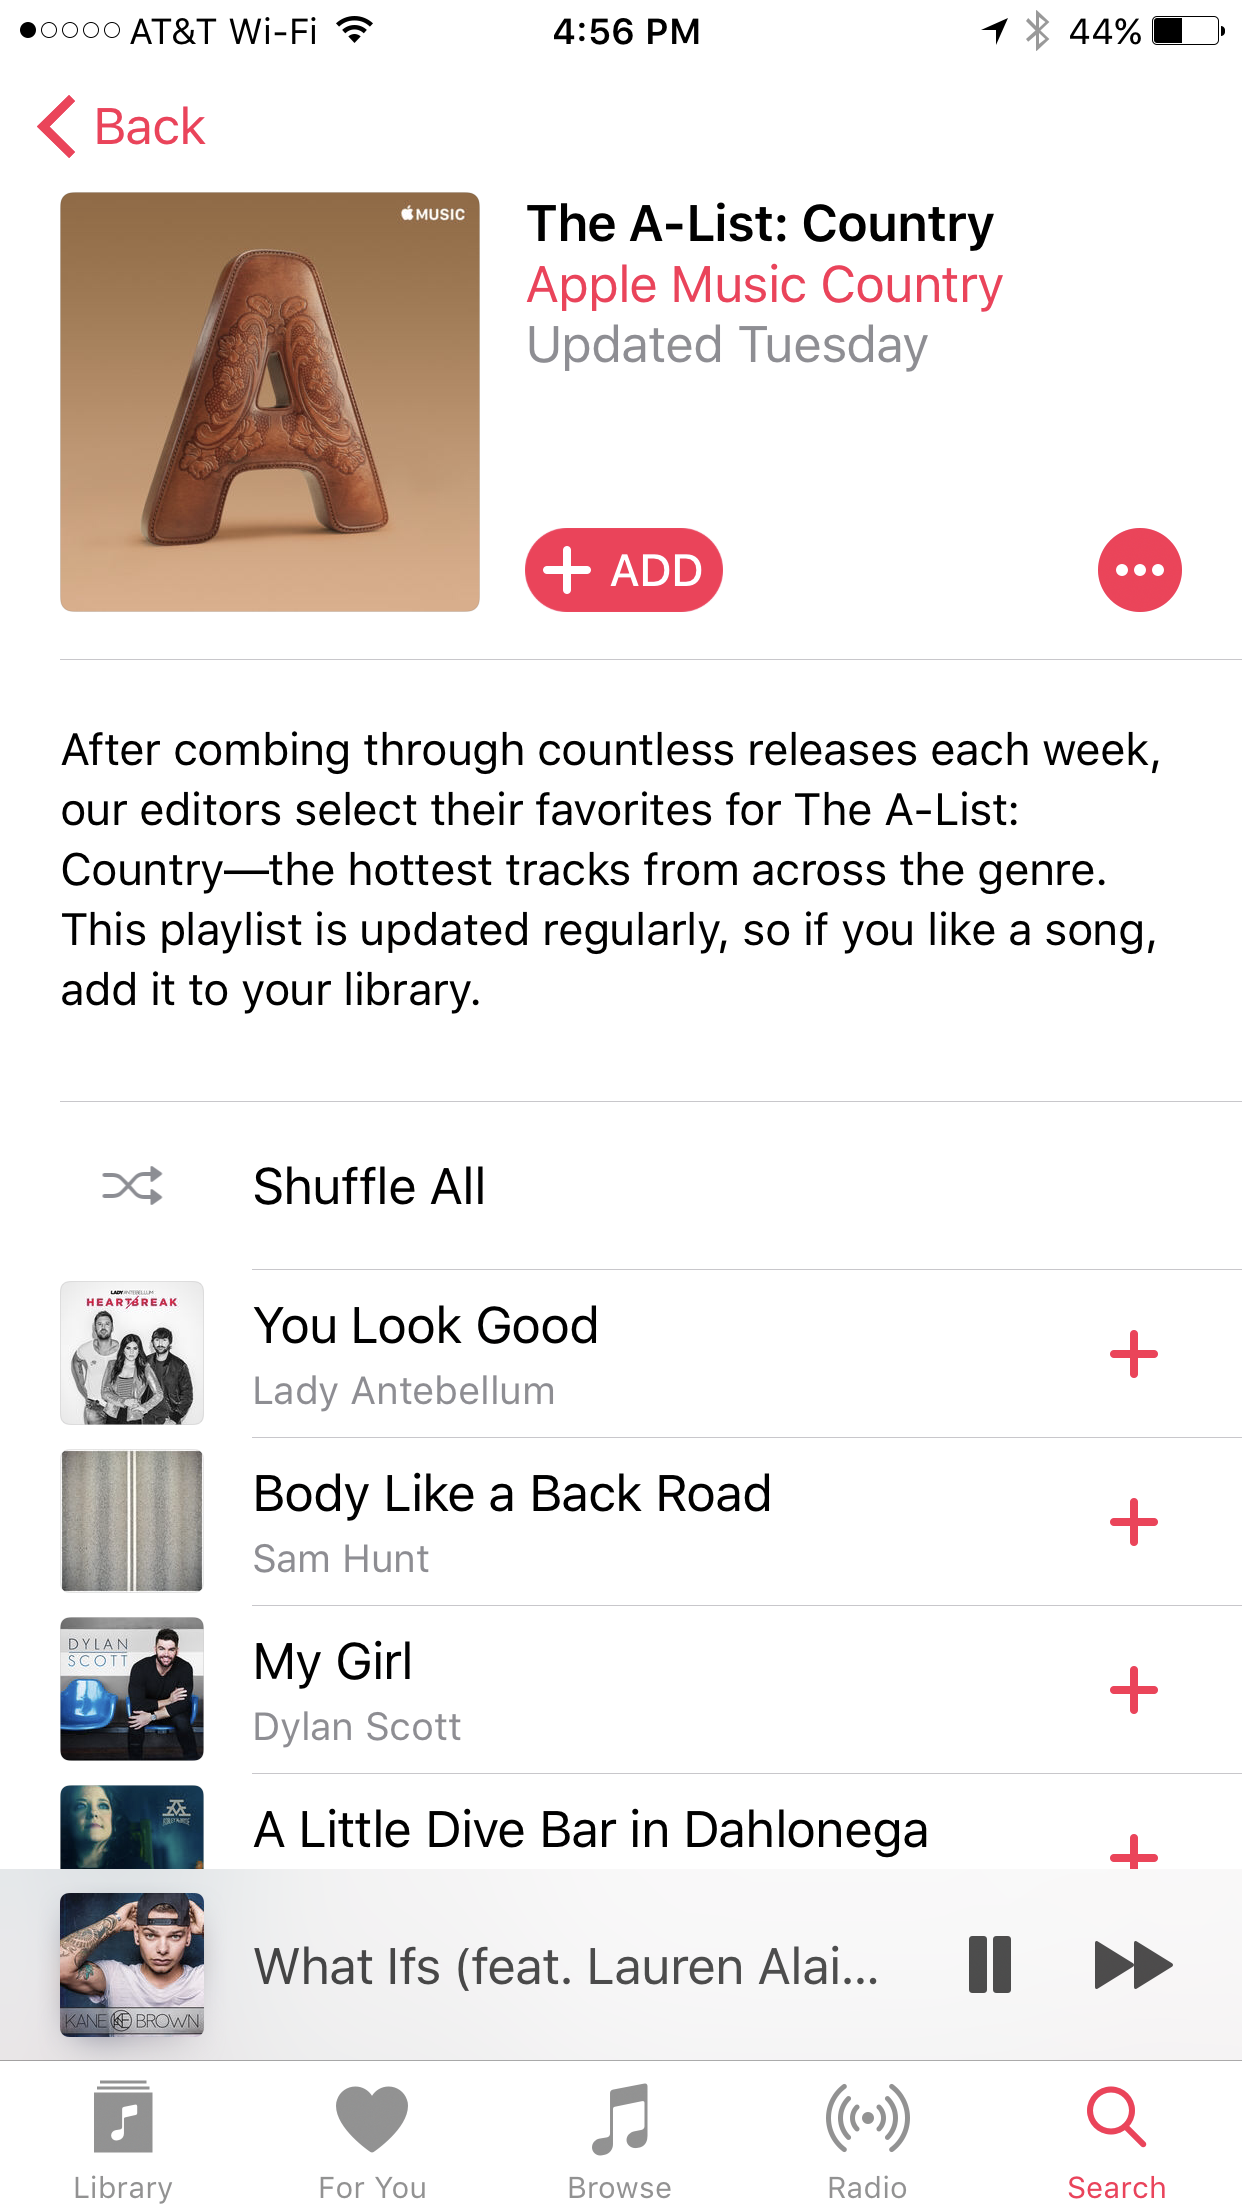 I’ve been listening to country music again after over 20 years.
The Tesla Orchestra did a show with their mini Tesla coils almost every hour at Maker Faire Detroit.
Each spark unleashes a bolt of plasma that makes the air explode. Repeat these explosions fast enough and you get a musical note. Four coils, four notes. Custom electronic hardware and software convert MIDI encoded music to pulses of light. At the other end of four fiber optic cables, the powerful amplifiers in the bases of each coil transform 300 volt DC power into hundreds of thousands of volts of musical lightning.
Even in slo-mo, lightning is fast!
I received the latest Adafruit AdaBox last Thursday and made this unboxing video.
As you may have guessed, AdaBox004 has a music theme. I’m excited because I’ll be using several of these parts in my current project. I need to finish it before the weekend so I guess I better get my ass in gear.
When you lay it out, this one seemed a light compared to the first 3 AdaBoxes, so I added up prices from the Adafruit store. It came to $73 without factoring in the empty white box for making a custom project enclosure, collectible “Boomy” pin, SD card, Make volume 57 signed by LadyAda, and free shipping. Probably about a $90 value for $60 as a subscriber, which is worth it. The $25 Music Maker FeatherWing with the $20 Feather HUZZAH really drove up the price, limiting what else could be included.
If you enjoyed the music in the video, it was released by Adafruit’s in-house musician to go along with this box. Check out “ADABOX004” on SoundCloud. BartleBeats also has a full album I’ve been listening to a lot while working at my hobby desk. “Frequency” is available on SoundCloud or via iTunes.
Next up… this morning I received the tracking info for HackerBox #0020. Note that AdaBox uses a 3 digit identification system, while the HackerBox uses 4 digits. The difference between a quarterly and a monthly subscription I guess.
There doesn’t seem to be a way to play a song on repeat in the Apple TV Music app, but you can tell Siri to “play this song on repeat.”
