I’ll likely turn this into something that interfaces with my Home Assistant server to control different devices around my house.
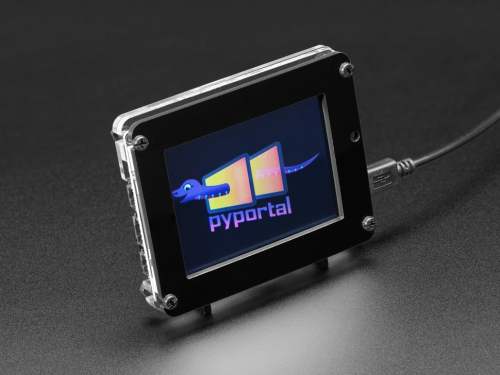
The PyPortal has been sitting on a shelf ever since. Way back in February, it caught my eye, and I picked it up, not remembering what it’s capabilities were. Then I started upgrading IKEA air quality monitors and even made my own. Since I’m at the desk in my office a large portion of the week I thought I would make that 2019 prediction come true.
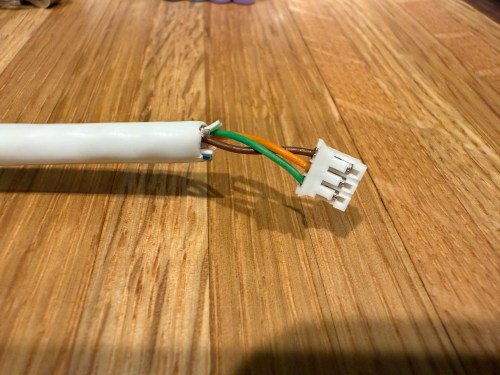
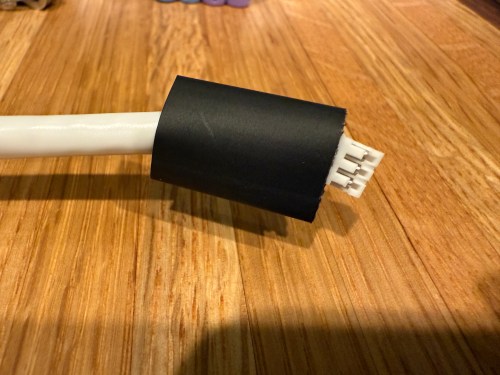
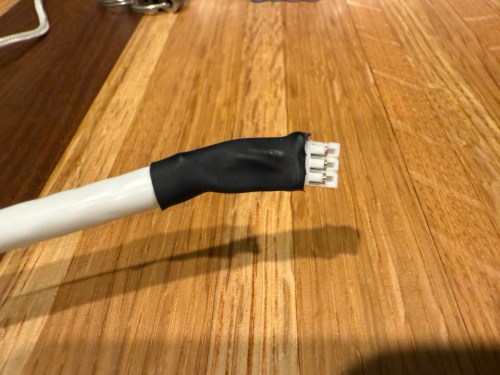
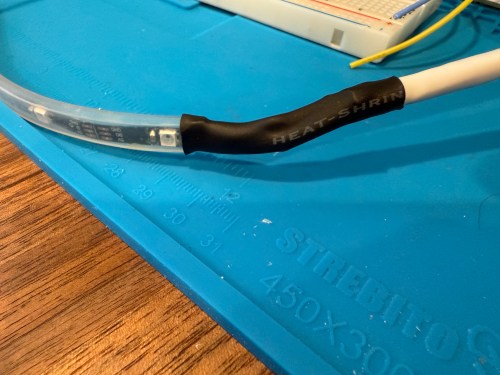
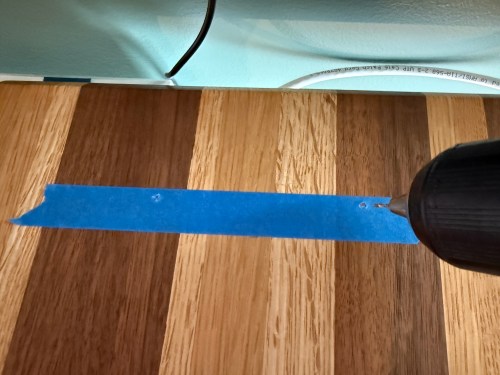
I could show a bunch of data on the screen and the PyPortal has a touchscreen, so I could display buttons for triggering things around the house. The device also has connectors for doing GPIO, so I got the idea of adding an LED strip, which I could use for notifications. I even had a meter long strip of Adafruit Mini Skinny NeoPixels I had bought in 2017 and never touched that would be perfect. I needed to buy a 2.0mm JST PH Connector kit in order to make a wire that would connect to the pack of the PyPortal. I ended up using a piece of Cat6 cable, even though I only needed 3 of the 8 wires inside.
All of this was done back in March. I quickly began having issues with the ethernet cable and the small JST connectors, so I put this post on pause. Figured it was time to finally fix this before the end of the year. While testing, I determined the LED strip got fried up at some point. It was probably some kind of short from the janky wire.
Here’s what my display looks like.
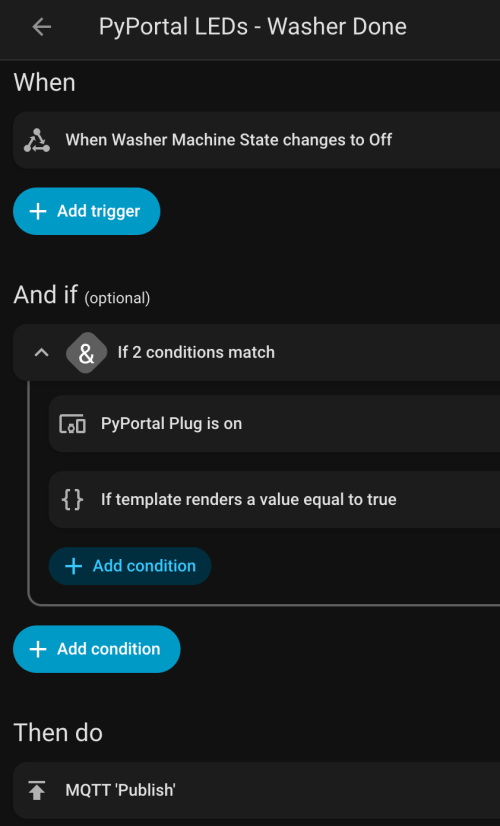
My favorite aspect of the project and code is being able to publish MQTT messages from Home Assistant, which the PyPortal listens for and reacts to. I can send various commands, such as fill:blue, which turns all of the LEDs blue, or whatever color I set. I have commands to chase a color from one side to the other, bounce a color from left to right and back to the left, pulse the entire strip, animate a rainbow, or set the brightness. Since I don’t have another strip of Neopixels, in order to create a demo video, I wired up a 24 LED circle. You’ll have to imagine the effects on the back of my desk, lighting up the wall.
I can manually send these MQTT messages as shown in the demo, but the real power comes from automations. For example, the LEDs automatically pulse blue when the washing machine is done and pink when the dryer is done.
With the different effects and color combinations, the possibilities are endless. What kind of automations would you run?
After the recent changes to my home network and Home Assistant server, I noticed the logs in Pi-Hole were being dominated by the domain I use for dynamic DNS on the box. Roughly 15,000 DNS requests a day out of 30,000 on my entire network. Really skews the ad blocking stats.
Why so many DNS requests? Because home-assistant-pi and home-assistant-temperature-monitor were both using the Home Assistant REST API to fetch data. That’s 15k requests/day with only two of my seven other Raspberry Pis turned on, so it would get worse when I put some of the other Pis into “production” around the house. The temperature project only runs on one box, but the first project in installed on every Pi.
I briefly tried to switch those two projects over to using the local IP address of the server and continue to use the REST API, but with SSL enabled it was complicated. MQTT was already running on the server and those projects publish updates to Home Assistant over MQTT, so it was an easy decision to use it for subscribing as well.
While I was at it, I took the opportunity to simplify a lot of the code and have the devices update more frequently. So far it seems to have solved a couple of lingering stability or connection issues I was having with home-assistant-pi. All of the code changes are available in the respective GitHub repos linked earlier.
Update: I forgot I had home-assistant-pi connecting to google.com in to help with determining the local IP address in Python. Another update to clear that up will eliminate over five thousand DNS requests per day.
I’ve been working on this project here and there for a few weeks, with most of the early work being experimentation. Everything is now up and running and it’s “deployed to production” so to speak. This was my prototyping setup…
After wiring everything together and repurposing a cardboard box, here is a short video to show the final product.
A few notes on how it works:
The button toggles monitor mode. The LED inside the button indicates if Monitor mode is on/off.
When monitor mode is on and the desired temperature is reached, I get a notification.
I should have shown the knob, but all it does is adjust the LCD’s contrast.
The thing on the top left of the box is the sensor chip for reading temperature and humidity. Originally it was inside the box behind a little window there but it was picking up too much heat from the Pi and LCD in there.
The backlight color of the LCD is based on the measured temperature and updates each time new temperature is read. Anything 32° Farenheit and below is blue, 80° and above is red, and everything in between is based on where it falls within that 32-80 range. As you can see in the example, 48° is a lighter blue. A few degrees warmer and I think it would have started to look more green.
Outside temperature/humidity is pulled in from the Dark Sky data in my Home Assistant setup (which I’ll post about soon).
Really happy with how things turned out. The Pi I wrote this in Python and it’s all available as home-assistant-temperature-monitor on GitHub if you want to make your own or use some of the code for your own project. There is also a list of all the components used.
Here are some pictures I took while assembling the enclosure/box.
Making sure the Pi and attached Hat fit right after drilling the holes. Seemed like there was so much room at this point.
Everything soldered to the HAT. Amazingly I didn’t make any mistakes and everything worked on the first try. A good prototyping setup, having pictures of my final prototype, and keeping a list of where everything connected was invaluable.
The Raspberry Pi, Hat, LCD, USB cables to power and WiFi, and all of the other wiring jammed in! Reaching inside to get things screwed through the box wasn’t easy.
There is a lot more room in the other part of the box where the sensor, button, and knob are. Nice for the WiFi adapter and cable to come across and have some room.